You must be logged in to rate content!
2 minute read

Installation Instructions for RedlineGoods Shift Boot and Emergency Brake Boot 1992 – 1994 Autozam AZ-1 and Suzuki Cara
1. Remove the shift knob.
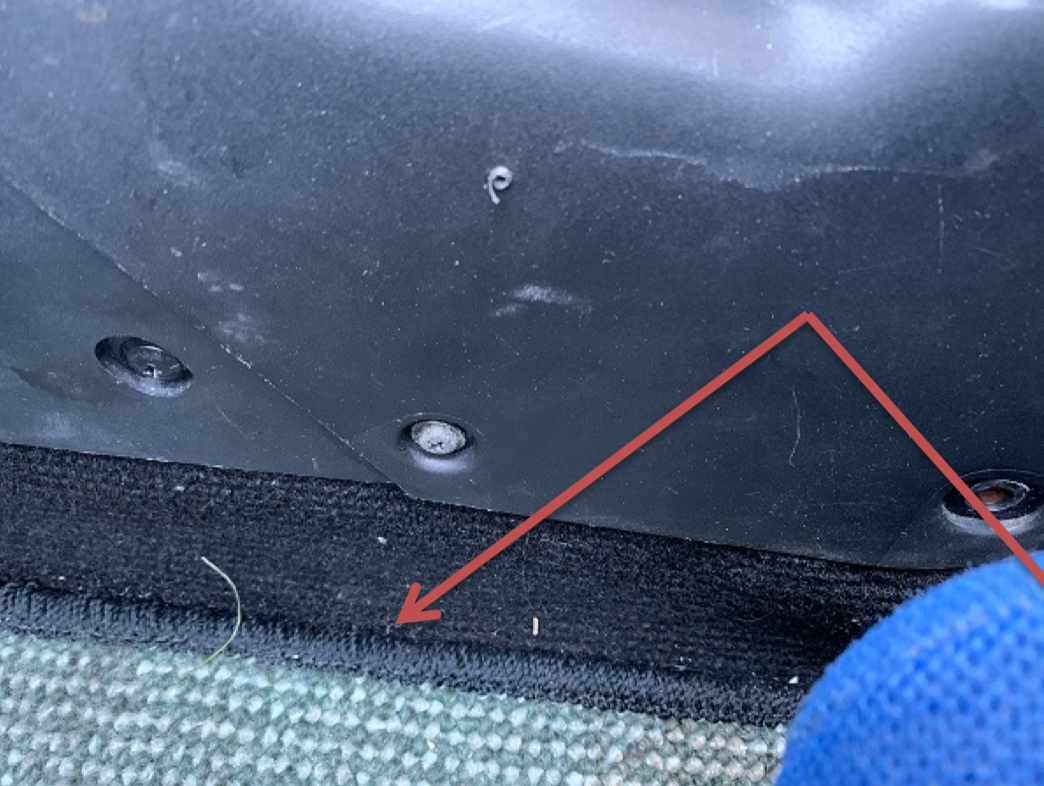
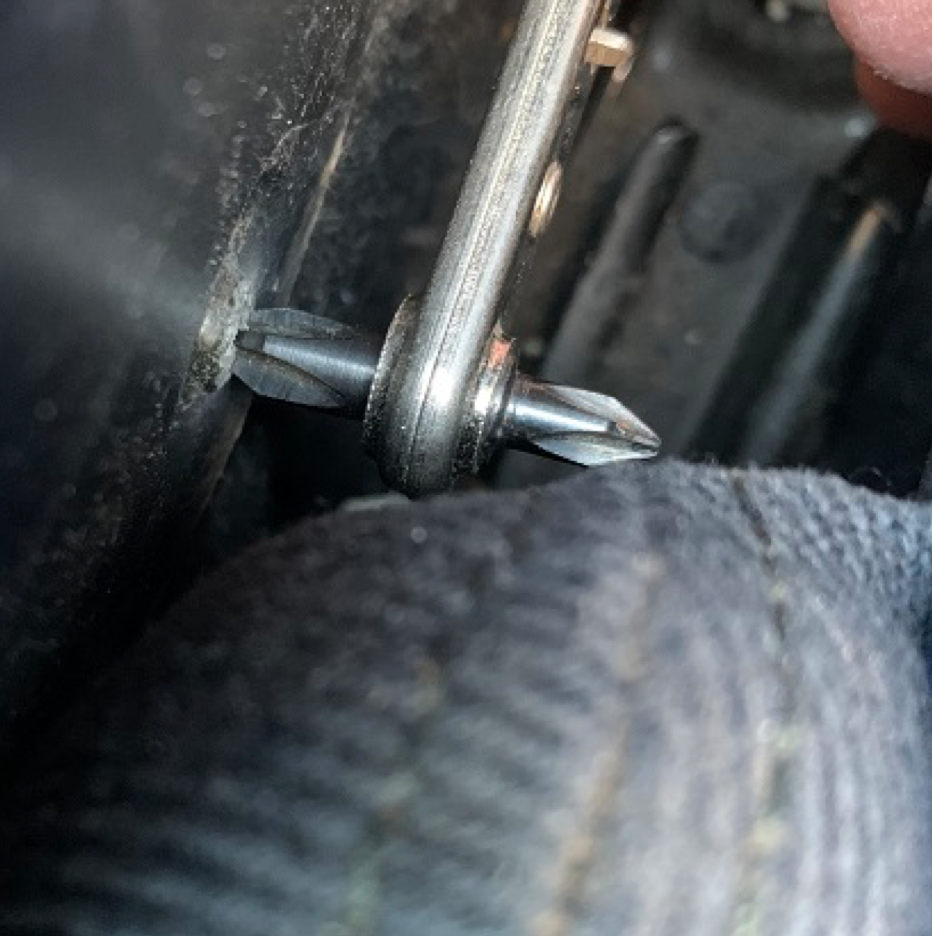
2. Remove (4) Phillips screws from the console. Two screws are on each side. A 90 degree ratcheting screwdriver will be required to remove the driver side screw next to the seat.

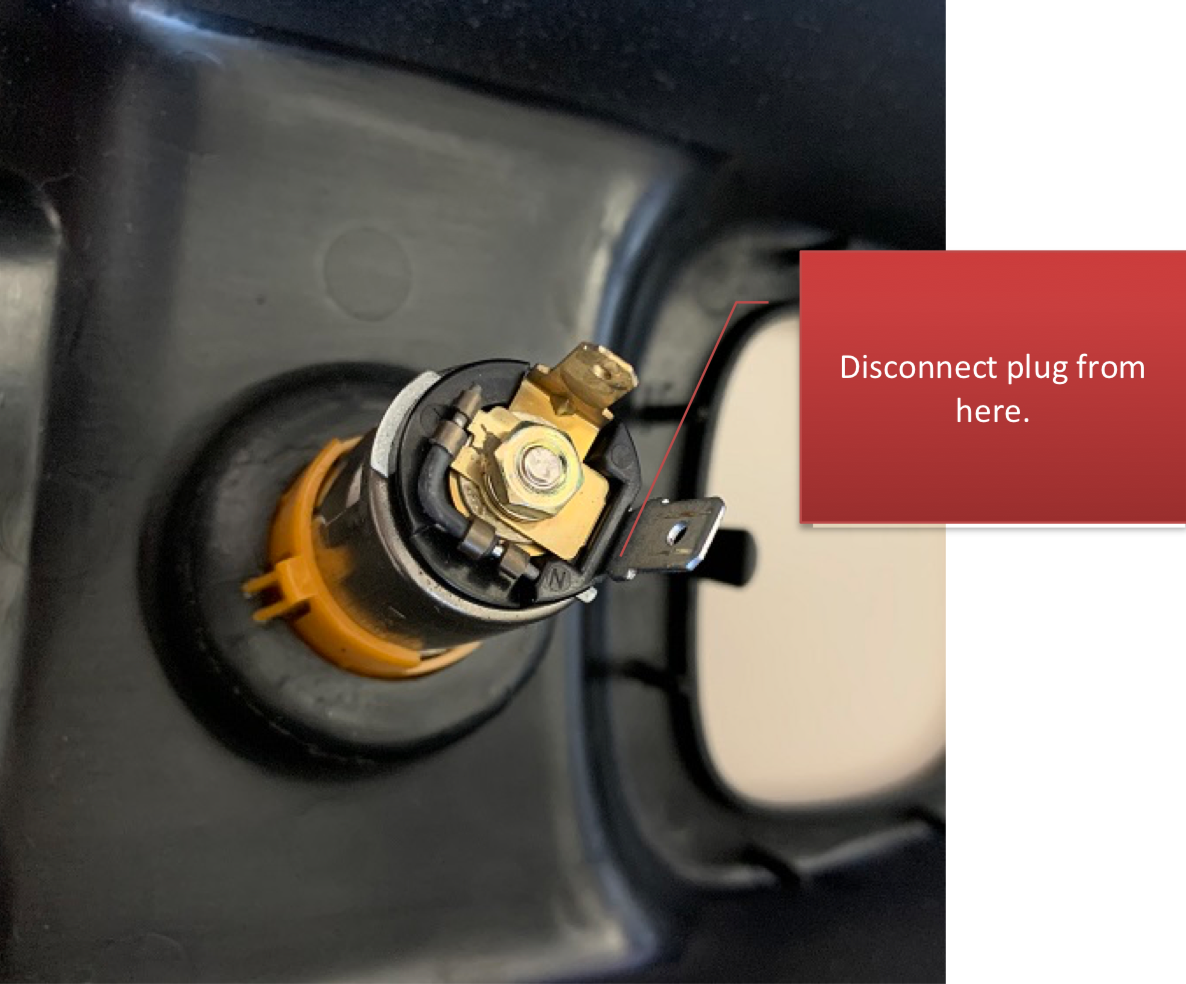
3. Lift the console up with the edge farthest from the HVAC cluster. As you lift, disconnect the plug from the power outlet.
4. The shift boot is held on with (8) eight clips. Gentle pry them upwards with a trim removal tool, or a small pair of needle nose plyers.
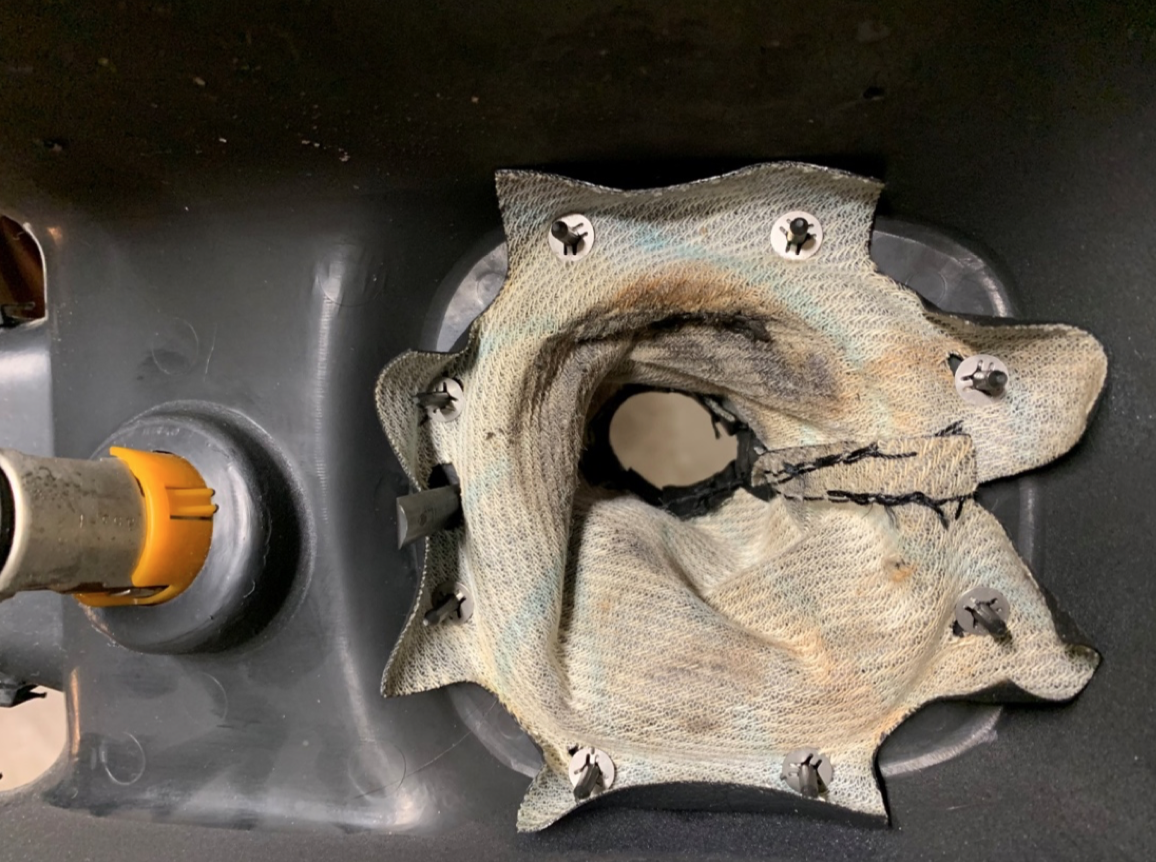
5. The shift boot is held on with (8) eight clips. Gentle pry them upwards with a trim removal tool, or a small pair of needle nose plyers.
6. Install the new shift boot in place of the old one and reinstall the (8) clips.
7. Set the console in place over the shifter. Reattached the 12V outlet while installing the console. Ensure the edge of the console tucks up under the HVAC cover.
8. Reinstall the (4) console screws removed in Step #2. Reinstall the shift knob.

9. With the parking brake engaged, pull the boot up over the handle. It is only attached with Velco.
10. Slide the new boot over the parking brake handle and press the Velco down onto the carpet.
