You must be logged in to rate content!
8 minute(s) of a 154 minute read
11-9-2007
1990 Miata Build
Compliments of switched @ www.miata.net
Hello everyone, I picked up a miata in the summer and have been lurking here ever since, but I finally decided to start a thread to share my progress. I picked up Choo Choo Charlie's old miata (thanks again!) and have since started to go to town on it. It is, well...was, a stock 1990 miata in need of a serious makeover. And so it began! I forgot to take pictures of it until after I started ripping into it, but I'm sure you all can picture what a stock miata complete with steelies, dents, rust, and in need of paint.
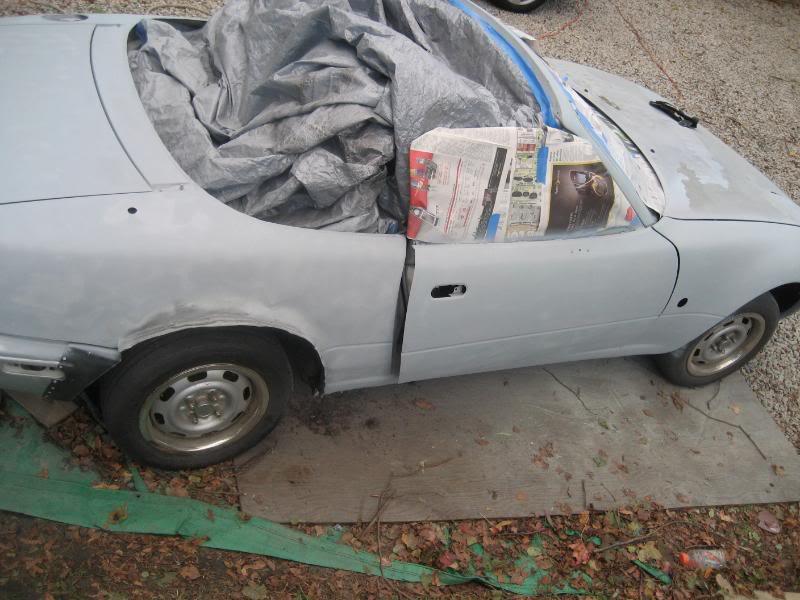
These are the first pics I took; I was pretty deep into the disassembly before I realized I hadn't taken any yet!
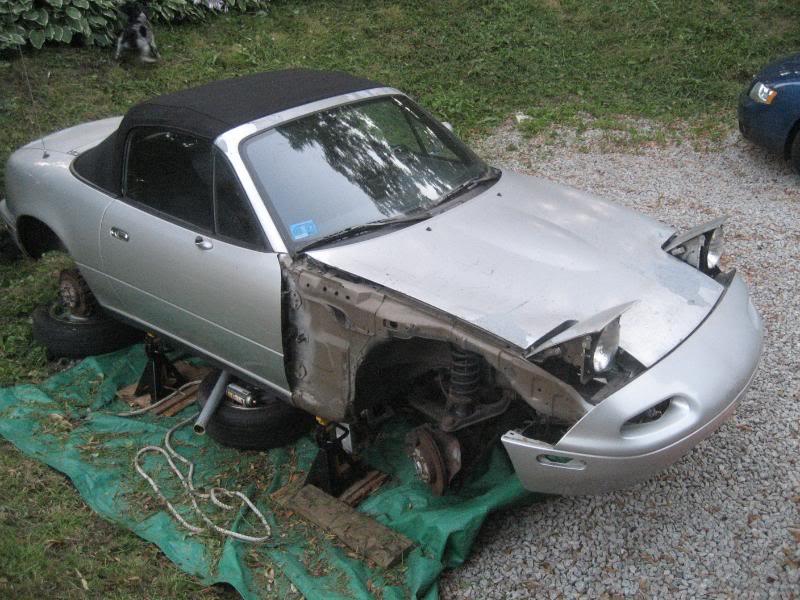

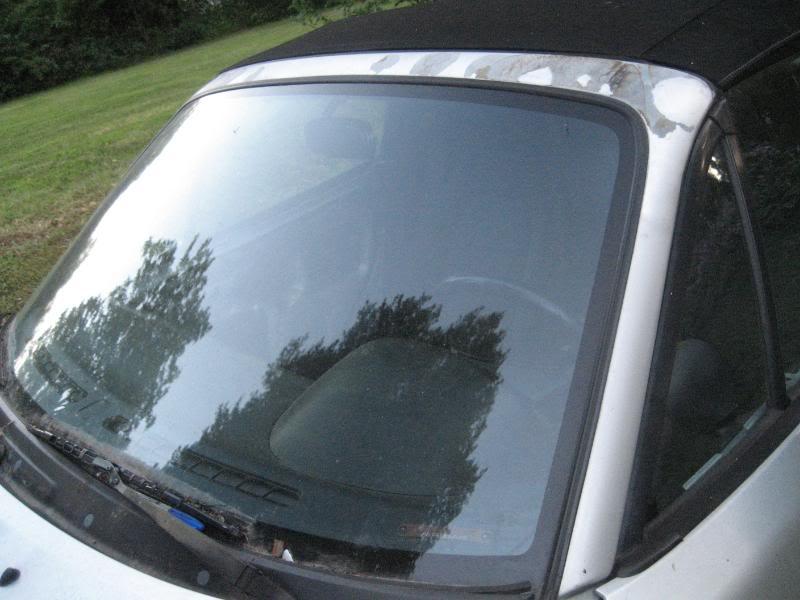

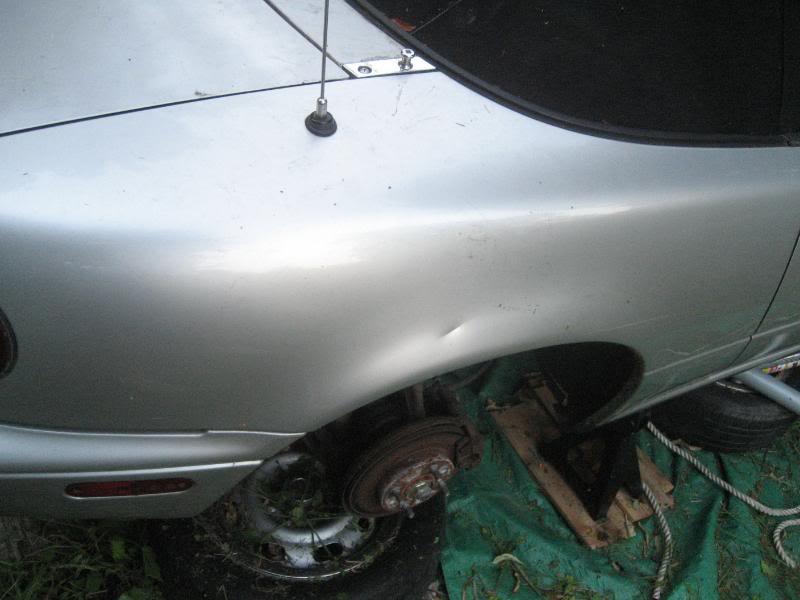
Lovely paint isn't it!
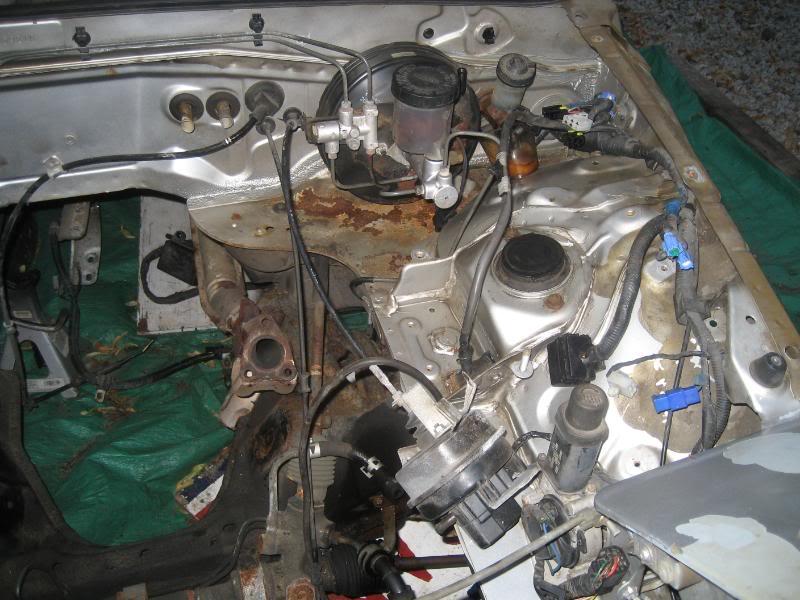
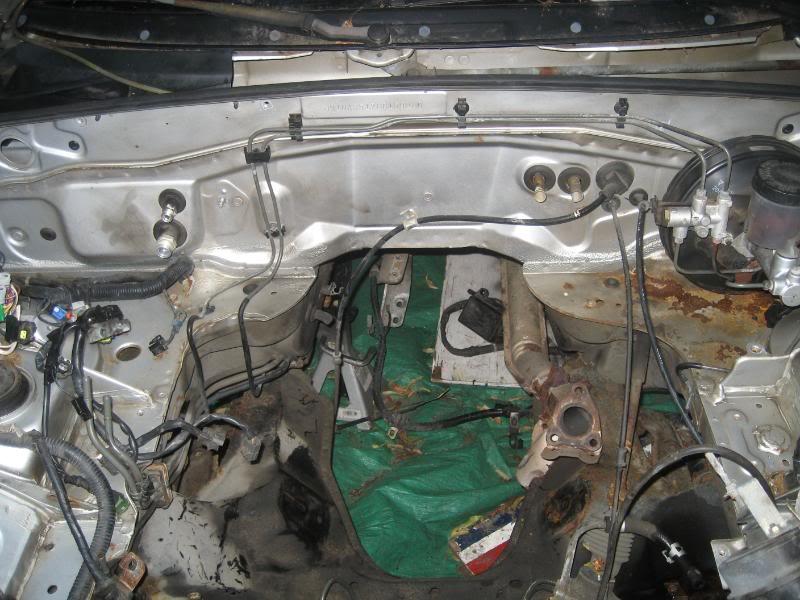
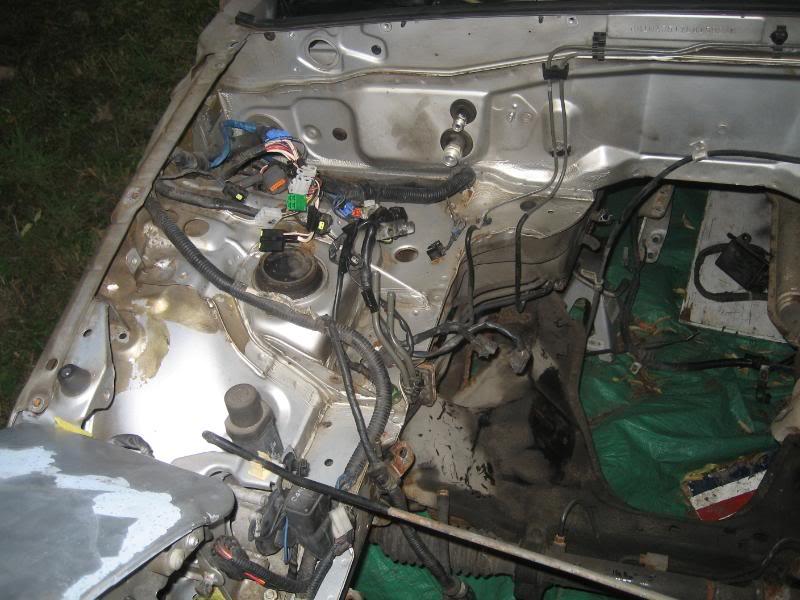
Next the motor came out....
Next up, gut the interior:
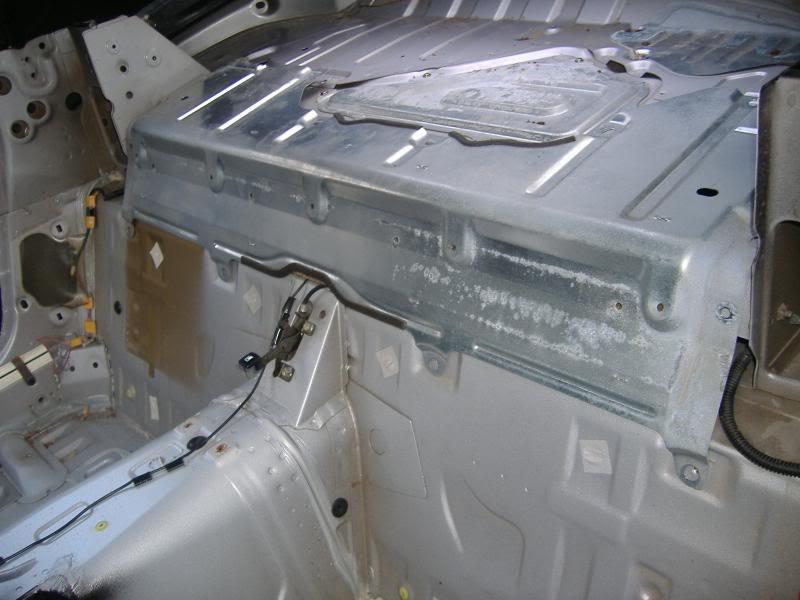
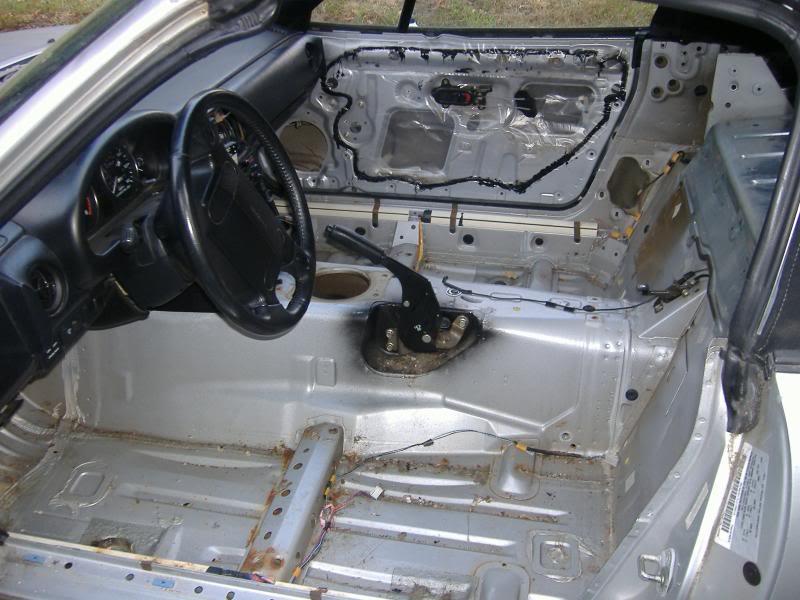
Yep, nothing out of the ordinary just yet...
Oh wait, what do we have here?
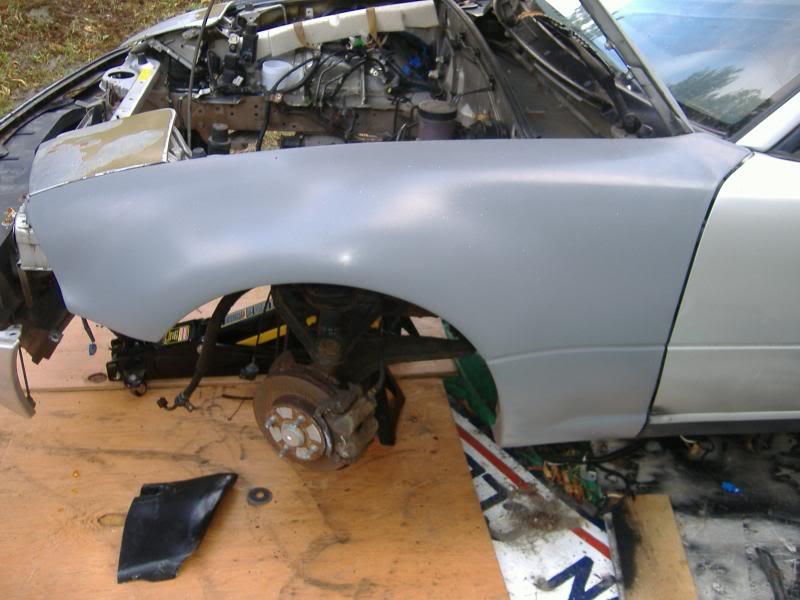
A little AWR action. The full fenders fit pretty well, the pass side went on without a hitch, but the driver's side needed a fair bit of coaxing. For the rears, I pulled the fenders way out and beat on them until they were up and out of the way to form the inner fender for the rear flares:
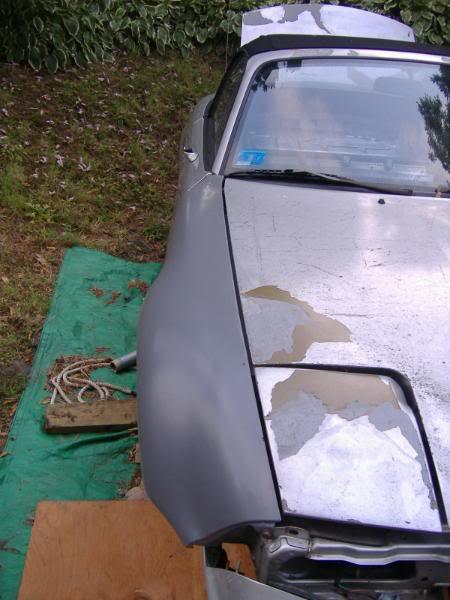
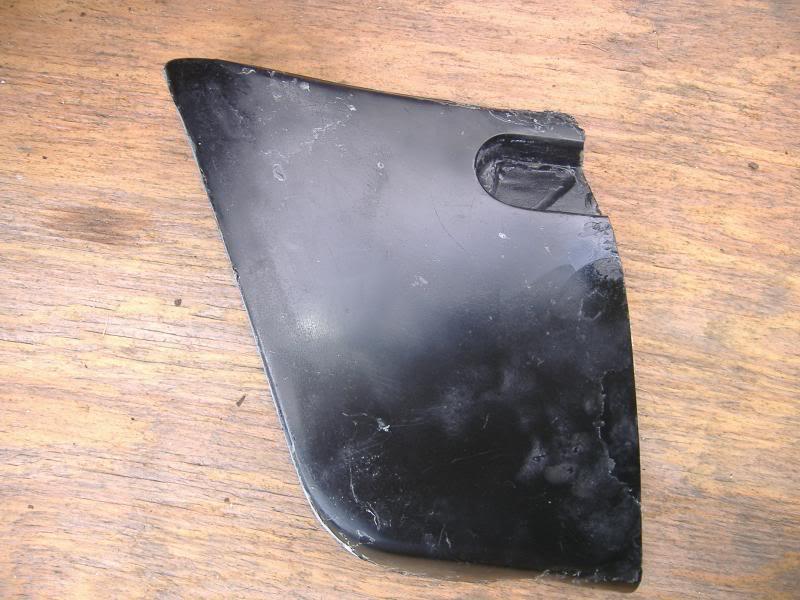
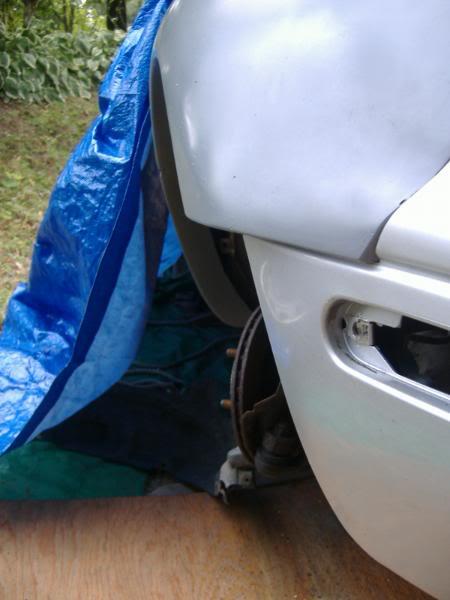
I haven't installed the rear flares yet, as I have some rust in the rocker panels right behind the doors (go figure) which still needs to be fixed, so let's go back to the front of the car and work on the front bumper extensions. Here is the original bumper extension:
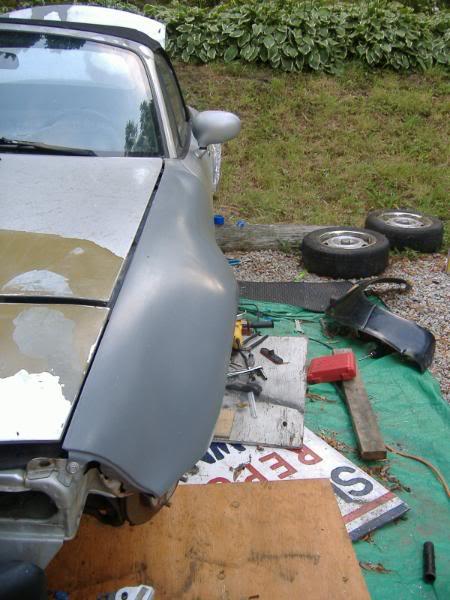
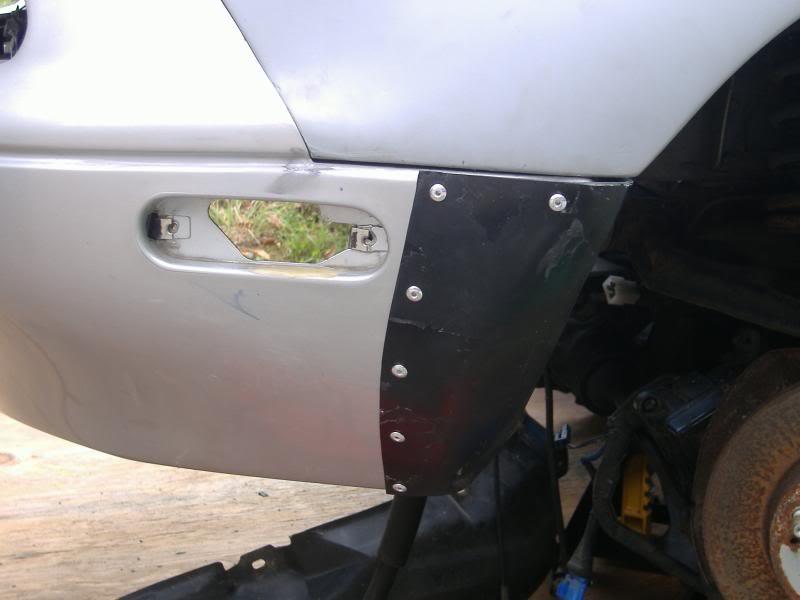
Now the original parts not only cover up the turn signals, but they also force you to make them shorter somehow, which I wasn't a fan of at all. I started to massage them with the dremel tool, and after about 10 trial fits, I realized this was 1. It was taking way too long, 2. I still had to cut down the actual light or find a replacement, and 3. I was starting to get annoyed. Now my current vehicle is a jeep, and when things don't fit there are only 2 tools you need, being a hammer and a saw. Now a hammer won't do much good here, but the saw sure will. So, after some careful thought and head scratching, I decided to just not deal with it at all and trim off enough material so the lights wouldn't be covered by the flare. The front bumper, being made of urethane, is very flexible, so I came up with a new game plan. Here's a pic of how much the bumper as it normally sits with the AWR flares:
I pulled the bumper out to follow the line of the fender, and then attached it to the fender using a few bolts. Lastly, the flare was riveted to the bumper:
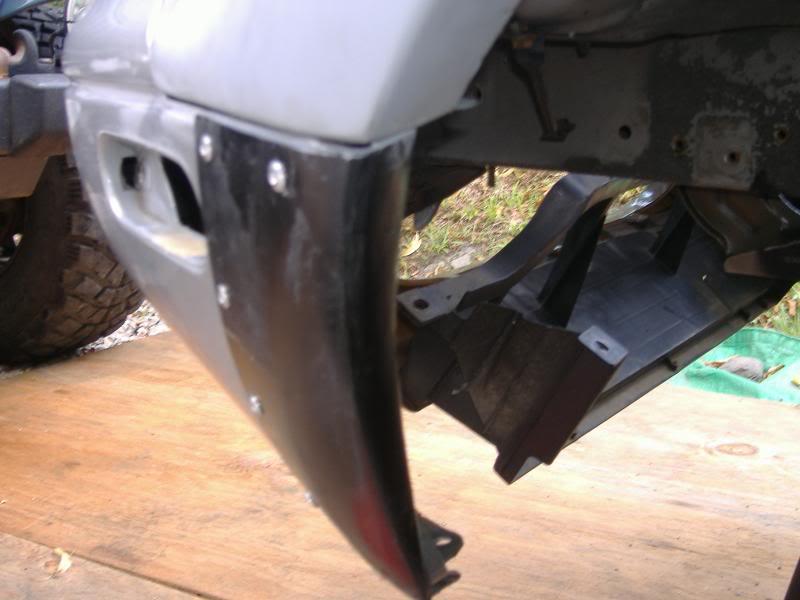
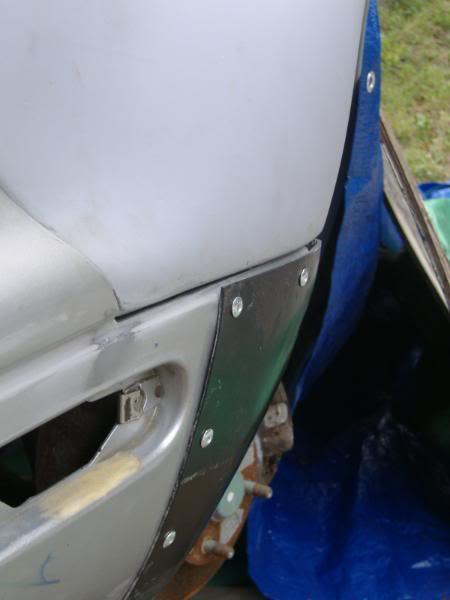

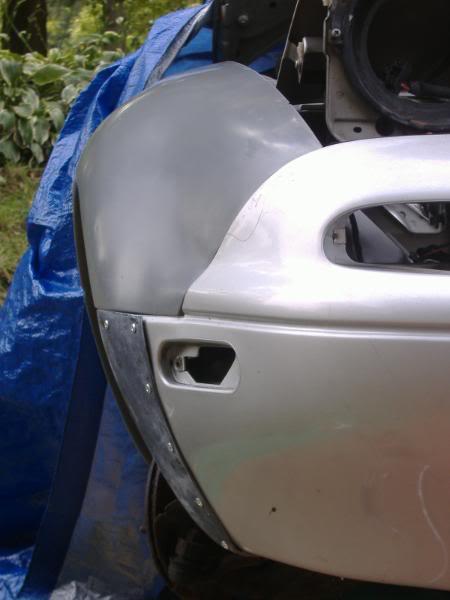
I'm more than pleased with the final result.
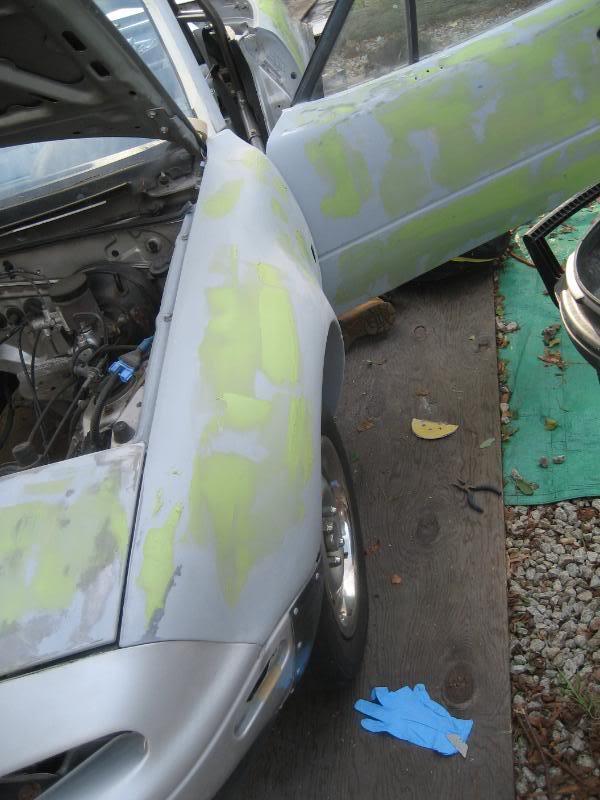
Now it was time for to bring the body back to life. I had been picking and poking at it throughout the months, but I spent some quality time with my 2 good buddies and we went over the whole car. I'll let the pics to the explaining, as even I don't want to have to read this 

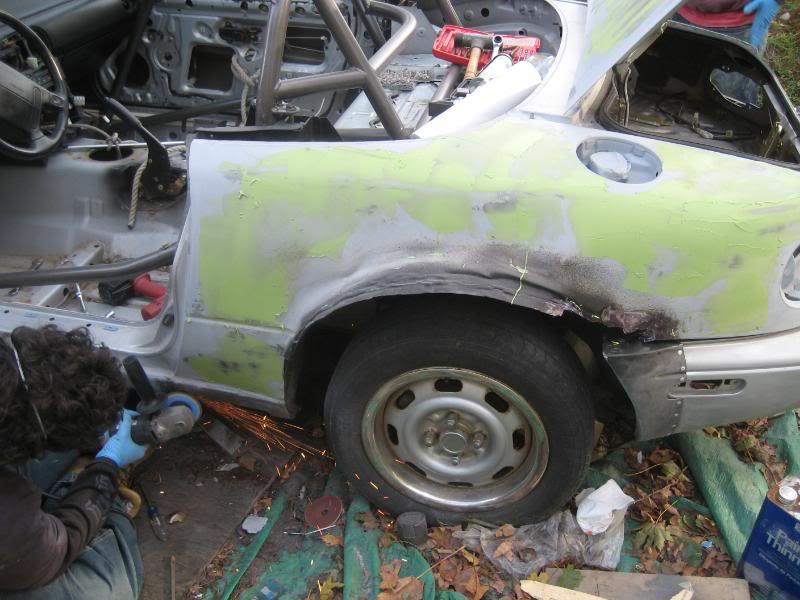
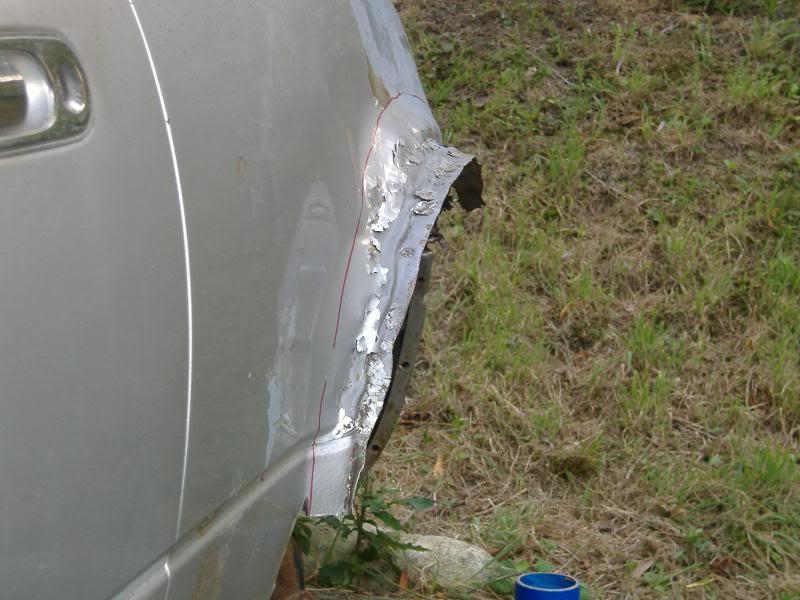
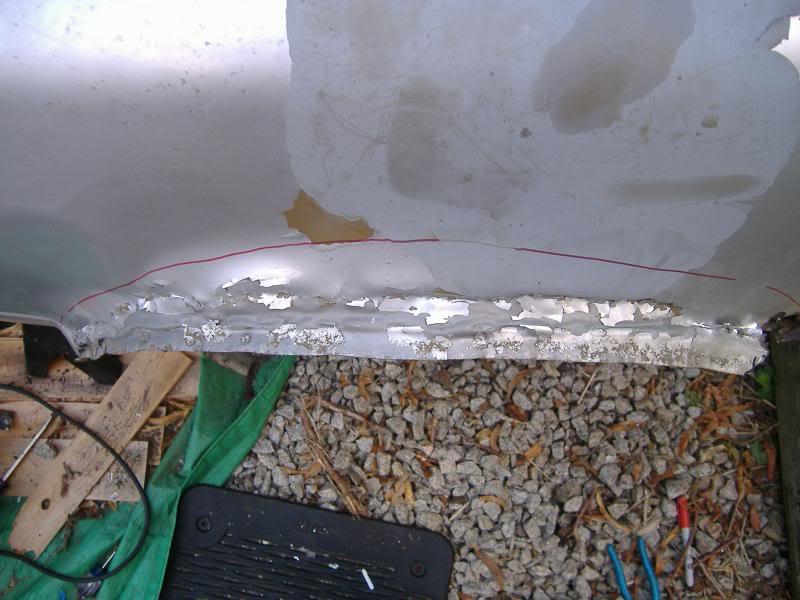
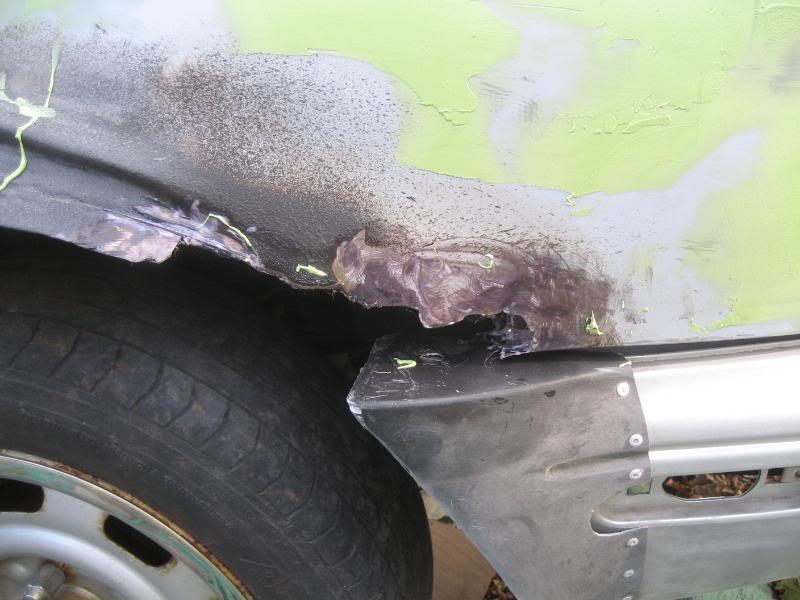
We patched the rear quarter rust spot with some fiberglass filler to seal it. I didn't see the need to take it to get it welded as the flares are going to cover it completely. Here's a pic:
Now for those of you with good eyes, you're probably noticing the roll bar in the previous pics. The only thing is, it's not a roll bar....it's a whole cage!
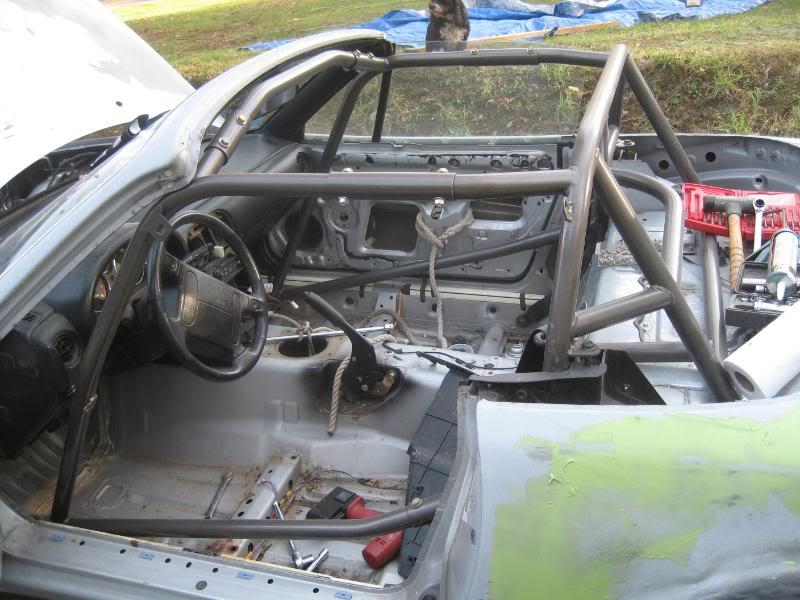
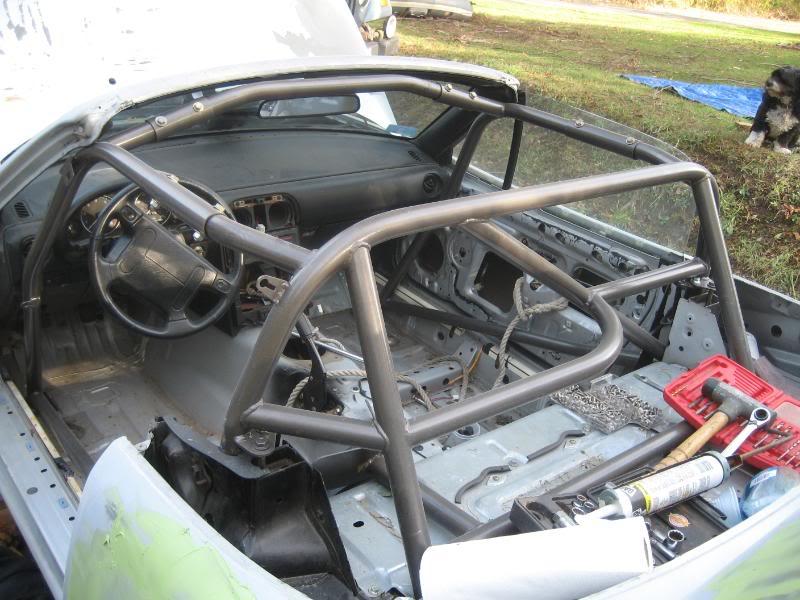
What a bear to install by yourself! I got it in though. It is a hard dog full cage with an extra support bar welded across the rear deck, and has provisions for a window net on the driver's side. (Thanks so much Owen for all your trouble getting this to me). The cage had a plate welded to it over the seat belt towers with 2 holes. I bored both holes out and bolted the plate down with the original seat belt bolt, and got some grade 8 bolts and bolted the upper seat belt mounts to the plate. Again, it came out fantastic.
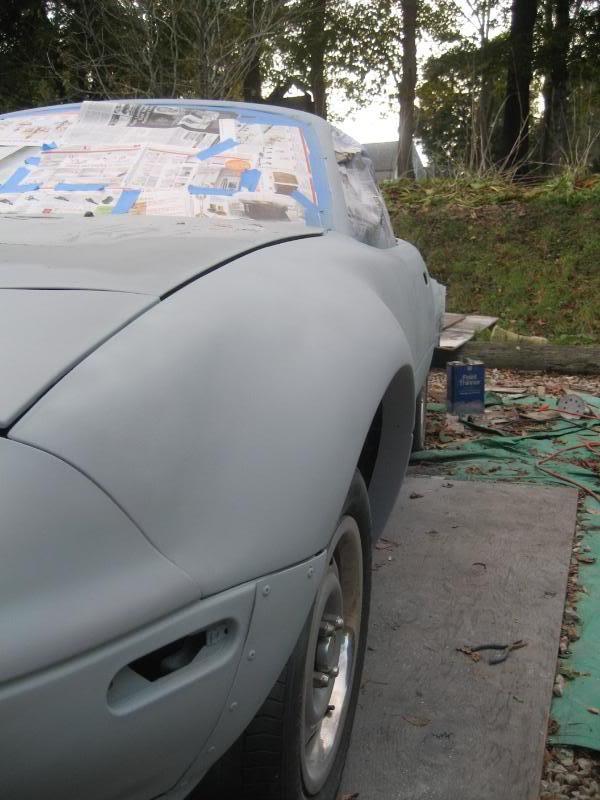
Back to body work! After a lot of sanding and massaging, it was time for primer. I primed the whole car using some duplicolor primer. First stage of body work completed! Hooray!

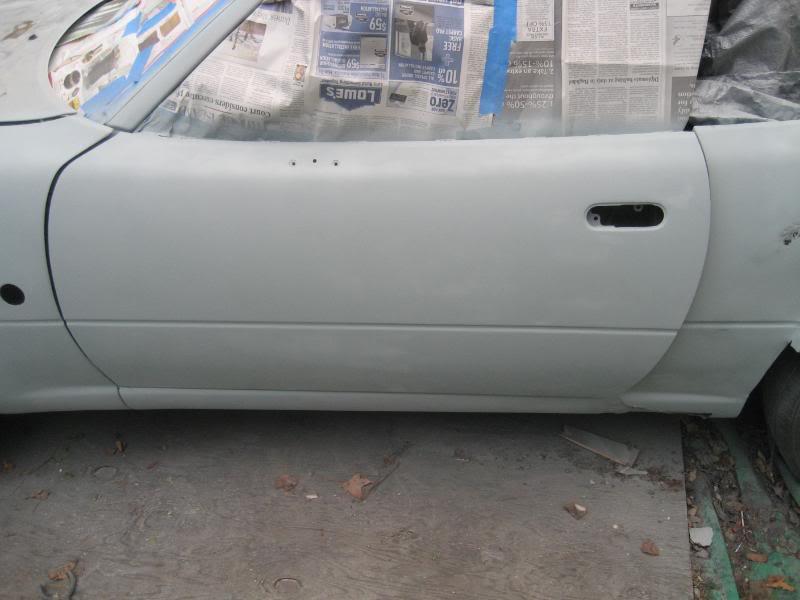
I also cut out a spot in the fenders for a set of jdm side winkers.
Well that's where the car sits right now, and that is all the pics I have of it at the moment. I have been collecting parts since June and have an entire garage/basement/bedroom full just waiting to be installed. Rather than list it all, I will post up pics as I install things, as I'm just like everyone else, and would rather see it than read it. Anyways, I love the site and hope you all like my build so far. There is PLENTY more to keep everyone entertained. Enjoy!

Great build!
Posted by Diggymart on 1/29/20 @ 11:22:34 PM