You must be logged in to rate content!
6 minute read
M156 Spark Plug Replacement for W211 AMG
Compliments of Jon2007E63P30 @ www.mbworld.org
So here goes my shot at a DIY for replacing M156 engine spark plugs.
As you saw in my thread posted last night http://www.mbworld.org/forums/w211-a...-insanity.html
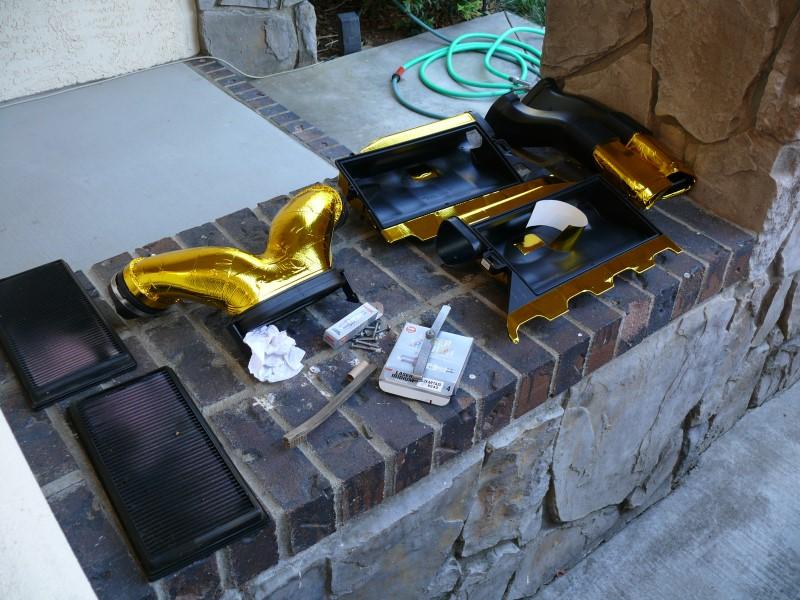
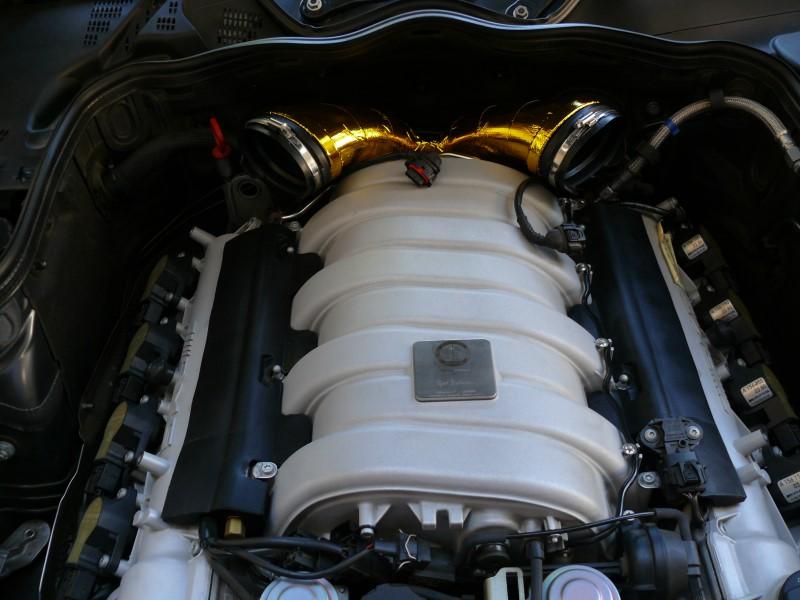
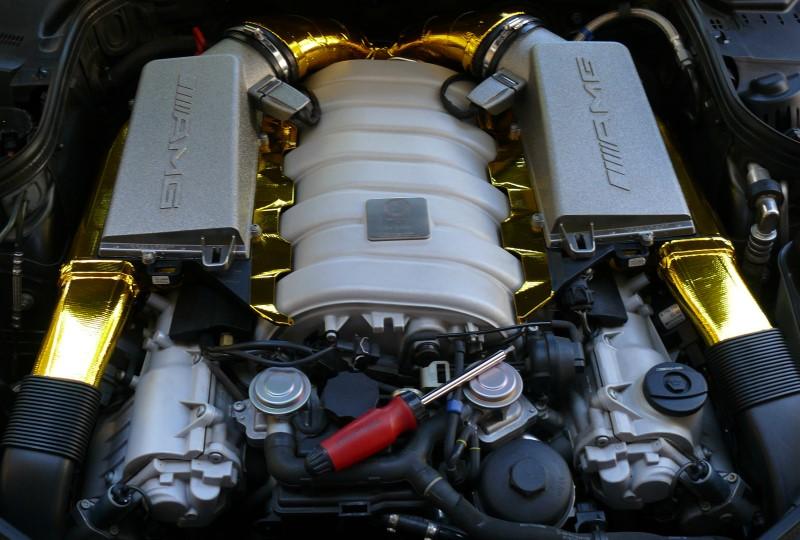
I had dis-assembled the intakes and air boxes to add a reflective tape used in Indy and F1 cars for reflecting heat away from the intake air. Besides trying to reduce intake air temp, it looked cool.
So here we are in the AM with all the parts on the side.
The top of the engine is easy to access. First I loosened up the wires to the coils on the top of each spark plug. You should be able to pinch the connector to un-clip it, but I found just using a screw driver to be easiest.
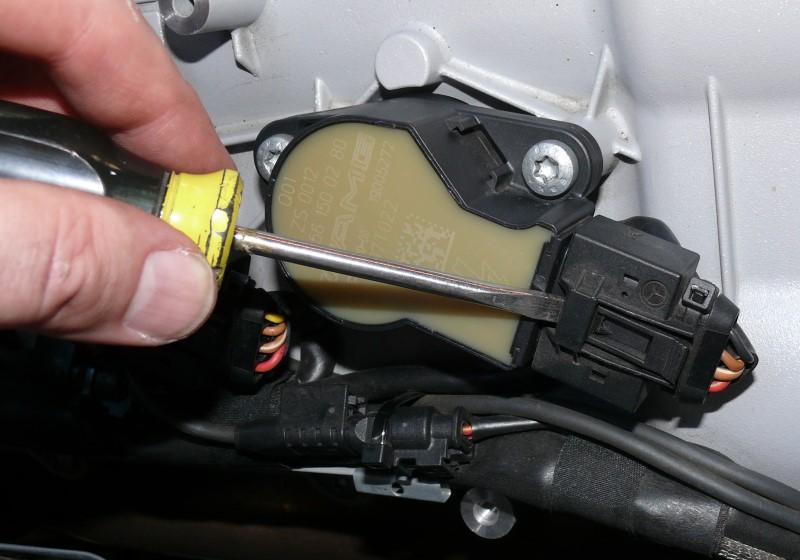
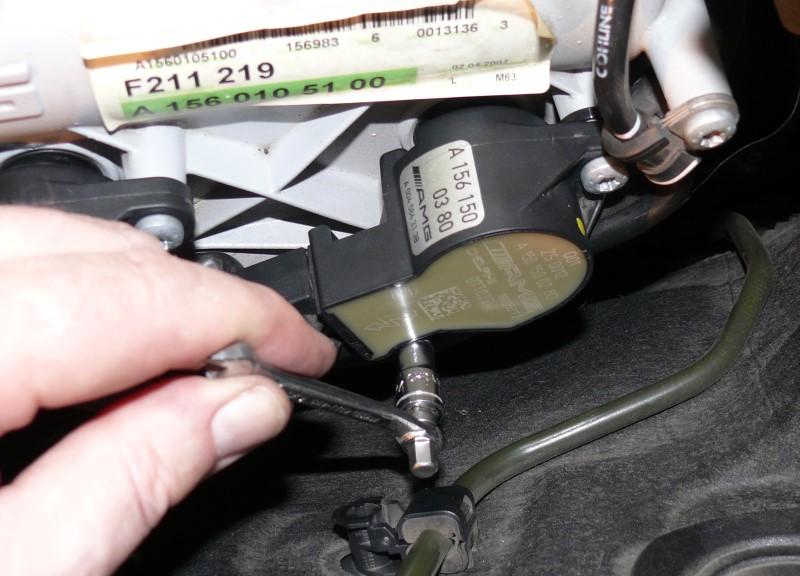
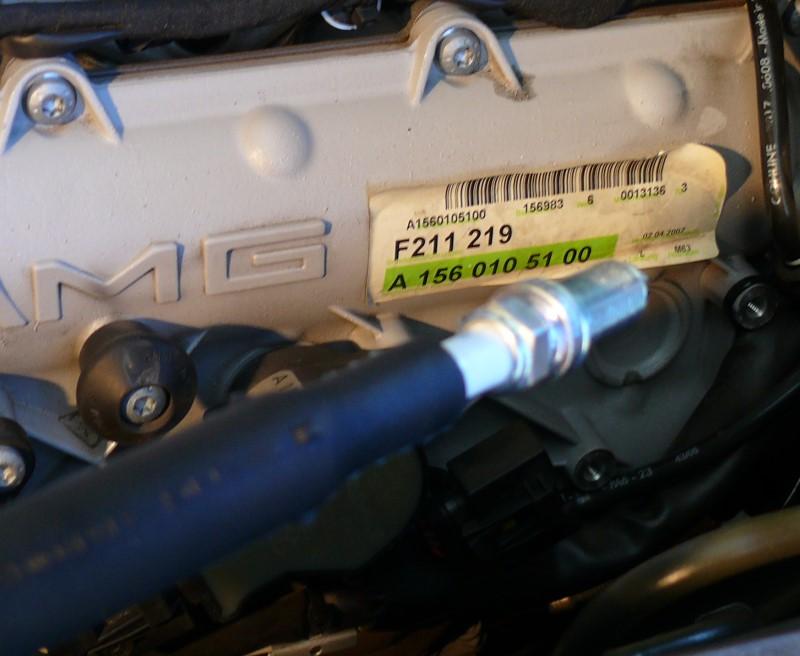
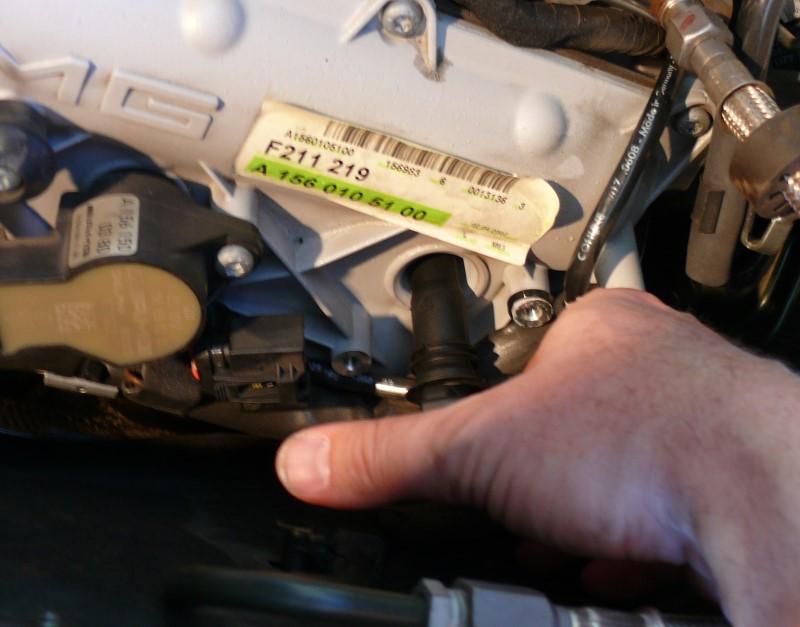
The torx screws holding on the coils were lightly hand tight and easy to remove. However, the one closest to the fire wall on the left side had limited clearance. Took a mix of sockets and adapters to loosen and replace this one. That is the fuel line.
I did not bother to buy the appropriate spark plug socket since I had a deep 14mm socket. However, to remove the spark plug once completely loose, I just stuck the spark plug boot/coil in there and captured it. This happens to be a picture of a ne wplug ready to go in.
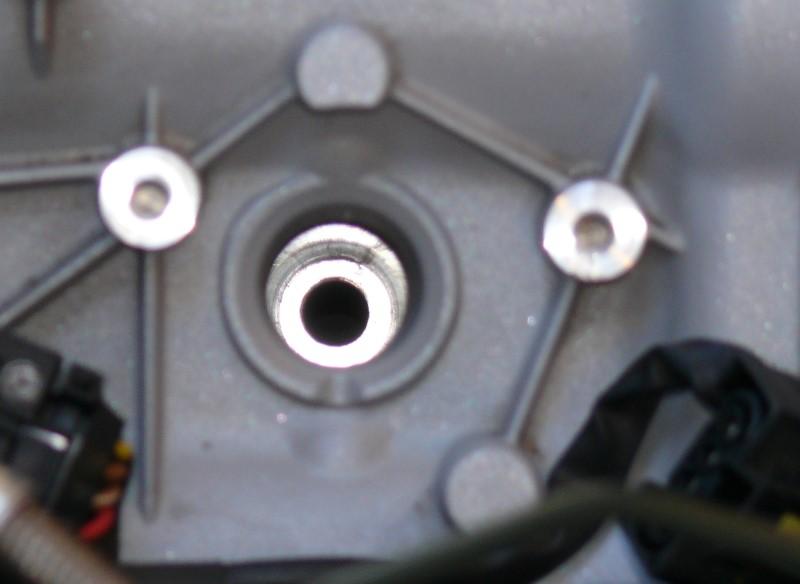
Next, I would clean out the spark plug seat with a WD-40 soaked paper towel attached to a heavy wire. I would push it in and rotate it to clean the seat. You can see the debrise here.
I blew out anything else with an air hose. All nice and shiny. The flash on the camera had a neat effect.
Next, I got a new plug and transferred the dielectric grease from one to the other. Here is an old and new plug.

Because I did not have the right spark plug socket, just as I used the boot to remove the old one, I used the boot for the new one. Just insert and make a couple turns to engage the threads. After that I went in with my 14mm socket. It was easy to feel the washer crush and the plug firmly seat. Remember, this is aluminum!!!
After that, just put the torx screws back hand tight (lightly, you will be able to tell how tight from how easy they came off). Now repeat 7 more times.
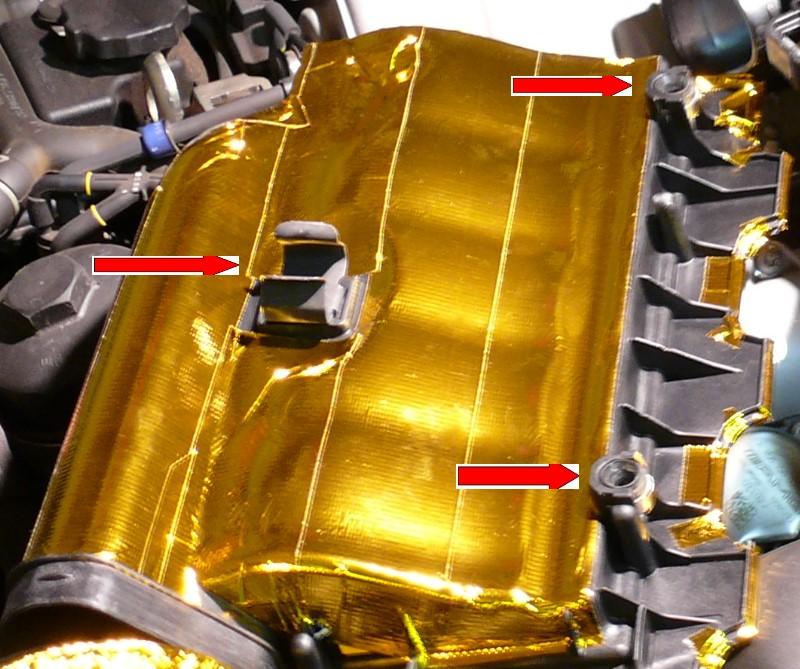
Next, I re-assembled the intake. This is a picture of the Y tube where it mounts to the intake manifold. I cleaned it up, treated with 303, and slide it right on. It just clips on with those 2 big tabs.
Next put on the foam rubber spacers/insulators
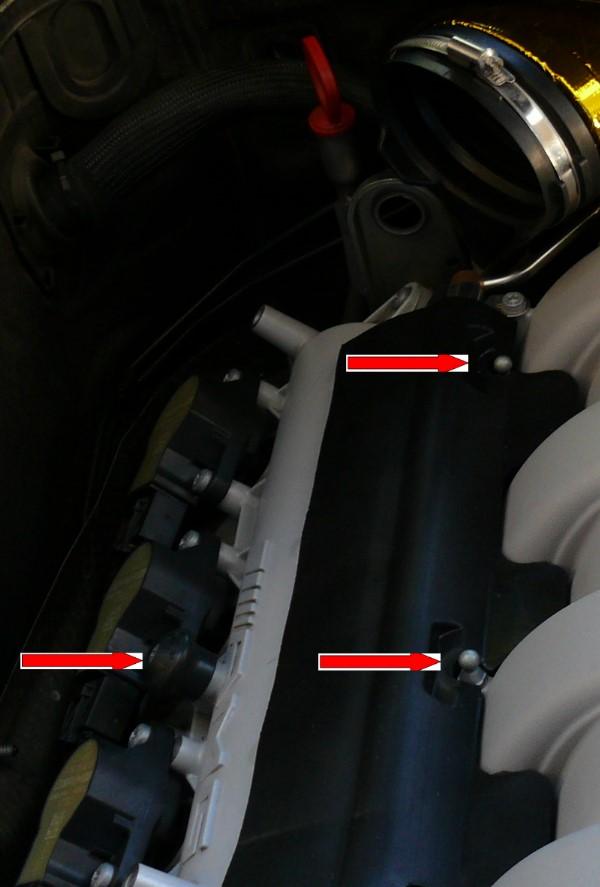
Then the lower halves of the air boxes and the new filters. These just clip into place at 3 points. One big spring in the center. See the 3 points here.
So now we are at this point
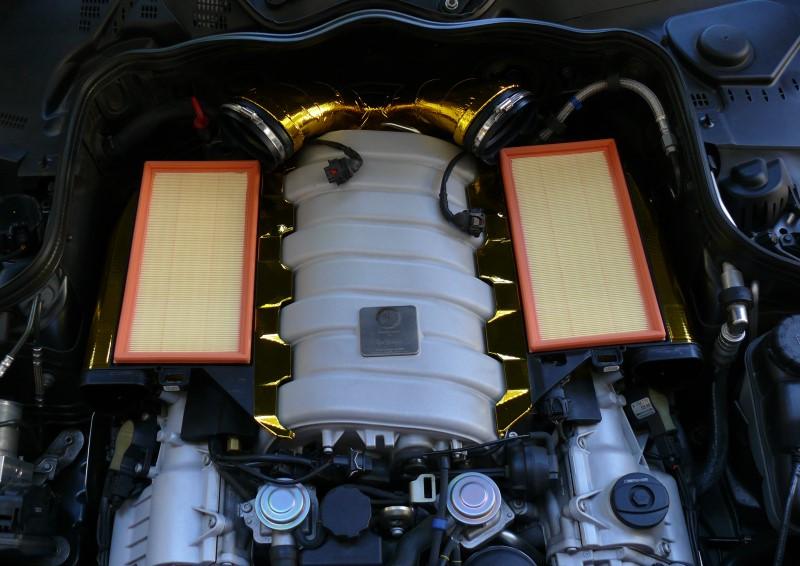
Next, you need to put on the top of the air boxes that have the MAF sensors. I wiped on some silicon spray so they were easier to insert into the Y pipe. Make sure the air filters are all correctly in place and then screw in the 5 torx screws. Then tighten the large hose clamps between the Y pipe and the upper air boxes (which I just realized, I forgot to do!!!!). Then re-attach the air tube leading from the front grill to the air box intakes and you are here.
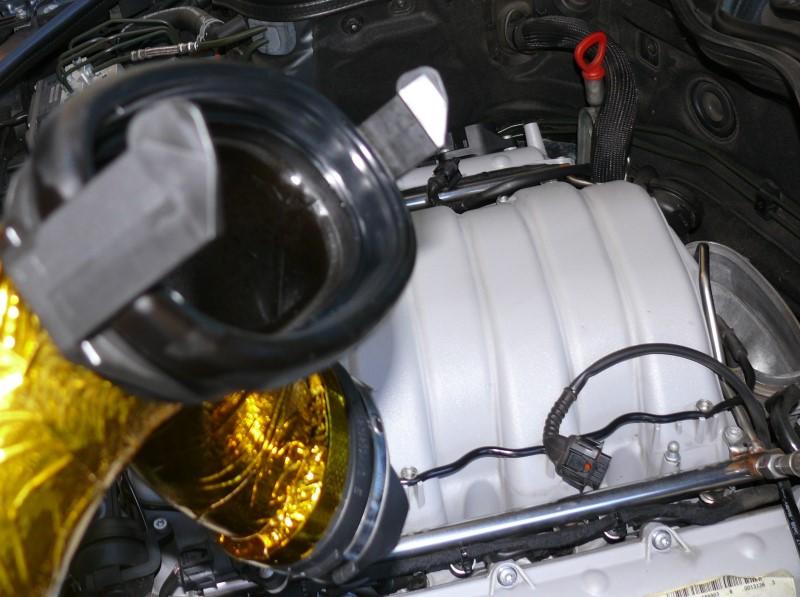
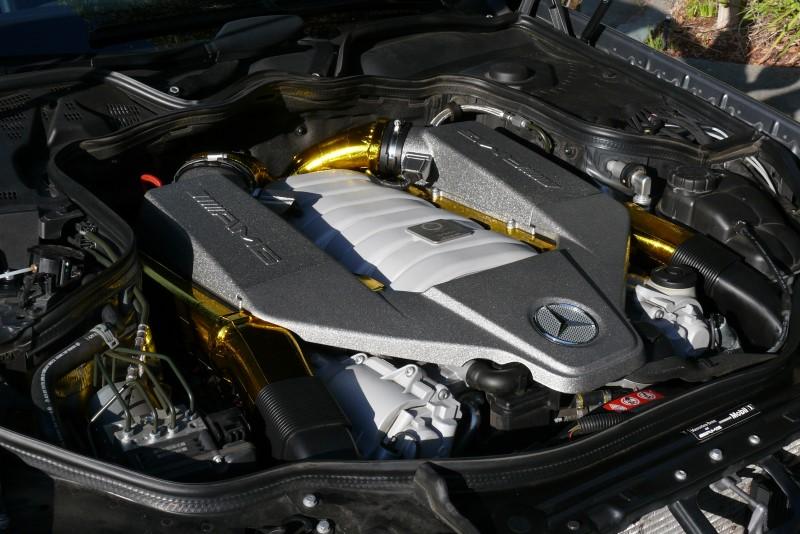
After this I changed the oil. Rolled out into the sun it looked like this.
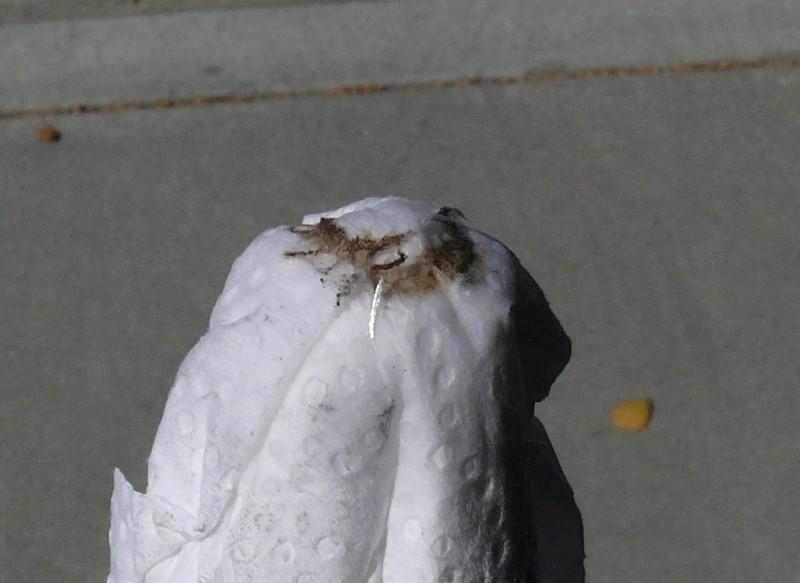
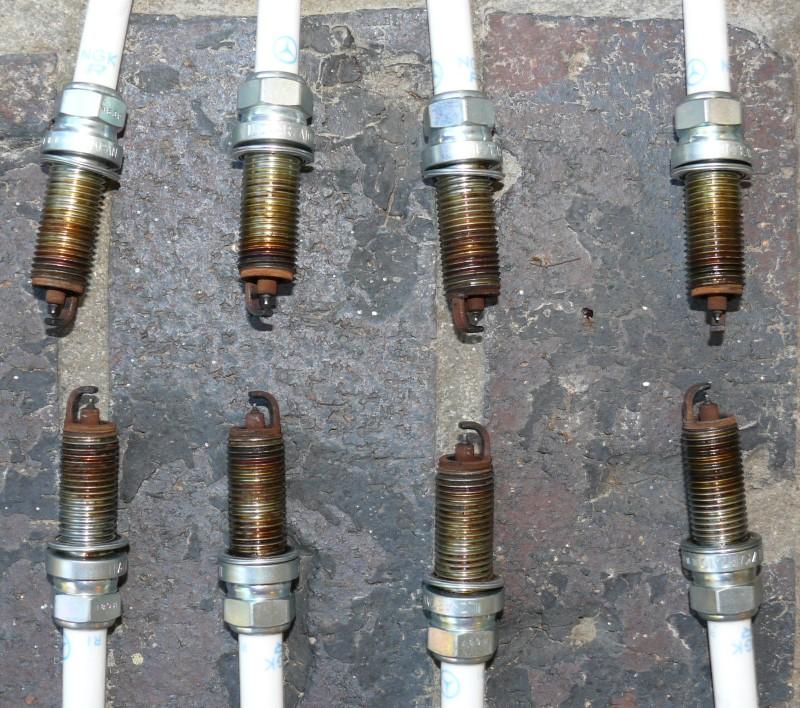
Lastly, a note about the old plugs. The front right plug for some odd reason had new oil on the hex nut. None of the others were like this and I have to assume it happened in production. When you have a real leak from the valve cover there is usually more oil and it is used. All the plugs were between 0.039 and 0.041 gap, essentially zero wear. Makes me think I should have just cleaned them and re-used. They are on my shelf for "in case".
That's it, I hope some of you find it useful.
I should note that new plug, new air filters, new oil makes a real performance difference on a 60kmile engine