You must be logged in to rate content!
12 minute read
Engine and Transmission mounts
Compliments of Joepro @ www.the370z.com
1-14-2014
I did not see a DIY for these, if there is just delete this thread!(I hope not...) We are having a few mild winter days here is PA so I brought the Z out of hibernation and down to work(since I was off today!) and install all my Z1 Black Friday goodies! Also did ss brake lines and 2 piece front rotors. Ill post the review first, then to business!
Difficulty: 7/10(with headers being a 10/10) This is not difficult if you have the proper tools, it is a bit time consuming, and your procedures may differ than mine due to what you have installed, I have Z1 headers(if you ever do headers, do not be a dumbo like me and not install the mounts then, but I save a bunch with the Black Friday deals). IF you do this on jack stands, it will be harder, but I still say its doable, the engine mounts that is, the trans mount is cake.
Time: 4 hours Pulled the car into the shop a little after 9 and finished the trans and engine mounts just before 2, including lunch, I did run into one hiccup, if I had know better and did not need to ask for help, I could have cut about 45 minutes off the time.
Tools: A lot. I had full access to my techs tools, you need multiple sockets and wrenches from 14-19mm, ratchets, extensions etc.
Review: Holy mamma, why didn't I have these long ago..The difference is astounding, there is some vibration at idle, it is minimal, and the only other place it is really noticeable is on a high RPM deceleration, NHV in my opinion has such a little impact, it is negelectable due to the benefits. The transmission now does NOT move at all, in fact, there is less vibration in the shifter, before I could always feel the transmission moving and flexing under acceleration, shifts are solid and more crisp even an improvement over top of the ralco short shifter. My only regret is not taking a before and after video of the engine, because it does not move now, if you open your hood, sit in your car and with the hood up look through the gap, you can see the engine cover, if you rev up the engine, one can see the motor flexing back and forth, this now does not happen at all. The best thing is the power delivery, I also have Whiteline poly diff bushings, but now I describe the power deliver as ON or OFF, when you slam the throttle down, boom, power, its hard to describe, but that is the best way I can convey how it feels.
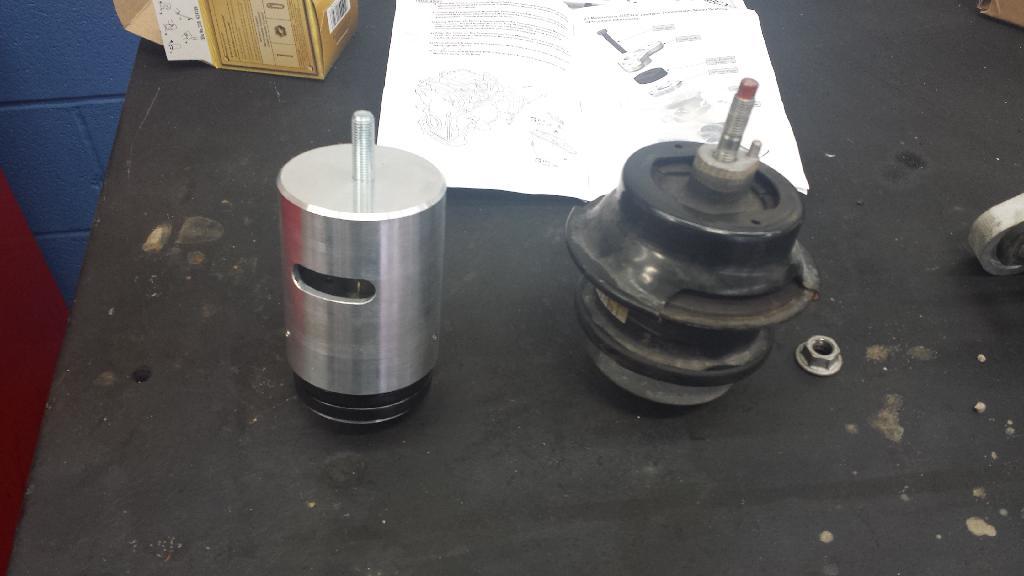
now on to the good stuff, first up is the trans mount, again this one cake! Im am not a photographer, so the pics are not perfect, but they get the point across.
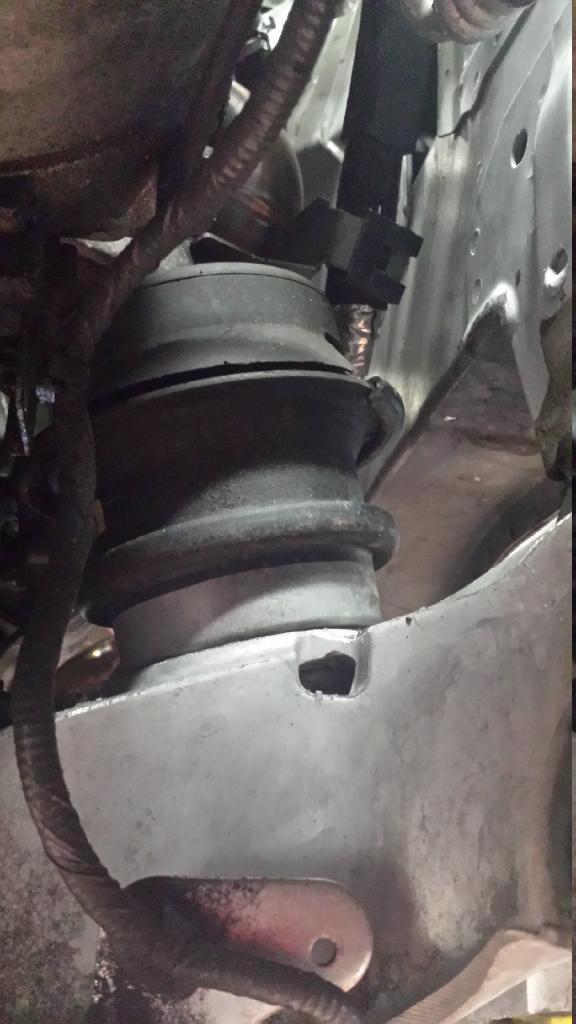
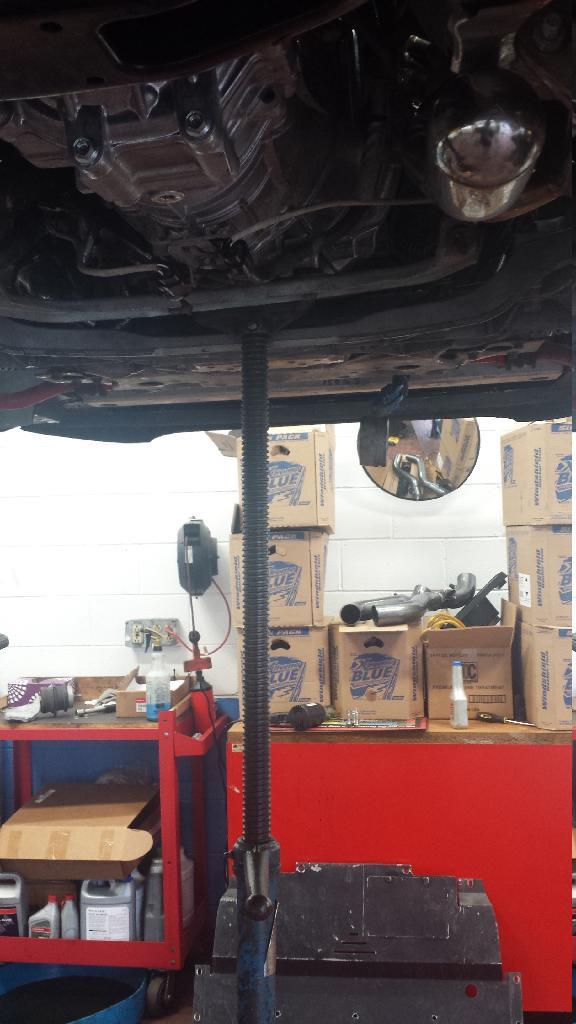
1. Lift the car and support the transmission by a pole jack, floor jack etc, when you drop the cross member the tranny will drop about 4 inches. just go to the end of the transmission and the black metal dodad is the cross member.
2. Now we need to remove the member from the car, there are 4 bolts, 2 on each side of the tunnel, and there are 2 nuts inside the member, you will need a deep sock for those, everything here is 14mm.

3. Lets get the old OEM crap off the transmission now. Remove the 2 14mm bolts holding it to the transmission.
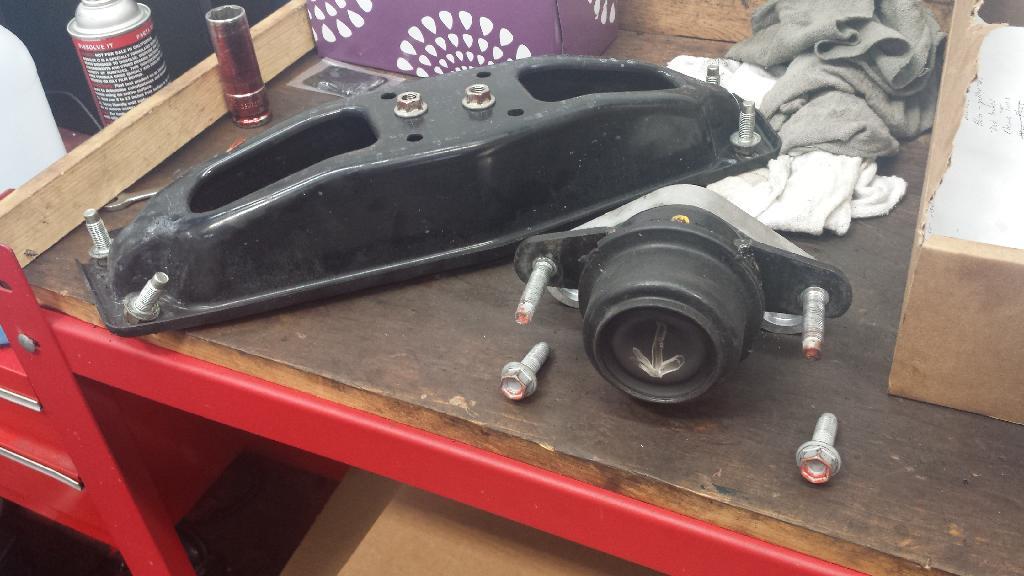
4. It is now time to reverse all this, attach the new mount to the transmission with the old bolts you removed.

5. Install the cross member back into the car, Z1 provided bolts to attach the mount to the member as you can see above the Z1 mount does not have long studs, it is threaded. If you did not support the transmission, at this point you will not be able to put the 4 tunnel bolts in, you need to lift the transmission up.
6. Done!
Engine/motor mounts
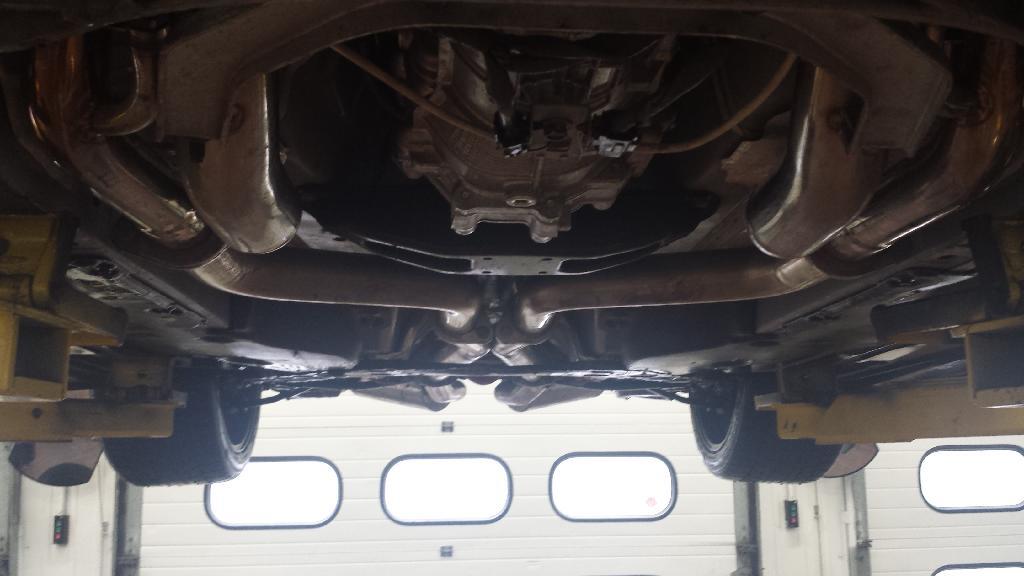
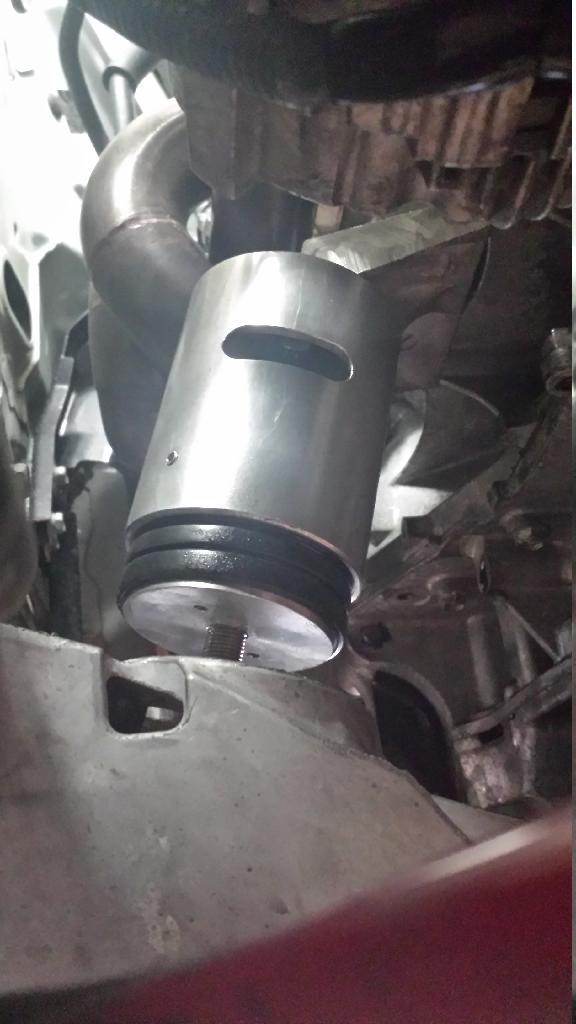
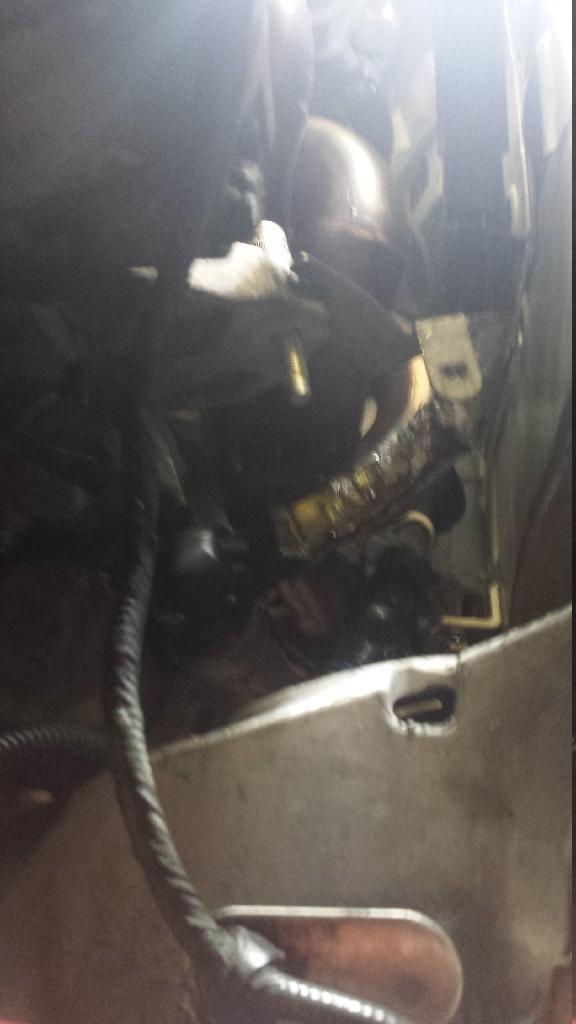
1. Ok, this one is a bit tougher, first I looked around to assess the situation, I looked around to assess my point of attack, the Z1 instructions(no offense Z1) are useless...they just say take them out...They imply to remove the bracket from the engine, which I did on one side only, I will share why later. This is a good time to remove your strut brace and air intakes! Ok some inspection pics...
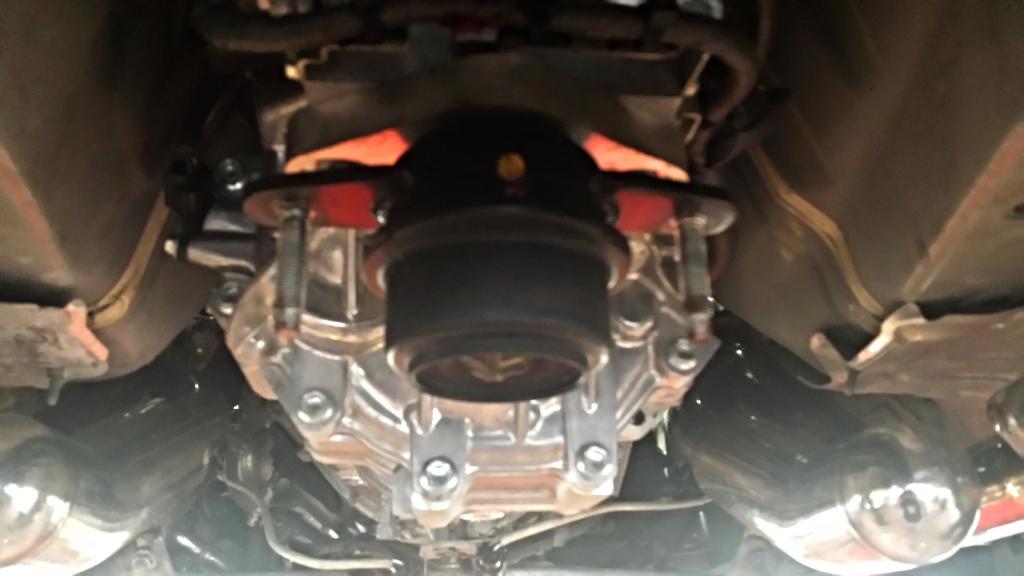
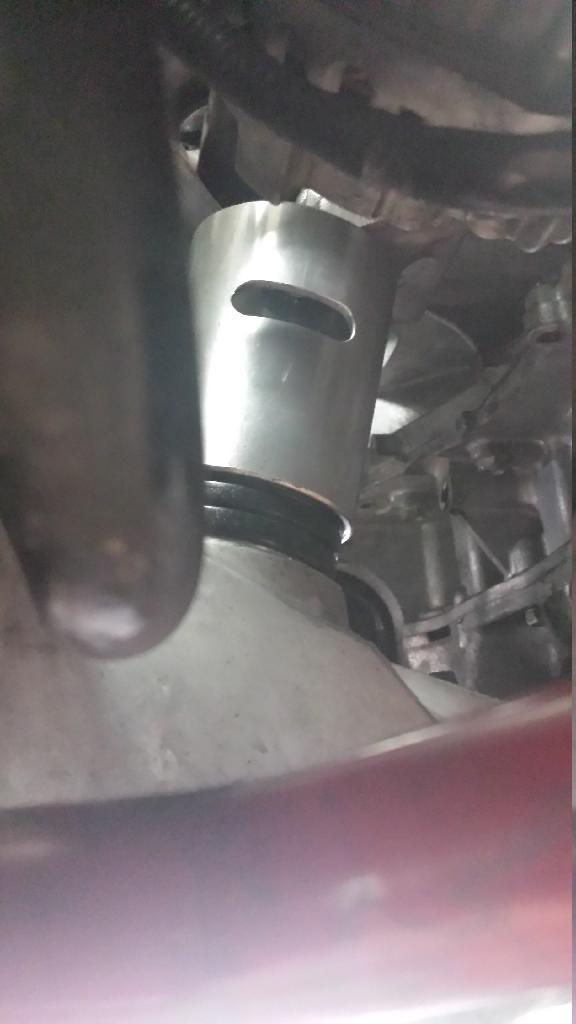
passenger side mount from the rear:
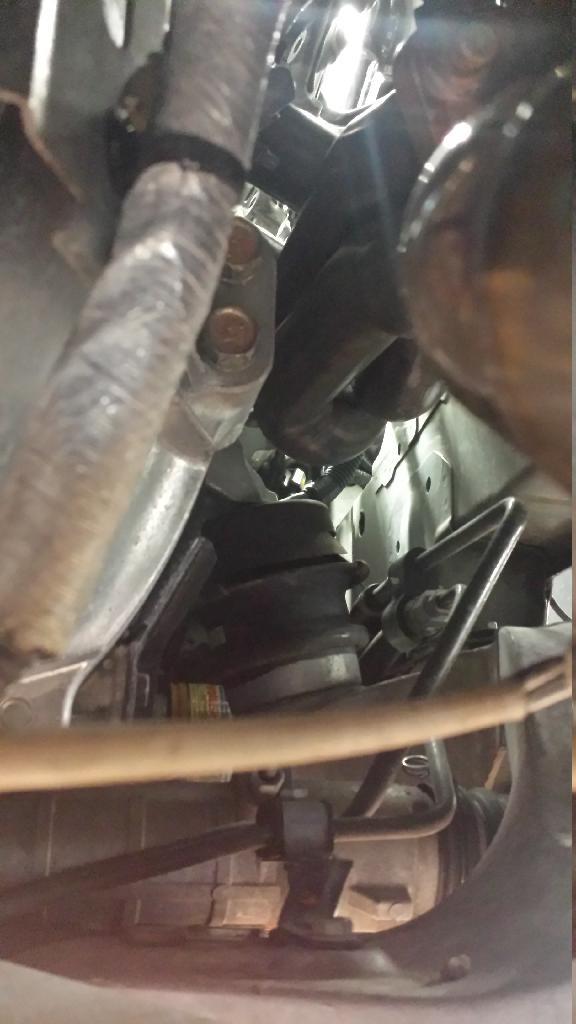
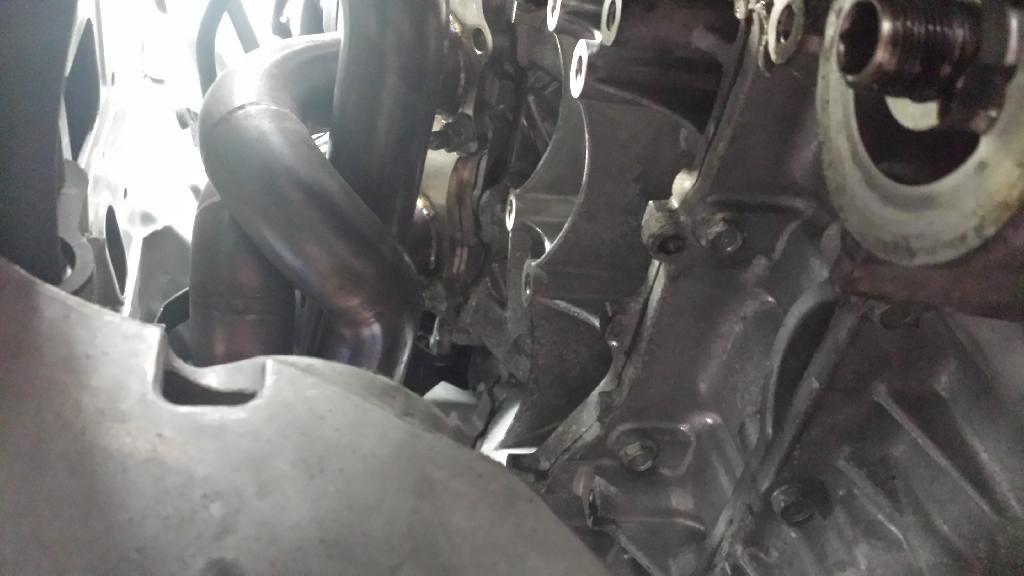
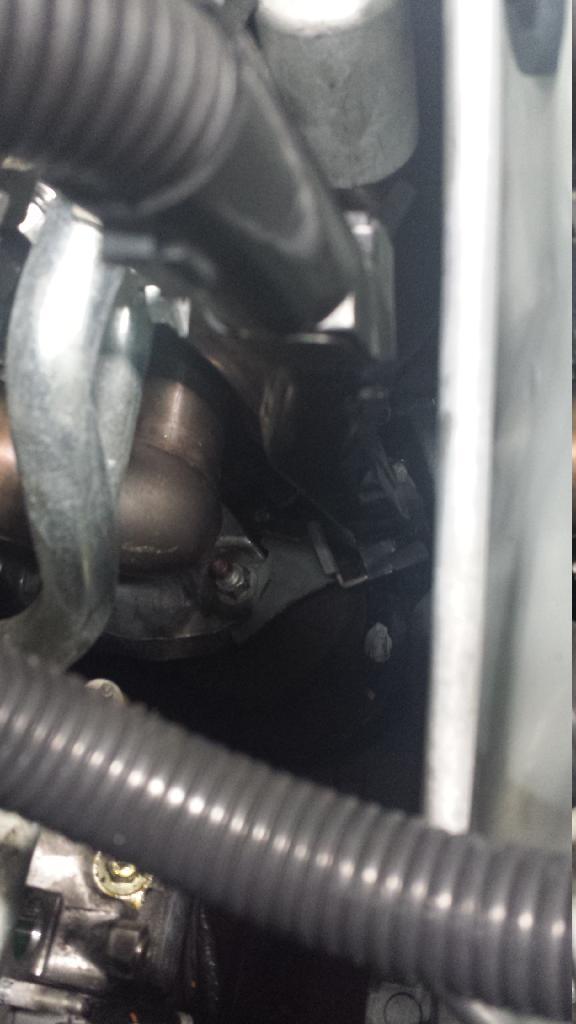
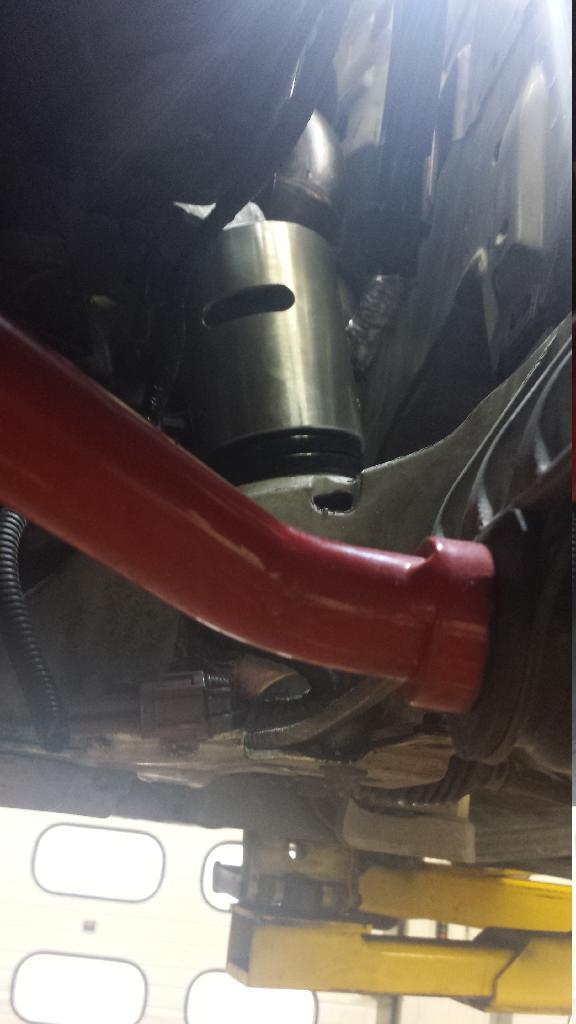
driver side mount from the rear...oh crap.
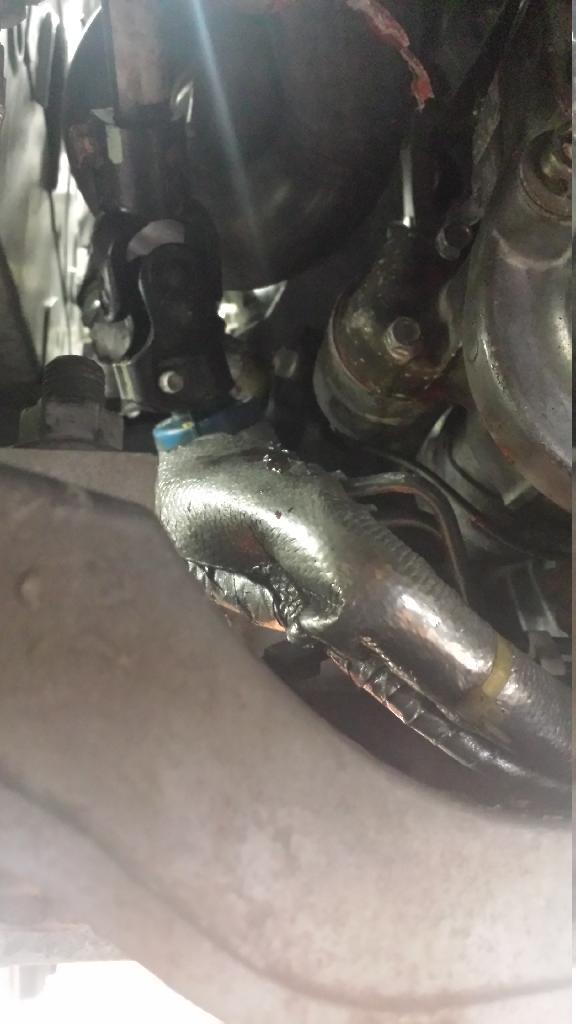
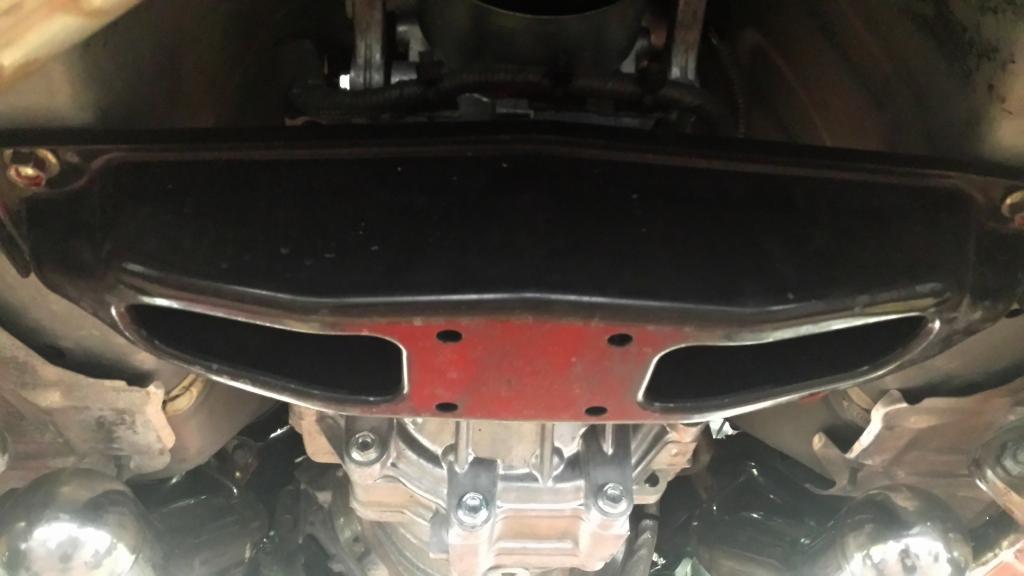
I removed my Zspeed under tray and went around the front... sigh, there it is right by the ac compressor!
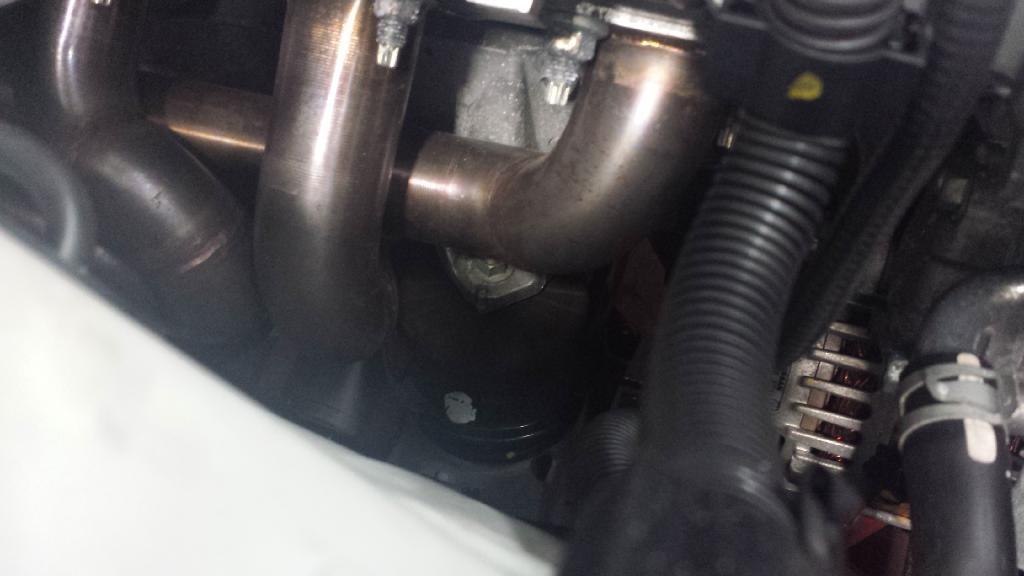
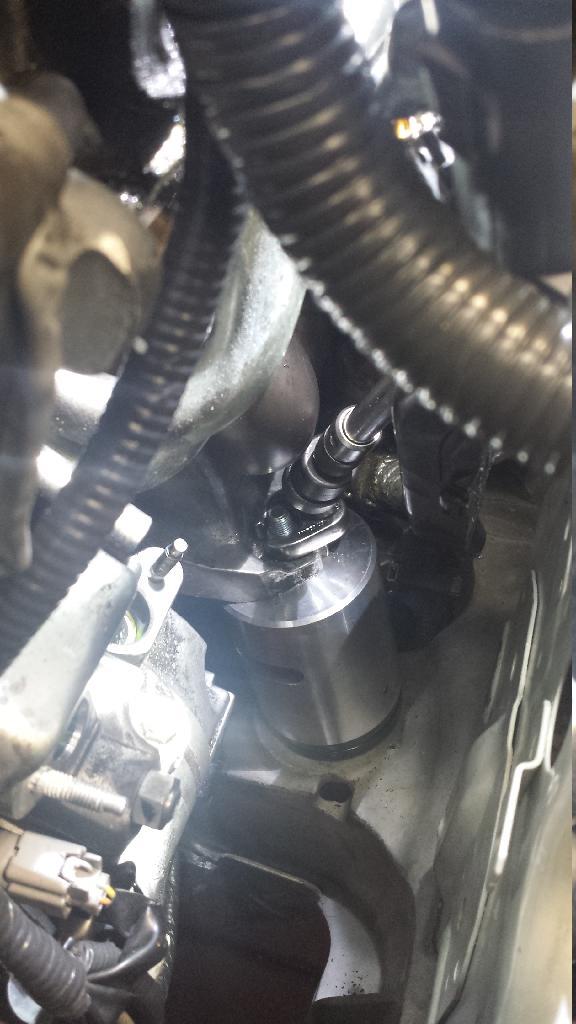
2. I went for the passenger side mount first due to there being more room over there. Now, it appears, hey look there is the nut on the top of the mount, just take it off...well its not that easy, the way the brackets are designed a wrench will not sit in there flat, let alone have room to turn it, so I took off the 4 bolts to the bracket off the block. the rear 2 I got with a long 14mm wrench, reach up past te test pipe/cat under neat the car. The bottom right bolt I was able to get from the top with a 3/8 ratchet and short extension. The top right was the knuckle buster, I was able to get it from the bottom with the wrench, but you can only turn a bit at a time, once I cracked it loose, I switched to an angled gear wrench until I could take it out by hand. Once they are all loose, support the engine before removing all of them, you need to take the stress off the bolts, I used a pole jack in front of the cat brace.
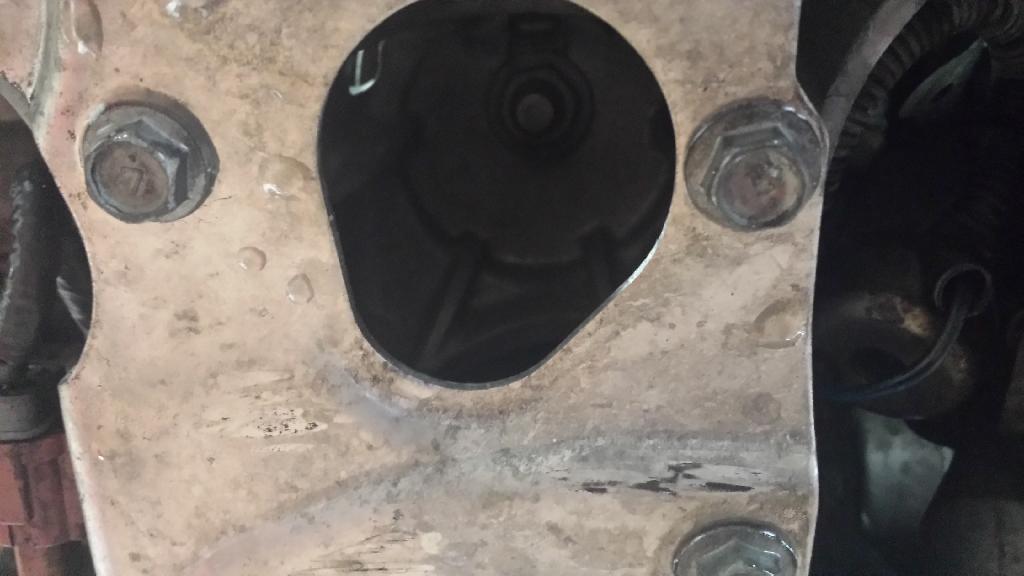
3. remove the bottom nut from the cradle, there is a big hole, look up to see a 17mm nut.
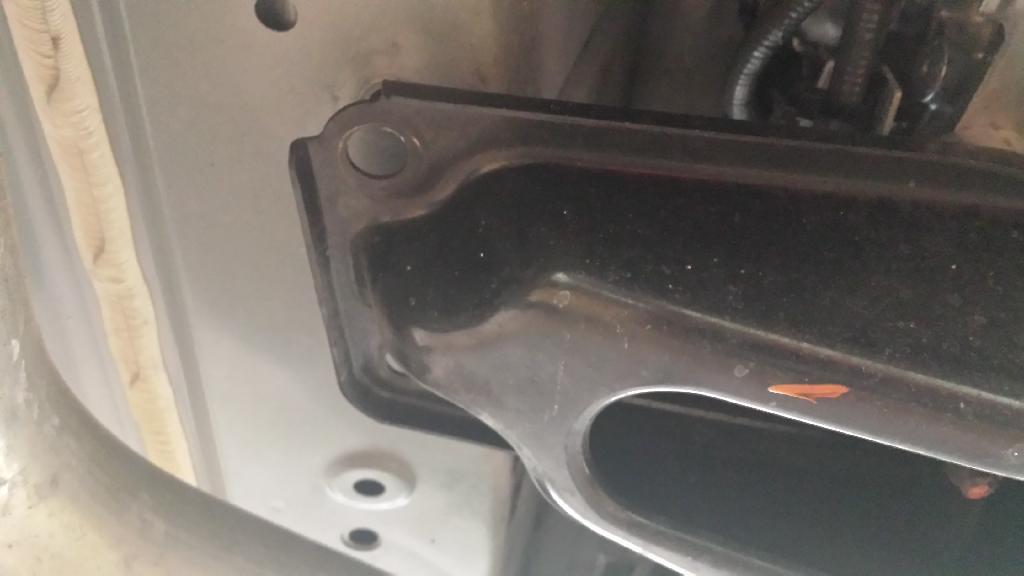
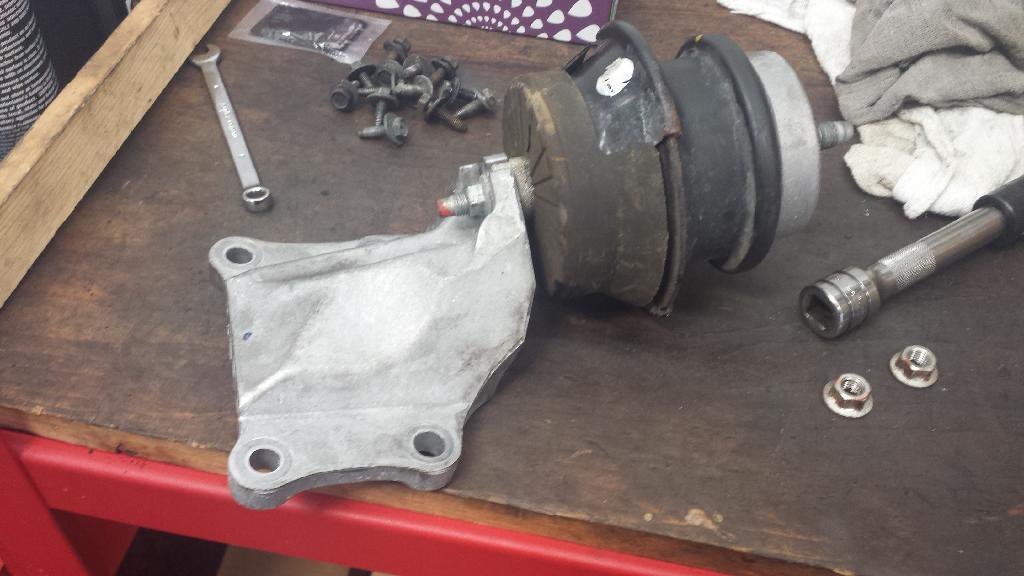
4. I had to lift the engine a few inches and was able to wiggle the whole assembly out towards the front, as well as my oil filter and sandwich plate... here is what you have in the car, you can see where the threads are in the block where I removed the 4 bolts on the bracket.
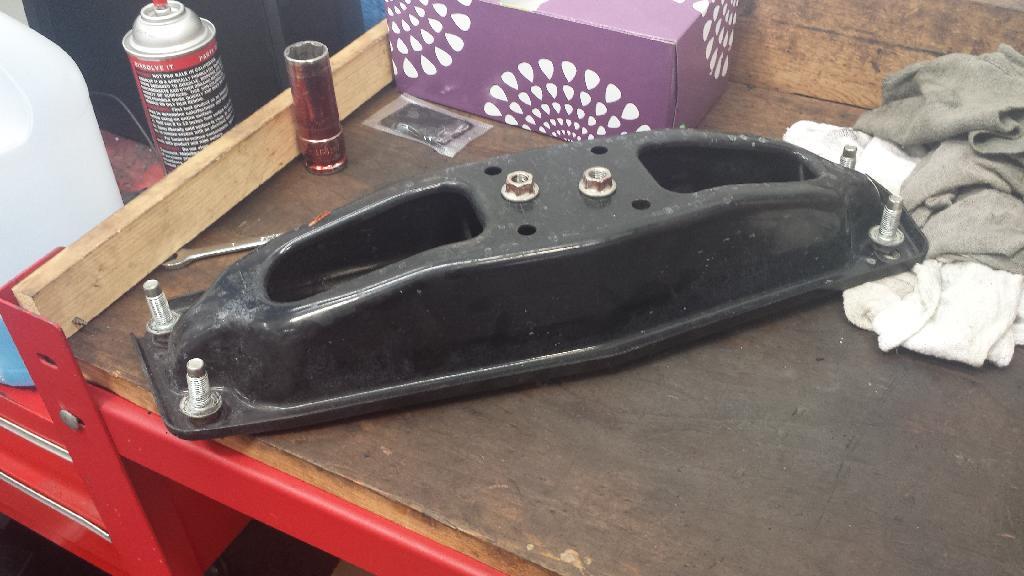
5. Remove the bracket from the old mount. Oh sweet victory(or so I thought)
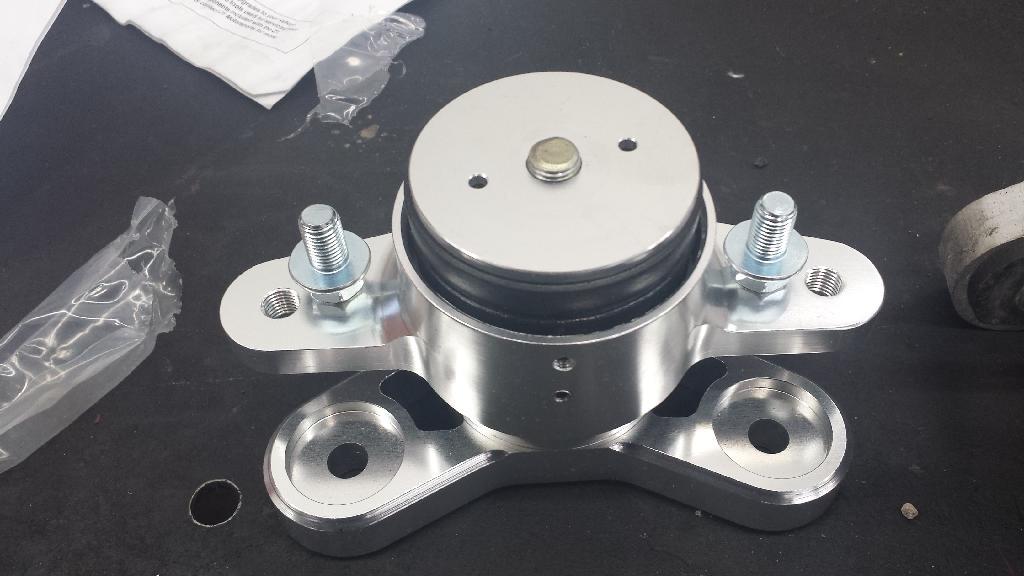
6. Install the new mount on the bracket, Z1 tells you to point the access window in such a way you can get wrench in on the bottom bolt head to hold it, ya, good luck, its already a poor angle to get on the head through the access hole, you most likely would be better off with an offset wrench, but I was using air tools at times, so I was not worried about the bolt turning, and it did not when I tighten the bottom nut, I digress.

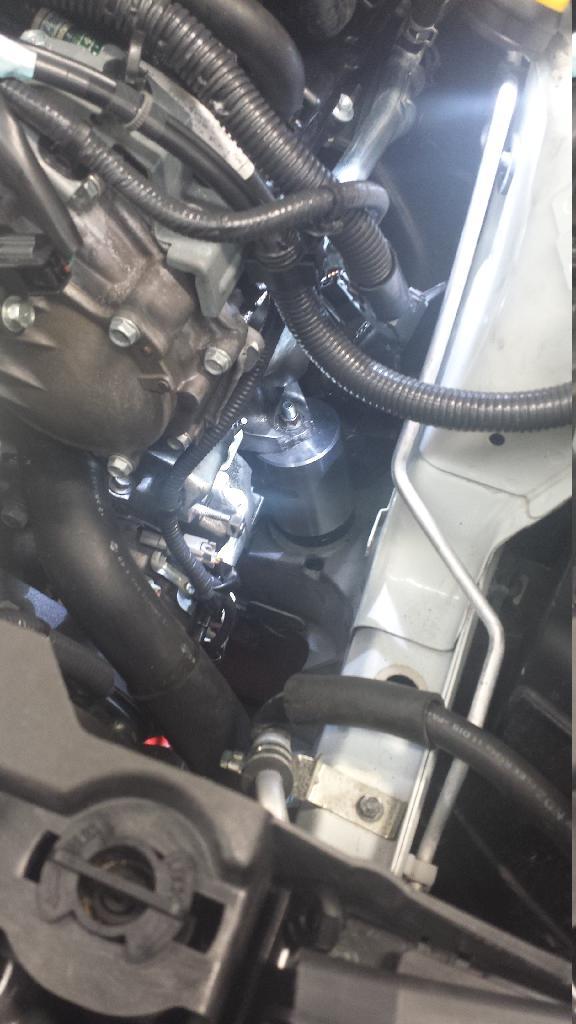
7. Back in the car we go! tighten up all the block bolts, I also ground down the front of the bracket a bit(as you can see in the pic, I hope!) I kept hitting it when taking the top right bolt out, gave me just a tad more room for the wrench.
8. Lower the motor back down so the mount is flush on the cradle and tighten up the bottom bolt, again you may need to get a wrench in there if the bolt starts to spin.
9. Congrats, easy side done! The drivers side posed a few more issues, maybe due to the Z1 headers, maybe not, but the top right(top rear) bolt on the bracket was inaccessible, so I had not choice but to take the nut off the top the mount. To gain more access room, and since I had the tools, I recovered the Freon from the ac system and removed the compressor lines, now you can clearly see the nut, oh this looks like cake!
10. Well here is the good news, that nut WILL come off, but I had 2 problems, as I said earlier, you cannot get a wrench to sit flat and grab the whole nut, even an off set wrench I did not have enough room to turn it. I was stuck at this point, because a 3/8 ratchet and socket would not fit, the stud was too long for a shallow socket and the front header pipe prevented a swivel socket from being used...grrr I gave up trying and asked for help from two of my senior techs, and guess what, they had a solution... since they were working on it I only snapped a picture of the tool, called a crowsfoot, which was used(if I had this for the other side, I would have save a good half hour taking the bracket off). What we found after the mount was out was the nut was seized, thus possibly foiling my prior attempts, the whole stud turned out of the mount... from here, loosen the bottom nut and remove the mount, again lifting the engine with the jack will be need.

11. Insert new mount, with window in a good location, then I lowered the engine down so the weight is on the mount, then tighten the bottom, followed by the top with the crowsfoot socket.
12. There you have it, see it is not that bad, just make sure you have the proper tools, and ps, do not forget to install the bracket on the top of the mount that holds the starter cable as I did, or you will have to take the top nut off again to install it, but that is easy now with the new tool!
13. Re install ac lines if you removed them, recharge the system, install intakes, and struct brace. I will update this with more details, but I did not think it would take this long to write, but hey, I hope it helps someone, ask any questions if I missed something!