You must be logged in to rate content!
6 minute(s) of a 19 minute read
3-2-2010
Building the 7A-FE, Lots of pics!!!!!!!
Compliments of Smaay @ 6gc.net
3-2-2010
Well i rebuilt Eryn's ST last weekend. I took as many pictures as I could
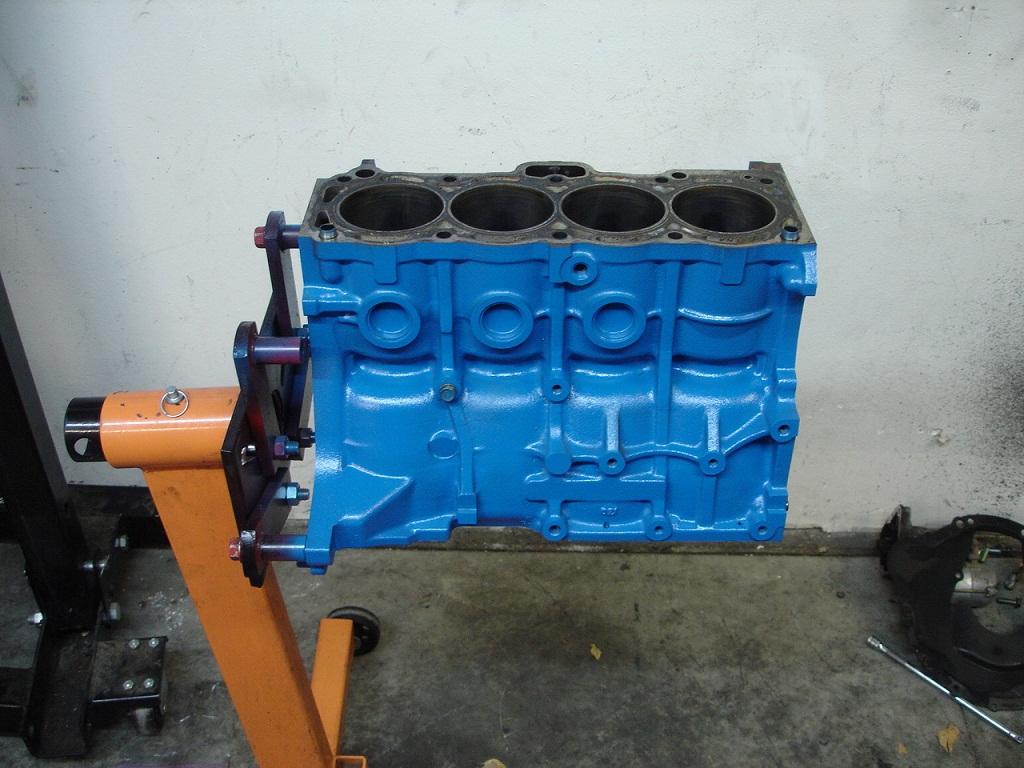
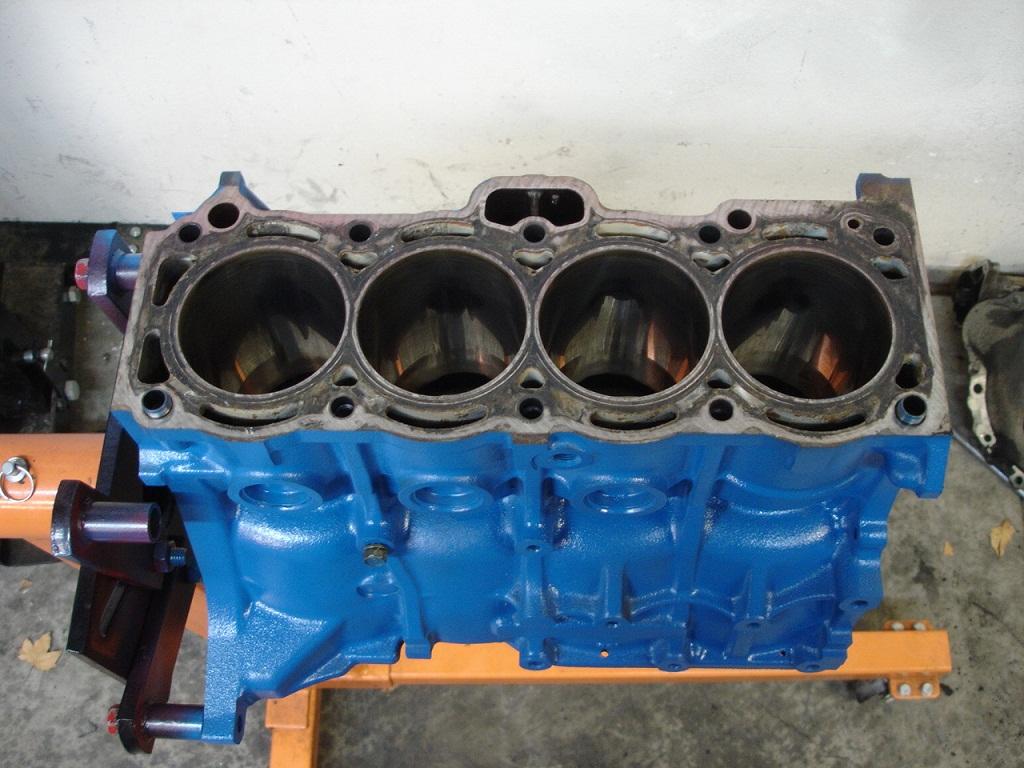
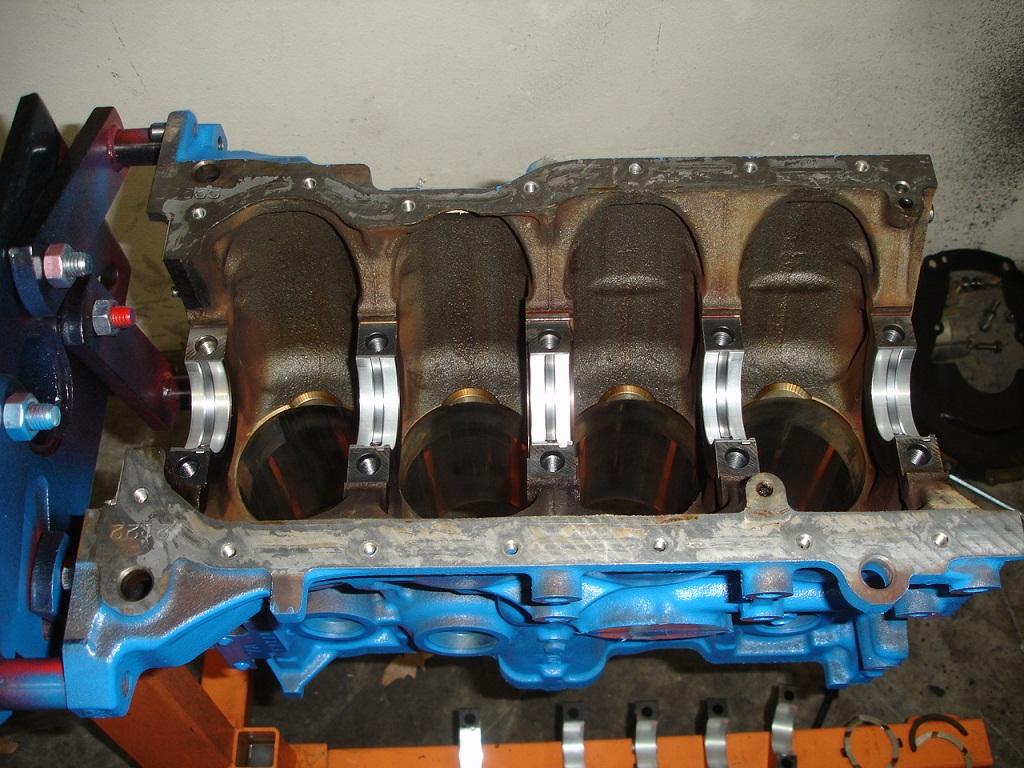
Here is the block, all pretty and blue
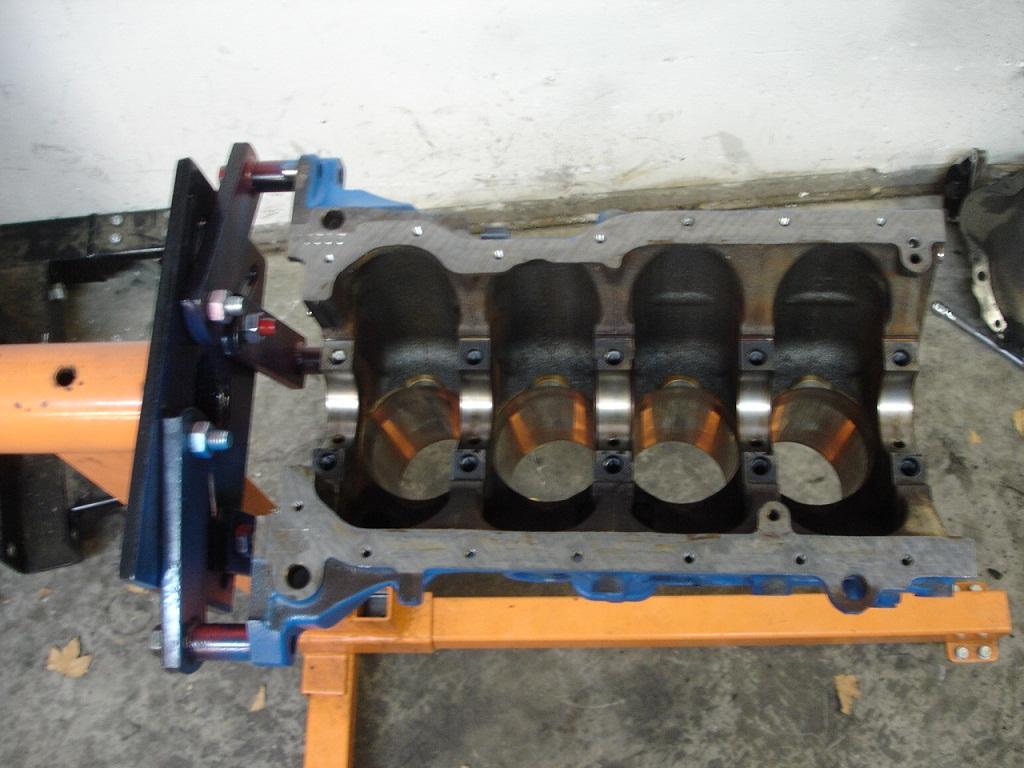
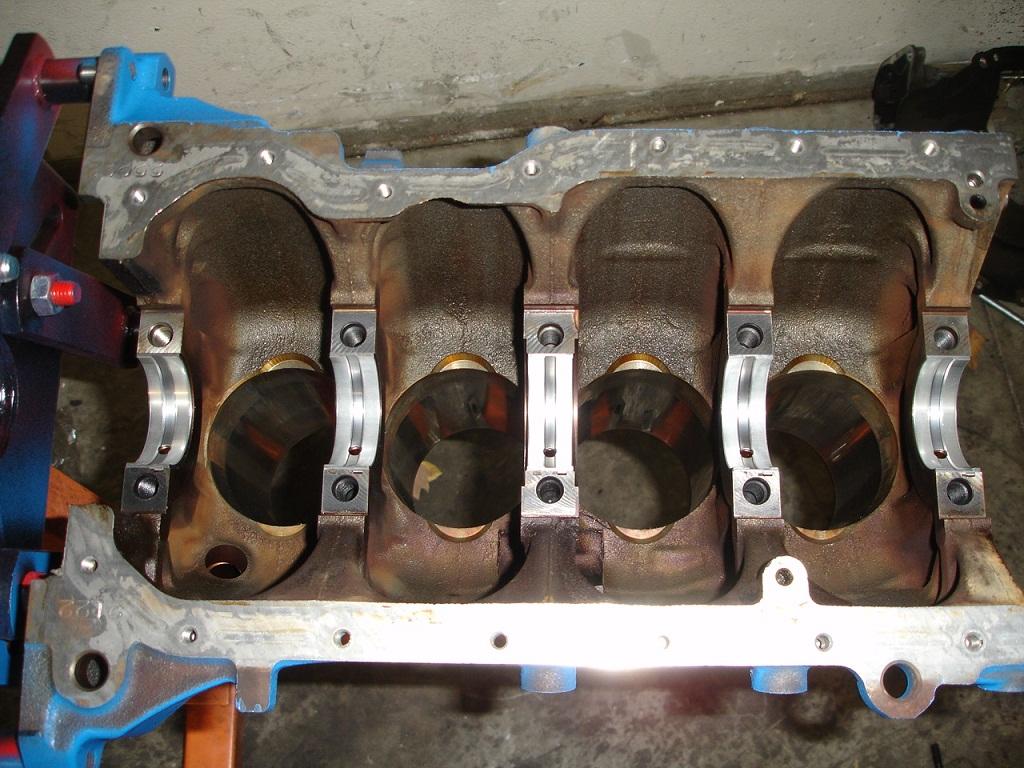
The underside of the block and where the main bearings are installed
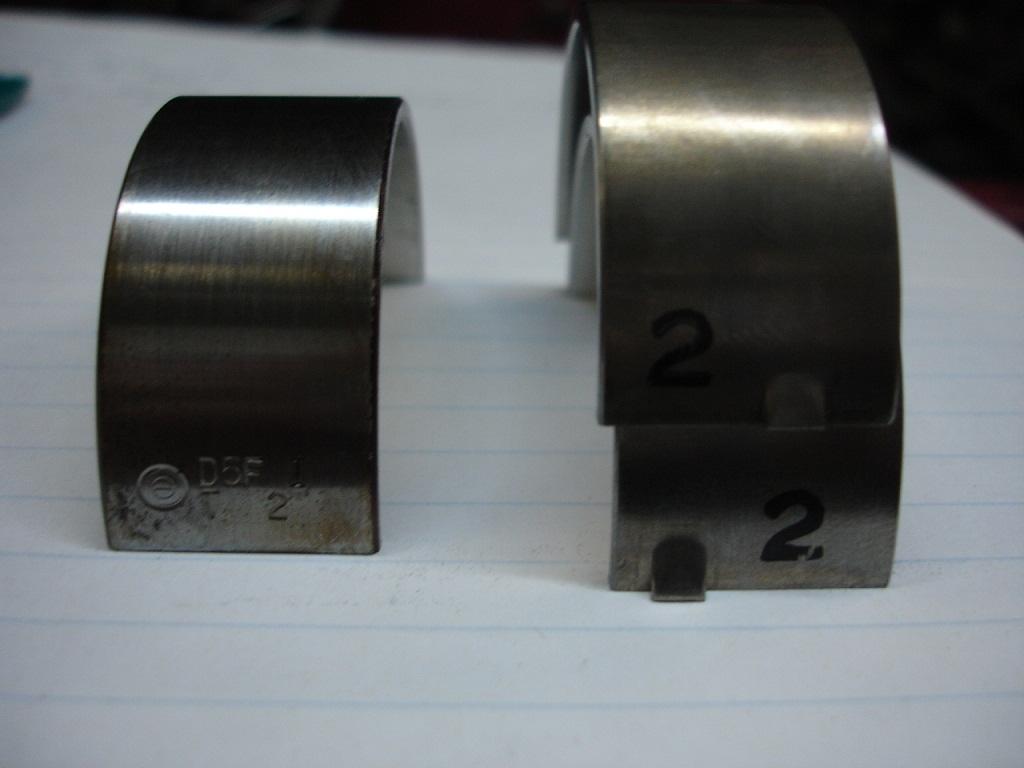
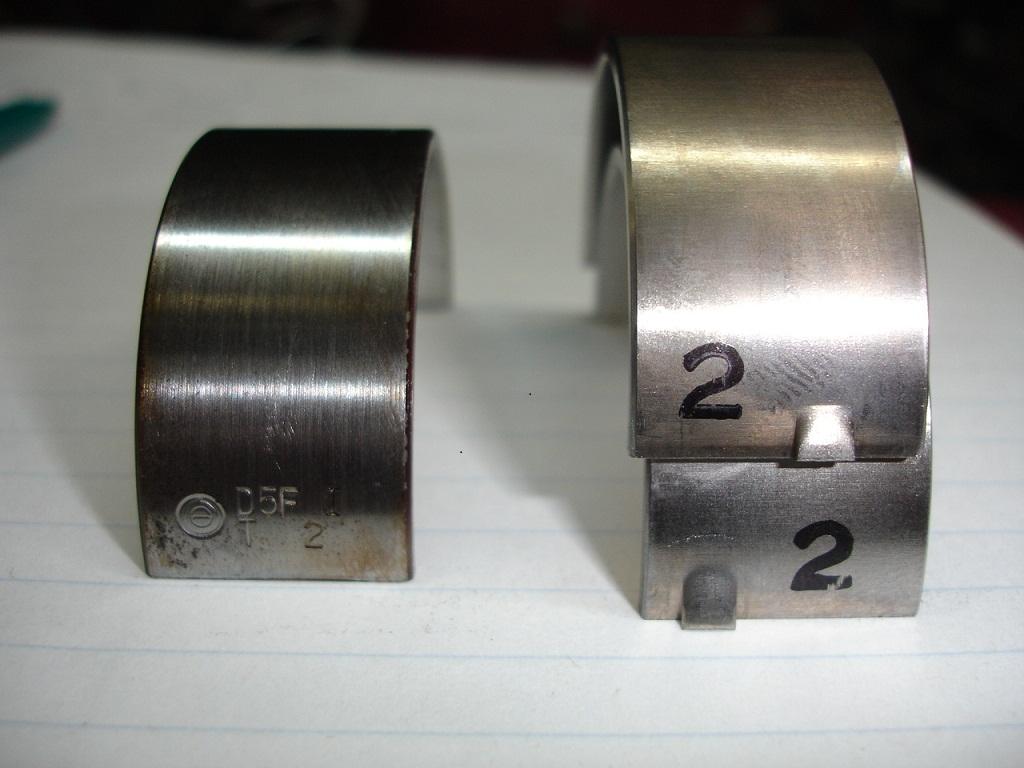
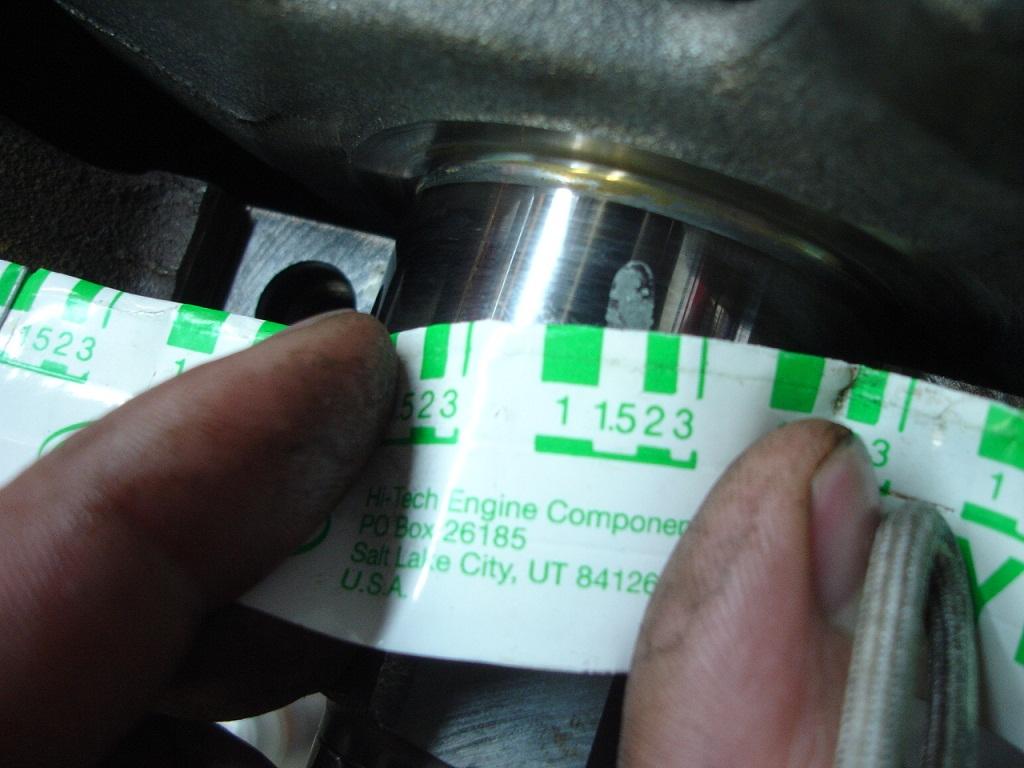
These are the main bearings, old on the left and new on the right. make sure you use the same size and plastigauge to double check clearances
Main bearing installed
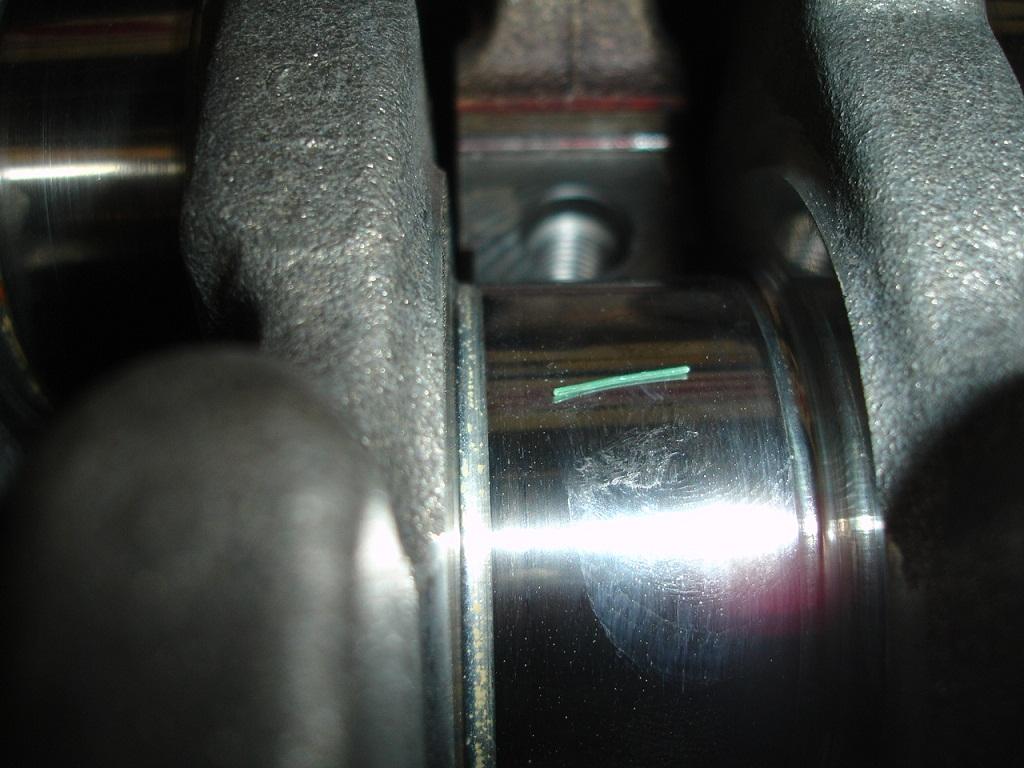
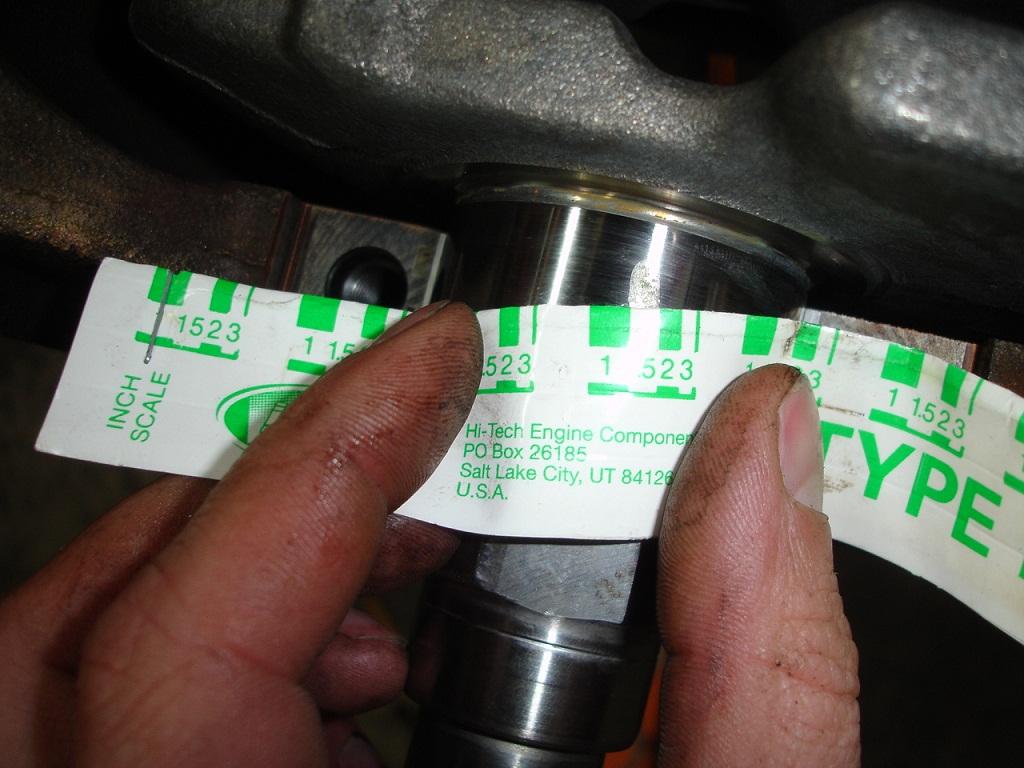
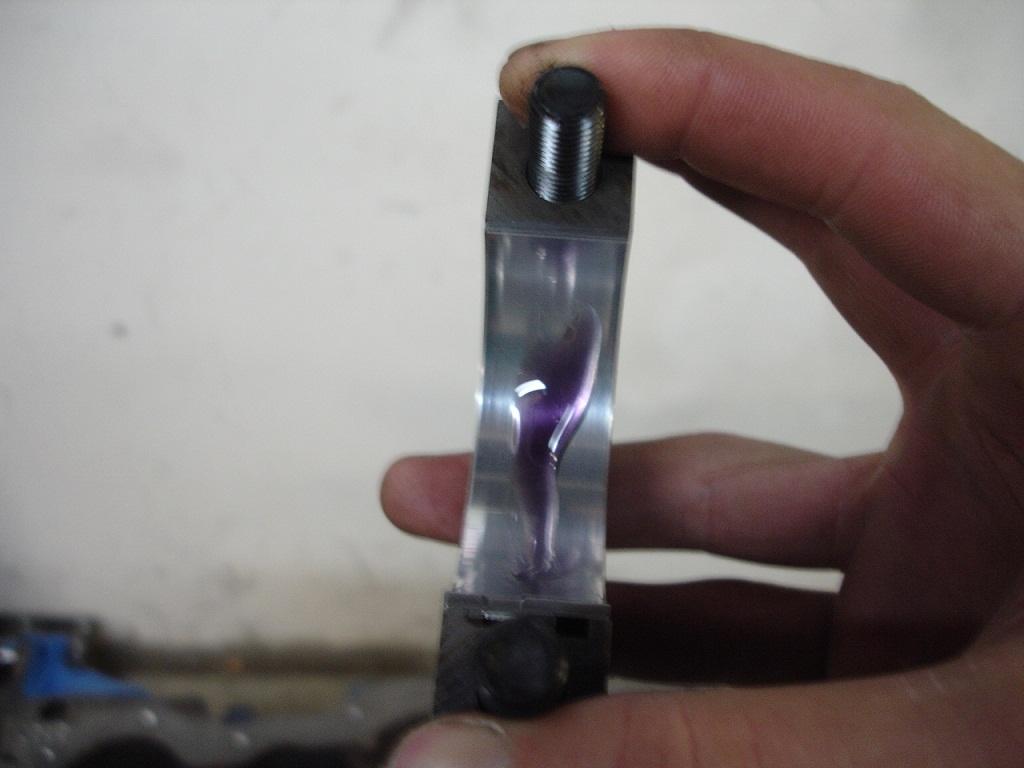
Plastigauge on the main journals, do this on every journal
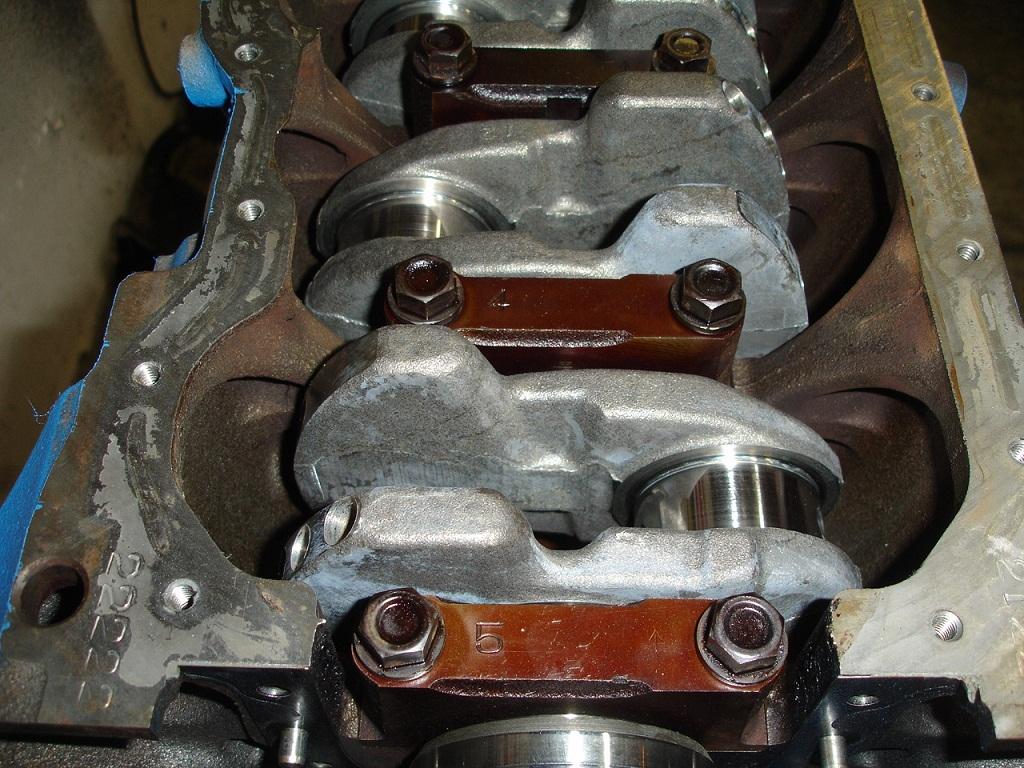
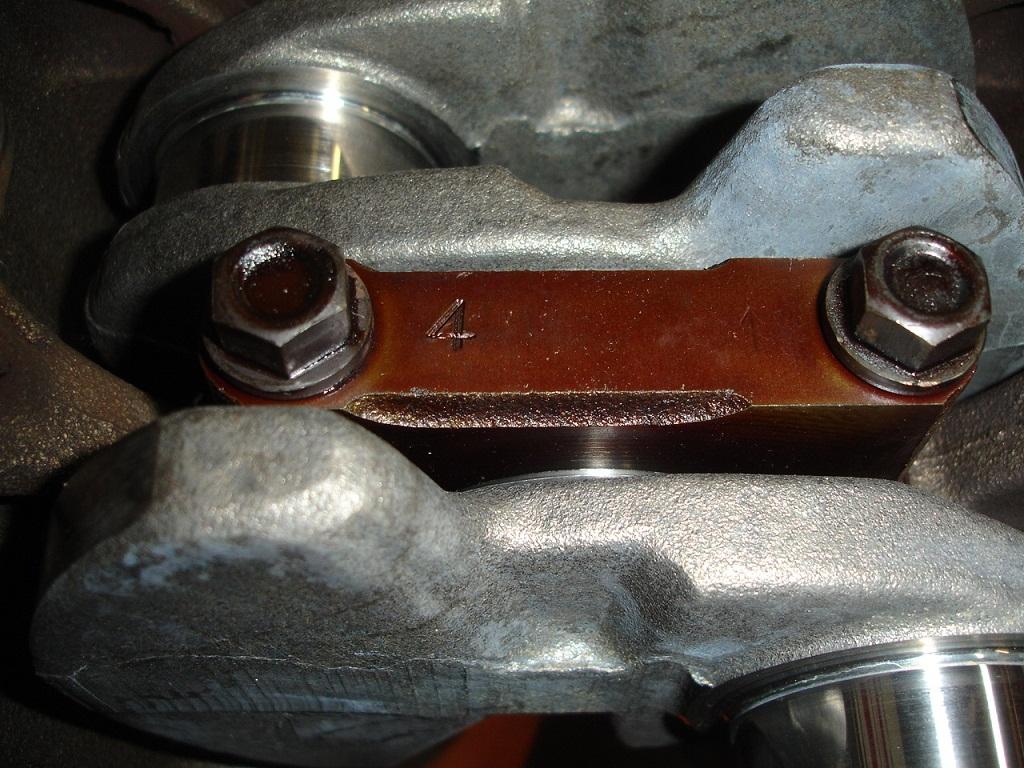
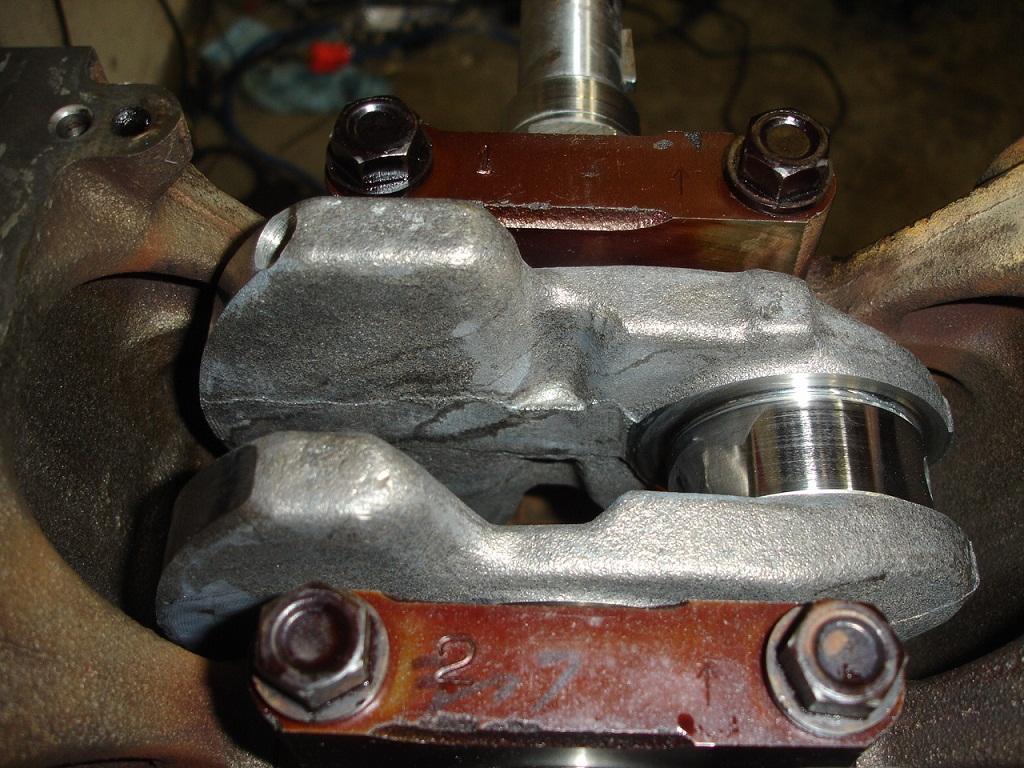
Install Main caps in order, look at the number and arrow is pointing to #1 Torque to 44lbs
remove caps and check clearances. .0015" clearance is good!
Remove crank and clean off plastigauge, apply assembly lube generously
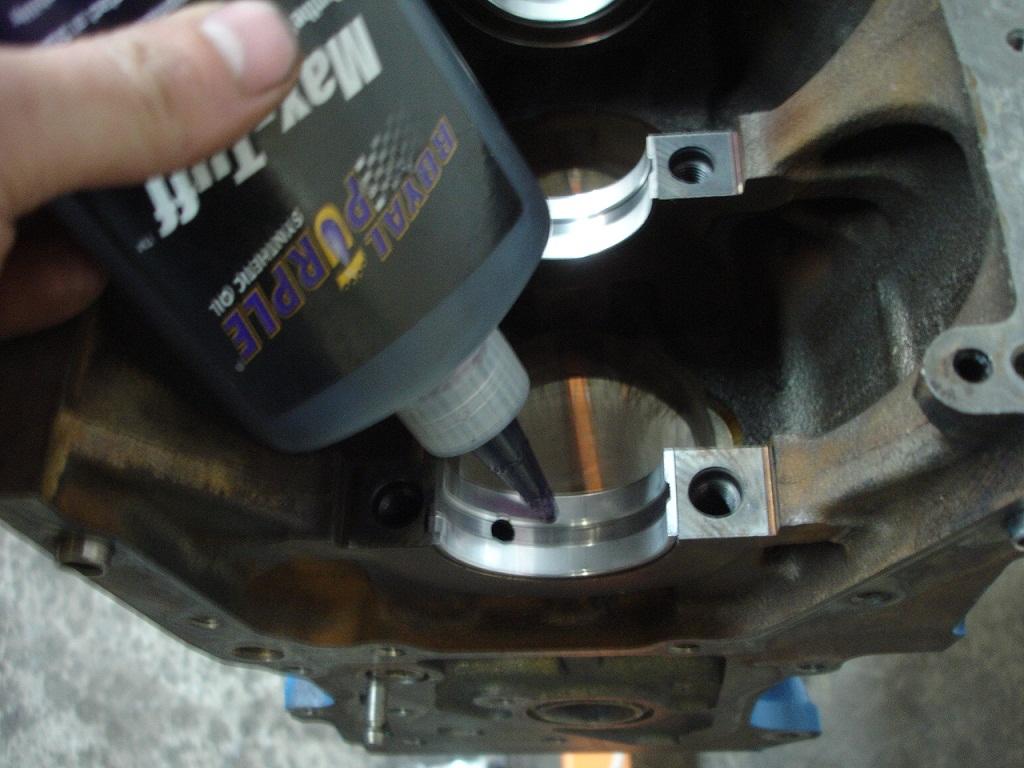
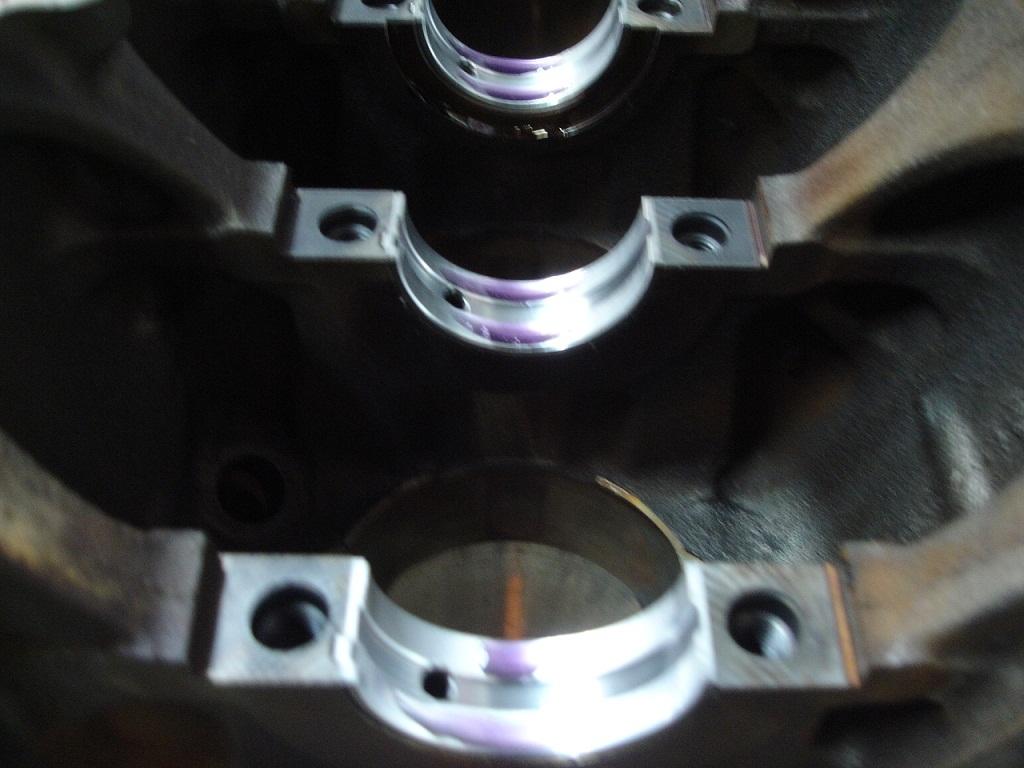

Lay crank back on bearings and apply more lube
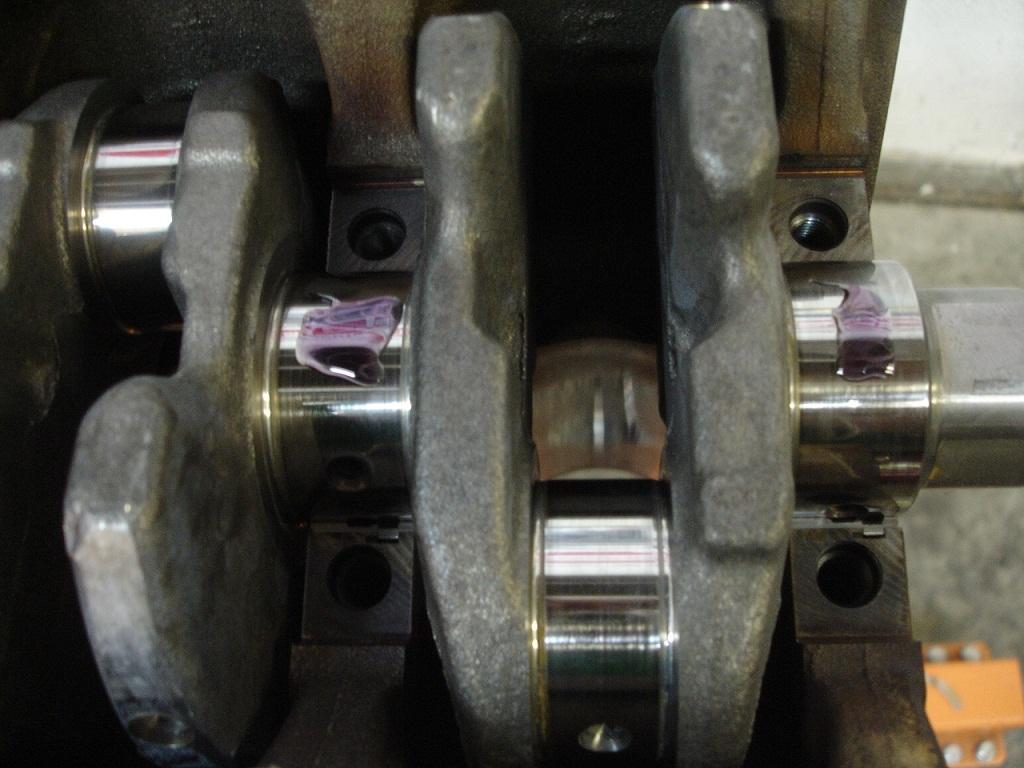
More lube on main cap bearing, my daddy always says, you can never have too much lube ![]()
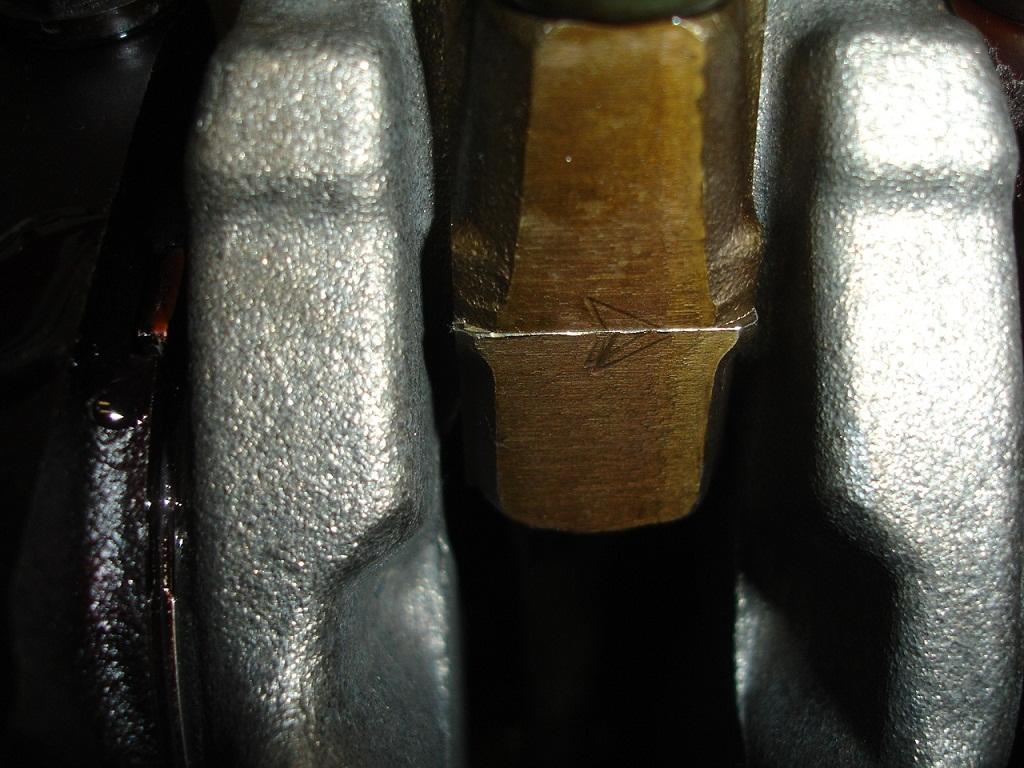
rod cap, make sure you line them up and install the correct cap on the rod
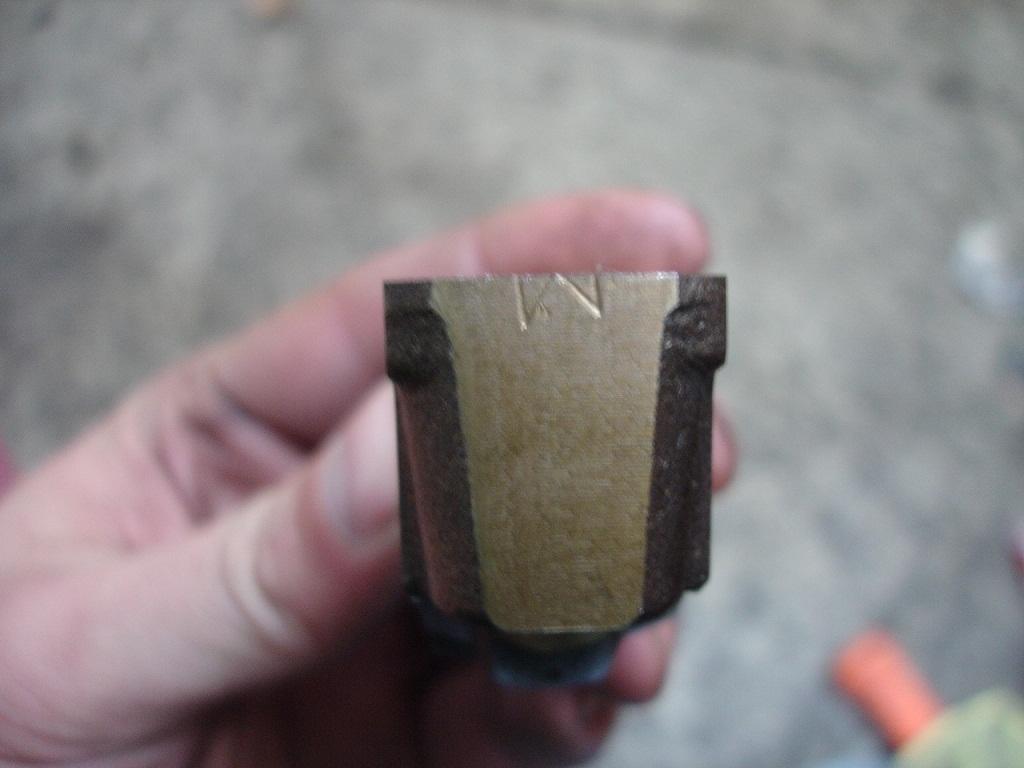
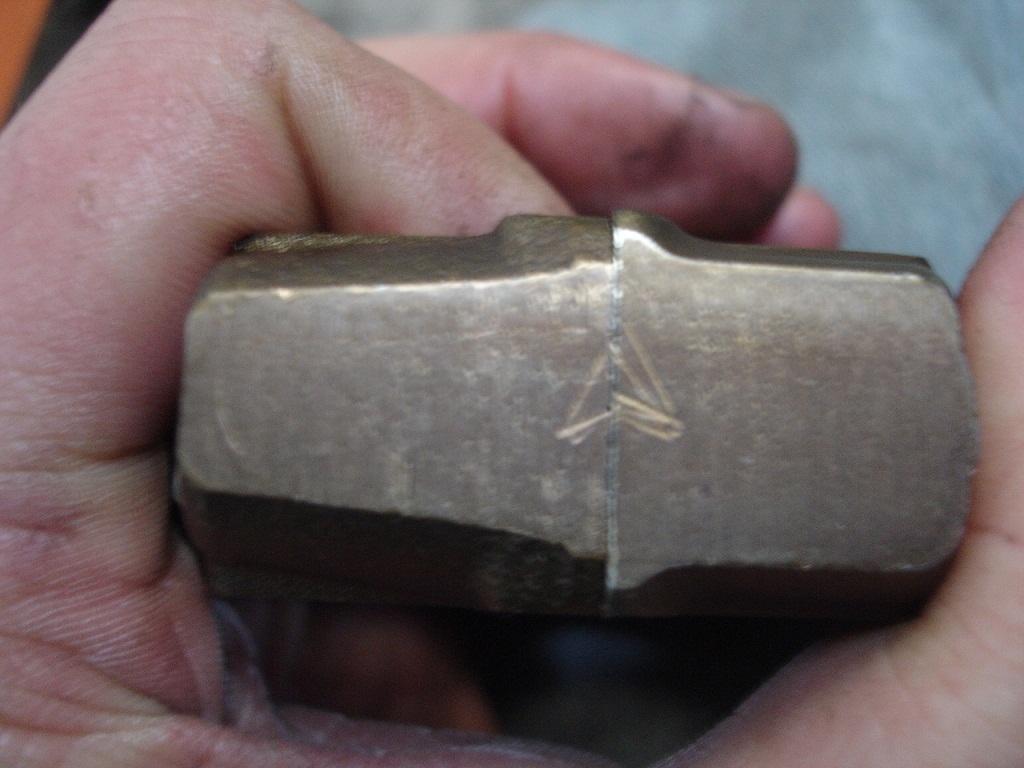
This is the wrong match you want an M not a goofy looking triangle like this
More lube on the rod bearing
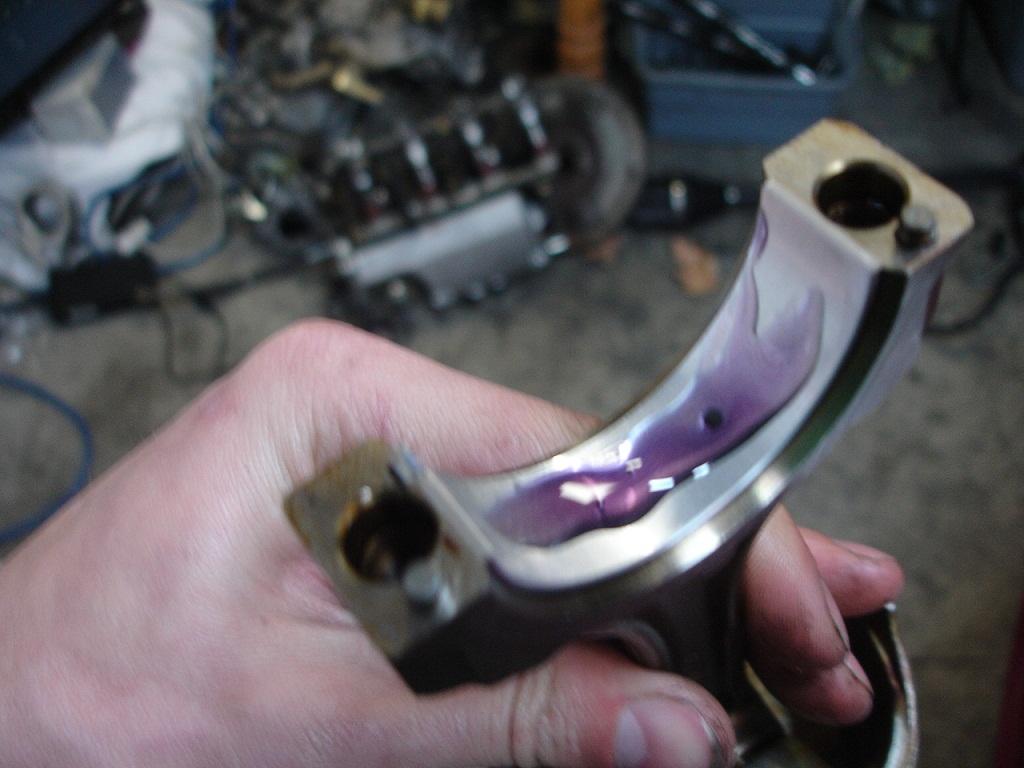
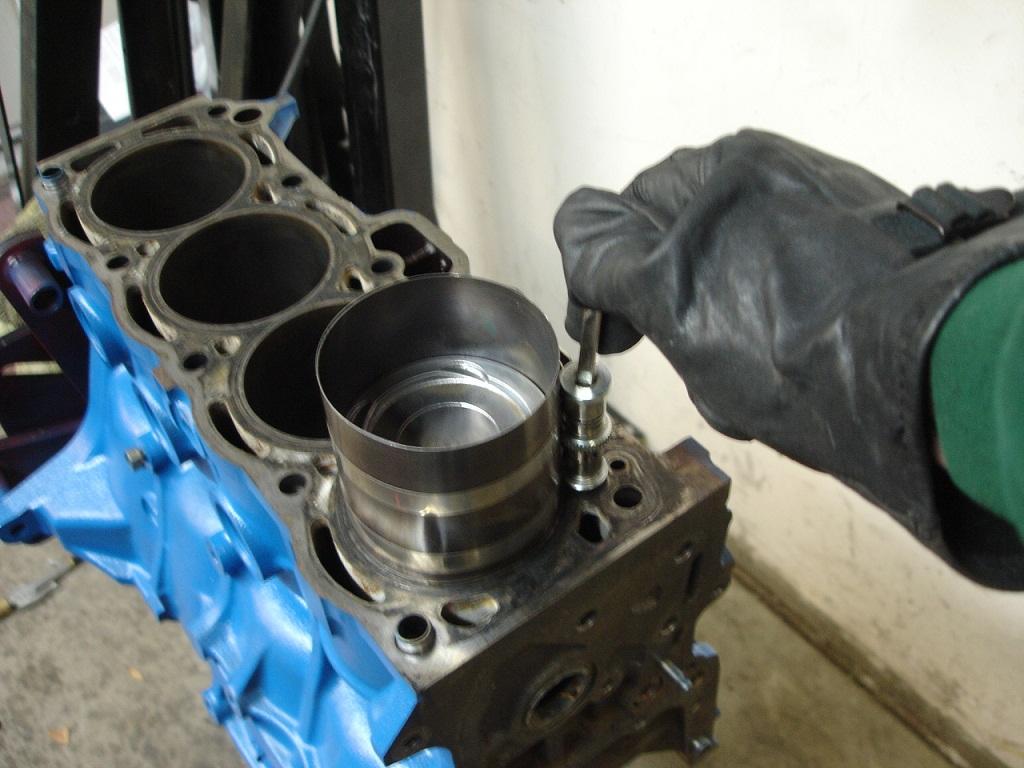
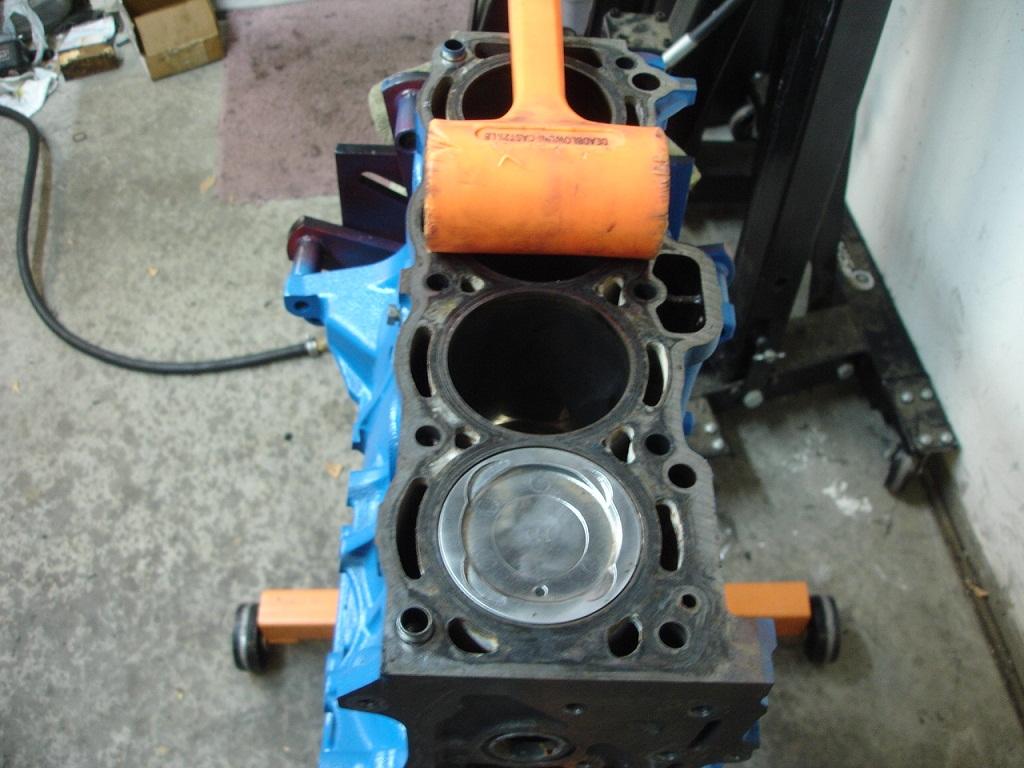
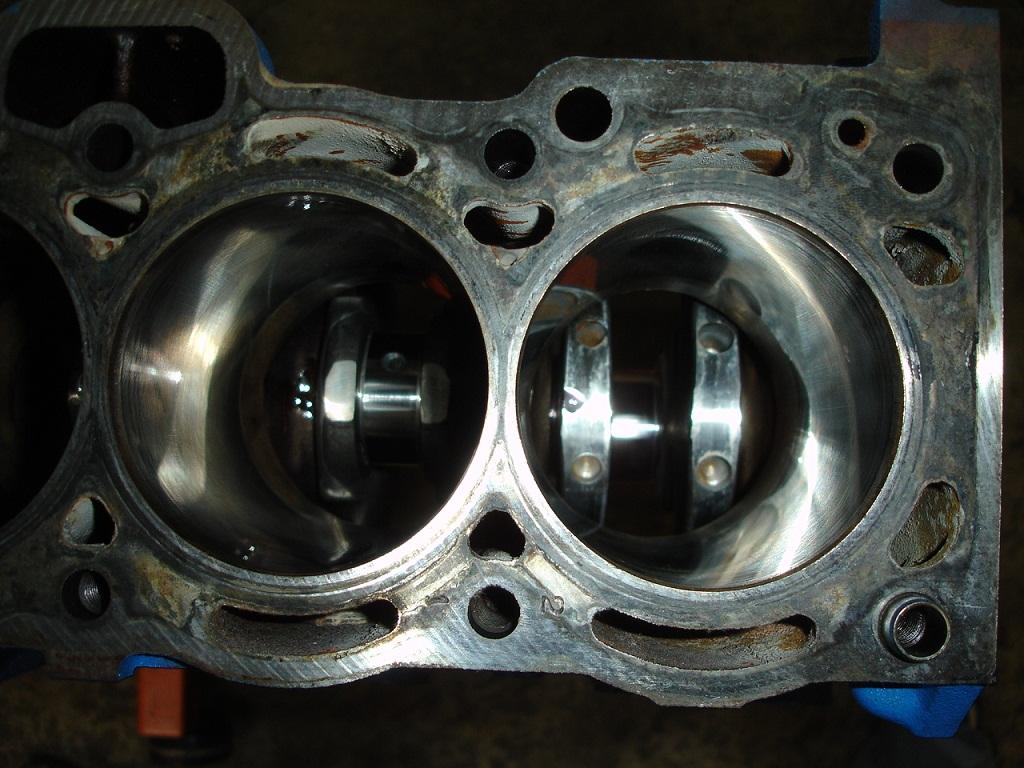
Using a spring compressor, install the piston and rod assembly
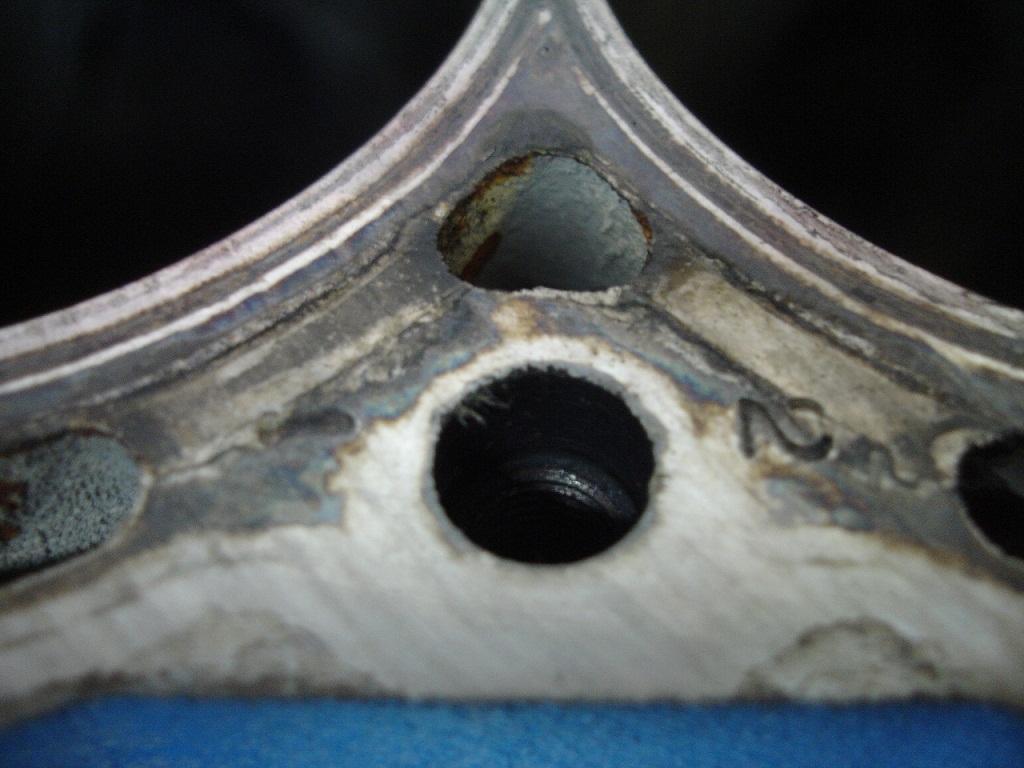
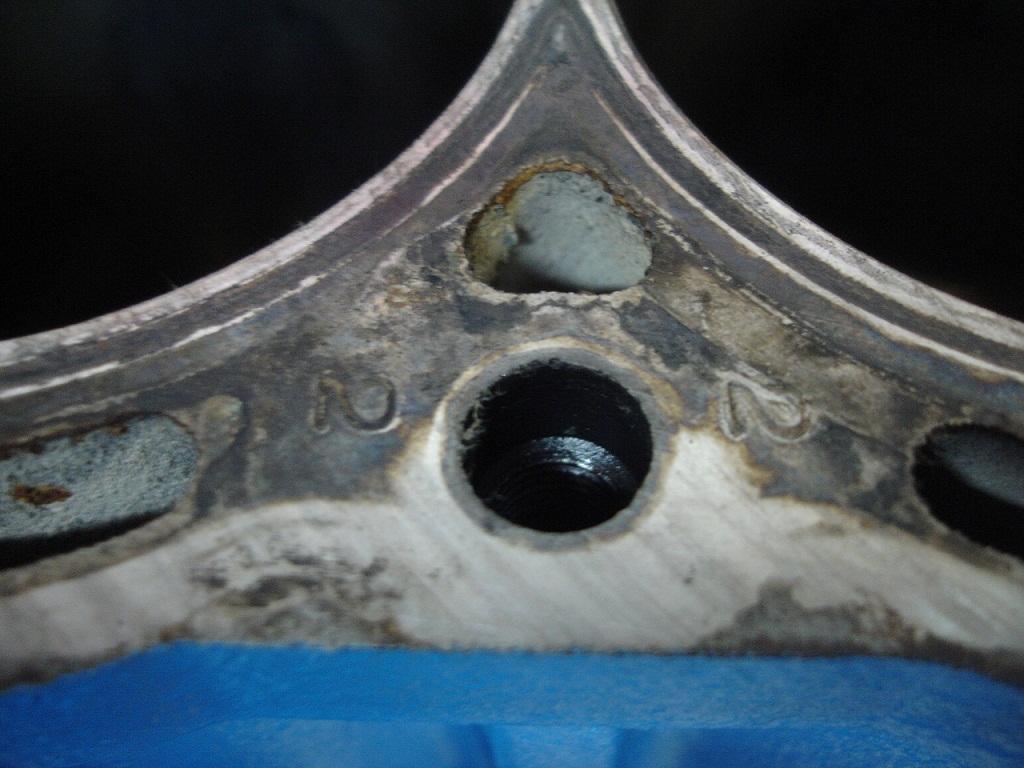
make sure you install the correct piston according to the mark on the block. This is actually wrong. #1 piston in a #2 spot. you can see the marks on the block in the circle
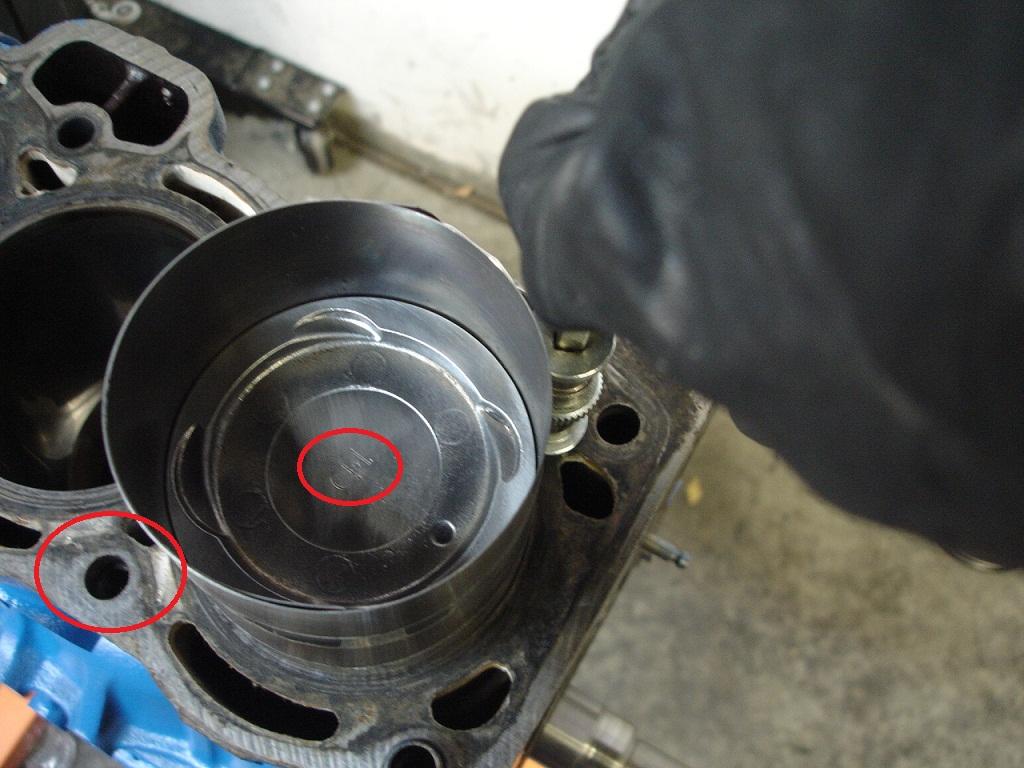
Piston installed (wrong one...oops)

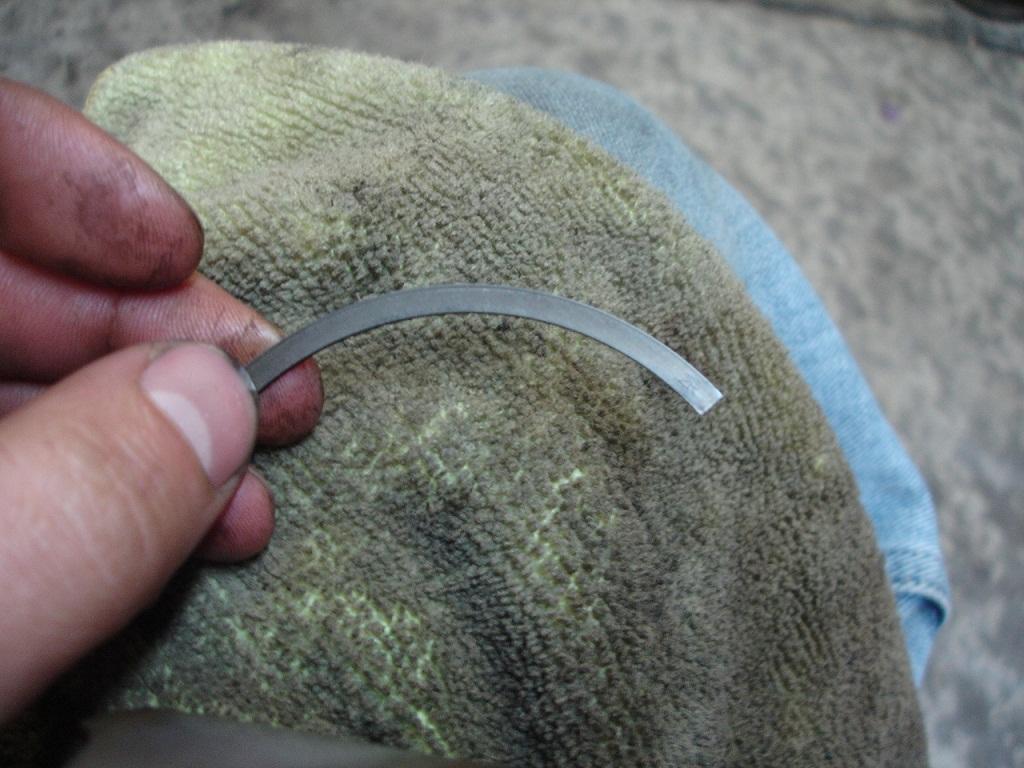
Take one of the old rings and break it, use this piece to clean the gunk out of the ring lands
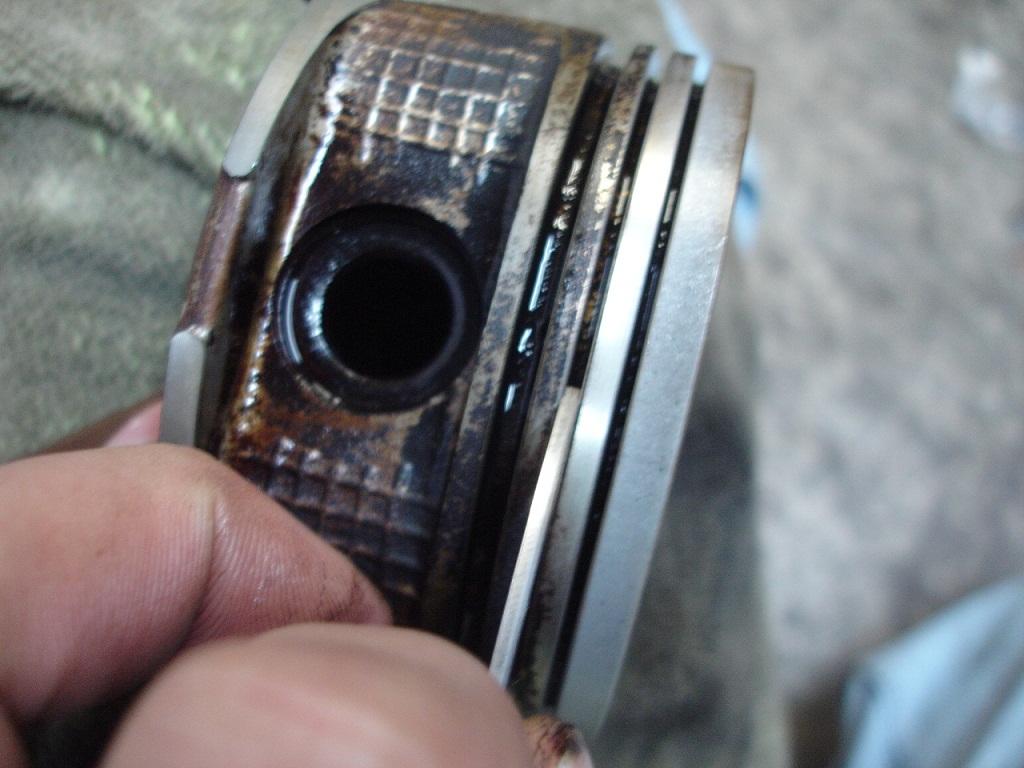
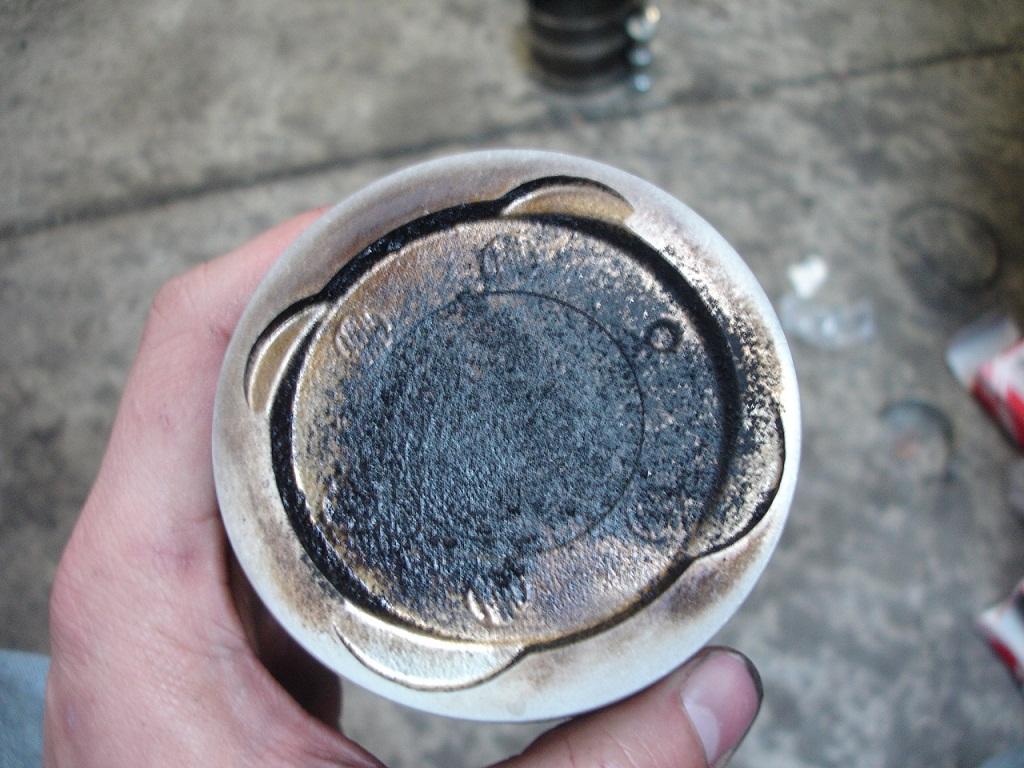
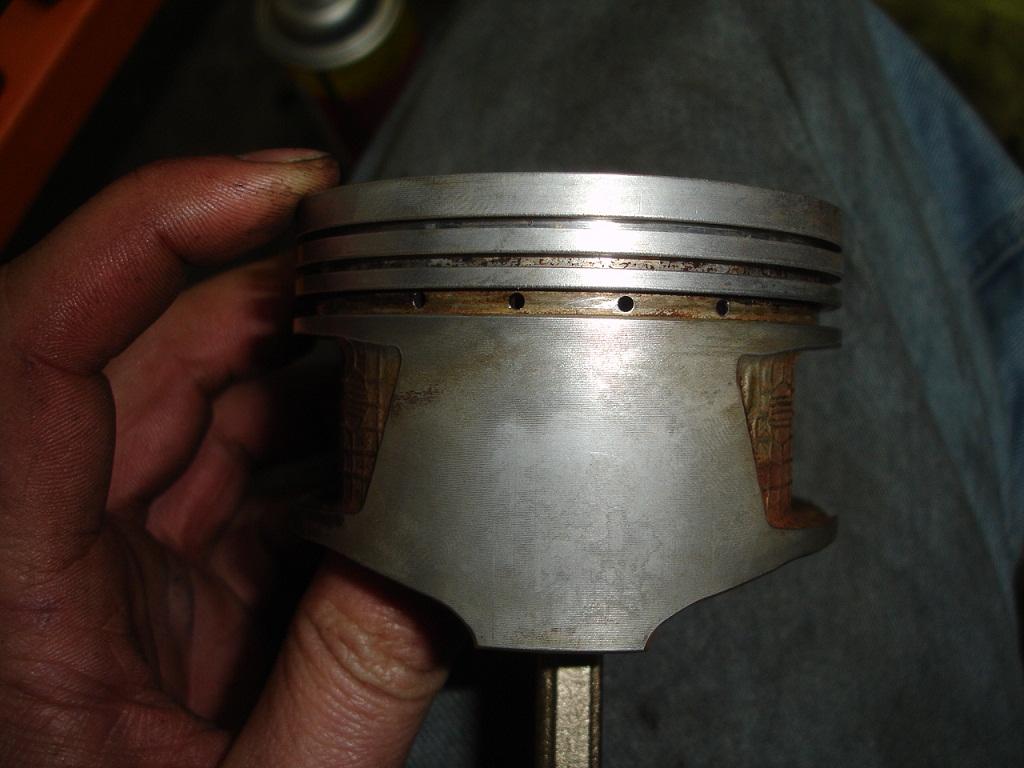
Top of dirty piston, i didnt get a pic of it after i cleaned it

Marks on the block to identify piston size
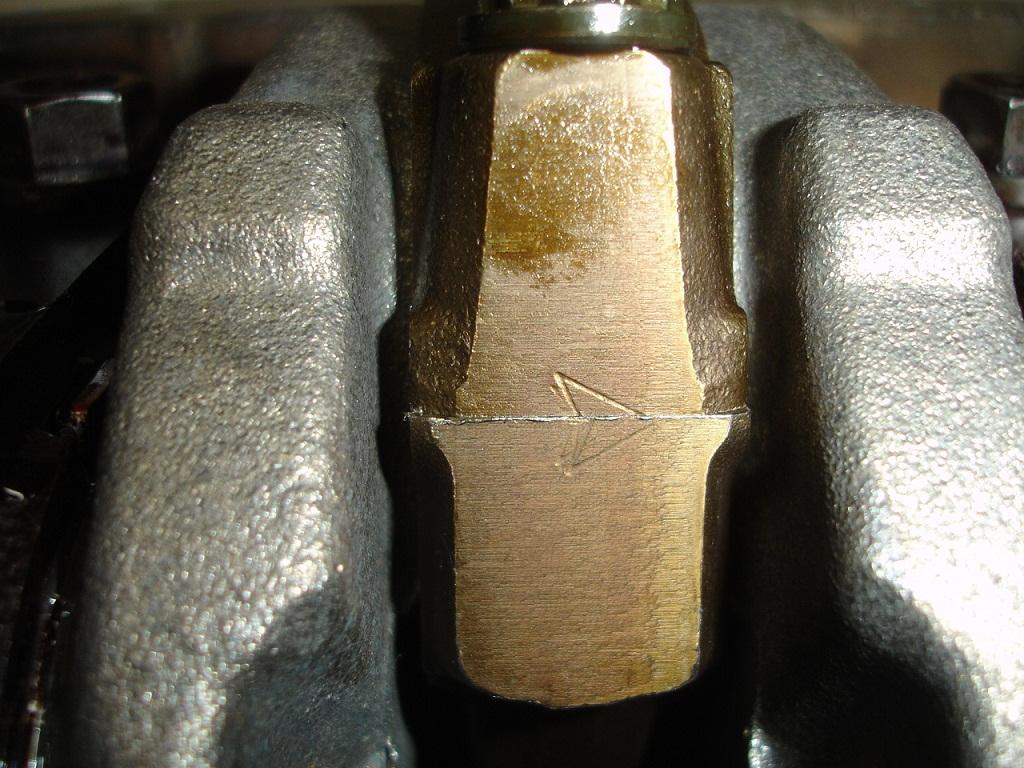
Another shot of the wrong cap and rod together Do not do this!
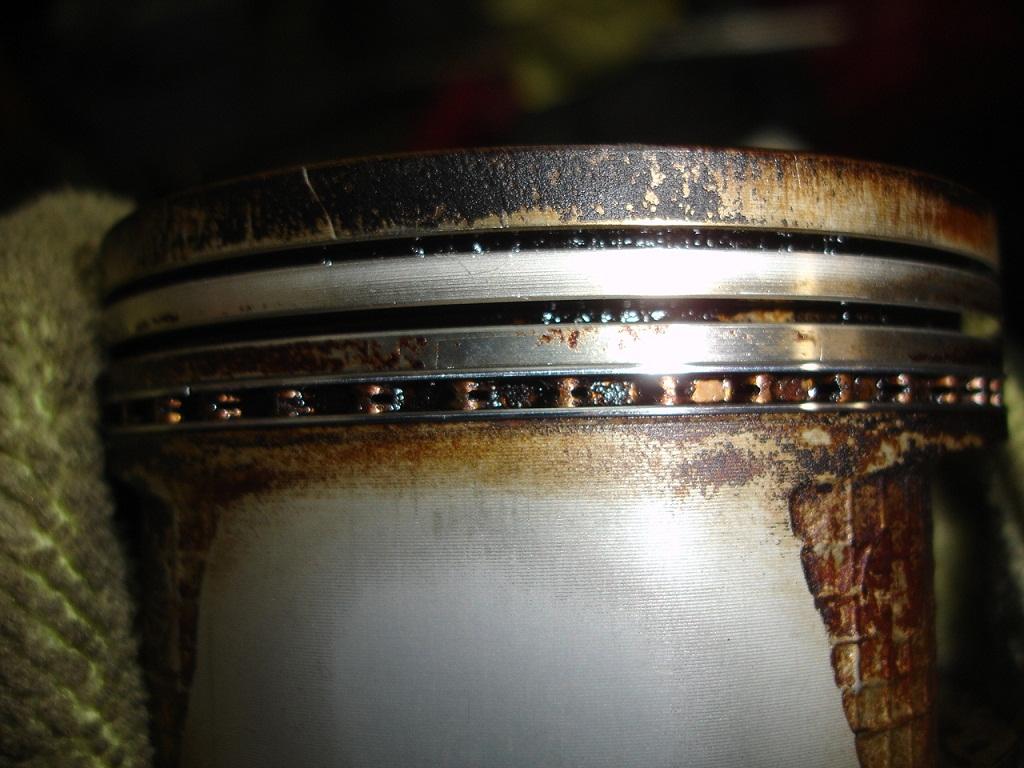
Crap collected in ring lands, look at the oil ring, this is why you burn oil, the ring is too gunked up to expand
Cleaned out piston

Great build!
Posted by Diggymart on 11/4/19 @ 12:20:12 PM