You must be logged in to rate content!
12 minute read
CF Rain Tray install DIY
Compliments of g60racer @ vwvortex.com
9-8-2010
Pertinent info first...
Parts needed:
1) CF rain scuttle tray made by Dogger, as featured in this thread:
http://forums.vwvortex.com/showthrea...-SWG-in-the-UK
2) VR6 wiper assembly
3) if you're converting a G60 over to the VR6 wiper assembly, you'll also need either a cut of the VR6 wiring harness with the female side of the wiring connector to splice into your G60 wiring for the wiper motor, or you'll need to hit up the dealer for the connector and wiring kit (The plug is part #357 972 755 & grommets are 357 972 741)
4) Black electrical tape, and/or...
5) Mk2-Mk3 rain tray crimp connectors
6) tools: 10mm, 13mm, 22mm sockets & socketwrench
small drill or dremel with 90* attachment and small drill bits
basic wiring kit (clippers, wire strippers, soldering iron, solder, flux, heatshrink tubing)
Since I've got a G60, I'll walk through the procedure from that side of things.
I have added Dogger's instructions here as well.
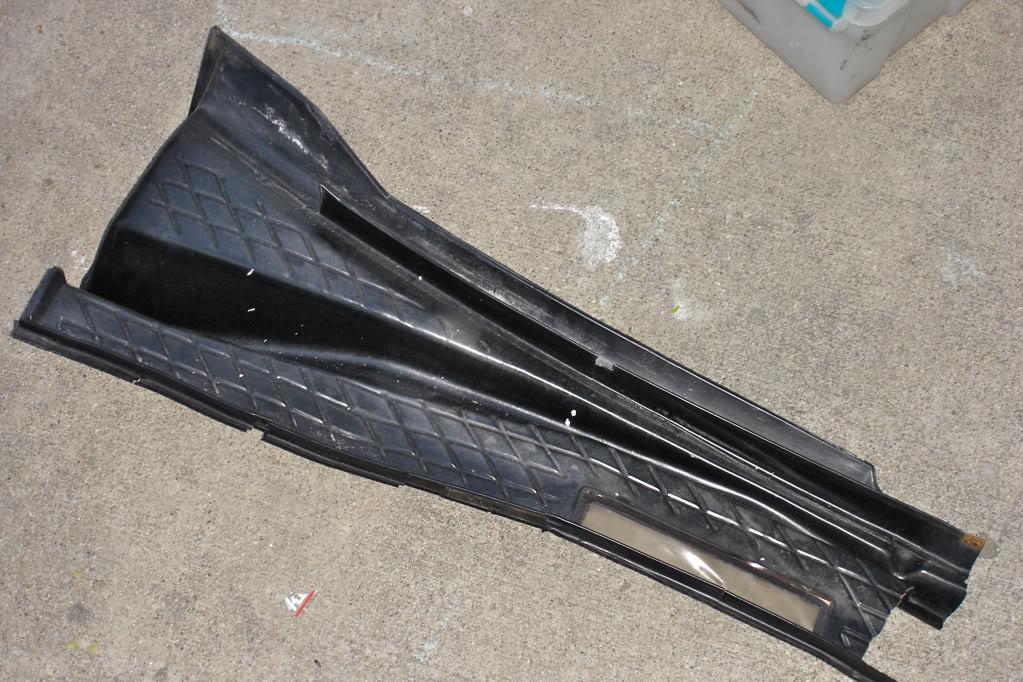
Here's a comparison of the VR6 wiper assembly next to the G60 assembly... it's more compact and easier to R&R.

Start by removing the G60 rain tray. Carefully pull off the weatherstripping, undo any crimp clips you may have securing the rain tray to the car, (save those!!) and pull out the rain tray.
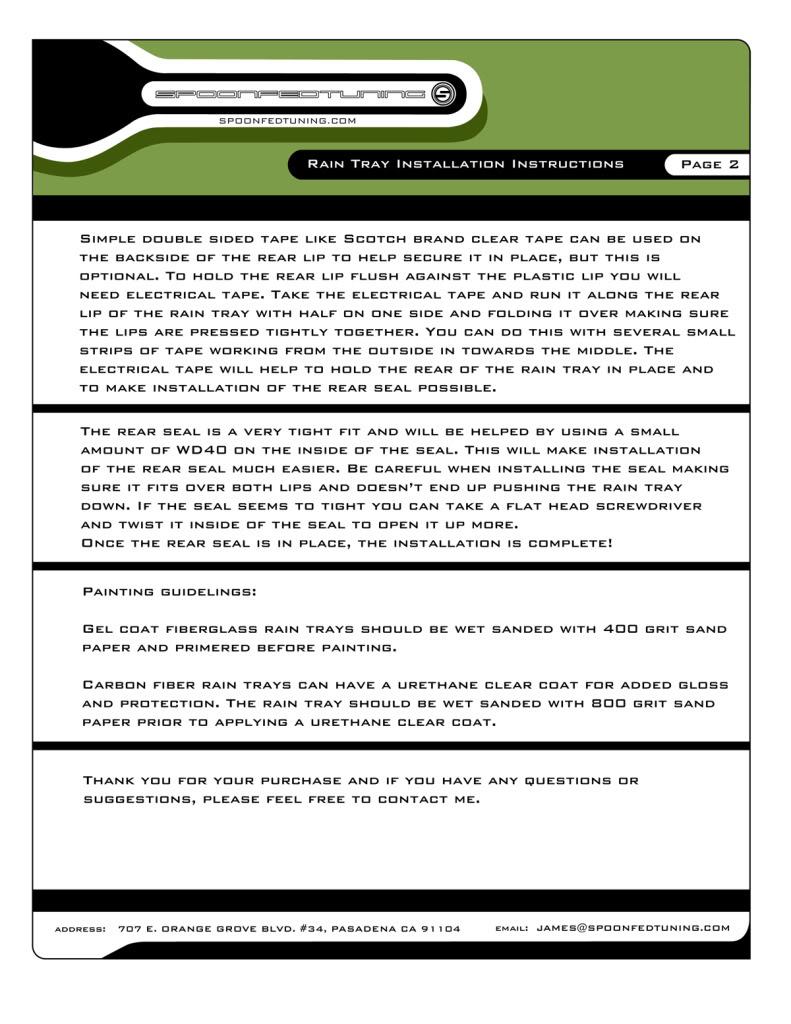
Here's the master (Dogger) at work, doing an install at a SCCG Event:
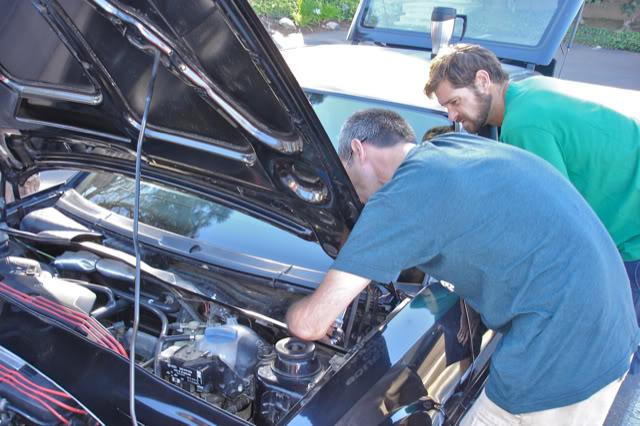
That's my modded mk3 tray, but the G60 one doesn't look too different.
Clean all the accumulated junk underneath there. I found a mouse had taken up residence by my ECU... fortunately he hadn't gnawed on any wires or my vacuum hose, but there was a nest in process there. Clean out the lower corners on both sides, as those are where water drains out through the fenders... if the drains are clogged, water backs up and comes in your car via the HVAC intake. So clean it out well!
With the wiper assembly exposed, remove the 10mm bolt securing the front bracket and save that bolt & washer. Remove the caps, 13mm nuts and washers securing the wiper arms, and the arms themselves. IF you haven't taken the time before to do the wiper arms modifications making them work better, now is a good time. Use your vortex-fu to search for the appropriate DIY threads on that.
Remove the 22mm nuts and washers securing the posts of the wiper assembly to the upper scuttle. Unplug the wiring connector and your wiper assembly will now be free.
Wiggling the assembly out of place takes some time and patience. I found that angling the motor bracket up toward the windshield while sliding sideways toward the driver side of the car was the most effective way to slip mine out of there. Still gotta be careful because the brackets will snag on the wiring bundles if you're not careful. But it will come out of there without using the kung fu monkey death grip. If you're wrestling that hard with it, you're doing it wrong. Should take you just a couple minutes of wiggling & maneuvering.
So let's assume you got it out.
Now clean the cubby where the wiper assembly sits. It's probably gross in there. Not that anyone will see it once the CF tray is in place, but you'll know... and it will bug you.
Putting the VR6 assembly in place is far easier than getting the G60 assembly out. There are little plastic hub centric washer guides that keep the wiper posts centered in their holes... and those like to pop out while you're pushing the posts through from underneath. Just slip them back into place and push them down til some of the threads are showing on the post. Then put the 22mm washers and nuts back on and tighten them.
You'll need to drill a hole for the 10mm bolt, since the VR6 bracket has that bolt situated differently. I used a Dremel with a 90* attachment to drill that guide hole. Might want to be careful, as the hole will be close to the coil! The 10mm bolt you saved from the G60 has a tapered end for self-tapping its own threads, so you only really need a starter hole. Then you can insert the 10mm bolt & washer and tighten it down.
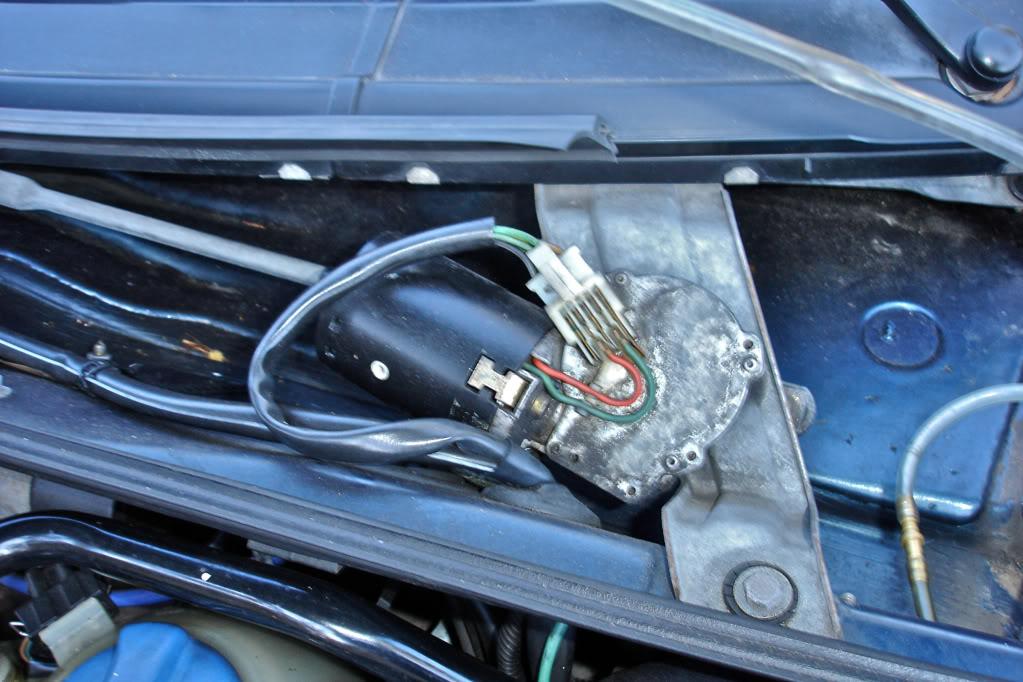
So here's the VR6 assembly in place:
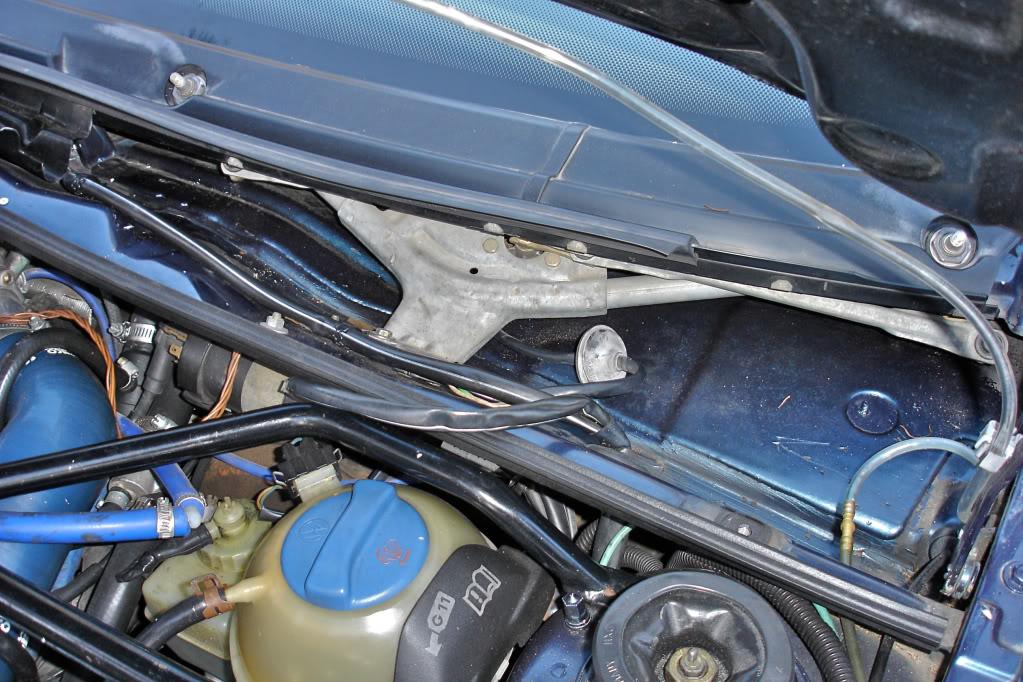
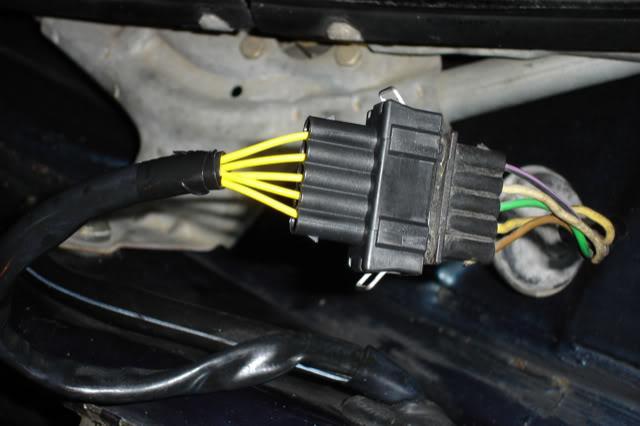
Now you'll want to deal with the wiring harness. The VR6 uses totally different connectors from the G60. As mentioned in the "parts needed" list at the top of this post, you'll need the VR6 connector in order to make it work and make it look factory. You can always splice in the wires permanently, but that's up to you. I wanted factory connectors, so I cut the G60 connector and spliced in the VR6 connector with a small amount of its wiring harness. The only thing to keep in mind about this is there is a wiring difference between G60 and VR6!!! You'll need to switch the Green wire with the Green/Black wire in order to keep it from blowing fuses.
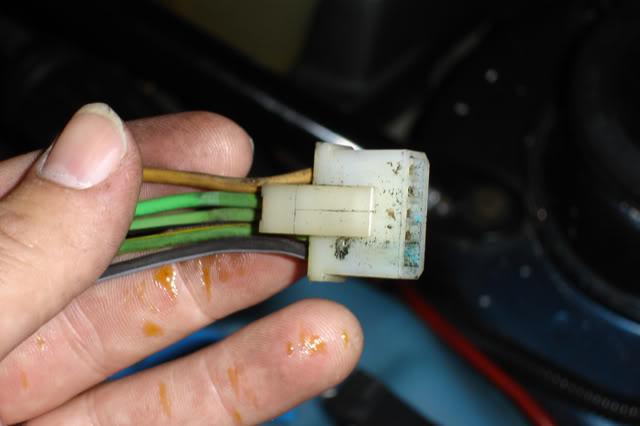
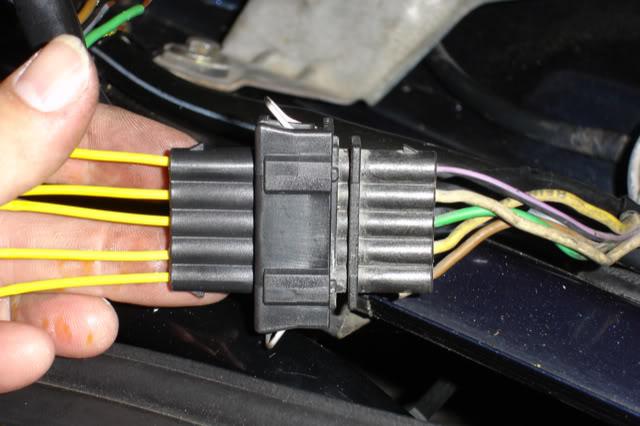
Here's the stock G60 connector:
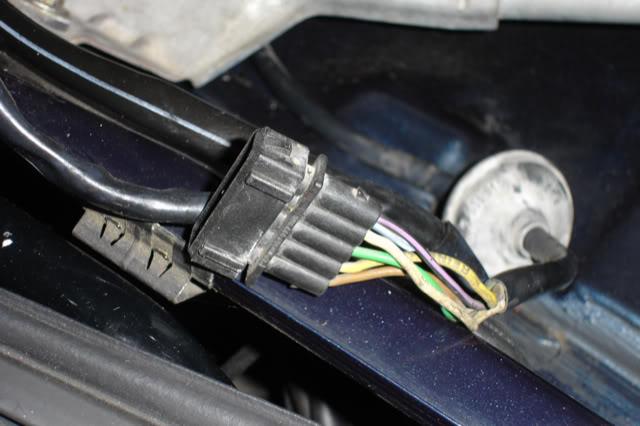
Here's the VR6 connector:
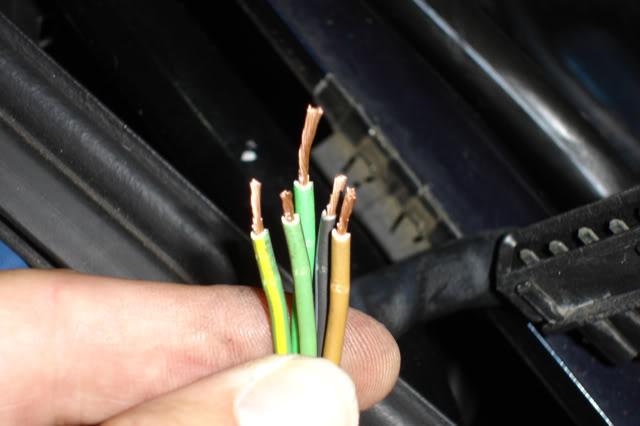
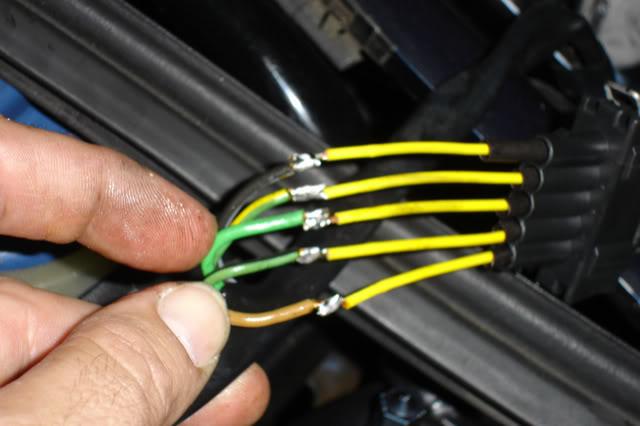
G60 harness cut & stripped
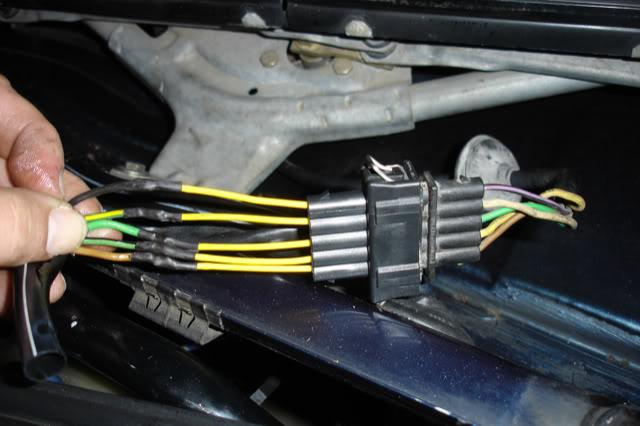
VR6 connector with wiring kit ready to be soldered to G60 harness
Harness soldered with wires in correct transposed order:
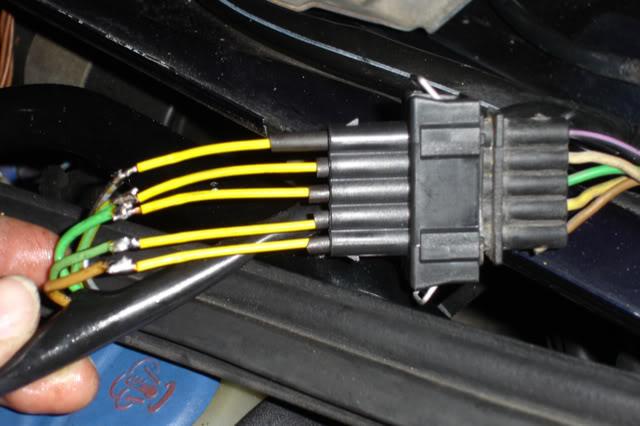
Heat shrink seals individual wires, and then OEM cover seals harness:
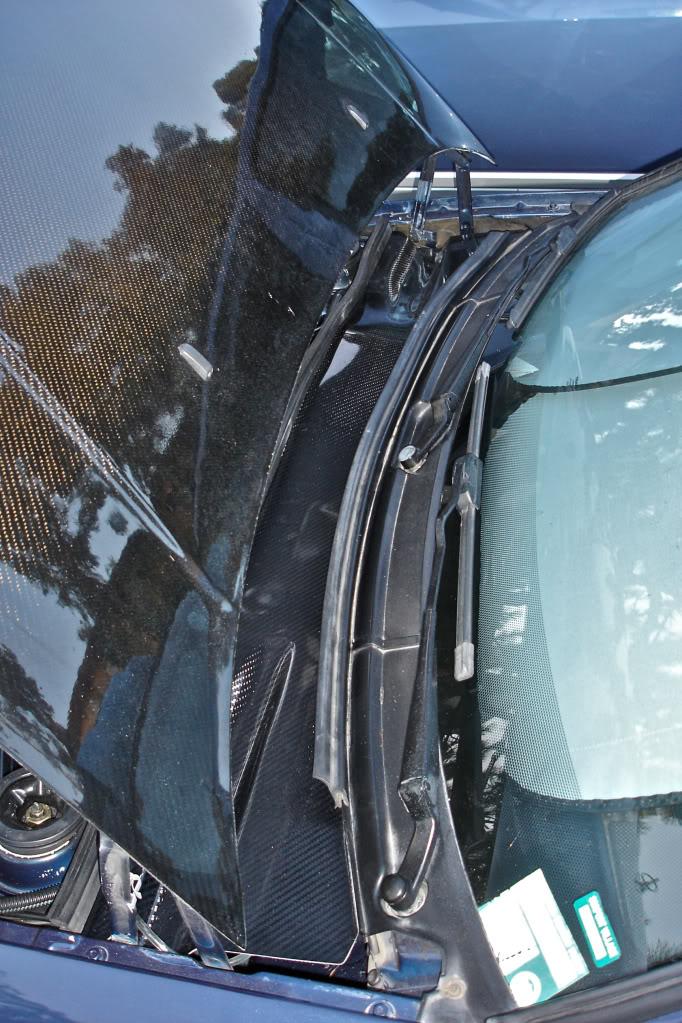
Once that's done, it's on to the rain tray itself.
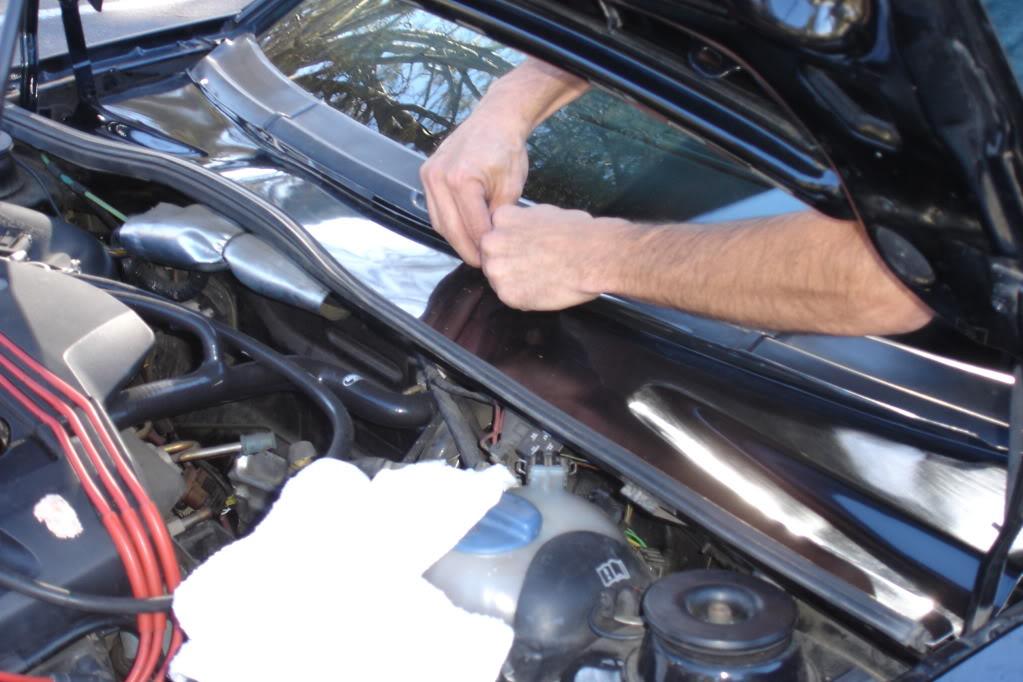
There are two ways to secure the tray. Dogger's instructions involve securing it with black electrical tape along the back edge, folded over the top edge of both the tray and the metal lip on the car. I took it a step further and used the Mk2/Mk3 retainer clips from the OEM rain tray, spread them a little bit with a flathead screwdriver, and clipped those on as well to keep it nice and secure.
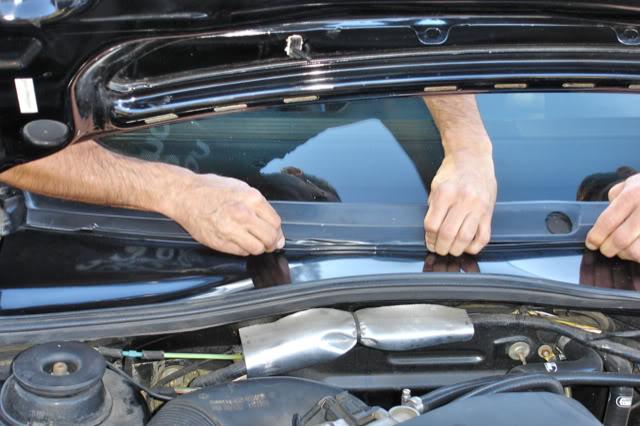
Here are Dogger's instructions:
Here are some pix of Dogger himself modifying the stock rain tray so the new one can fit over it:
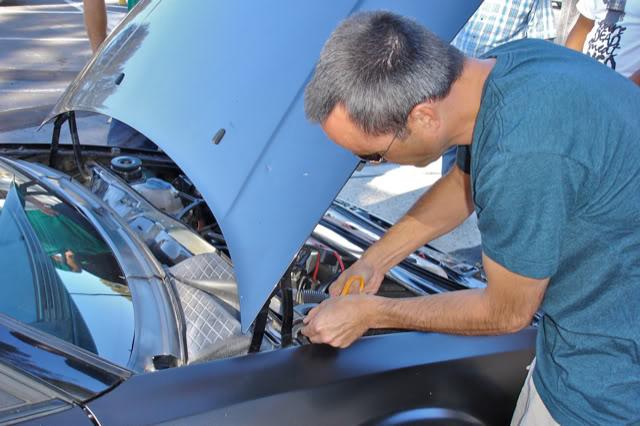

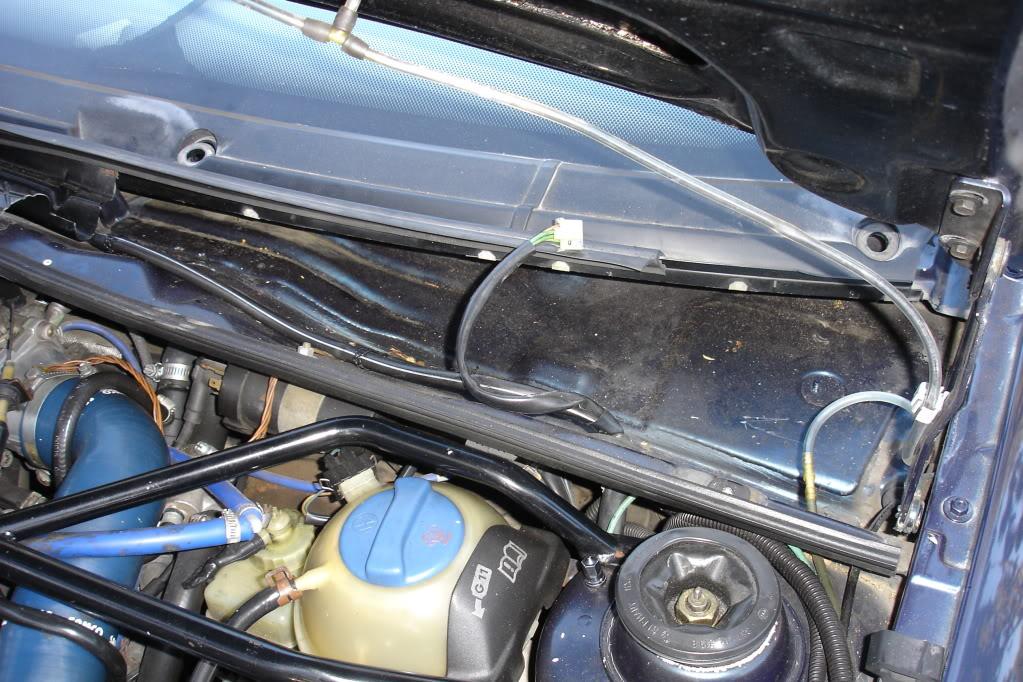
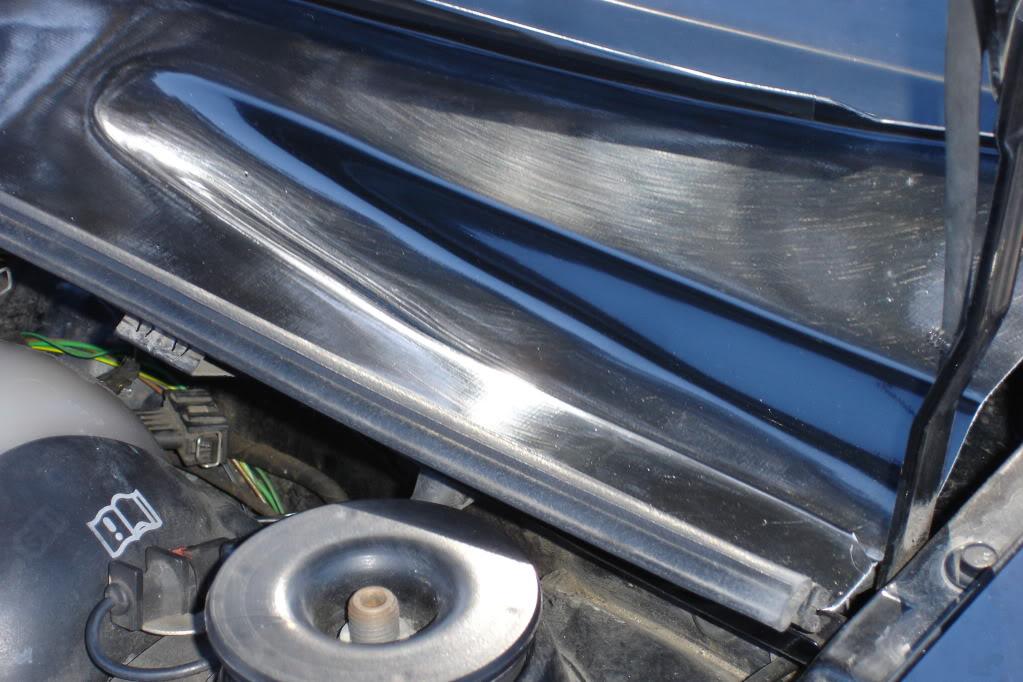
The tray fits very snugly in there, so the retainers and tape really is just added insurance that it will stay where you want it. Dogger notes that you want to favor the tray toward the passenger side, in order for the ground strap, hinge & sprayer hoses on the driver side to clear properly. I found that it really didn't need much adjustment at all. Fits great!
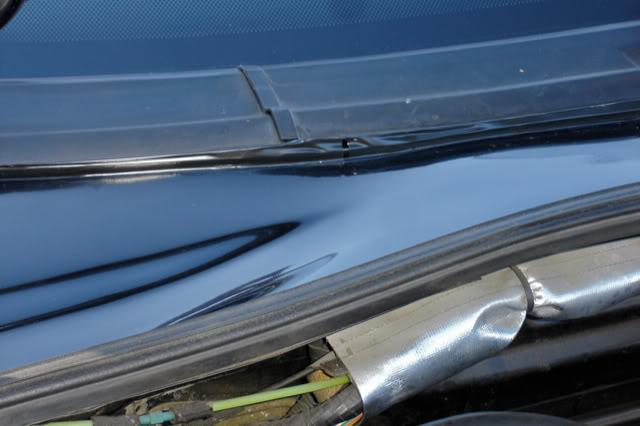
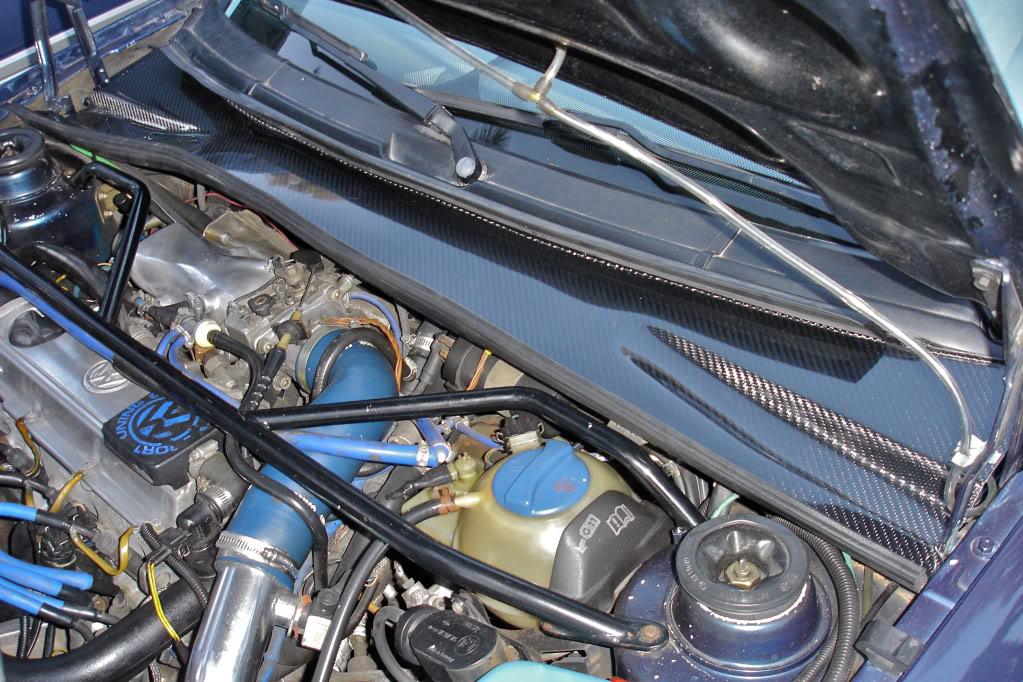
Replace the weatherstripping along the top and bottom edges, and you're all done!
Enjoy your new CF rain tray and knowing that heavy rain, car washing, etc won't be bringing water into your interior via the HVAC intake duct anymore!! Plus it's just a much cleaner look. ![]()
Thanks to Dogger for creating such a nice part for our cars, and thanks to everyone who contributed to the other many page long thread about the swap!!!
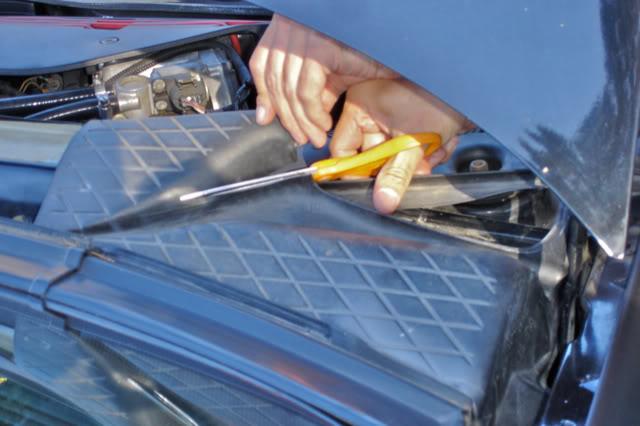
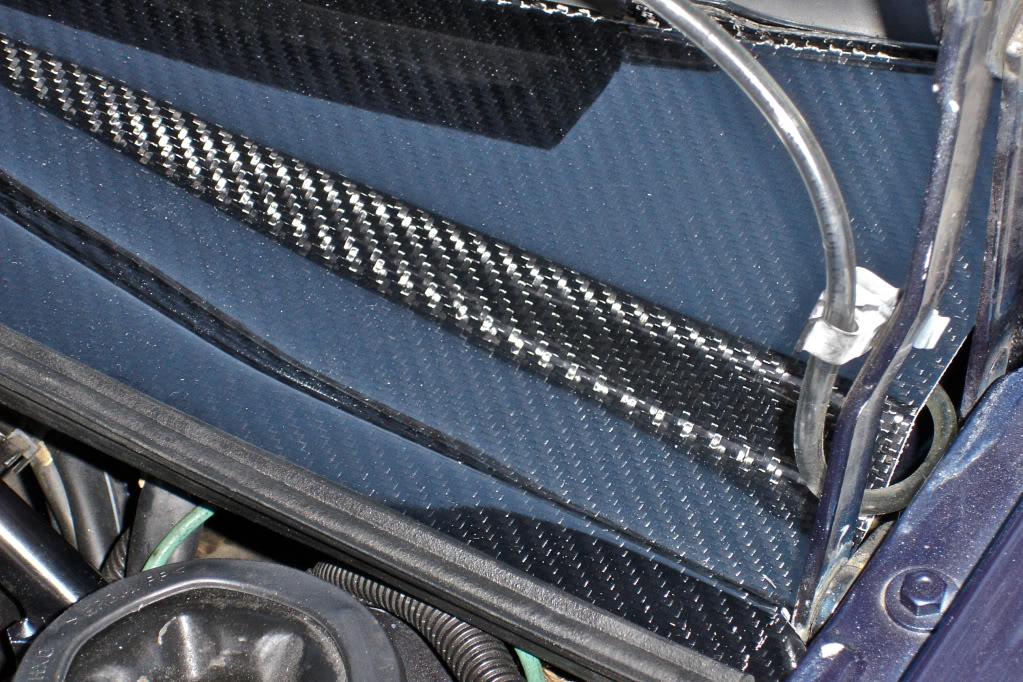
CF Amazingness!!
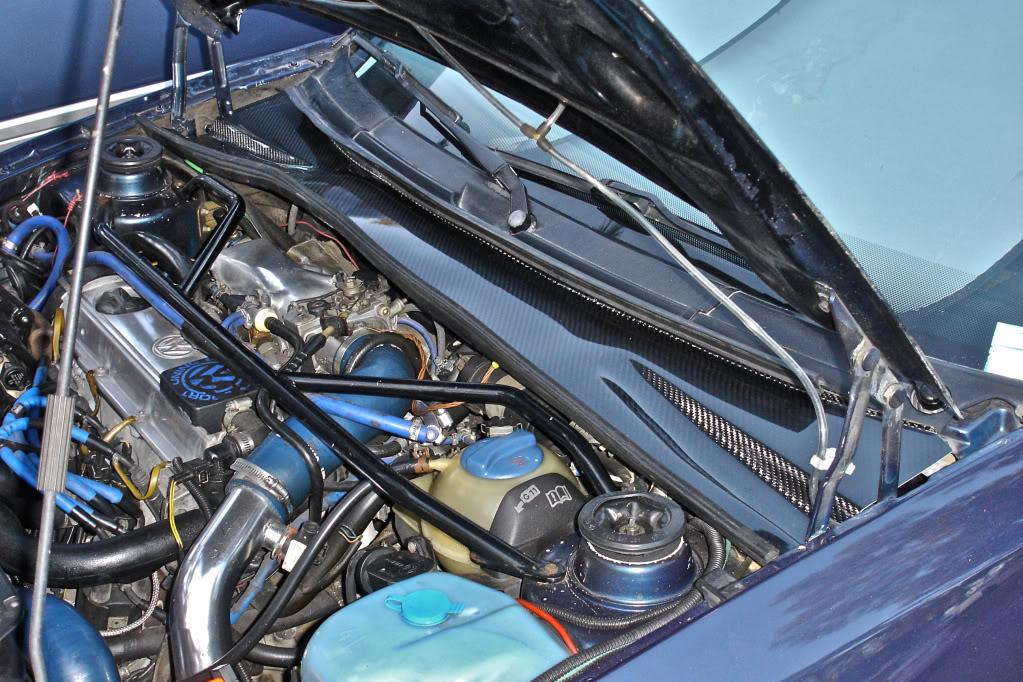
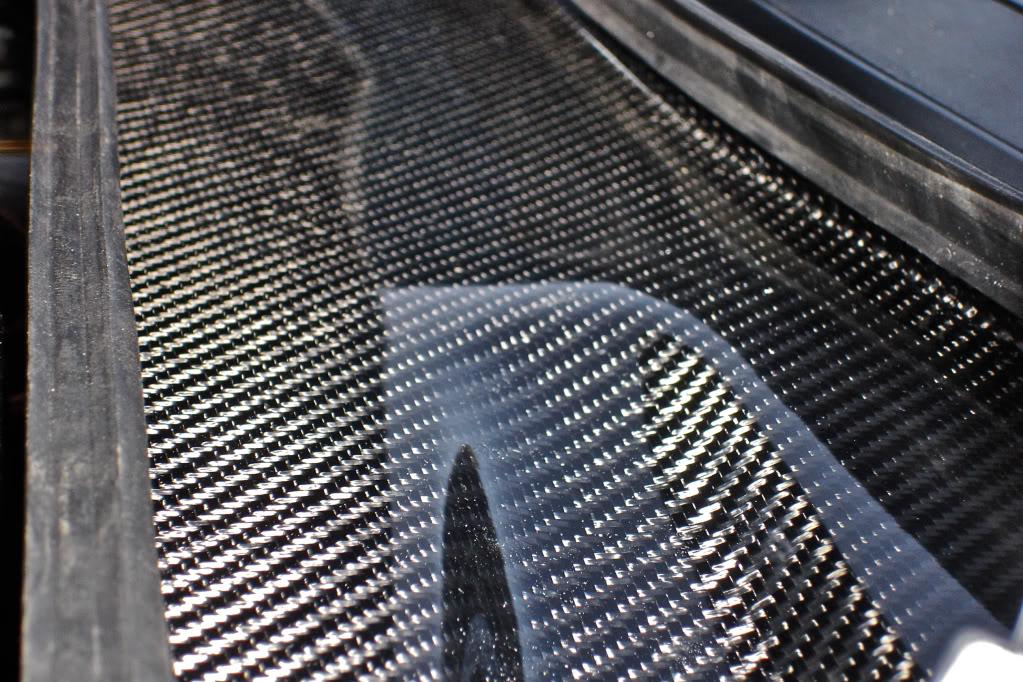
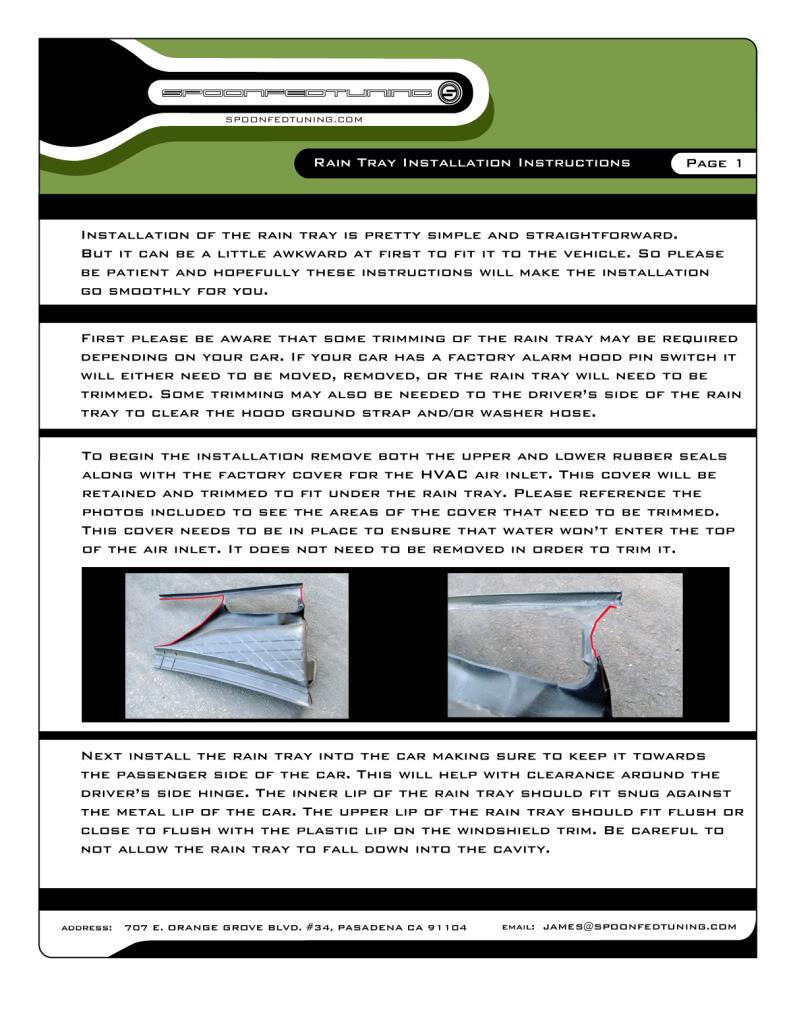
Pretty much! There is a tiny amount of trimming involved to keep part of the factory cover over the HVAC inlet. ![]()
I do want to point out that the factory HVAC air inlet cover is needed to ensure water doesn't make its way into the inlet. Without it water can get through to the passenger floor. That's why it needs to be trimmed and fitted under the rain tray.
Are you referring to the mesh covered piece that snaps into place around the HVAC inlet? I found that mine did not need to be trimmed at all in order for the rain tray to fit above it.
Or are you referring to the original factory rain tray component? Mine like many other G60s' deteriorated so badly from heat that it literally fell apart, and being a NLA part the only replacement I could find was from a Mk3. Different shape, so it doesn't fit under the rain tray you made. Requires complete removal of the old tray component.
I could see how it would be possible for some water to get in through the seam along that far edge, without weatherstripping covering its entirety. My remedy was to cover the entire edge with new weatherstripping, which is still available at the dealer.
I see what you're talking about now... will have to do some further modifications to my Mk3 rain tray to make everything functional here. ![]()
Anyone else who has done the install, feel free to contribute to this thread!
9-15-2010
Did the required trimming to my Mk3 rain tray, and everything is kosher under there!
Edited original post to add Dogger's instructions, as a resource for everyone doing the install.
9-27-2010
A few new pix added...
for the record, Dogger did an install on a VR6 in less than 5 minutes.
12-7-2011
I did see that problem on a friend's car. We used a mirror and saw the dash bolt on that side was crazy long. Not sure if that was the result of a heater core job gone awry, or if the factory just had some unusually long bolts around that day when they put it together. Stuck a dremel down in there and cut off the excess length. We also trimmed the part of the wiper assembly slightly where it was contacting, just to be sure there was clearance. Only needed a couple millimeters.
^ Yup! THAT!
So glad for other people who are able to see the obvious. Helps those of us who over complicate things.