You must be logged in to rate content!
17 minute(s) of a 176 minute read
5-28-2008
4 struts, 17 inches, 2 switches: my built thread
Compliments of Afazz @ www.VWVortex.com
09-28-2009
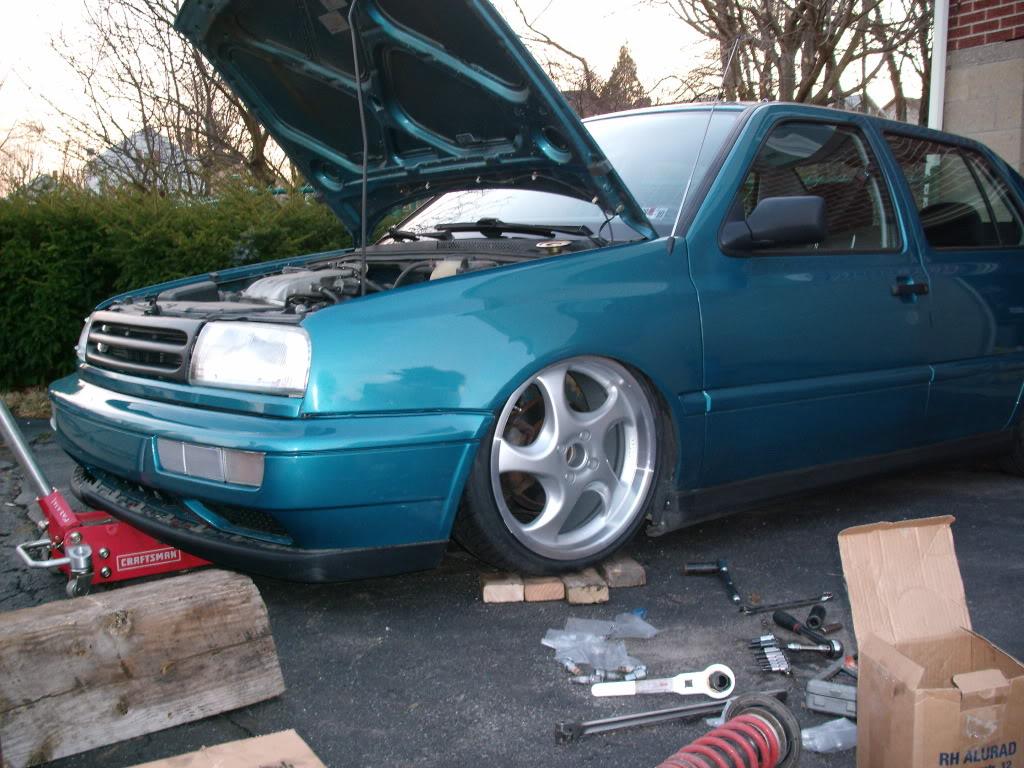
I finally got the suspension finished last week, just in time for H2O! I met so many people, everyone was super friendly too many names to list, but it was nice to meet you all! I got some positive feedback at the show, thanks all for the kind words I wanted to show some of the build pictures with a little explanation of how I did things.
I've been working on this for the better part of 2 years, with the metalwork starting back in ~May 2008. I decided to keep it quiet, mainly because there isn't much worse than a well publicized failure! The whole concept was pretty wild, and the project as a whole was so large I wasnt sure it would ever be finished. I want to thank the few that knew about it, both for the advice and motivation and for helping keep it low key. I also want to apologize to the people I blew off when they asked about it, I wanted to keep the hype and BS to a minimum and just wait until it was finished to show everything.
Before:

So back in ~November 2007, a month after H2O sporting a fresh respray, I decided it needed to be lower. I had the lowest coils on the market wound to the last thread, so I needed to do something drastic. I took a bunch of measurements, and decided that using Universal Air Aerosports over my Ultra Lows simply wouldn't be low enough. I looked into Easy Street fabrication kits, called and spoke with them, and decided they would probably lay the car on the frame with a 205-40-16. Then I decided I wanted to lay subframe on 17s.
Keep in mind this was before Bagyard had sold anything stateside; before Mason-Tech had their air kits available; before the Air suspension forum. After narrowing my options and making dozens of phone calls, it came down to two choices; both would be custom designed by myself. One was an airbag setup using a Universal Air Airhouse bag with custom upper and lower plates, and either a shortened Koni strut or a shortened Bilstein Sport. The other was a hydraulic lift coilover I had been thinking about for years, similar to those used in RUF cars, the Bugatti Veyron, some Lamborghinis, and similar to the weight jackers used in circle track racing. Both would be a bit pricey, both would take some time to design and make, but the hydraulic coilover had some distinct advantages. First, it would use a coil spring and shock, which offers predictable and familiar ride and handling characteristics. It would also be placed beside the tire, just like a coilover, allowing me to go super low. The air setup would have to go above the tire, yet below the hood, and even after some careful measurements I wasn't sure I could lay subframe on a 205/40/17 and still have a bag above the tire. So I decided to go hydraulic. I began design in November 2007.
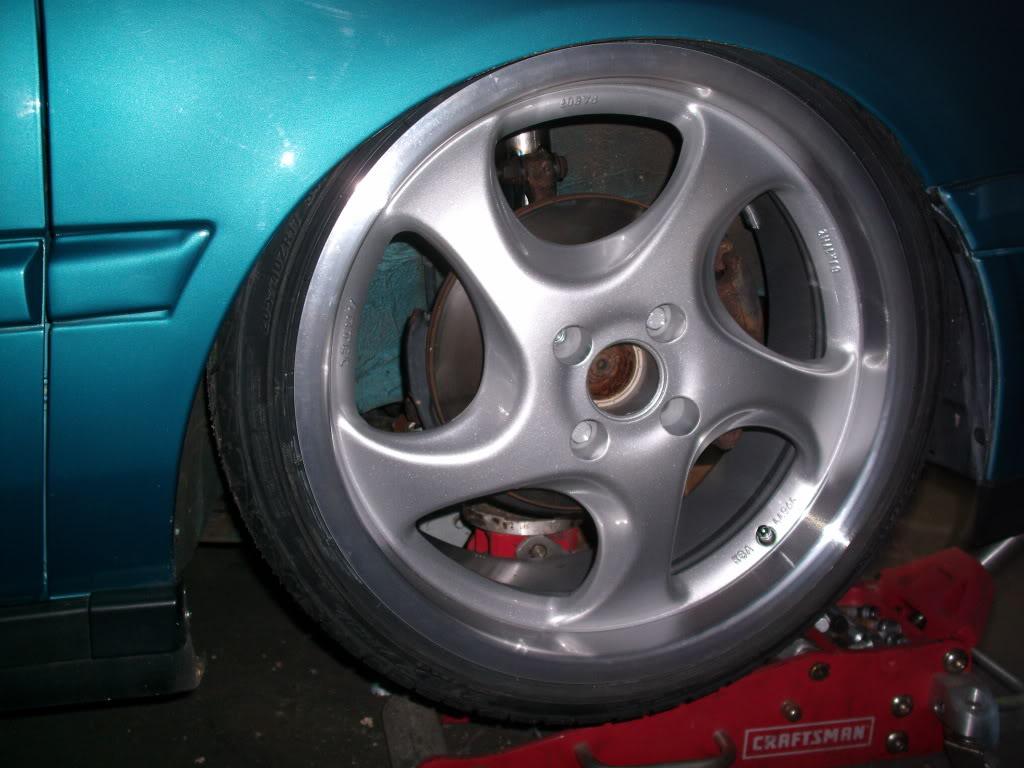
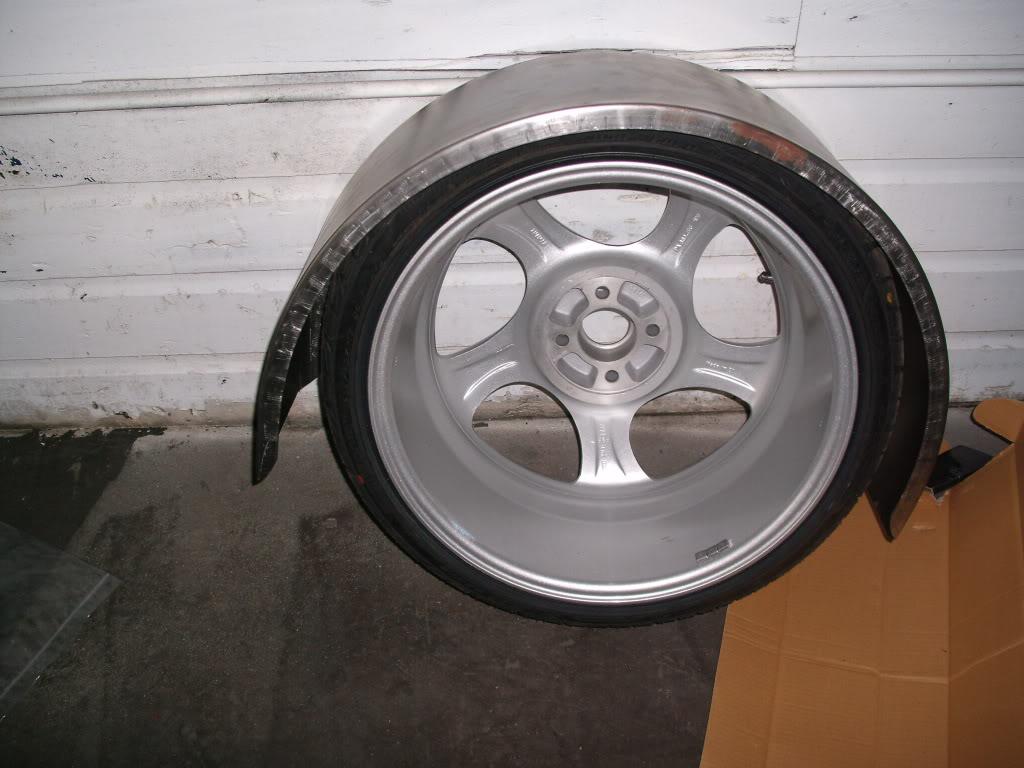
I fell in love with the Artec PA wheels the first time I saw them in Dubmeister's PVW ad, so I had a set ordered in January 2008. They came in 5 days after order, and I couldn't have been happier with the process! The dollar/pound exchange was favorable at the time, so the price wasn't too bad for a set of 17x8 in 4x100 bolt pattern.
EDIT:
Pages 1-9: build
Page 9: pictures of the finished car
Page 11: 3D models of suspension parts with explaination, more pics
Page 12: more pictures
Alright enough talk, on to the pics! I didn't have my own camera until Christmas 08, so I apologize for sparse documentation at the beginning.
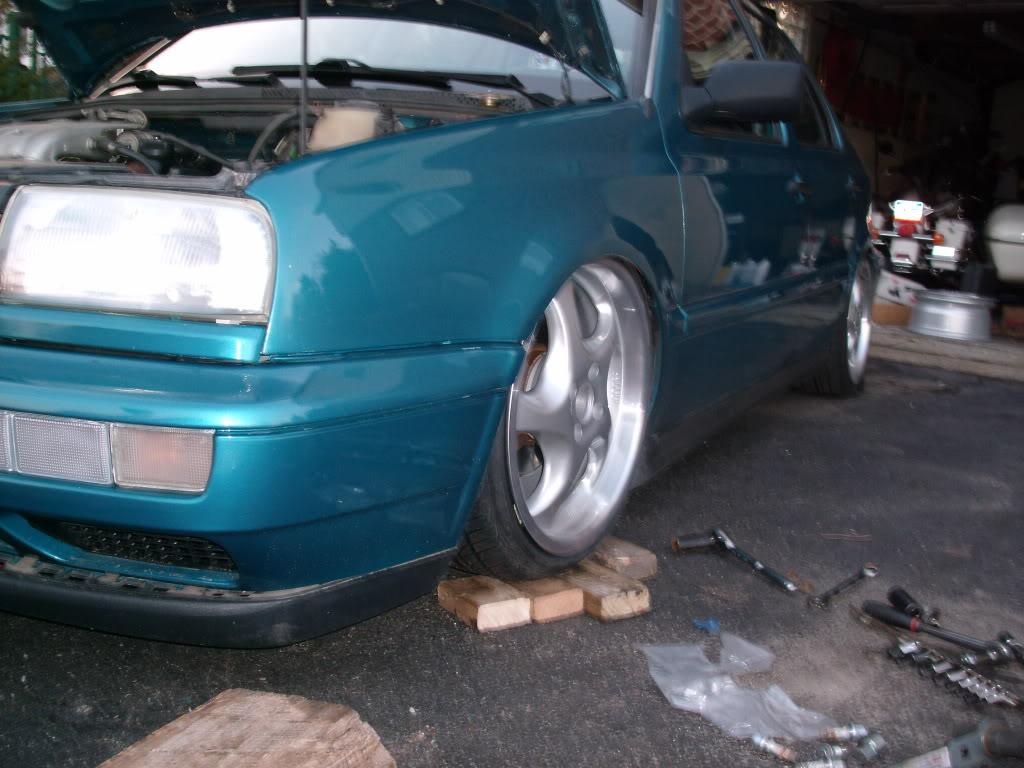
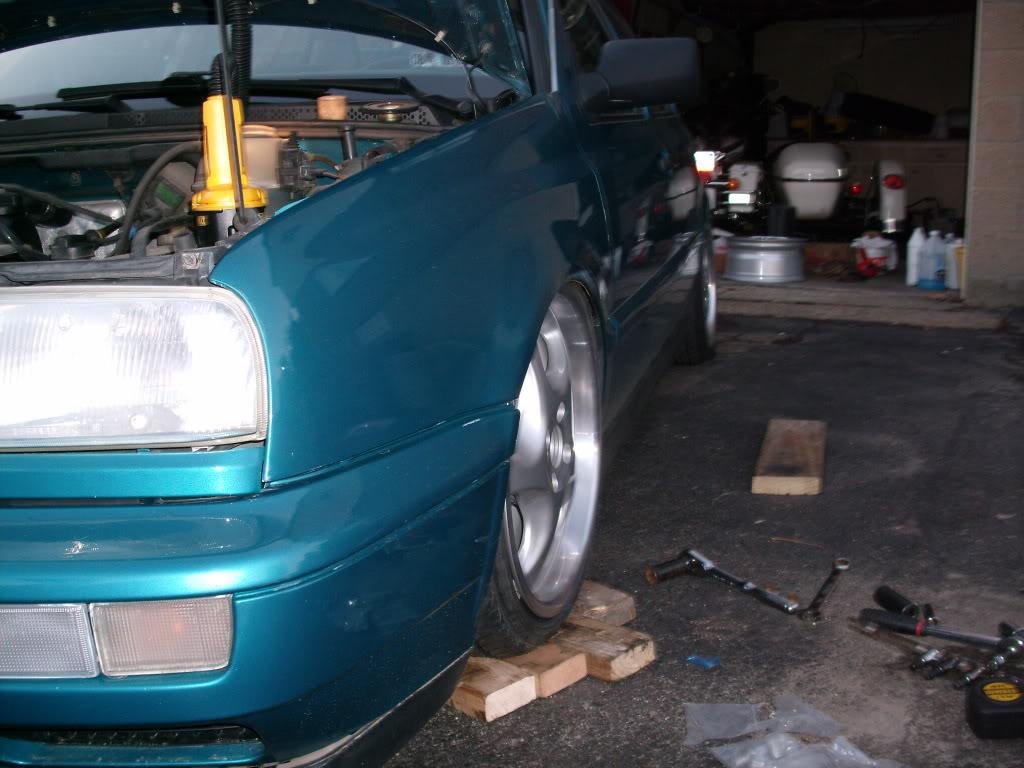
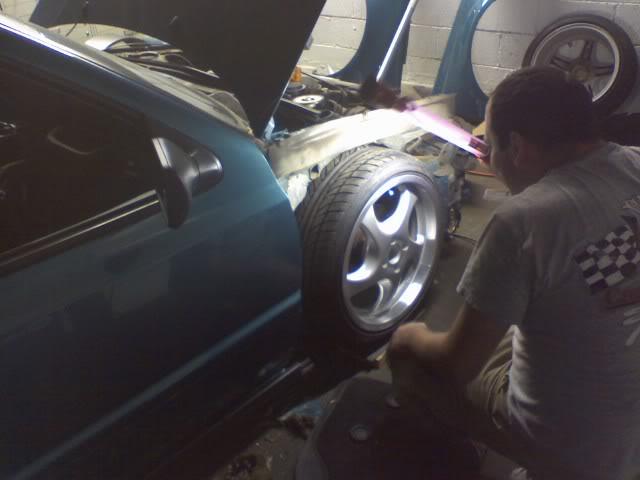
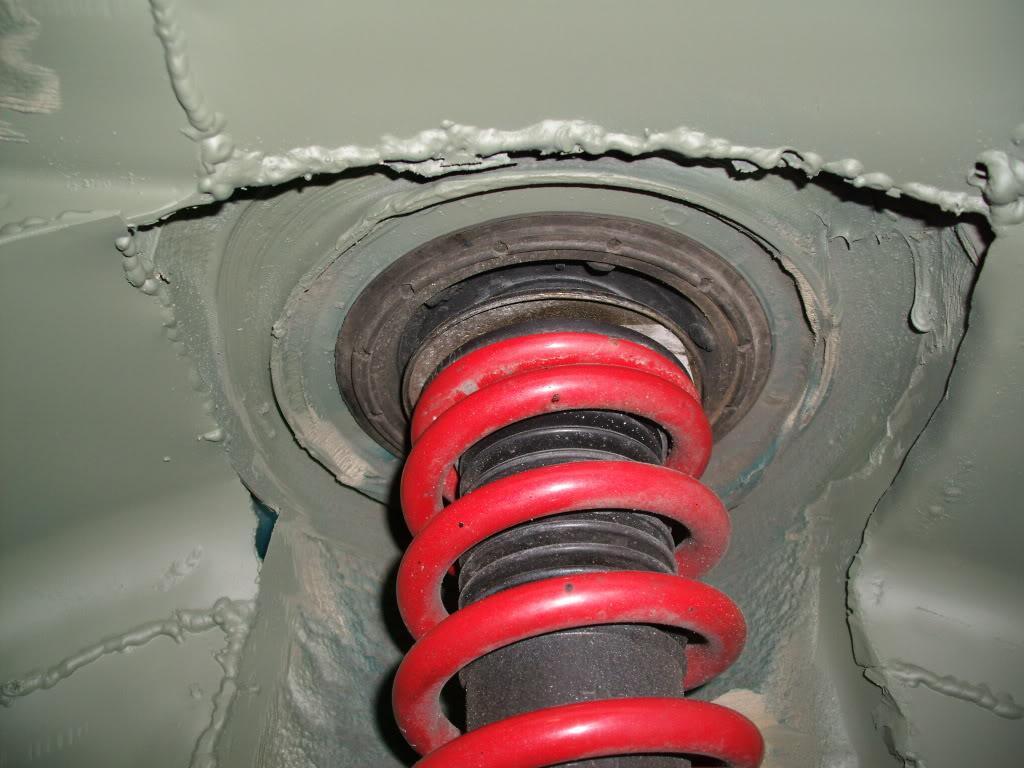
Sometime around Feb 2008, I did a test-fit of the new 17s and tires. I pulled the upper shock mounts and bolted everything up to see how much I could tuck before having to cut into the unibody. The answer? Not enough!!! Plasma cutter on order

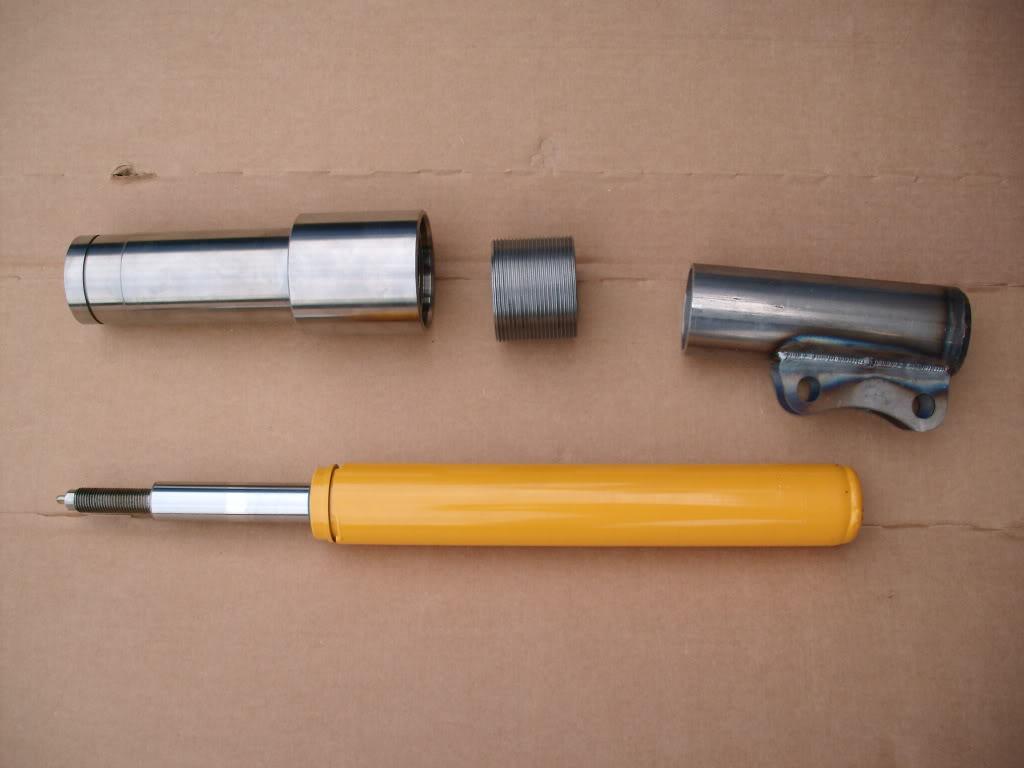
Sometime around April or May 2008, I got some of the strut pieces back from the machine shop. More on this later!
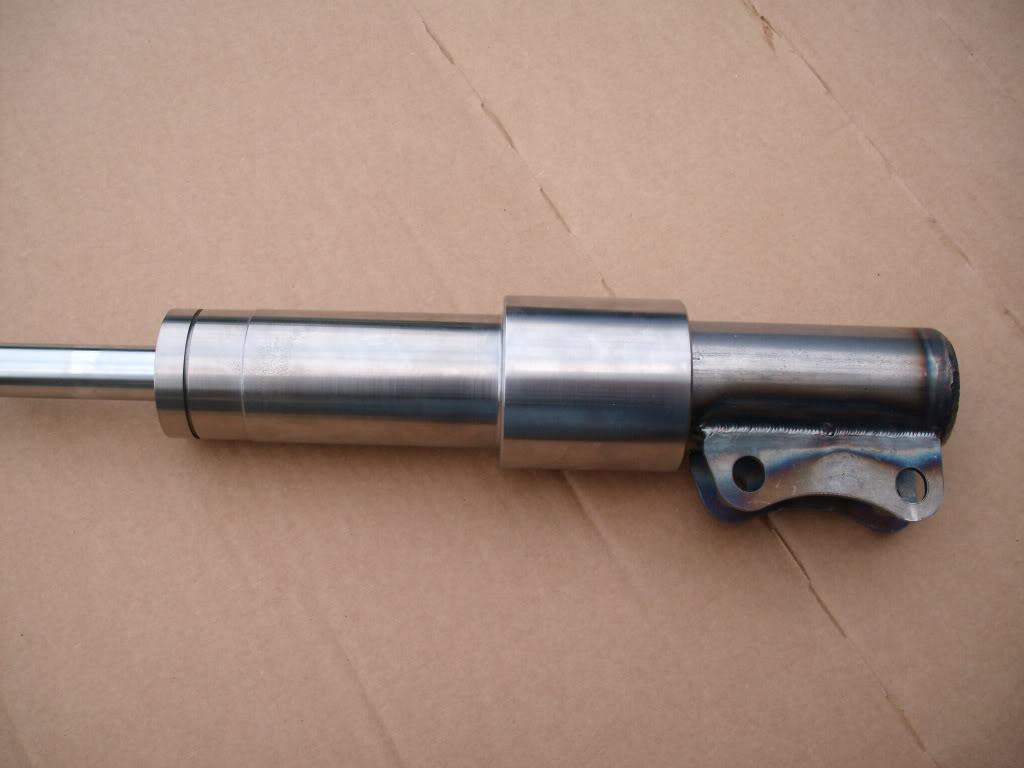
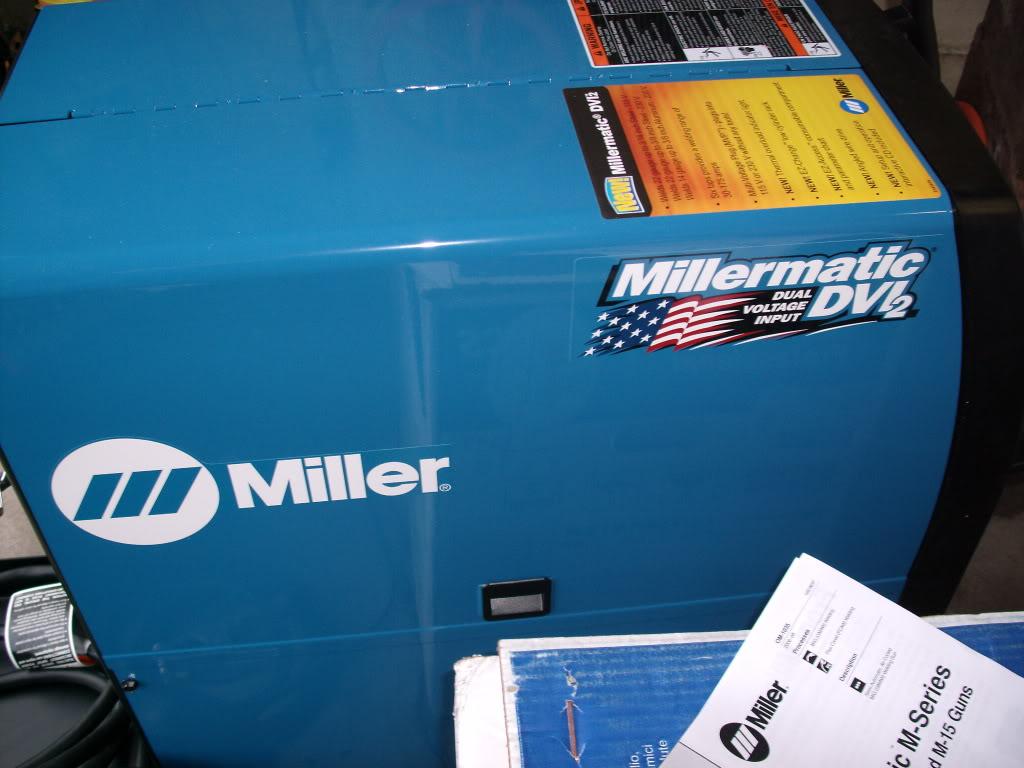
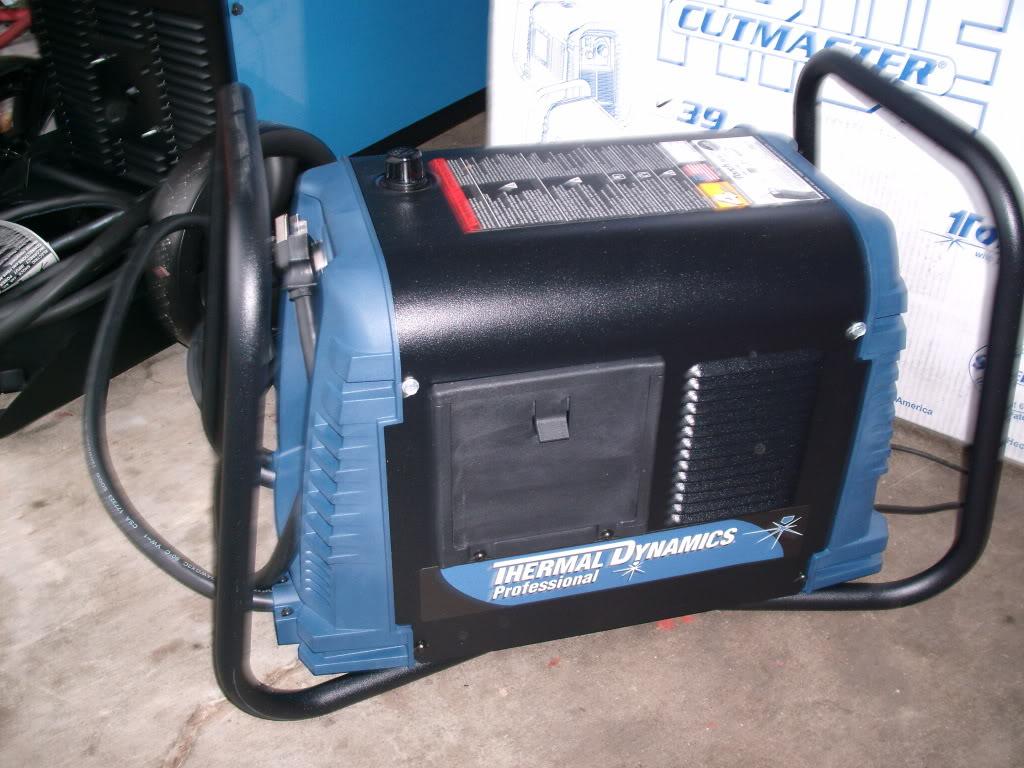
May 2008:
I got my Millermatic DVI2 MIG welder and Thermal Dynamics Cutmaster 39 Plasma Cutter.
Moved into my new garage! After 5 months of searching, I found a place to rent about 20 minutes from my house. 400 square feet, no water, the lighting of a dungeon, but the price was right and it was available! Where shall I sign?
Papa Fazz wiring in the 220v welder plug:
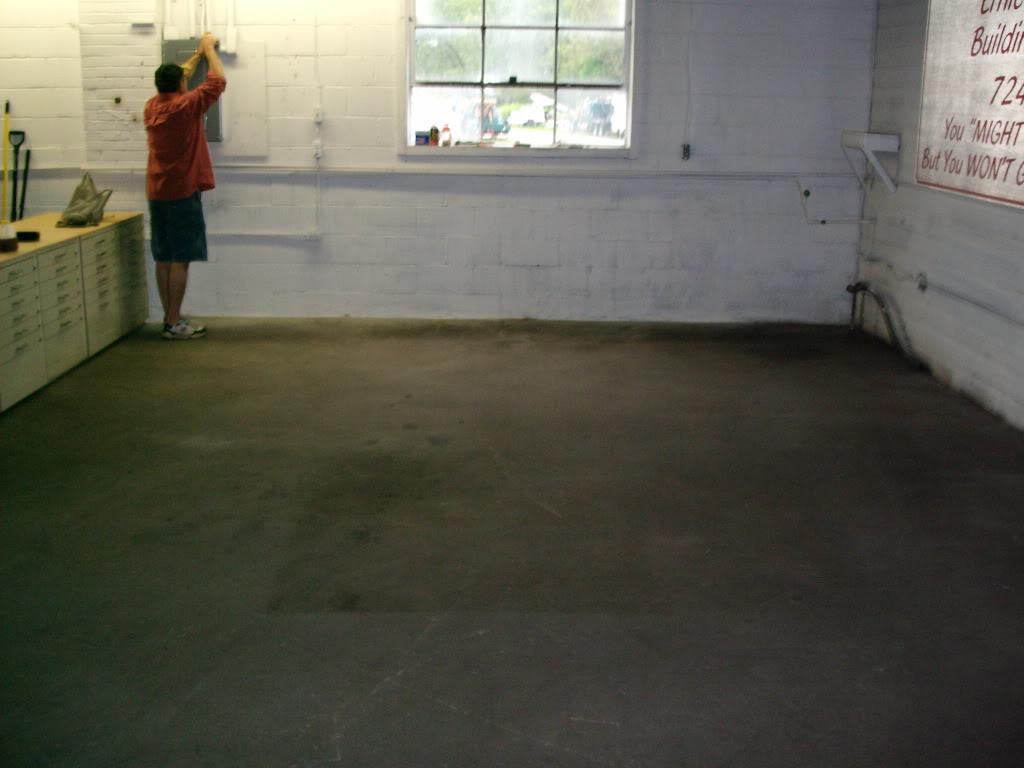
Locked the door behind it no turning back now!
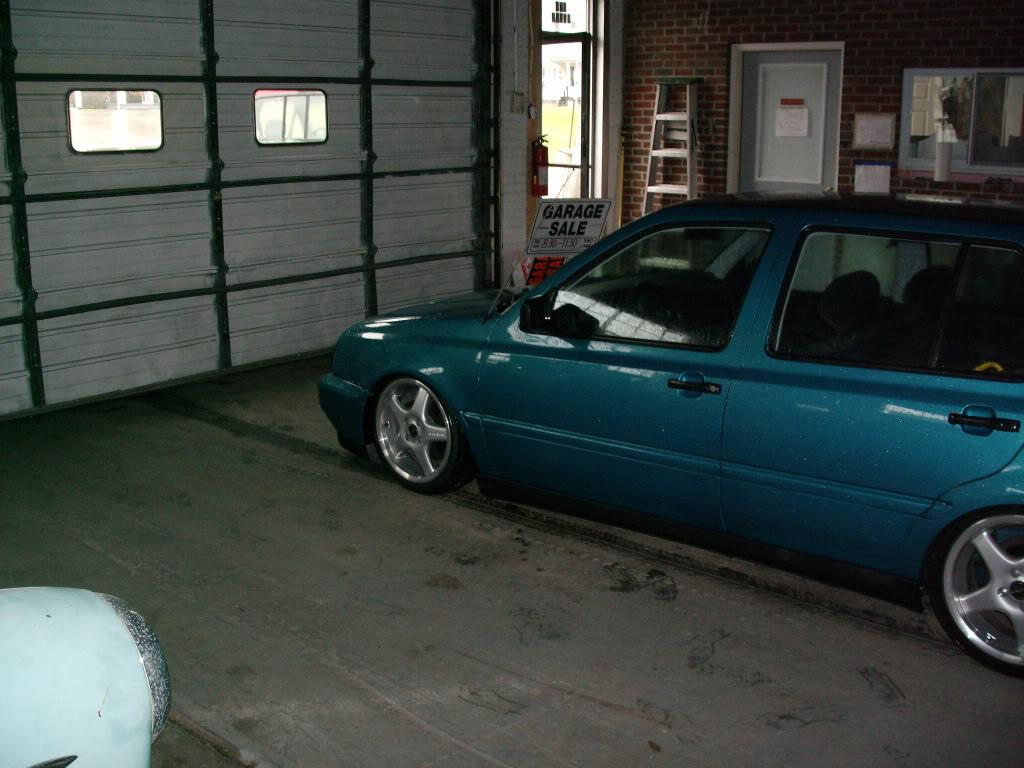
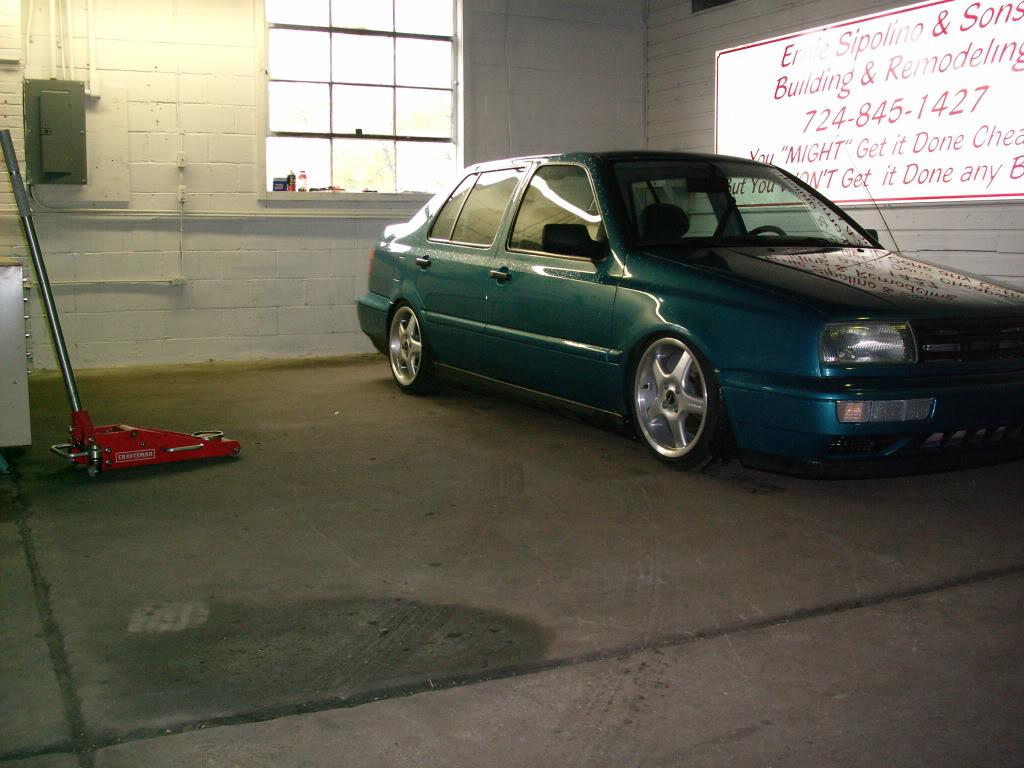
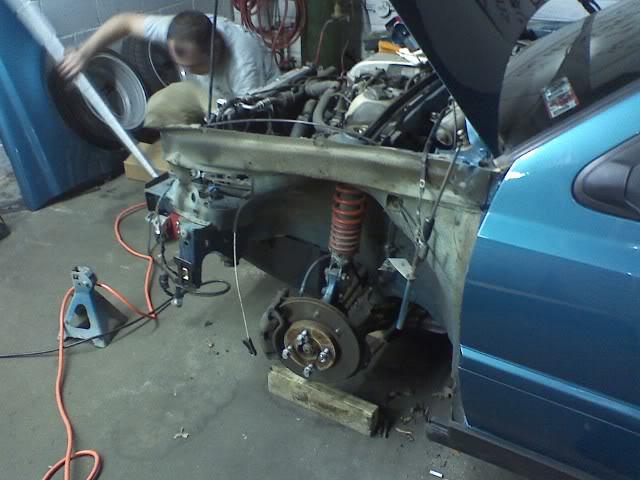
The car in my new laboratory
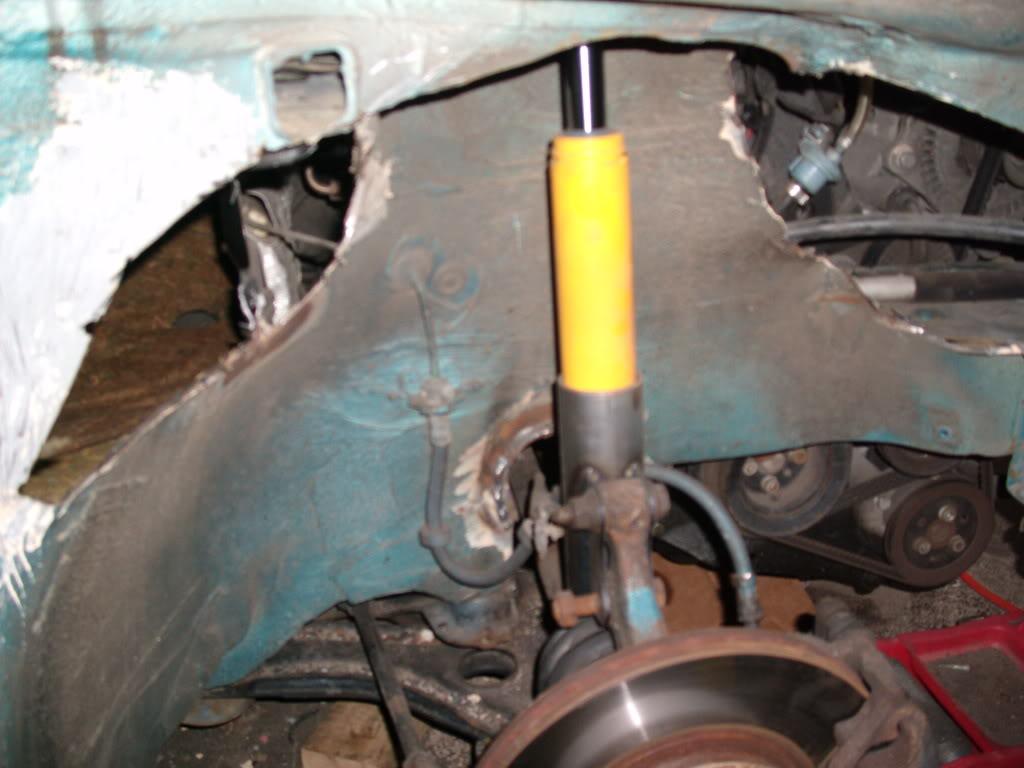
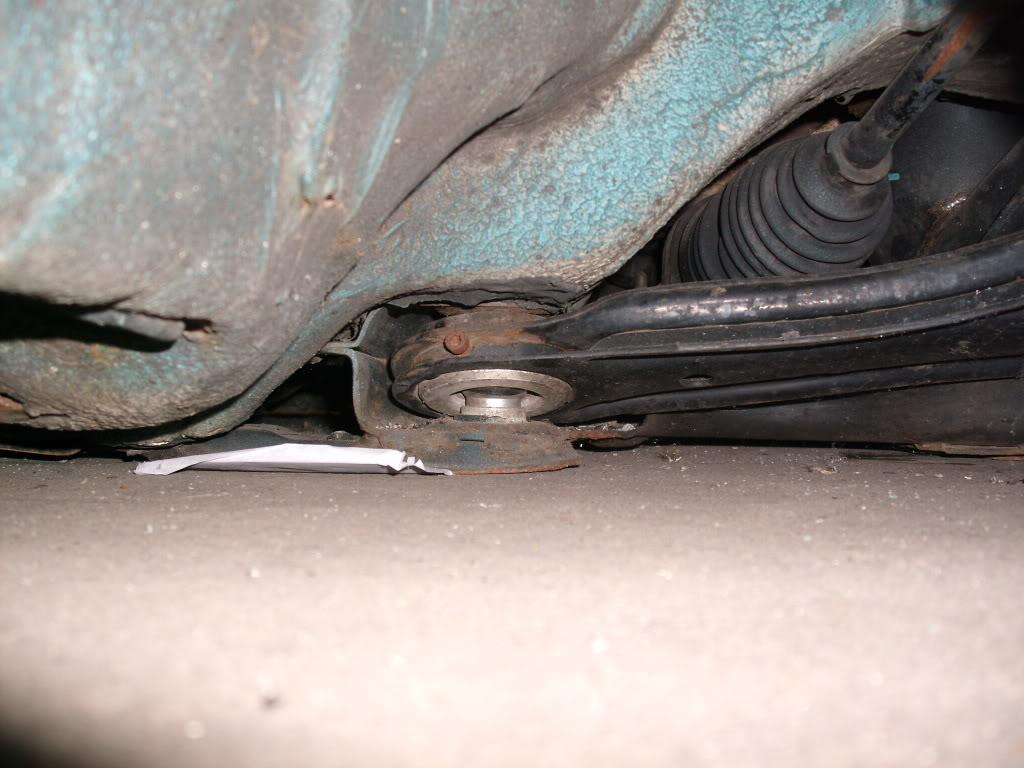
First order of business: C-notch the passenger side frame with plenty of clearance. This was a problem even on coils, so I needed to get that out of the way first.
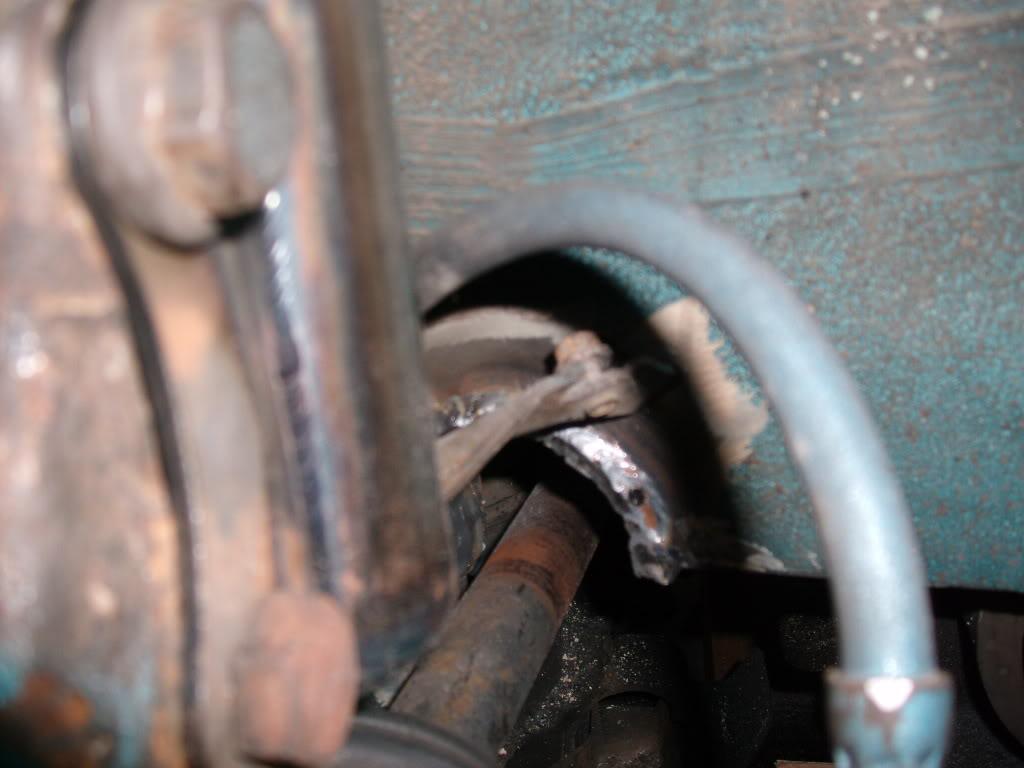
P.S. dont mind the craptacular welds, I was a but rusty! I ground most of them off later and re-welded the notch.
Then the control arm bottomed out.
I needed balljoint extenders, but didn't have the cash right then so I fabbed some up for test-fit purposes. I never drove on these, and wouldn't recommend it
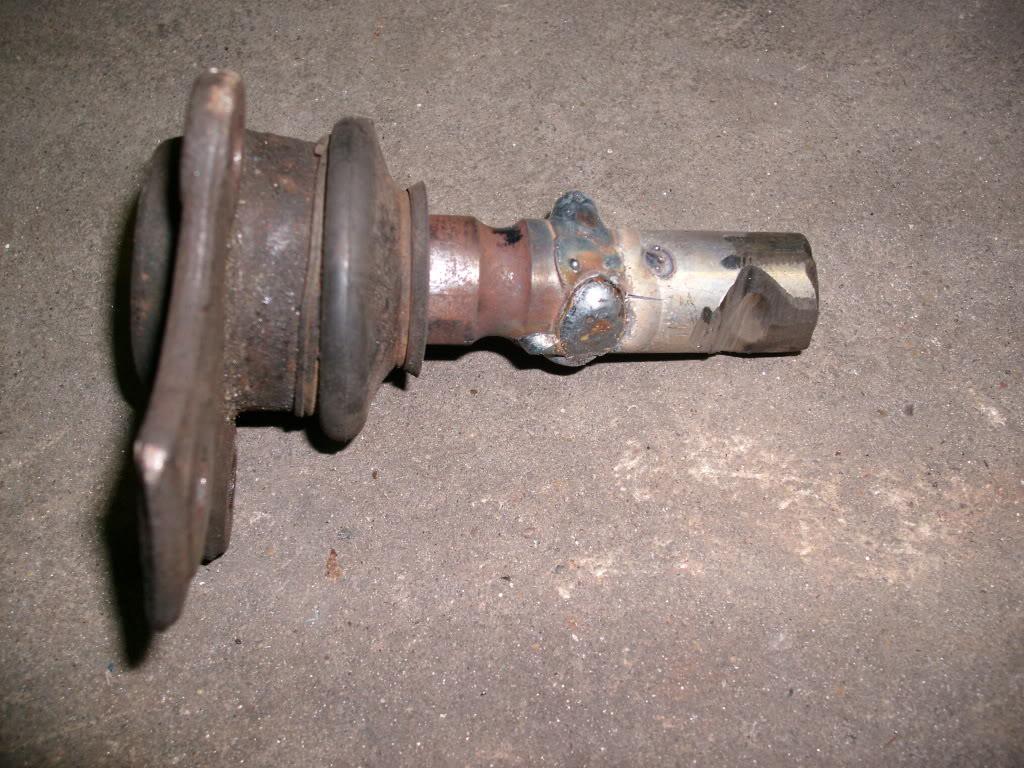
I know everyone is jealous of my welding skills at this point But don't worry, I eventually learned to make the metal stick together!
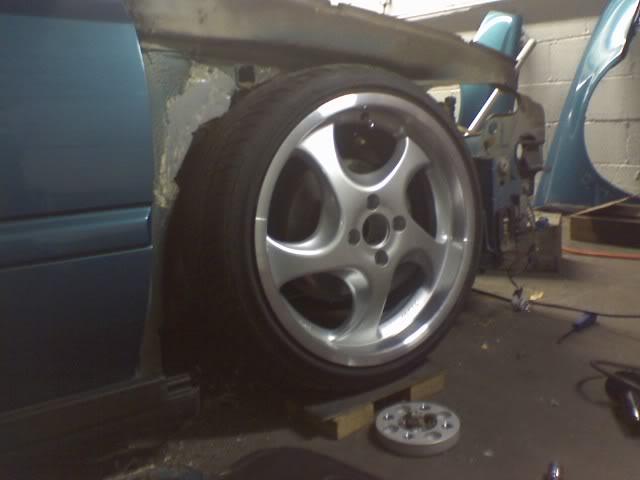
Another test fit; not low enough. Metal must move.
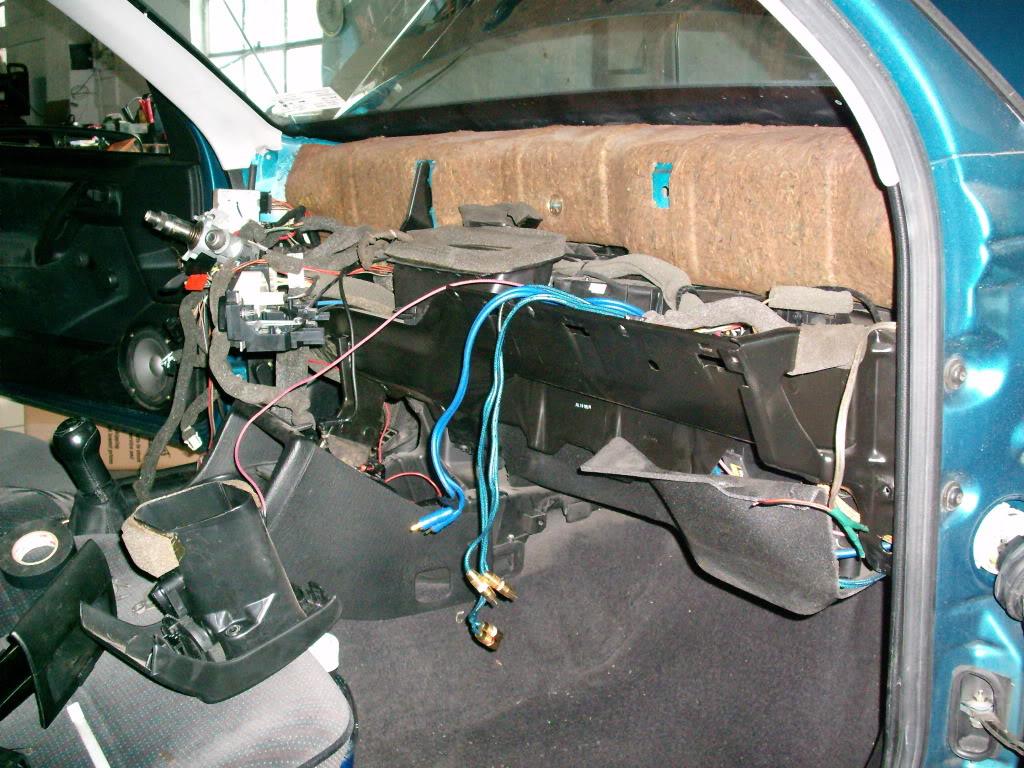
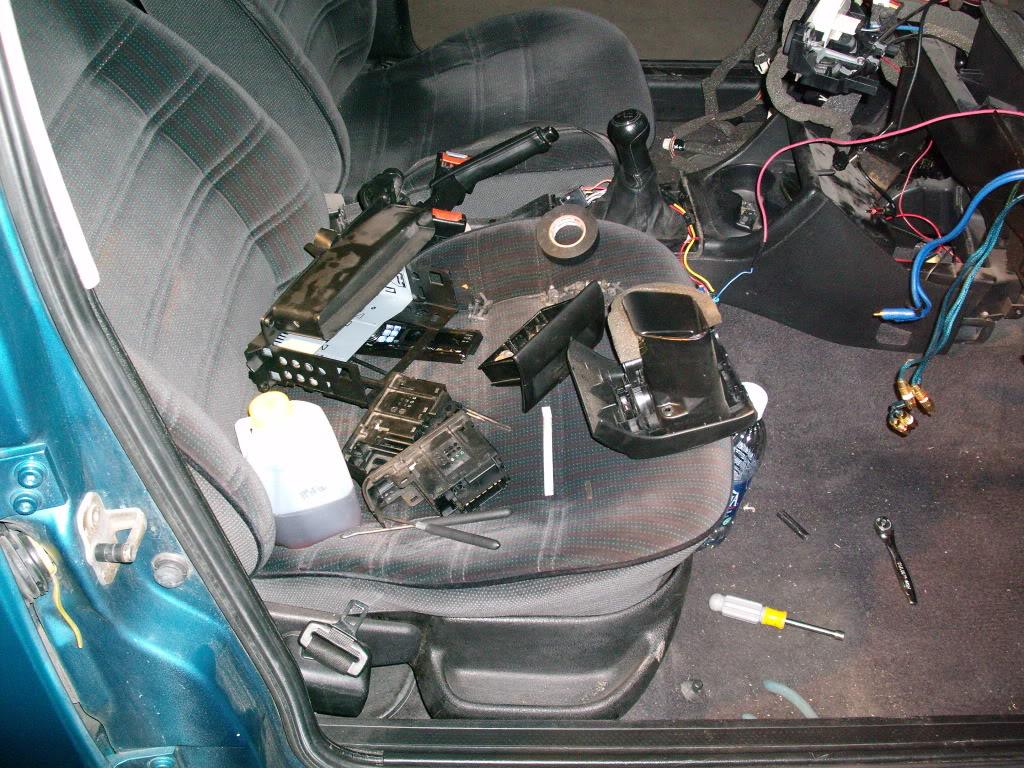
Out with the dash!
So I started cutting, a little bit at a time, all while checking clearances. I wanted to make the tubs large enough to lay subframe on an 18' setup, but just barely large enough to avoid getting sloppy and deleting unnecessary metal.
That's me manning the jack
I threw the fender back on and did another test-fit, and it looked about low enough now. I could then move on to cleaning up the cuts and welding in the new tubs.
I bought some trailer fenders from Ebay to use as wheel tubs:
Then I cleaned up the cuts in the passenger side a little bit
The cabin filter was now in the way delete it!
Made a big mess of shat in the garage;

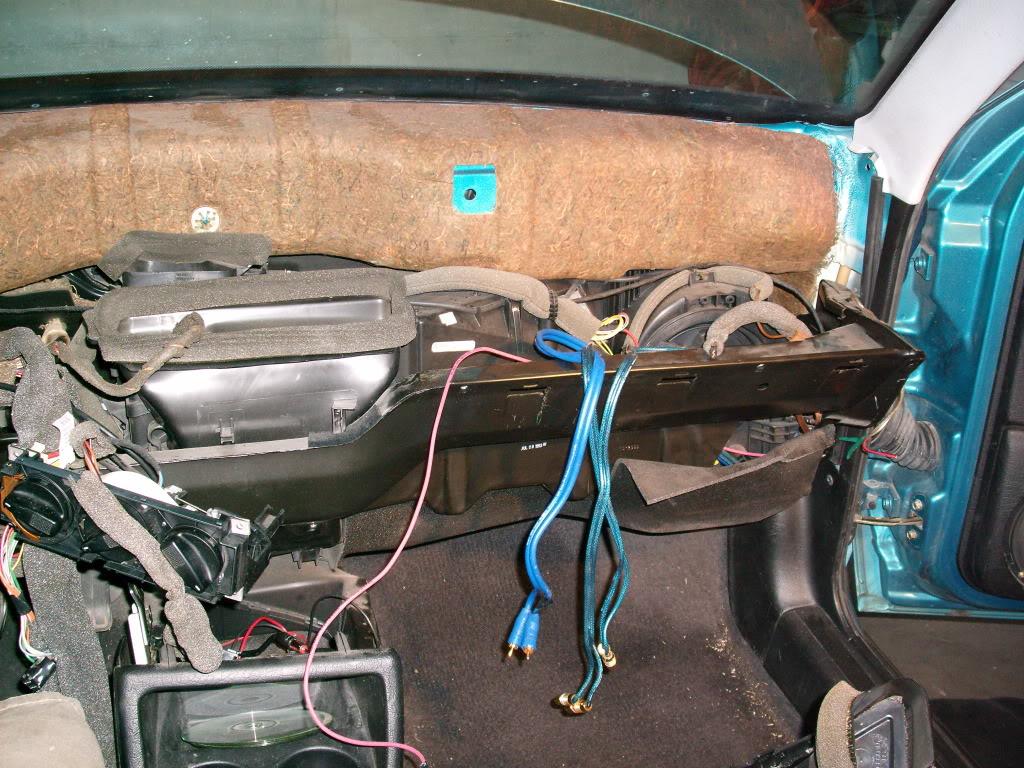
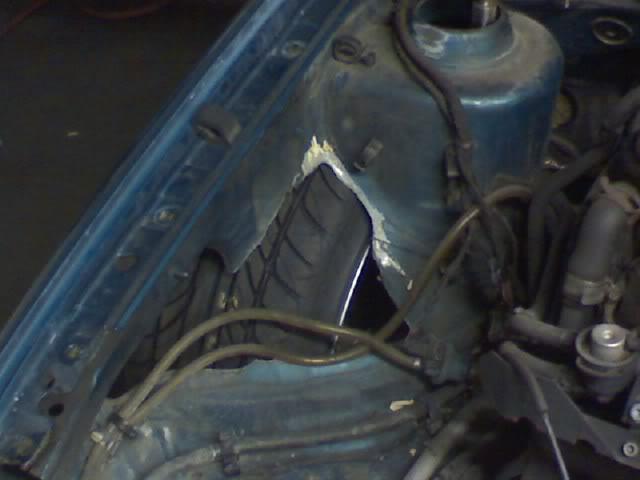
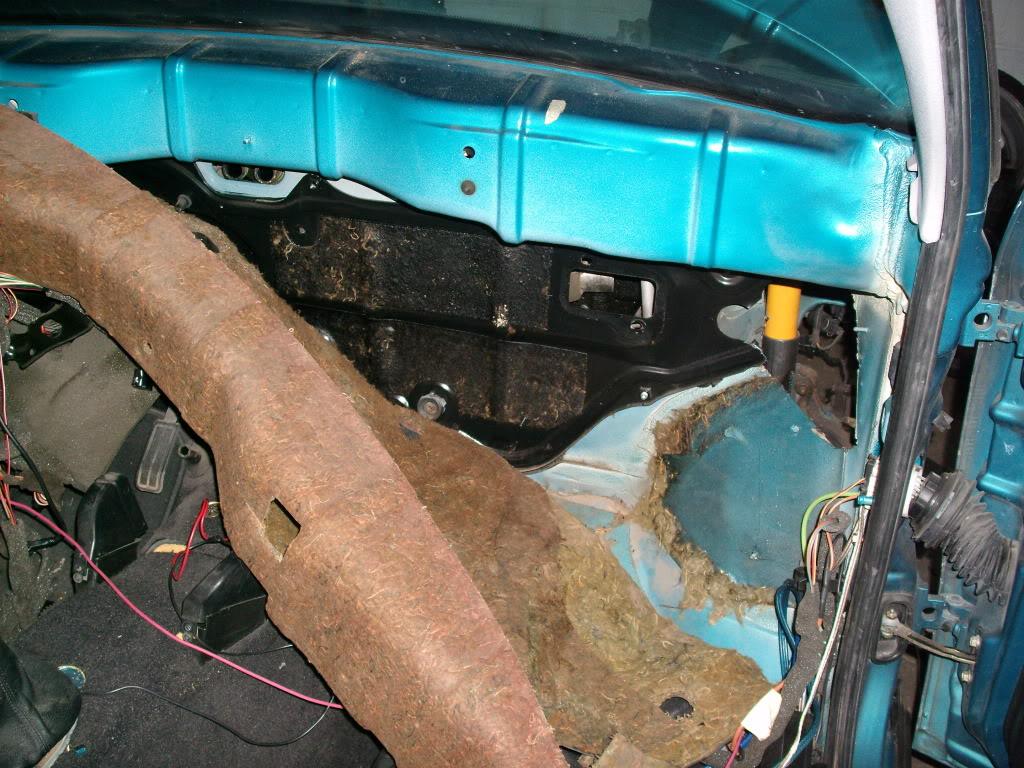
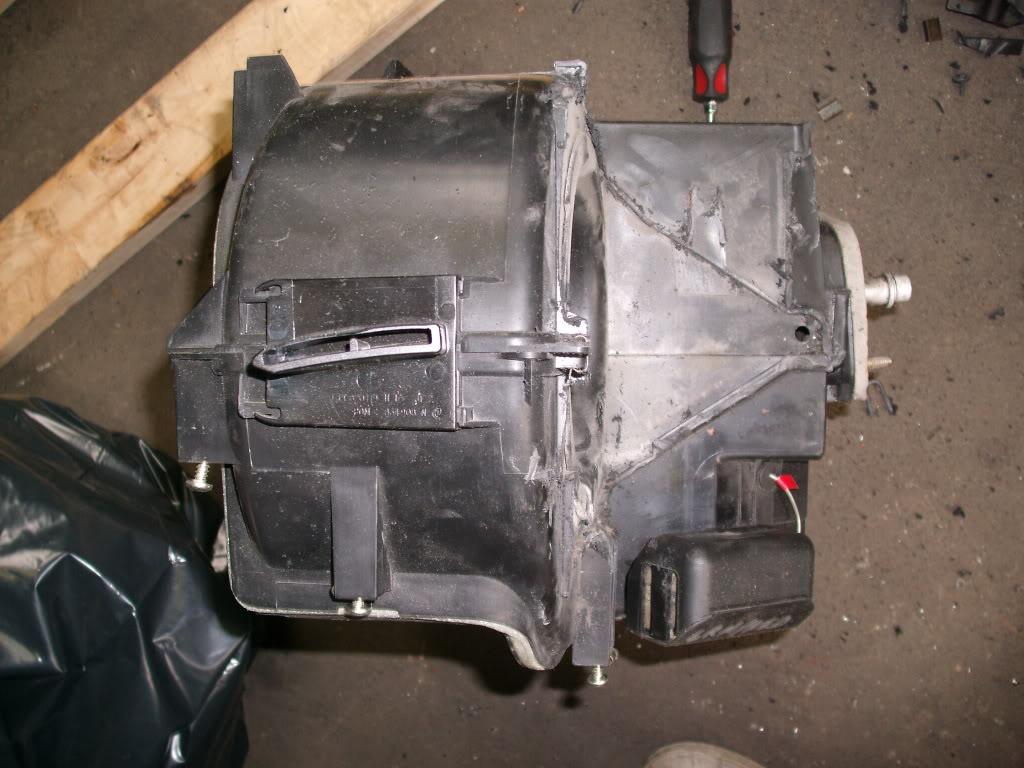
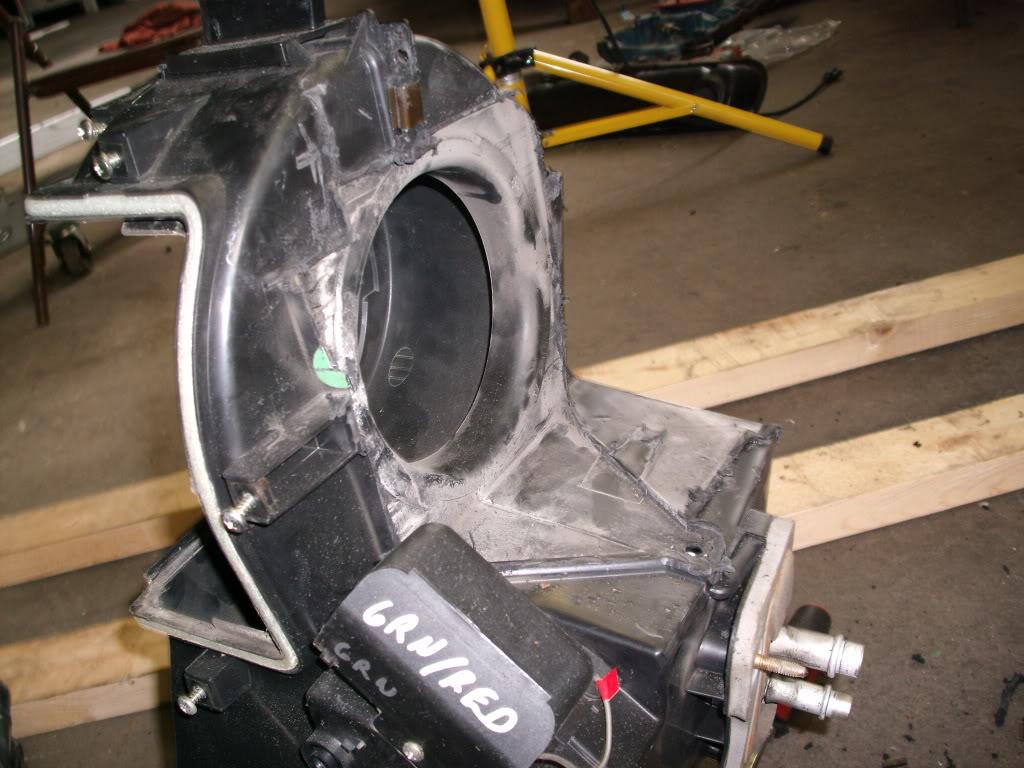
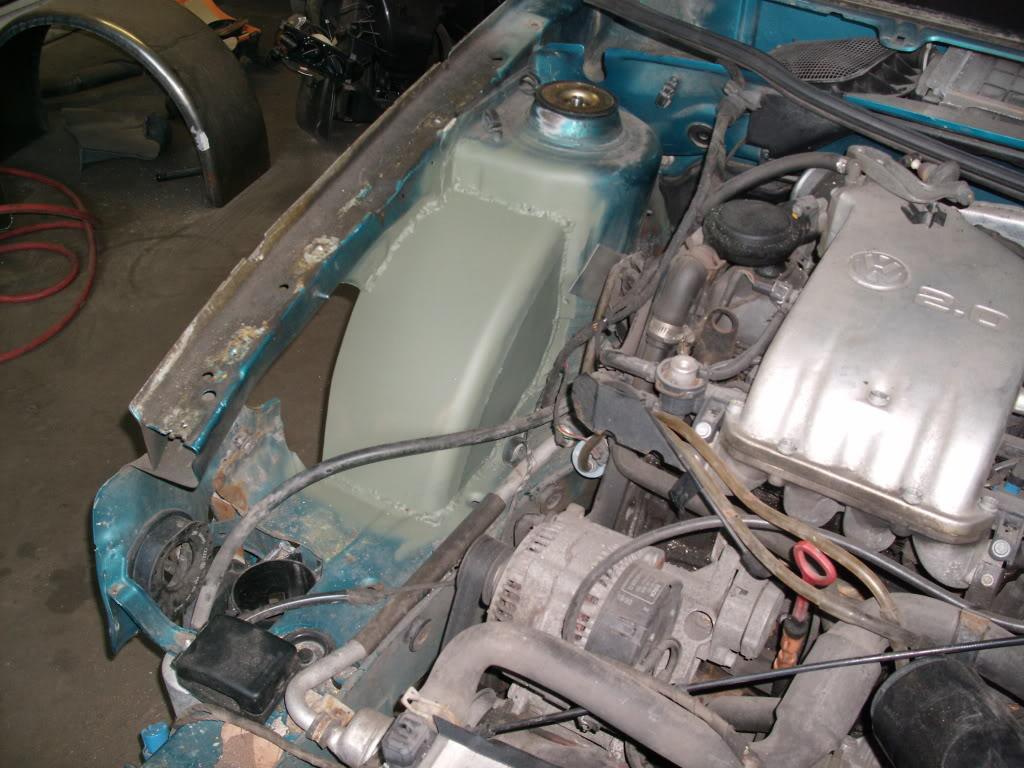
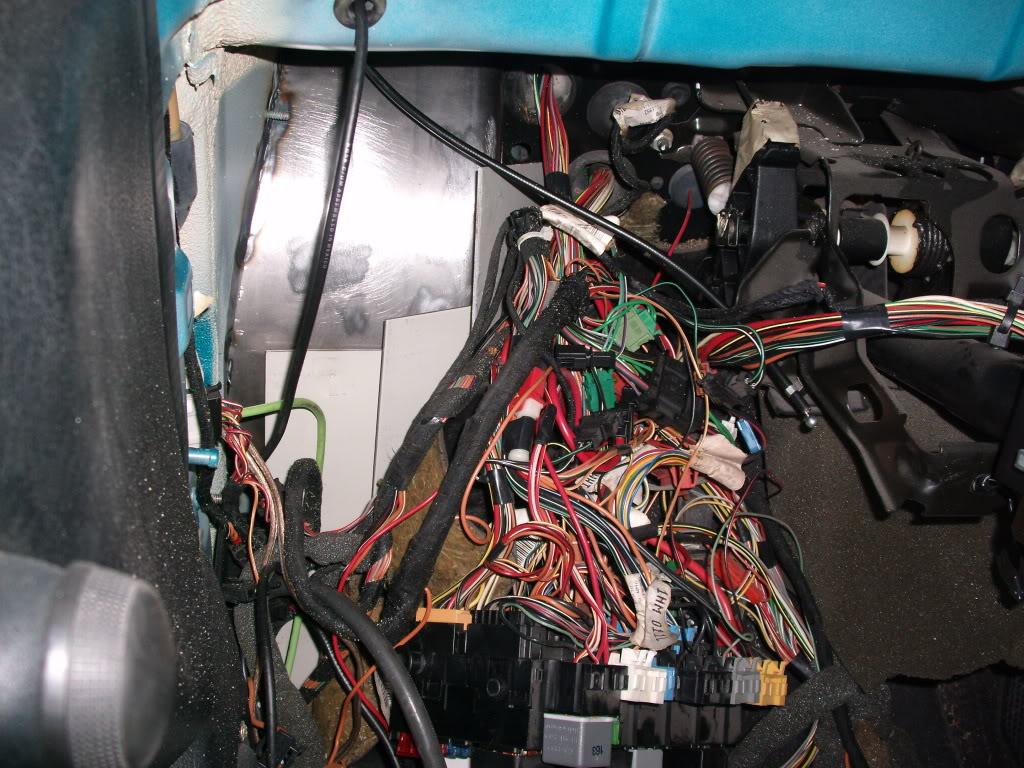
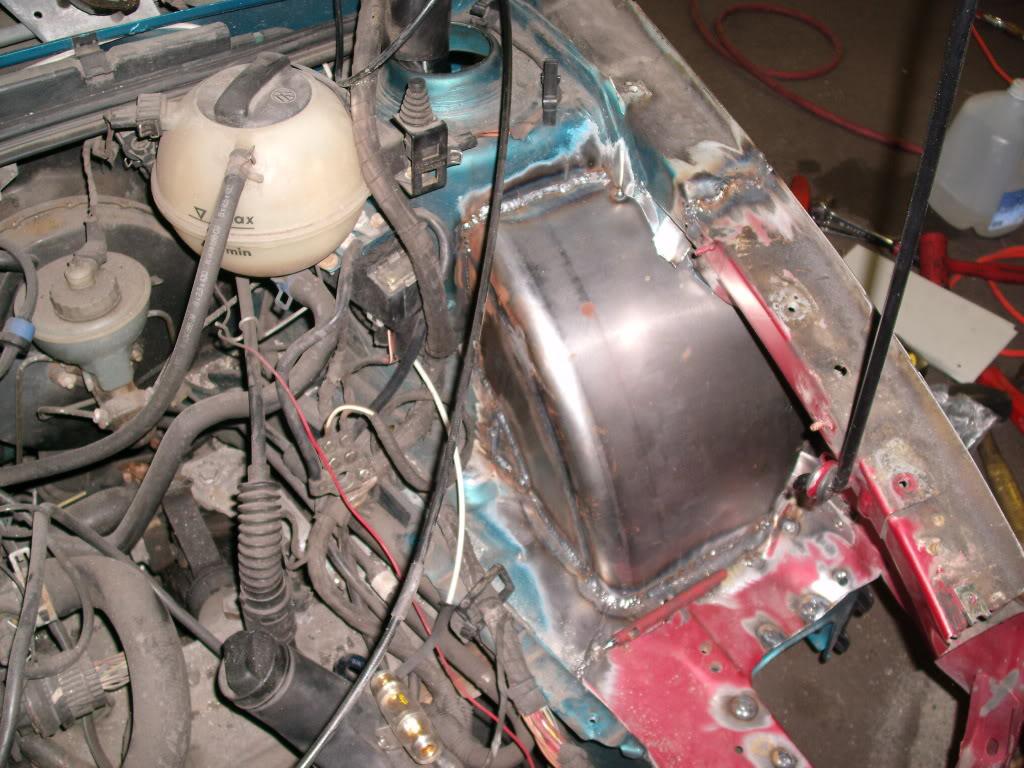
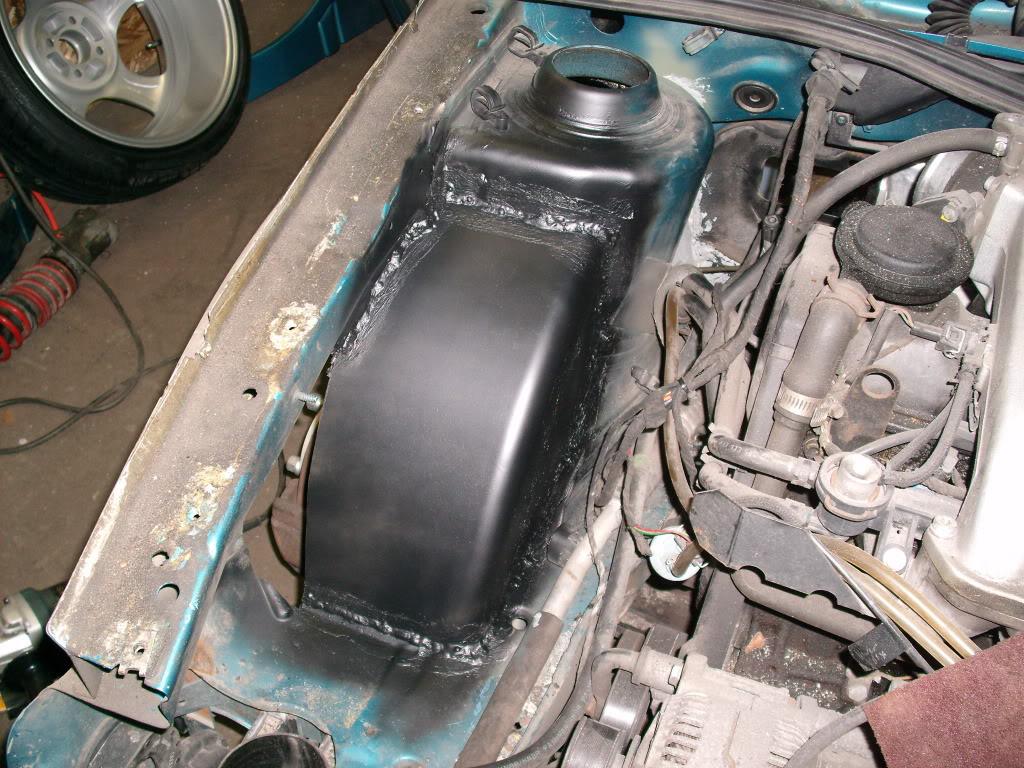
Once the passenger side wheel was in place, and the hole cut through the firewall, the recirculation flap of the HVAC control box was hitting the tire. My windows roll down delete that shiz!
HVAC box, before:
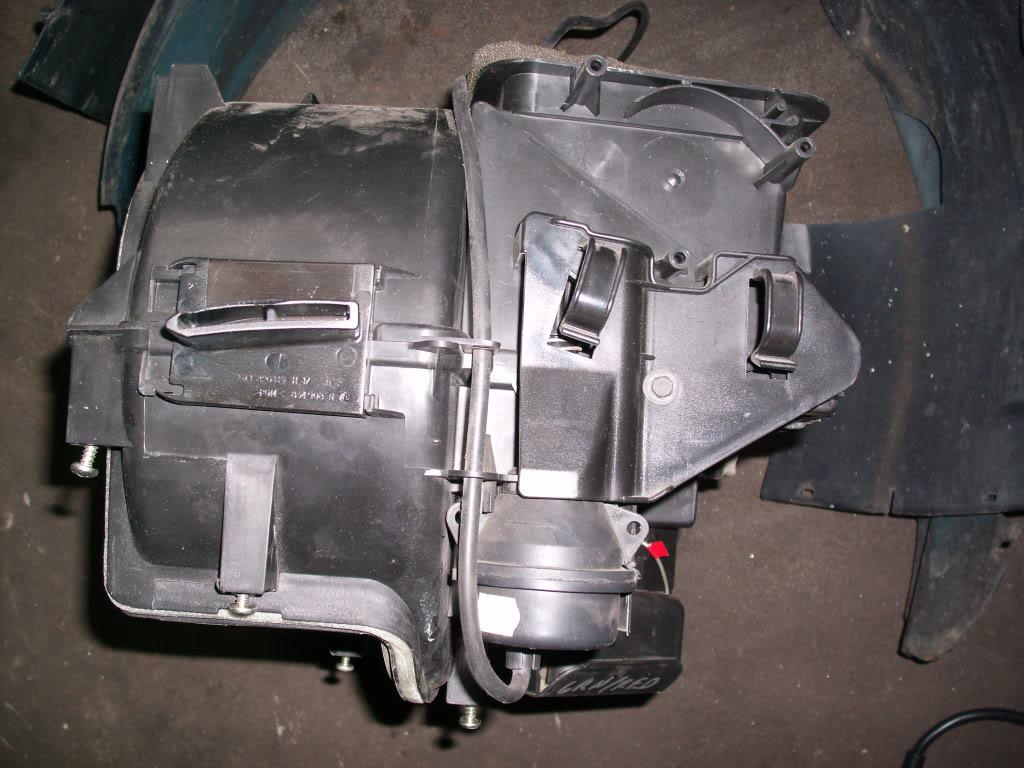
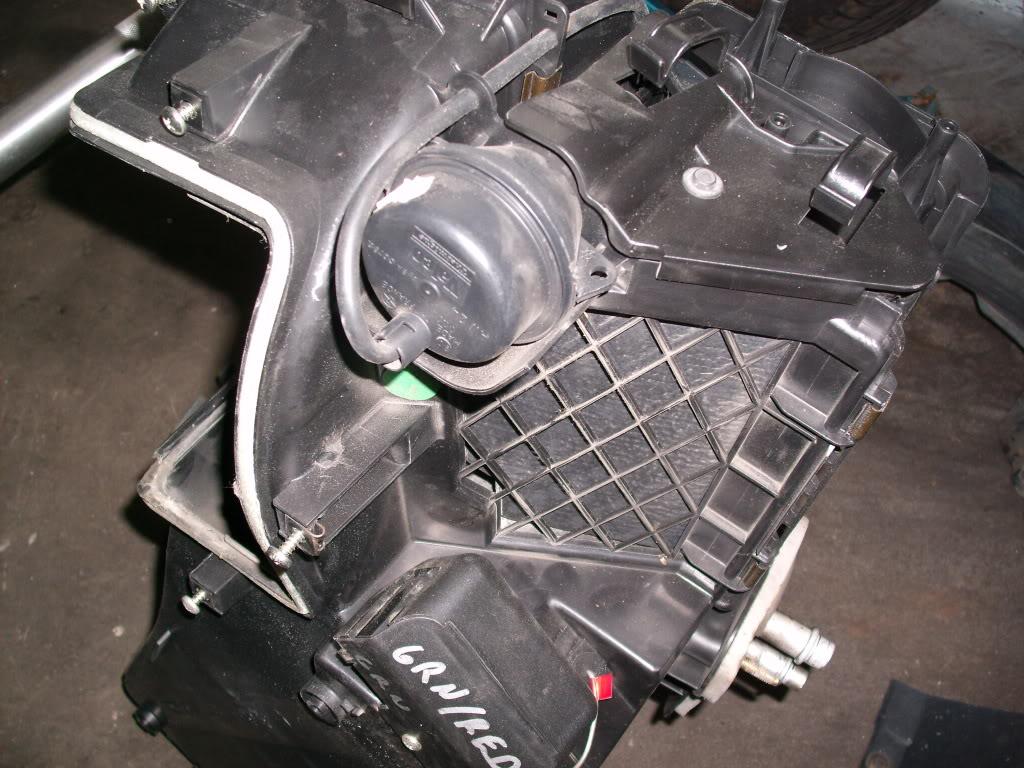
HVAC box, after!
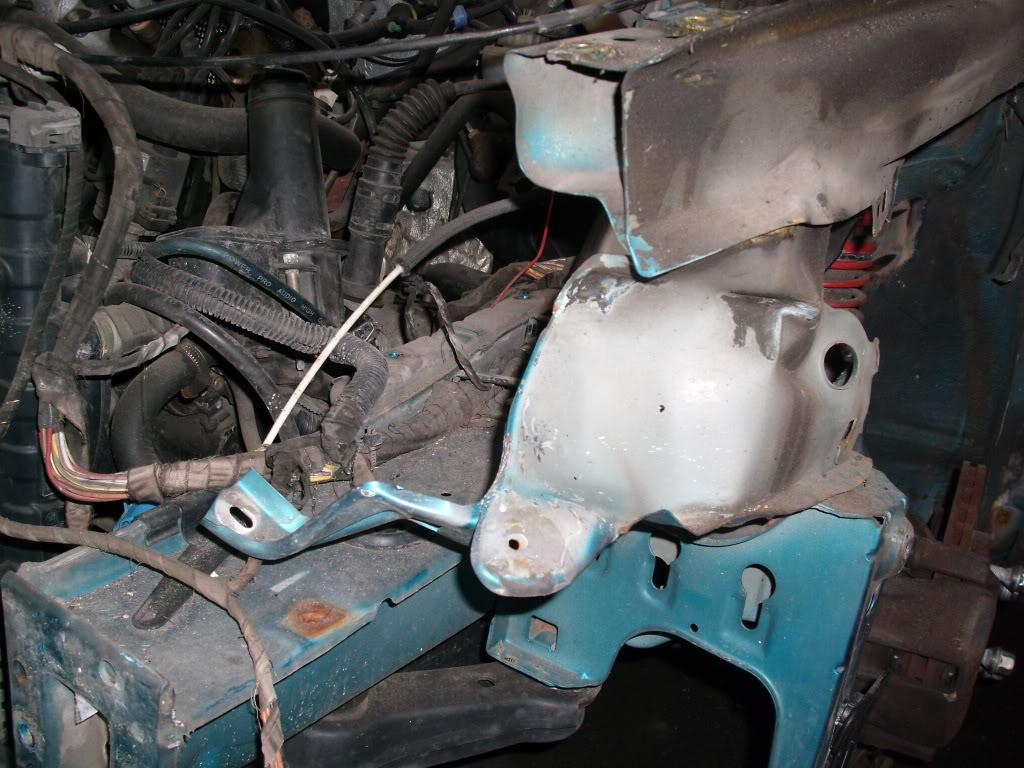
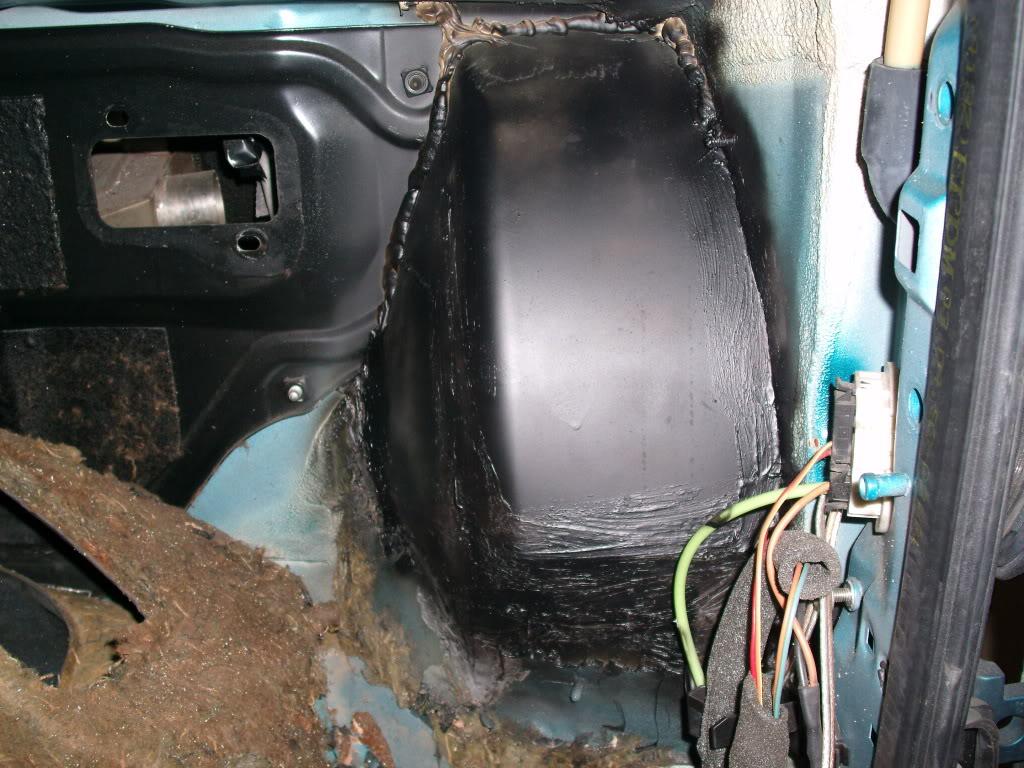
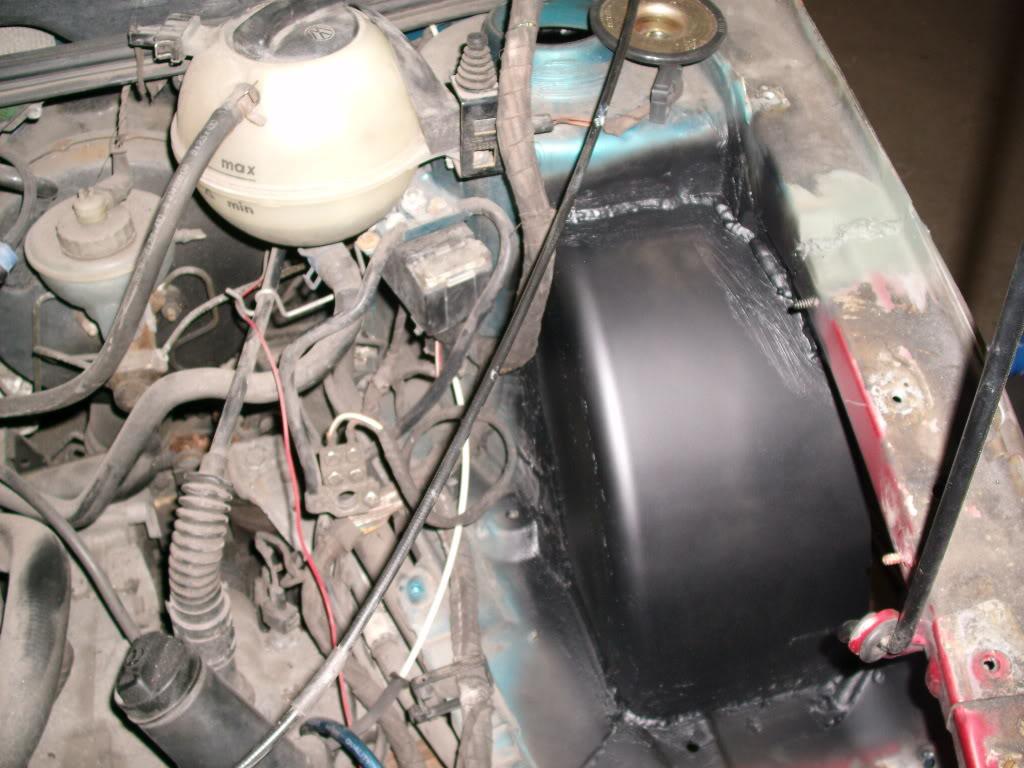
Skip a few steps, thanks to lack of camera, and the passenger side wheel tub is done and in primer. This was mid-July 08.
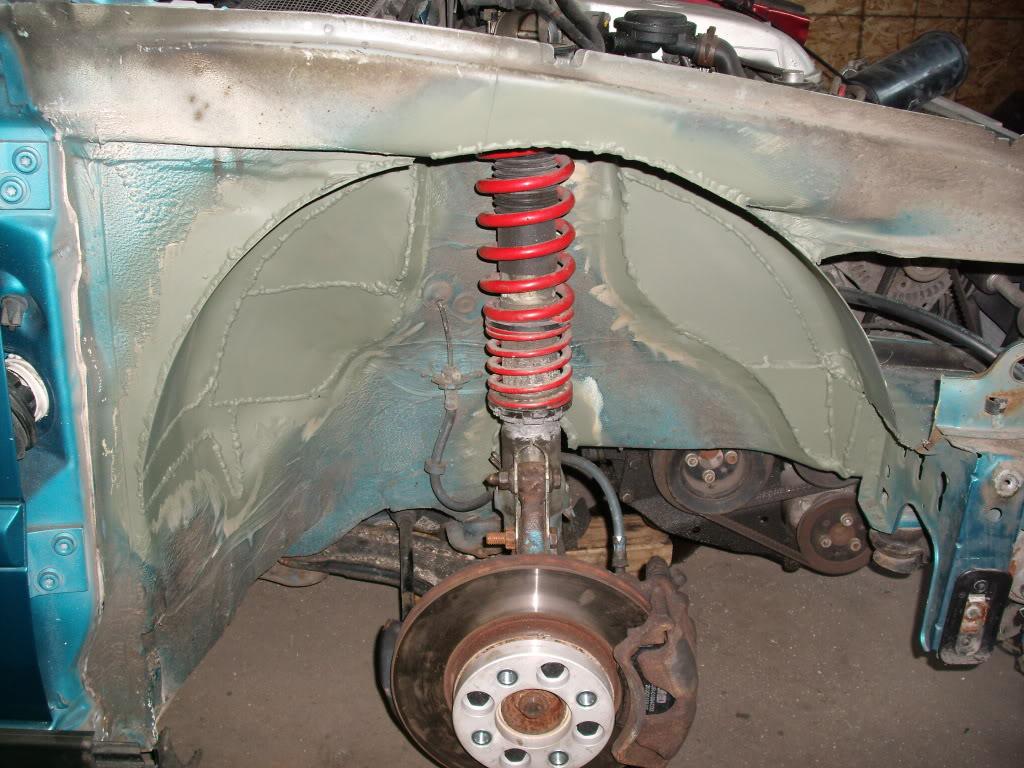
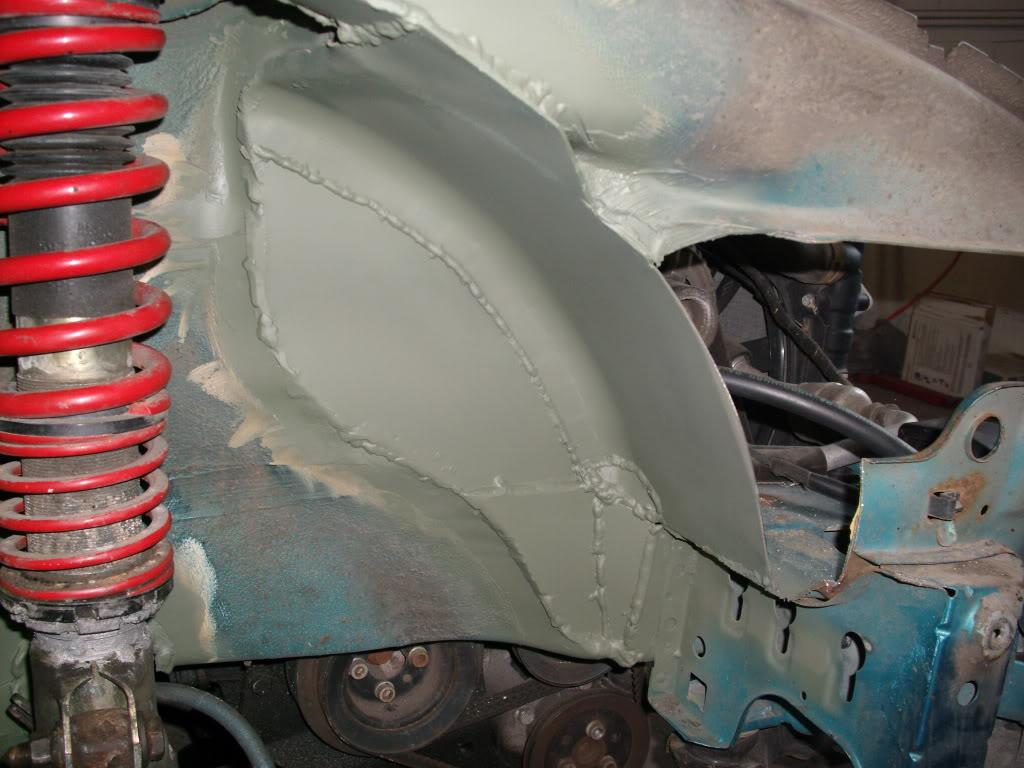
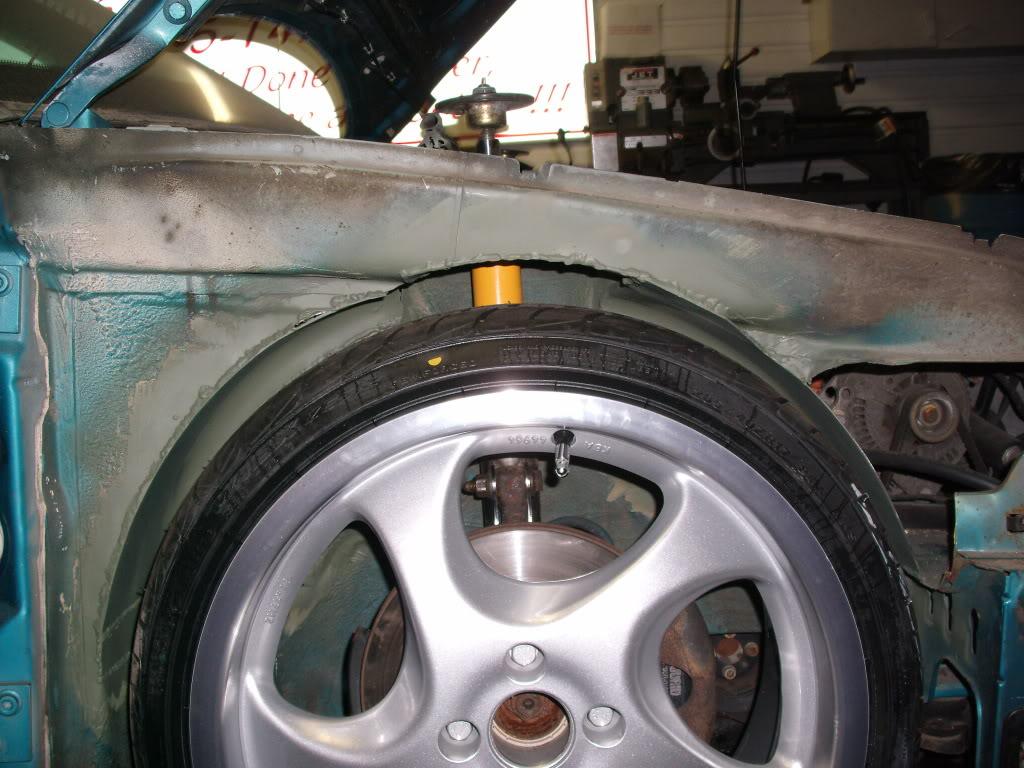
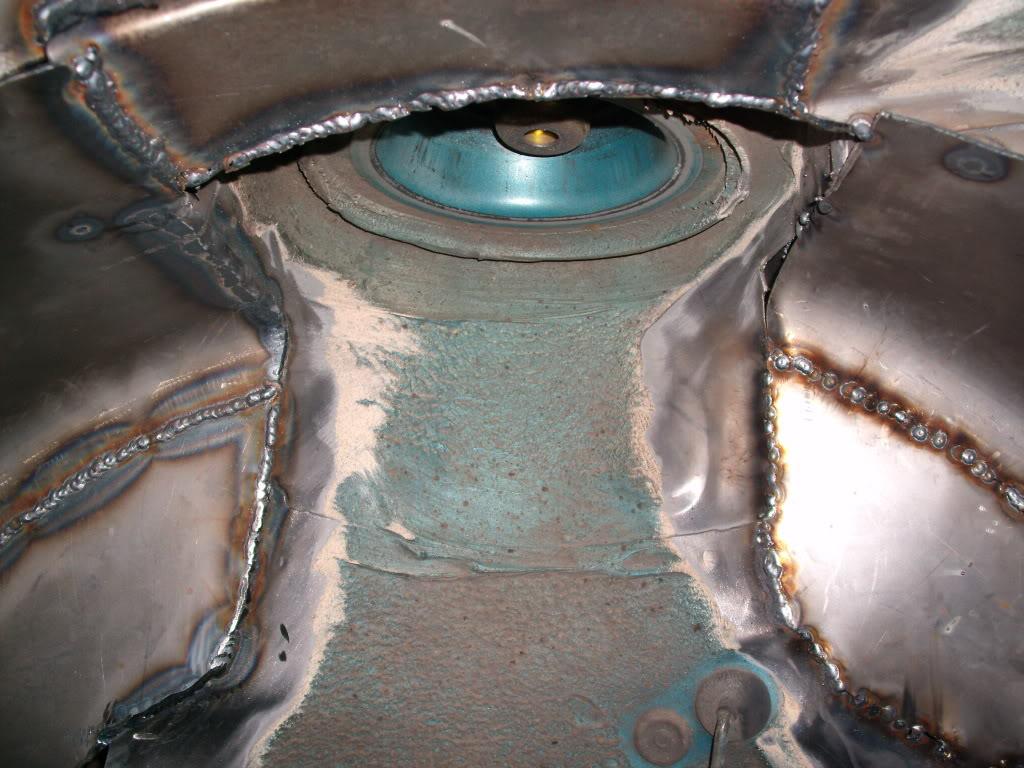
The wheel ended up pretty centered in the new tub:
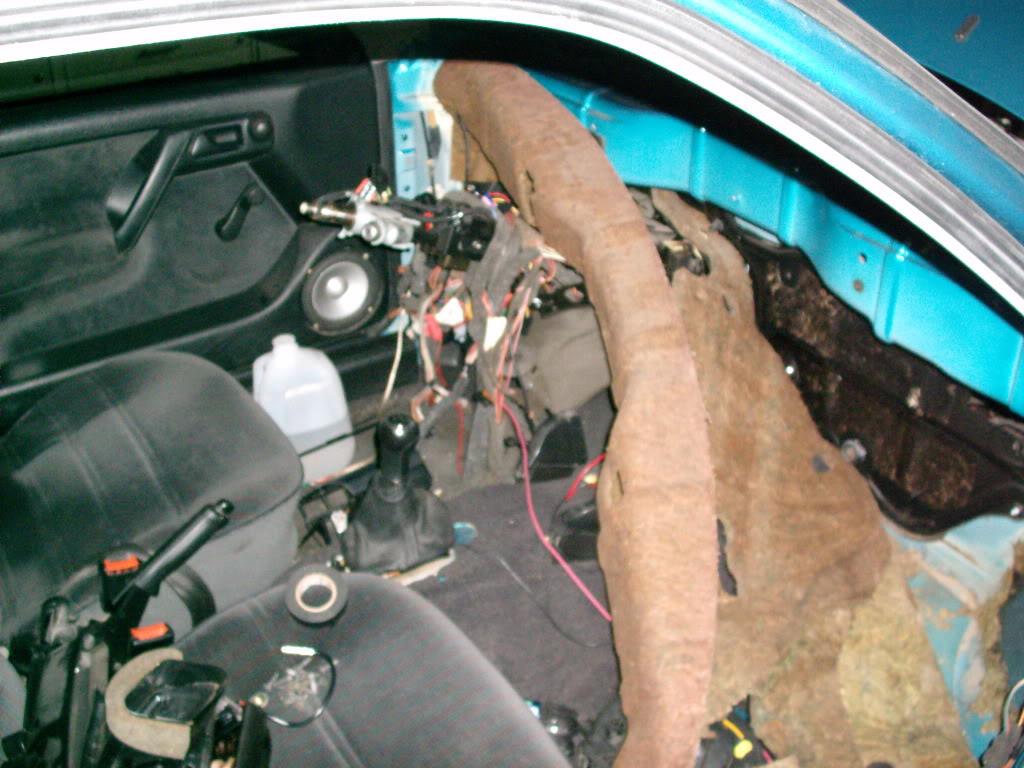
interior view:
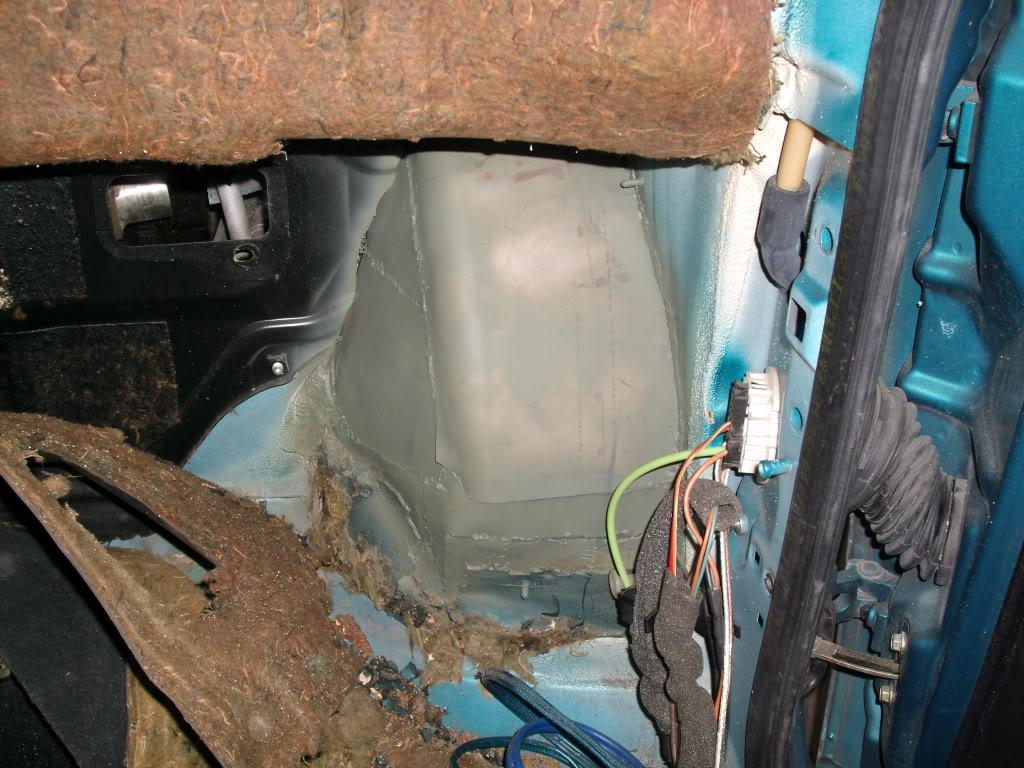
This hole got filled later
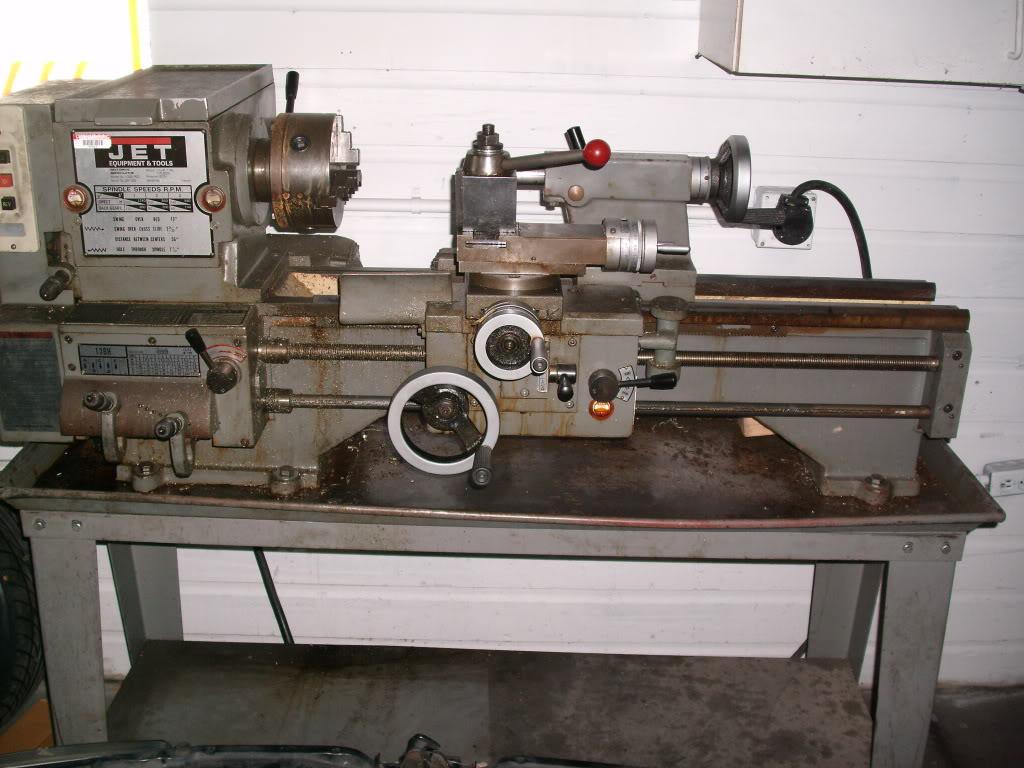
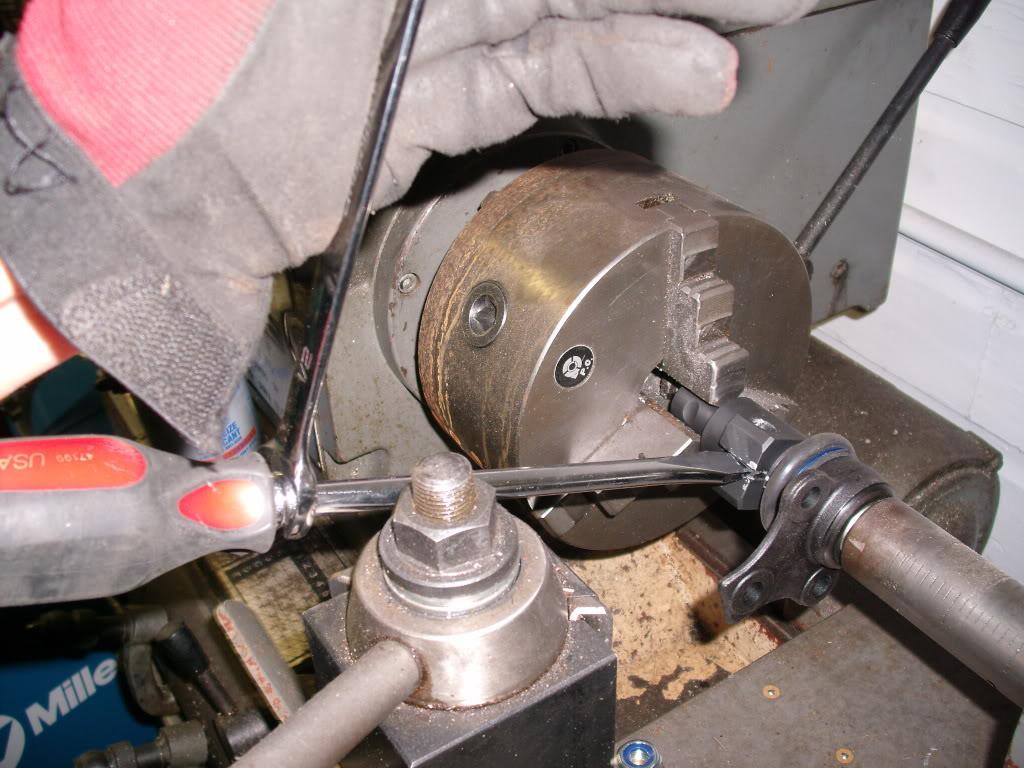
I also got myself a crappy little lathe on the cheap
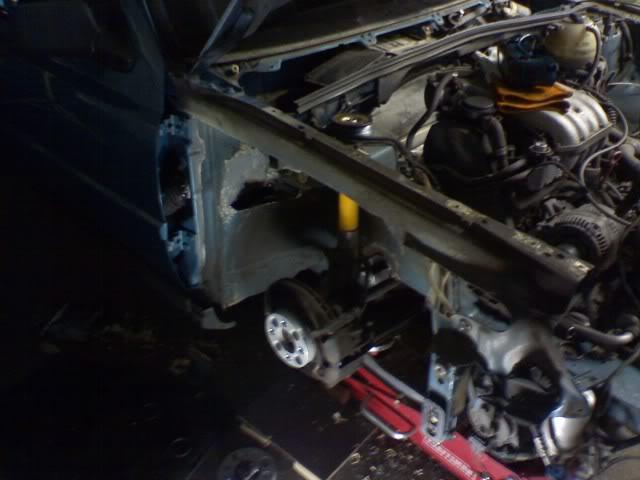
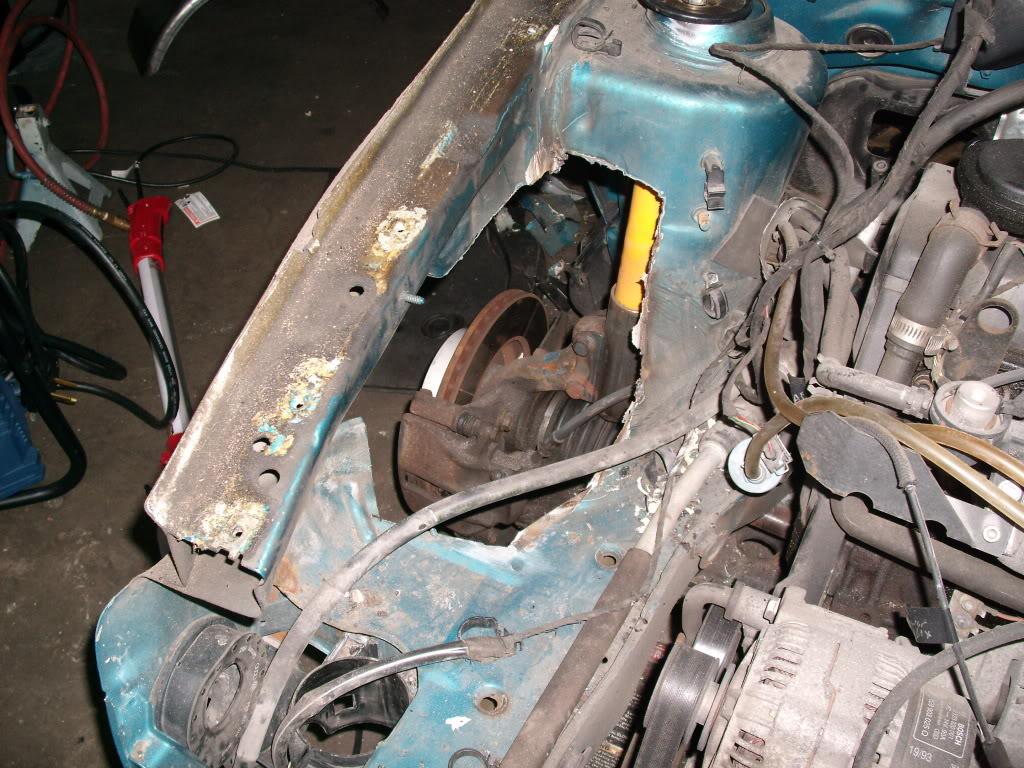
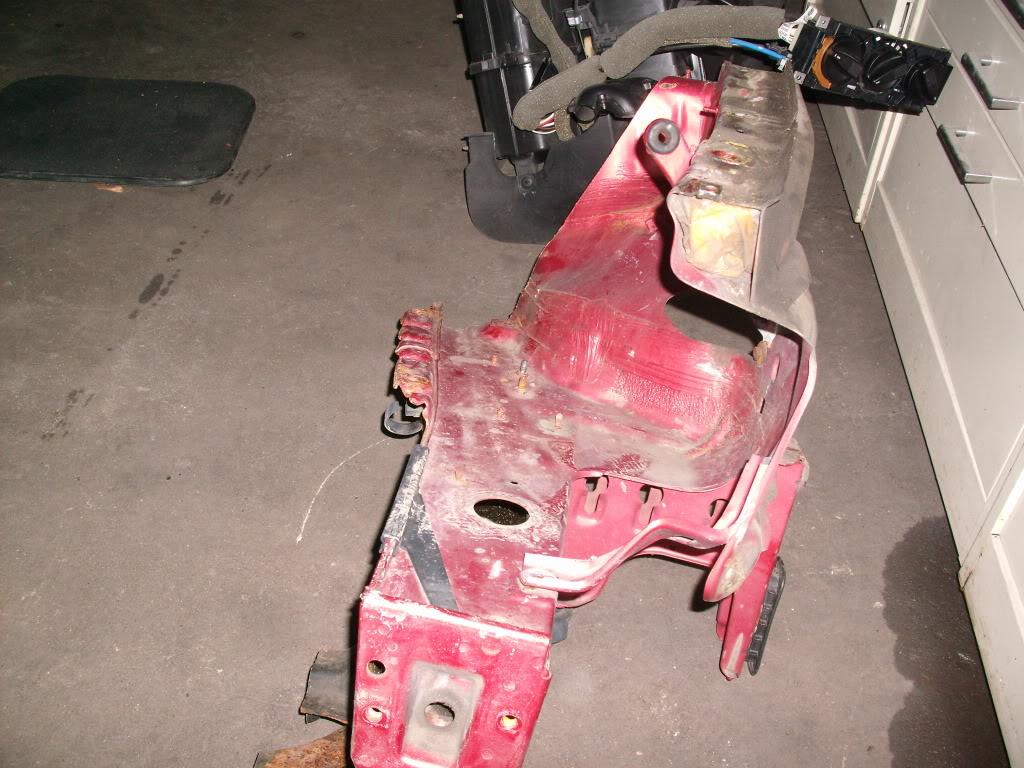
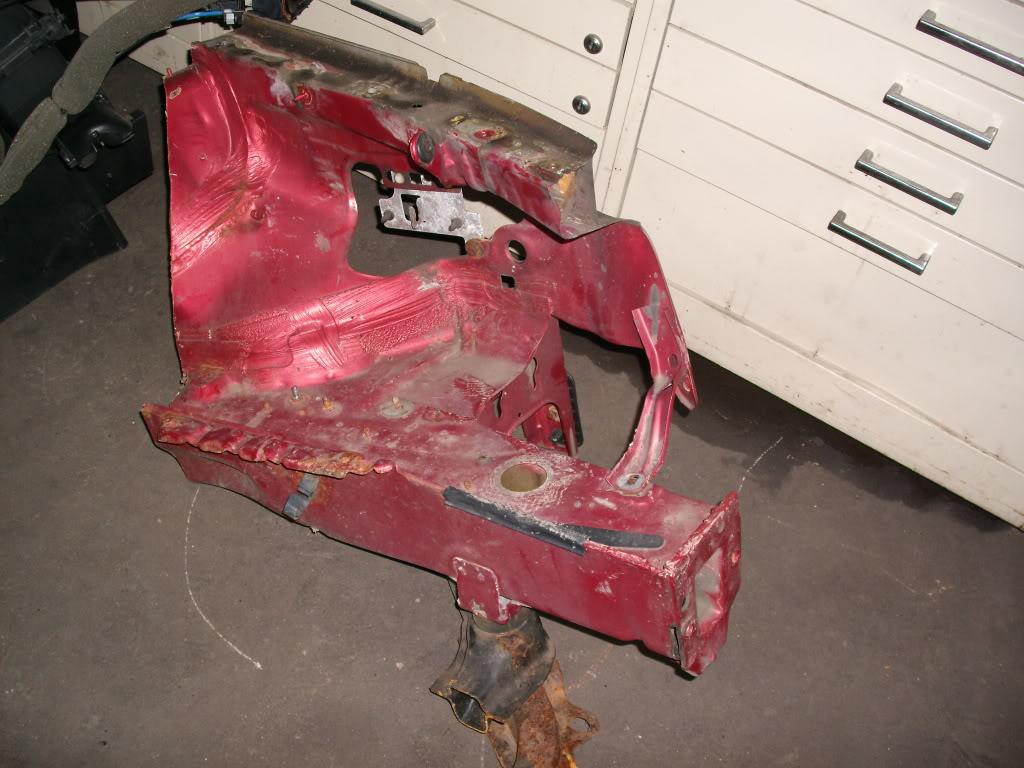
A while back, the car was involved in a bit of a hit-and-run and the drivers front corner was a bit bent. This little gem was hidden under my shiny bodywork. I knew about it, but I'm a hack. But I decided to fix it
I chopped this section out of a friendly car at the junkyard for $20. I almost lost it, apparently some crackhead cruised by my parents house while it was in the driveway I had to leave the clip there for 20 minutes to return the pickup truck I borrowed. Luckily my brother and his girlfriend (yes she's super hot, sorry no pics) were in the swimming pool and yelled at the guy. He dropped my unibody corner and ran away. Lucky!
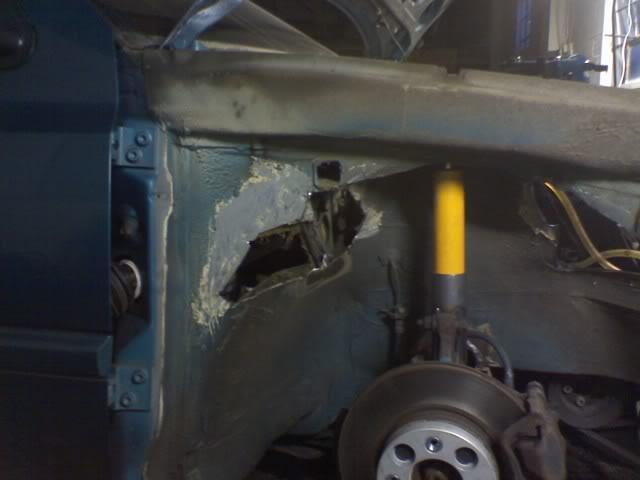
Welded it in, with the help of my Mitchell body dimensions book from ebay.
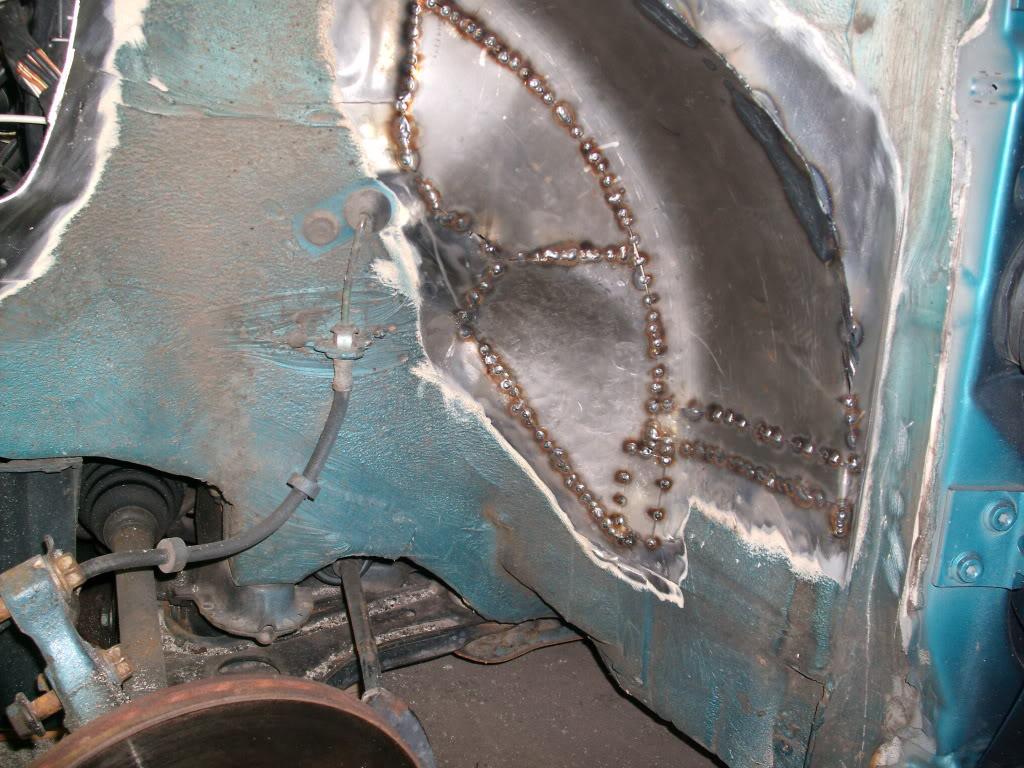
Then I busted out the drivers side tub much quicker now that I knew what I was doing. Through the whole process, I didn't even remove the fuse box and wiring! I had to be super careful, and it worked out pretty well. I am probably going to redo all this sometime this winter, I would like to do the bay properly and the front tub work is no longer up to my standards.
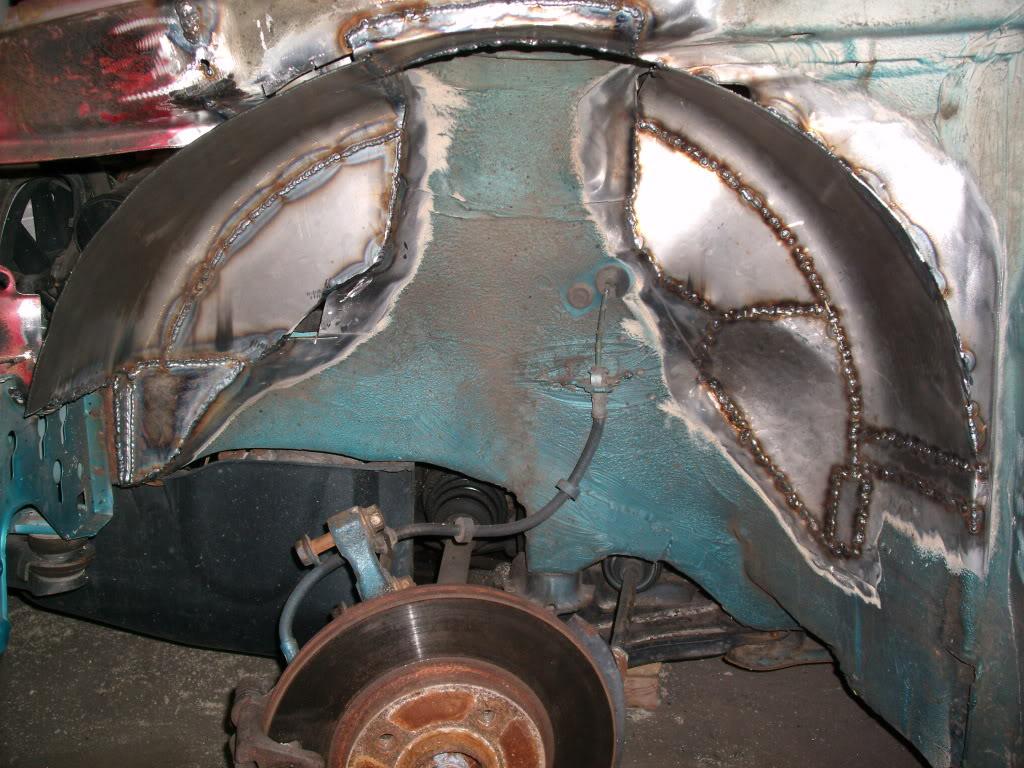

They're pretty even, but hard to capture in pics. Especially in a Dungeon with a crappy camera and zero photography skills.
Installed real PMW balljoint extenders, since my welded deals weren't the best
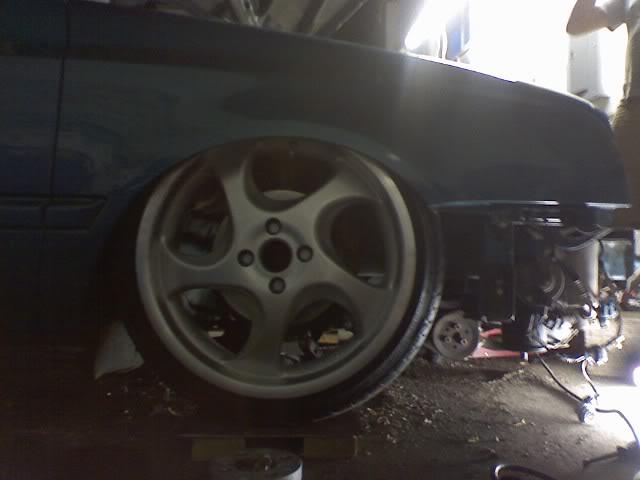
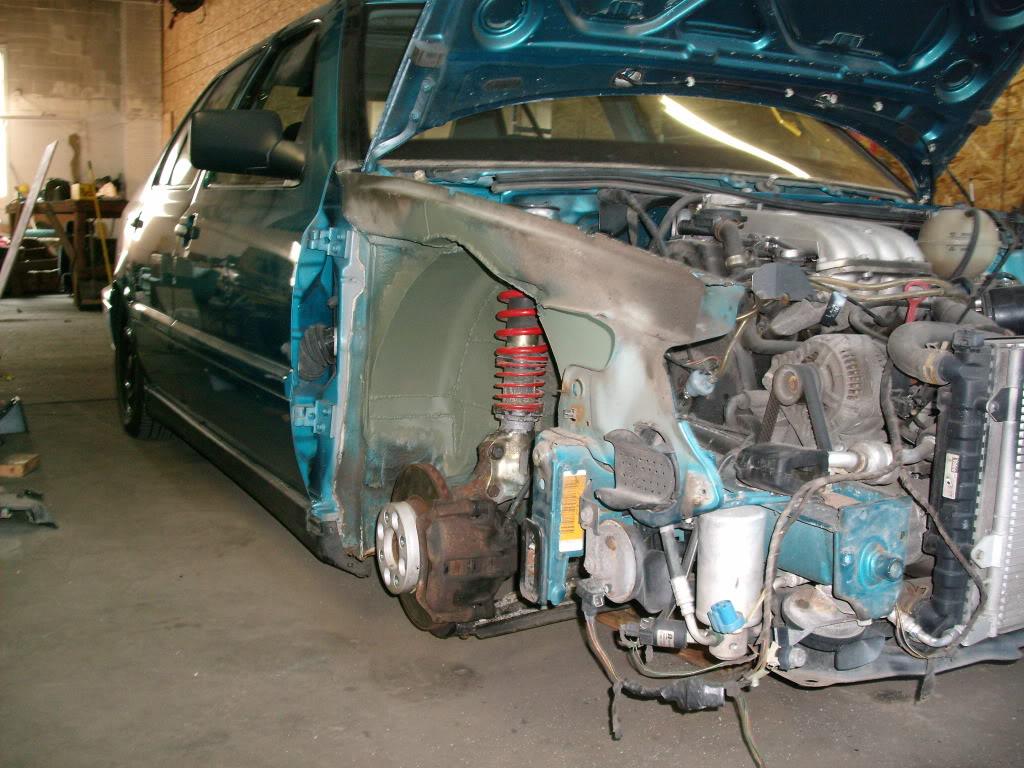
Threw on a fender for a test fit:
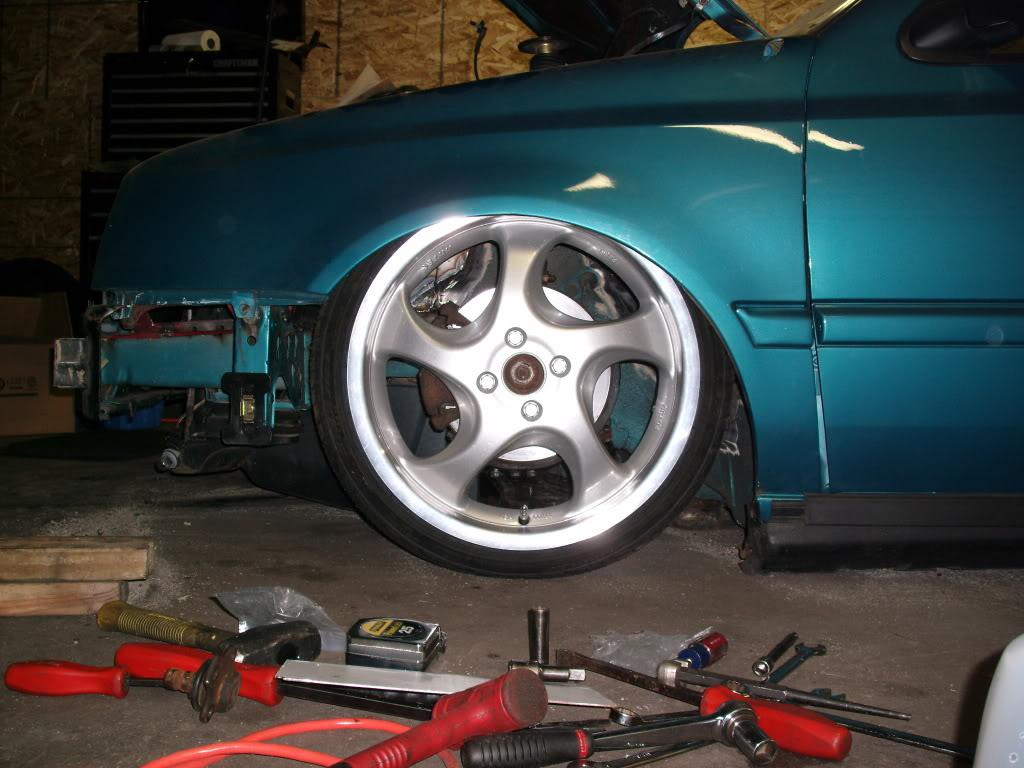
August 29, 2008, frame is on the floor with 205/40/17. Huge milestone!
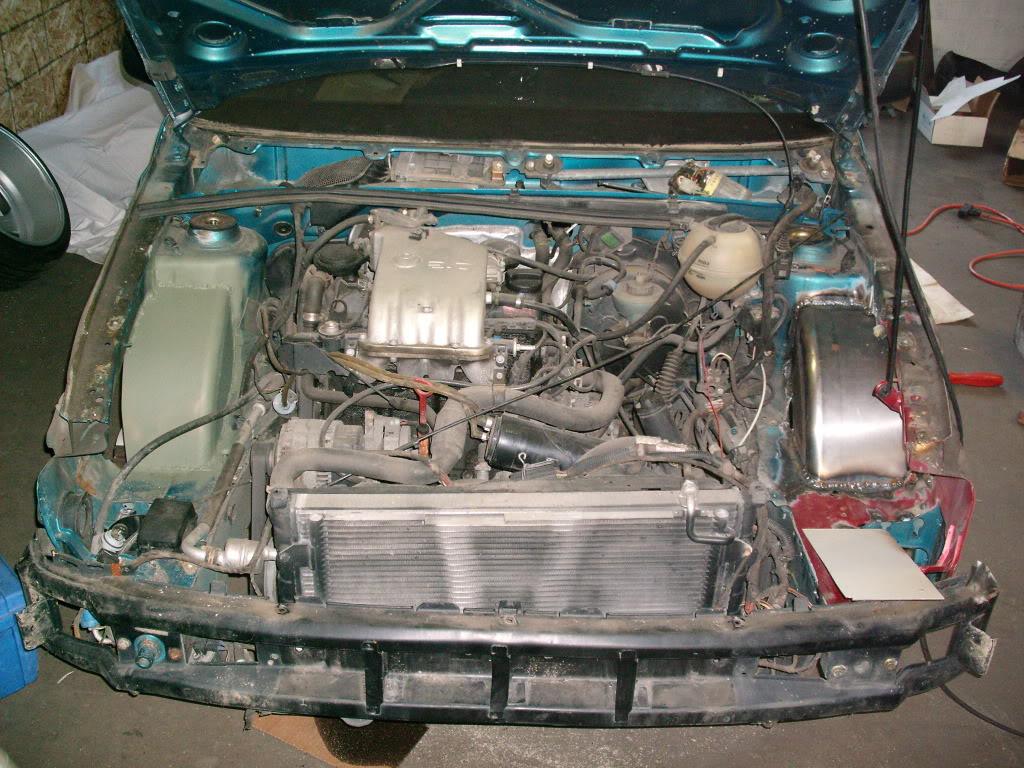
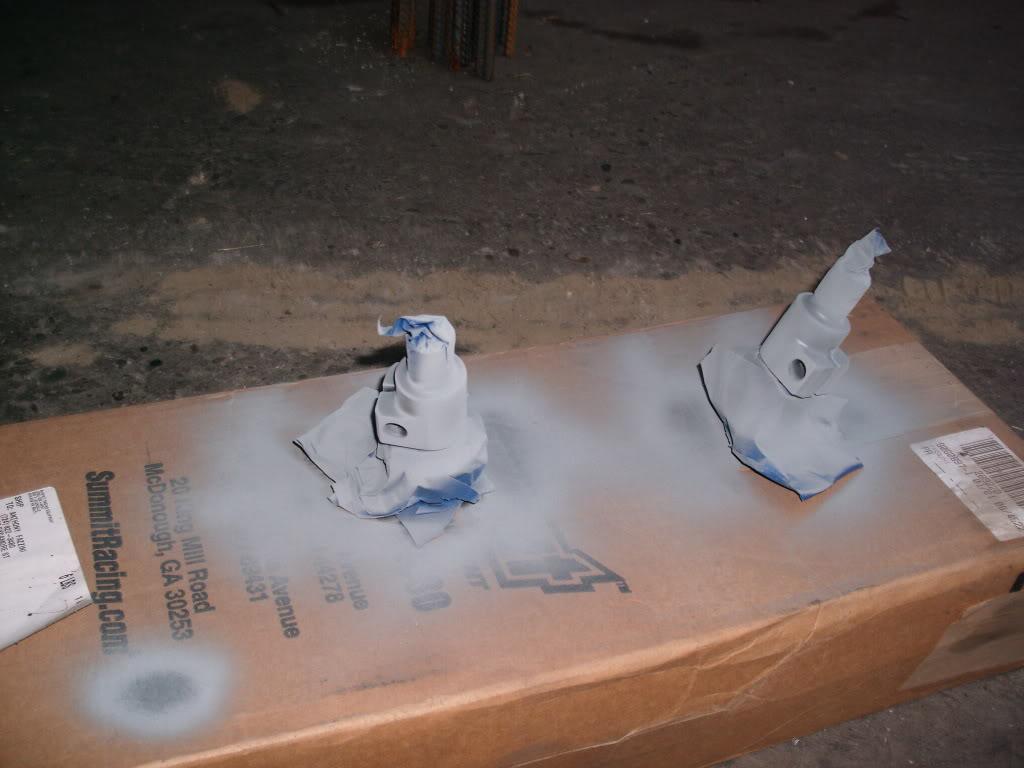
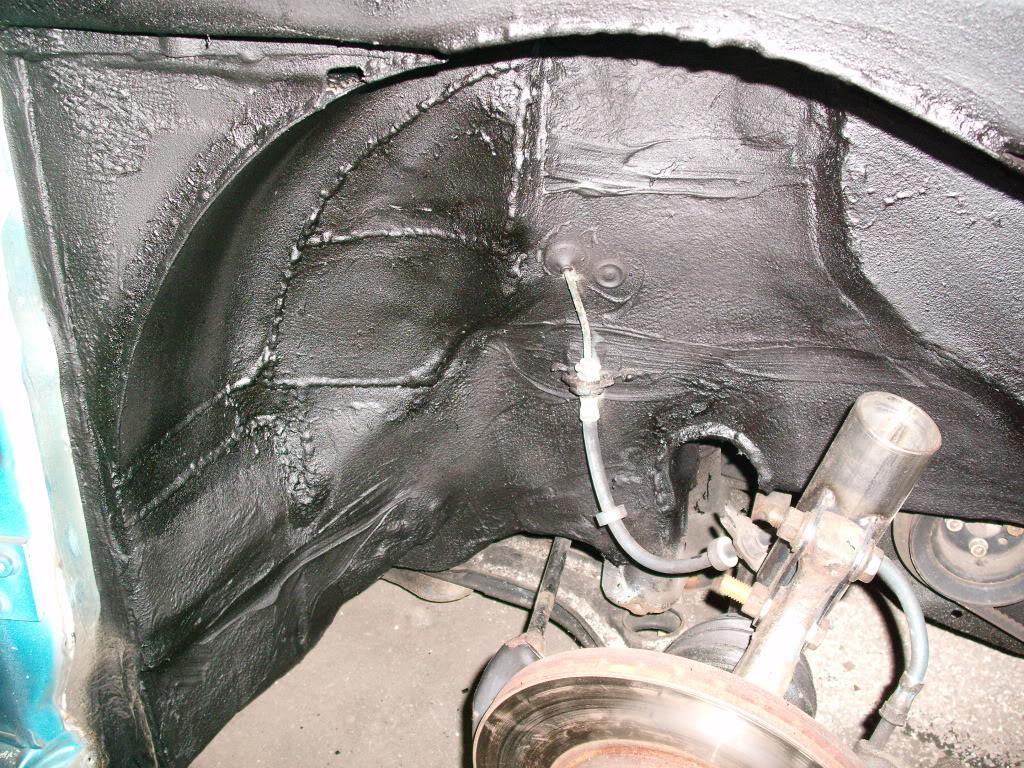
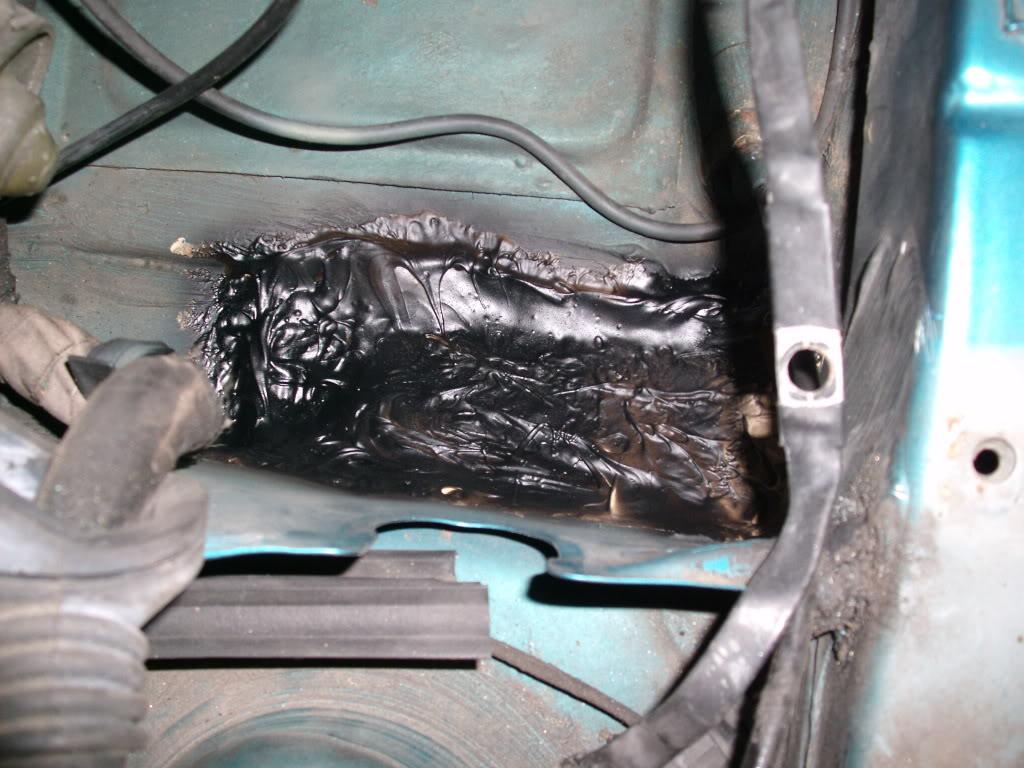
Then I got everything in paint and undercoating. This will probably all be redone since I would like to redo the bay in the future, but the suspension is first priority.
3M brushable seam sealer, 3M undercoating, SEM black for the painted interior sections.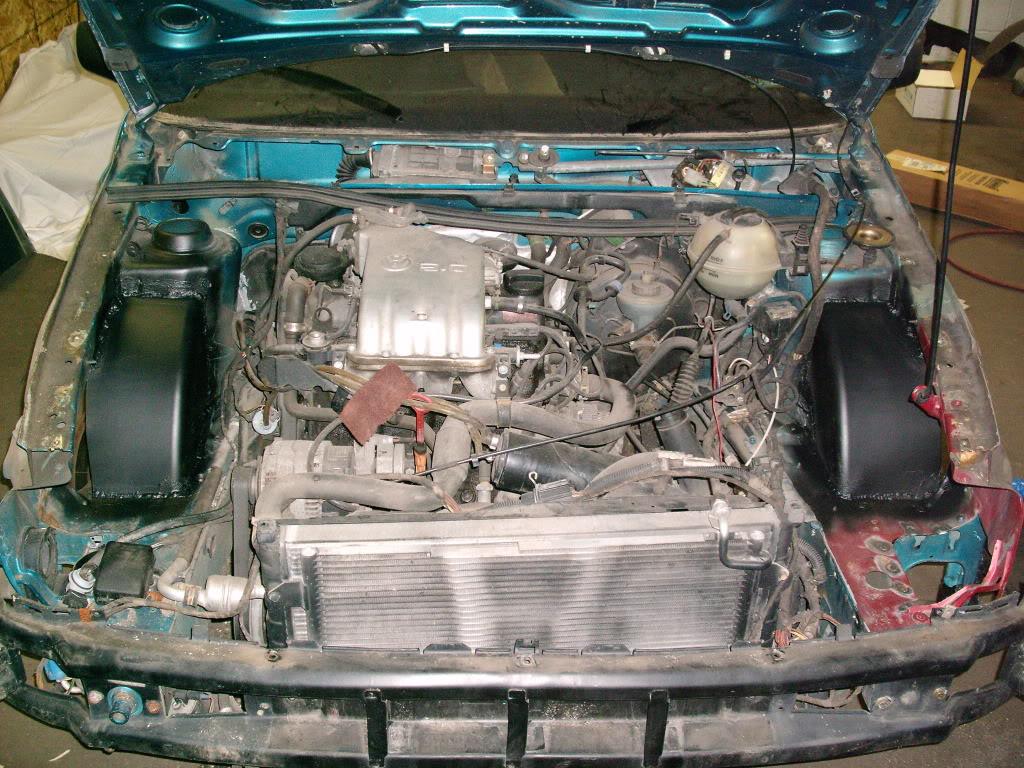

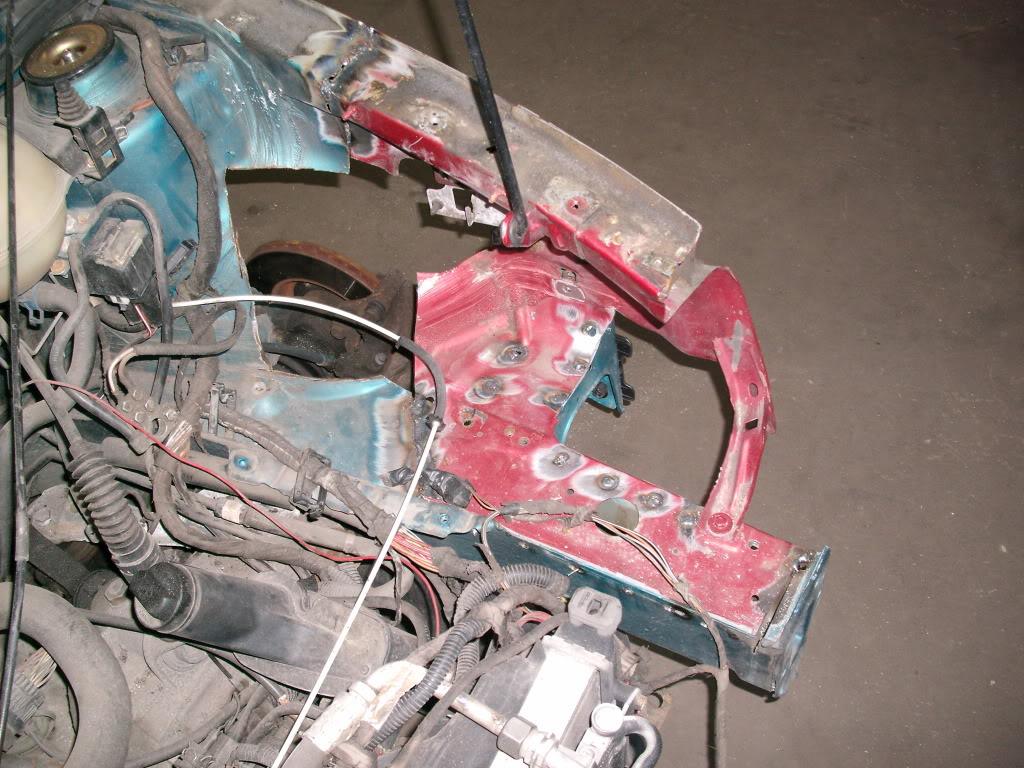
Right by the fuse box. Sketchy
new clip welded in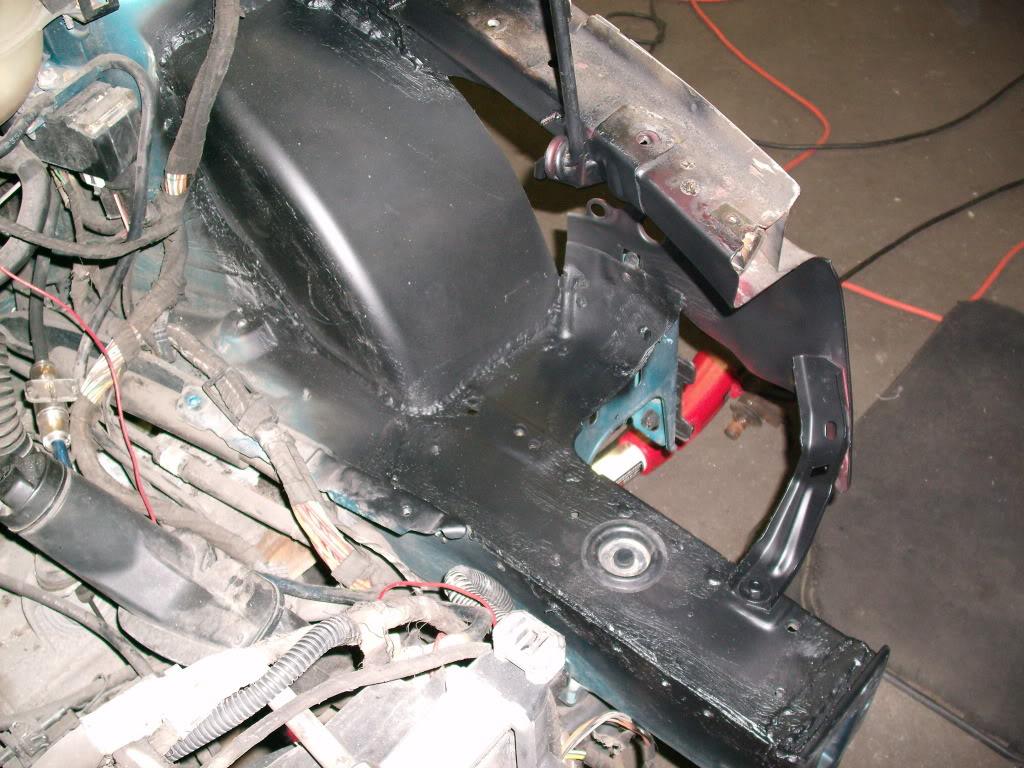
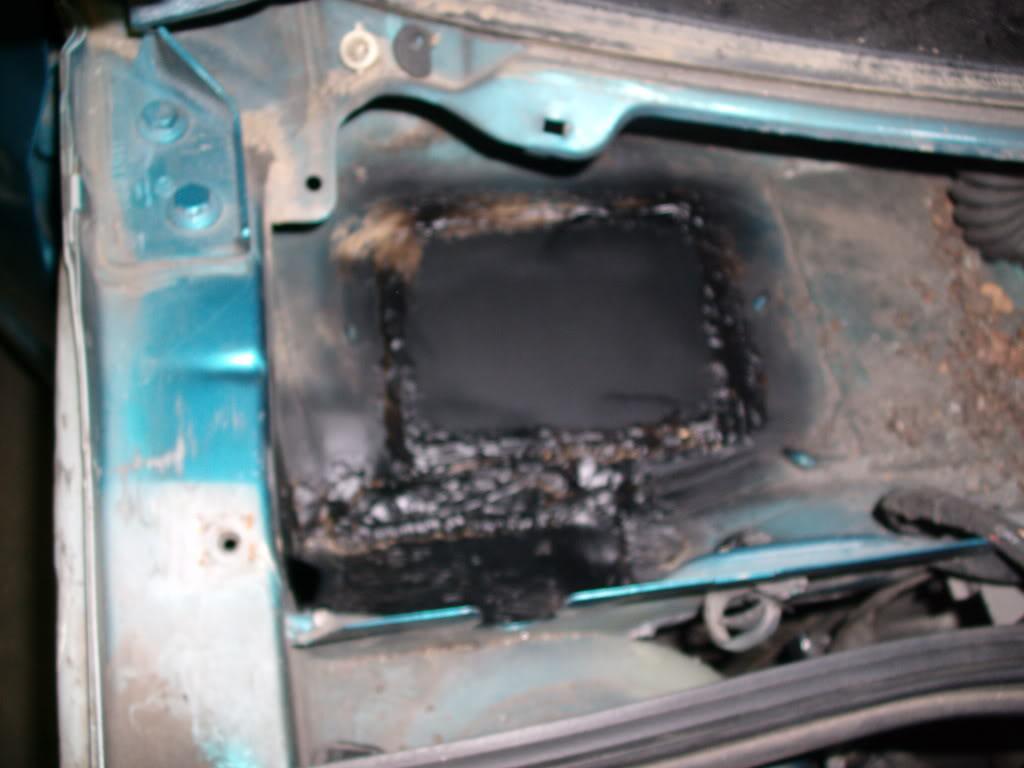
I just bonded and sealed a plate over the cabin filter, in case I wanted to open it back up in the future I wouldn't have to cut through welds.
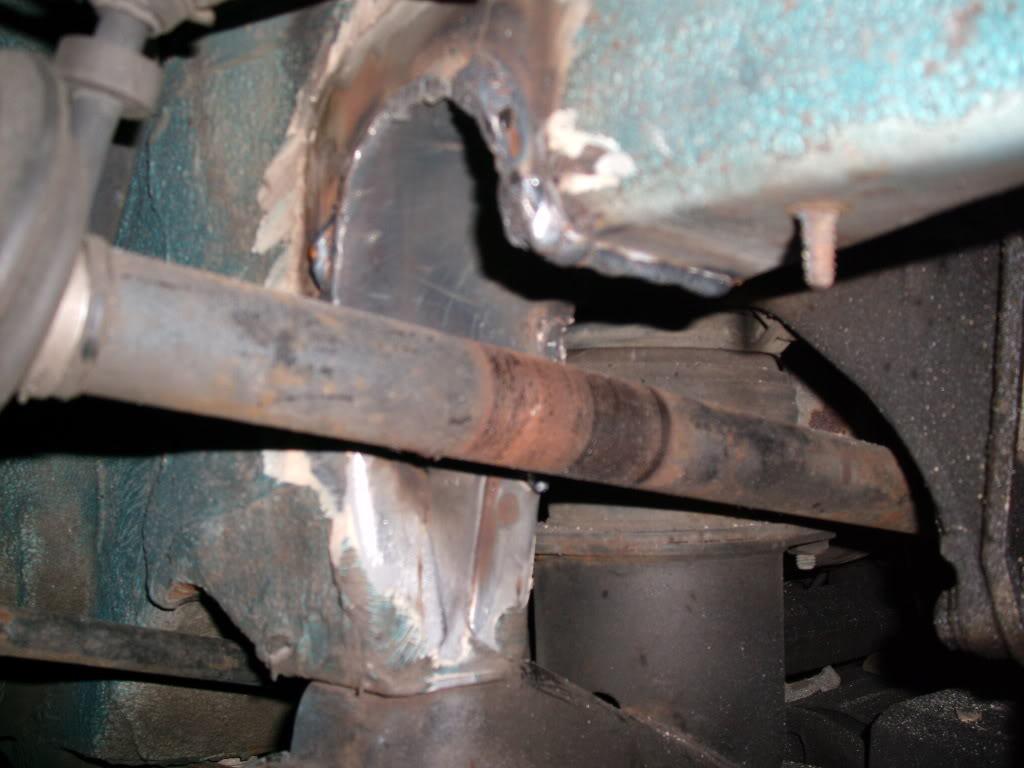
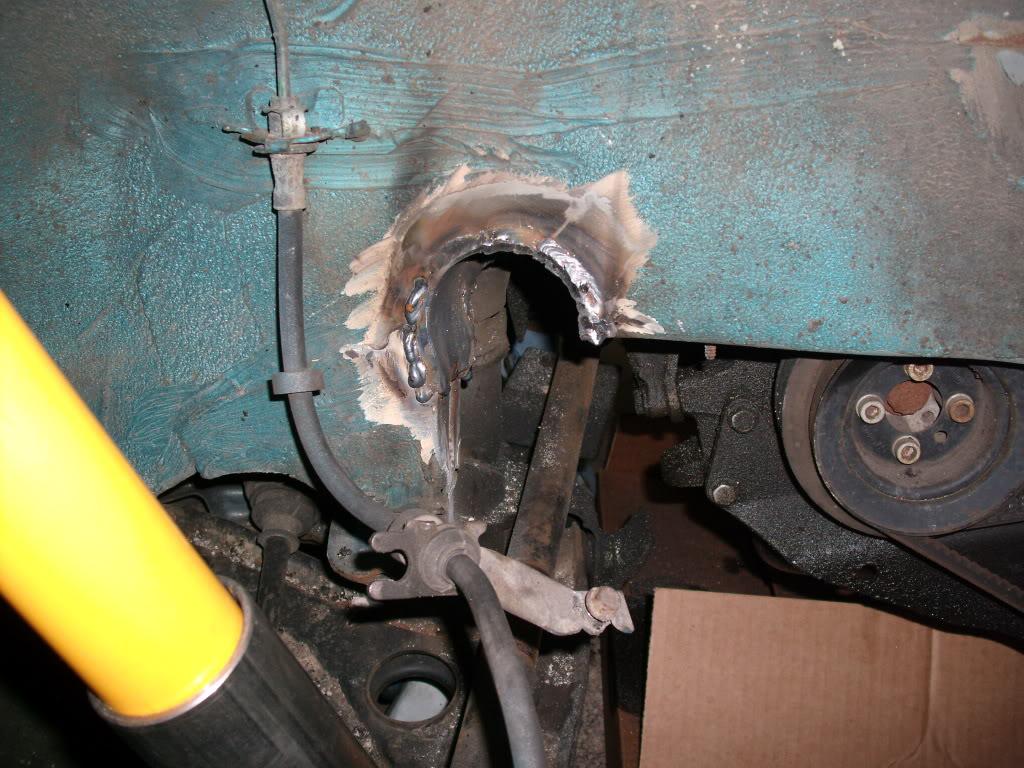
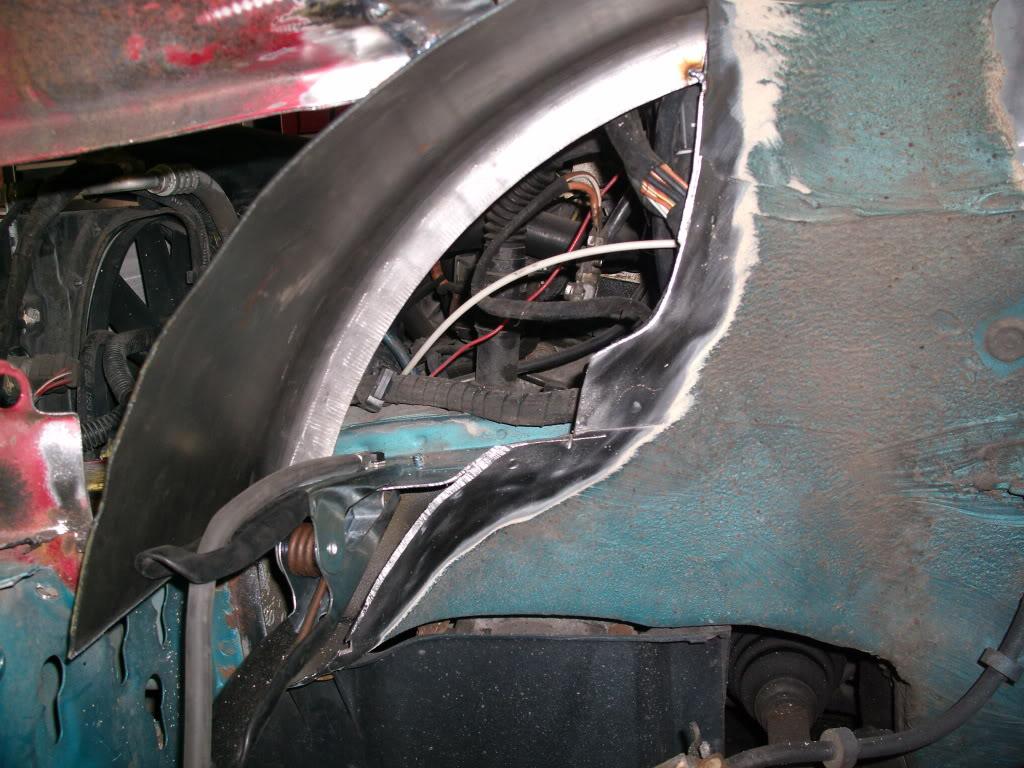
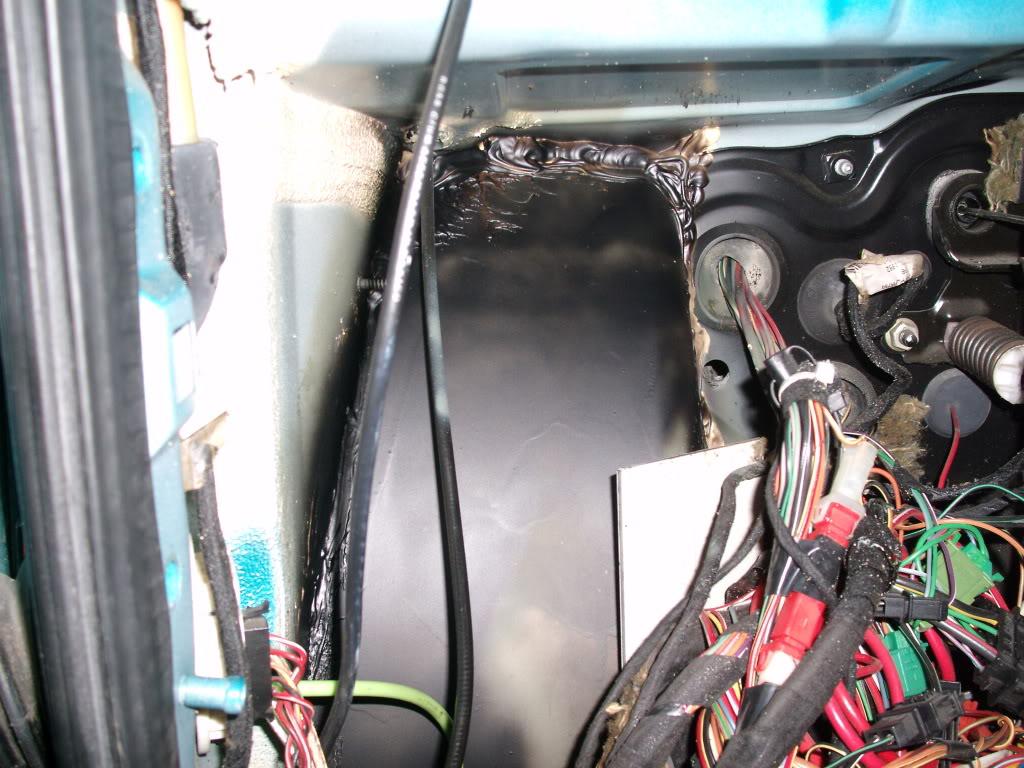
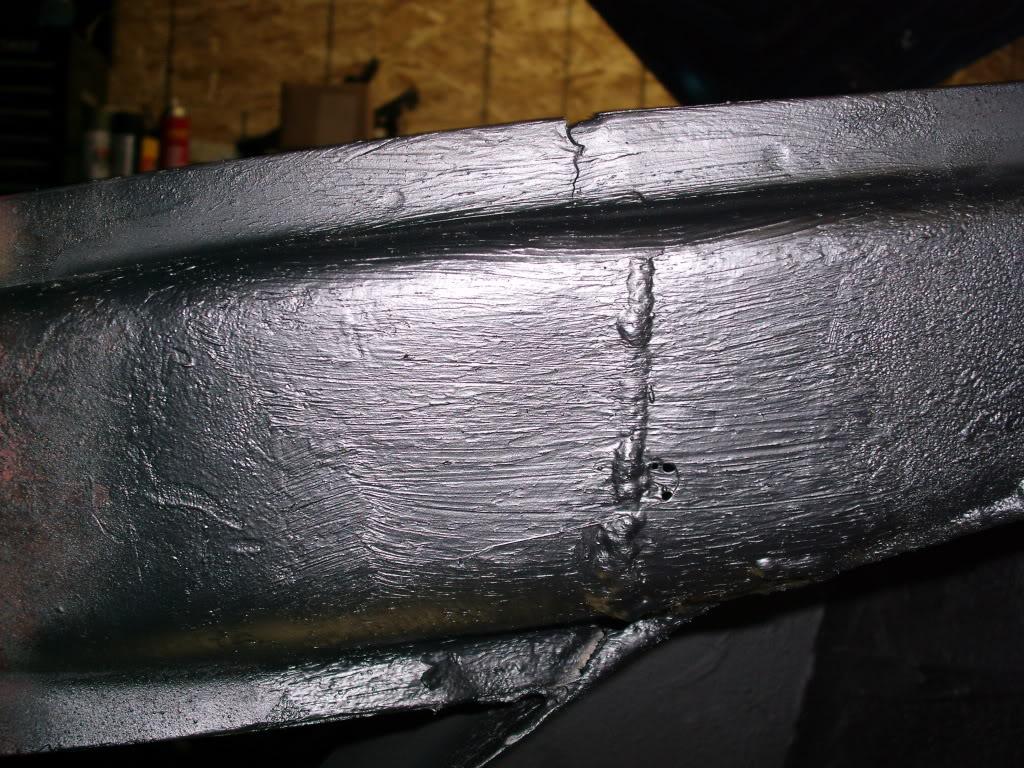
This is the tub intersecting the drivers side raintray. This was difficult to weld, really difficult to seam seal, and difficult to photograph. It looks pretty sloppy here, but it turned out OK in person.
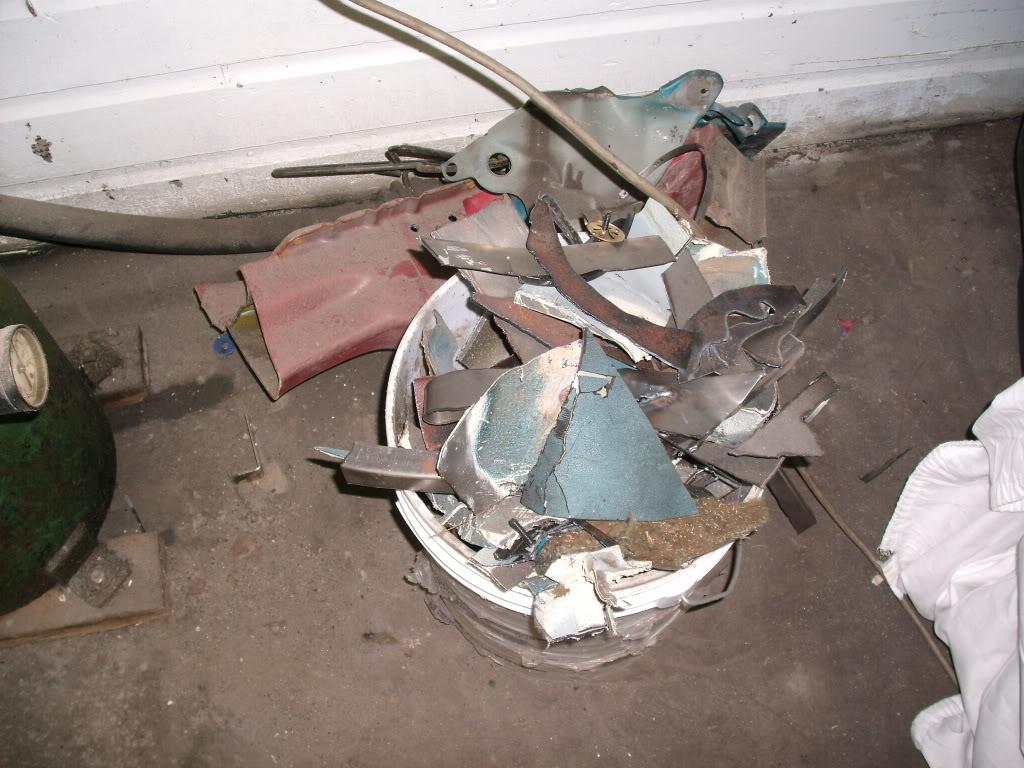
Pile of leftover VW unibody steel:
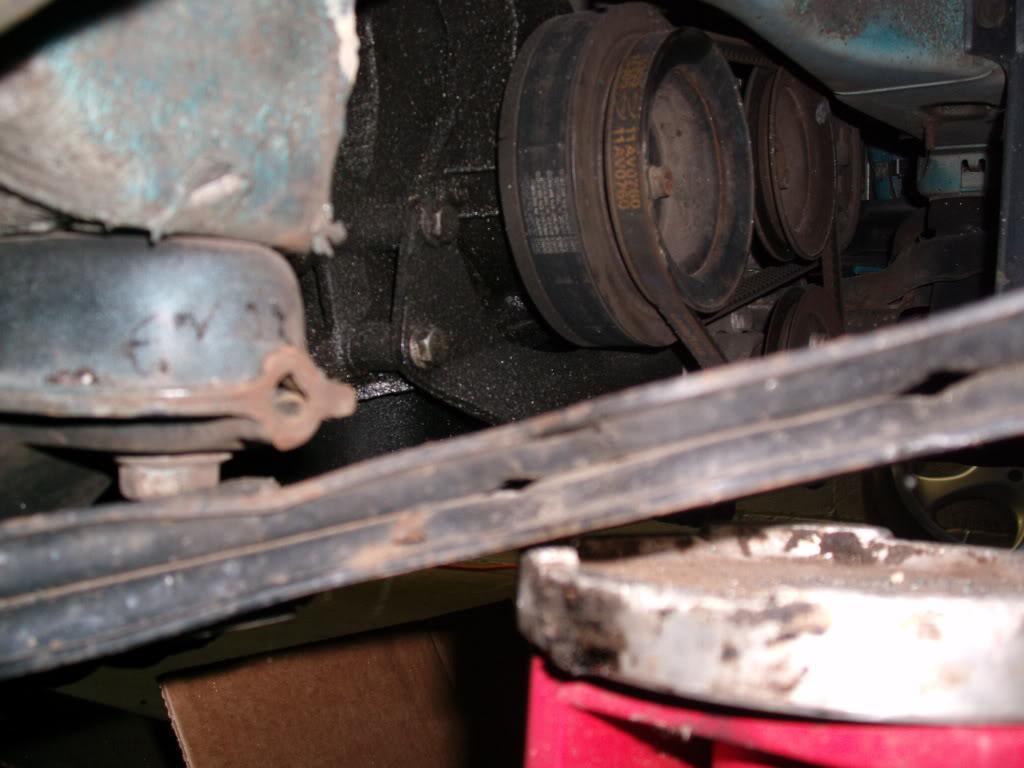
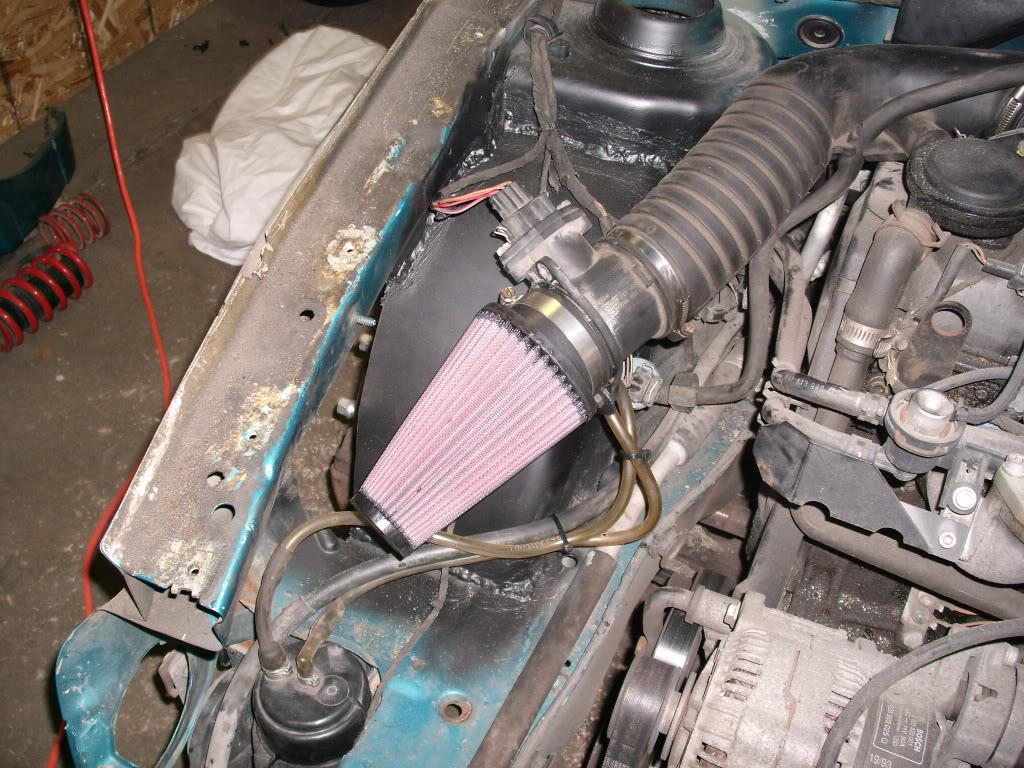
I fat-fingered the part number for the cone filter and ordered the wrong one. It didn't rev too good with this little guy on there!
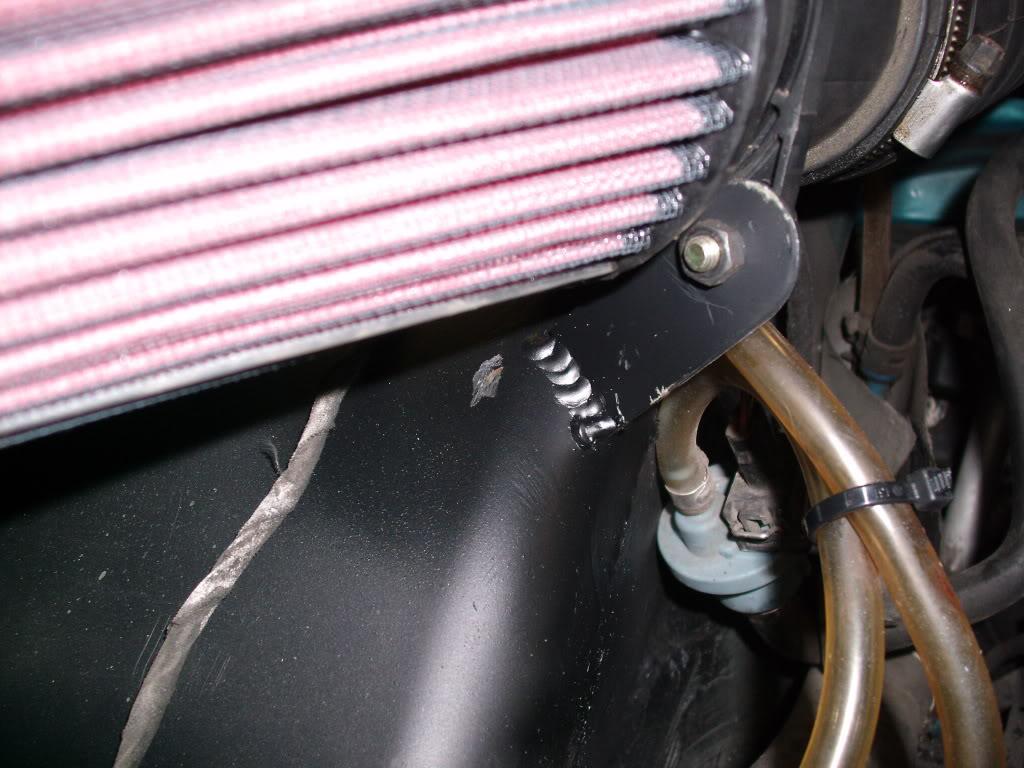
Hey look, a decent weld! Quick get a picture!
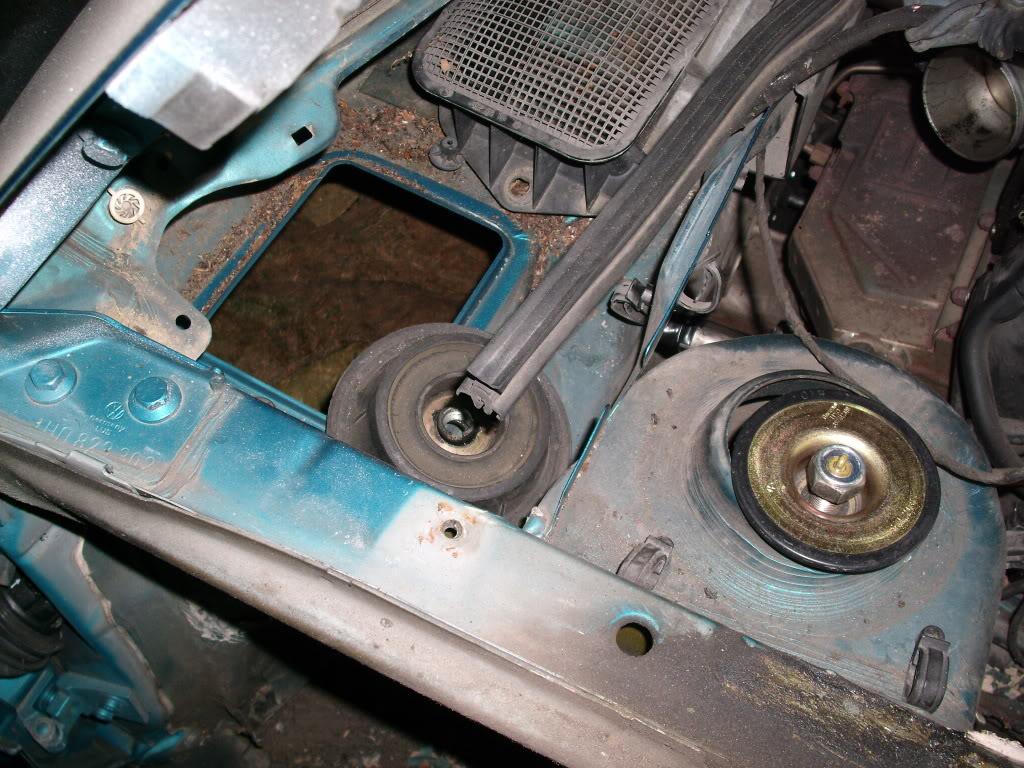
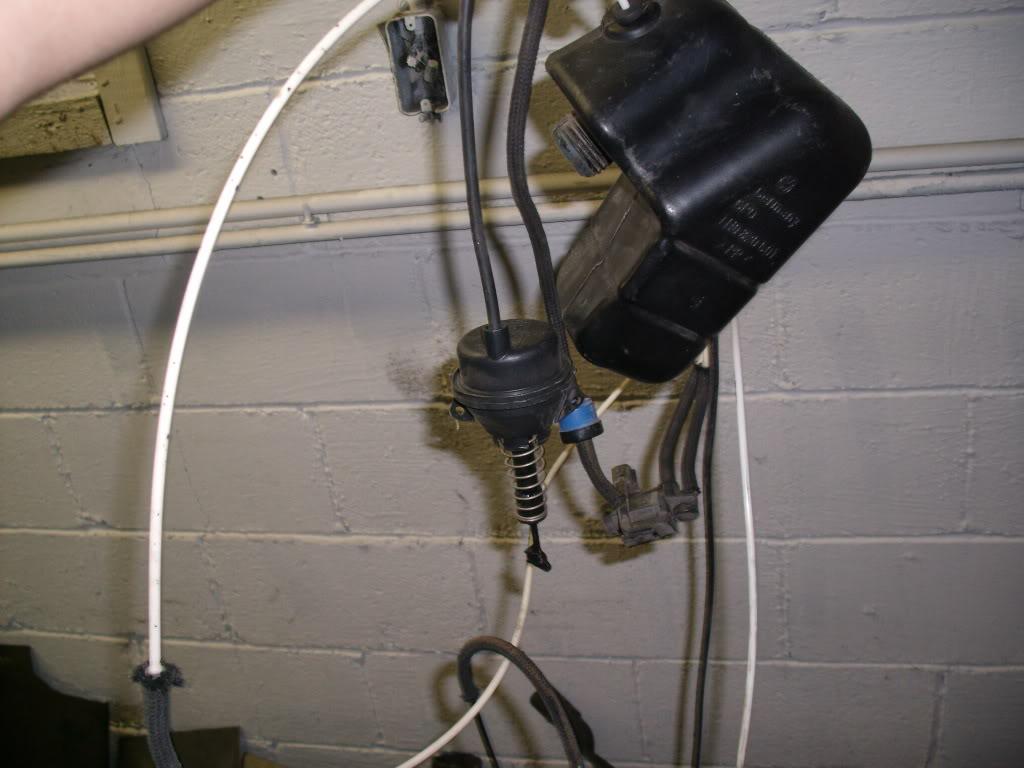
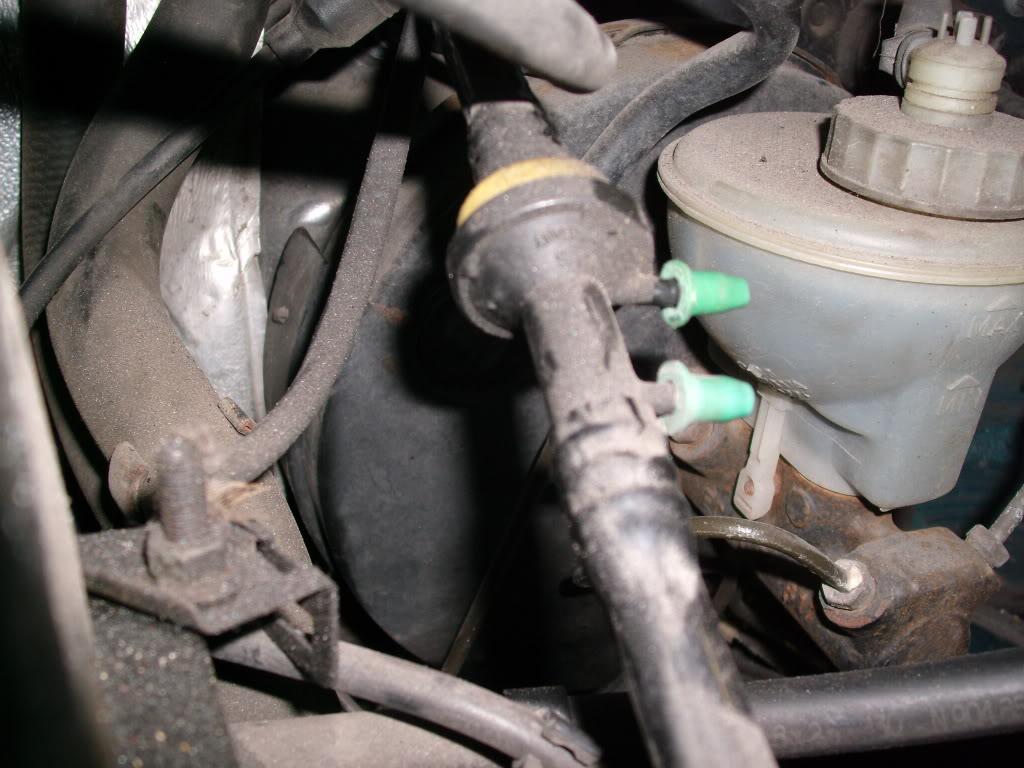
Here are the controls for the recirculation flap, including the mystery vacuum reservoir above the drivers side tire. All gone.
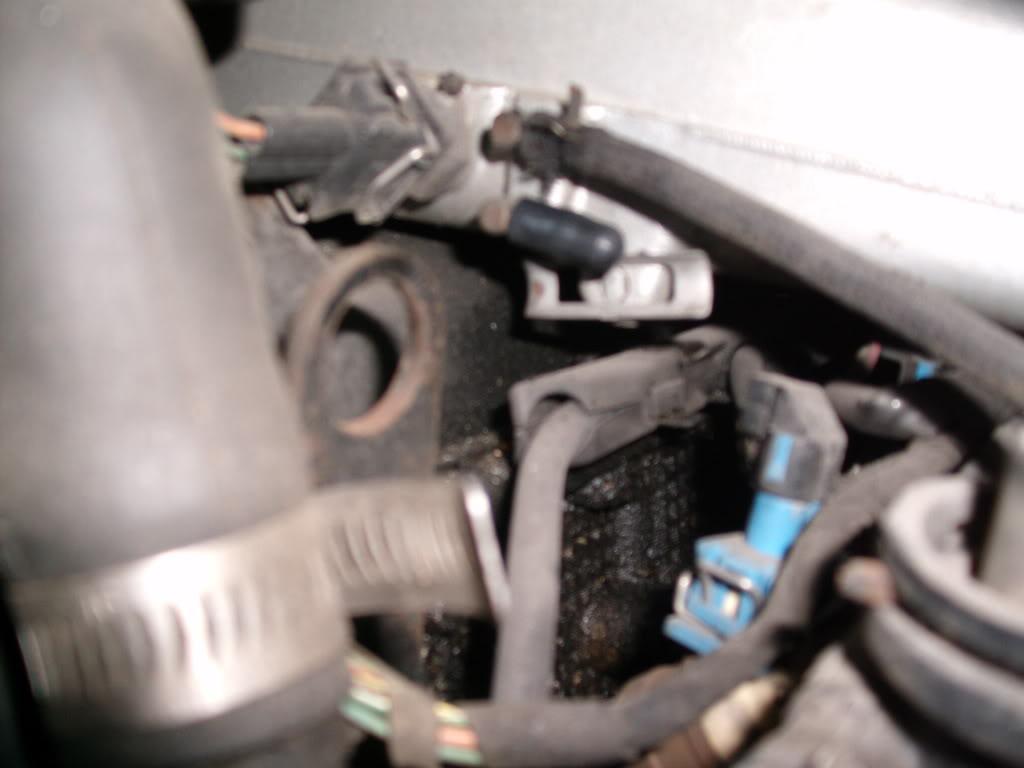
I had to plug some vacuum hose barbs when I deleted all that stuff
Got the dash back in on September 8, 2008
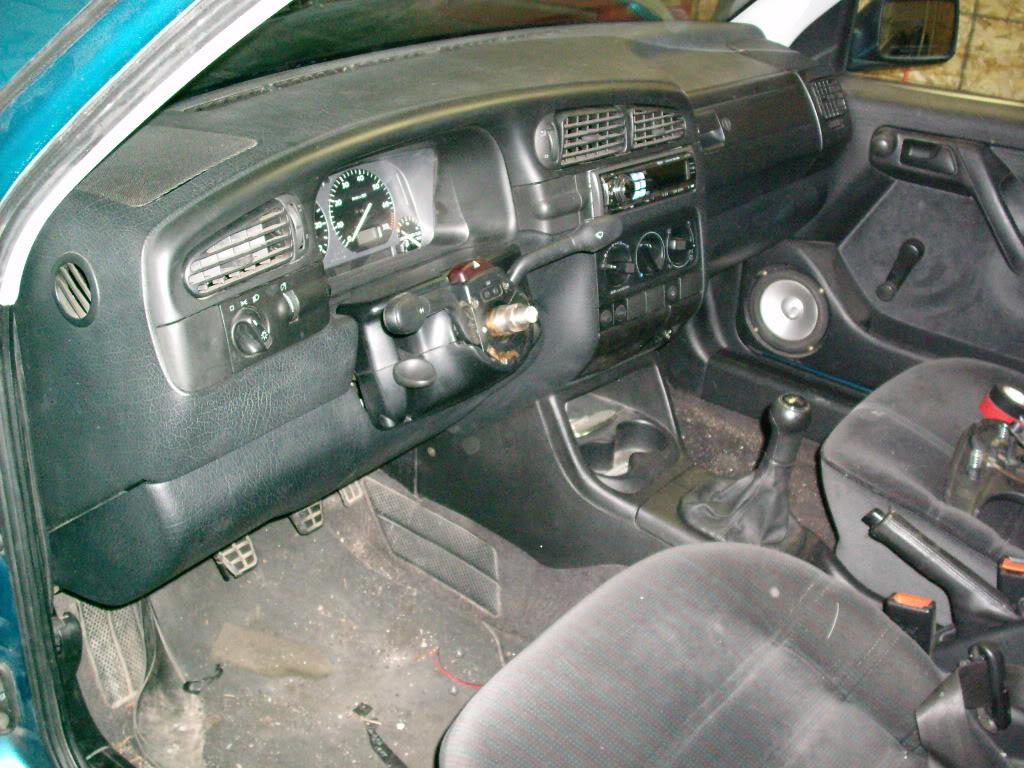
That's all I feel like typing for this evening, more tomorrow night.
Nice build! Great photos and detail ????
Posted by Diggymart on 4/23/19 @ 12:52:48 PM