You must be logged in to rate content!
6 minute(s) of a 193 minute read
4-30-2007
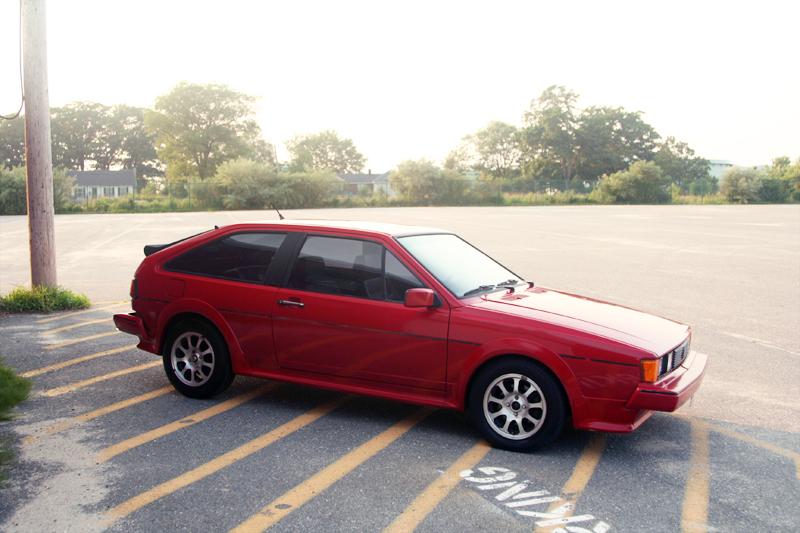
1988 scirocco project (shortened bumpers too)
Compliments of JonnyPhenomenon @ vwvortex.com
4-30-2007
bought myself a good condition 88 rocco last year and promptly put it away in the garage for the winter. it had never seen snow and I wanted to keep it that way.
now that spring is here, I decided to roll it out and get to work on it.
I dont really mind the north american headlights, but I really needed to get rid of the ridiculous "clown shoes" bumpers I had on it.
interior was ok for the most part, but the drivers seat bolters were shot and the dashboard was totally destroyed by sun.
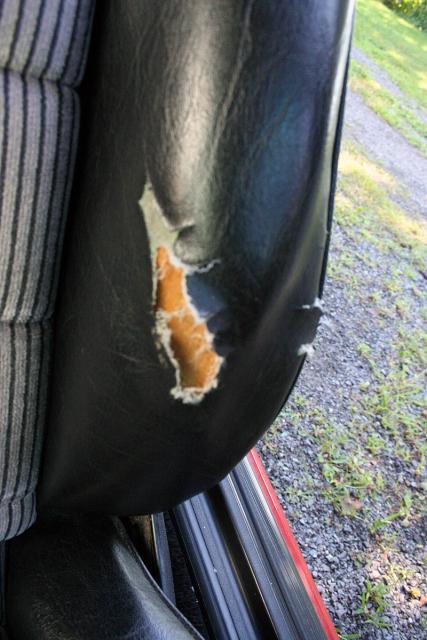
I hand stitched in some new vinyl for the drivers seat bolsters and located a great condition dashboard from a junk yard in my area.
you cant even tell the seats been repaired. it looks mint ![]()

Previous Owner had it resprayed with what looks to be a maco paint job since it is peeling off in sheets. Therefore, I have devoted some funds to getting it painted again by my father who is a very skilled body man.
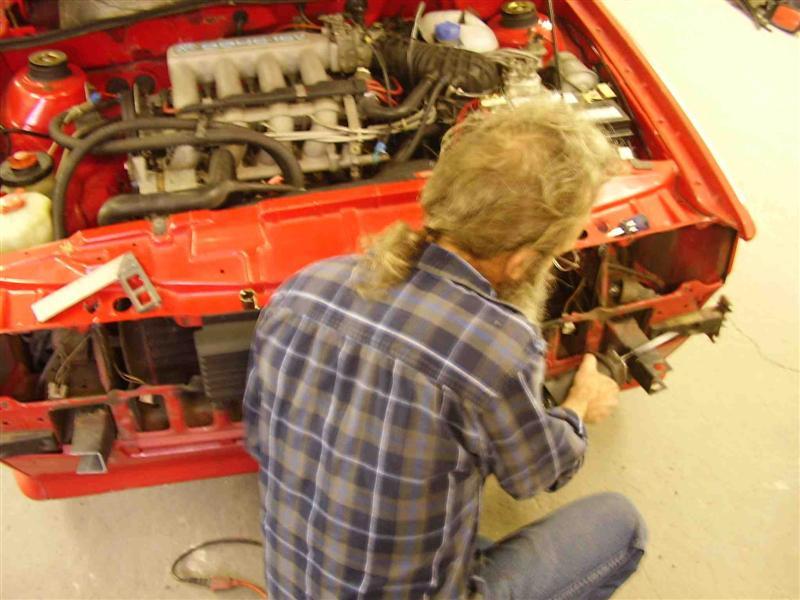
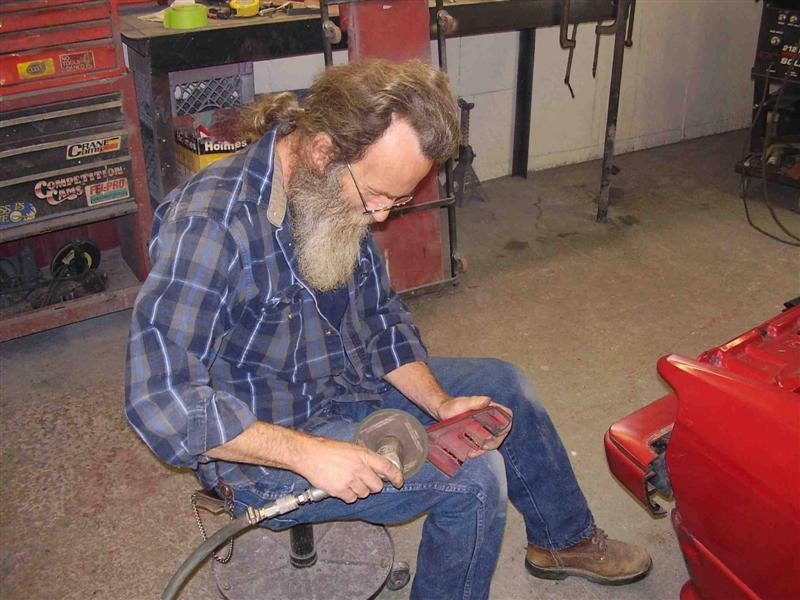
of course, something had to be done about the damned Clown Shoes, so we went to work on trimming those down. since I cant afford 500$ for a set of euro bumps, I decided to modify my own.
we took 2.25 inches off the front, and 2.5 off the back. this required cutting the tow hitches all off, flipping the bumper brackets in the front, and flipping the brackets and rebar in the back, busting the clips off the rear, sawzalling and plastic welding etc etc.
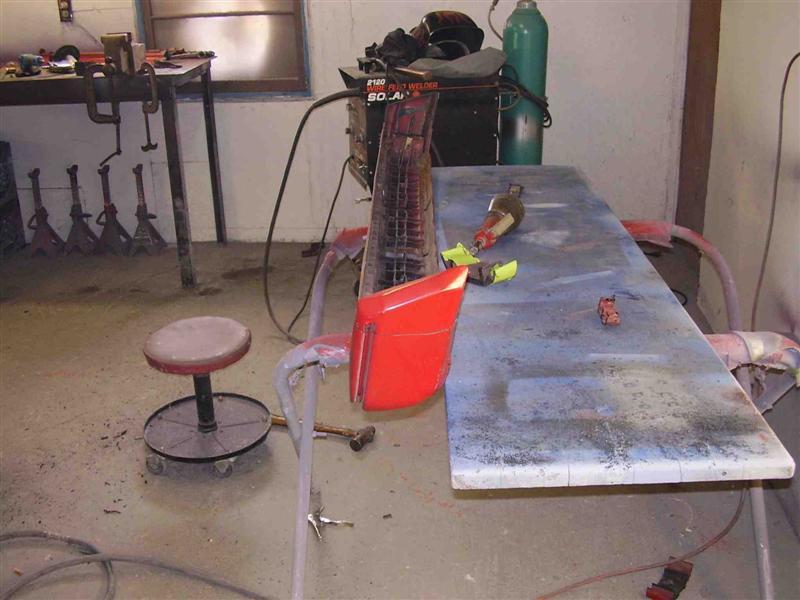
here are some pics of that process:
hack the brackets:
weld on the rebar to .75" from body
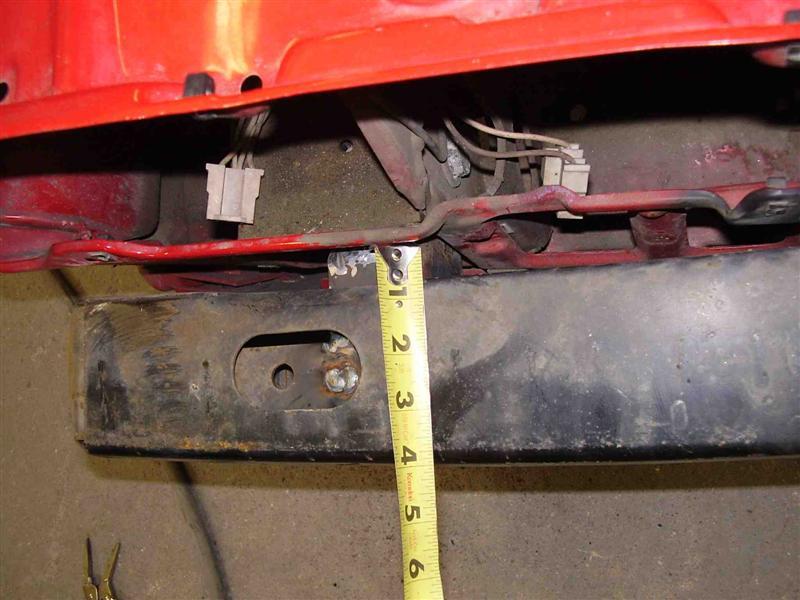
using painters tape to measure how much to remove from front clown shoe
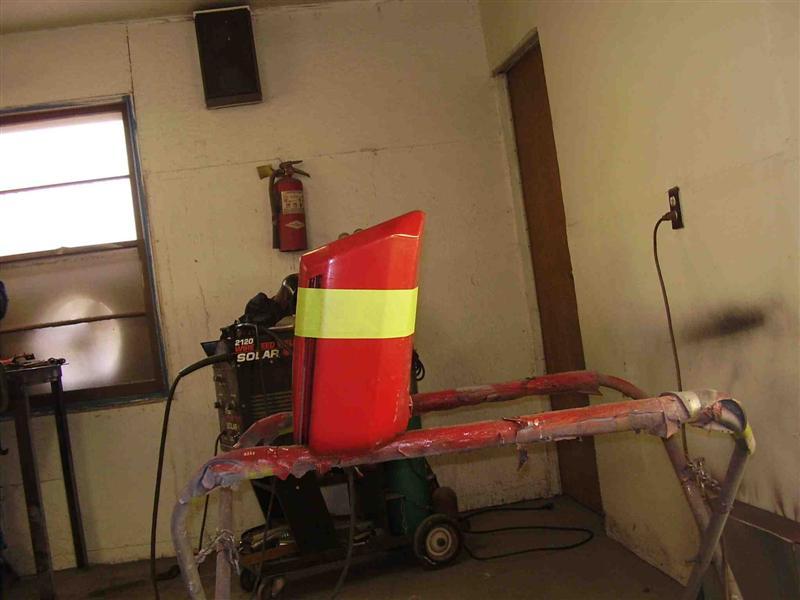
snip

much better.
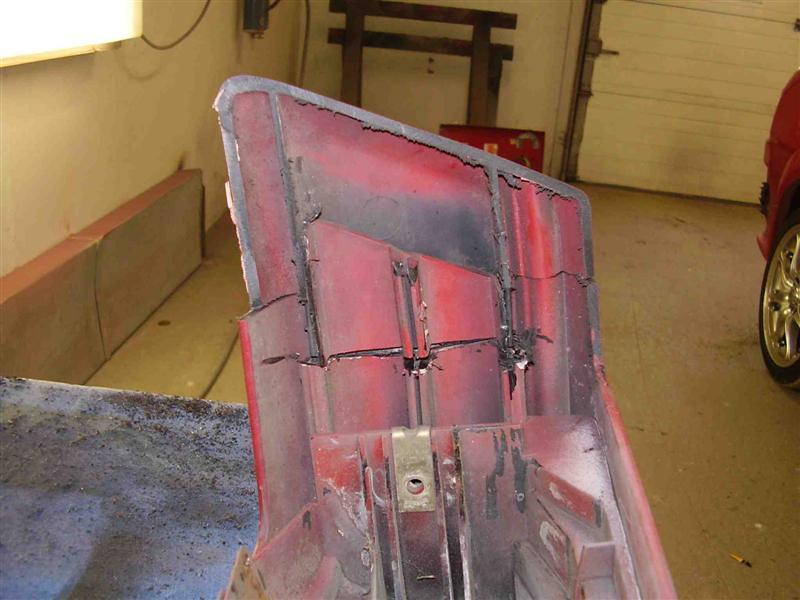
now we had to plastic weld them back together.
tip when plastic welding: use a very powerful iron or hot knife. add tons of extra plastic that you can chop up from the bits of plastic you cut off the bumper. try not to introduce air bubbles and take your time. ventilation helps here too. heh.
to reinforce the joint, I used part of the inner bumper skin and welded it in place. the resul is a very strong bond that will not crack and should bne undetectable when the car is finished.
is this any better?
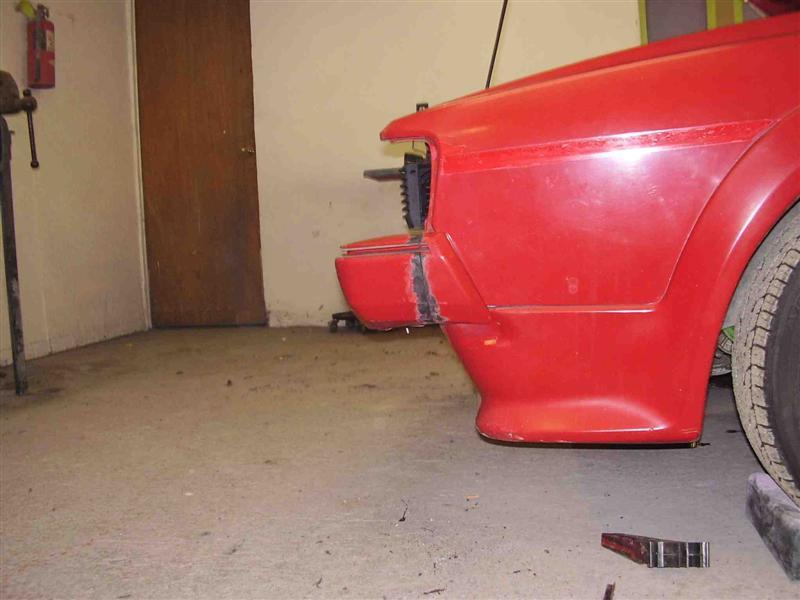
before they were plastic welded on, we had to do a bit of shaping to them to get them to fit right in there new location. the ends of the bumpers were intended to be held in place by brackets and they pushed n the body when they were in there new home. we ground them down and shaped them to fit without rubbing on the body, and that cured the "saggy bumper" issue some people with pulled bumpers have complained about.
so thats all for now. expect more pics as we get the car all sanded down and start the painting proccess. ![]()
![]()
p.s. I will also have pics of the patching proccess for the body kit parts that need filling in now that the tow hitches are gone. check back tomorrow night ![]()
very clean indeed. it was brought up here (Maine) from alabama and I rescued it before it saw snow. (and salt) its got zero rust on it, but the paint was faded from all that desert sun, and the dash was toast.
now I got a new dash and should be painting by this weekend. ![]()
next on the list is to smooth out a couple dings and get down to sanding.
as for the vinyl, it wasnt very hard really. just time consuming to do it all by hand. when I replace all the velour with suede, Ill have to use a machine. also, my headliner is wrecked and will need replacing too, so thats on my list...