You must be logged in to rate content!
6 minute(s) of a 36 minute read
8-10-2005
IT HAS BEYGON! My 1.8T swap assembly
Compliments of talx @ www.vwvortex.com
8/10/05
Ok this is the update you have all bin waiting for the assembly
To those of you that have not bin acquainted with my project hear is a link to the initial thried
http://forums.vwvortex.com/zerothread?id=1207423&page=1
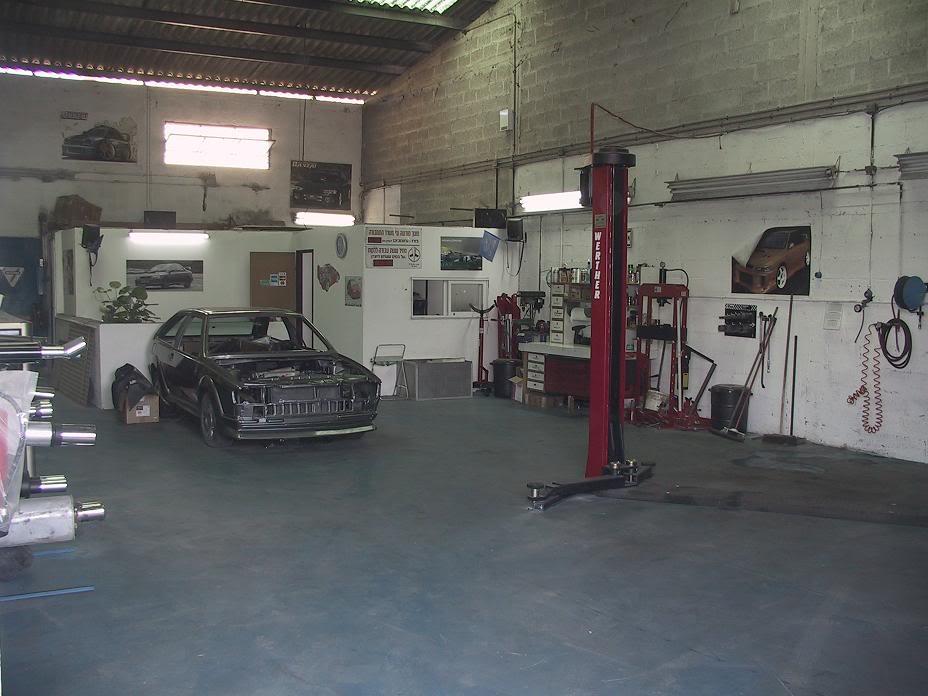
Last week I toad the car down to the performance shop I have started to work at in my free time well that actually means im there from 9:00 to 18:00
So finally ange has an adequate home that stands up to my expectations and all her needs no more ghetto parking lot working in 38^c
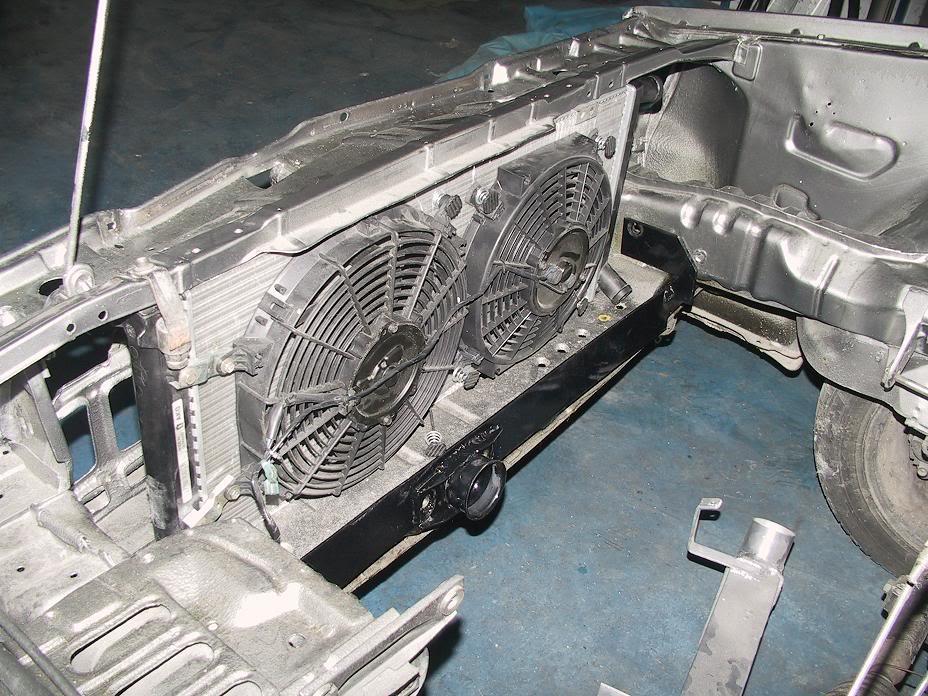
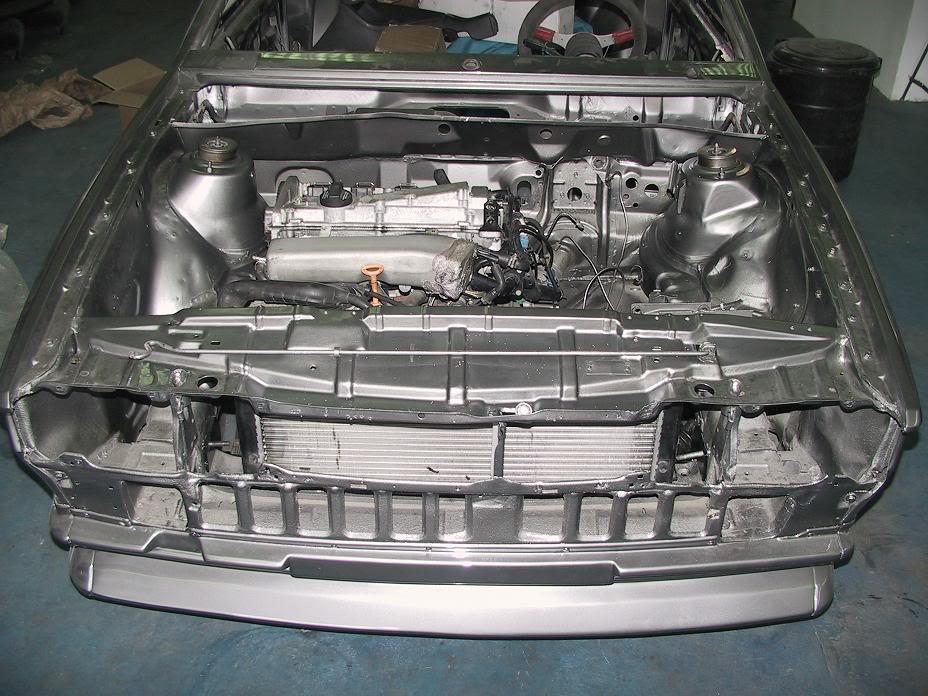
Started of with locating the radiator drilled to new holes to locate it further back on the front member to clear a bit more room in the engine bay and there is still more than enough room for the intercooler a huge one actually 24X11X3.5 core still waiting to have end tanks assembled later on
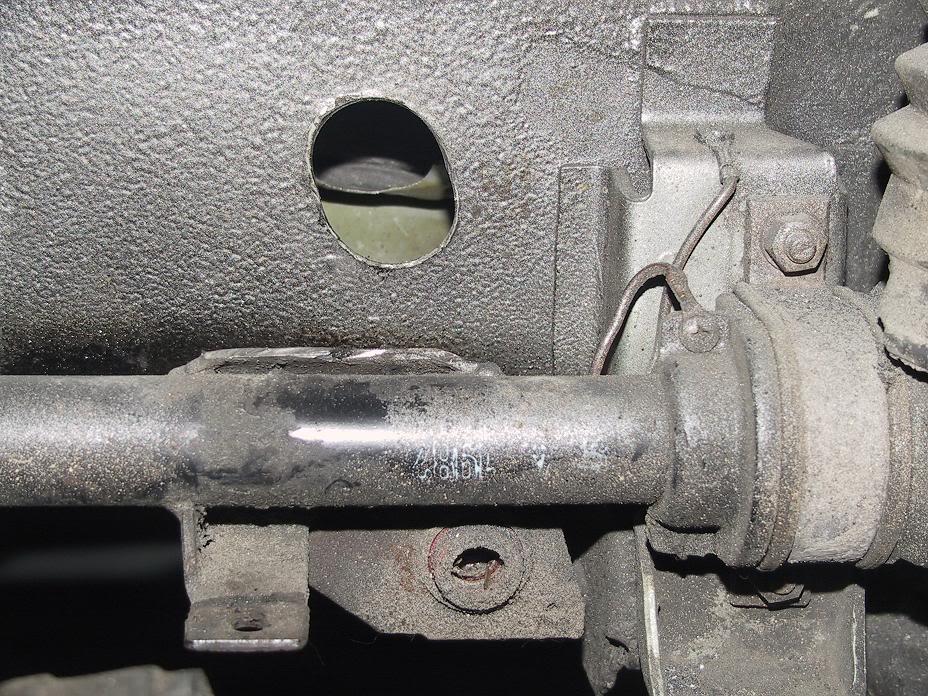
You can also see the front member reinforcement bar I built soldered to the front engine mount and connects to the bumper bolts
This is a very important bar if you don't want to shear of the front mount when pushing big hp
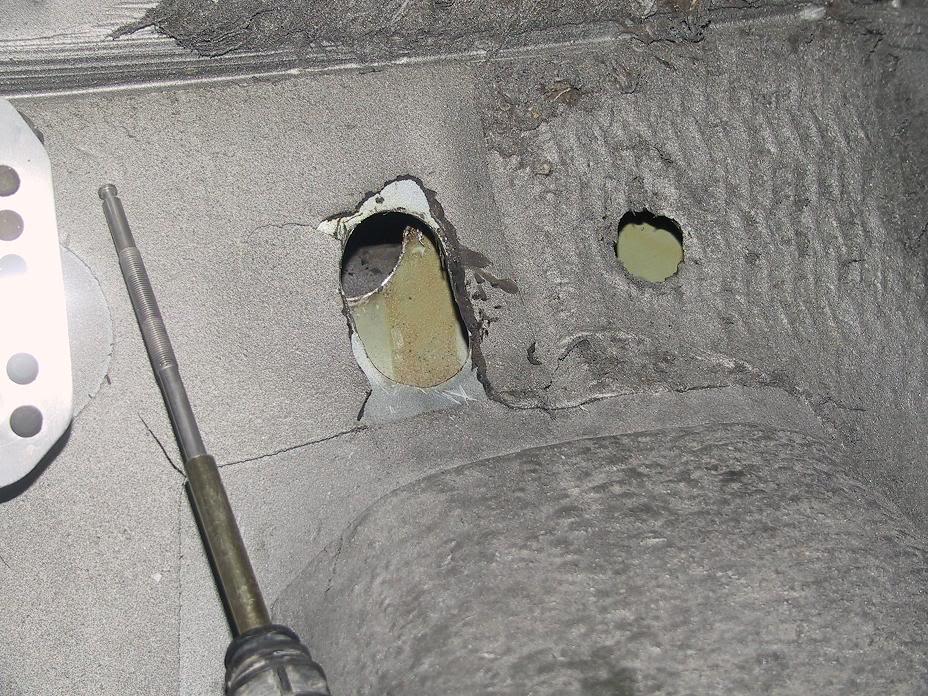
Before installing the engine I drilled two holes in the fire wall for the shifter cabals to go threw I needed to cut a bit of the old shifter rods assembly that is located on the steering rack to drill the holes but no bigy I am going to disassemble the steering rack any ways when I get the polyurethane mounts I ordered to be refurnished and shave of the shifter rod assembly
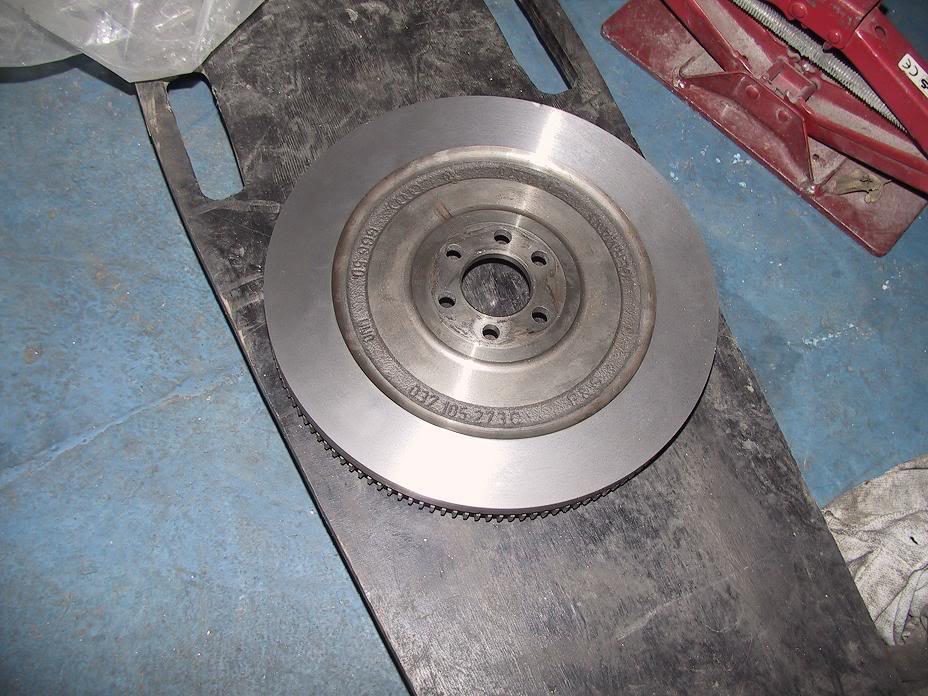
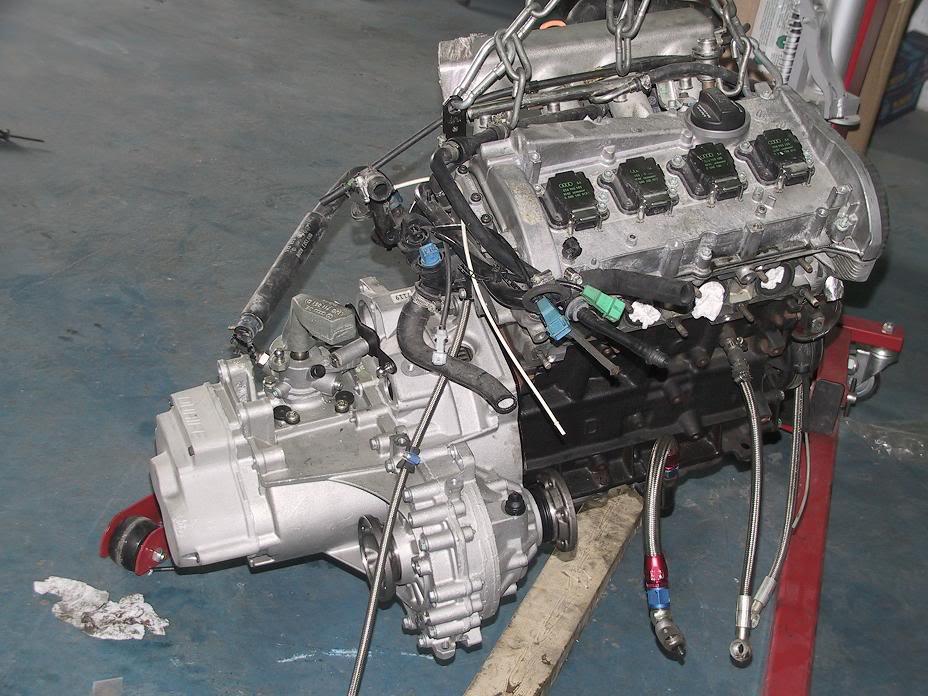
lucky me just next-door to the shop is a metal works shop that can do practically any job I have grounded some good relations with the owner because of the work he dos for us at the shop so I had the flywheel shaved for free to take of some weight should weigh just about 10 pound now
bolted up the clutch and fly wheel to the motor pay no attention to the clutch it is a used clutch that did only a few km of work and will be changed since the engine will be pulled out again to be fully built just as I finish the project and have don a few mills of driving to see that every thing is working in order I will take that chance to change the clutch
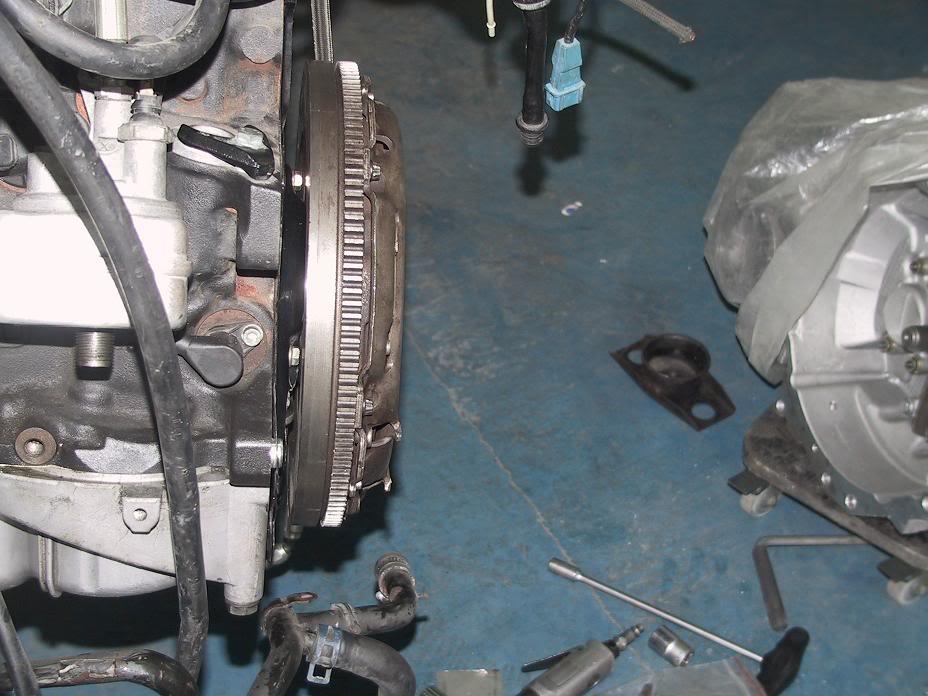

ok bolted up the Quaife to the engine all the mounts have bin assembled to be cheeked from my experience it is easier to first mount the engine in the engine bay with only the passenger side mount then mount the driver side mount, rear mount and front mount when the engine is located in its place
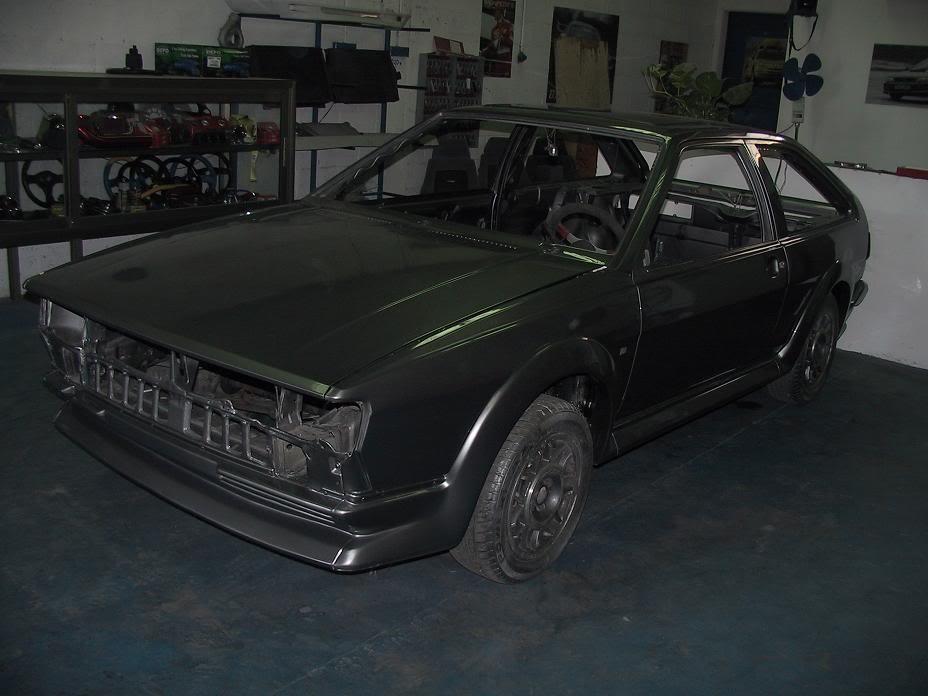
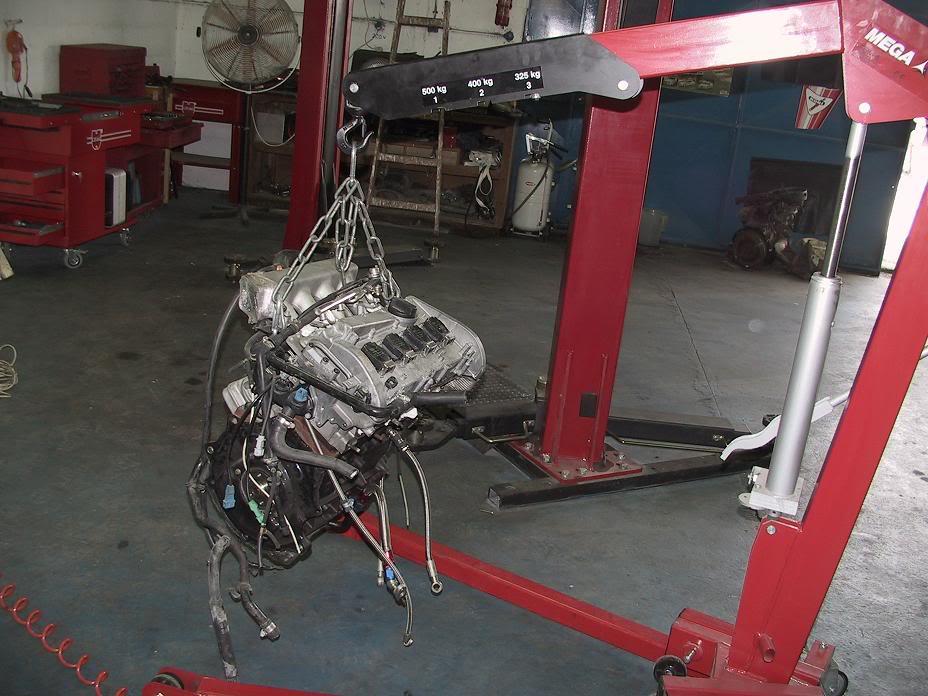
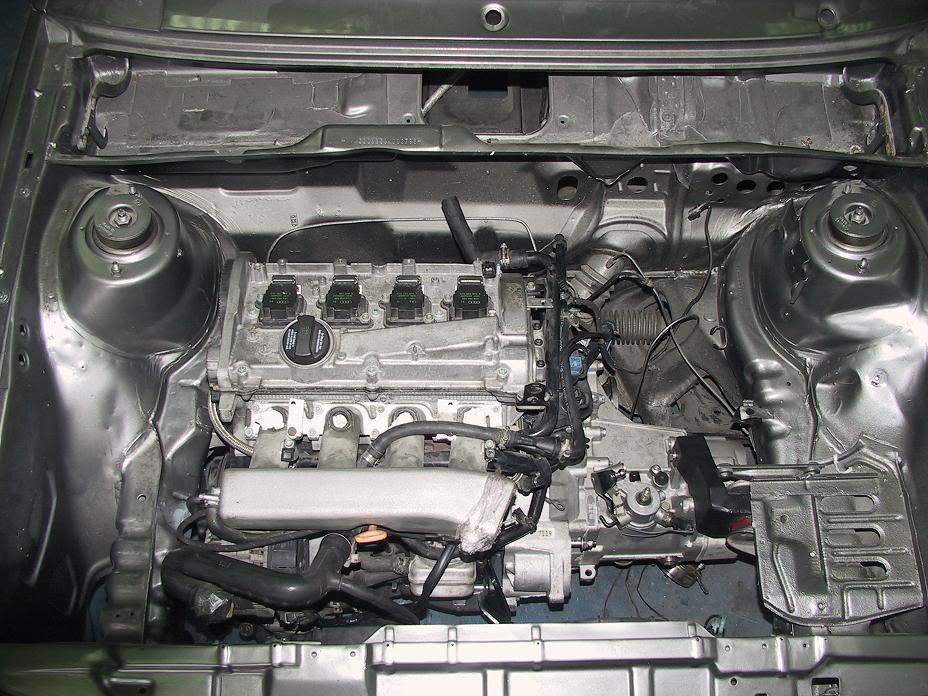
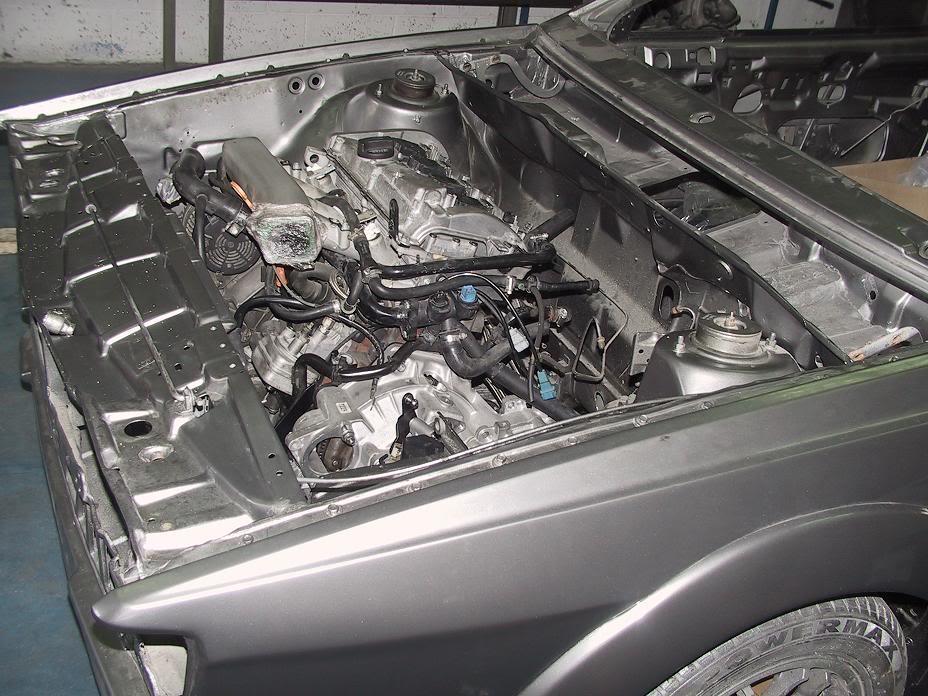
engine is in after more than two years finally again a request pleas pay no attention to the filthy engine bay the body shop that panted the car was requested by me to spray some wax in the engine bay on all of the joints but for some reason he just sprayed the hole engine bay so after about a year it has gotten all filthy
I have a big job ahead of me to clean everything up its going to be hard to stand up to funcksolekitty and polov8 Cleanliness of the engine bay they have established the standards of cleanliness on these projects and it is up to me to with hold it
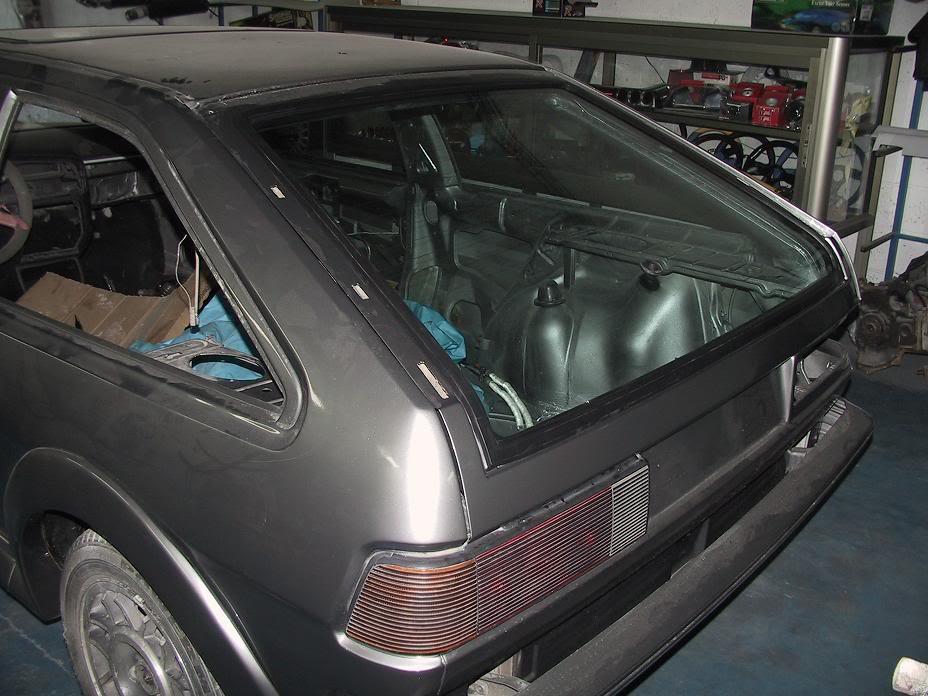
O rear wind shield is in
Well that's just about it for today still much more work to be don
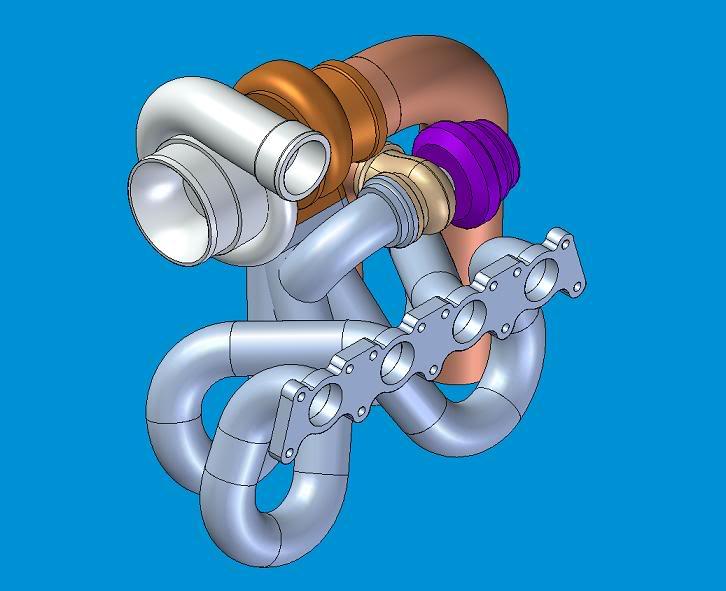
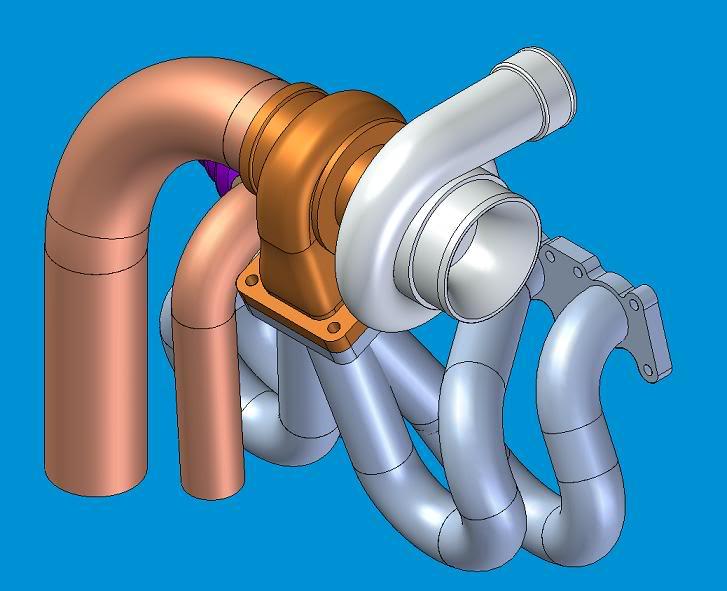
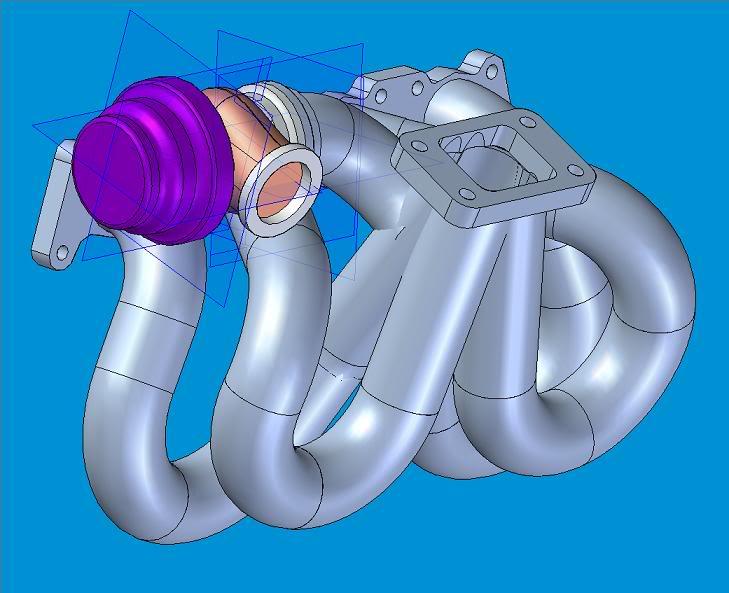
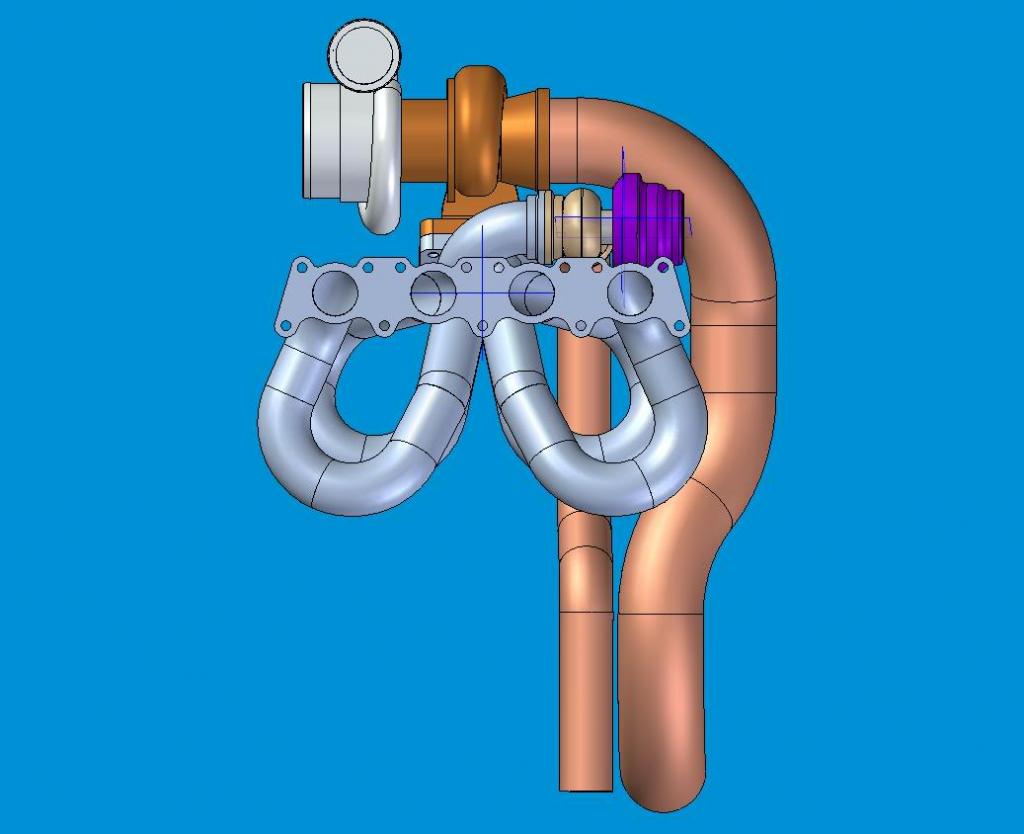
I have started to sketch on CAD an equal length manifold for my GT35/40R using calculations I have don before the engine was mounted so tomorrow I will re check my calculations for the clearance of the turbo and manifold to see if they are correct and if not change the design of the manifold to fit
A few CAD pics of the manifold