You must be logged in to rate content!
15 minute read
Scirocco seat rebuild repair diy.. sort of.
Compliments of JonnyPhenomenon @ vwvortex.com
8-6-2008
First of all, I must apologize for the lack of proper photography on this post. I thought I would have more time for pics, but my pregnant wife is nesting now and she was rushing me to help her get stuff done in the nursery...
so the other day I was settling into my seat and heared a pop. then all of a sudden my seat went from 'not-so-comfortable' to 'REally UNconfortable'. I have had a feeling this was coming for a while now, but I have been putting off the repairs until it got 'really bad'.
anyway. these seats have quite the little skeleton of wires and springs inside of them and they can break in all sorts of different places.
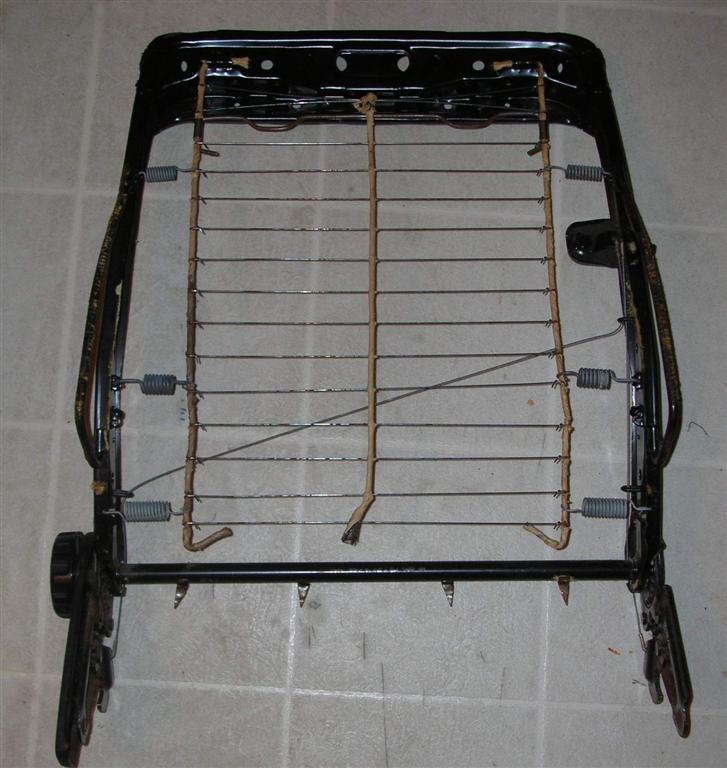
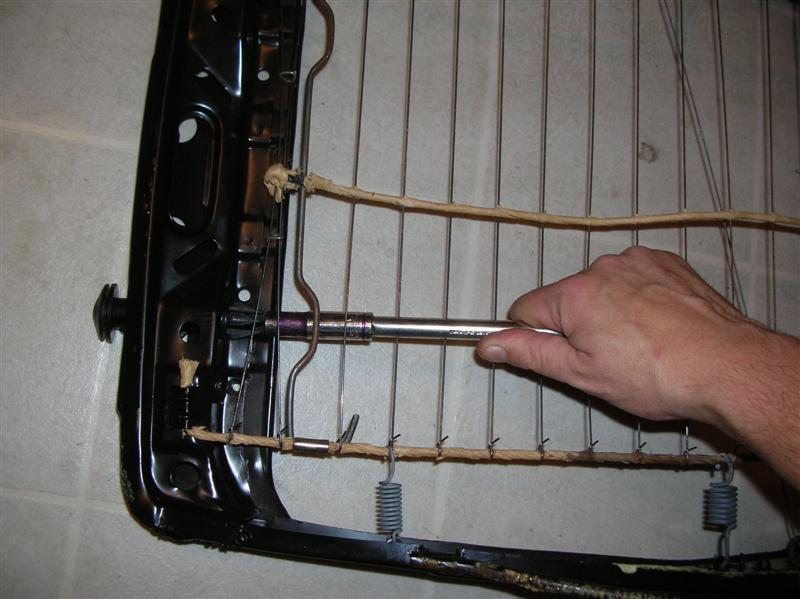
here is a pic with some areas colored for reference:
the pink horizontal lines are very thin wires crossing the width of the seat connecting together the two heavy gauge spring steel 'wires' that I marked in green. these two wires are held tight by 3 springs on each side. (blue arrows)
so when I first got the rocco, the drivers side seat was a bit sloppy. some of the 'pink' wires had broken and were actually poking out of the back of the seat. I repaired it by taking it all apart and sourcing some used wires from a donor seat. the problem was that they werent all the same length and my seat was still quite uncomfortable.
up until now, I have just been dealing with the lumpy uncomfortable seat, when it broke again I knew it was time to do something about it.
in the picture the red circle is drawn around the spring that gets the most abuse. it is a much heavier gauge than the other two, and what happens with this spring is that it slowly wears a notch in the 'green' wire and creates a weak point. when I squeazed into the seat the other day, I finally caused that spring to actually break the 'green' wire at the wear point, and all support from the seat back was lost.
the solution:
I took the seat back out of the car and took it all apart. I seperated all of the hogs ring staples with a pair of needle nose plyers. I didnt have to remove the head rest, but I did have to peel back all of the vynil covering the seat to properly get at all of the innards.
I picked up some heavy gauge metal rod from the shop. the original wire is very hard to bend. the replacement part was a much heavier gauge, but still easier to bend than the stock part. you might be able to get away with using two or three lengths of coat hanger wire to get the firmness of the OEM part. just stay away from brass as it will get brittle far sooner than steel.
next I had to remove the old wire, and unfasten every one of the 'pink' wires attached to it, as well as the springs, a clip and so on.
the old wire is covered with a paper wrapping twisted all around it. this keeps the springs and 'pink' wires from moving around on it. I wrapped my new wire with rubber stretch tape.
then I started reassembling it and took extra special care to make all of the "pink" wires to have the same tention on them. I had to do some fine tuning, but once the majority of these wires were on, I attached all of the springs and could easily tell which ones of these wires was too loose. Hint: if you can wiggle the wire, its too loose.
with all my wires correctly tightend and all the rest of the parts in place, I pulled the skin back in place and clamped the 20 or so hogs rings(staples) in place to keep the skin where it belongs.
So then I reinstalled it back in the car and smiled as sat down to the most comfortable scirocco seat I have ever been in.
![]()
I hope someone might find this thread useful.
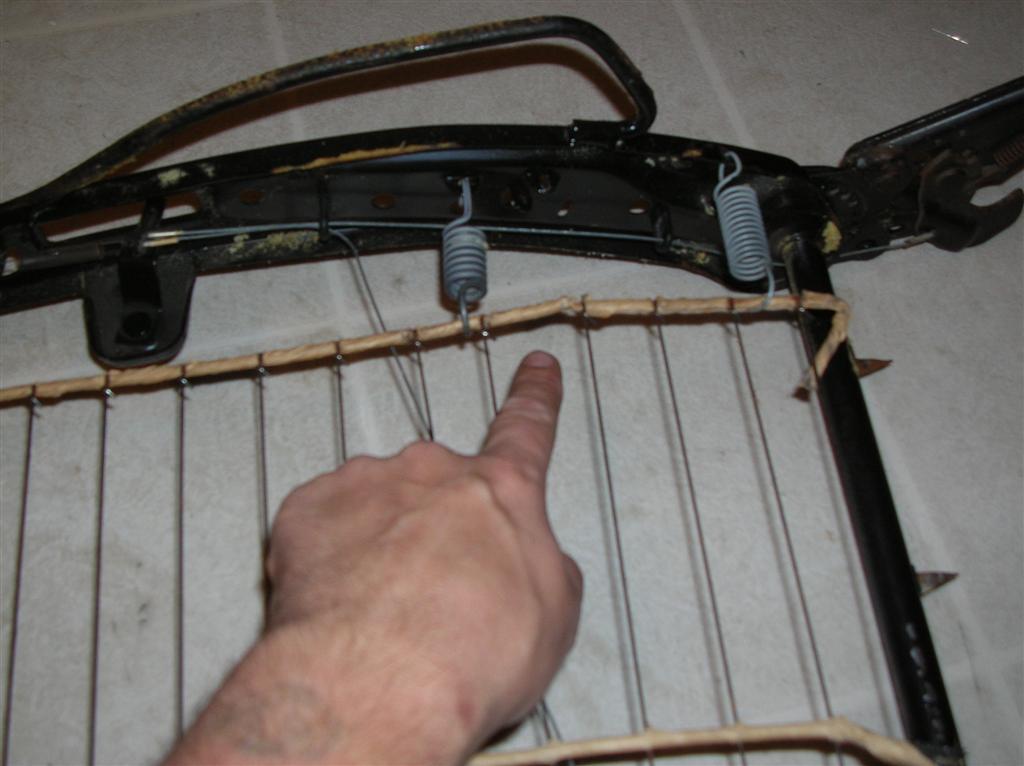
EDIT: UPDATE for pics ![]()
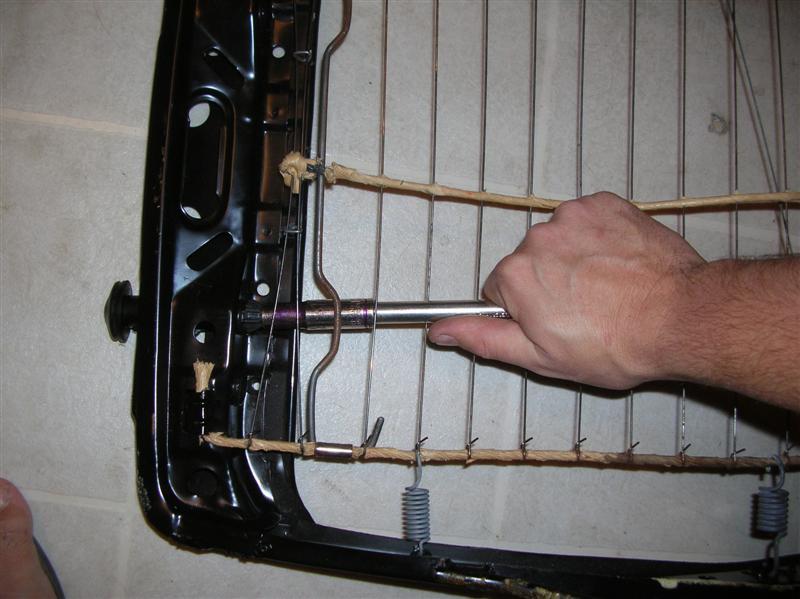
my pictures are really out of focus, but if you look hard you can se that there are three different places where you can attach that spring. this set of springs was not broken yet but they were working on it. so I moved the springs up to the top spring as a preventative measure.
Another UPDATE:
Release cable issues.
I would say that the number one issue with the rocco seat release is due to streching cables. the next would probably be breakage of the plastic routing guides followed by actual breakage of the cables.
I got this set of seats used from a friend, and they were very stubborn when told to tip forward. I could fight with it for a while and get them to release, but most of the time I had to reach down and lift the lock to get them to go. the problem was that the long release cable had stretched over time, and the short one was hitting the stopper before the other one had a chance to open up enough to unlock.
here are some pics to explain wheat Im talking about.
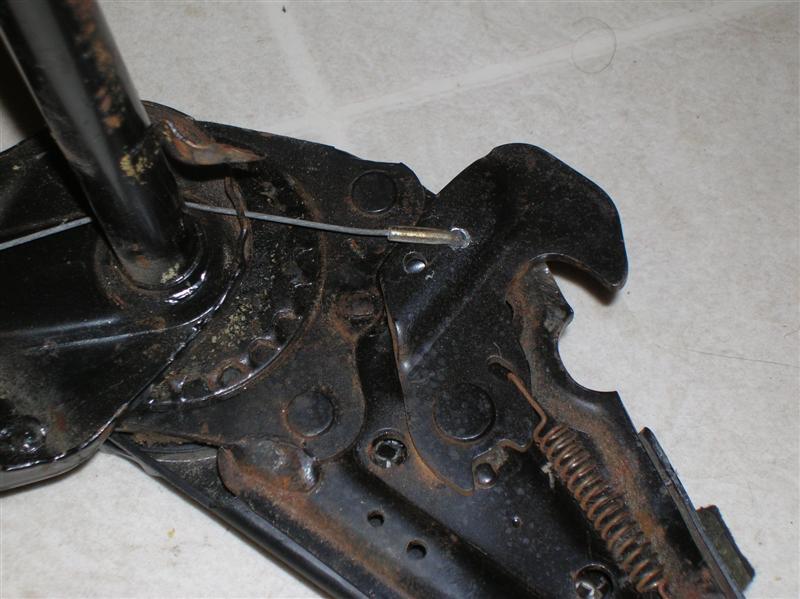
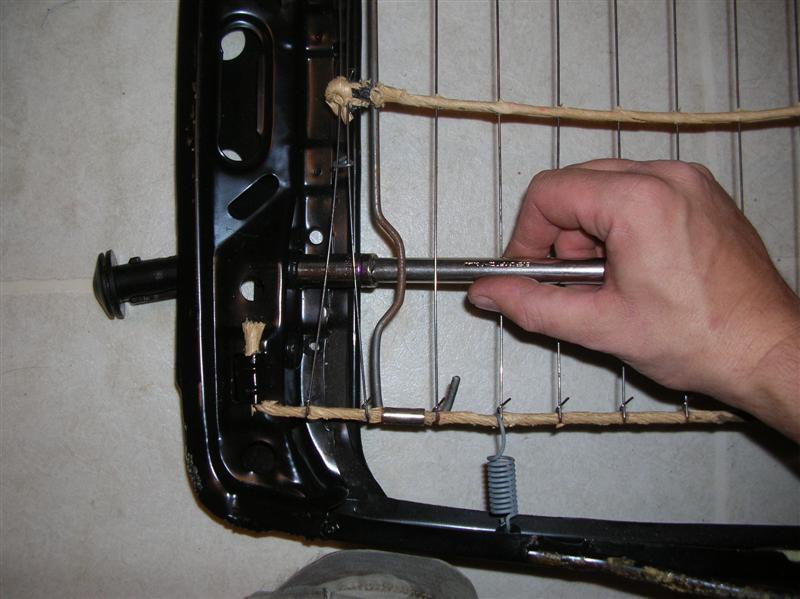
this one shows the short side. I have the release lever lifted all the way up to show that this side is fully opened.
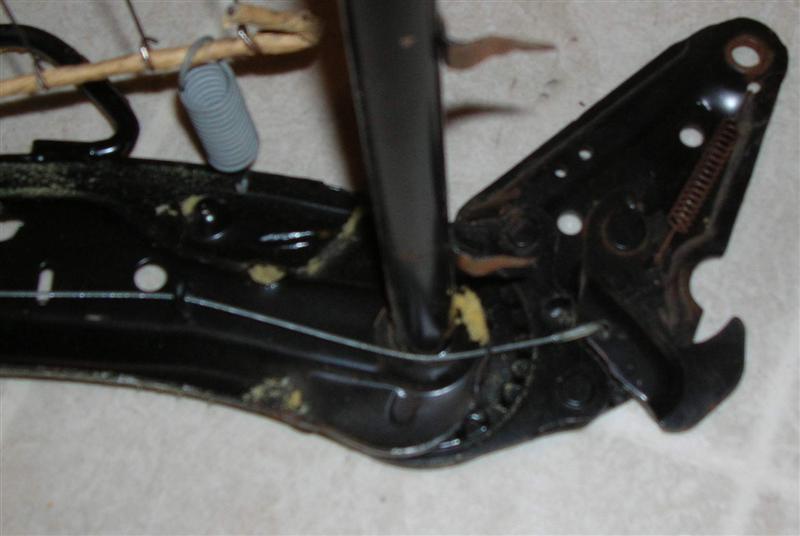
on the other side, the lock was not fully open, in fact it had another quarter of an inch to go before it would release. I dont have pics of that. anyway, I drilled a new hole to fit the cable through that would take up that extra quarter of an inch needed to open it all the way.
notice the old hole just to the left of the one the cables in.
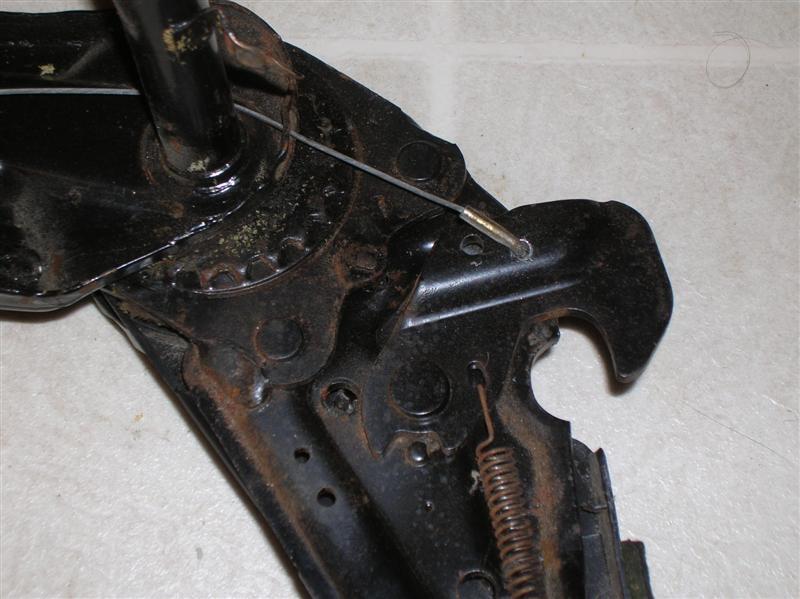
now when I lift the release lever both sides hit the stopper and are fully opened.
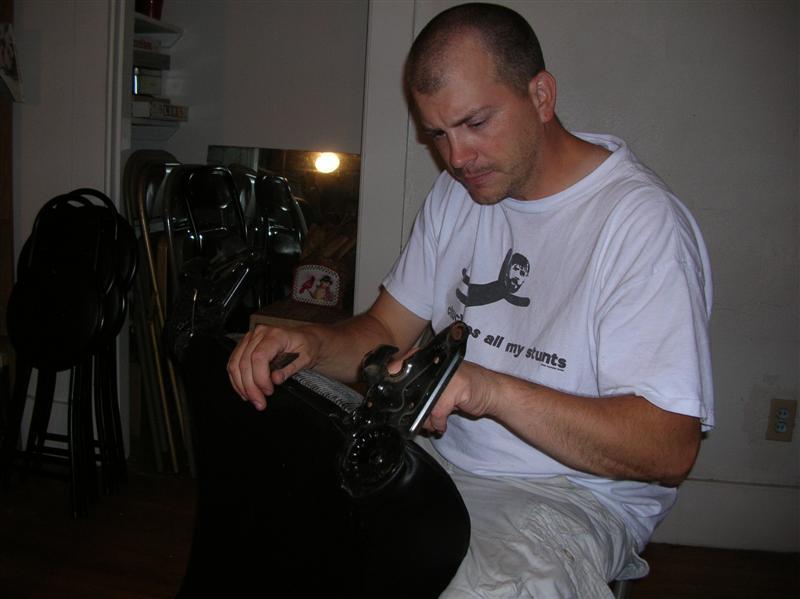
A word about seat disassembly:
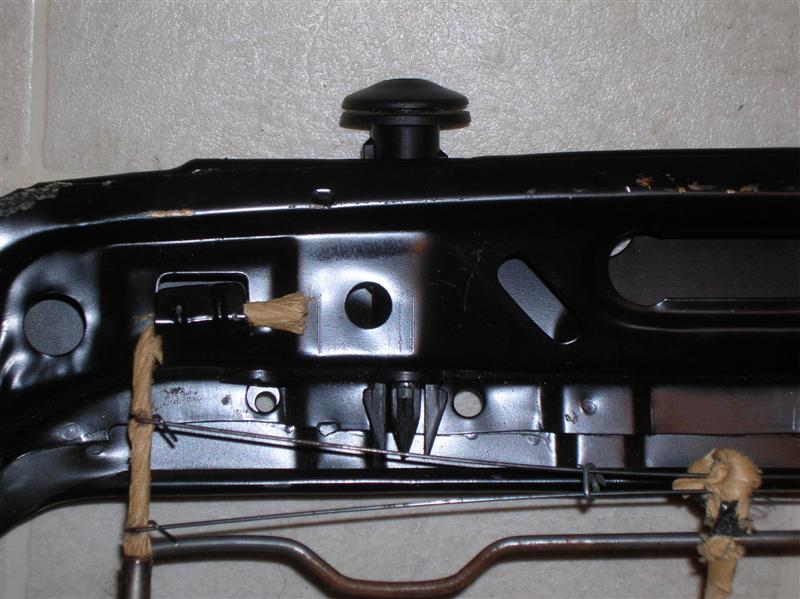
the head rest is mounted to the seat by these two plastic tubesand held in with pins. taking the pins out is easy enough, but getting the skin off the seat to do major repairs requires removing these plastic tubes, and that can be a real pain. Ive taken some pics of my secret to getting those plastic tubes out of the seats.
My pics are of a seat thats already apart, so you can better see the part you will be fighting with. with the skin and the cushion stuff on the frame you will not be able to see what you are doing in there, so you will need toknow what you are feeling for.
First. the offending beast.
and out of order, removing the pin that holds the headrest in place.
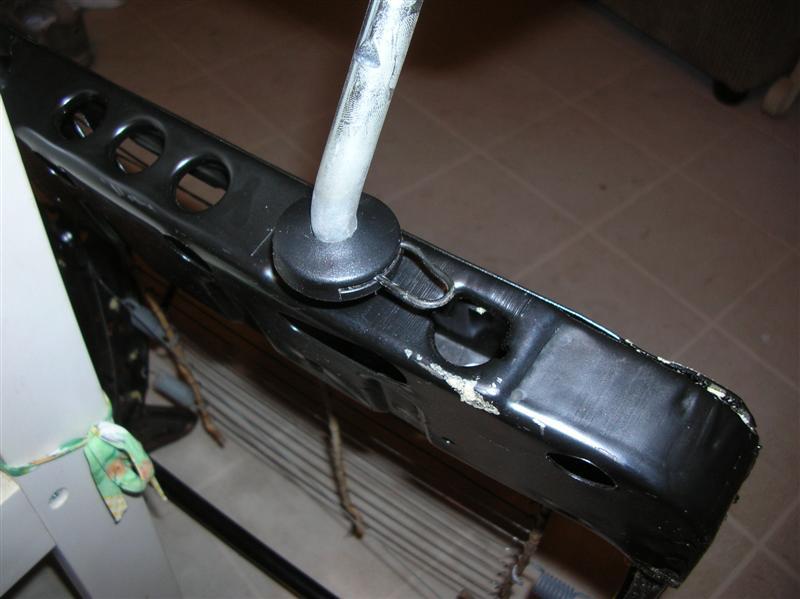
my secret weapon is a 10mm socket on an extention for leverage.

you need to get all the tips of the plastic thing inside the 10mm socket.
now push like hell and wiggle that back and forth. if you stick a finger in there to assist you might get stung. so be careful the edges can be sharp.
eventually you will be rewarded with a satisfying POP! ![]()
now repeat this for the other side and get yourself a beer.
thats all for now. its 3am and my wife thinks I should go to bed. ![]()
8-7-2008
release cables are the easiest to fix, but it is very possible that the cable grommet is broken and not the cable at all. grommets are even eqasier to fix, because they dont cost any money. ![]()
thats a really easy fix too. you dont even have to unskin the seat. just bend back the 4 or 5 little metal prings at the bottom of the seat and lift the long metal rod up and over it. then the entire front cushion is oinly attached at the very top of the seat and you can lift it out of the way.
that gives you more than enough access to the innards of the seat. plenty of room to figure out where your cables messed up.
the first time I did this fix I didnt even go that far with it. I just reached in between the cushion and the seat back and swapped out the grommets by 'feel'.
8-8-2008
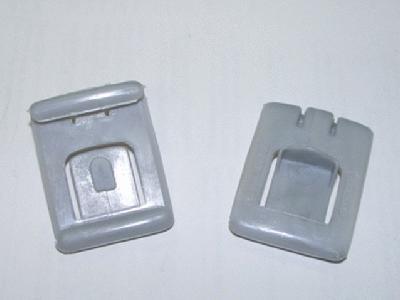
I think you are referring to the plastic guides that keep the seat base from jiggleing round in the base...
in which case, you need two, one for each side of the seat. the outers are 171881213b
http://www.worldimpex.com/sear...1213b
the inners are 191881213909
http://www.worldimpex.com/sear...13909
you wil notice there isnt a heck of a lot of difference between these two parts. the only noticable difference is the little tab sticking out of the grey one. the white ones are about 5 times as much as the grey ones. being cheap, I took a couple grey ones and shaved the tab off and used them as whites ![]()
10-3-2008
Bump because I just tripled the size of the original post.
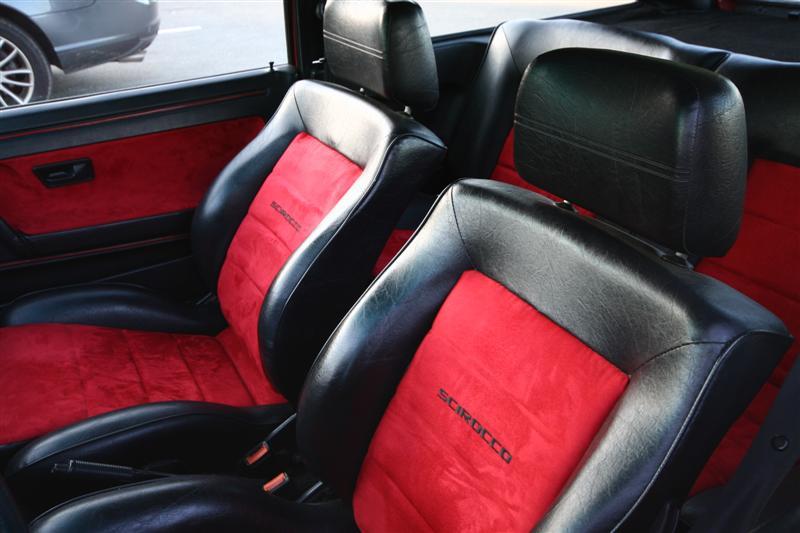
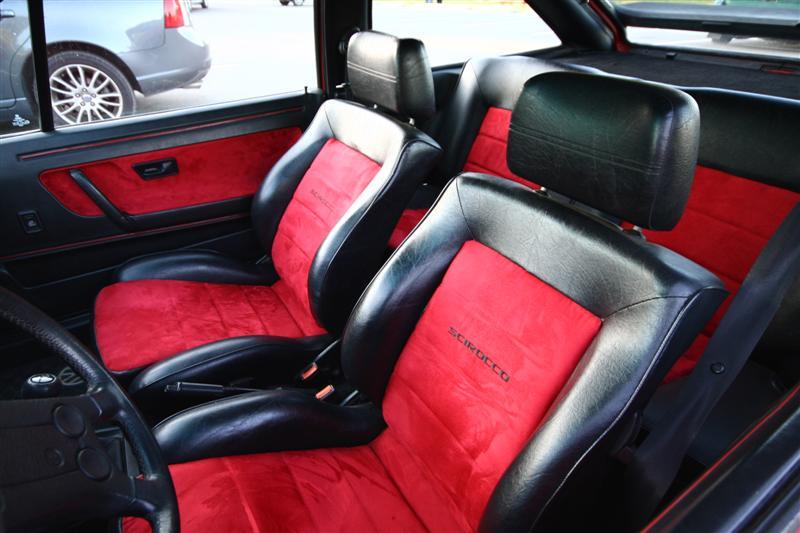
and because I finished reupholstering a part of my seats ![]()
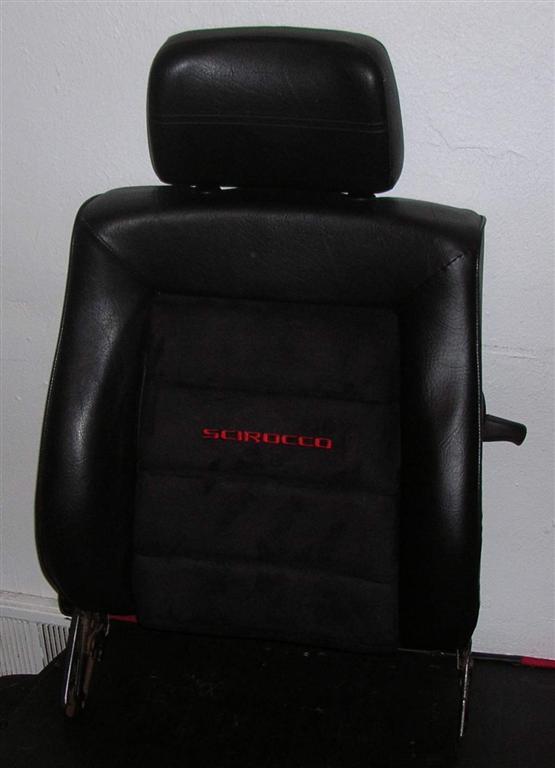
Enjoy! ![]()
![]()
p.s. timbo, you might want to update the technotes![]()
10-4-2008
nice.
got my drivers done, and the top half of the passenger side done tonight. and its 5:30am. lol
the drivers bolster foam was pretty well destroyed, but I switched it with the passenger side, and spent a few hours tonight rebuilding it wrapping it with fabric and stuffing it with scraps of stuff to make it uniform. no pics of that tho.
P.s. heres a tip: if you have the seats all apart anyway, you should switch the bolter foam from the drivers to passenger so the "high traffic bolters" are are fresh and undamaged.
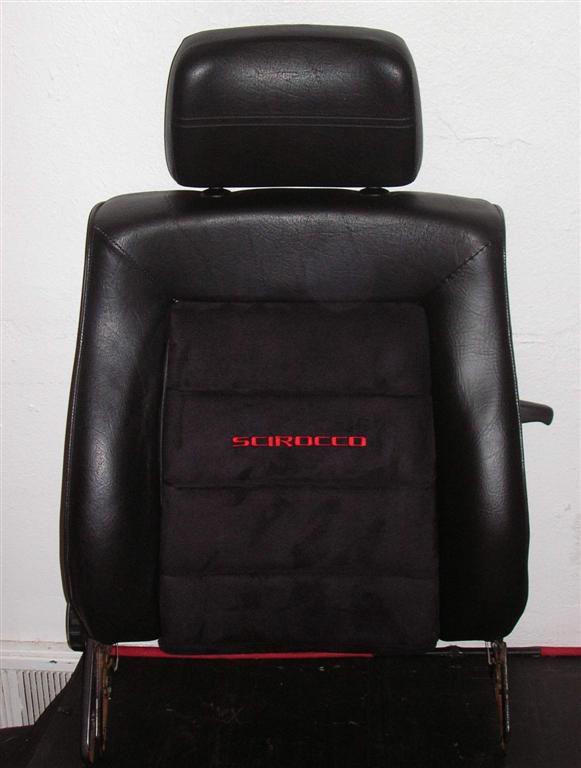
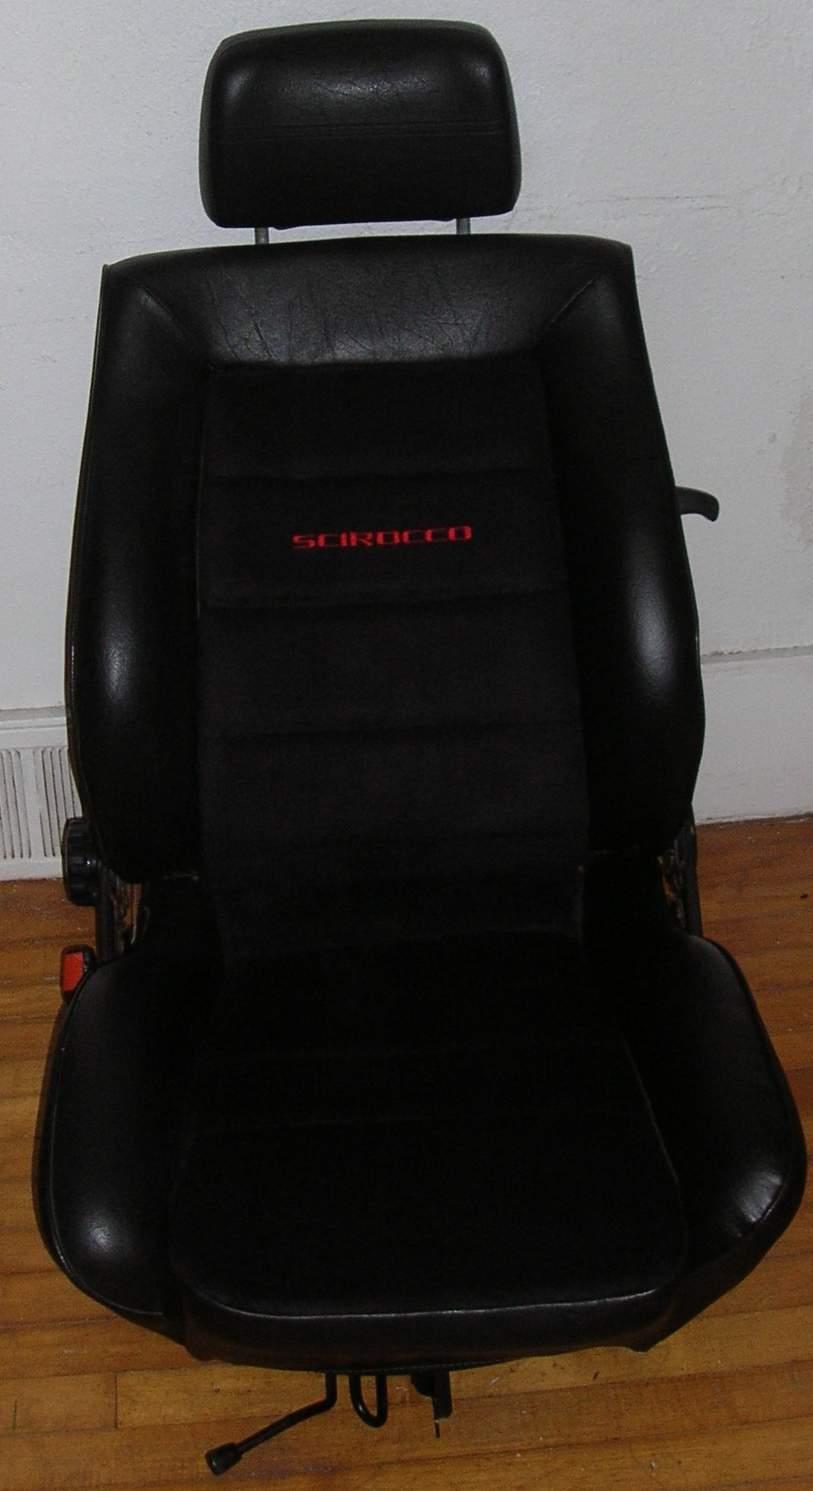
heres a pic of the seat.
tomorrow
2-10-2009
I did. check out my build thread for some more pics. I will be adding some of that to this thread.
the only part I sent out was the embroidery. cost me 5$ per seat to have them stitch the lettering on.


-----------------
regarding bolster foam.
the drivers and passengers seats have identical foam bits so its a good idea to swap them if you have both seats apart at the same time. you really dont need to replace the foam tho, even if it is really haggard like my last set was. I just wrapped up the worn bolsters with some stretchy fabric and spray adhesive to give if a good surface structure, and stuffed some padding inside the really bad areas to fill it out. once it was covered with a nice stiff peice of heavy gauge vinyl, any lumpy spots were concealed quite well. you really couldnt tell by site or touch that it has been rebuilt.
once again, I wish I had taken some pics of that process, but alas...
Also, the lower seat parts are extremely easy to swap or replace. they can be replaced without any sewing whatsoever. all you need is a pair of needle nose pliers to open and close the metal "hogs ring" staples that hold them on. so find a rocco in a junk yard and grab the nice neat left bolsters off the passenger seat for a ultra quick fix. ![]()
I did the set in black after I did another set in red while trying to color match my tornado red rocco. it wasnt a perfect match tho, and so I decided to go with black instead. I still have the red set of seats front and back. they are for sale too ![]()

I think these red seats would look totally awesome in a black or silver rocco.
2-11-2009
I made all new insets for them, and replaced the torn bolsters top and bottom. new foam on the lower bolsters, and rebuilt the foam on the tops. (and swapped them drivers side with passenger side)
I also replaced the cables, and tuned the lumbar support a bit.
they are a good example of perfect rocco seats. just ask iroczgirl and Timbo who haveboth seen em in person ![]()