You must be logged in to rate content!
7 minute read
How to: Left Side Trans Mount (2004.5 S40 T5)
Compliments of GRat9717 @ forums.swedespeed.com
5-11-2013
Symptoms: Vibration around 1500-2000 RPM in 1-3 gears. Clunking noise occurring after pressing the accelerator after just releasing it (whilst moving). Excessive vibration.
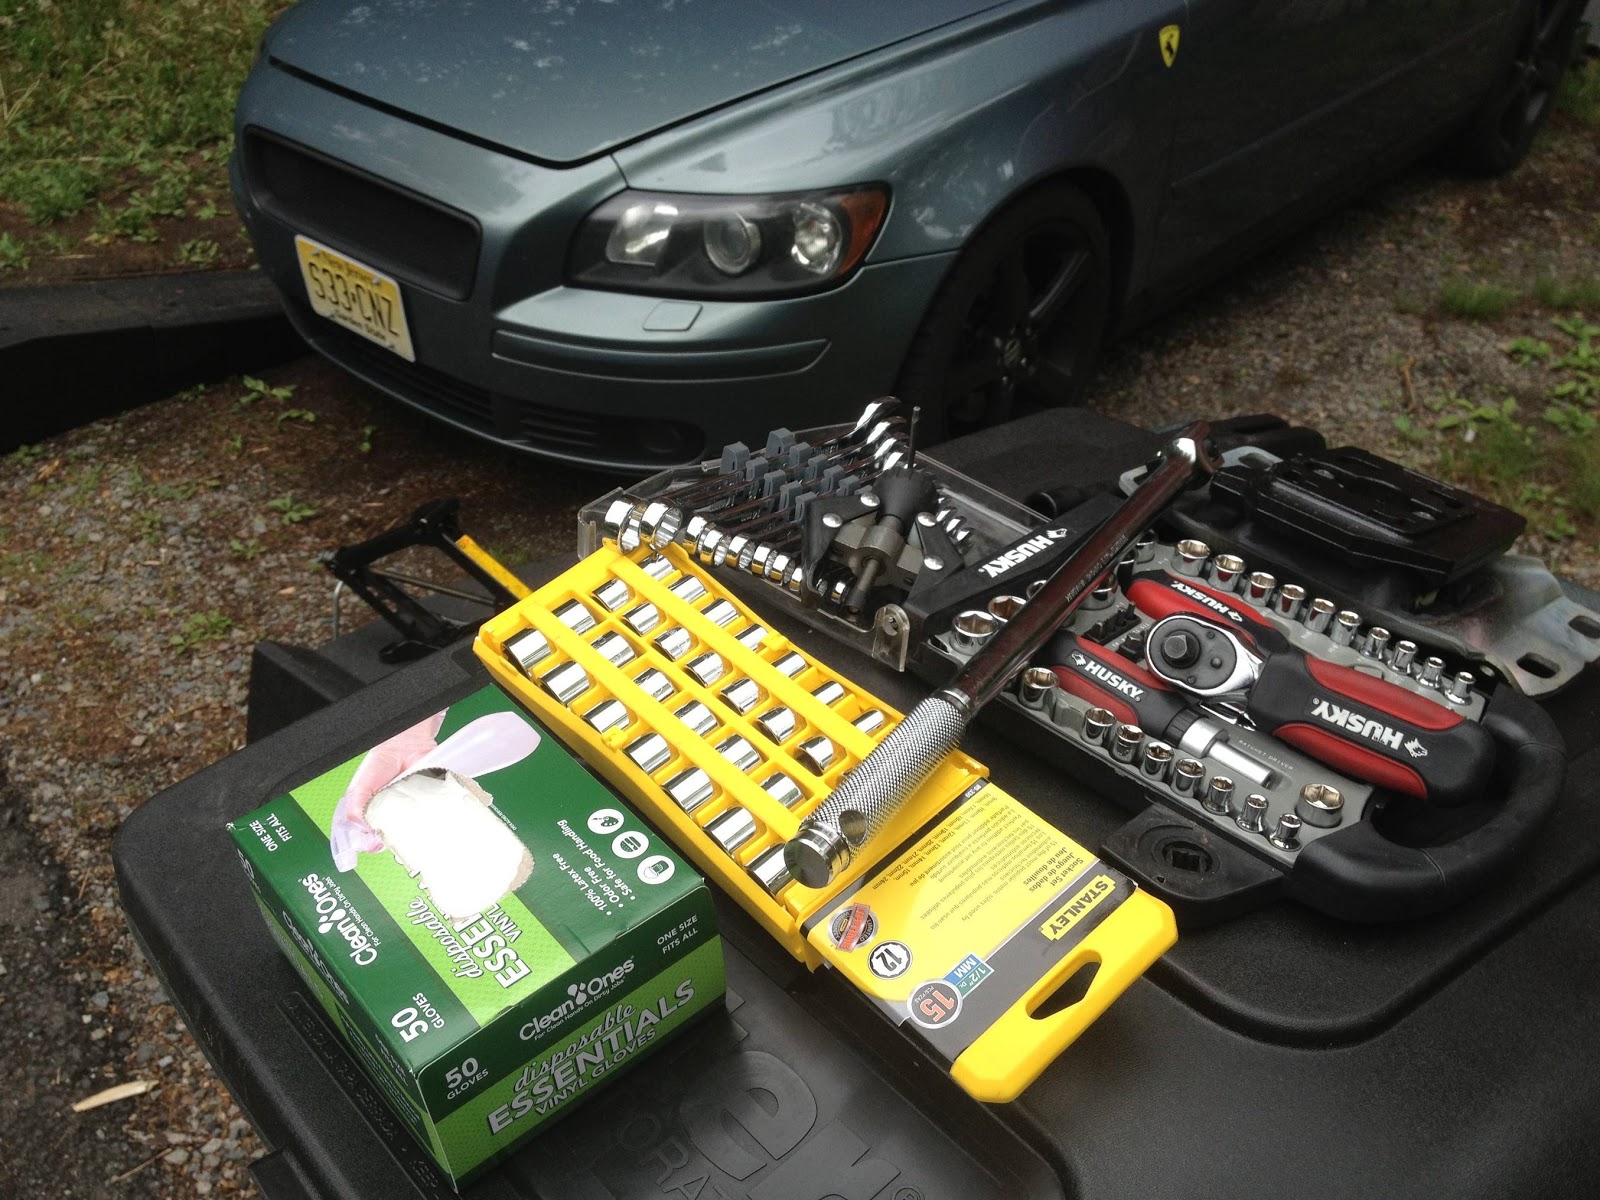
So today I did this job. It was actually really easy and I didn't use any instructions. On a scale from 1-10 my experience doing car work is about a 1.5, LOL. Set aside up to two hours to do it, I took just over an hour.
I got the part from Tasca for $95 shipped to my door. For my VIN I was told to get part #31277442. Edit: This is NOT the upgraded mount. There is a thread somewhere describing the correct part numbers.
Tools:
Set of good sockets
Breaker bar
Impact extensions (Highly recommended over standard ones)
Ratchet (any will do)
Torque wrench
Probably an extension on the 1/4" drive scale to get the other battery box nut.
MUSCLES, RAWR.
I also highly recommend gloves. It was a really dirty job.
1. Remove the skid plate, you will need to do this to jack the engine up slightly later on. I put the car on ramps for this.
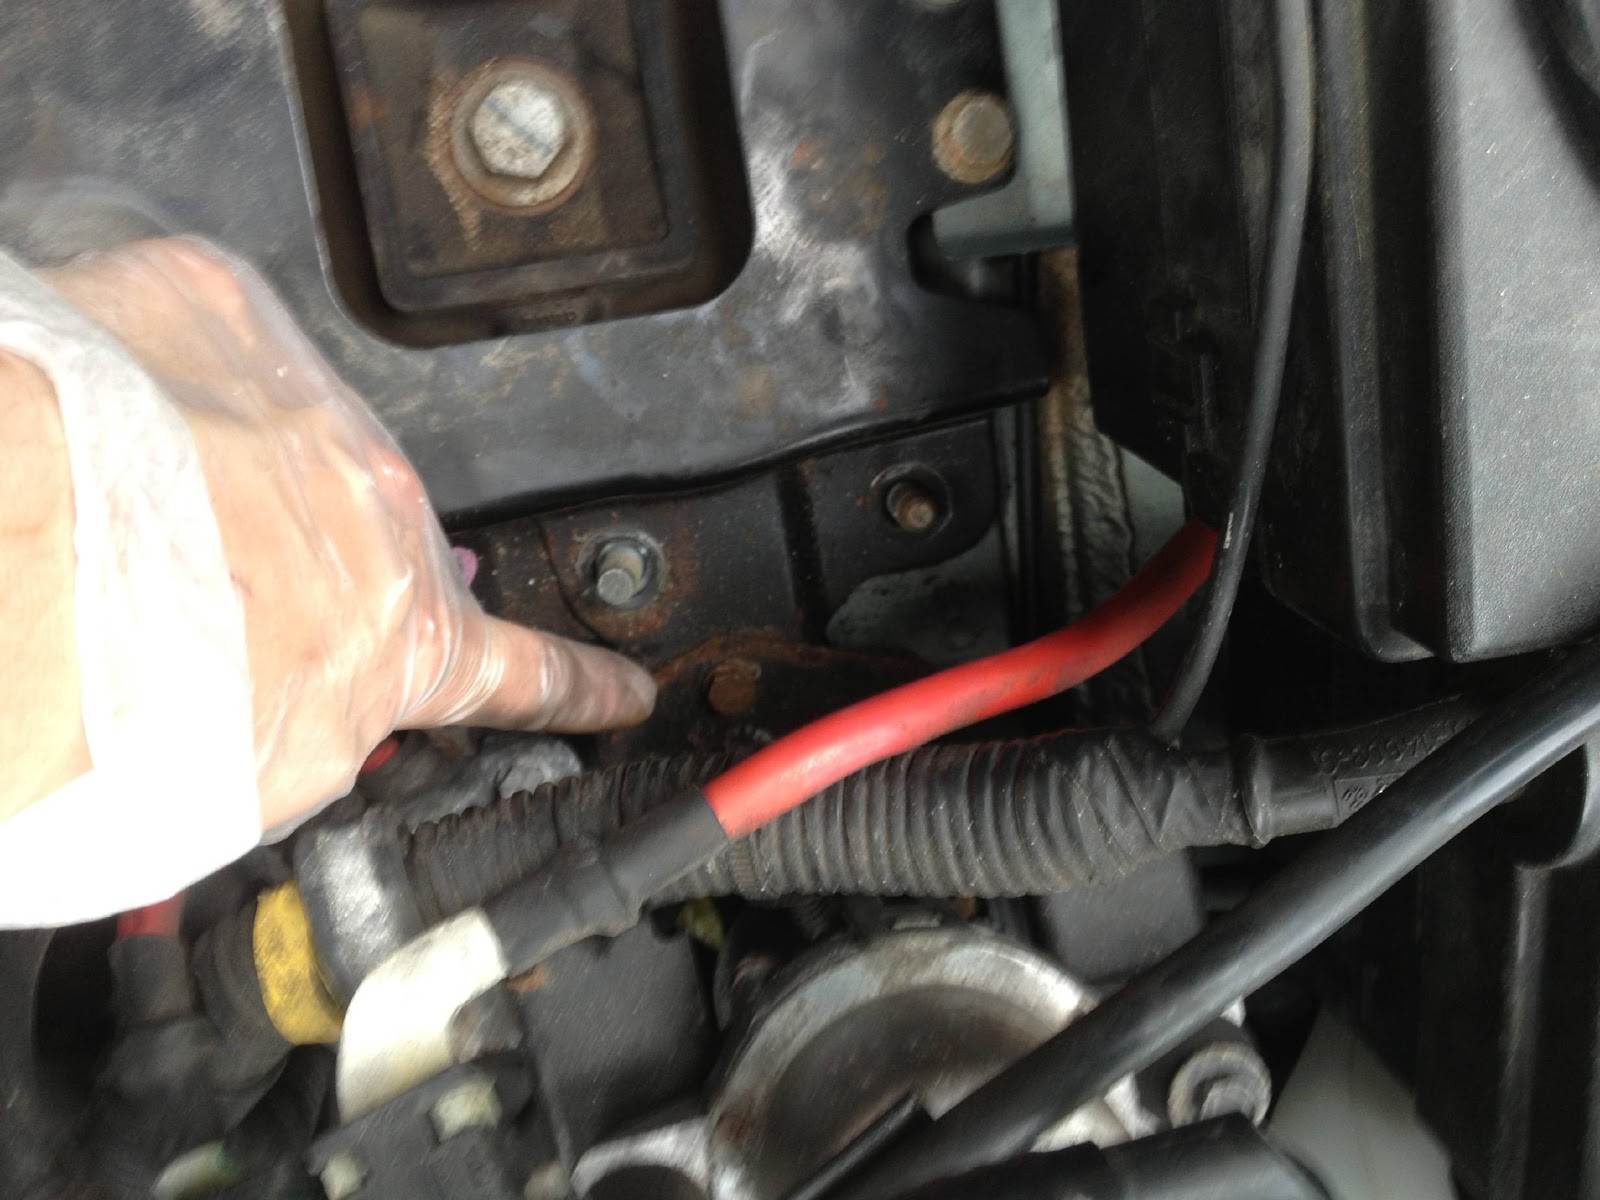
2. With the skid plate out of the way you can lower the car and pop the hood. Remove the battery cover. Remove the battery terminals, positive first (10mm socket), and move them out of the way. Remove the other battery cover.
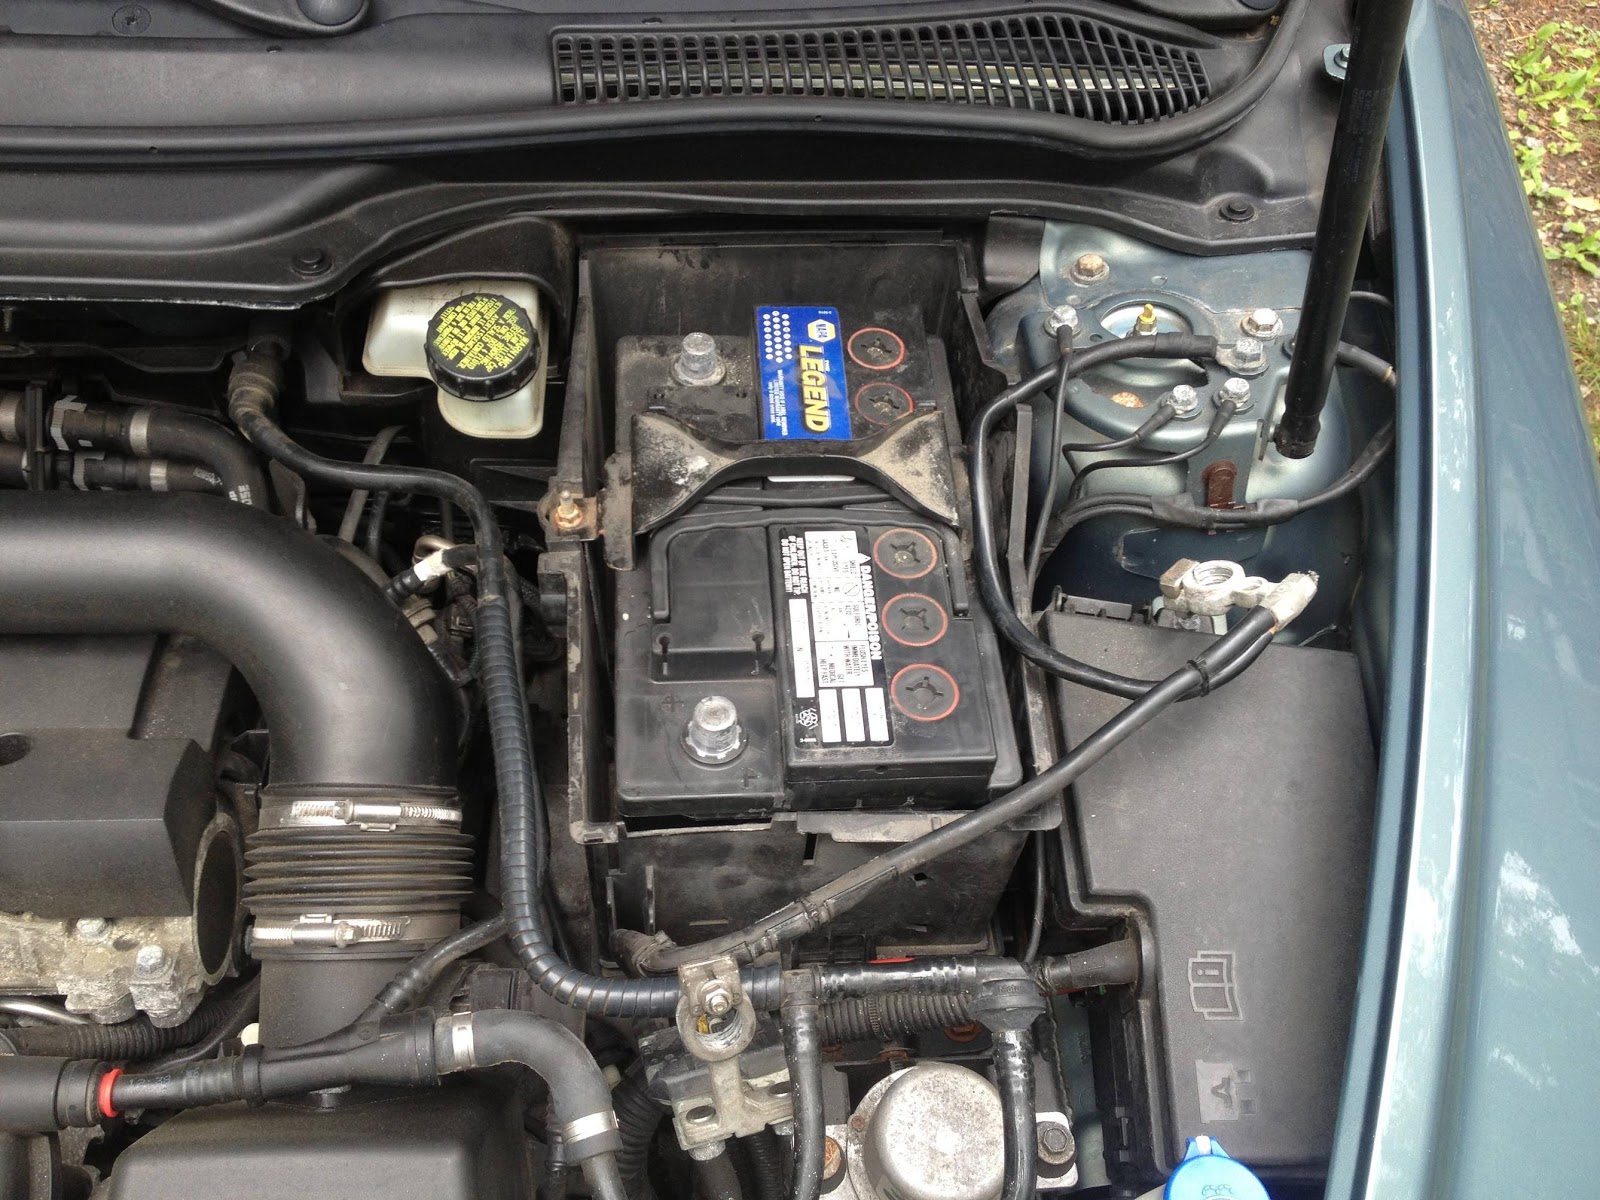
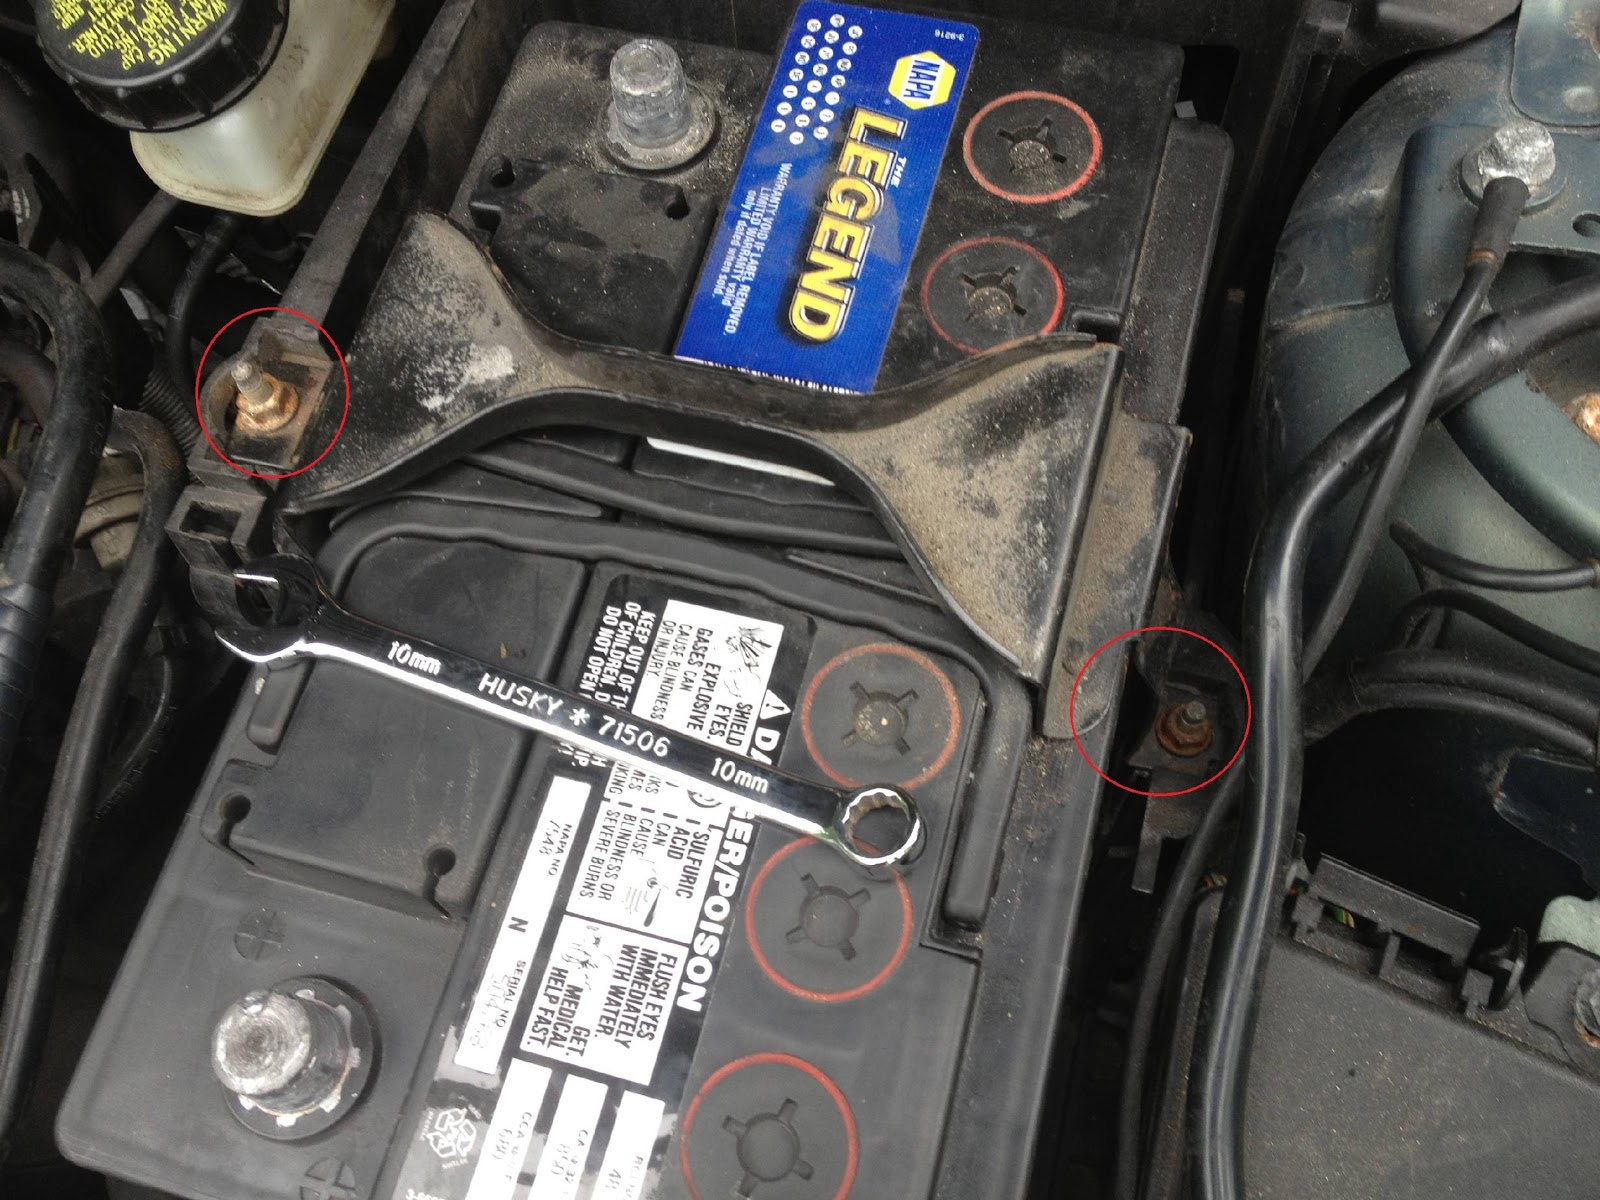
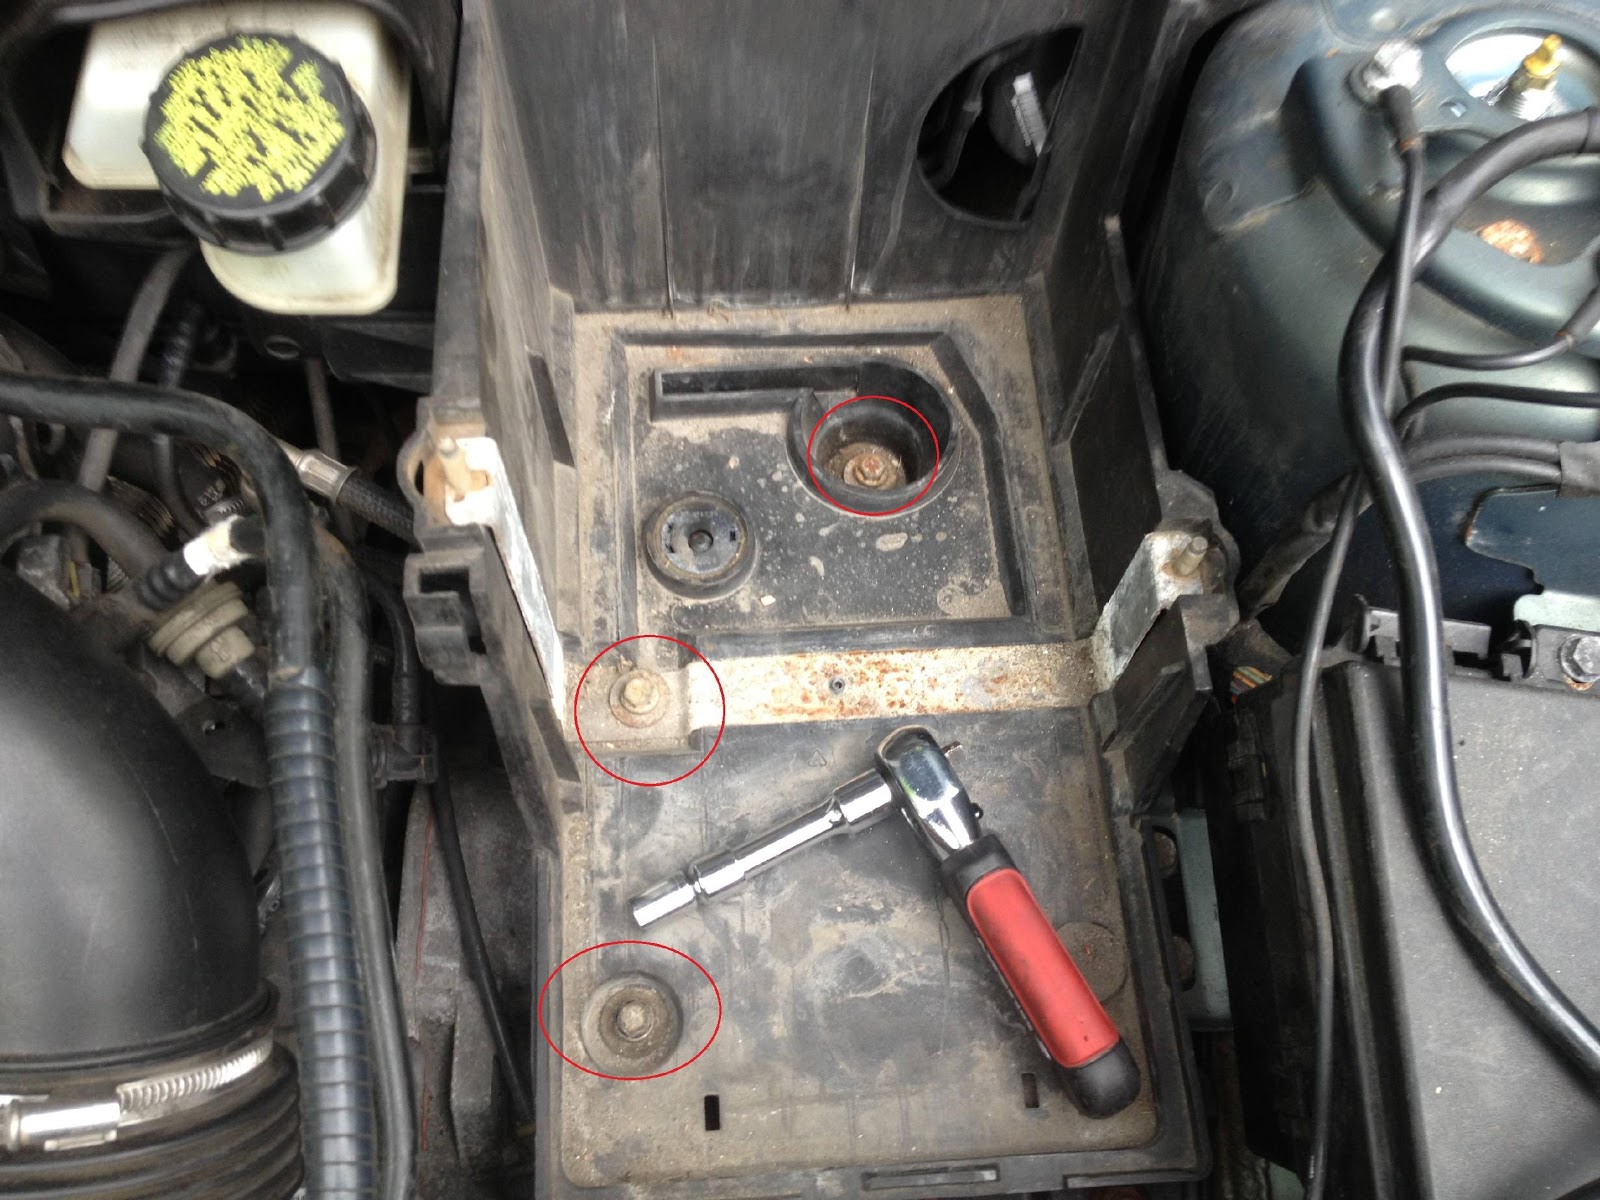
3. Remove the battery bracket nuts. I used a 10mm open face to get the on the left. If you're socket is deep enough, have at it that way. You should use an extension on the right one.
4. Remove the battery. Is heavy ![]()
5. Remove the circled bolts. I think they were 12mm.
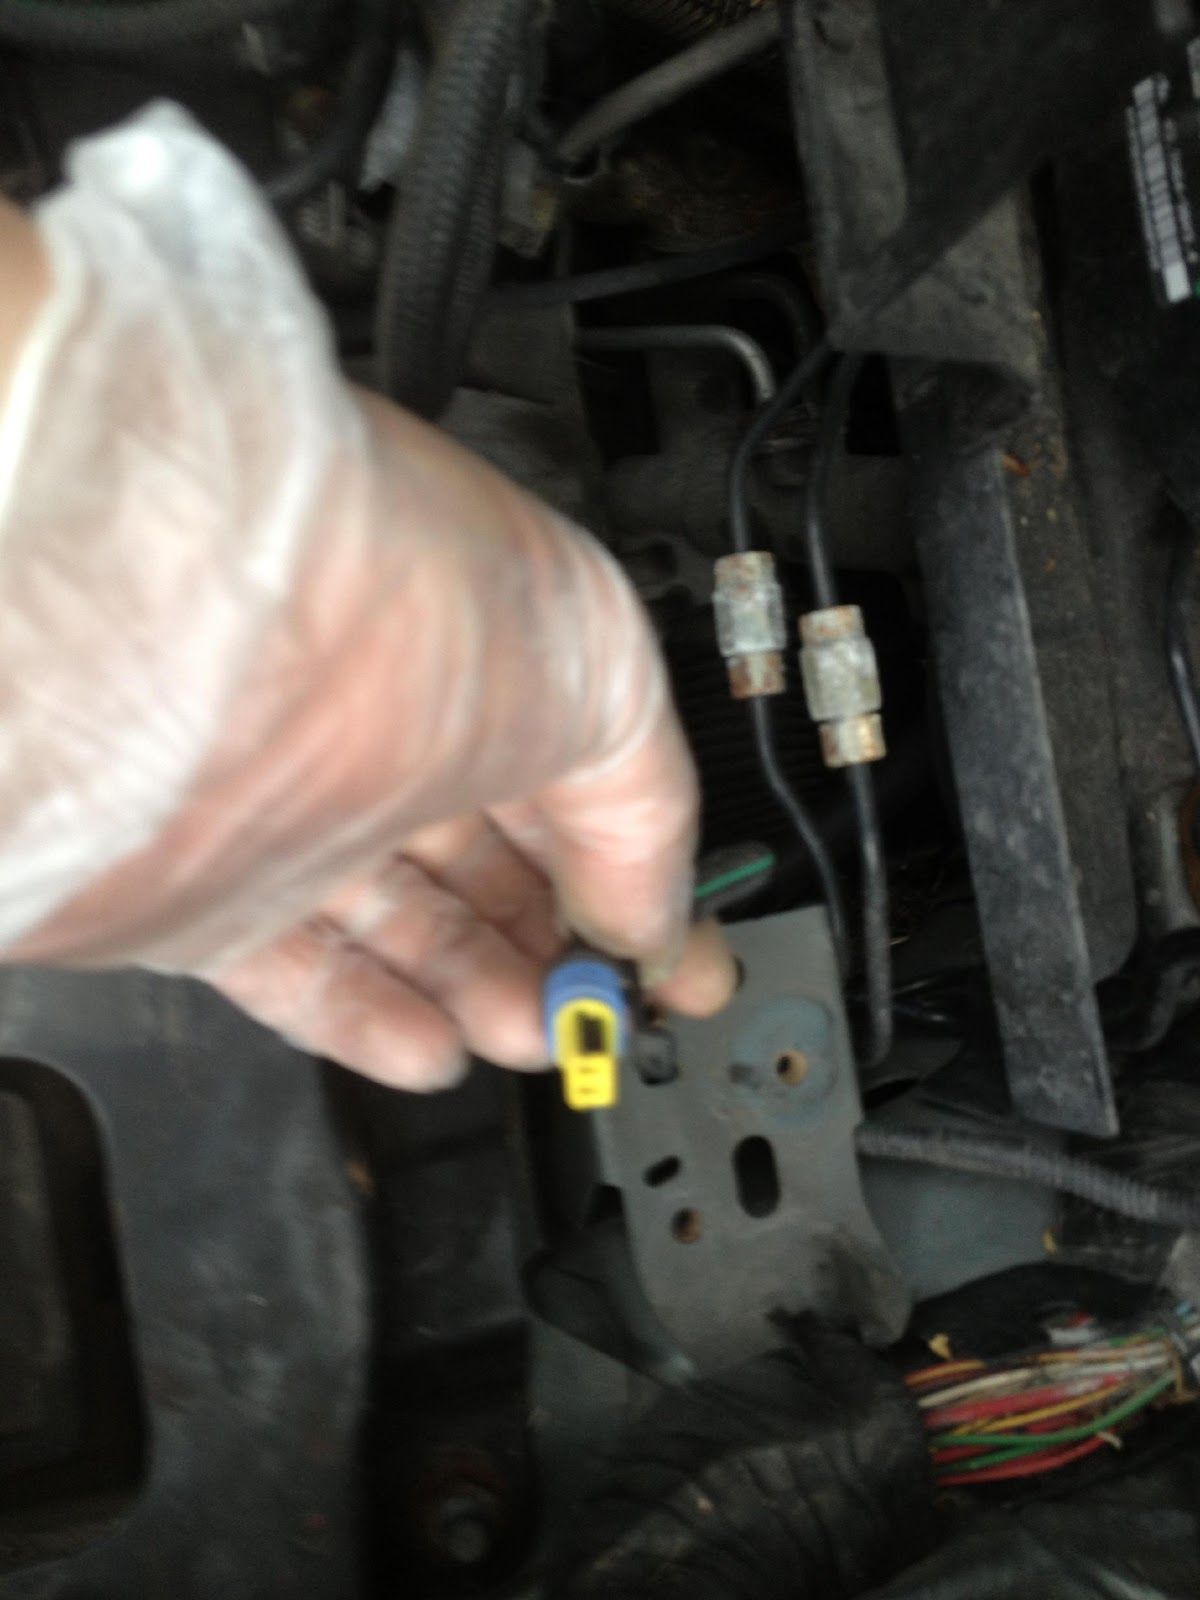
6. There is a battery sensor plug underneath the box. You won't be able to see it so easily, so trust your hands. The clip needs to be pulled away from the wire to release it.
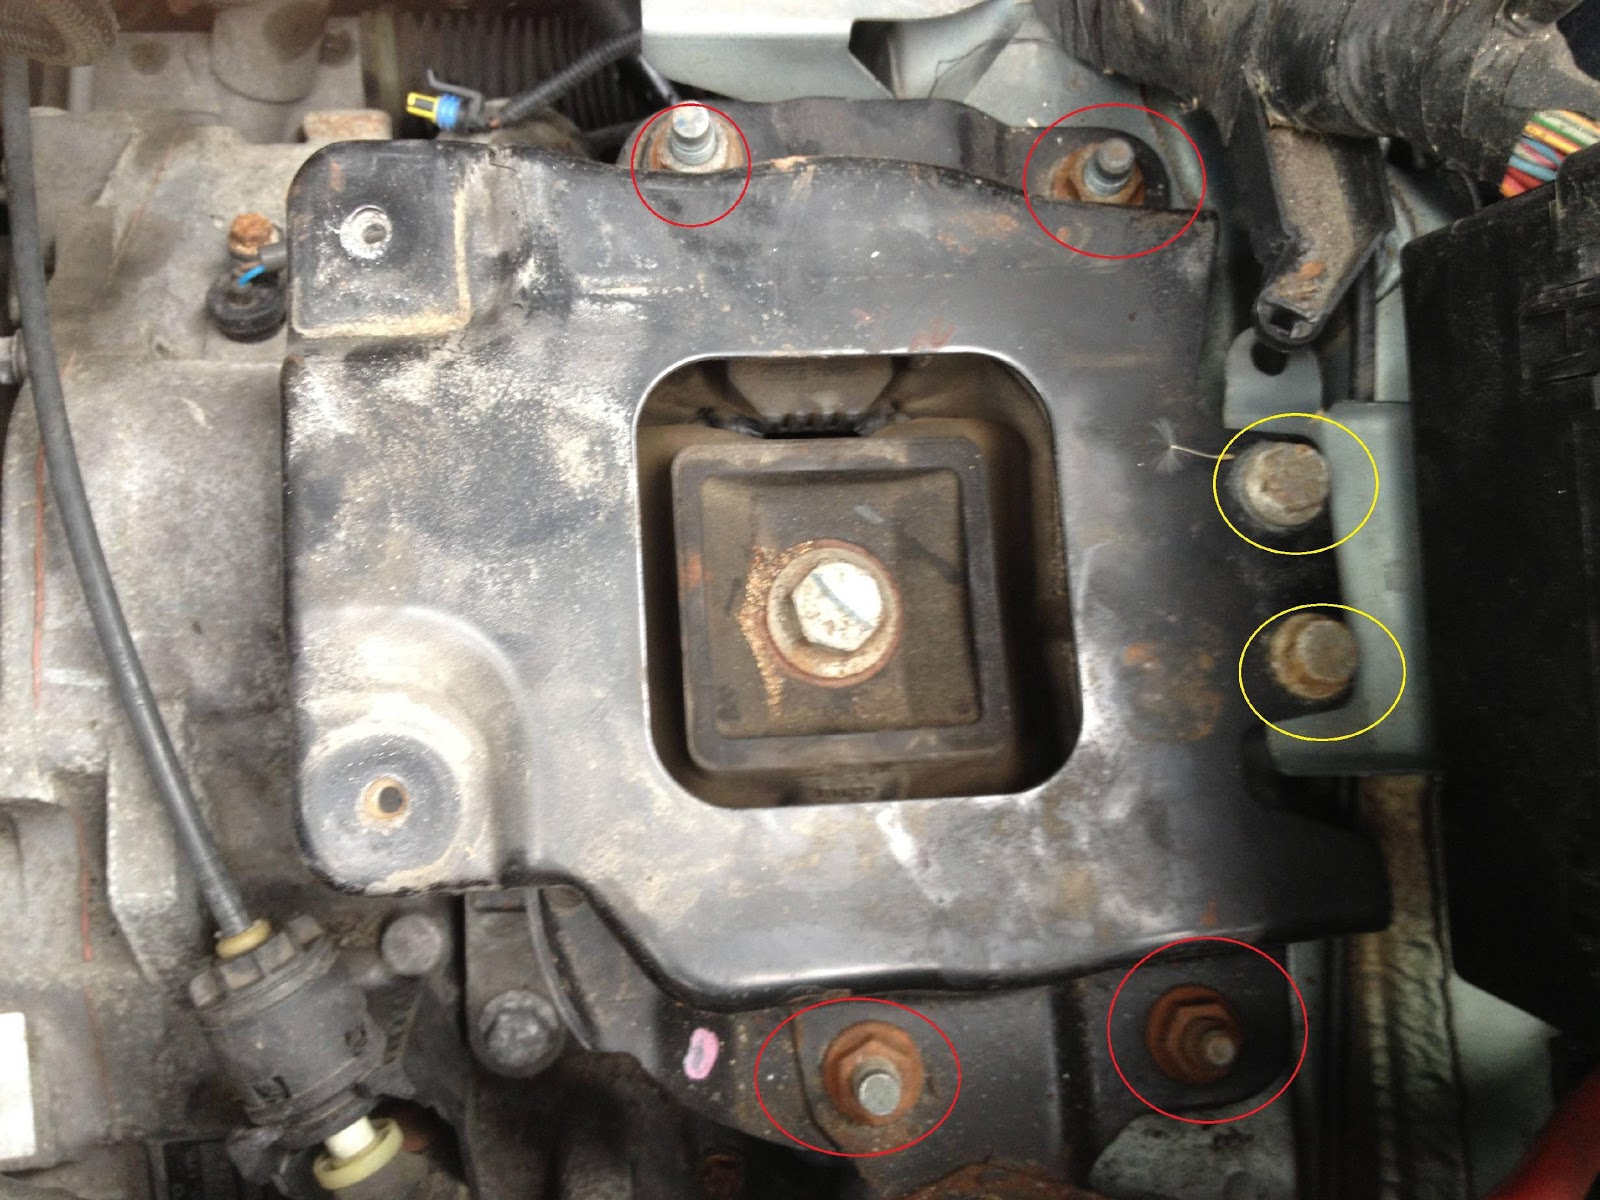
7. Remove the four nuts circled in red and the two bolts circled in yellow. The nuts I believe were 14mm and the bolts were 13 or 14mm.
8. Remove this little bastard. I think it was a 10mm.
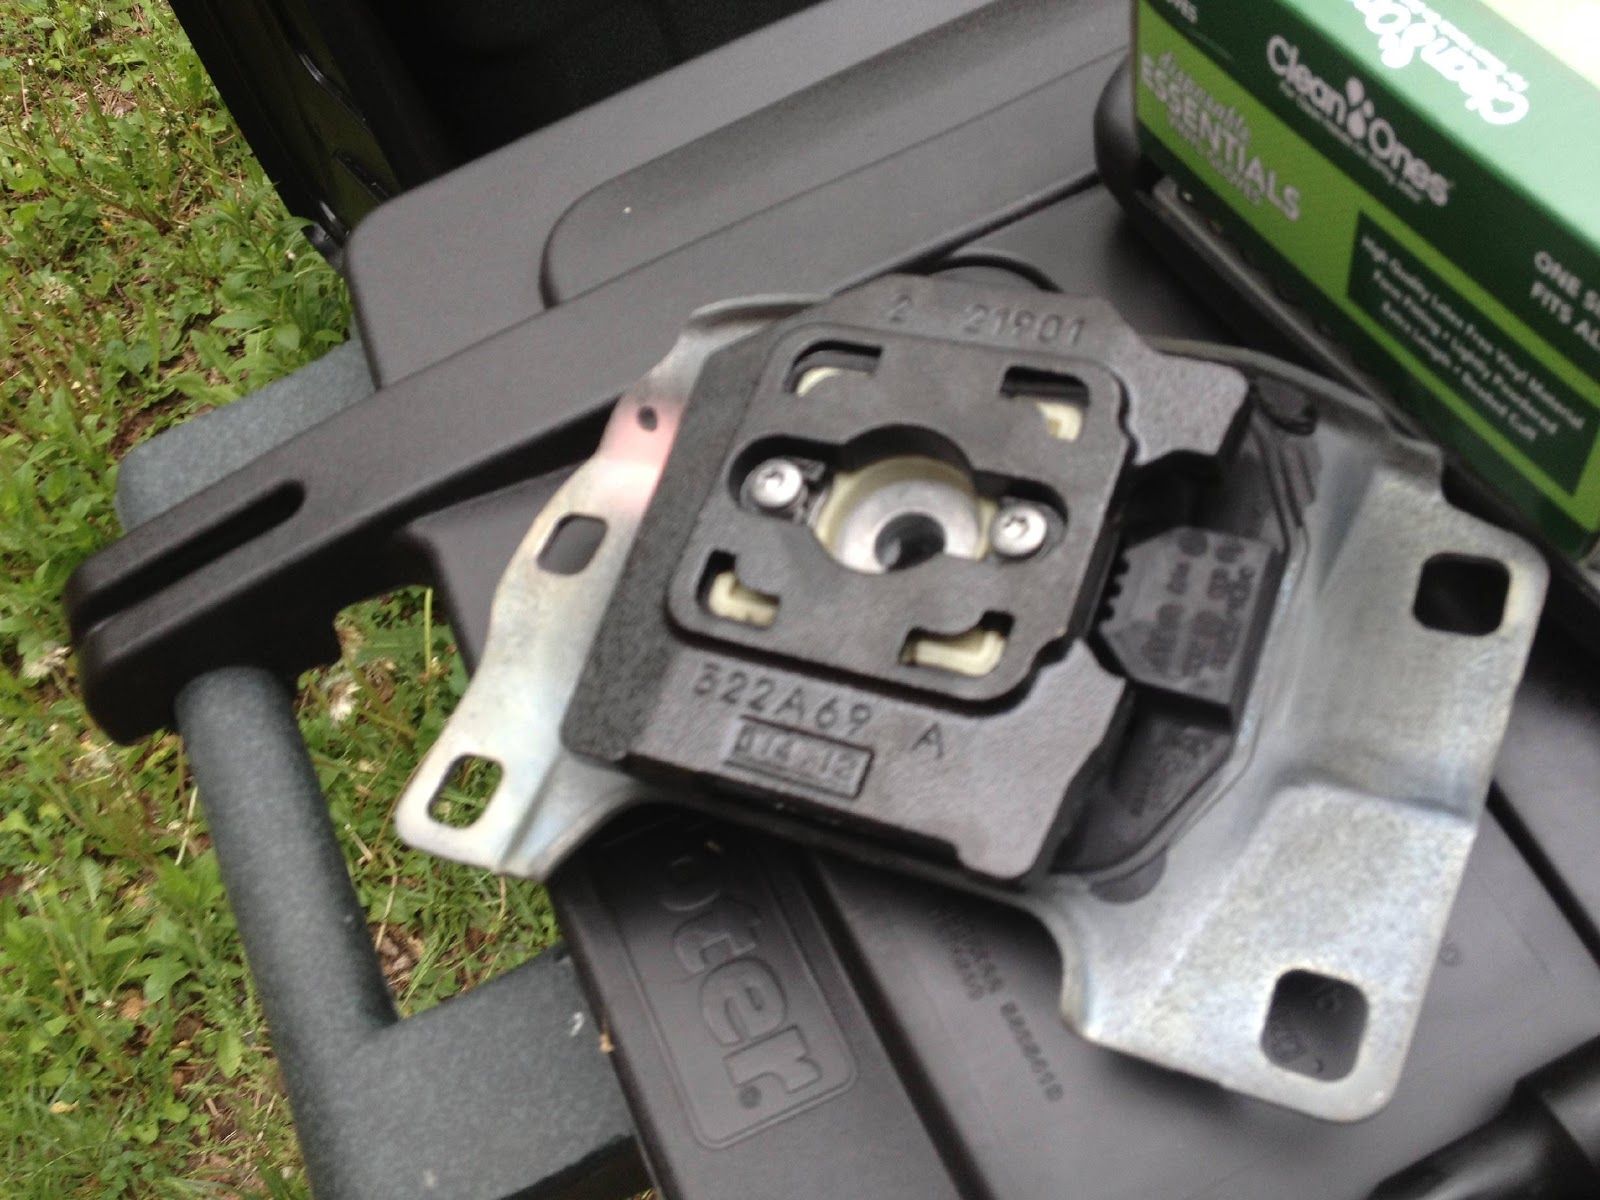
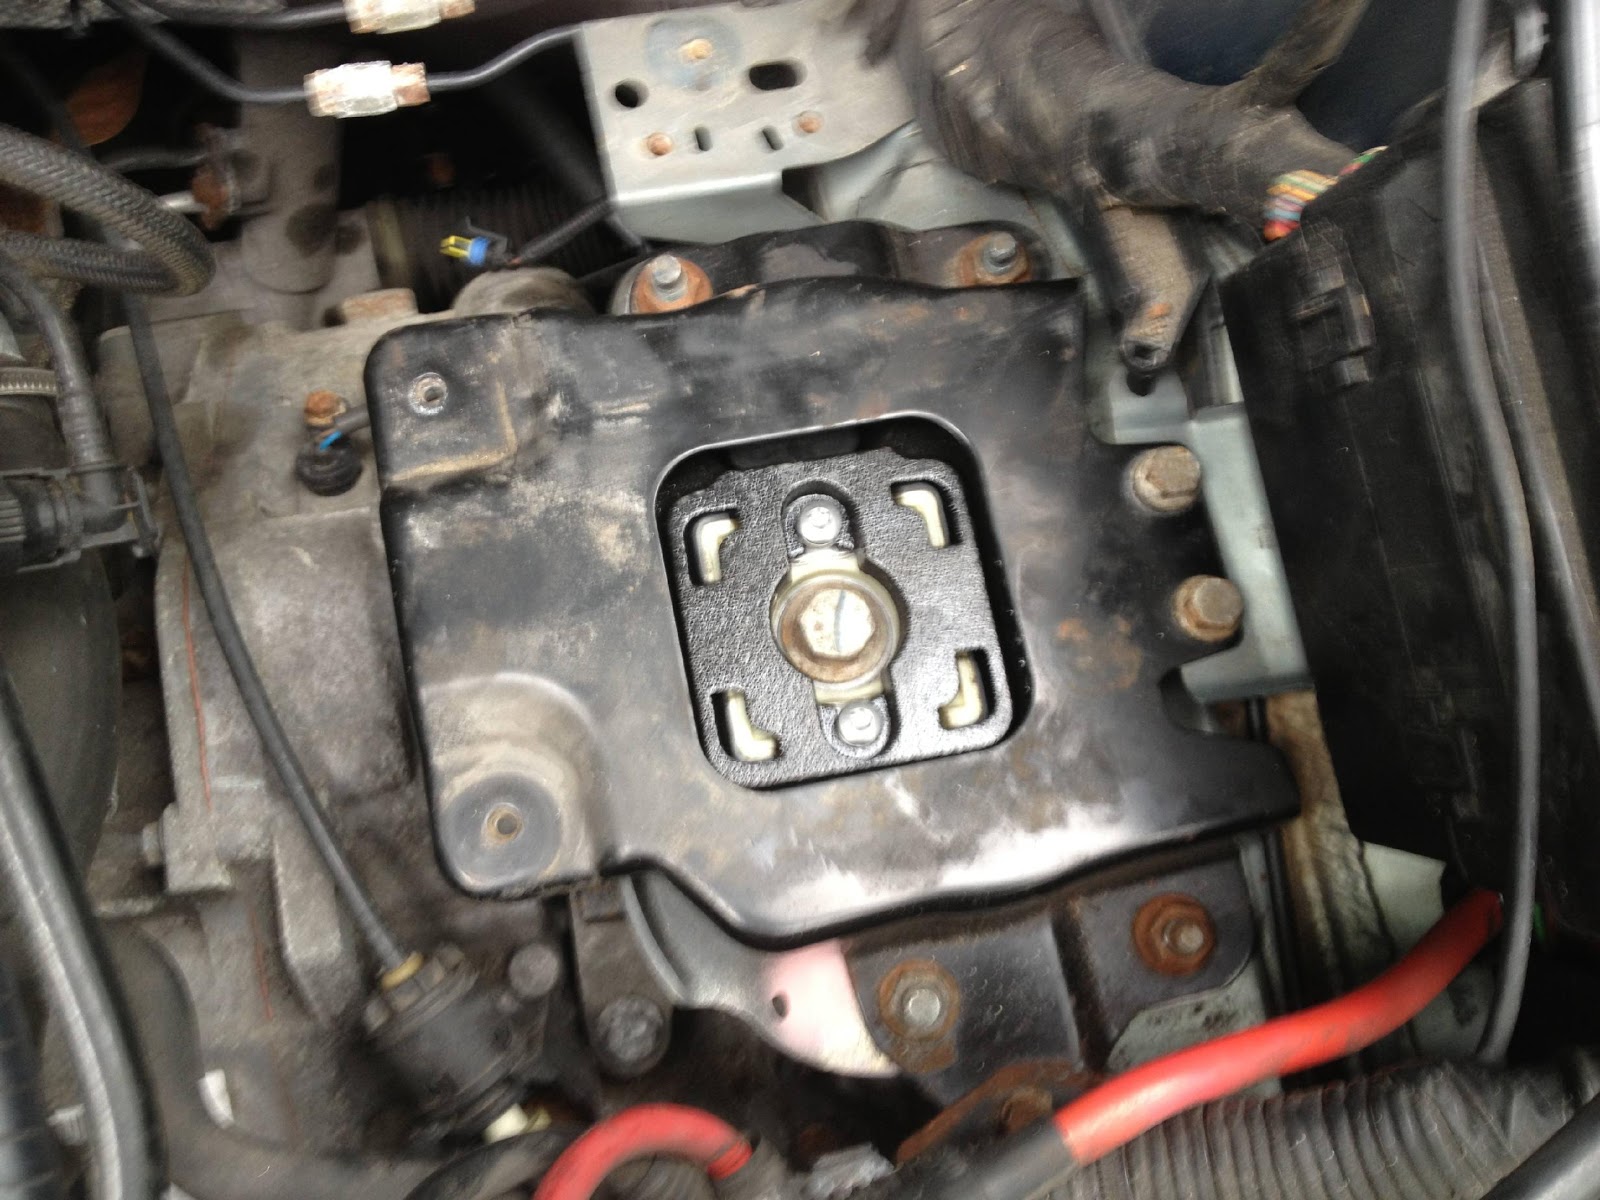
9. The mounting plate will be free to be removed. It will take a bit of convincing but angling it toward you will ensure it clears anything in the way. Looks like this when done...

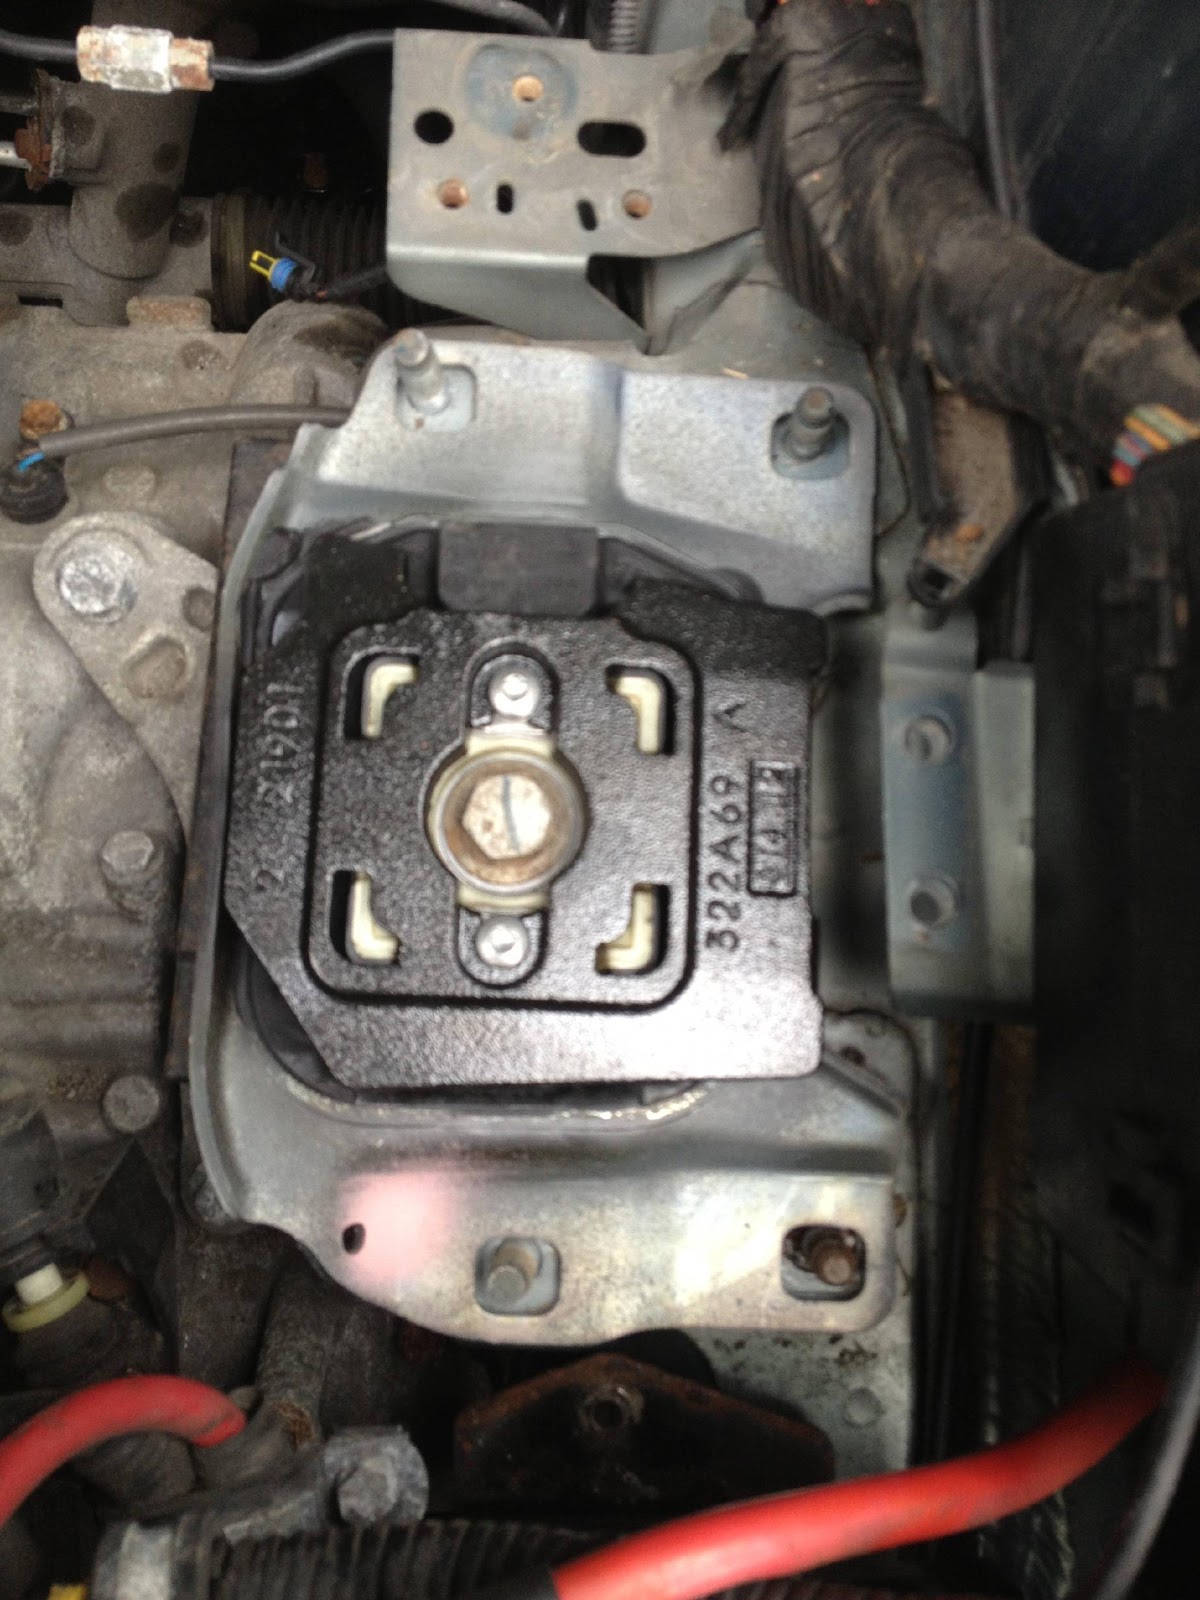
10. Time to jack up the engine a bit. I used the jack that came with the car and two good pieces a of wood as a cushion. I placed it right under the oil pan and only had to lift it very slightly.
11. Use your muscles to remove the 18mm bolt (I think it's a regular sems screw). It should be fairly tight at first. Make sure that as you're removing it that you are able to move the old mount at some point, this is to ensure that the engine is supported.
12. With the bolt out the mount is easily removed. Let us laugh at it.
HAHAHA.
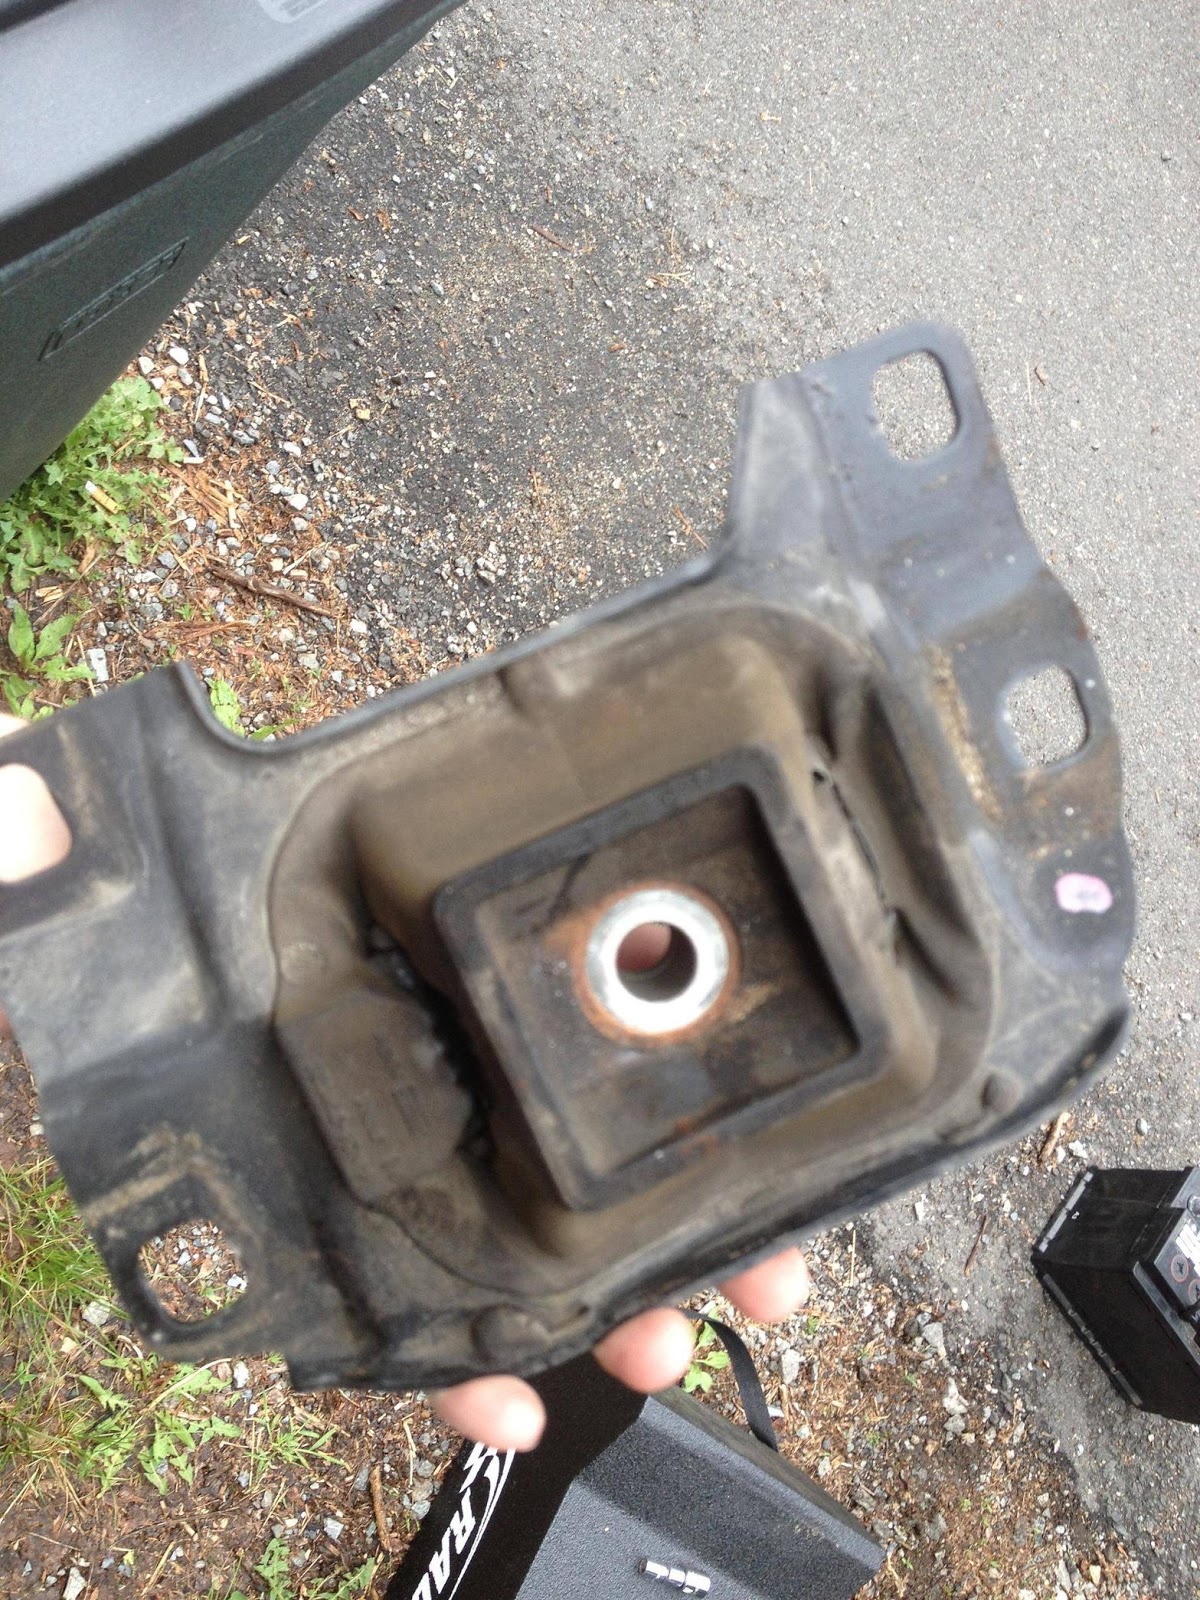
L O L

13. Now we cheer on the new mount. Yay!
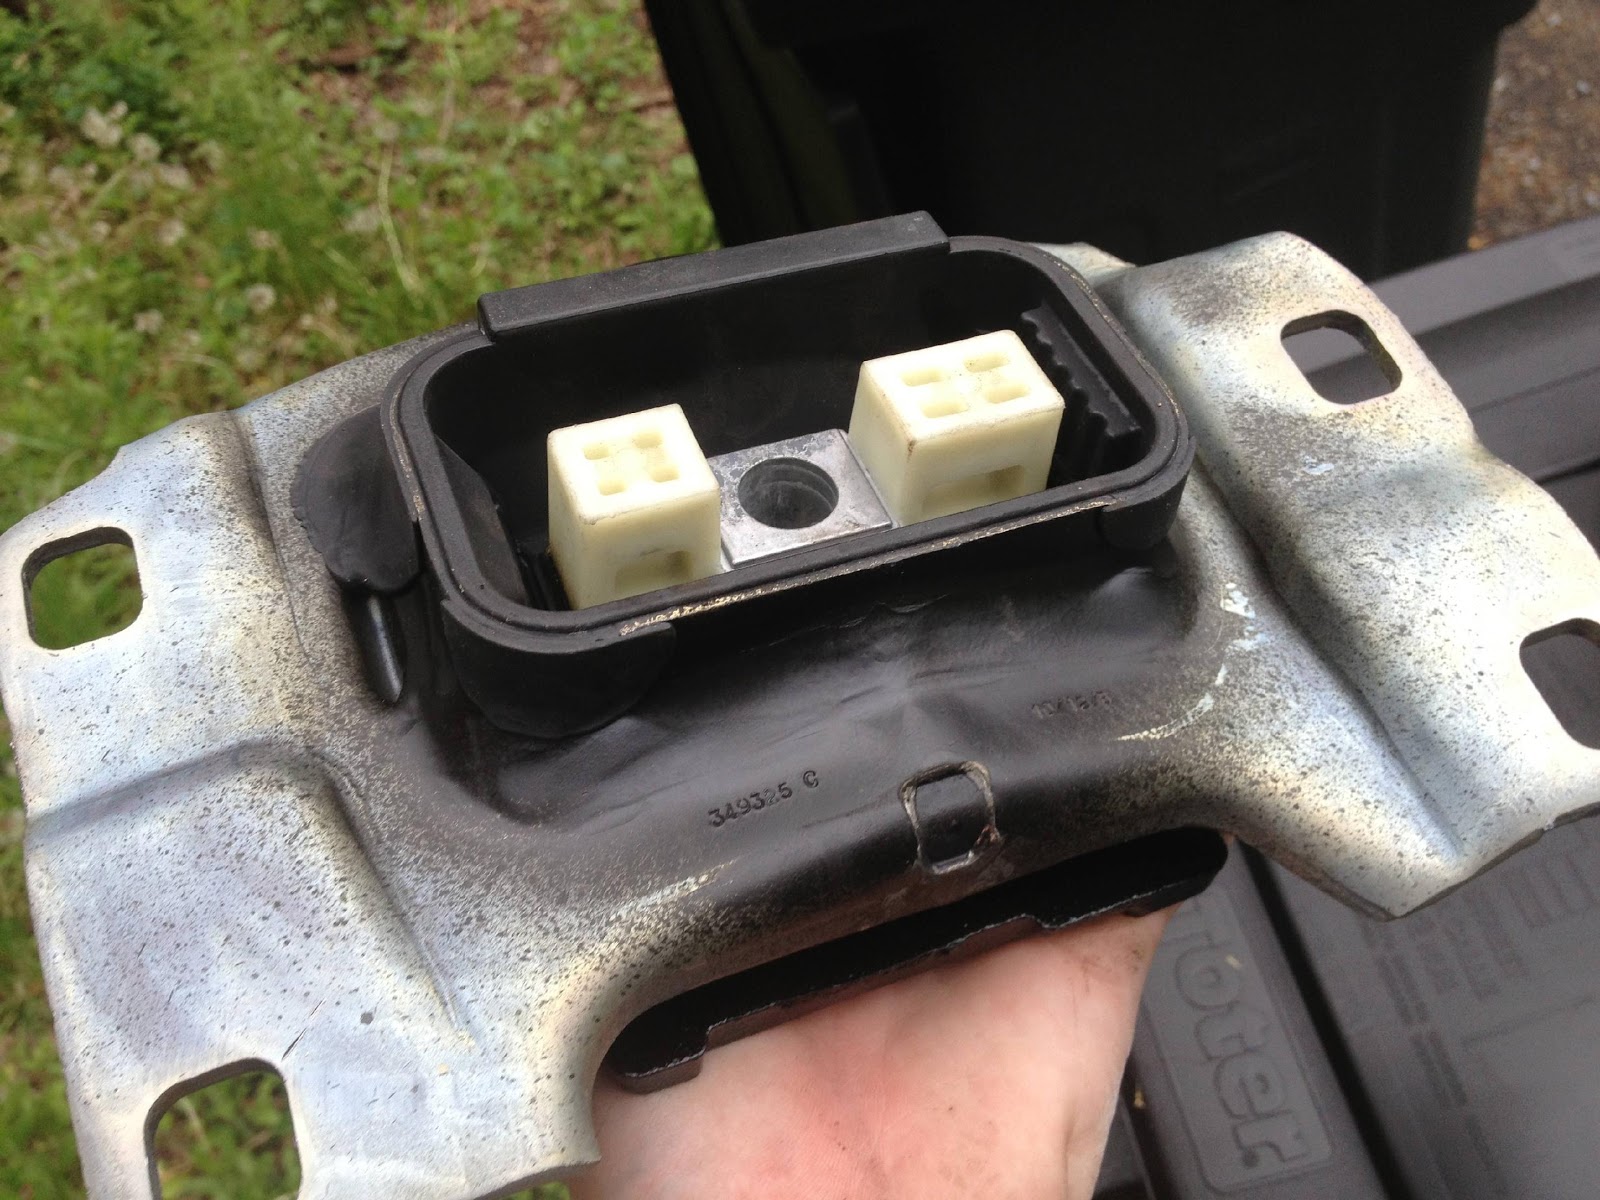
14. Place the new mount just as the old one was. Drop in that 18mm bolt and go to town on it. Vida says 65 ft/lbs. The upgraded mount should only require 55 ft/lbs. though since it's a bit smaller around the threads.
15. Replace these bolts and nuts. I torqued the bolts on the right side to 25 ft lbs for ****s and giggles. The nuts I went as far as 35 ft lbs. They don't necessarily need to be torqued down, but chances are you won't have to get back in here anyway. Remove the jack from under the engine. After I lowered the engine, I torqued the 18mm bolt again.
16. Replace the battery holder (don't forget to plug in the sensor). Replace the the three bolts for that.
17. Replace the battery, bracket, and the side cover. I totally tightened down the right side nut for the cover and left the other one loose. This is so I could shift how far forward the battery would sit so that the terminal wires fit properly.
18. I replaced the battery terminals. Red first, then black. I used a pretty quick whack with a the rubber end of my ratchet to get it in with minimal sparking. Tighten down the terminal clamps.
19. Put the battery cover back on and close the hood.
20. Replace the skid plate.
21. Test drive.
Don't forget to redo your radio presets and set the clock. If you have a cd changer, ignore the noises it makes when you start the car for the first time.
Thanks. I noticed the problem shortly after getting the car back in December. The car didn't seem like it was driven hard before, so I guess I pushed it over the edge. The part has gone through multiple redesigns it seems, so depending on your VIN you may not have to worry about it. The passenger side mount seems to go at random. There would be a pretty obvious clunking when going over bumps if it needs a swap. Mine seems fairly clean, so it might have been done before getting the car.
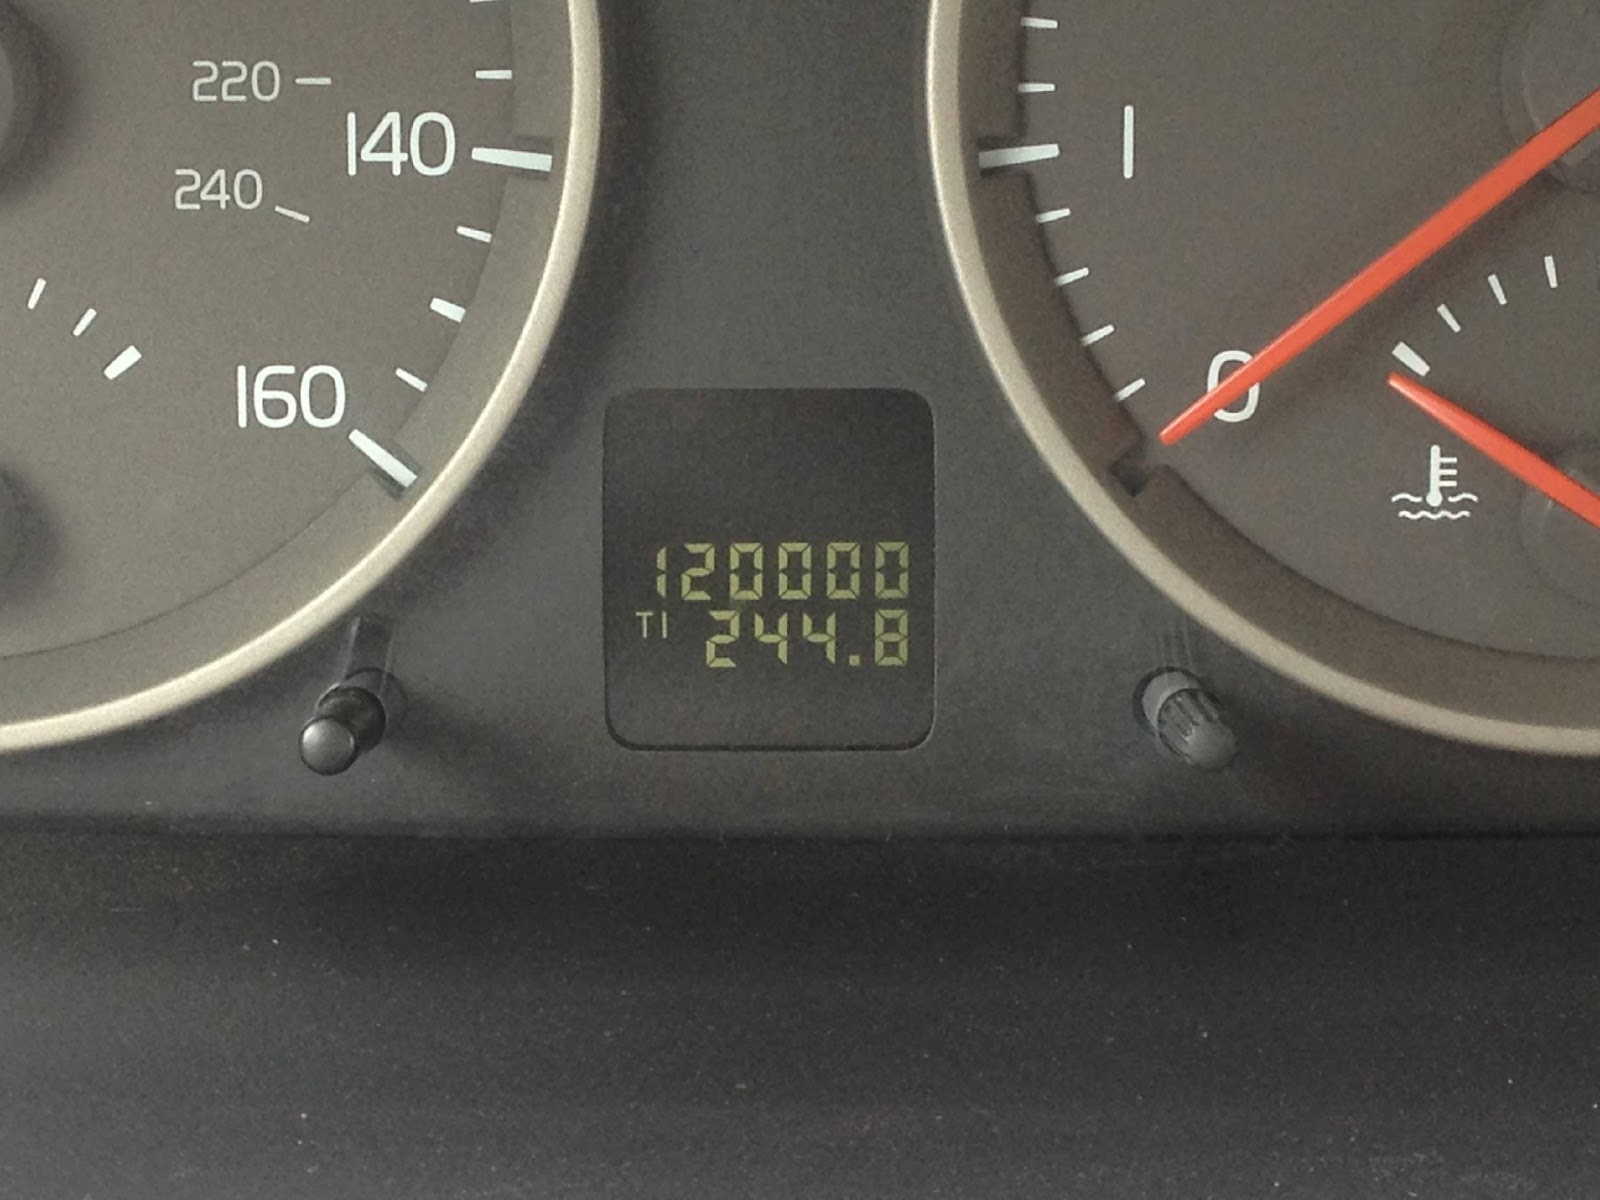
I had exactly 120,000 miles on the odometer after I reconnected the battery: