You must be logged in to rate content!
6 minute(s) of a 28 minute read
11-9-2011
Tex-cat restoration
Compliments of XR7-Gry @ http://classiccougarcommunity.com
11-9-2011
A few years ago I found a 70 Cougar XR7 vert for sale in Texas. At the time I had no use for another cat so I talked my brother into buying it ![]() The car looked solid and it had the right options for a convertible (Power windows), so my brother bought it believing he was buying a nice driver quality car that he could restore over time.
The car looked solid and it had the right options for a convertible (Power windows), so my brother bought it believing he was buying a nice driver quality car that he could restore over time. 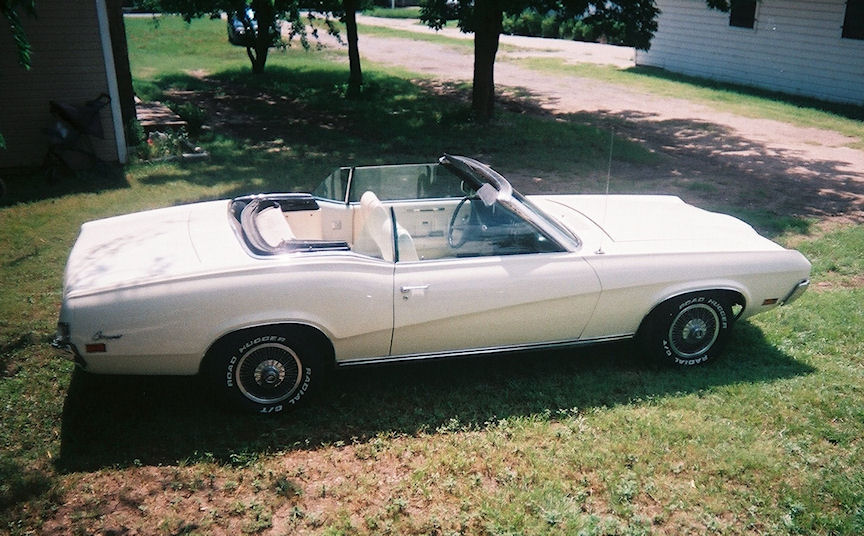
The XR7 looked very nice under the Texas sun back in February 2008 ![]()
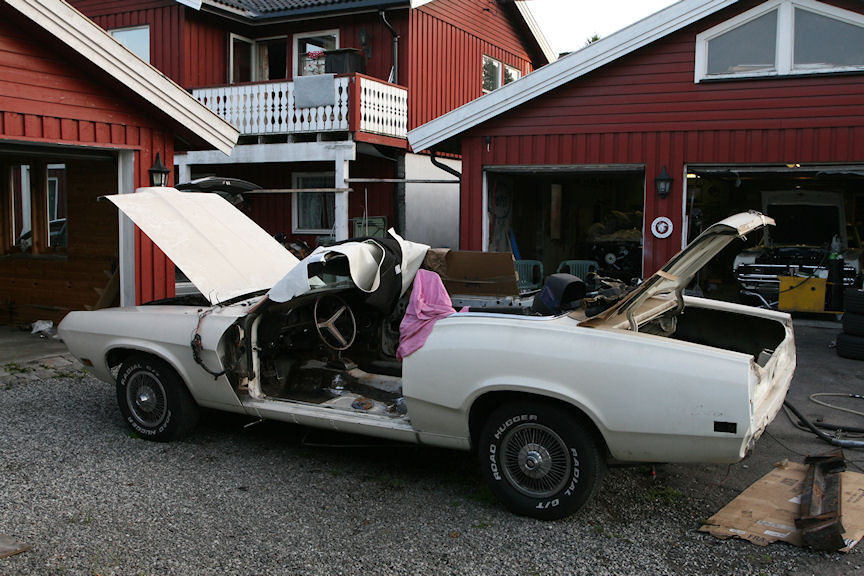
Unfortunately the car looked a slightly nicer in the pictures than in real life (doesn't they all do?) and on the list of things that needed attention was the carpet that needed to be cleaned (and to have the power windows fixed. Not surprisingly the floor had some rusty spots here and there common to convertibles. It was nothing major, but all in all enough for me to say that I would recommend to have the complete floor pans replaced instead of patching it up here and there. As a result my brother decided to let it sit in his garage while he was waiting for me to help him with the body work. So back in July this year we started to work on the car. The plan was to get the floor fixed and to have it licensed, but then we also discovered that the car had been hit in the rear and that we would have to redo some poor previous repair work. One thing took the other and suddenly we had to realize that this would be a lot more than we planned for. Here are some pictures of the work so far.
Here we have just started to take it apart. My beautiful Hera says hello ![]()
Drivers door turned out to be junk. Fortunately I had some good rust free spare doors up on my garage loft. 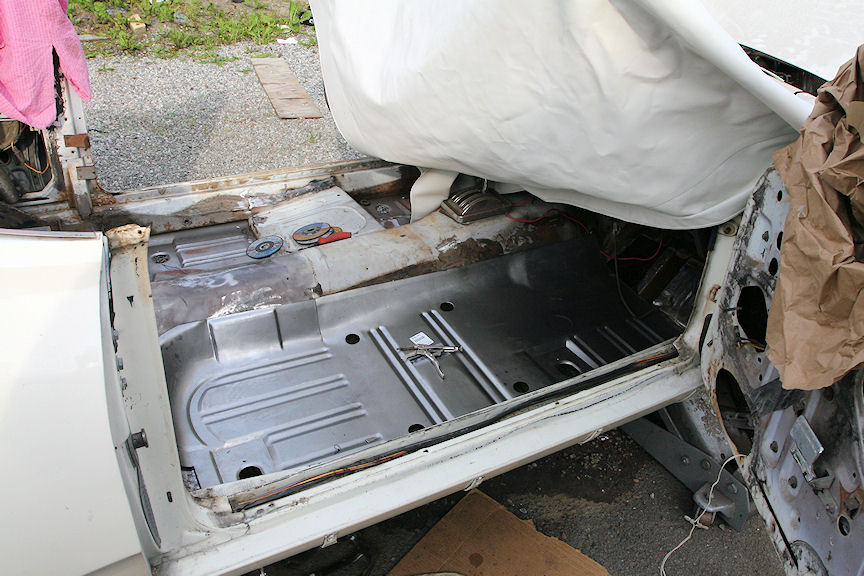
Left side floor is done, here is the right side floor on its way in. We decided to go for the Mustang floor pans and not care about the profiles that are not so correct. 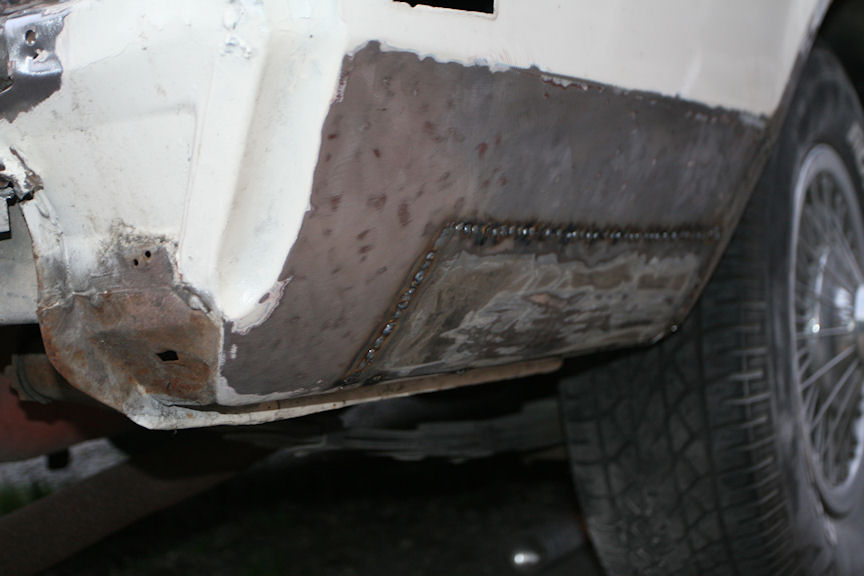
We also found a little rust in both quarter panels behind rear wheels. 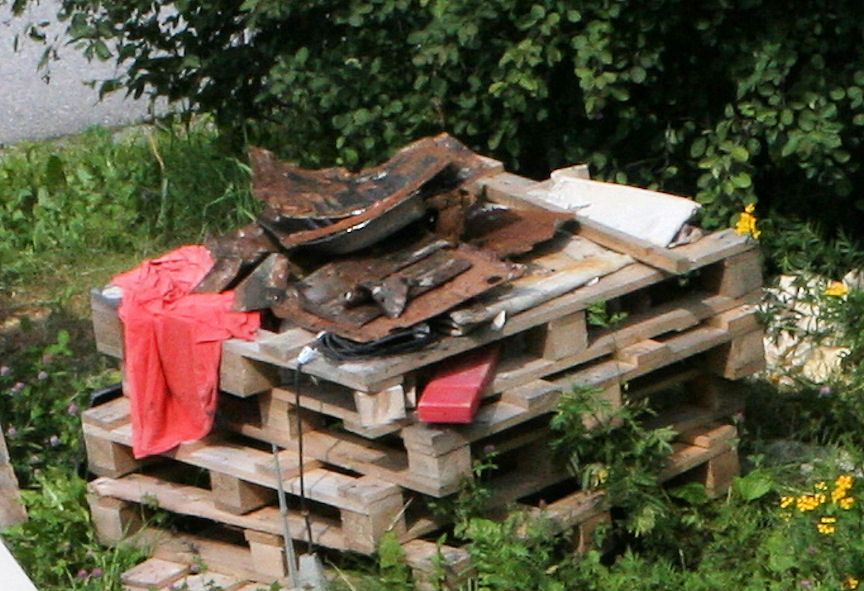
The old floor piled up. There was not much worth saving here. 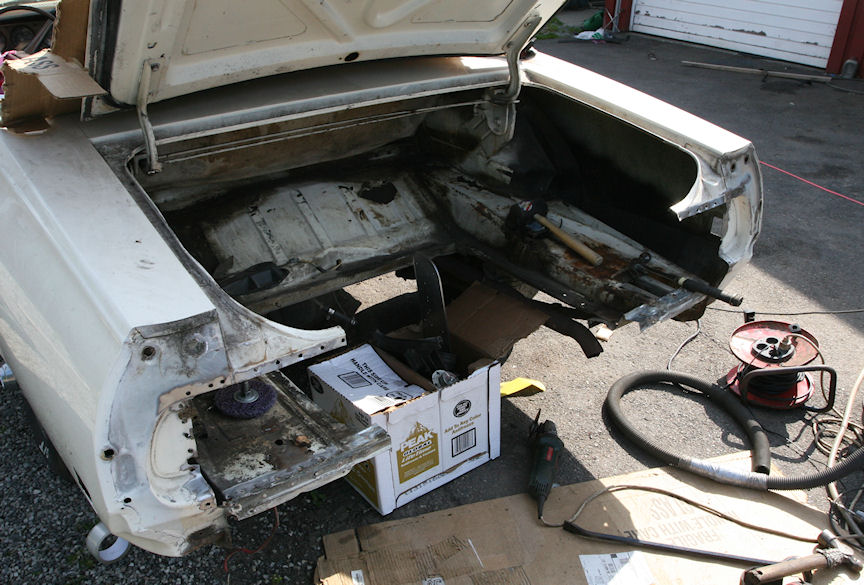
Here is the old damaged tail light panel and rear of the trunk floor cut away and waiting to be replaced. At this point we realized that the car would need a new paint job as well as the body had a lot of problems. Among them were a twisted and dented hood, and we also found that this Cat originally had the less desirable side trim and the screw holes along the side of the car had only been filled with bondo. So next step was to strip all the old paint and bondo from the car. Then we found that the hood was not worth saving and a good one is now on its way from the US. . . 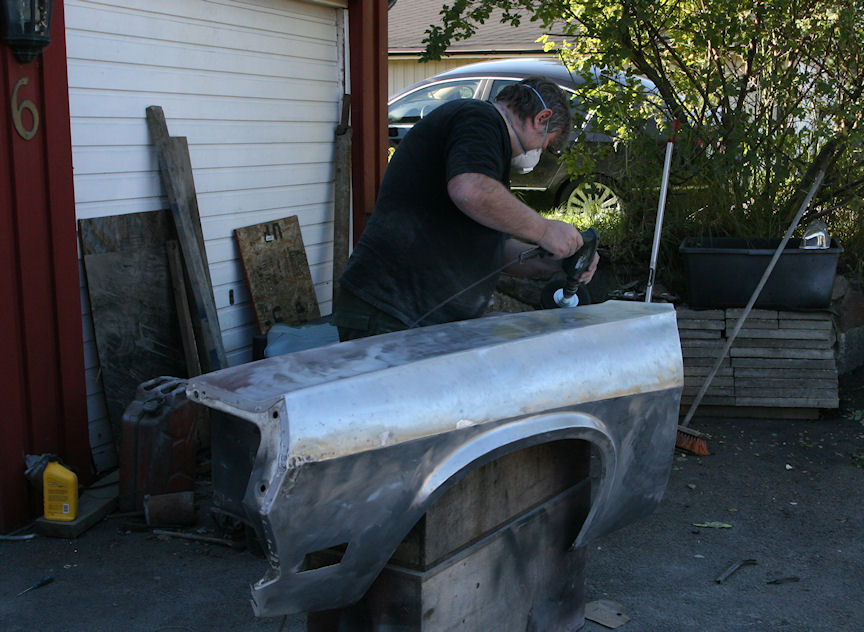
Here is my brother removing the old paint with 3M strip discs. 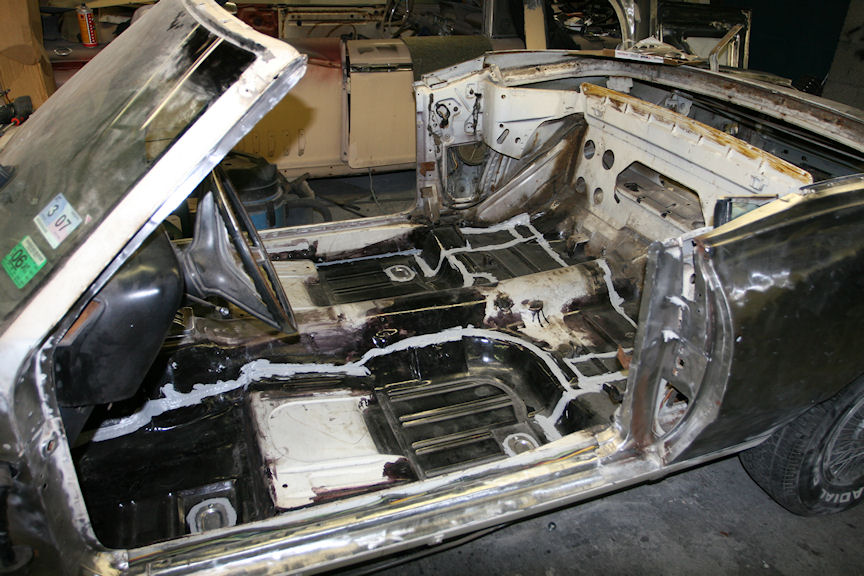
Here has sealer been applied to the floor pans. 
The body work is coming along nicely. ![]()
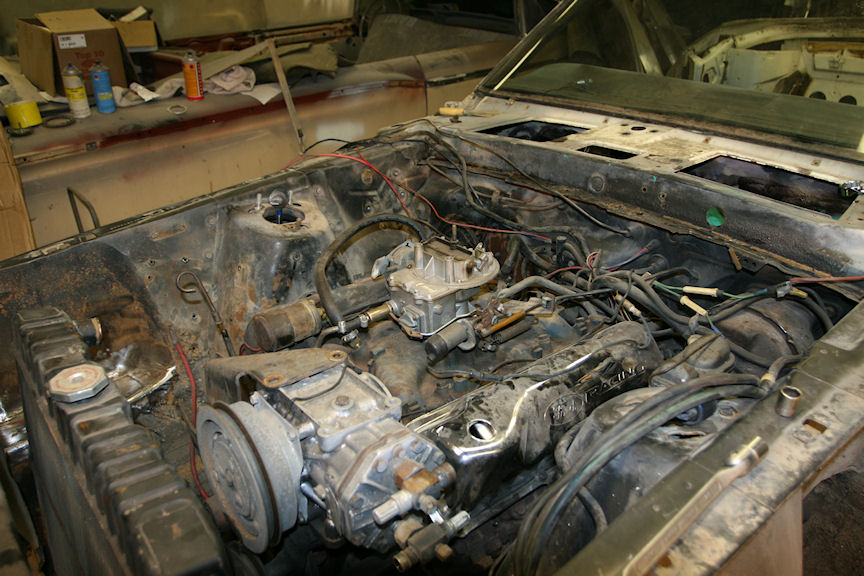
The engine was smoking quite a bit and just from driving the car in my driveway I got a feeling that it was kind of weak and worn. The engine compartment did not look much nice either, so we decided to pull the engine and take it apart to see what it needed to be reliable for the future. This would also give us the opportunity to clean up the engine bay. 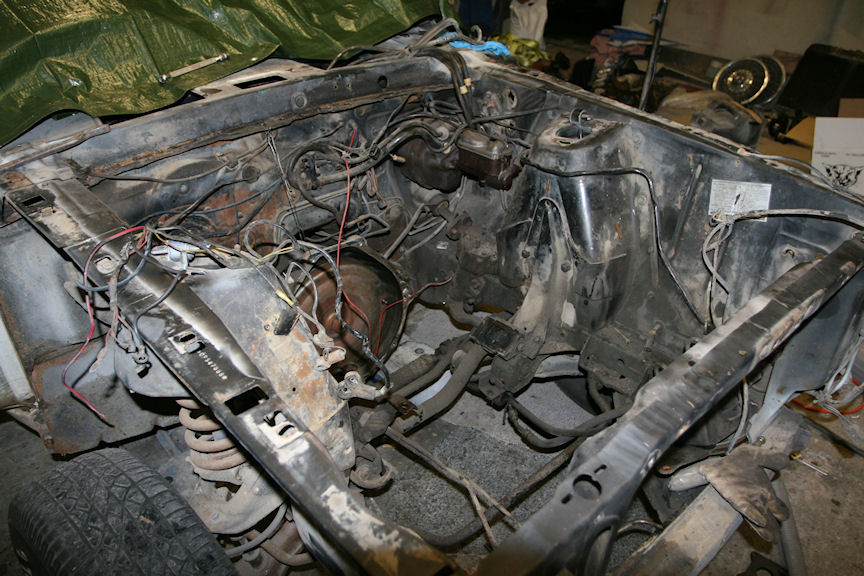
Not so nice after 40 years in service. 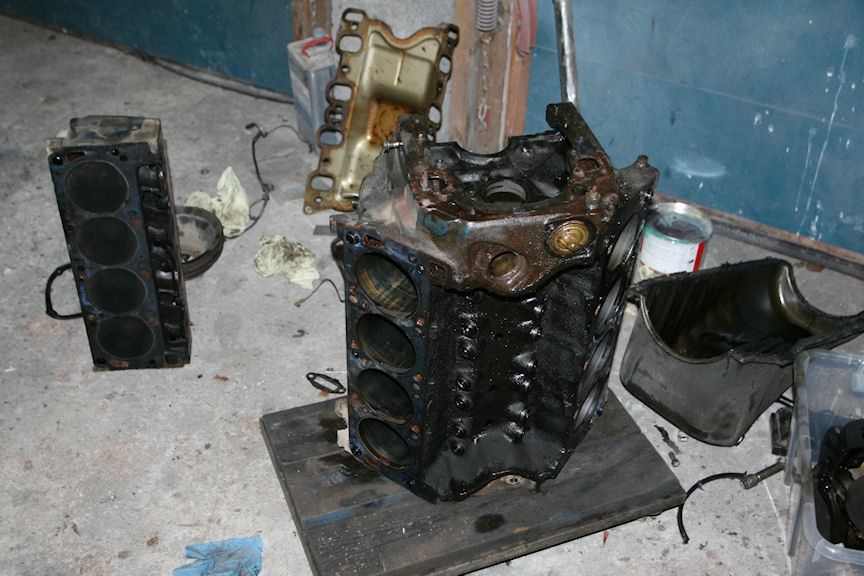
It turned out that the 351 Cleveland 2V engine was in bad shape. The block was inspected and sent to the machine shop to be rebuilt with 0.30 over forged pistons. The old cylinder heads were in terrible condition and will need to be replaced.

Great build!
Posted by Diggymart on 2/10/20 @ 2:41:37 AM