You must be logged in to rate content!
8 minute(s) of a 175 minute read
6-30-2008
so , i got some stuff in today , mainly the alternator relocation bracket , k&n filter , and other assorted doodads.
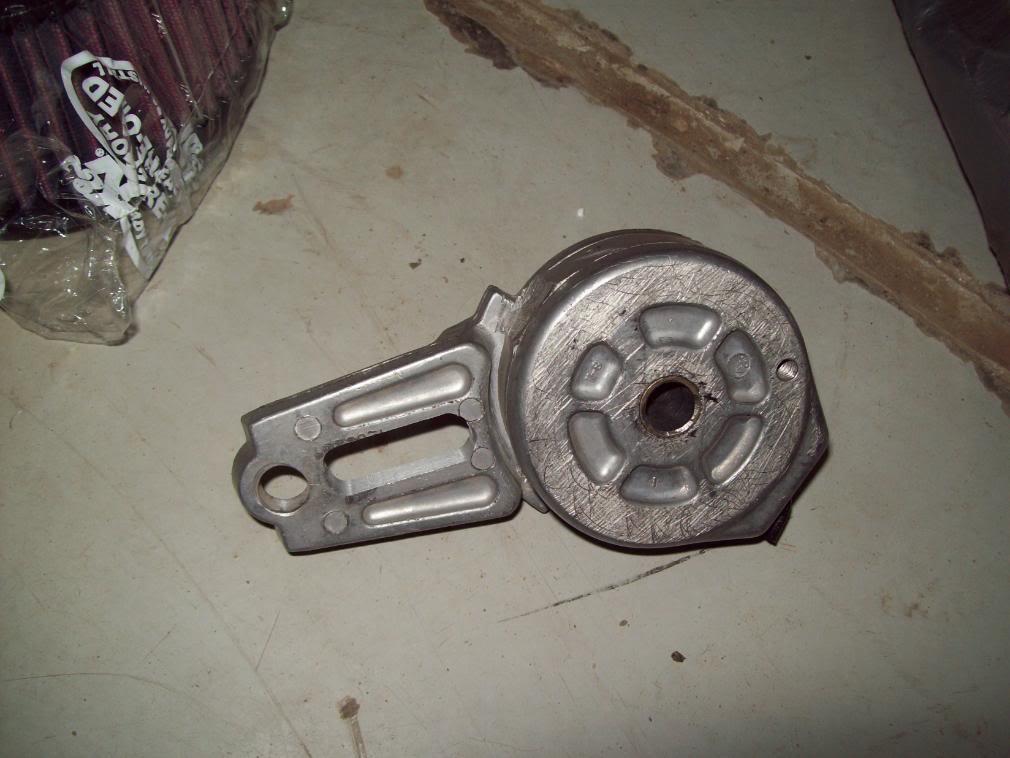
i also got the tensioner back from the machine shop, and now its adjustable 
the new bracket and brace should be done tomorow. i also had them make new spacers to go inplace of the alternator in its bracket. ( so the bracket won't break)
funny thing happened when i was removing the alternator, i tried to spin it but it was seized! i couldn't figure out why it was like that , but when i tryed to twist it with a bit of force it made some grinding noises and a buttload of sand came pouring out . so i took out the alt. and blew air through it and cleaned it . now it spins freely ! ( stupid sand storm  )
)
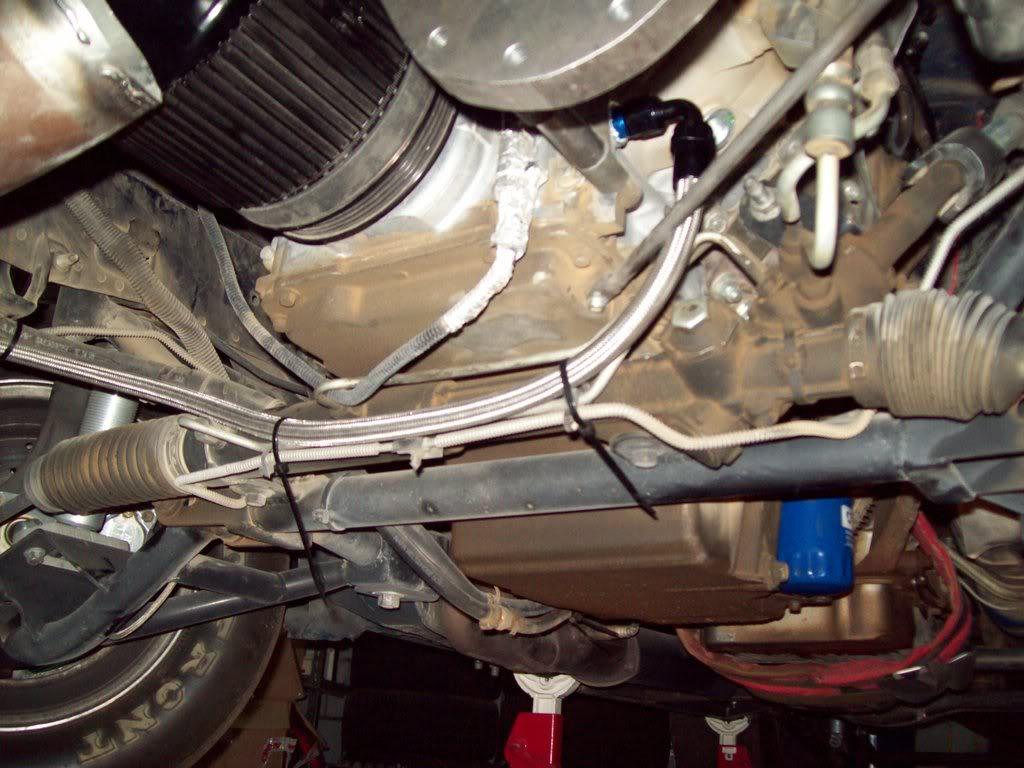
i also installed the smokn' hawk alternator relocation bracket loosely to test fit the alternator ( i need to get new bolts and a tensioner - mine is a billet non-sprung one).
happy to report it clears the fuel rail . i used another ls1 alternator to test fit , but i will check final fitment tomorow with the f-body one to make 100% sure.
i also ended up rerouting the alternator wires , which came out quite neat in my opinion 
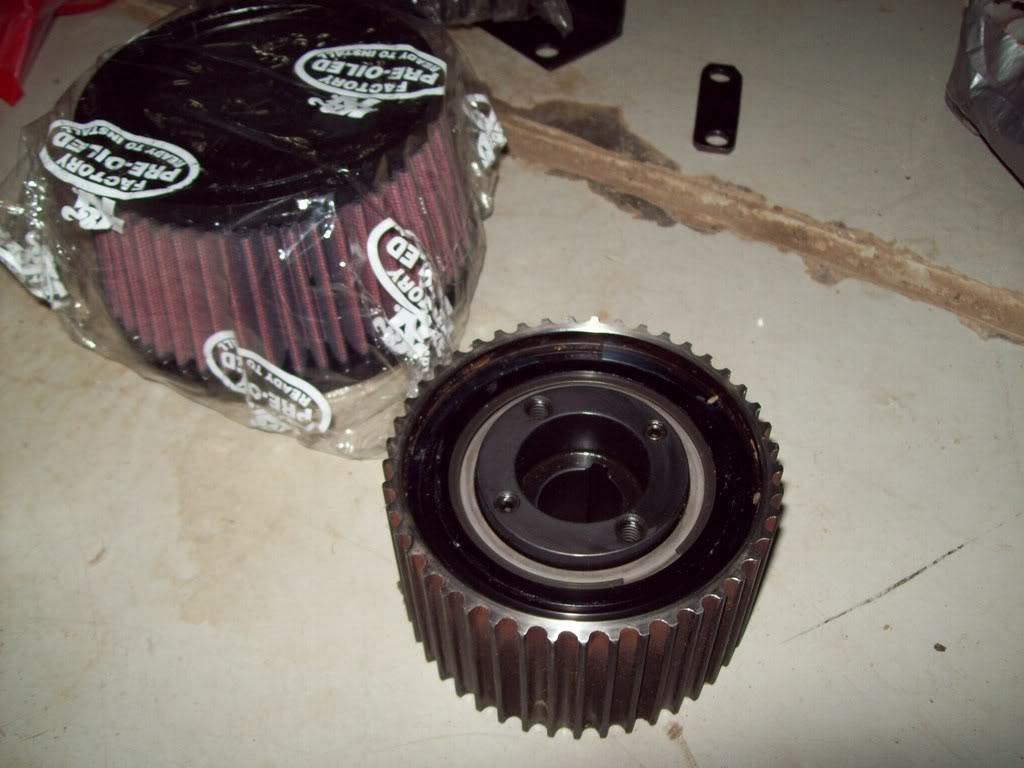
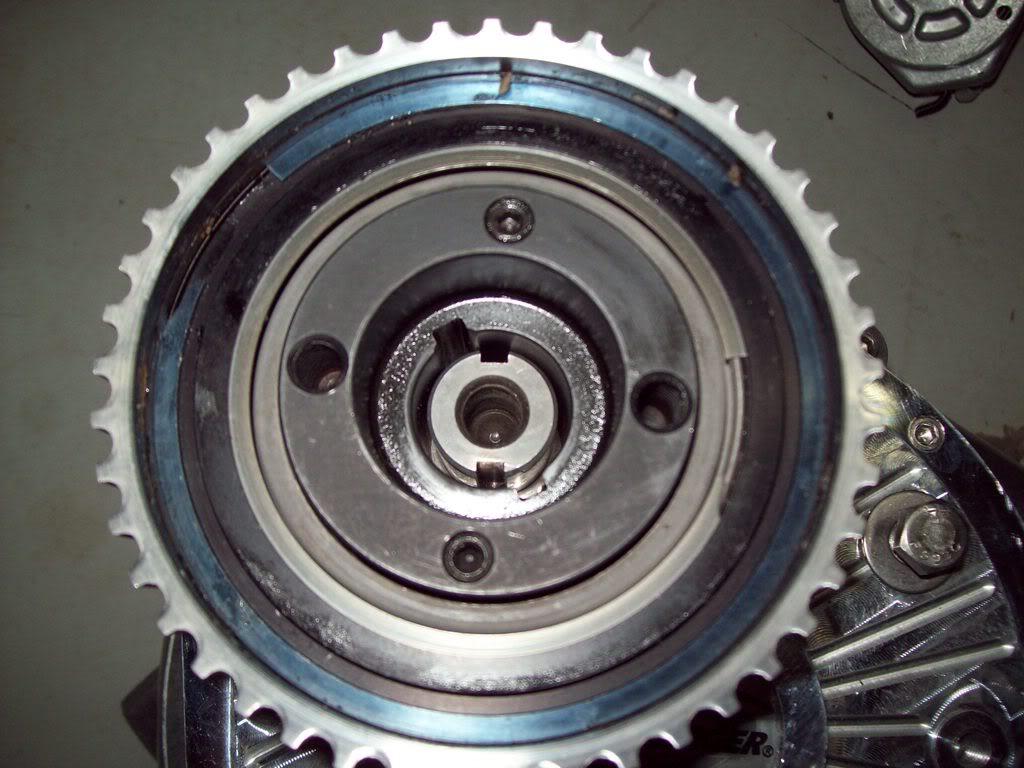
the biggest bummer of the day is that i finally got the super pulley back from the machine shop ( after narrowing it down by 12 mm ), and when i take the F2 out to put the superpulley on it , i find out i was sent the wrong shaft diameter pulley !! the pulley is for the large shaft blower , while mine is the small one - like the F1-r and D1-sc.
the good news is that i will take it to the machine shop tomorow to have them make an adapter if you may call it that . i already talked to the guy there and he said no problem they do this kind of stuff all the time.
another no go was my plan on running a sump in the rear plastic tank. i was hoping it would have a flat enough spot to cut a hole big enough for the sump and epoxy it in place. i checked and it seems like it wouldnot work. guess i will just stick with what i have now: a bulk head fitting in the bottom of the tank with a -10 hose connected to it . i'm also planning on drilling another hole somewhere in the corner of the tank and install another bulkhead connector and cap to work as a drain for when ever i need to drain my tank.
what i have planned for tomorow :
- drop off the pulley and have the machine shop make an adapter.
- pick up the new blower bracket and alternator spacers
- install vacuum block and route vacuum hoses
- install the alternator and its bracket
- install the blower bracket and tensioner
- most likely buy a battery for putting in the rear.
on a side note, i just ordered an intercooler for the stang ,, which should be here in a couple of weeks ,which means all my parts will be accounted for and then , the stang build thread commences
7/5/2008
time for some updates:
the super pulley is a no go - just ordered a new one , but i will try another machine shop !)
got a battery ( yay! )
finished wiring the fans , they now come on with the ignition on , and i have a swith to kill them if i need to .
i also finally finished all the vaccum lines , i used a vacuum block i took off my stang a while back ( who said fords are useless ) and routed the main line from the manifolt to it , then from the block to various other thingys :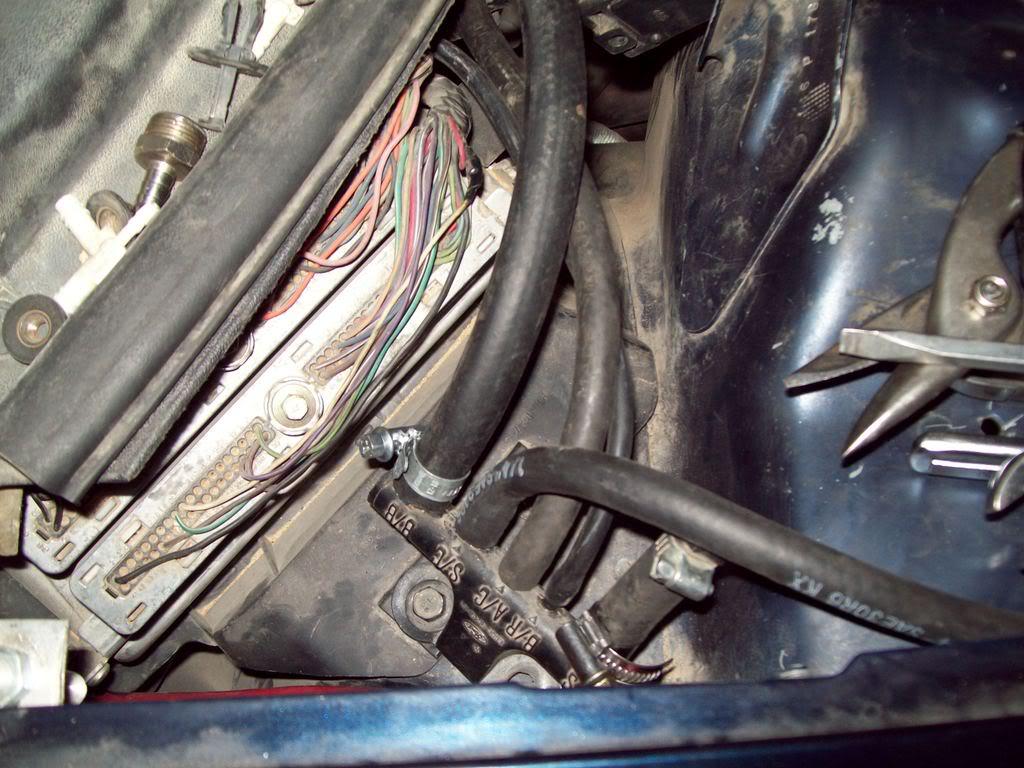
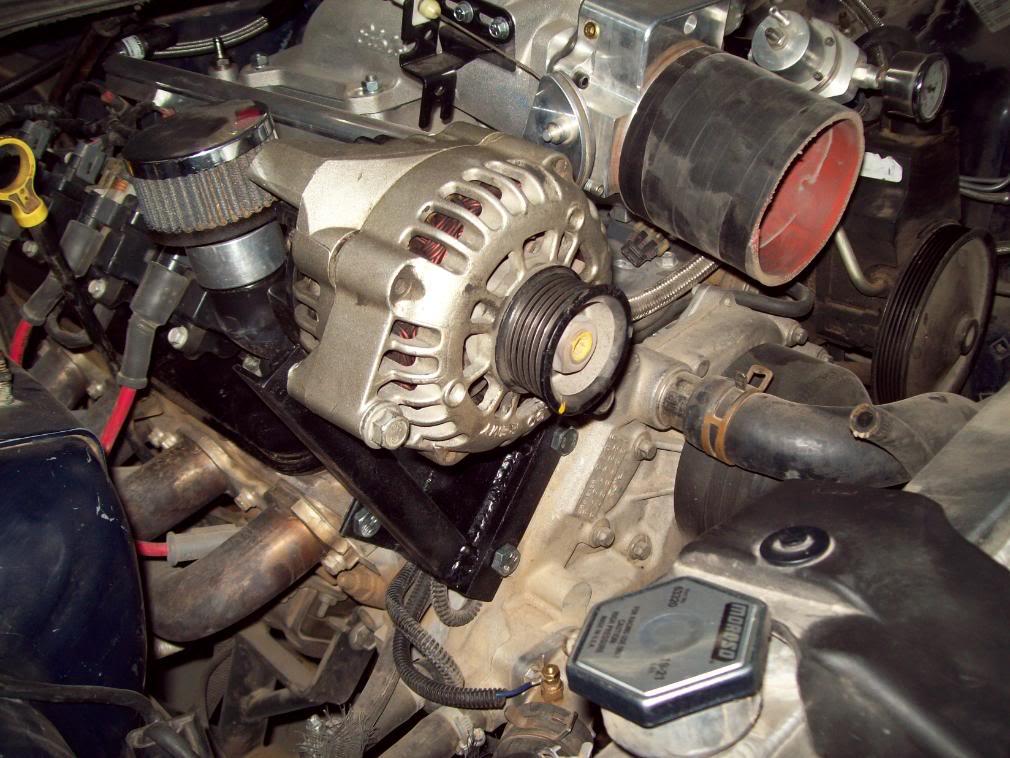
got the alternator and tensioner mounted for the last time :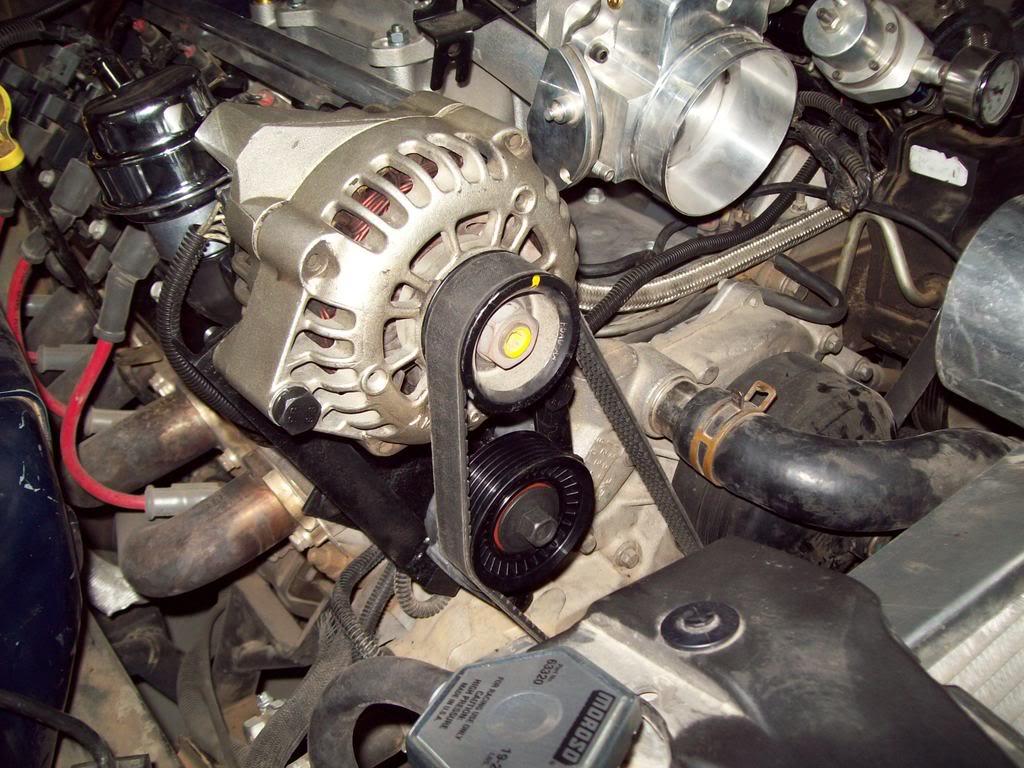
also got the alternator bracket spacers done and installed :the brace (the bar sticking diagonally ) is the old one , i didn't like how the new one turned out , so i'm building a totally "redesigned" brace . the tensioner now clears the crank cog and has sufficient travel::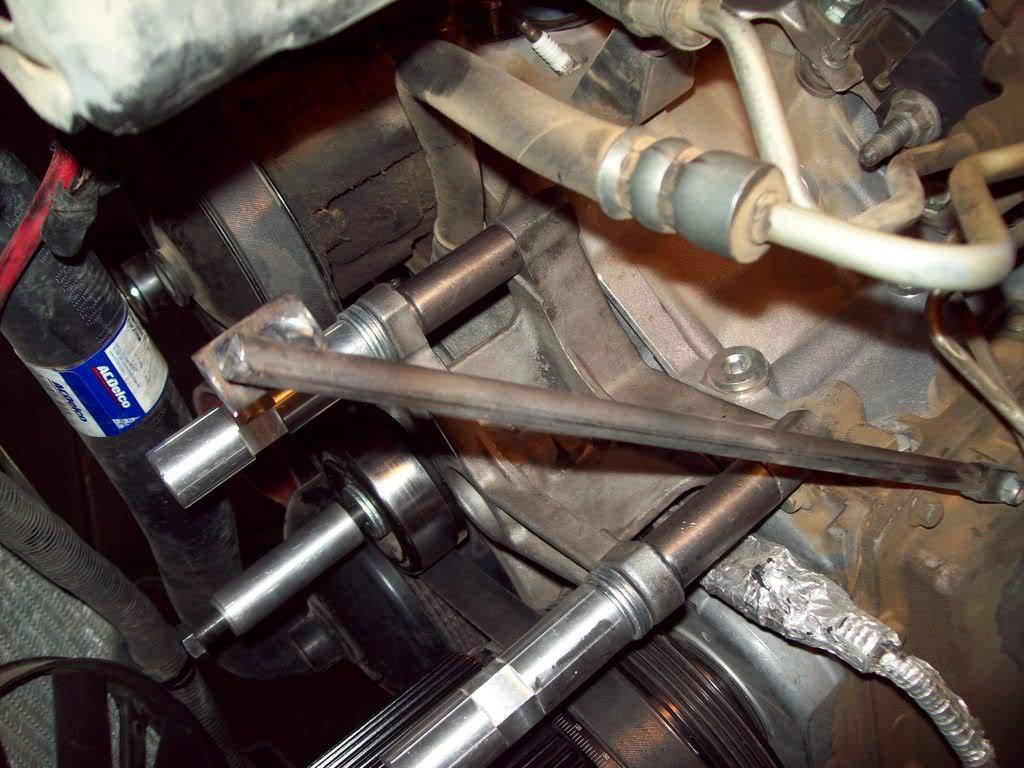
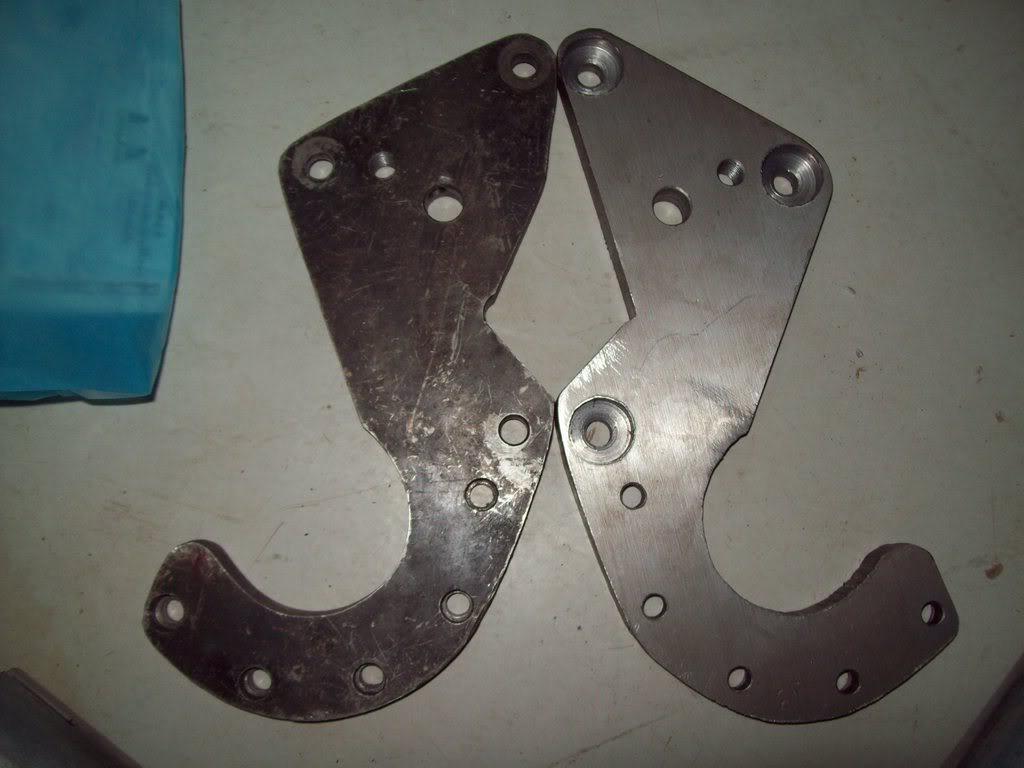
here is a side by side shot showing how i notched the new bracket :
also almost finished the tube going from the intercooler to the TB, i welded a bung on it to thread in the IAT sensor, and will be welding two nuts to hold the methanol nozzles on there too.
so , up next is the following:
-label the switches on the dash ( just two labels )
-plumb the oil accumulator from the block to the canister.
-remove the passenger side header extension to weld the crankcase evac. thingy
-travel limiter
-put driver side header back on
-remove tranny for rebuild and maybe , just maybe , swap out the oil pan gasket .
-wire the alternator light and the AFR warning light from the dynojet commander
7/9/2008
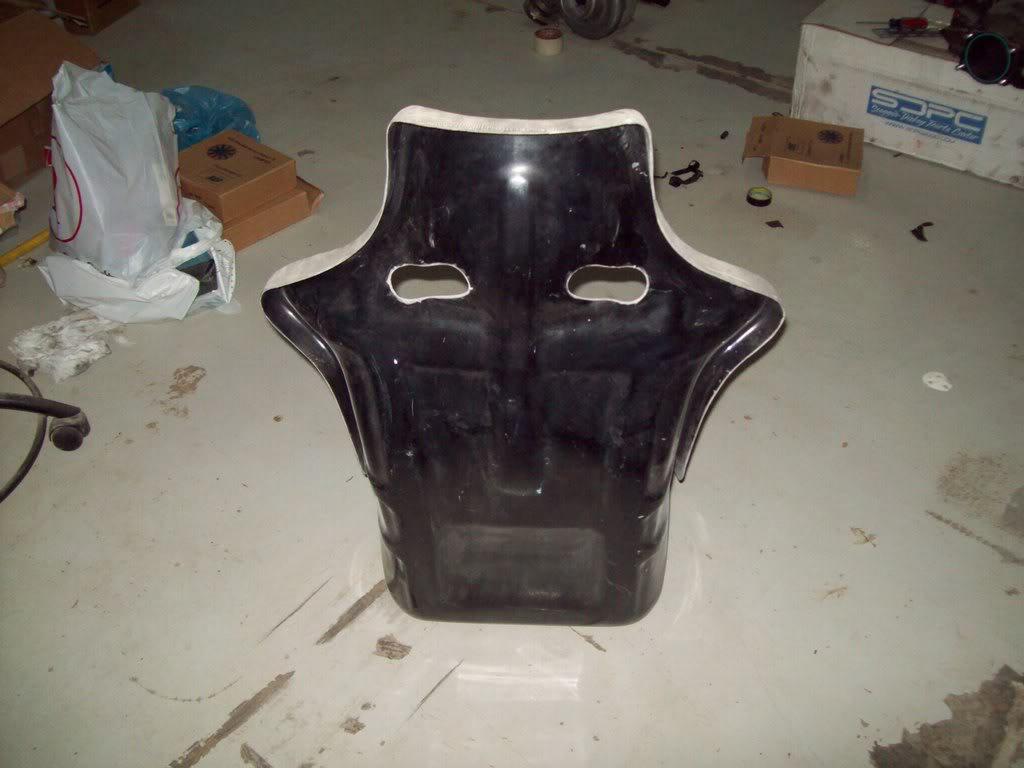
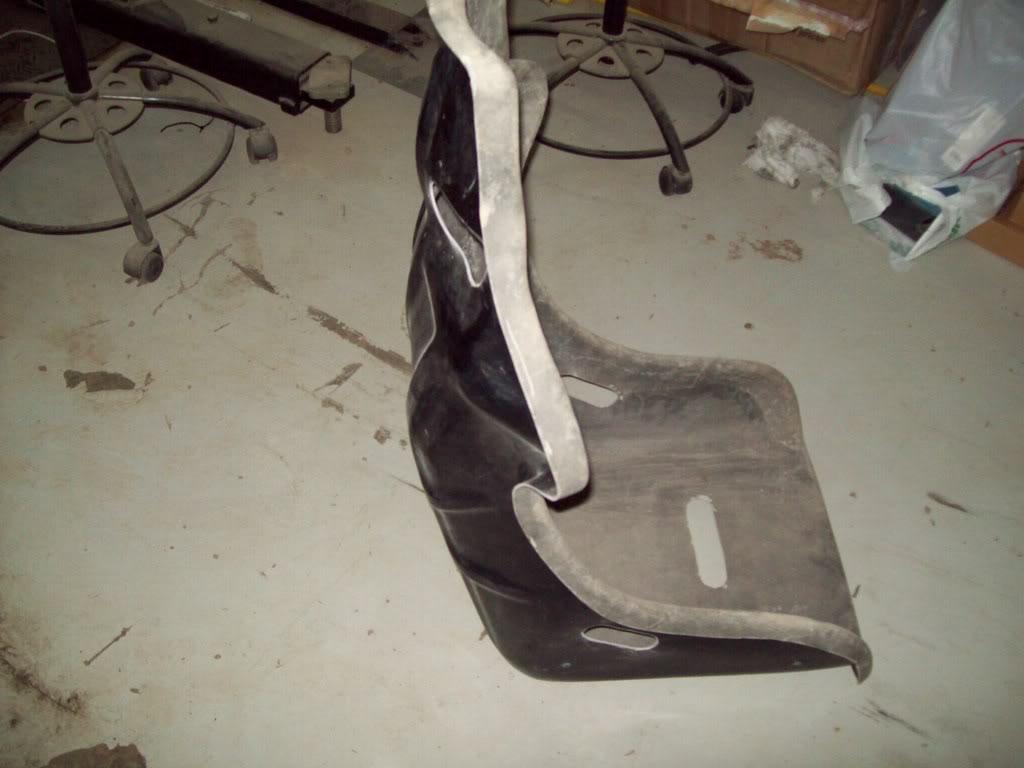
i got some stuff done in the last few days. i also managed to get a new fiberglass hood for my stang and this lightweight seat ( also fiberglass), all i need to it is upholster it and fabricate a mounting bracket/ base for it.: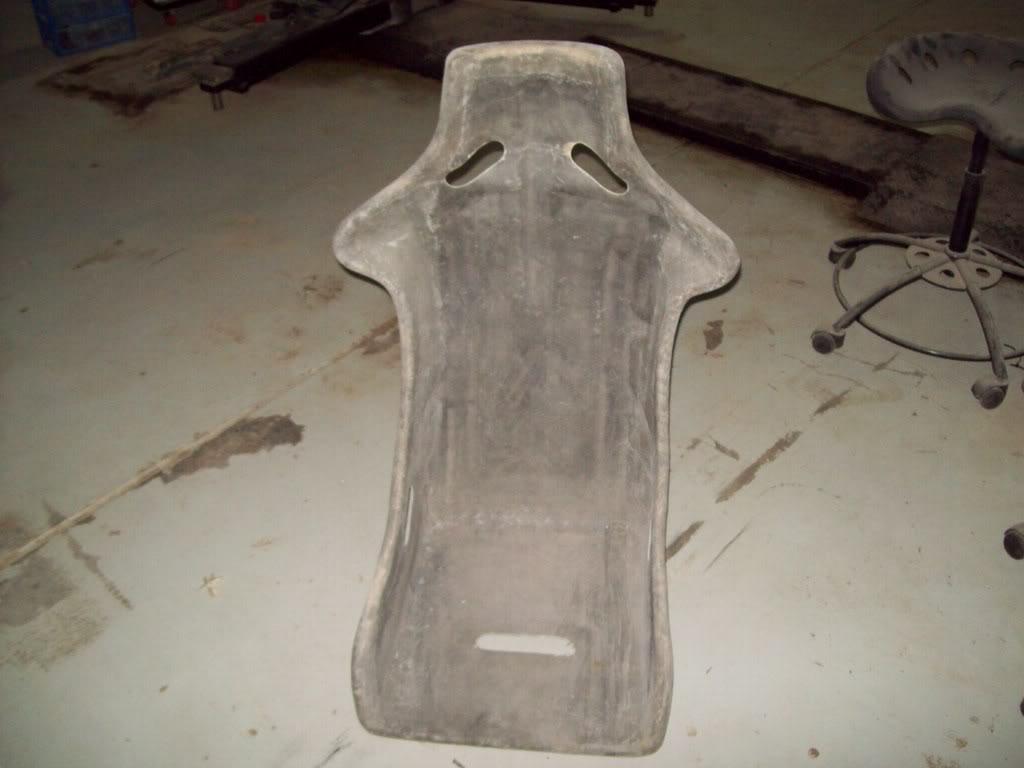
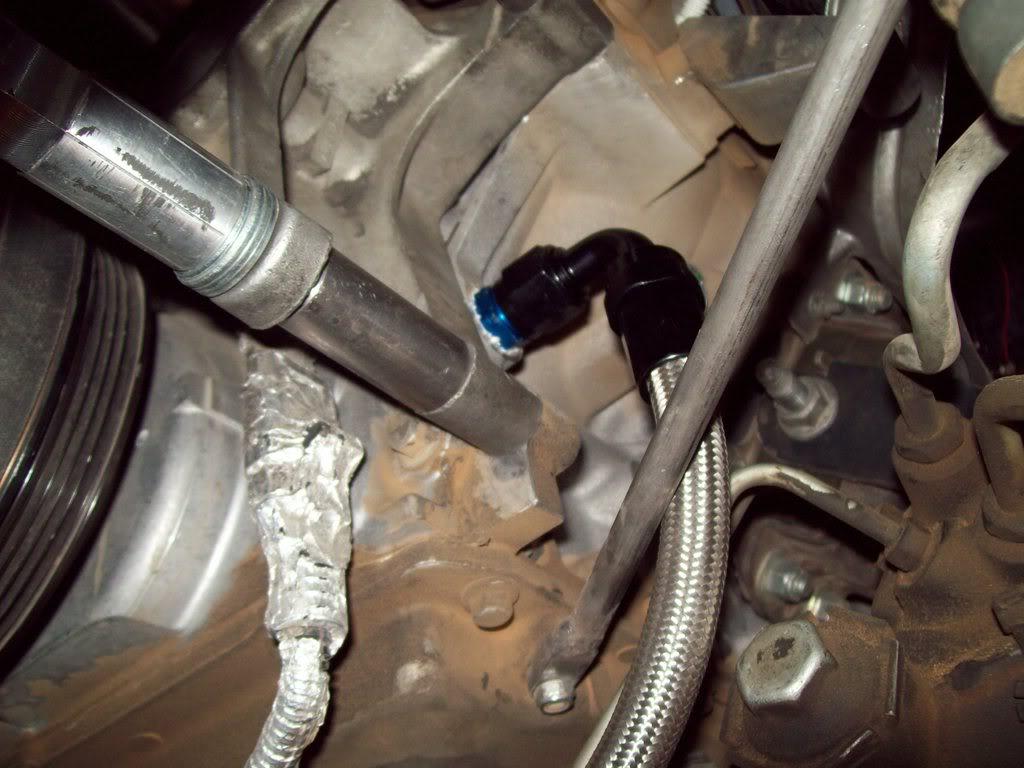
also managed to finish up plubming the oil accumilator:
i finally got around to installing a drain on the gas tank, it basically a bulkhead fitting with a cap.
( what do you do when you need some one to hold a wrench on one side of the car while you are on the other side, but no one is around??? )

according to my all knowing excell sheet, i finished 40% of the items on my list
so hopefully tomorrow i will finish cleaning the inside of the tank and button it up.
i should have the methanol injection nozzle bungs welded in on my intake tube , i already welded the AIT sensor bung on there. i might even paint the tube black.
and from the list i posted in the post above, i will be putting the header back in so i can fire the car up to see if there are any leaks and what not.
after that , the tranny comes out and we see what kind of damage we have