You must be logged in to rate content!
25 minute(s) of a 461 minute read
9-6-2011
Project Trig - After 18 Months Away, Is Back In Town!
Compliments of Mini 360 @ theminiforum.co.uk
9-6-2011
(The below is mainly copied and pasted from another forum I frequent (ScottishMini.co.uk) so some of the words may not make complete sense)
So heres my project! And to whoever said Minis are cheap....I want to see how! I want to say now that I have funded the entire car myself from start and will be to finish. I work hard for a living when Im not at Uni and have no loans/debts.
Back story is I bought this from eBay when I was 13. Came from Birmingham and had never seen it or driven it before, so a BIG risk since it was my savings. Car was a little rough but did it up to look like this for time I was 17.....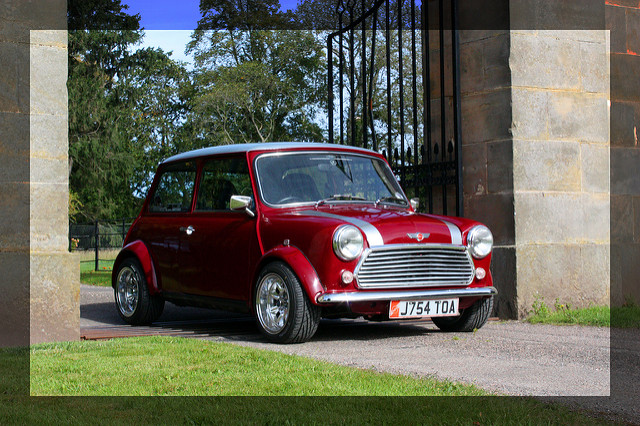
Its been to IMM 2009 in brum and it did a John O Groats to Lands End trip in June/July 2009 too! So its well travelled! But less of the history....onto the REBUILD!
Well over the years Trigs been tinkered with but hasnt really been a project as such. See here for the original thread.
But now I have the funds to fully rebuild and restore him to his former glory I intend to do so. He came off the road just over a week ago and now Im finished with uni for 5 months Ive got time to redo him properly rather than rushing to get him back on the road.
Instead of updating the existing 'build' thread I thought I would make another one seeing as this is going to be updated more regularly and in more depth. Plus its the second stage of the cars life really.
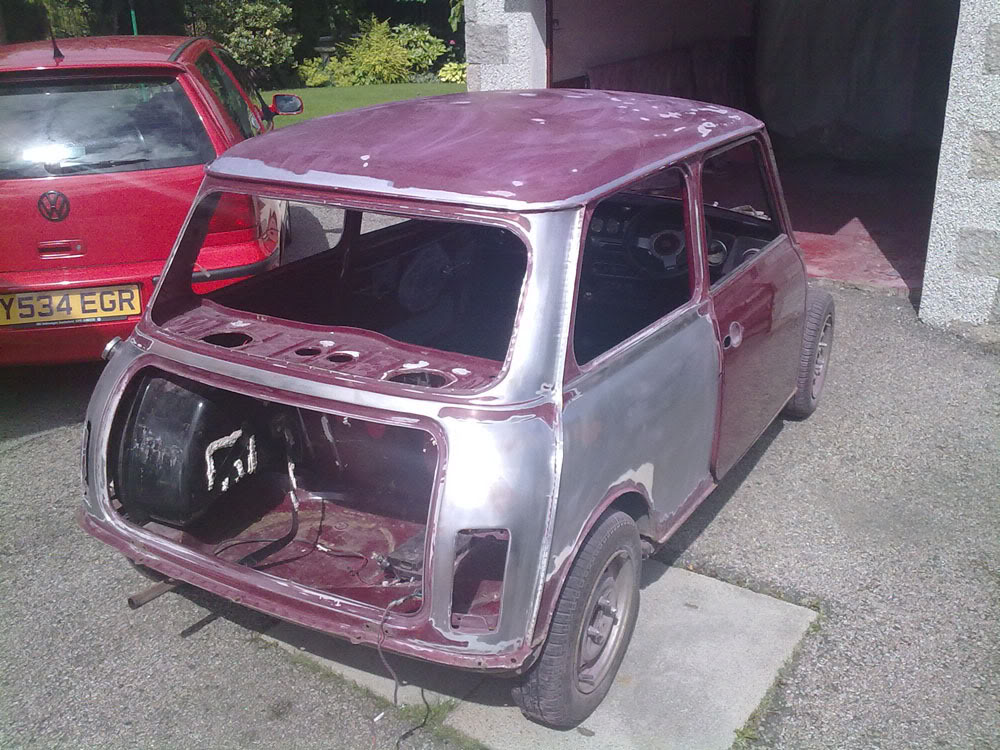
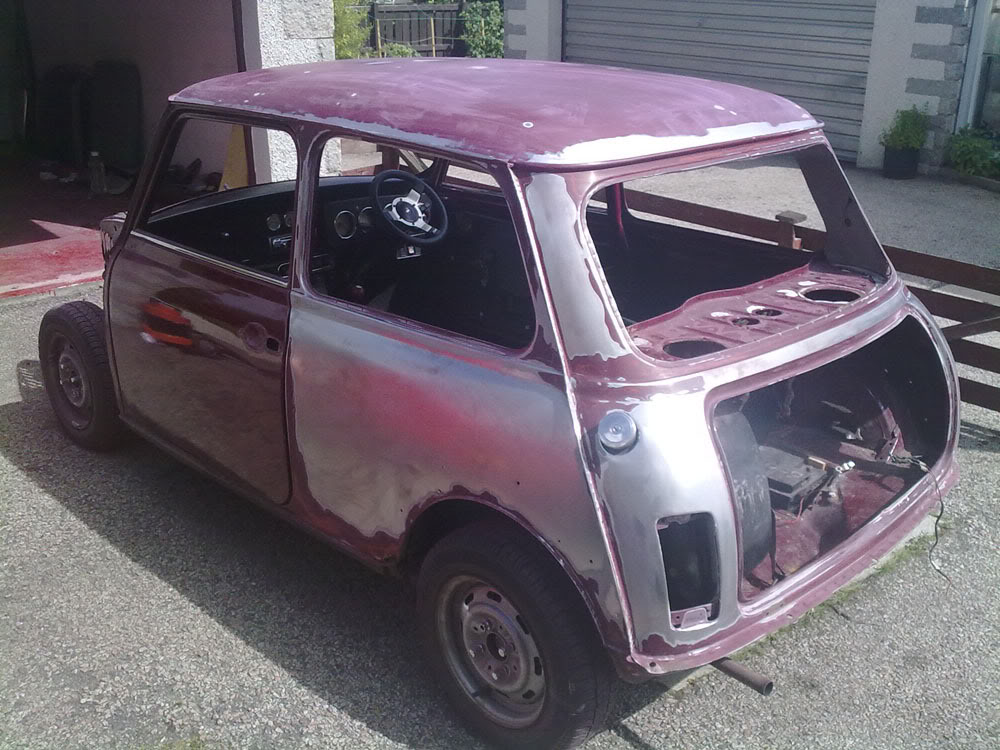
So some before pics to show what Im starting with....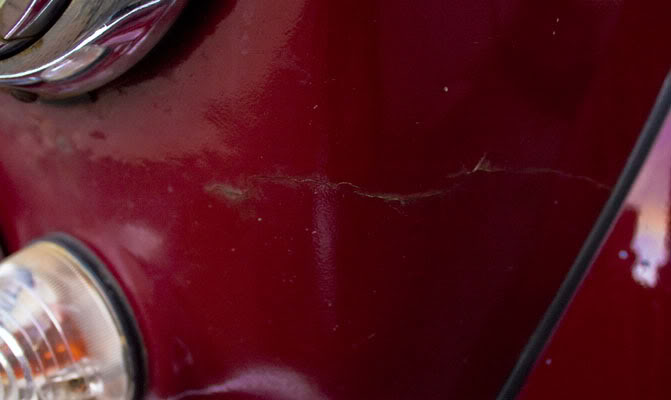

The result of a ruddy great L200 kicking up a boulder after the snow!
So thats what Im putting up with atm...
Plans are as follows....
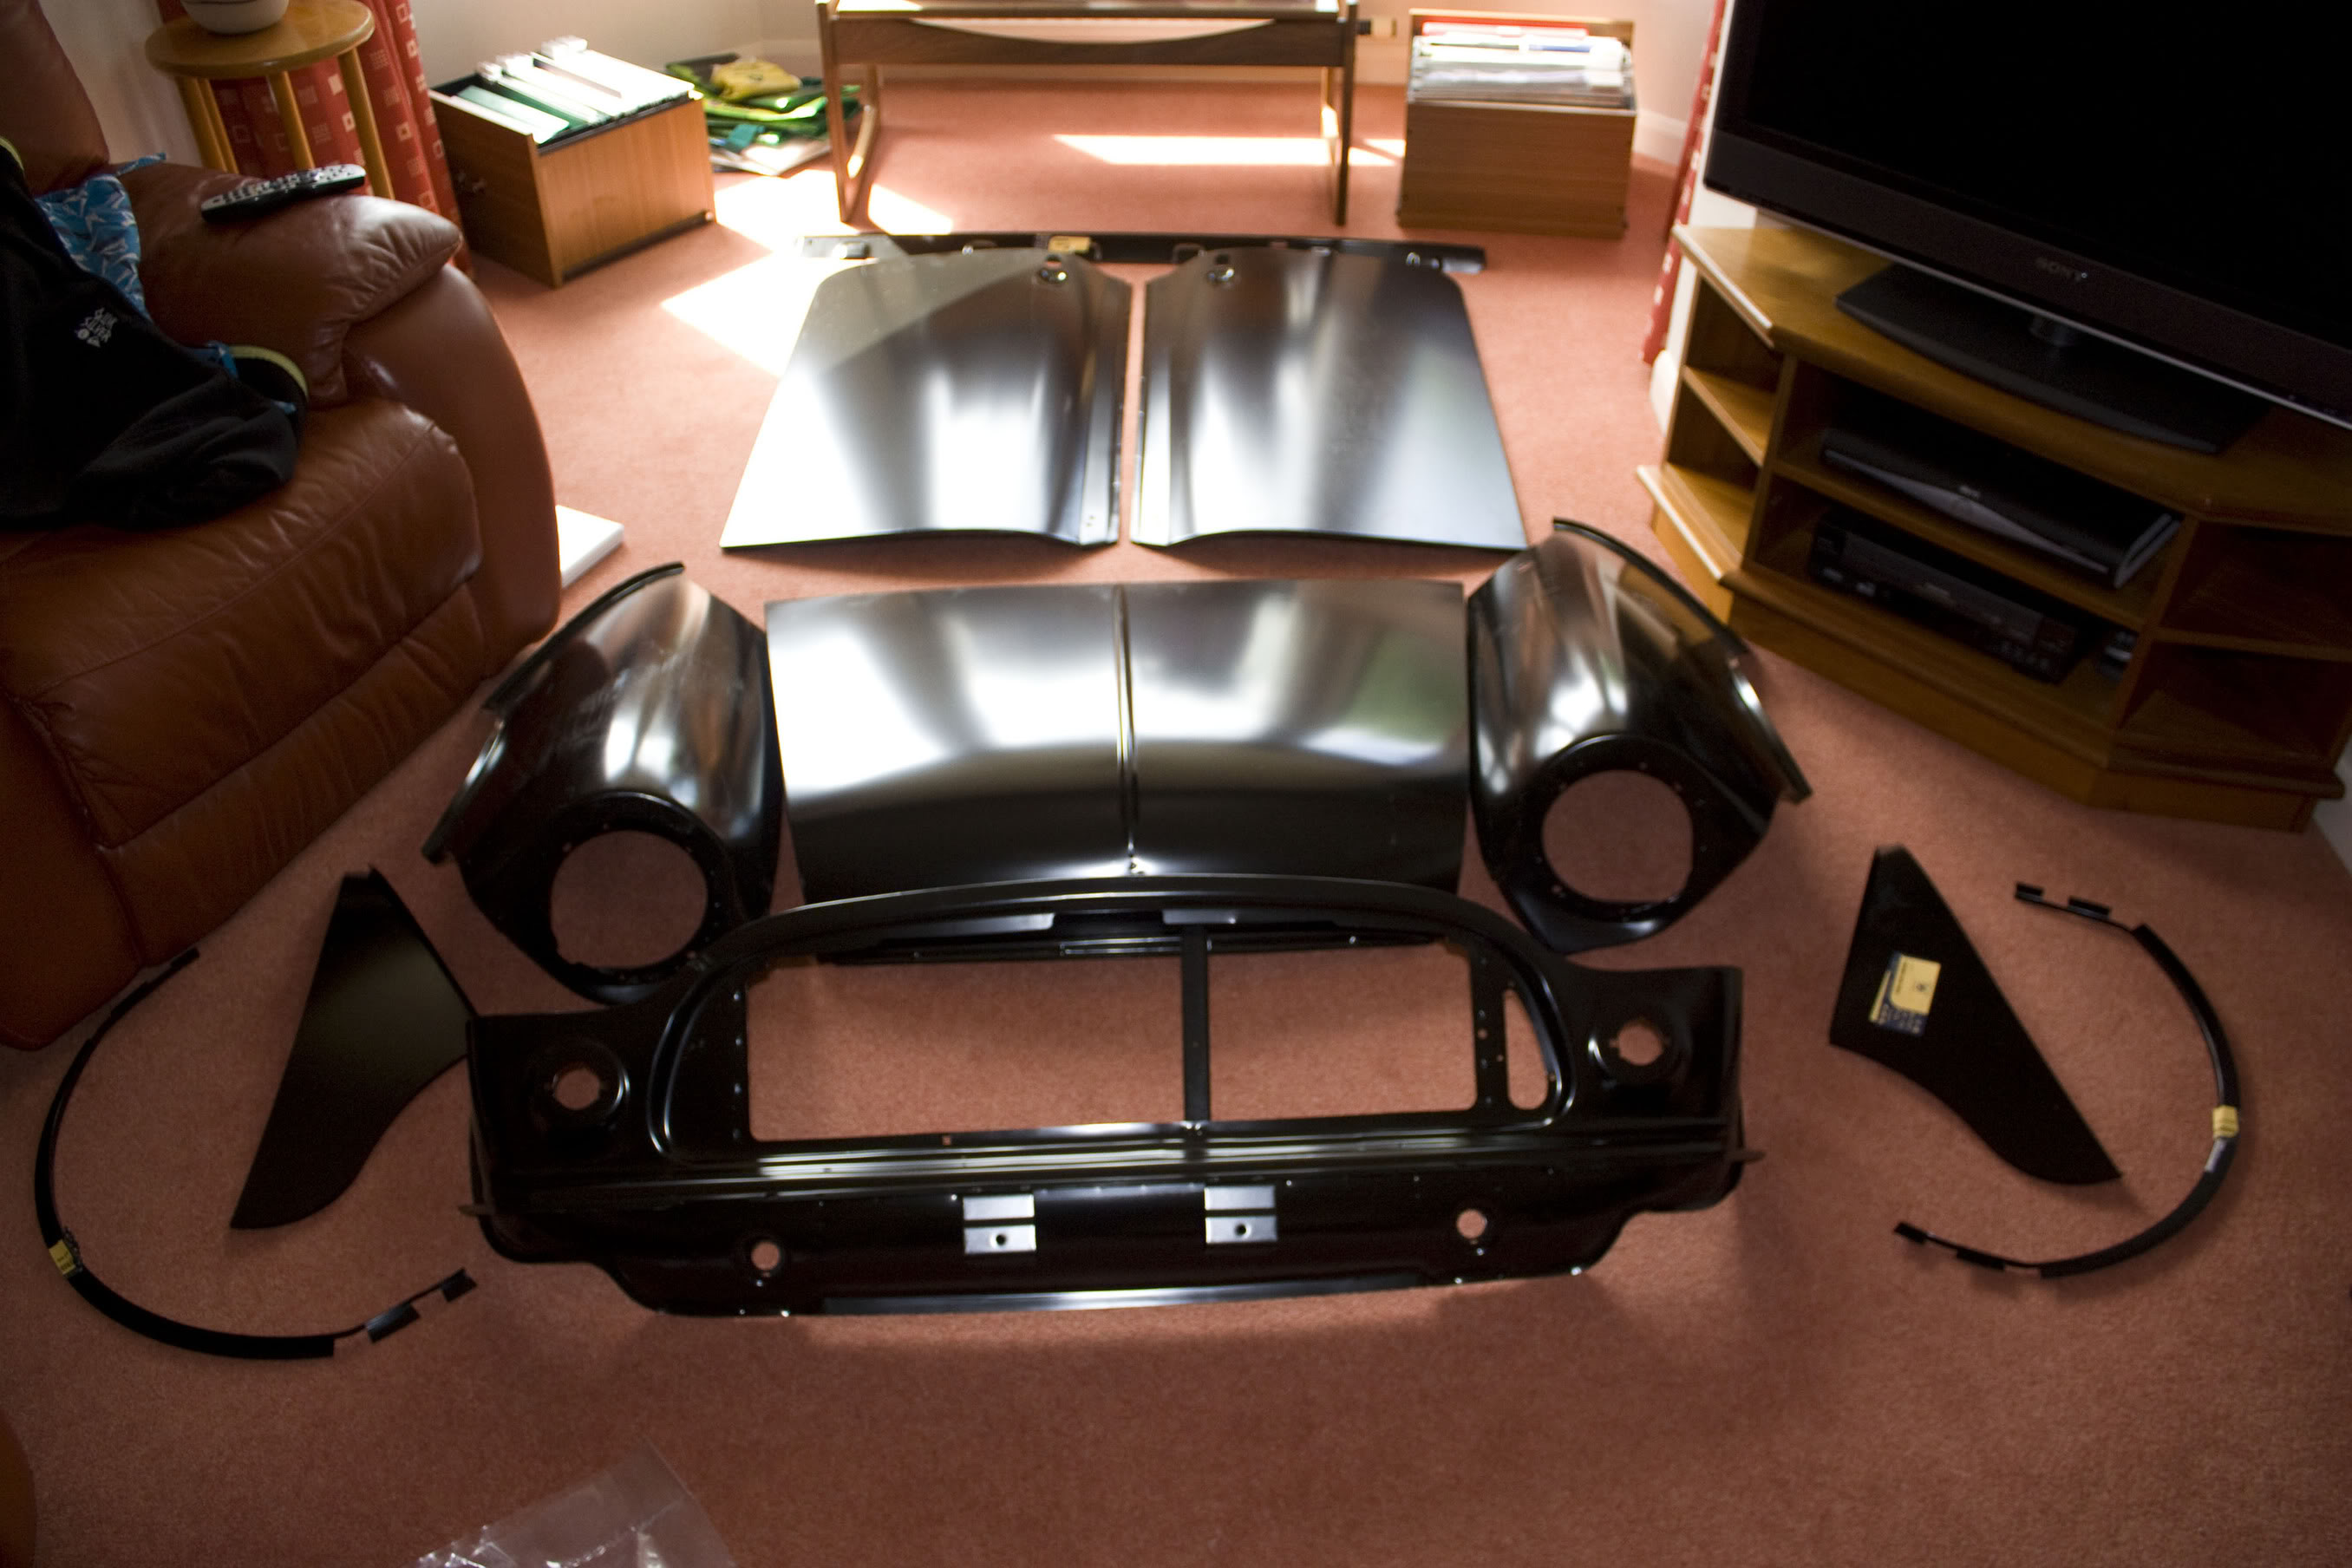
- Replace all panels (excluding inner wings) forward of the doors
- Replace door skins
- Replace rear valence
- Smooth off filler neck and remount inside the boot for smooth finish
- Fit smooth bootlid with SM IMM design on it
- Full professional respray by Derek Ritchie in original Rover Cranberry Red with Rover Quicksilver bonnet stripes and roof
Thats all I can think of at the moment but theres plenty more getting done. 
So today I cleared out the garage to give me some room to work around the car. So Ive got a couple feet either side and few feet either end. Plenty!
My deal with my parents is I can use the garage but at thend end I need to fully clean it and repaint it to get rid of all the dust Im going to create 
The garage
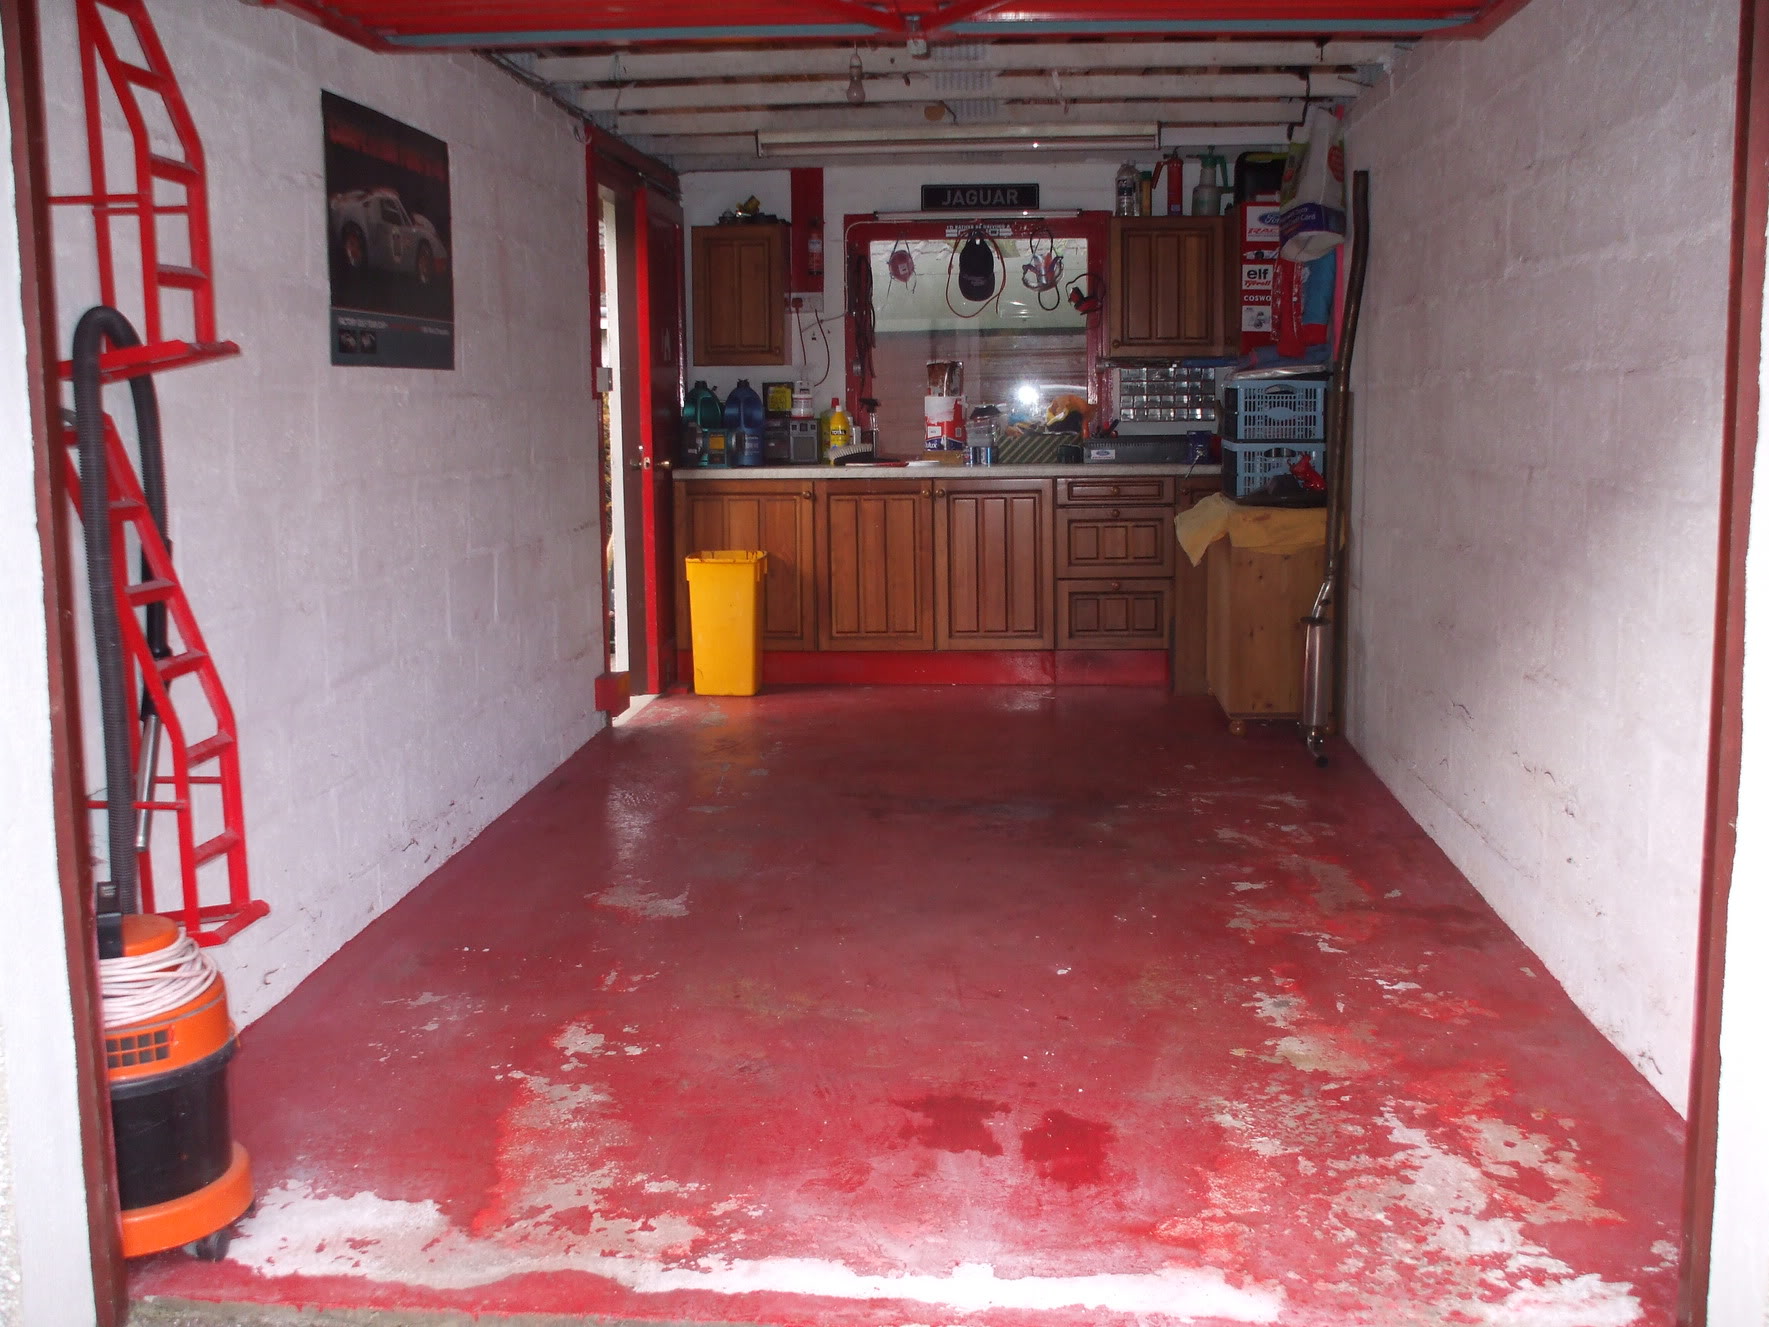
The cupboards are my grannies old kitchen But its dam good for a garage! Plenty storage plus a long workbench with grinder and vice on top of it.

Some pics of the little progress I got......I swear some of the bolts/screwswere welded on!!! 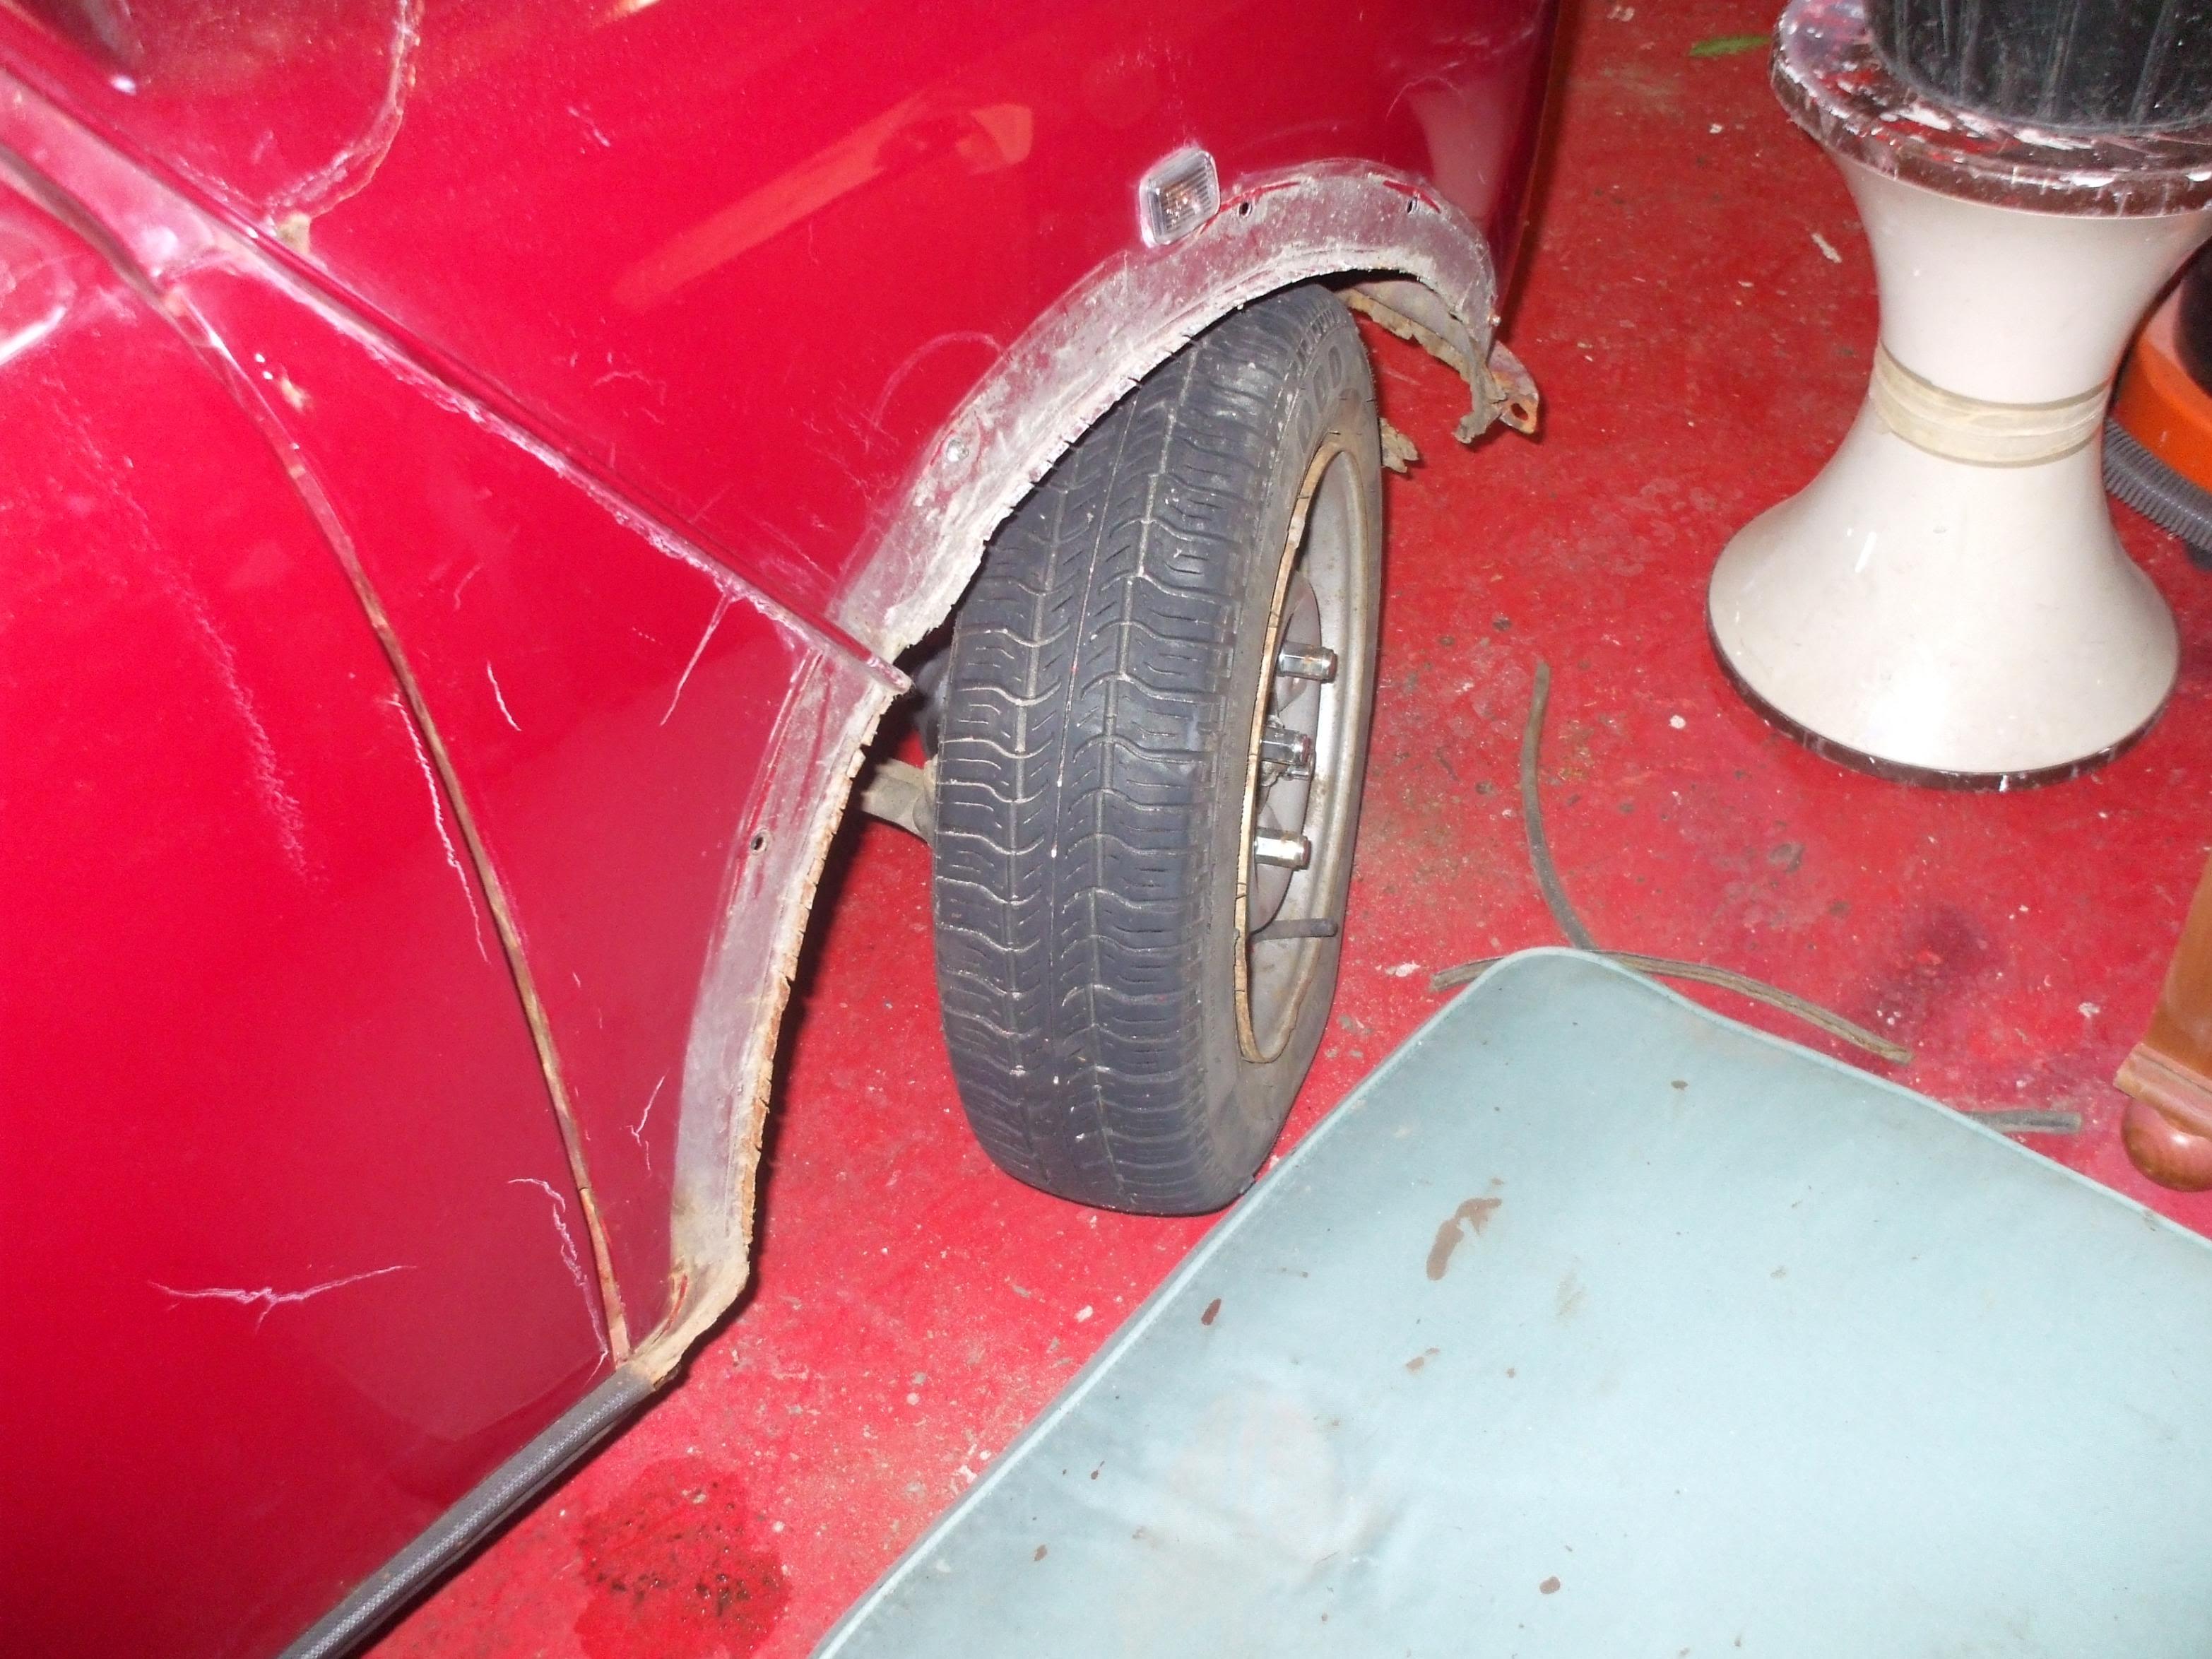
Arches off. (The bolts moulded into the arches came out annoyingly so wil have to find a way to get them in and make them stay that way)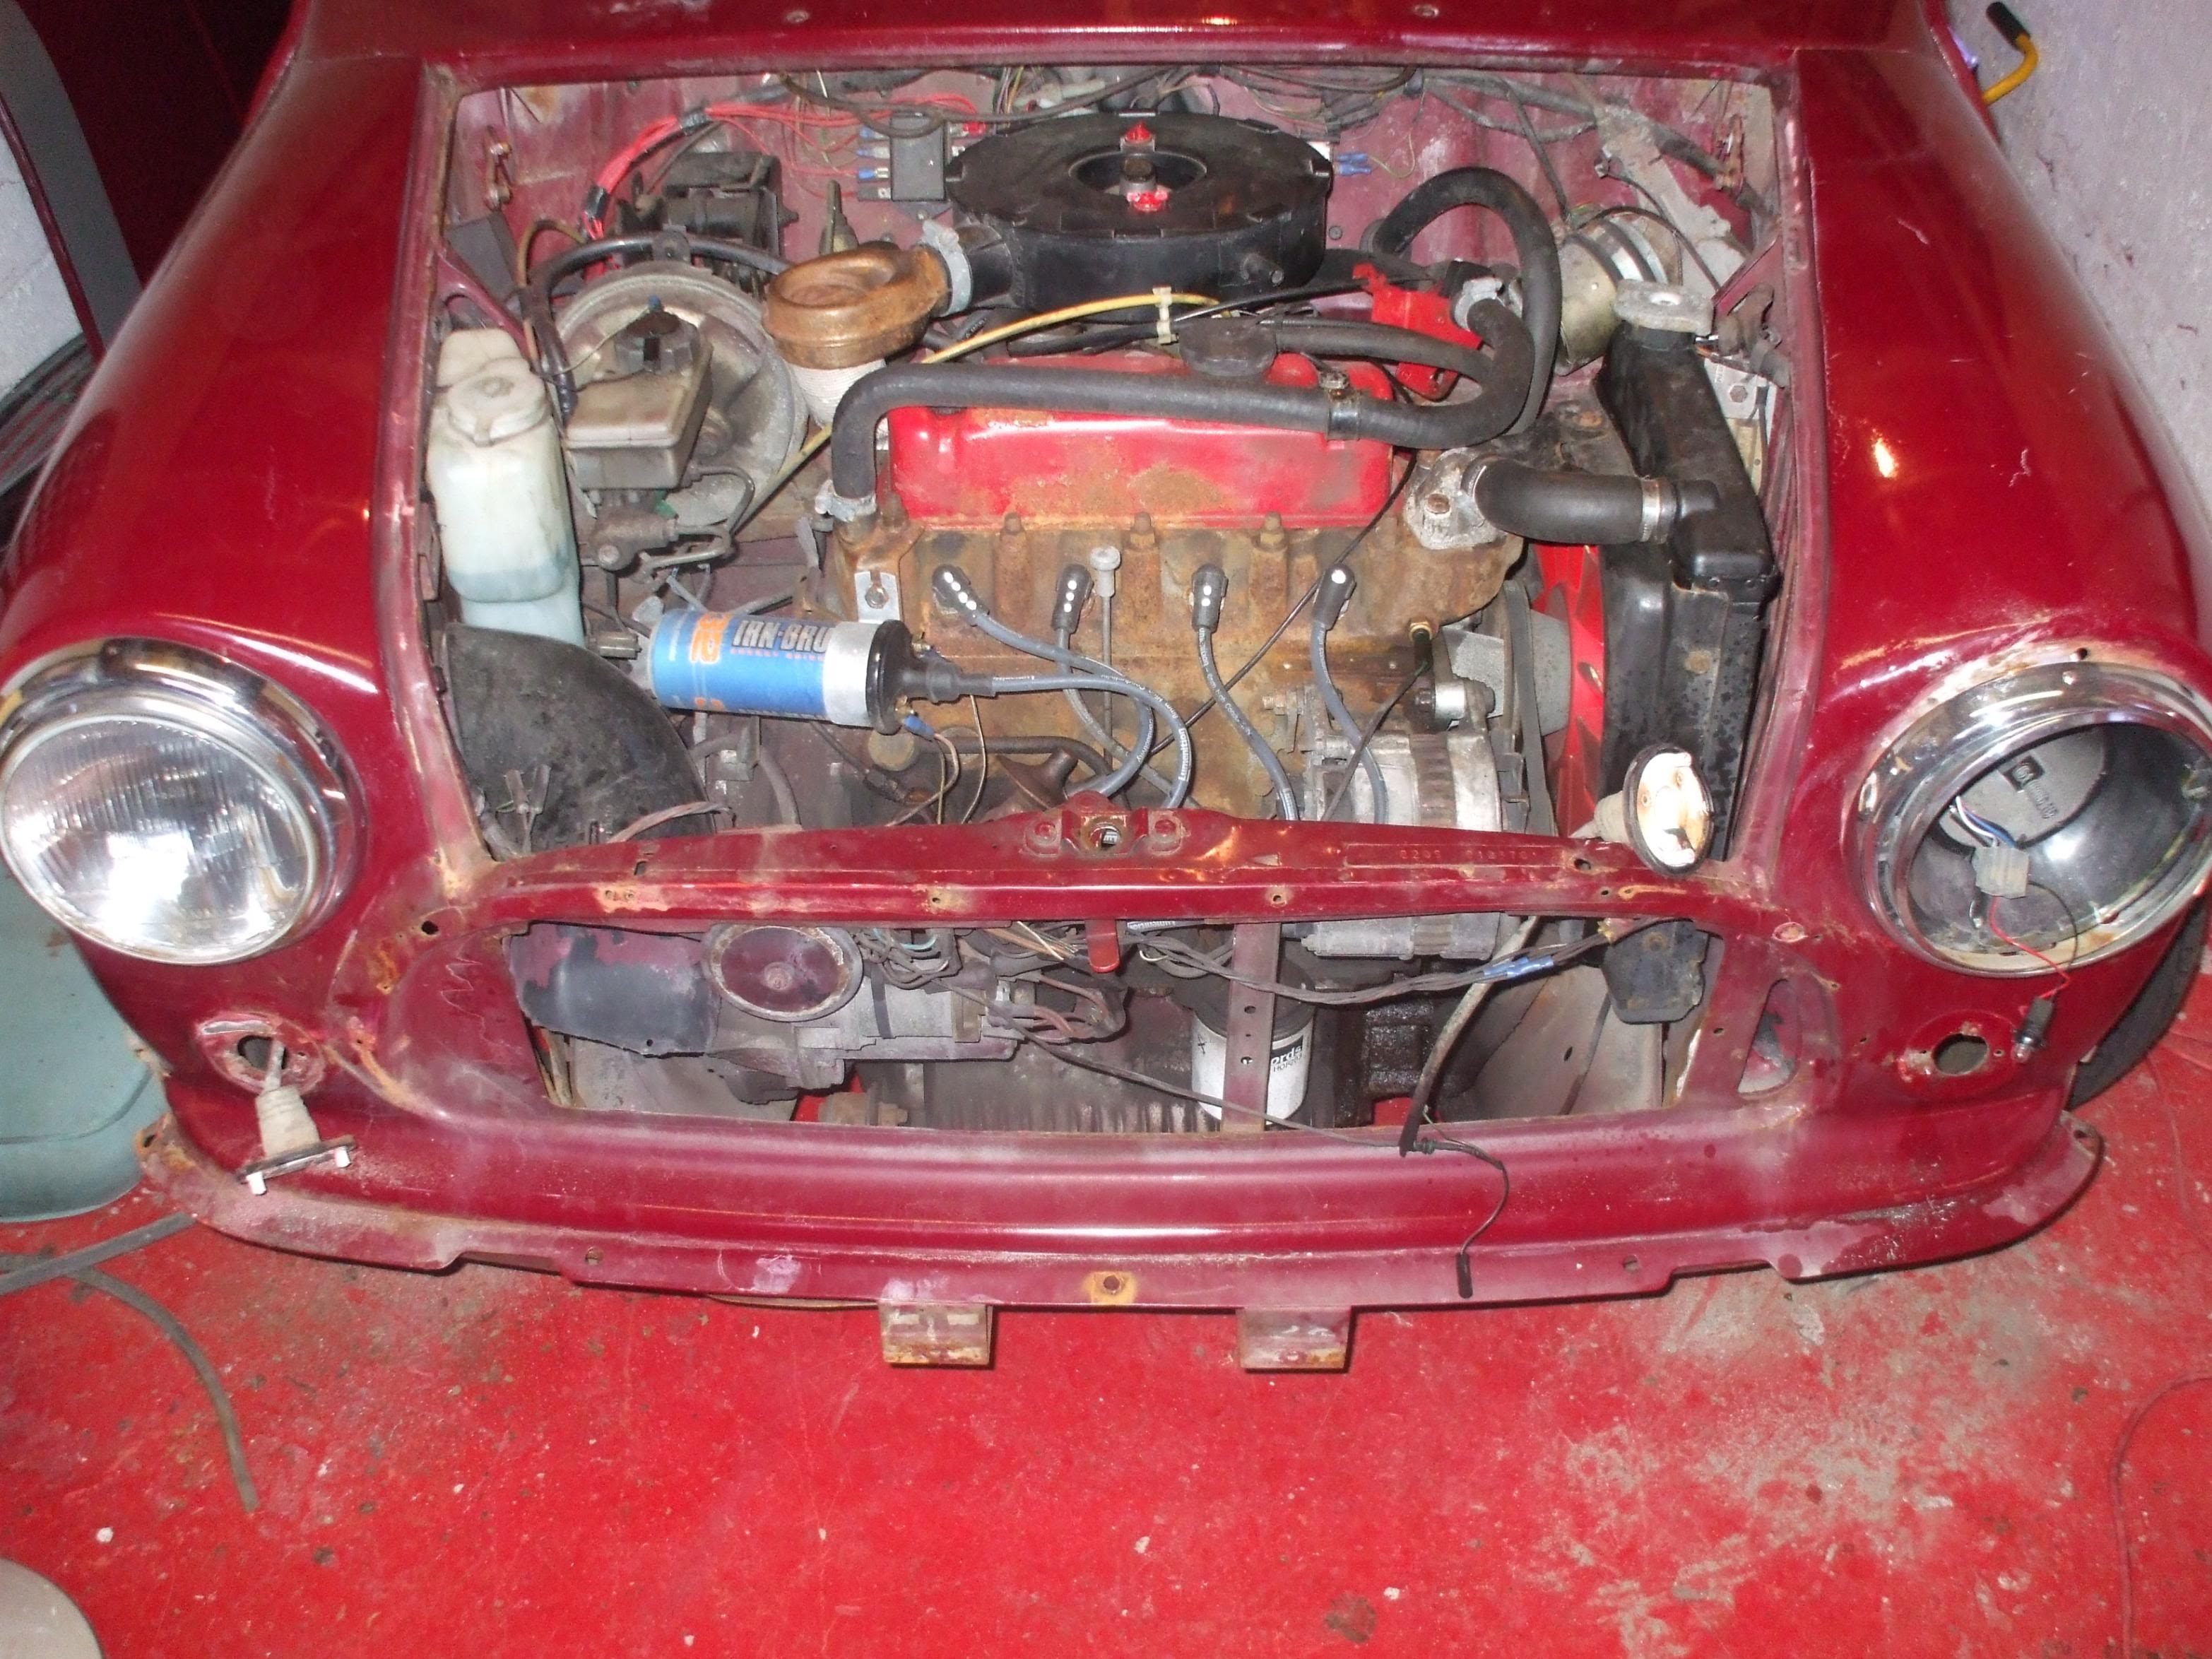
How I left it before going out. Left lights half in as I wasnt wanting to cut wires just yet.
More progress tonight. Basically got most of the stuff off to start sanding down. Leaving the interior and windows in for now to reduce the amount of dust getting everywhere. Boots getting sanded too so took off the bootlid. Shifted the fuel tank to get access to the light cluster and arch bolts but it was too dark to get a good look at the fuel pipes to fully remove it. Didnt want to risk it leaking everywhere!
So the obligatory pics you all crave!
Never knew these things existed.....brackets for holding in air vent pipes. They wont be getting replaced as Im taking out the vents as they are useless and putting speakers in instead. :thumb: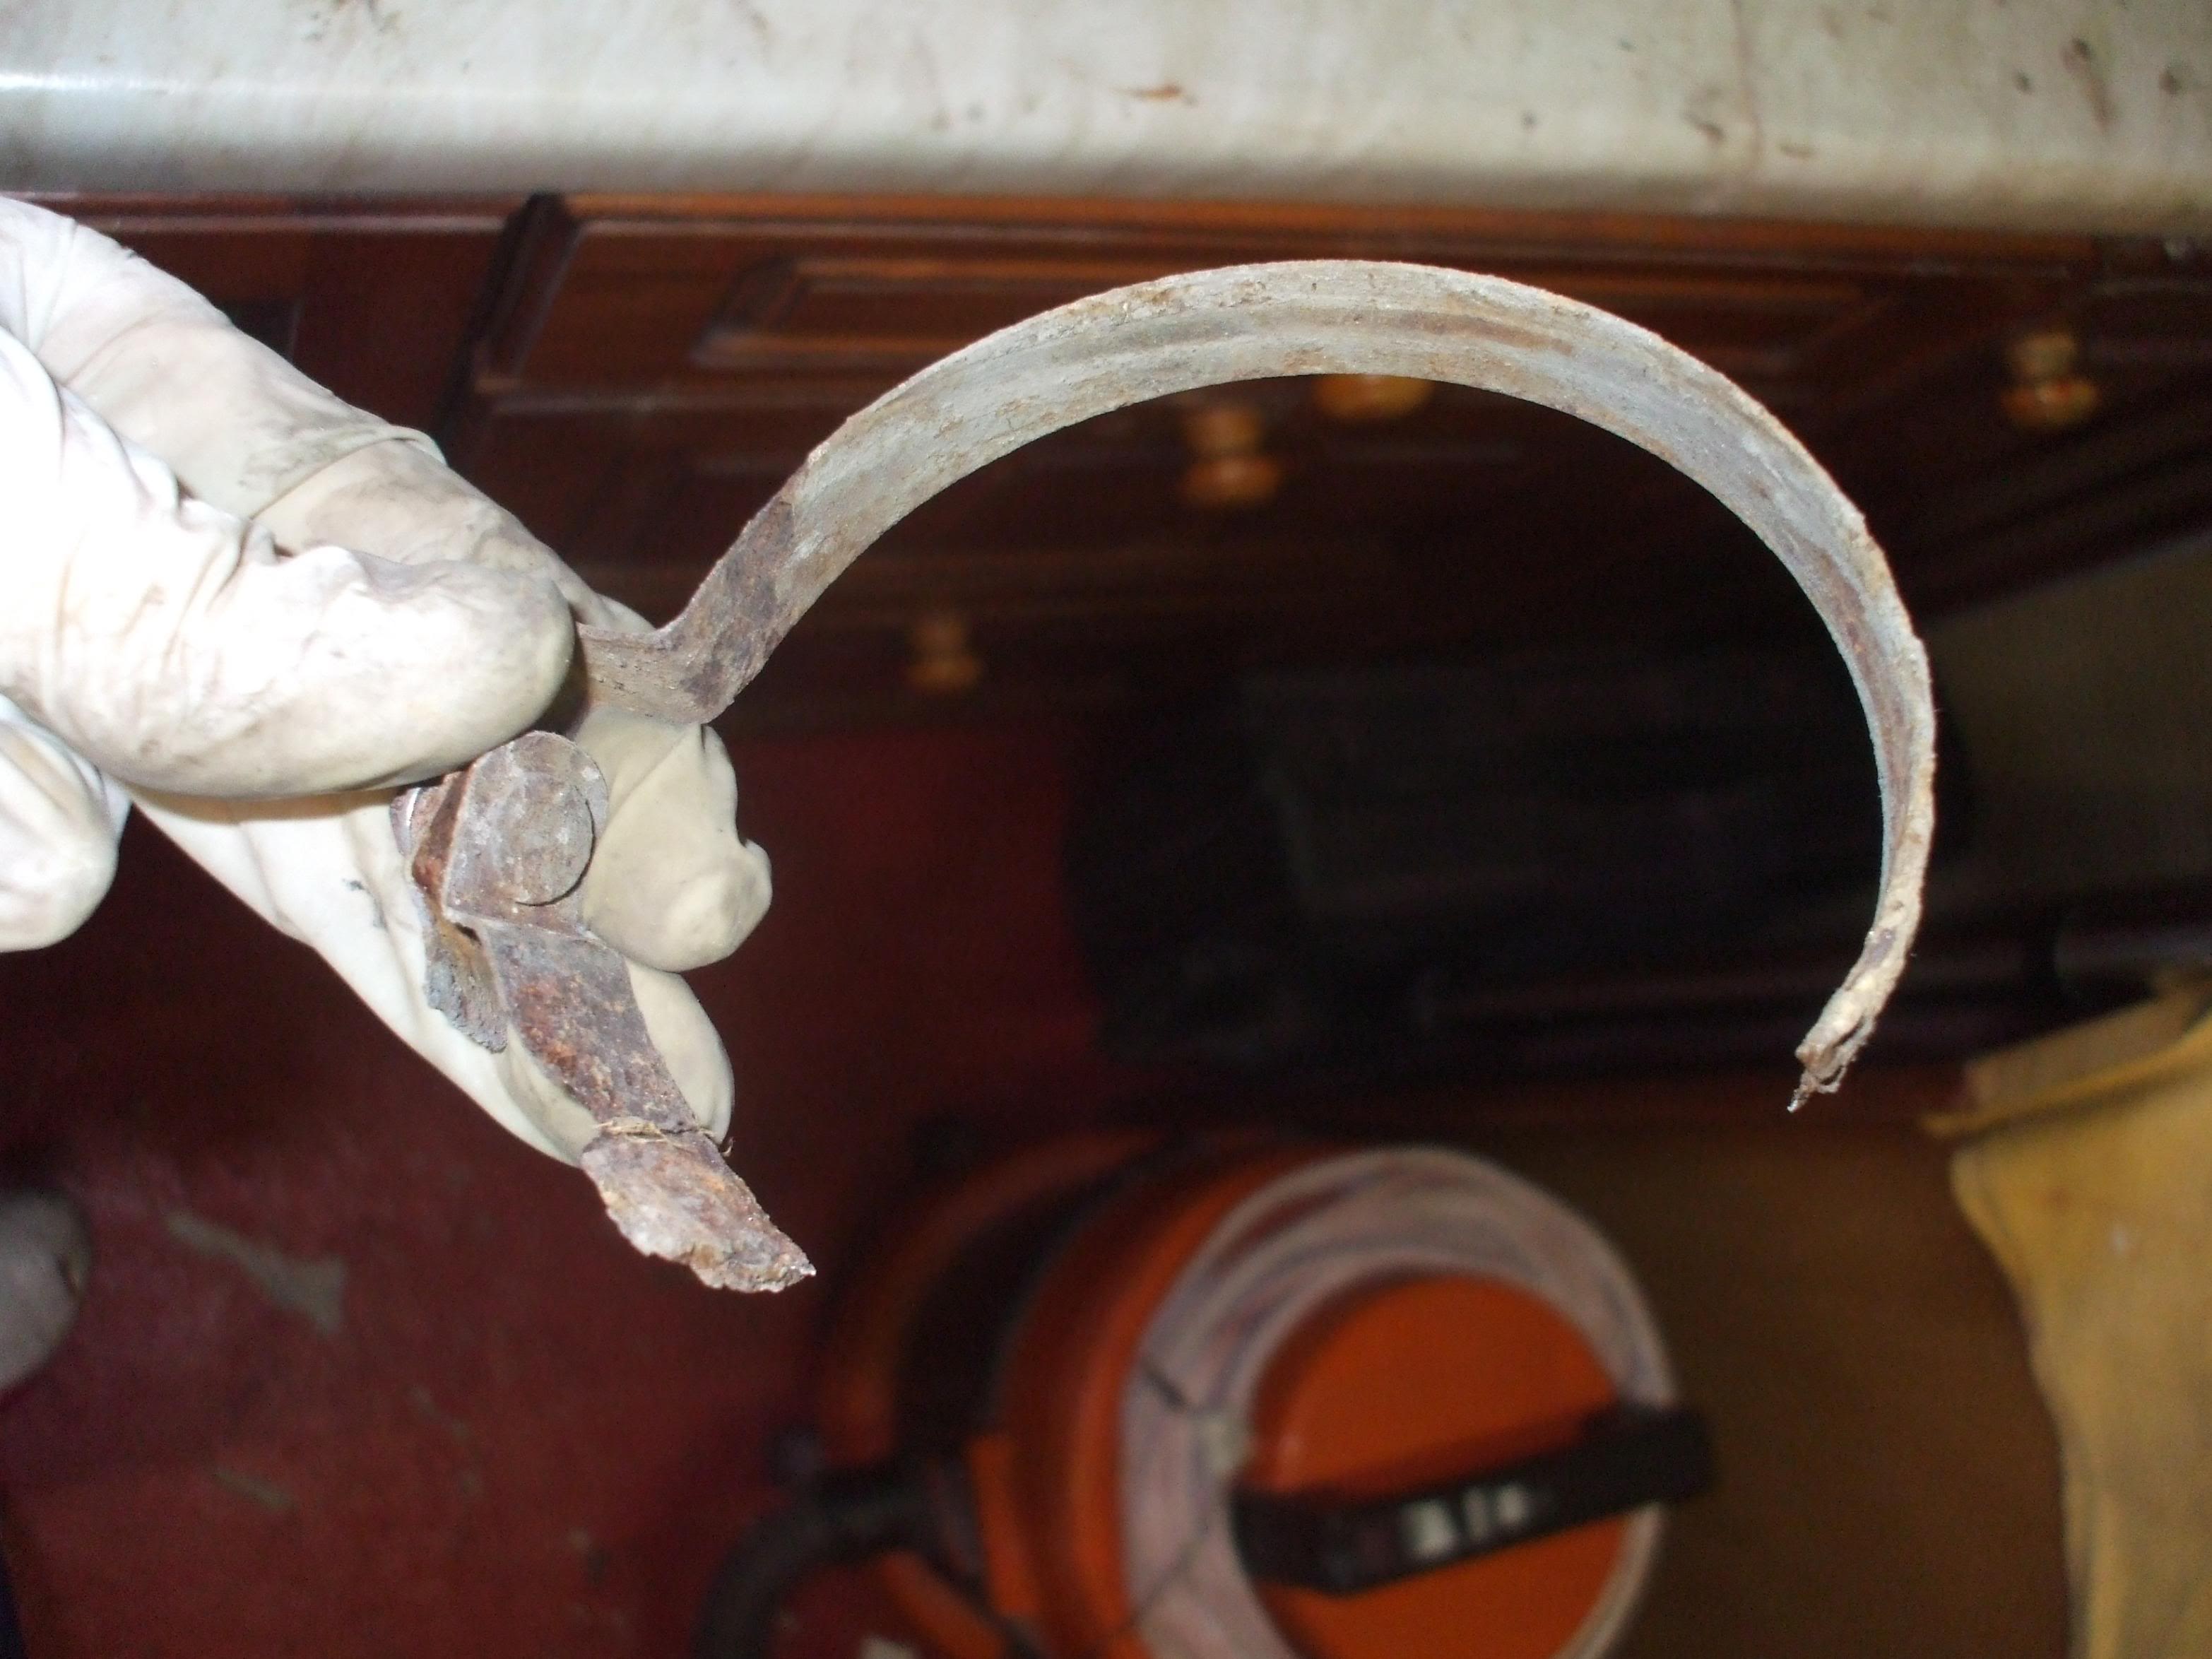
Think I may need to get a new driveshaft seal.......:whistle: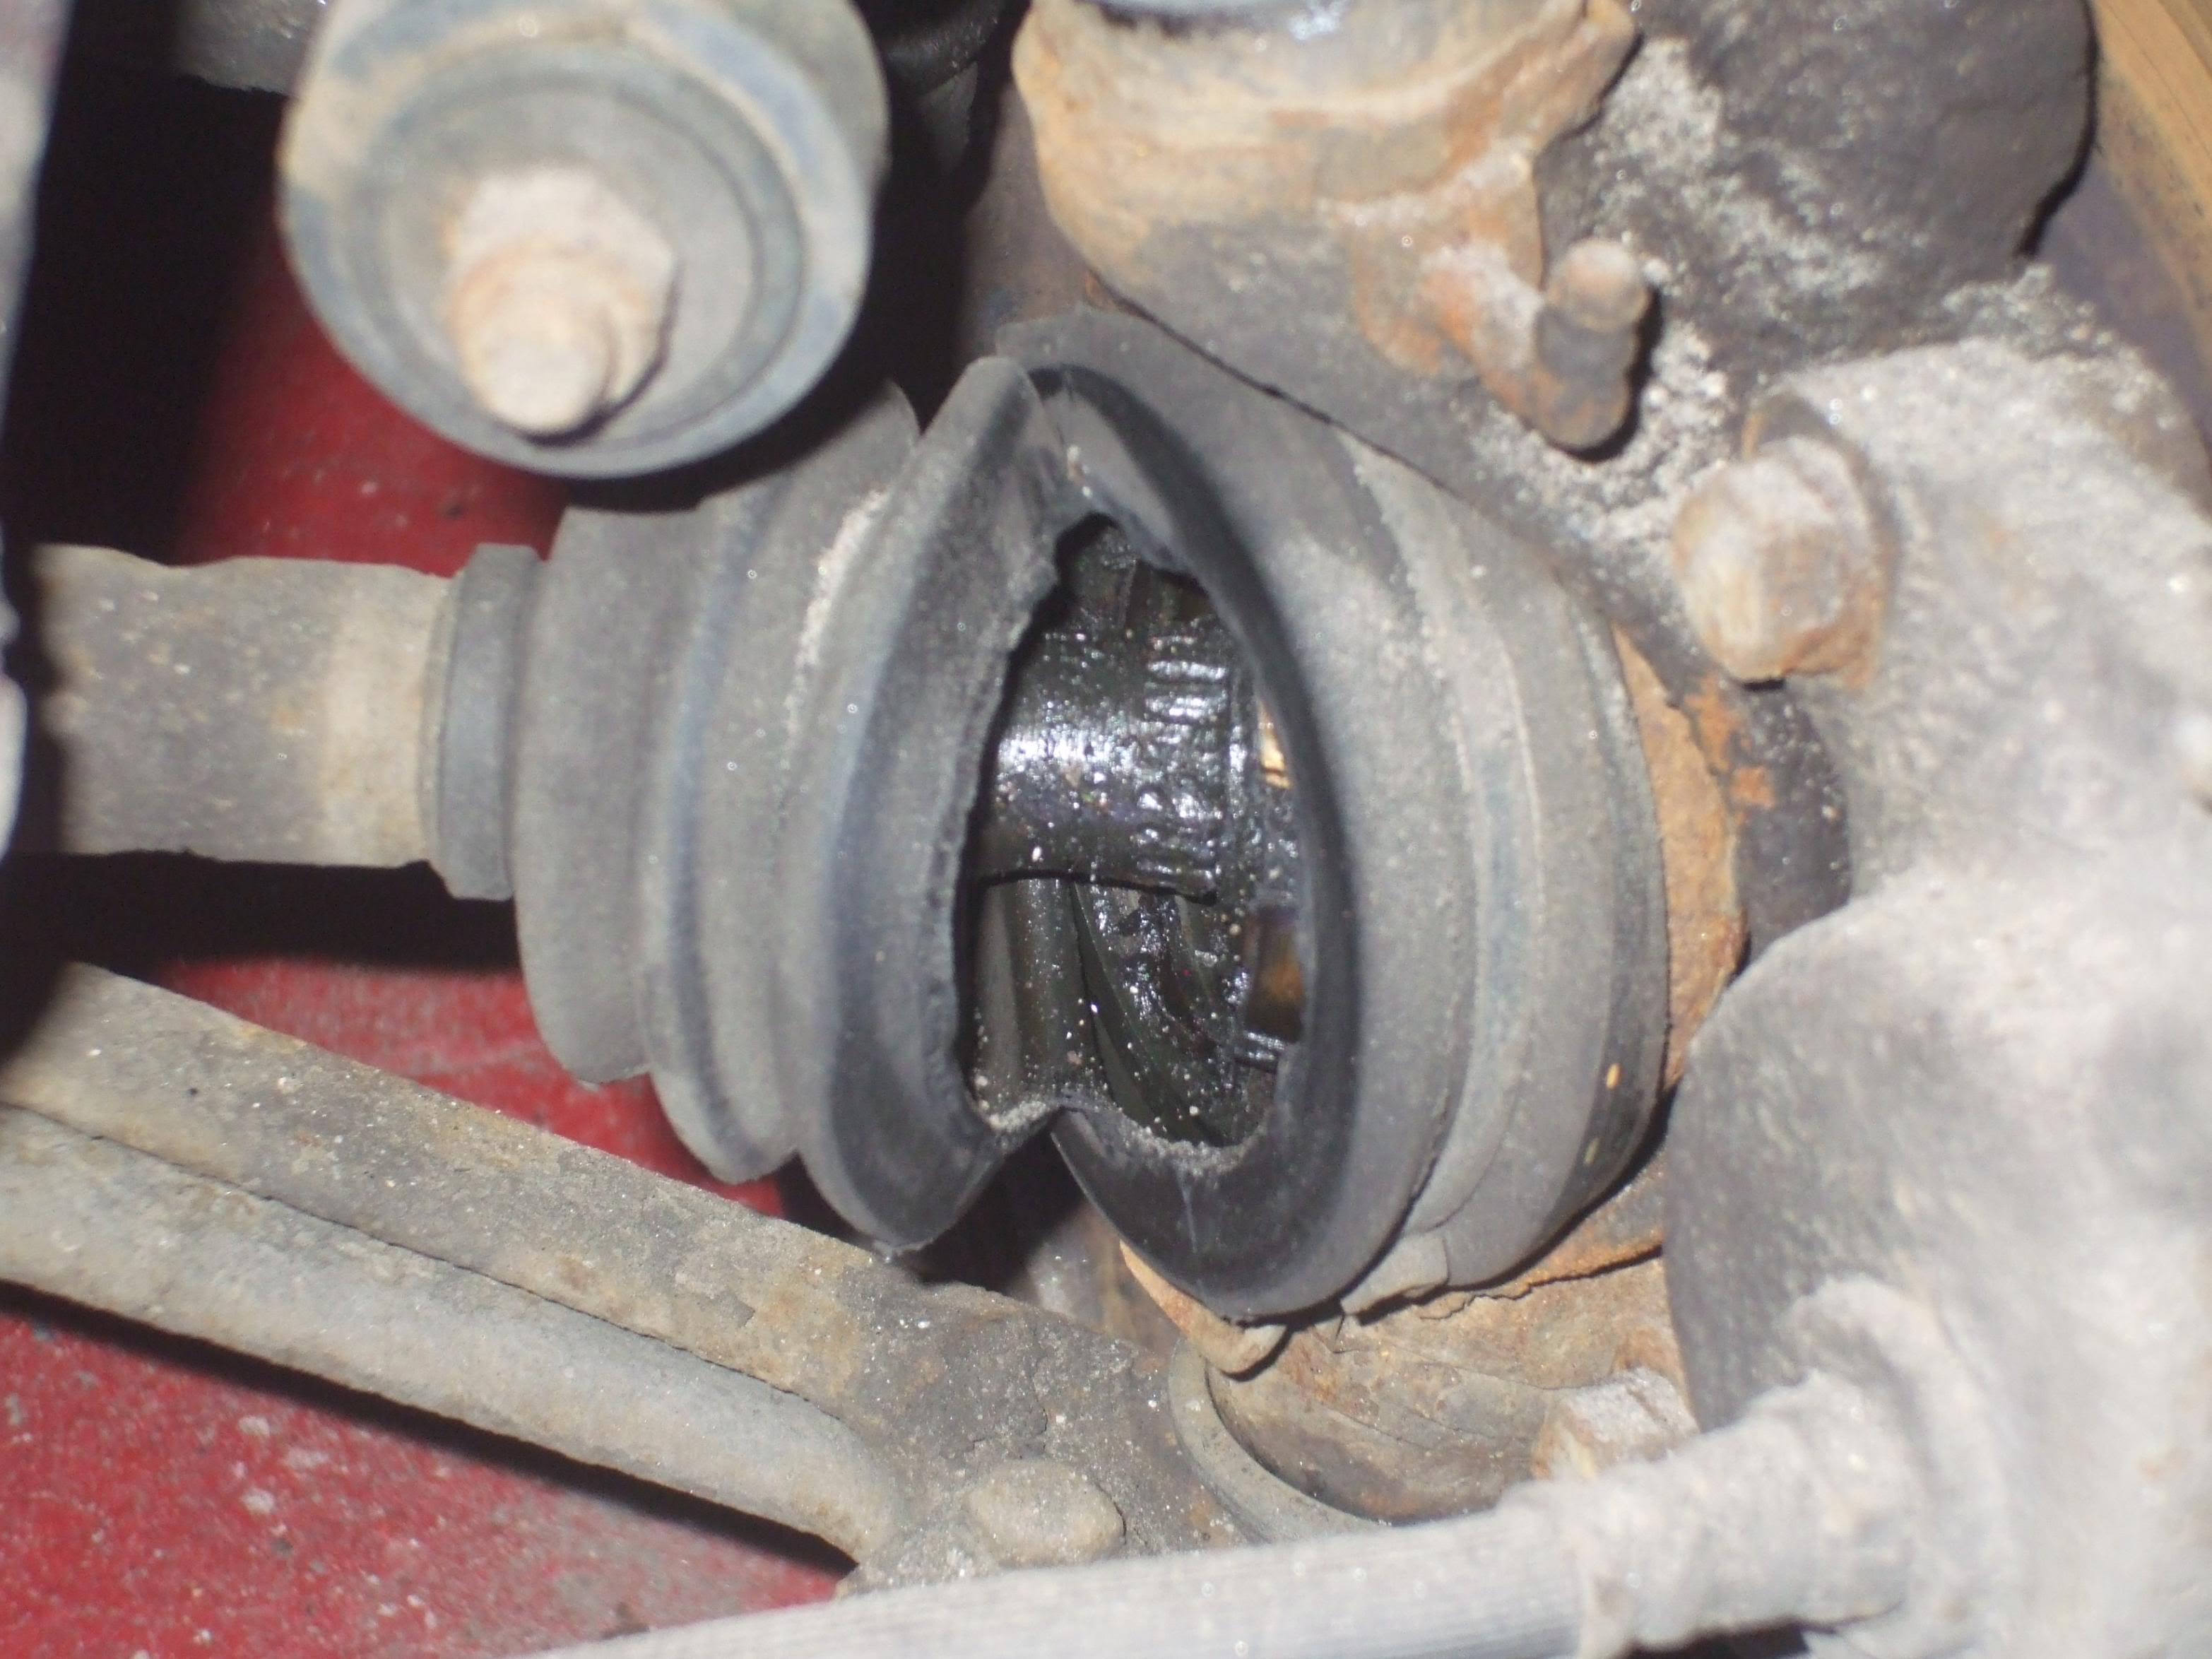
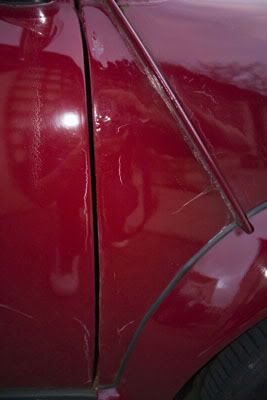
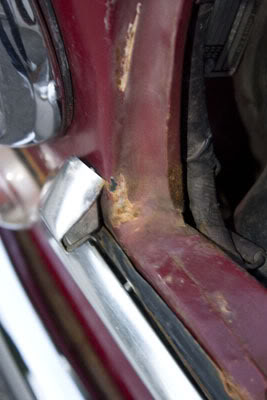
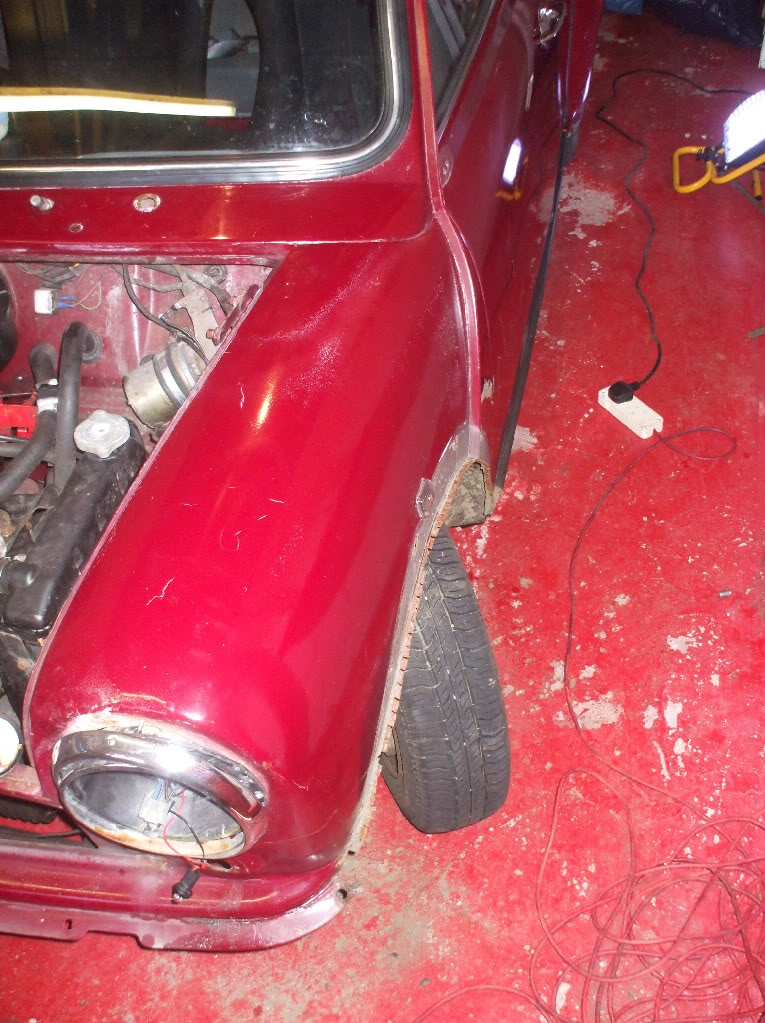
Passenger inside of wing....roosty as hell after winter!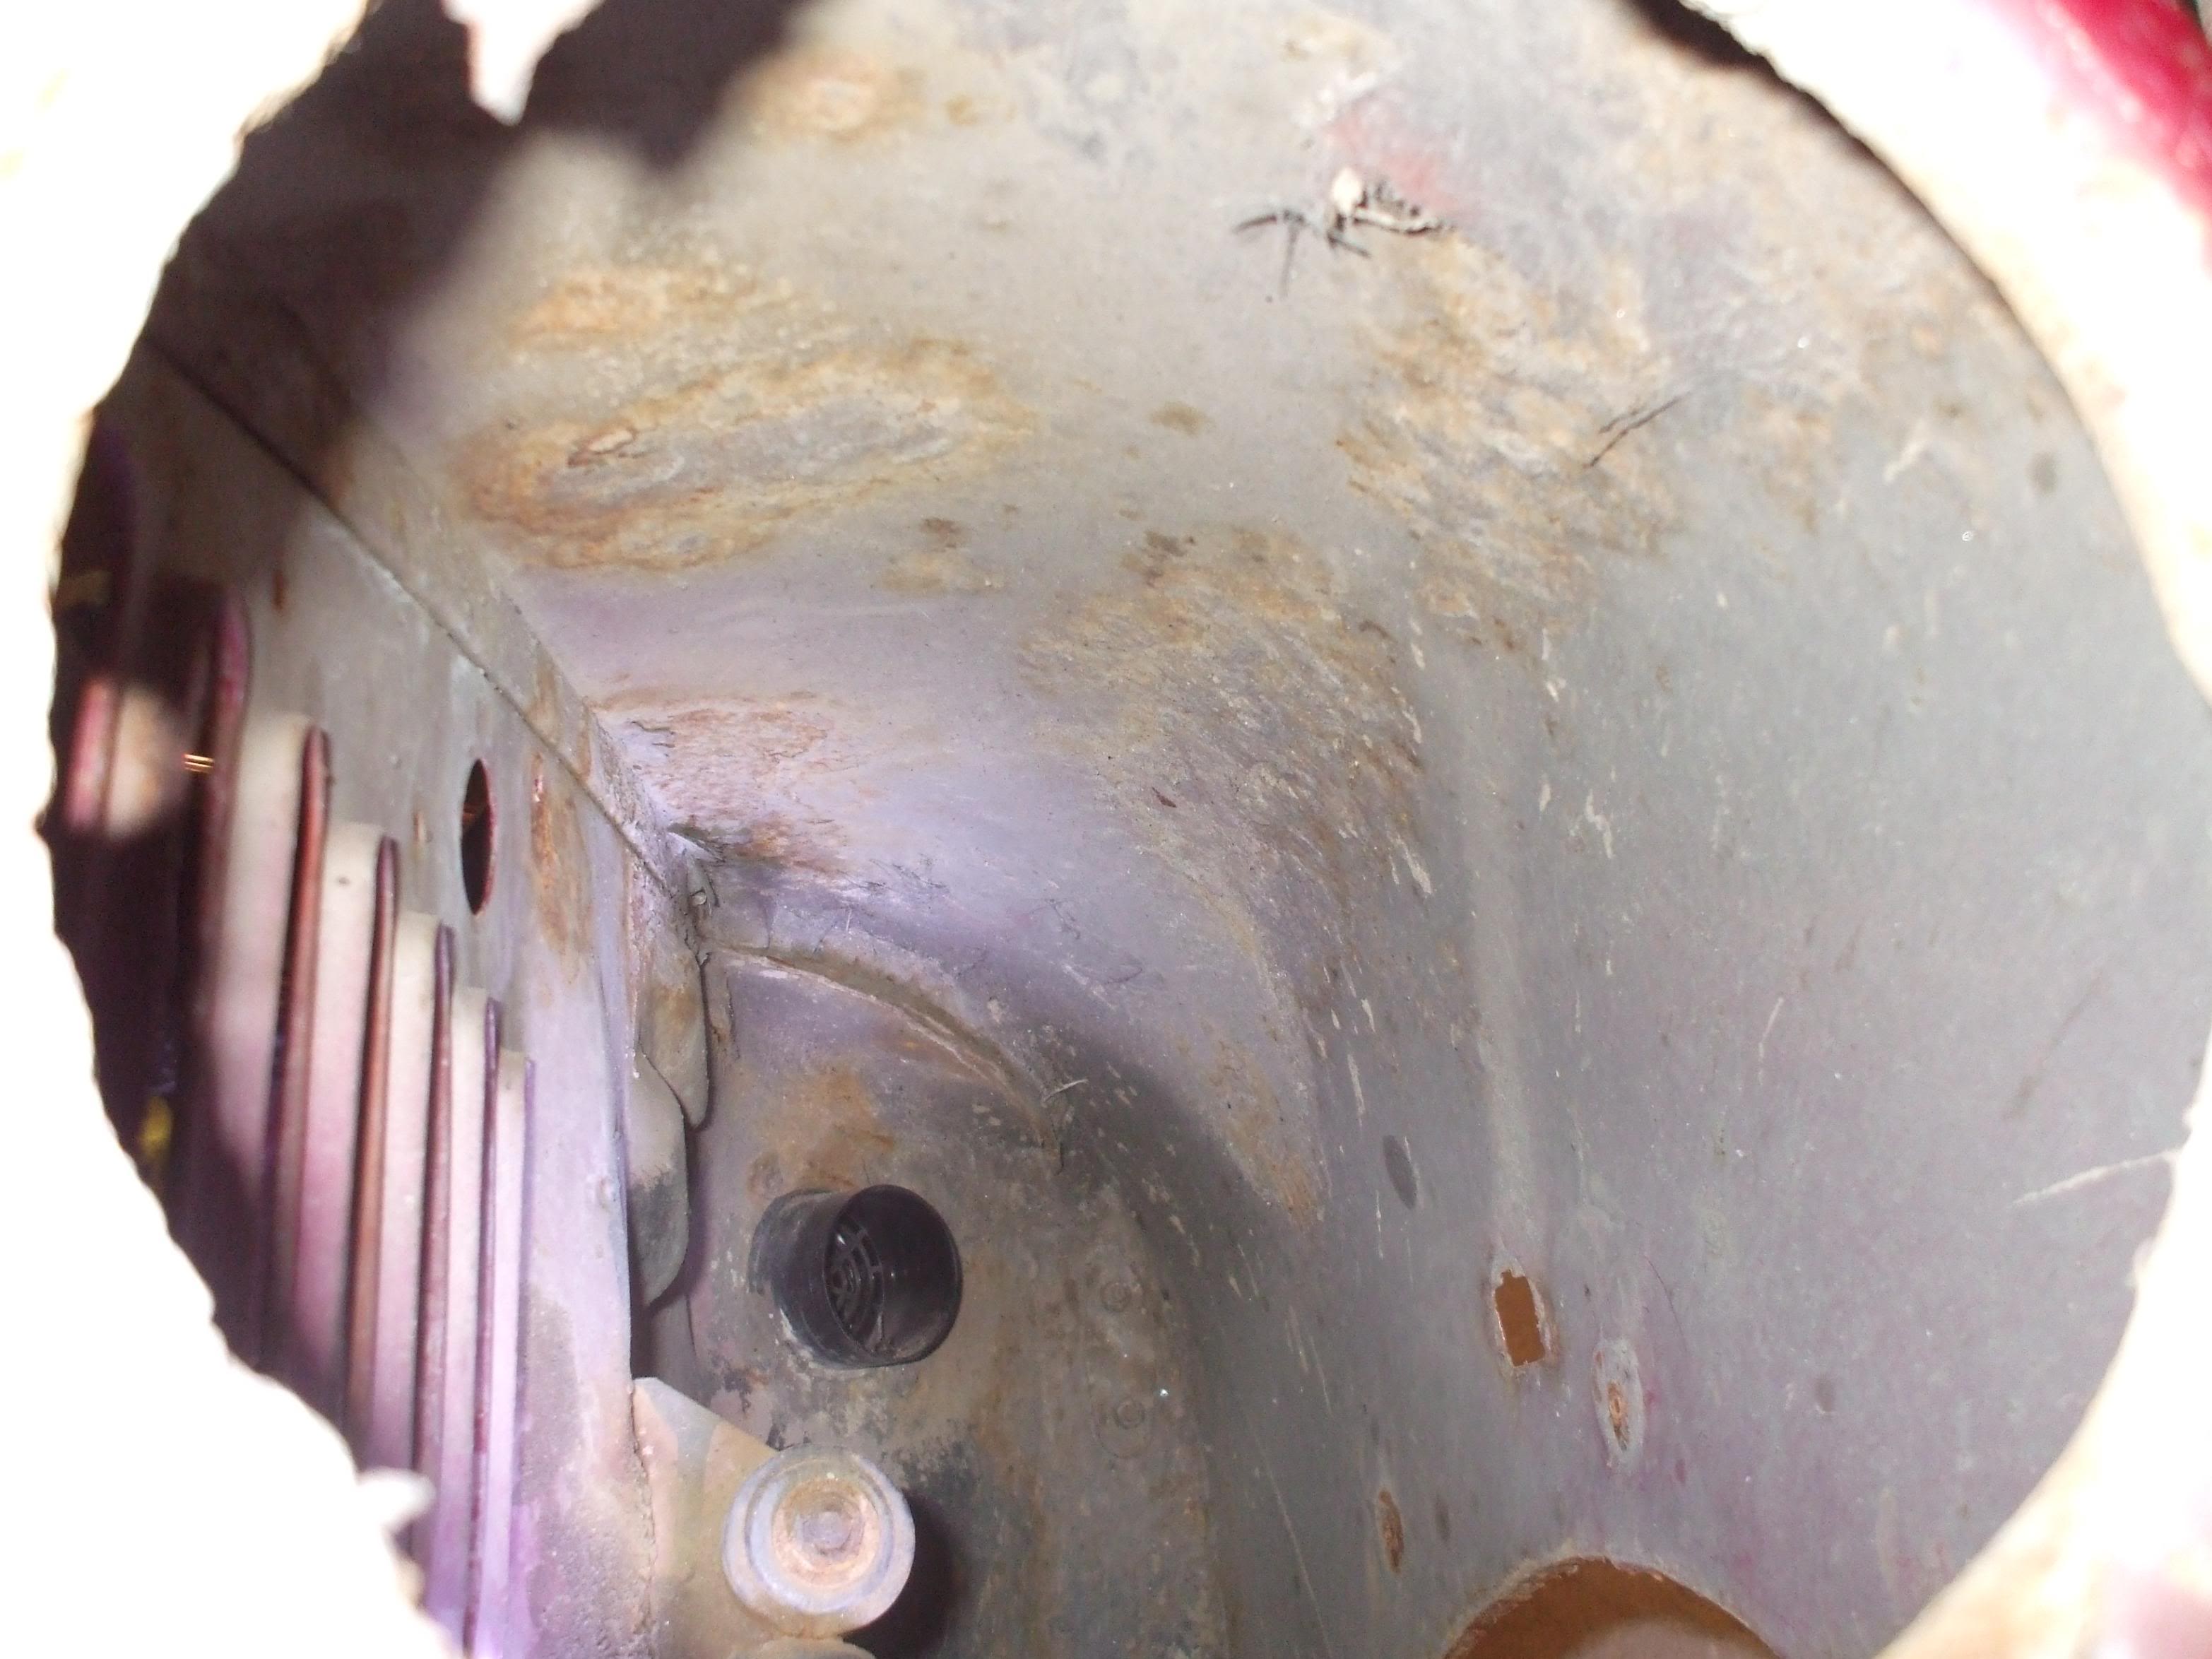
Drivers side wing....again needing some tlc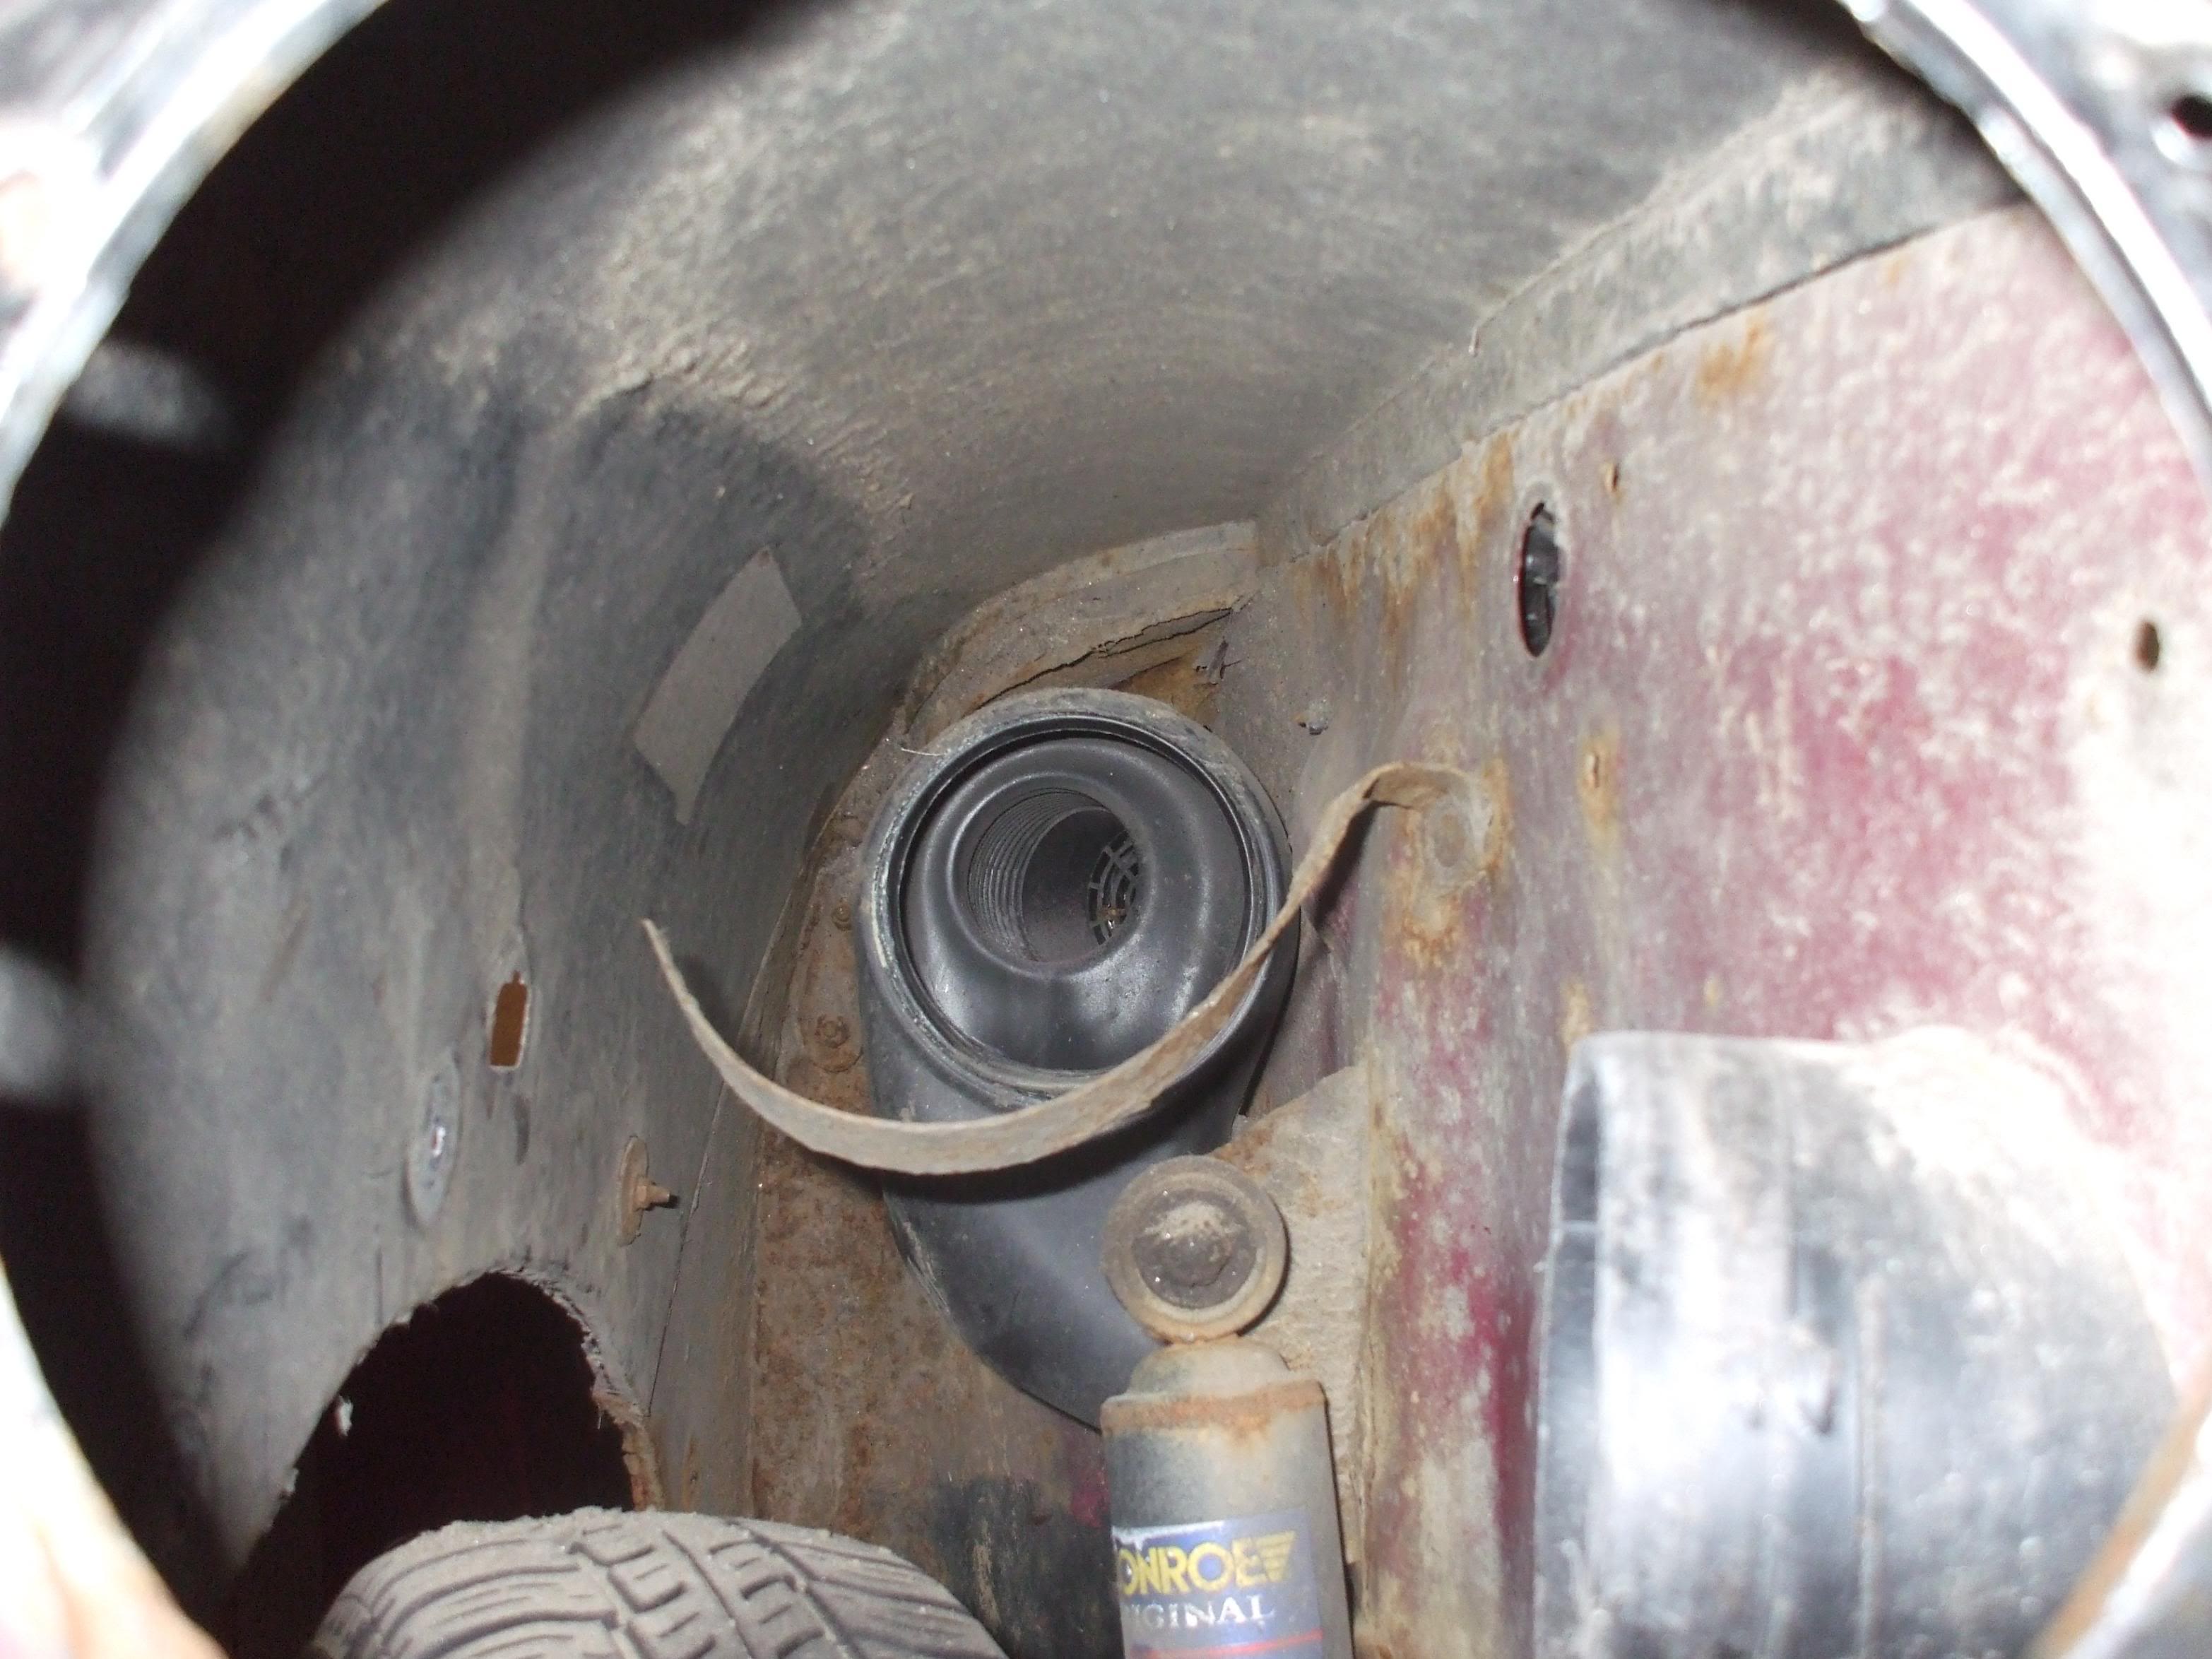
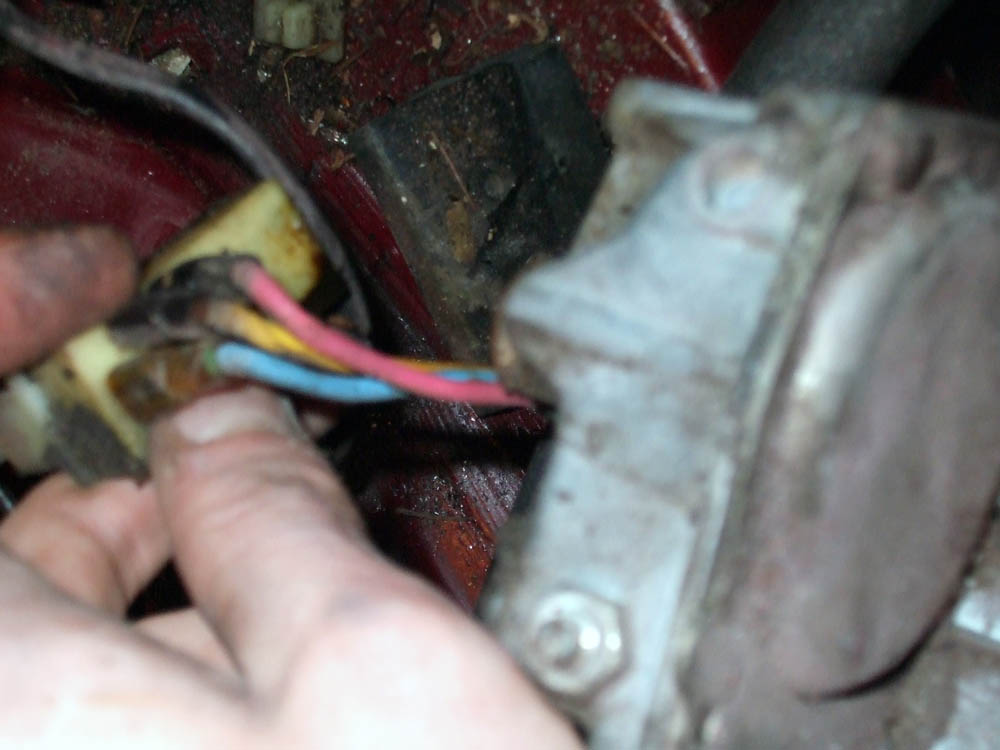
Lights out and wires all labelled for rebuild.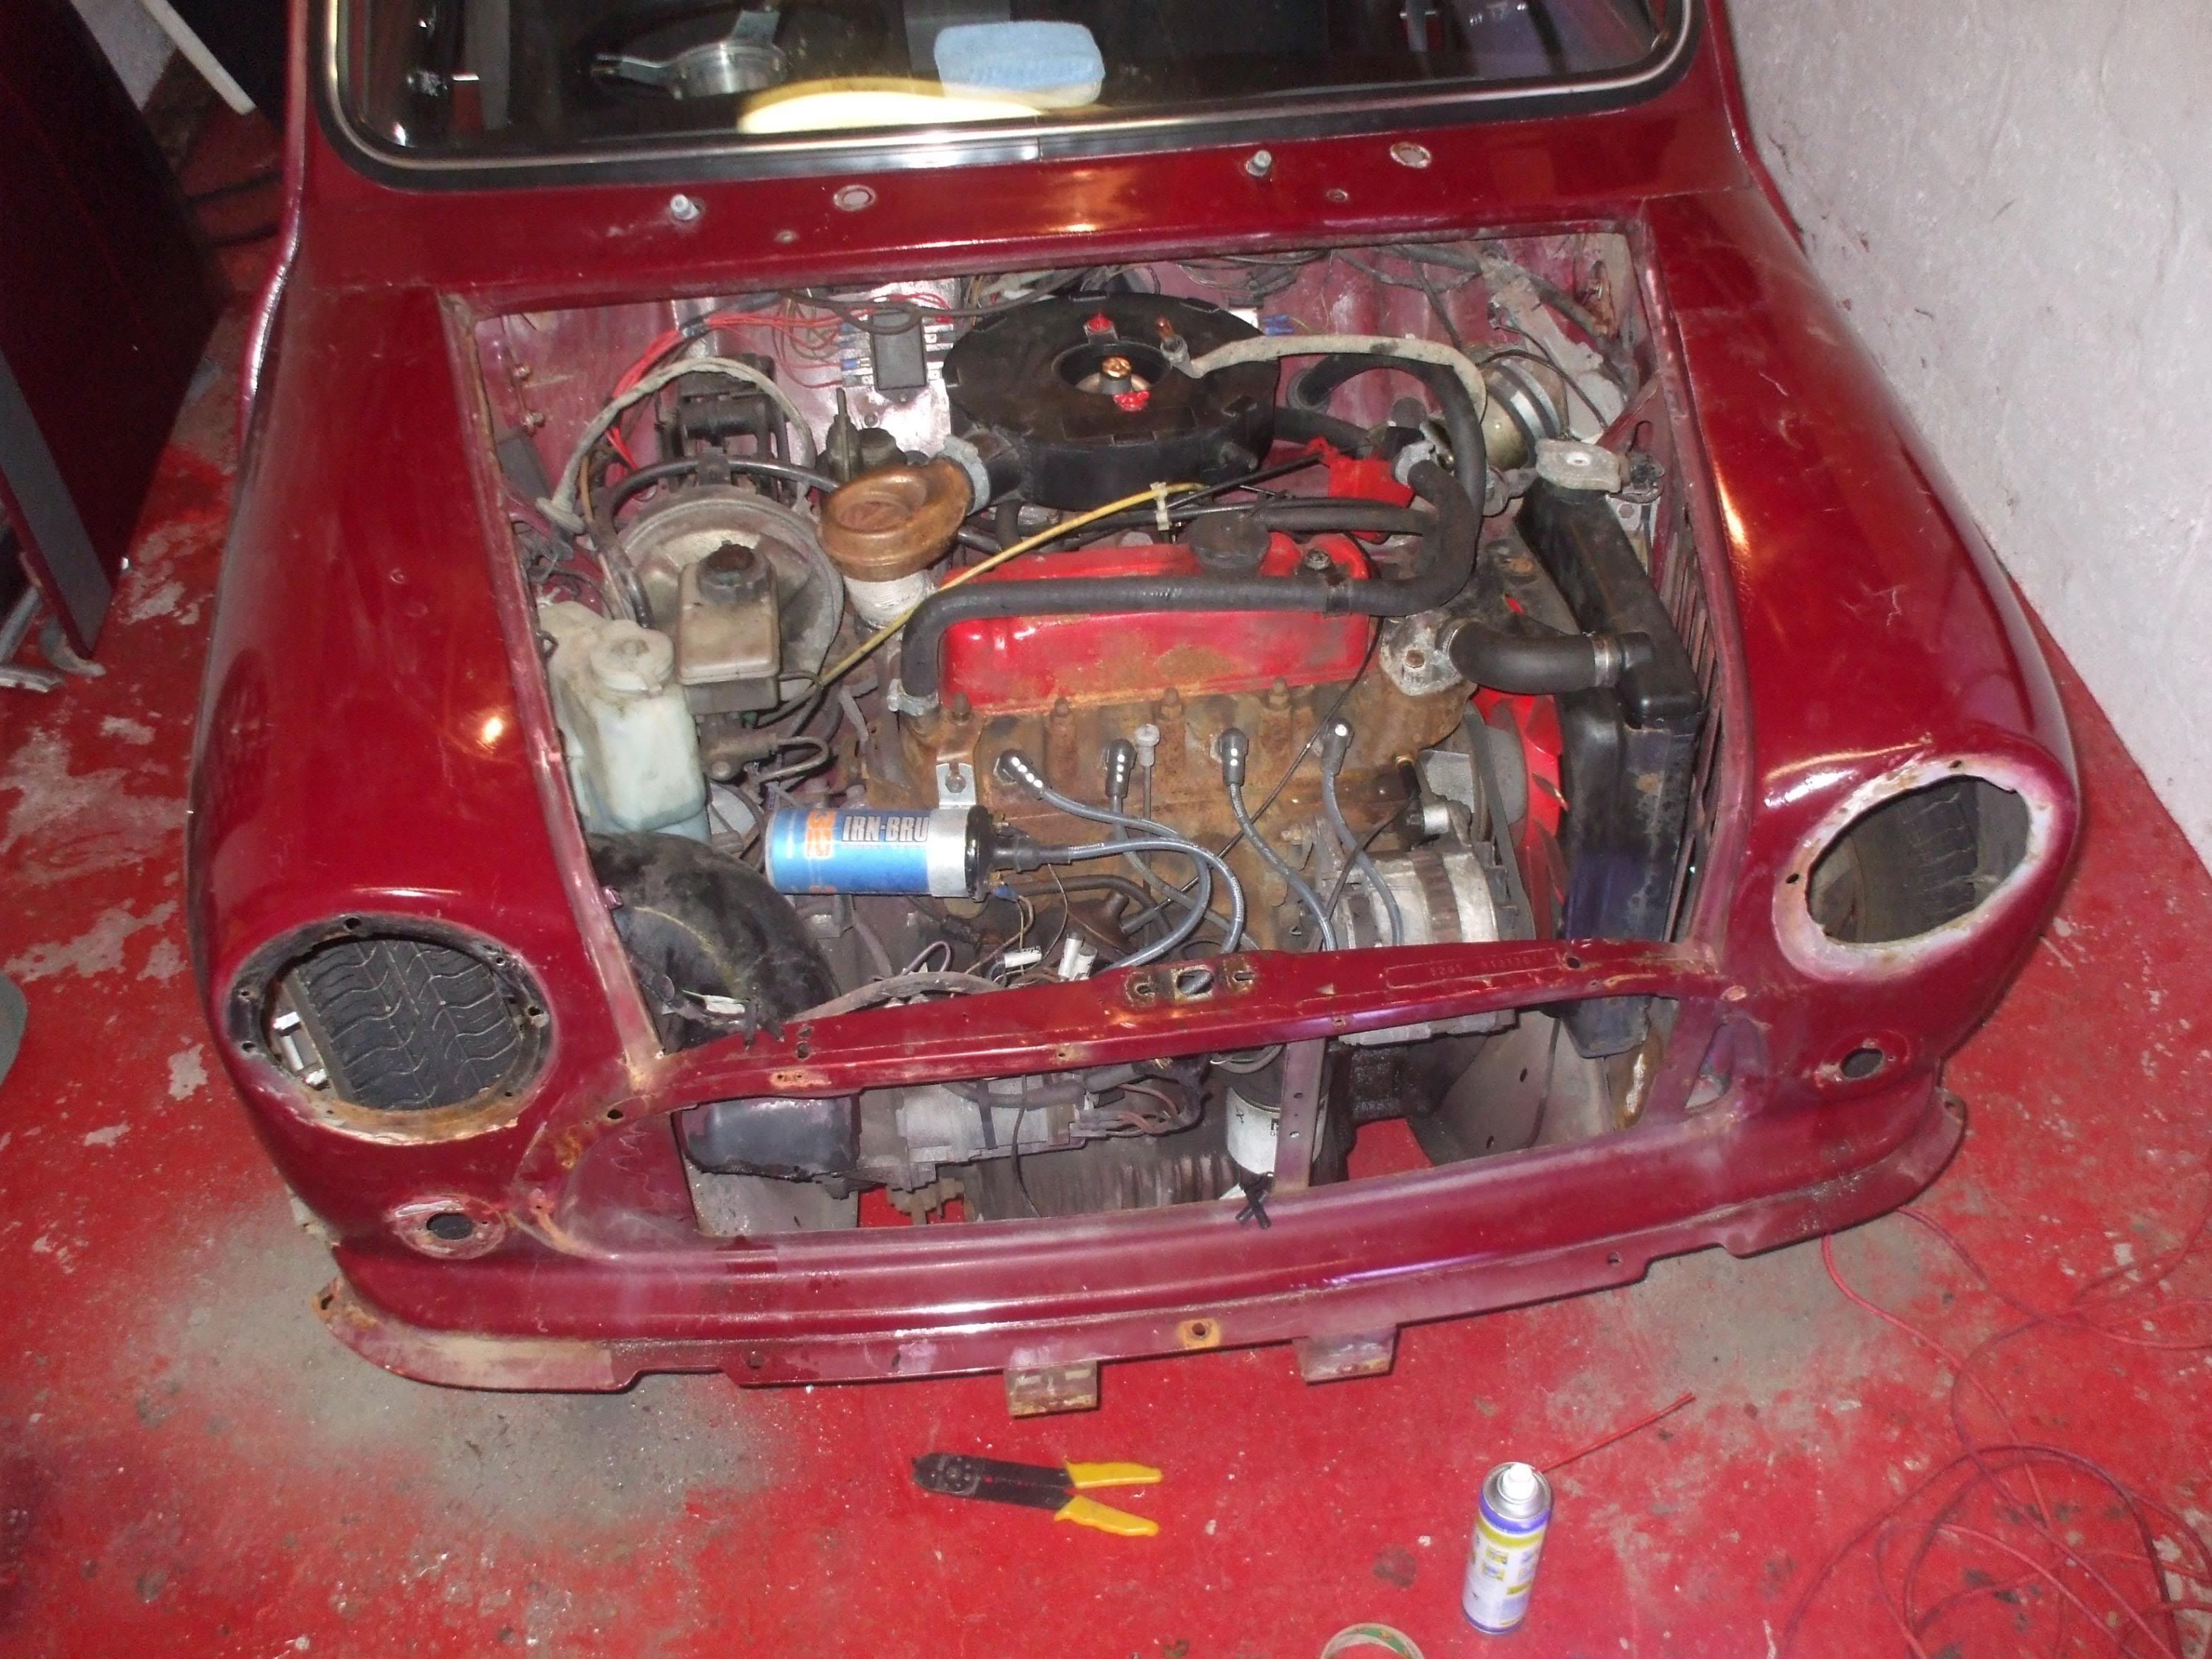
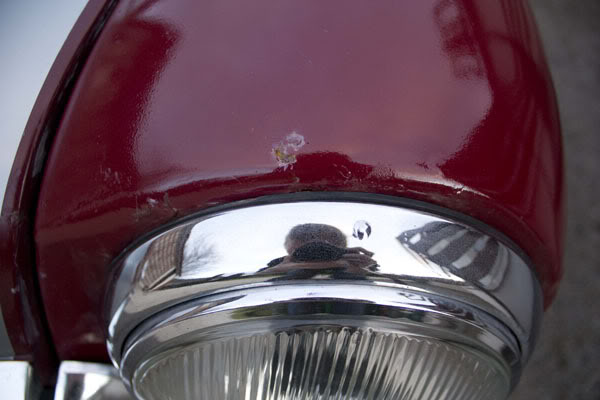
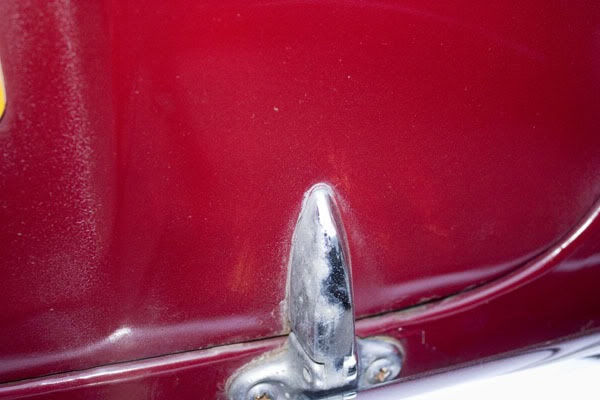
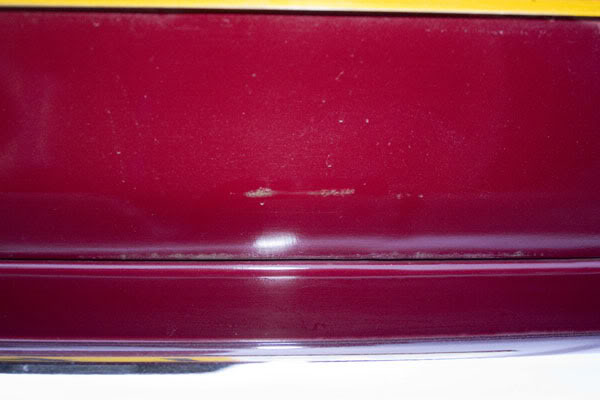
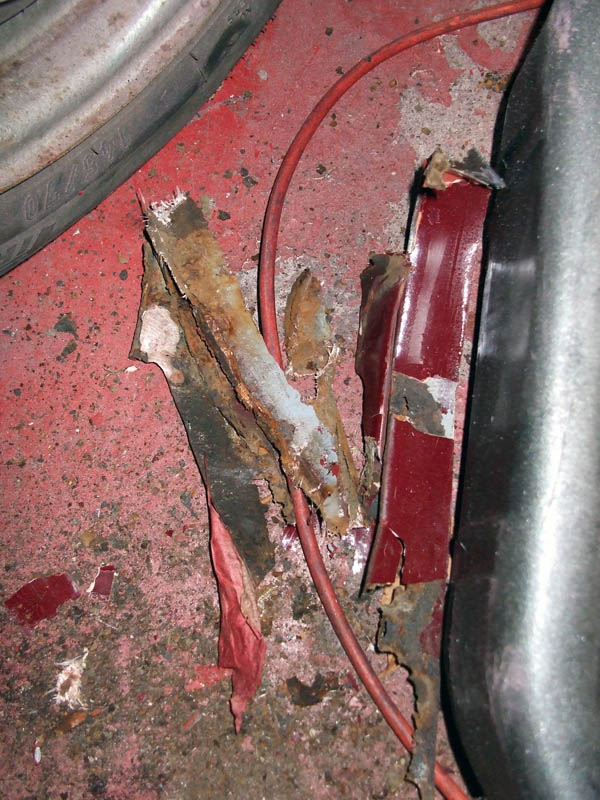
Front valence isnt exactly intact anymore...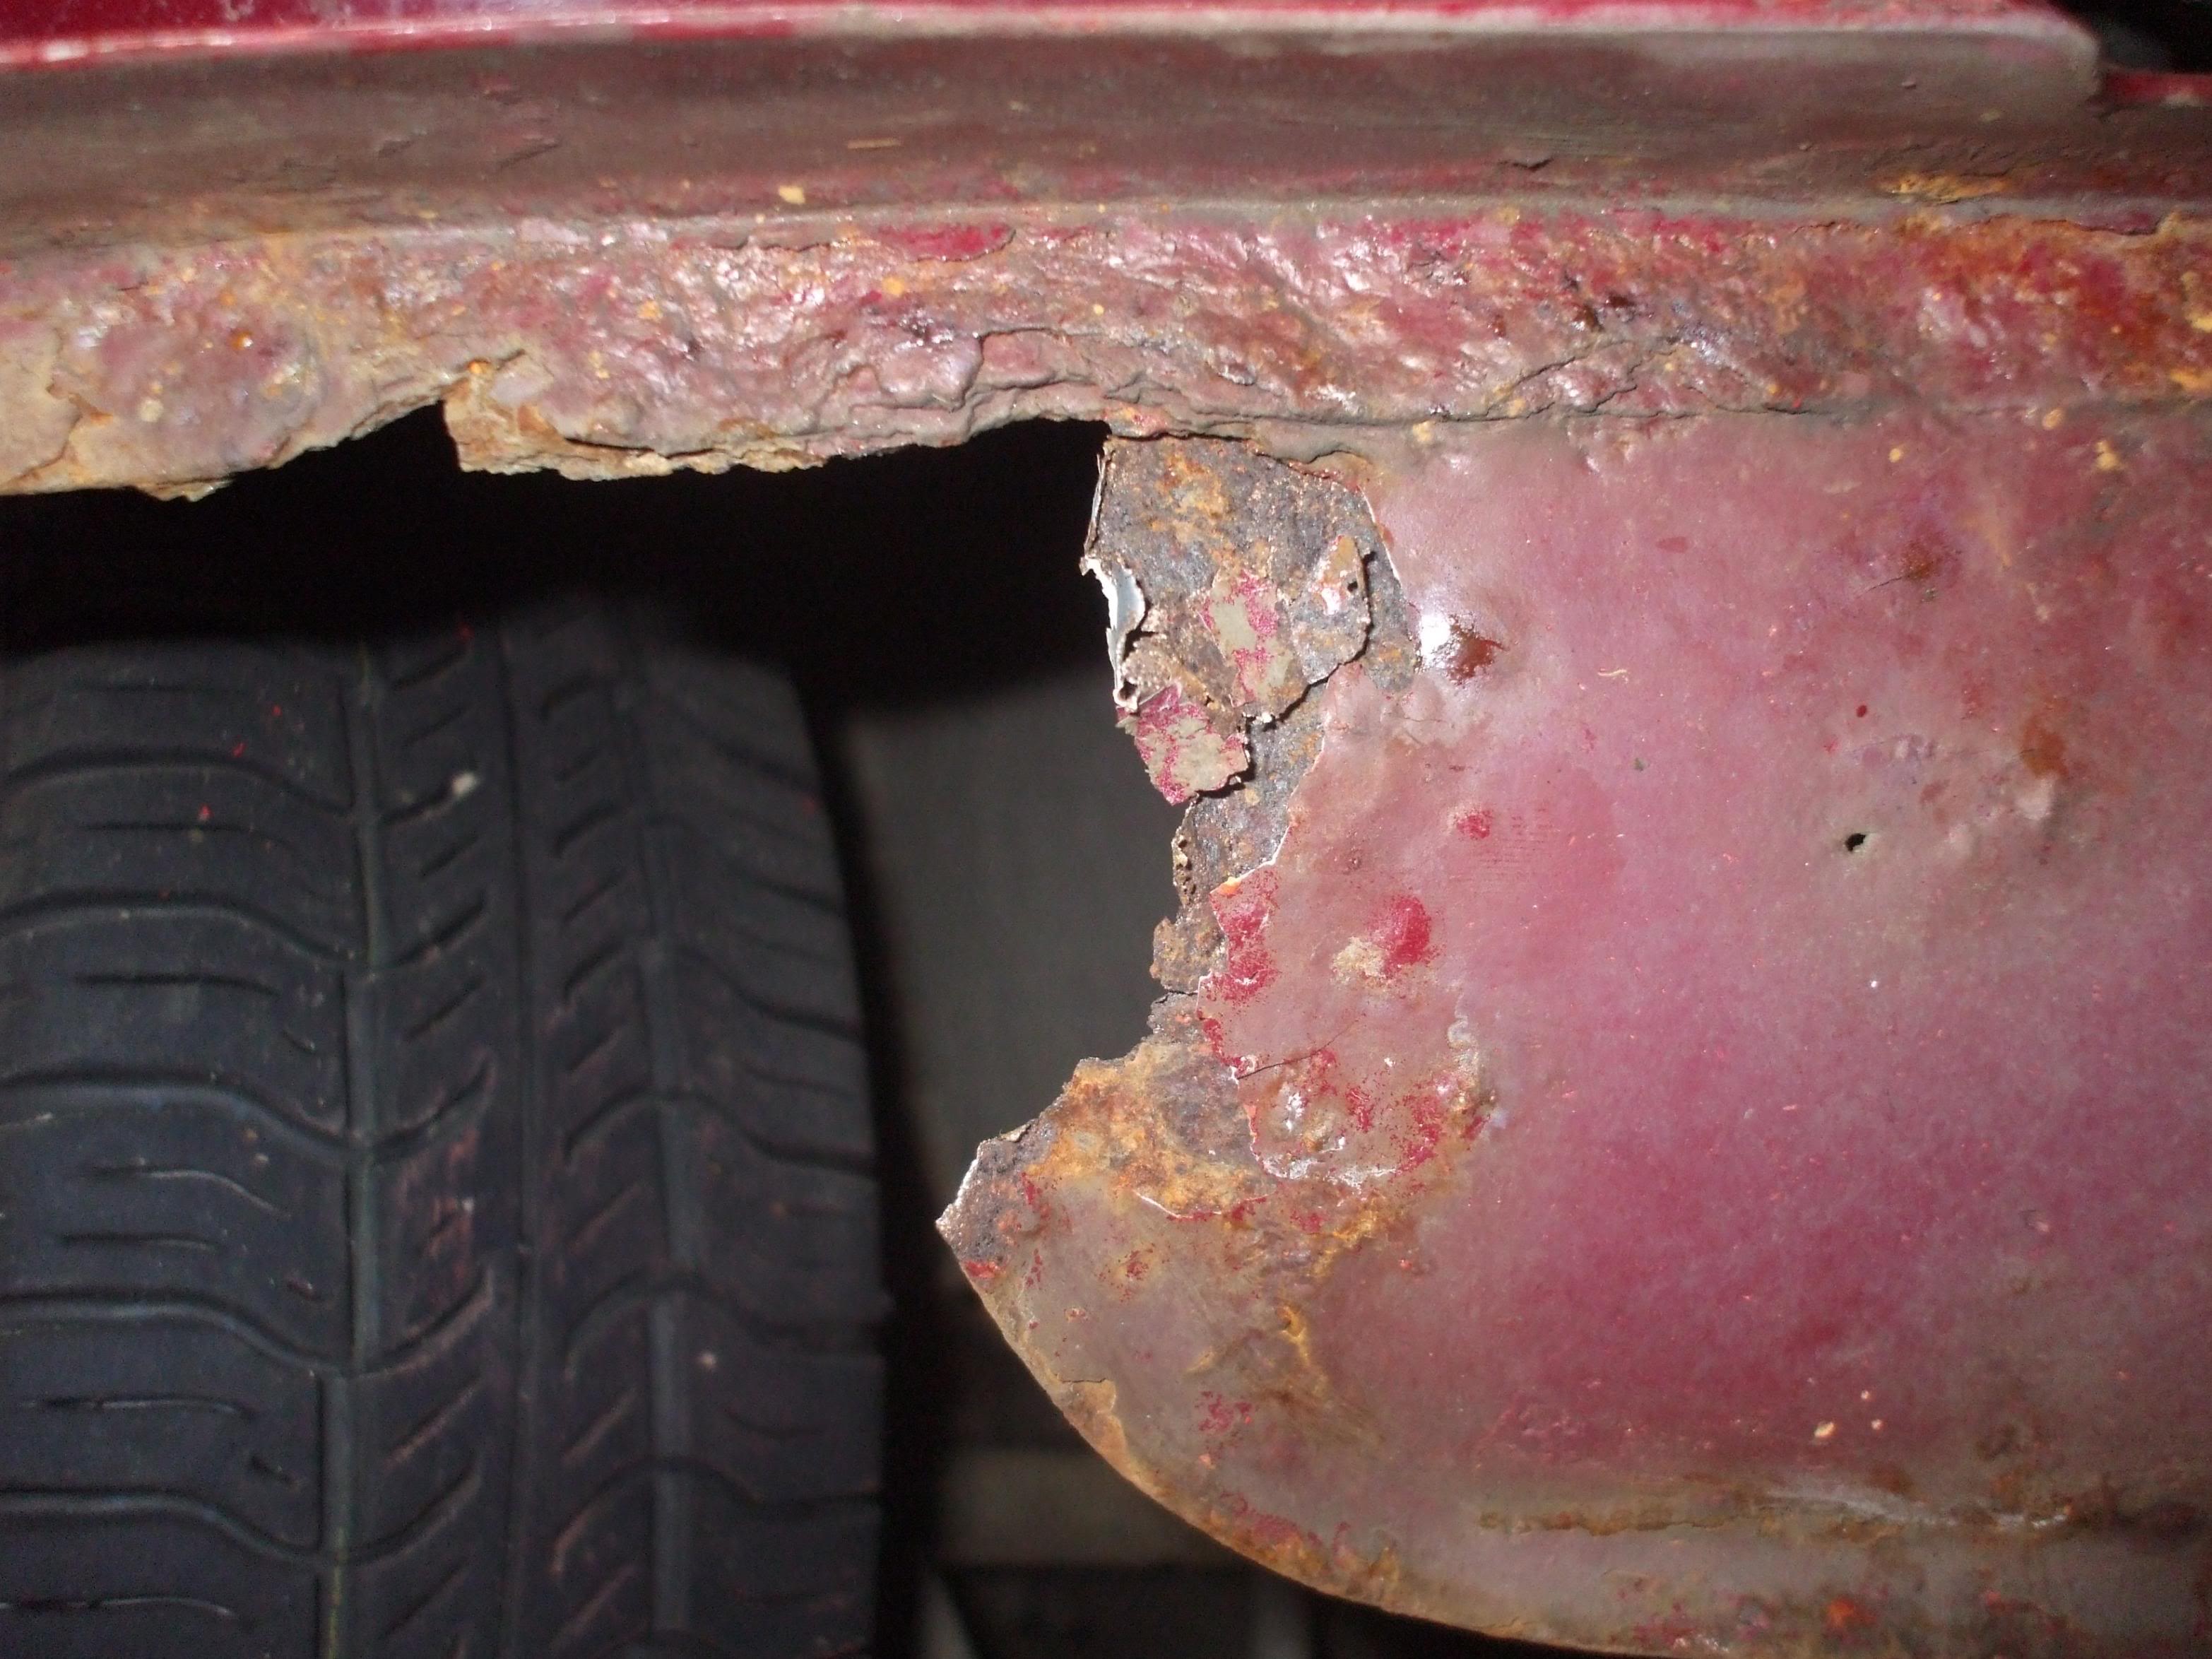
Fog light bolts are rusted on and rounded off so going to have to chop them. Just ripped the bracket off to get better access. Putting it into the rear light cluster to prevent this happening again.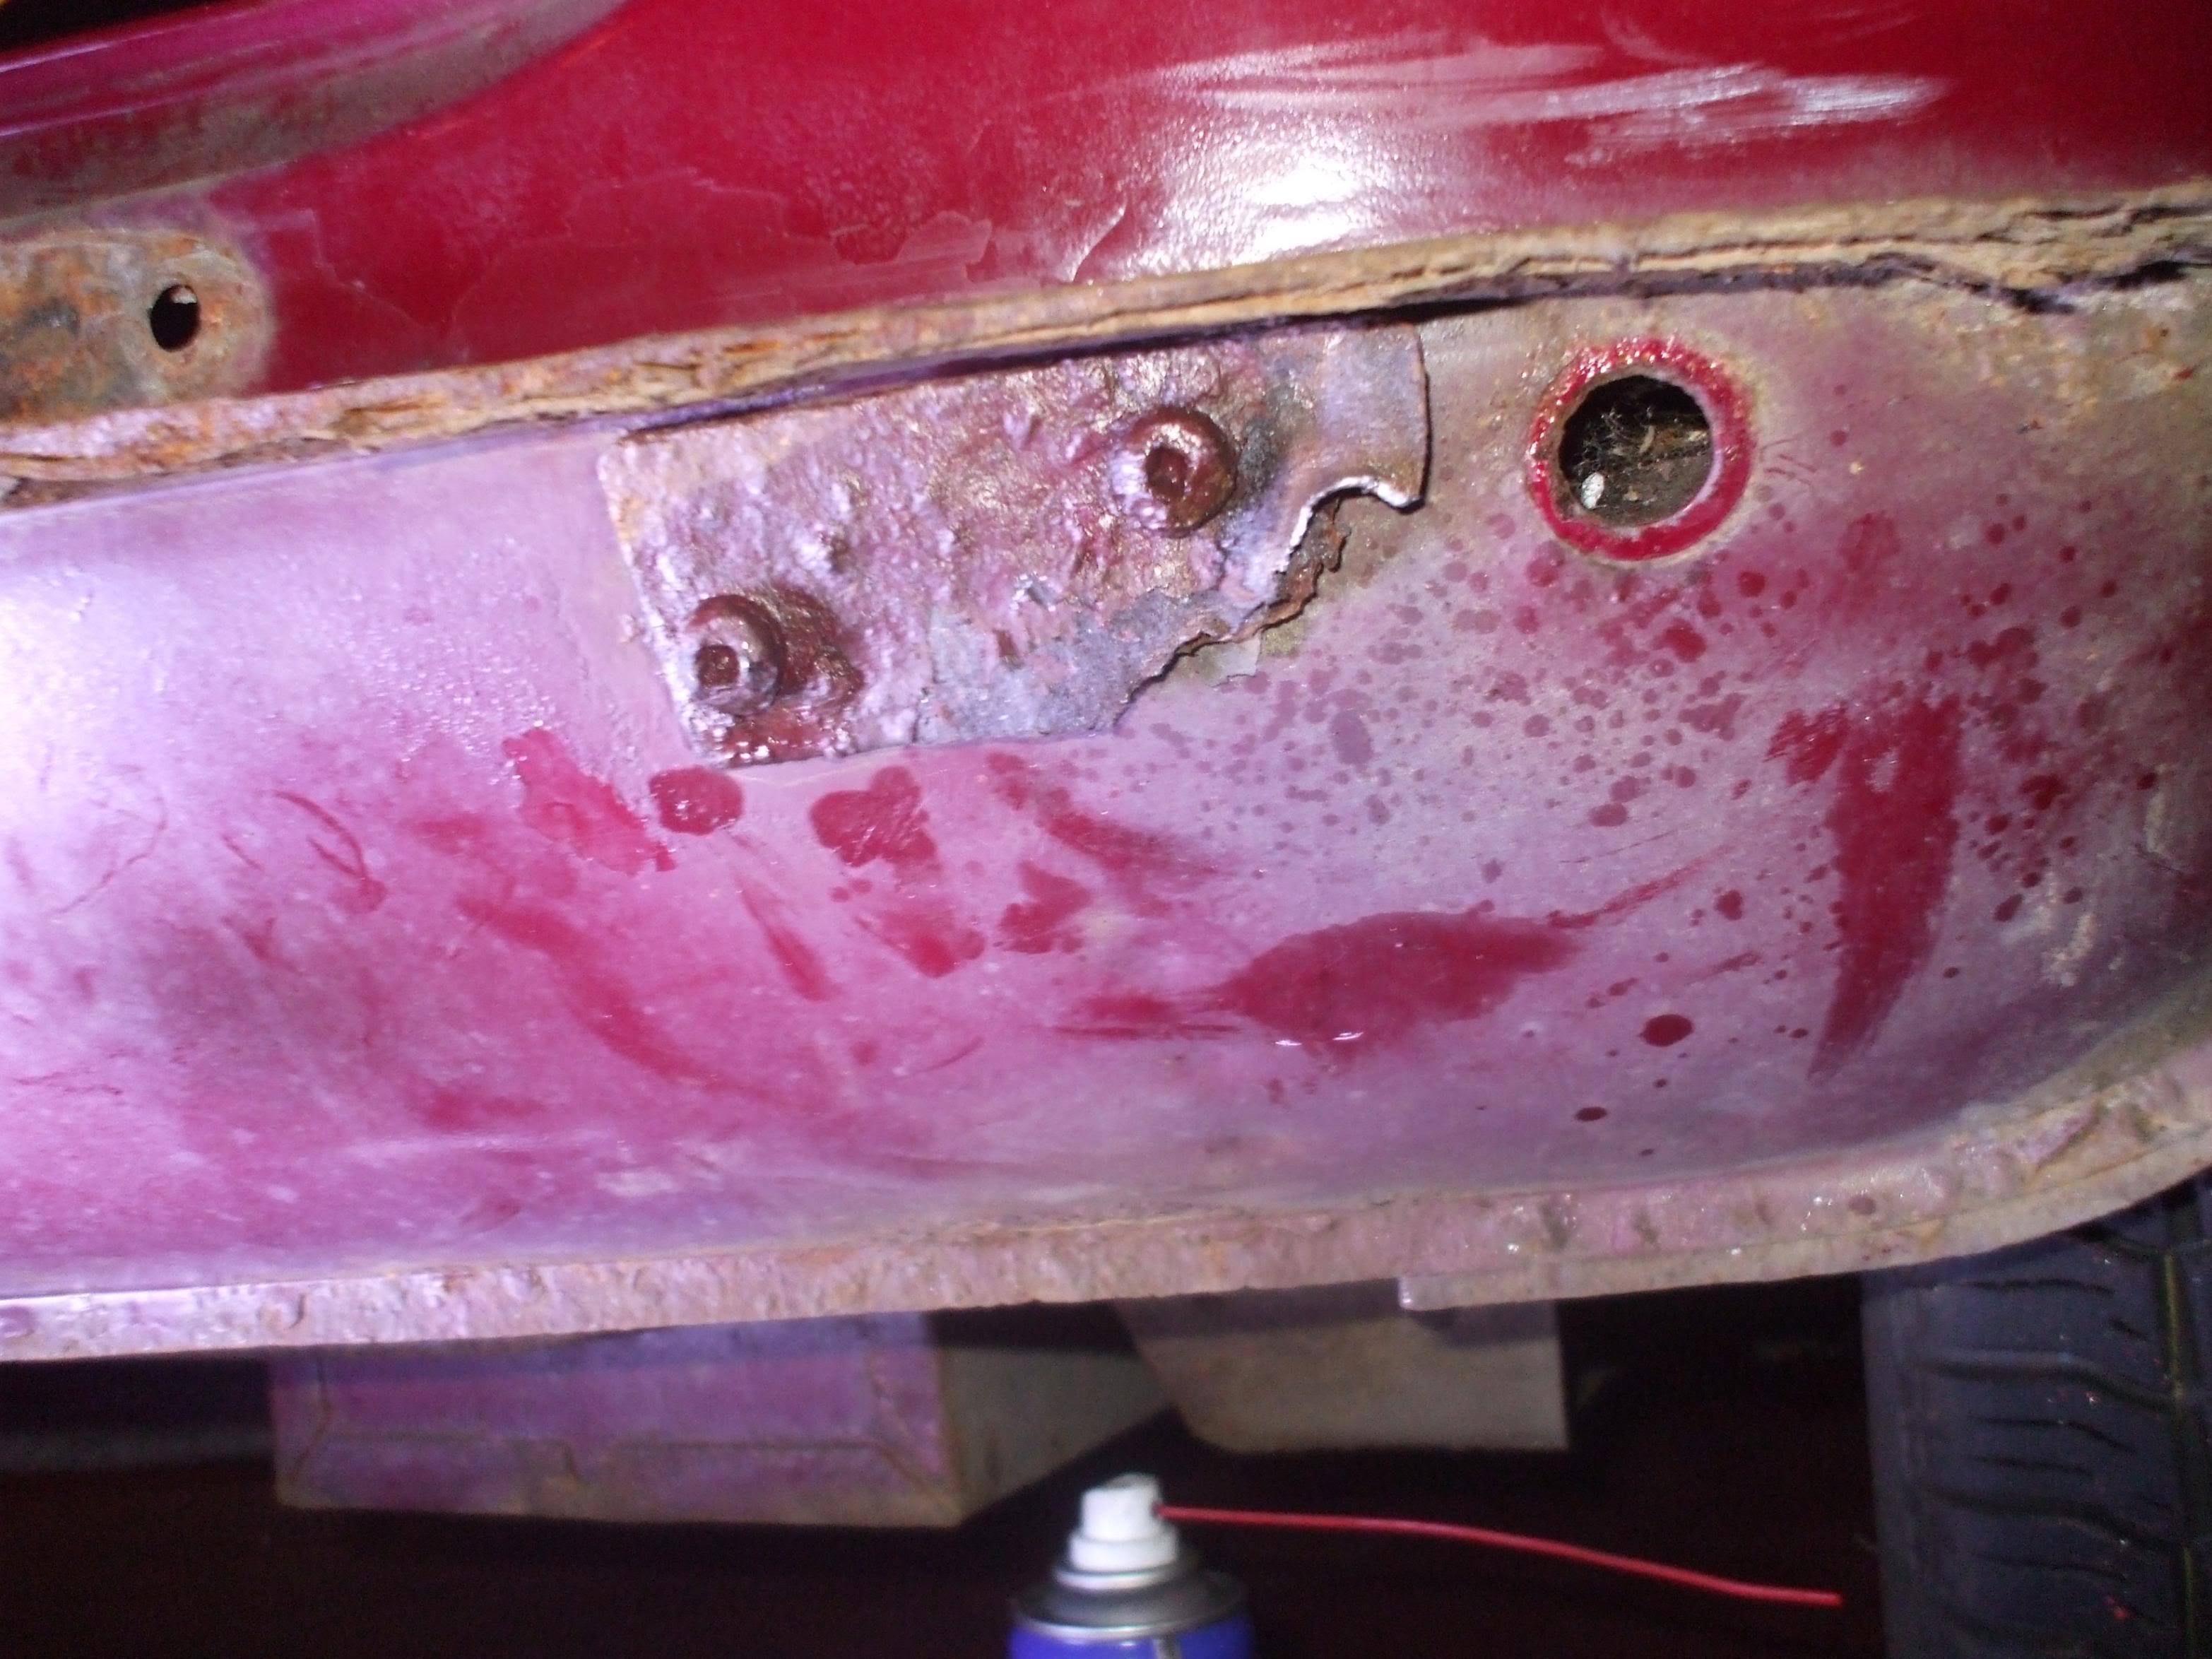
Rear as it stands atm before I was told to come in at 10pm. Just kept going as I was enjoyin masel!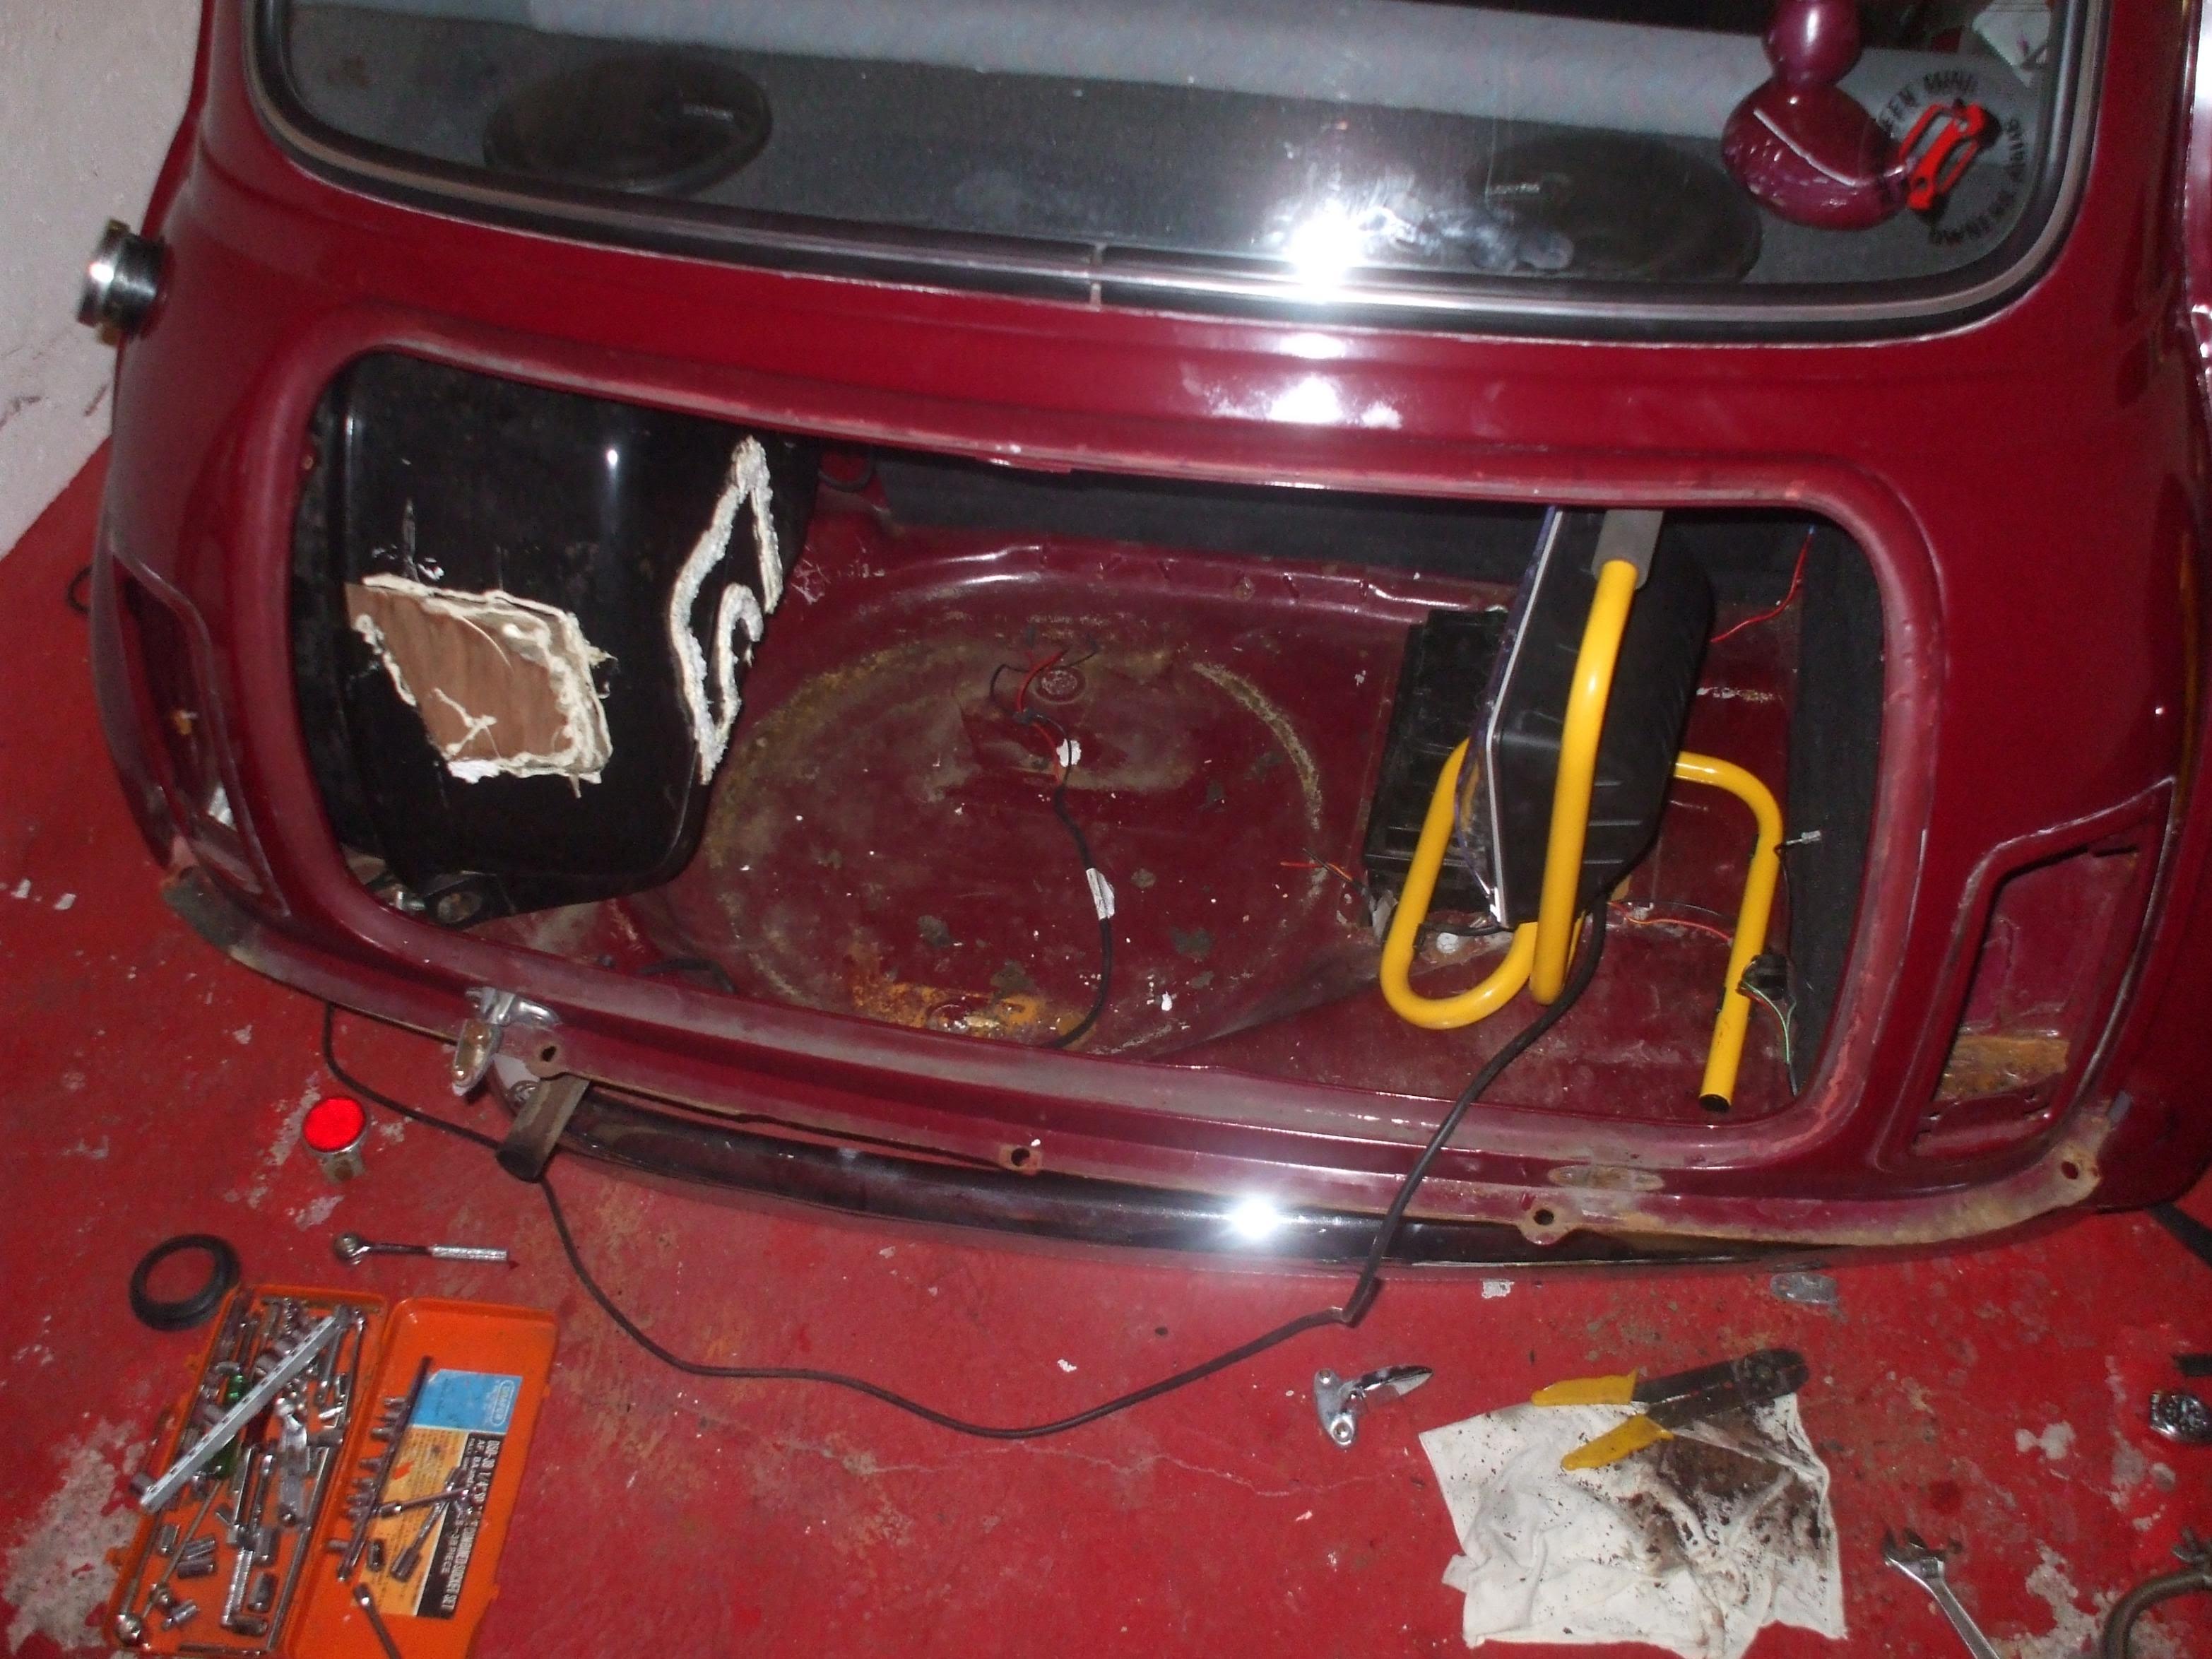
So a bit more progress. All day off tomorrow so wil get some more done hopefully.
Heres the pics of todays fun! :biggrin: Forgot to put on my mask (I know naughty me :redface:) so black bogies for a while!  Arms are stinging a bit with the sparks but nothing that wont pass.
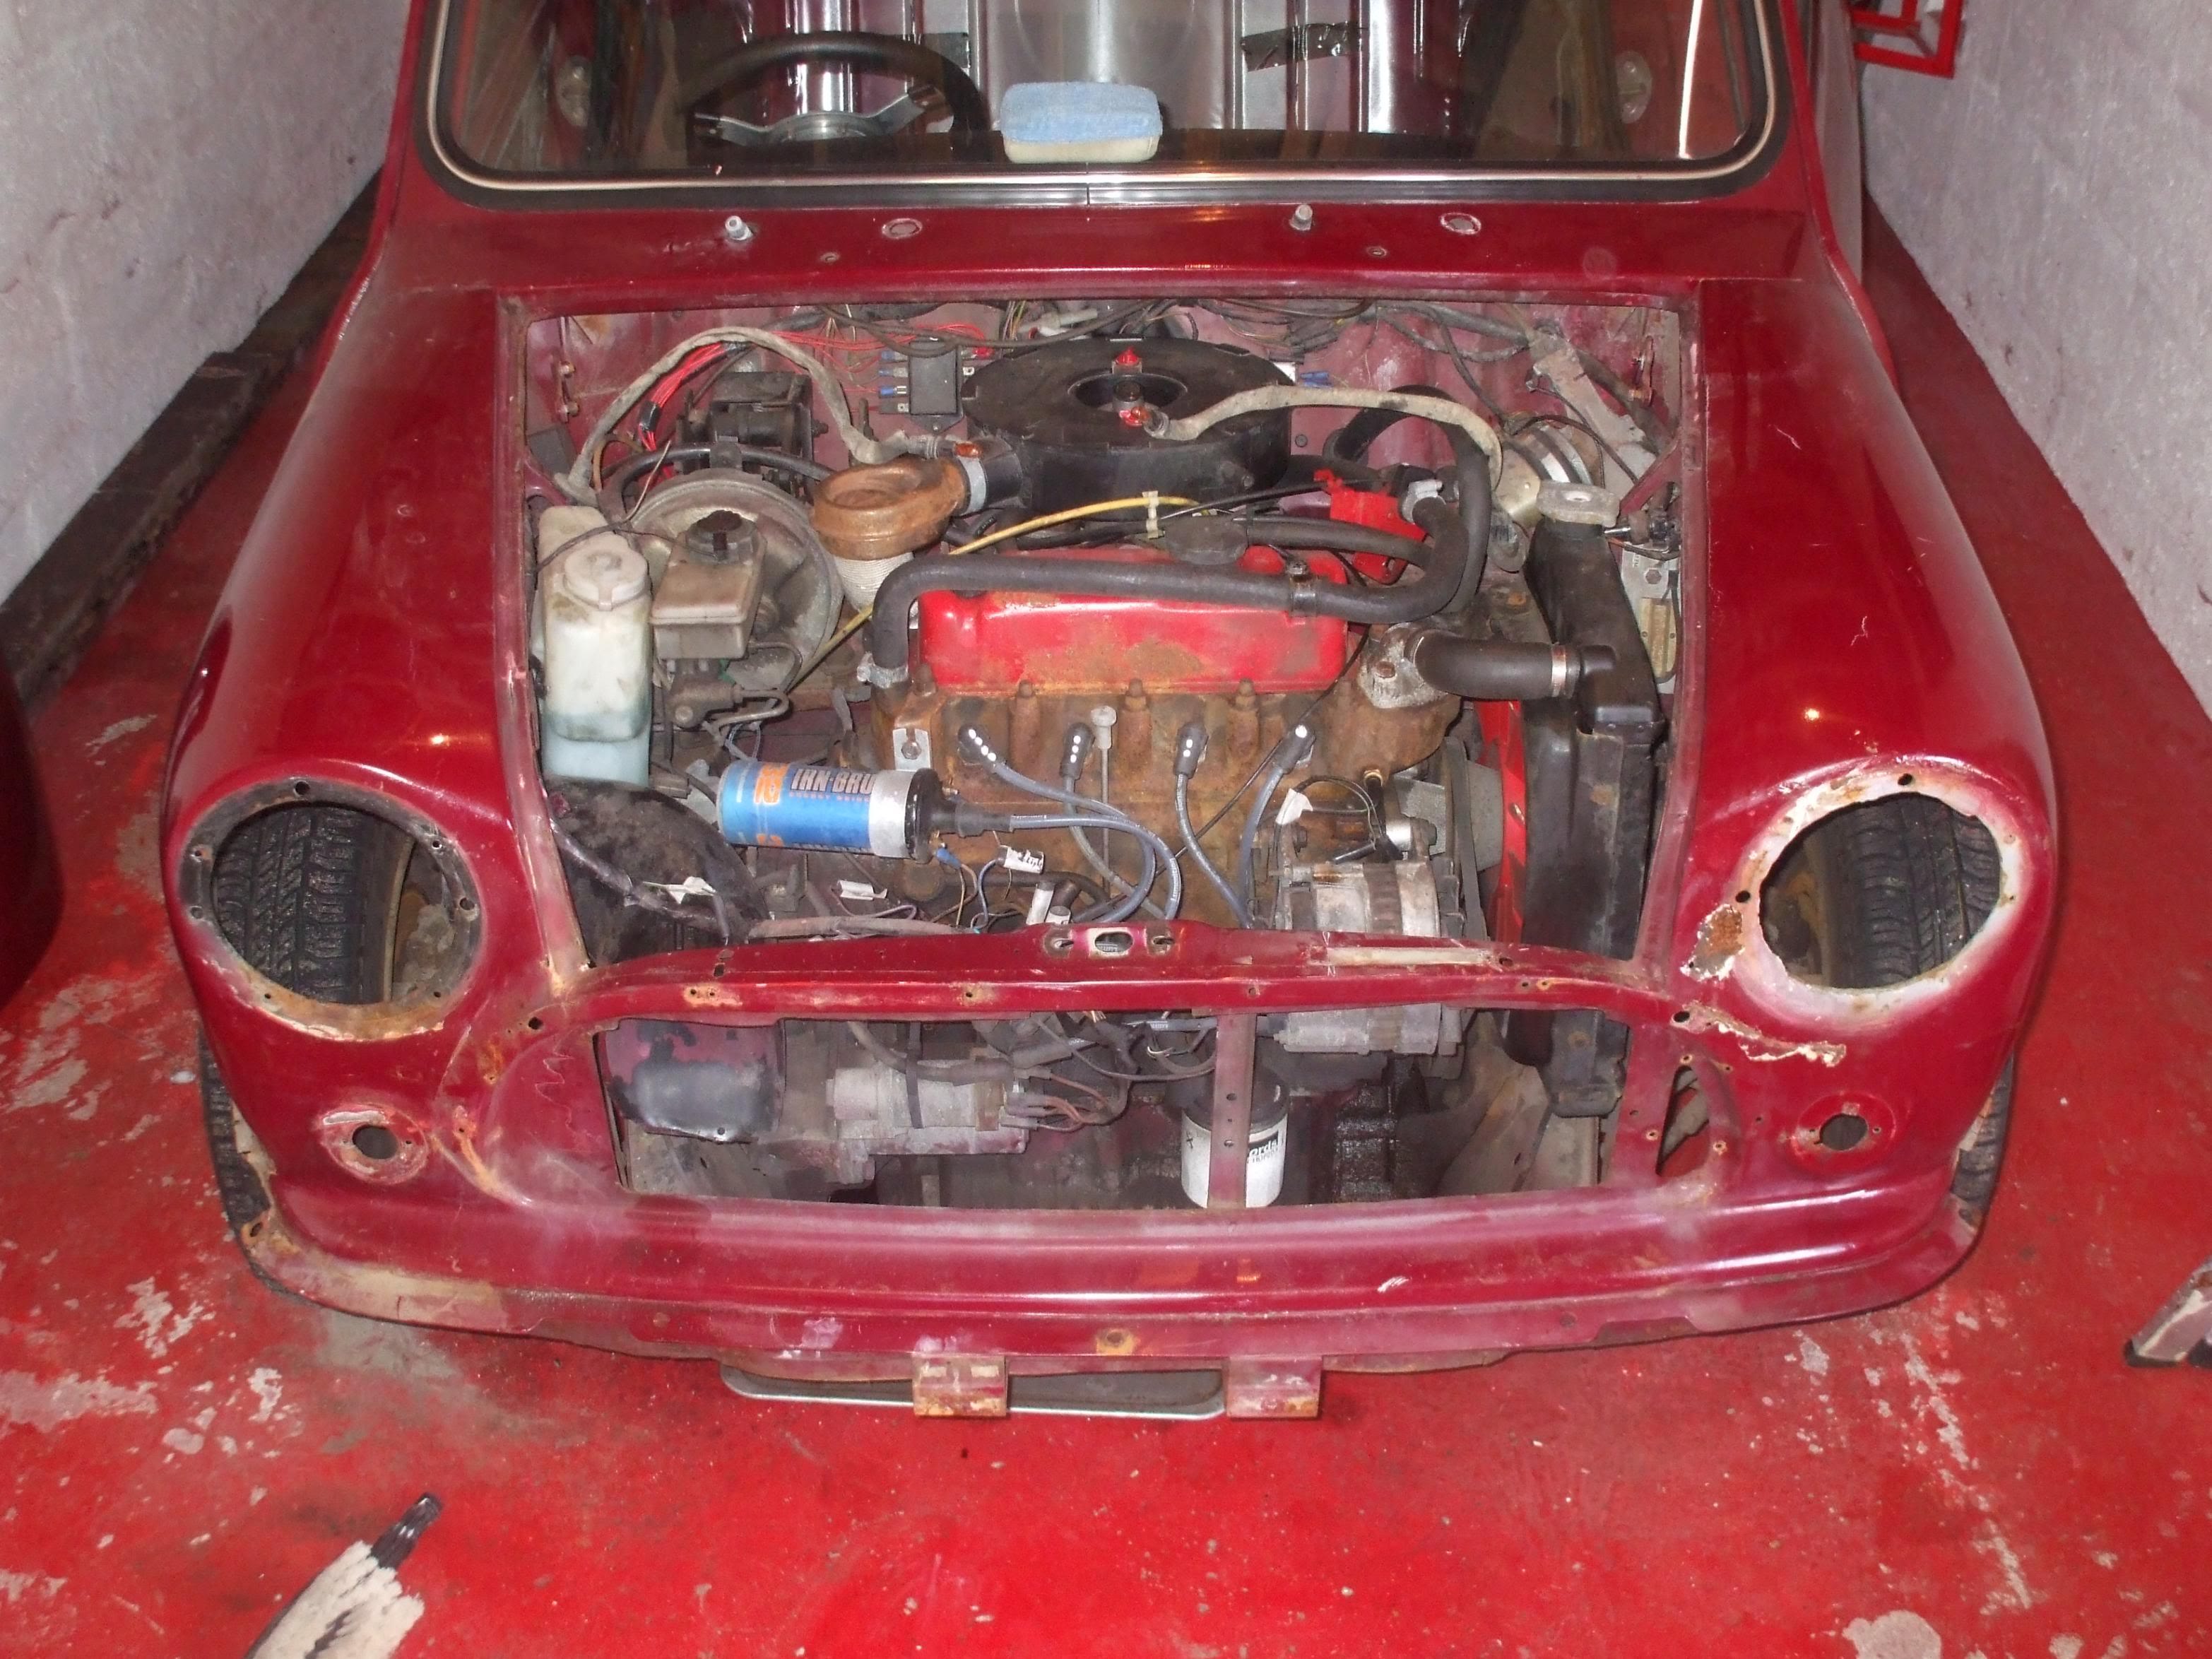
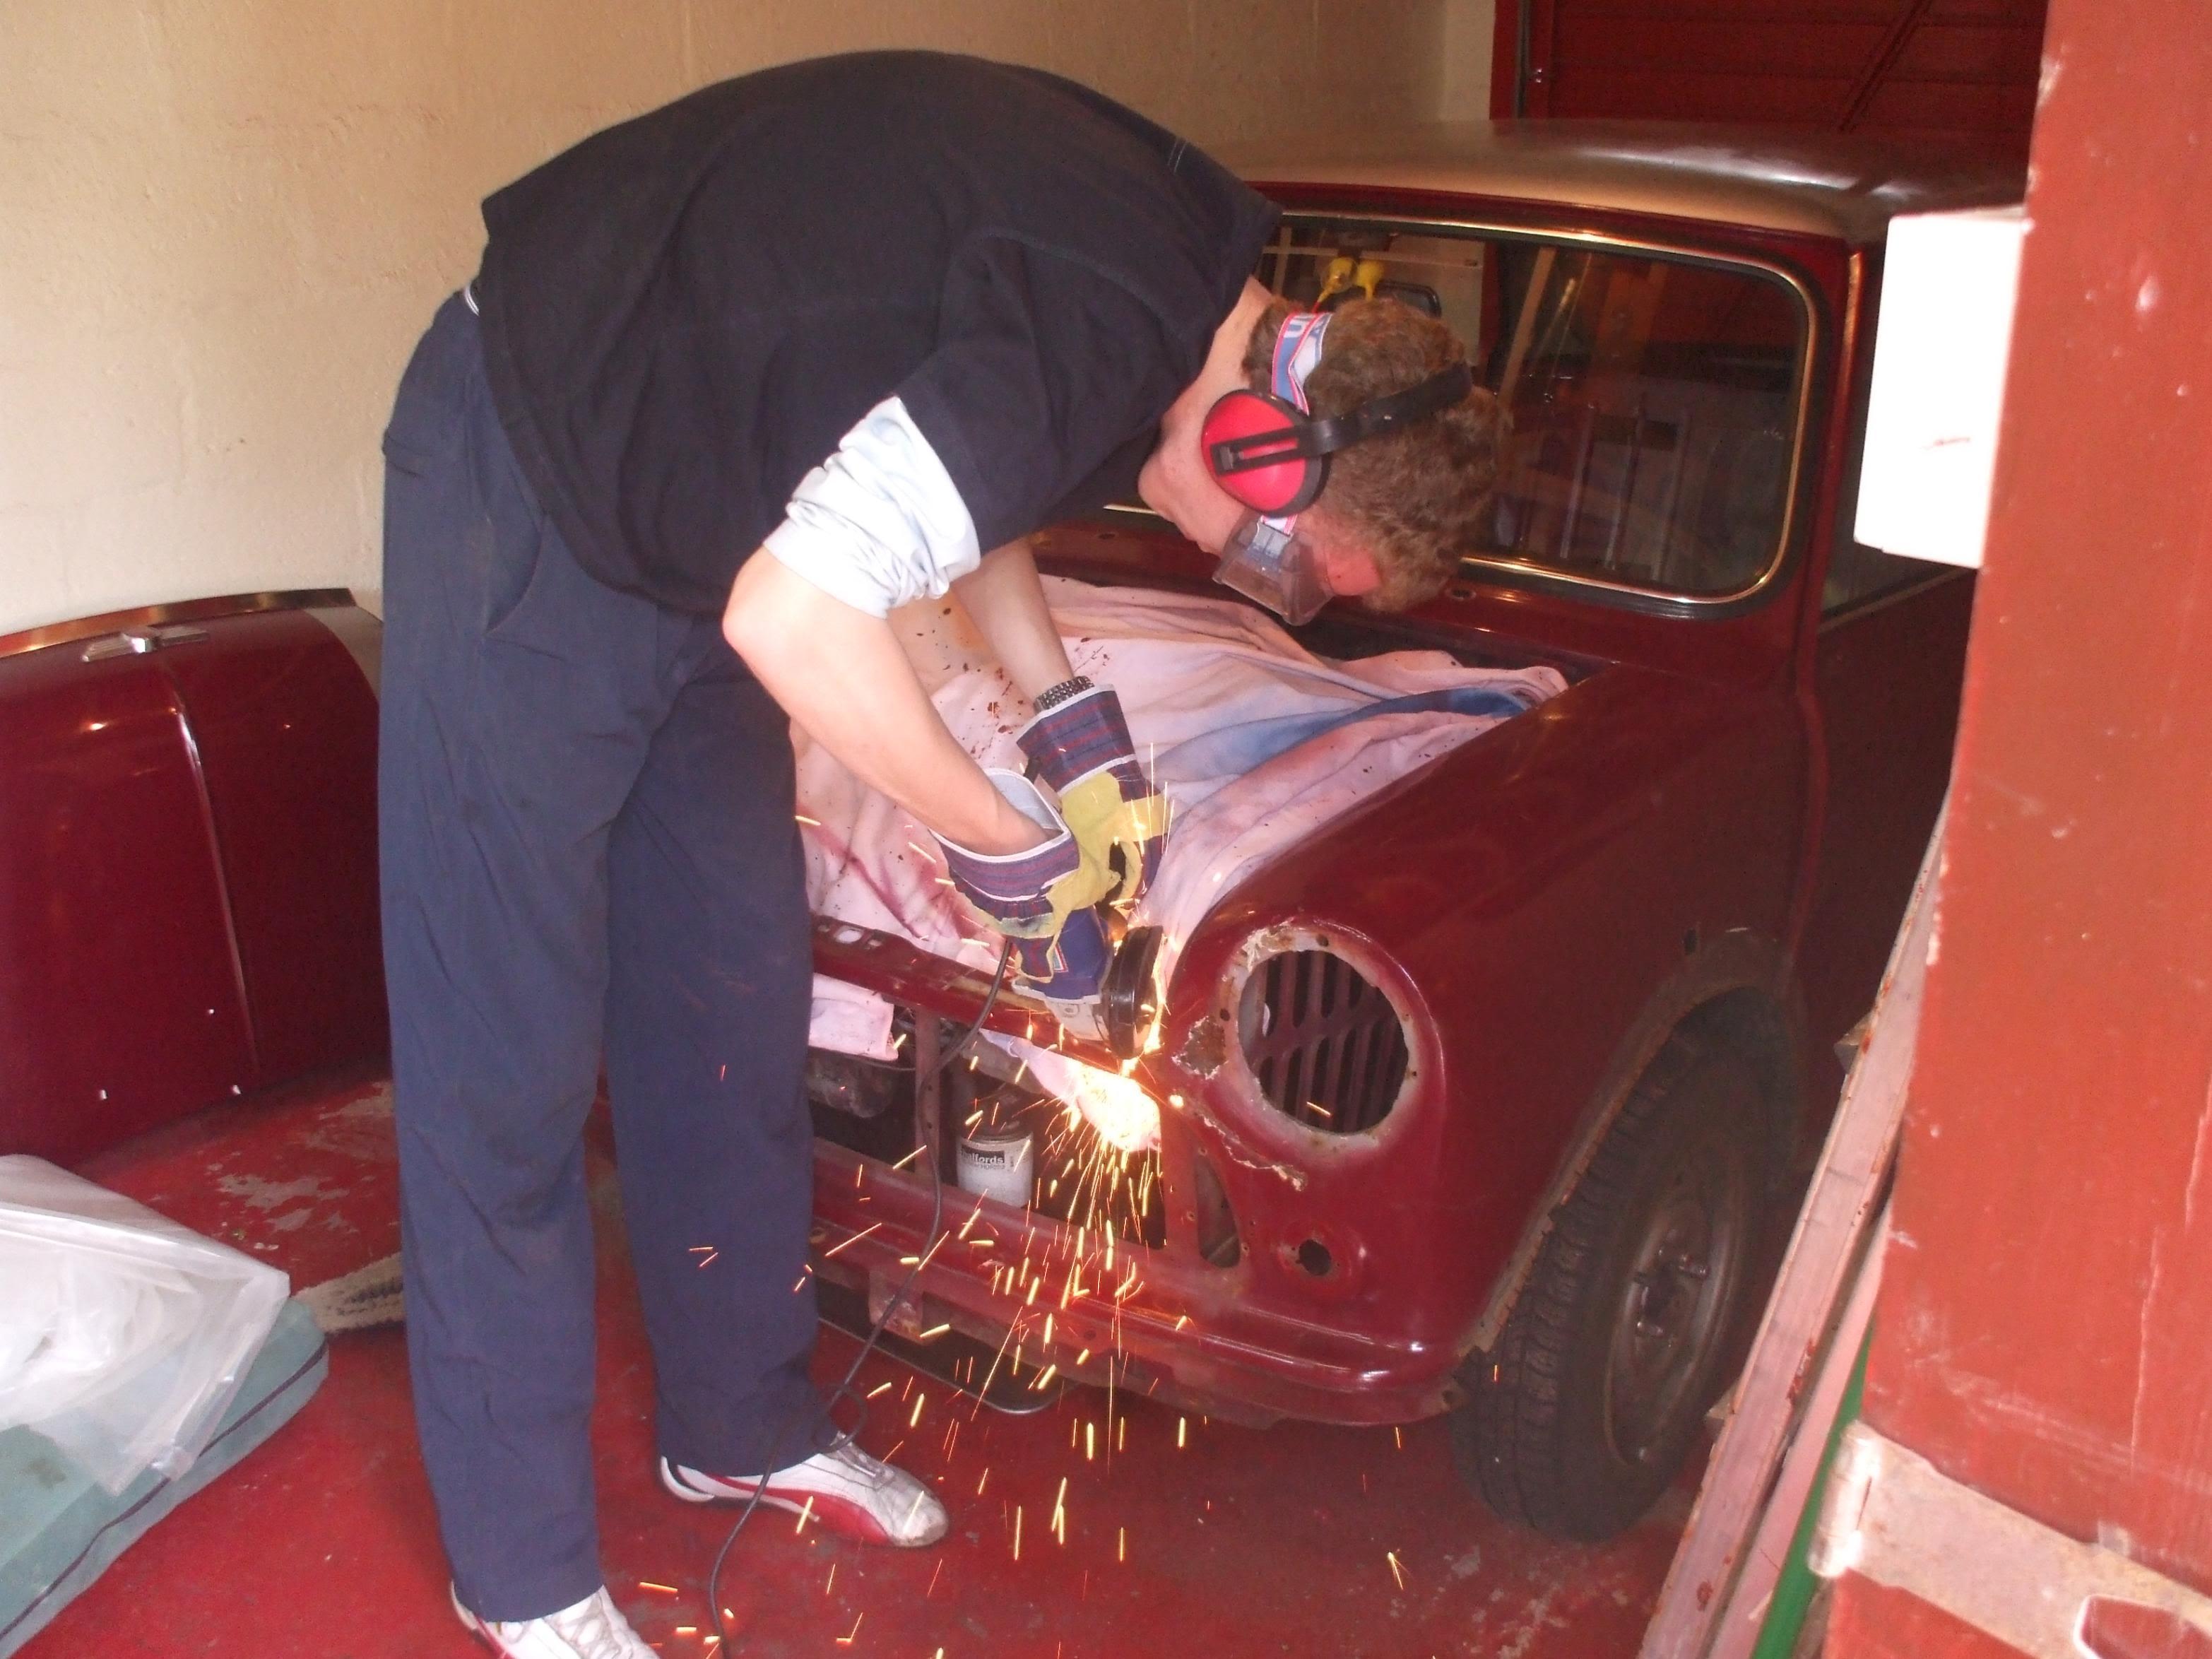
He gave up a bit of a fight....
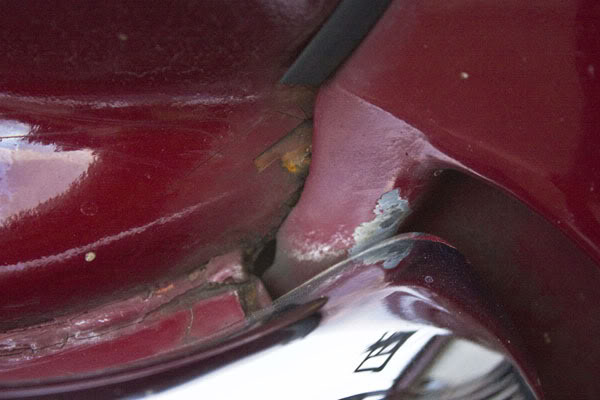
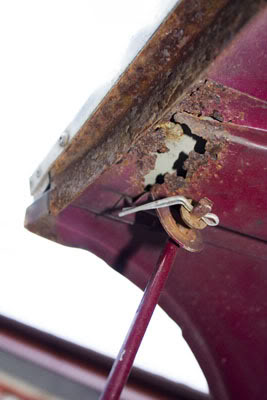
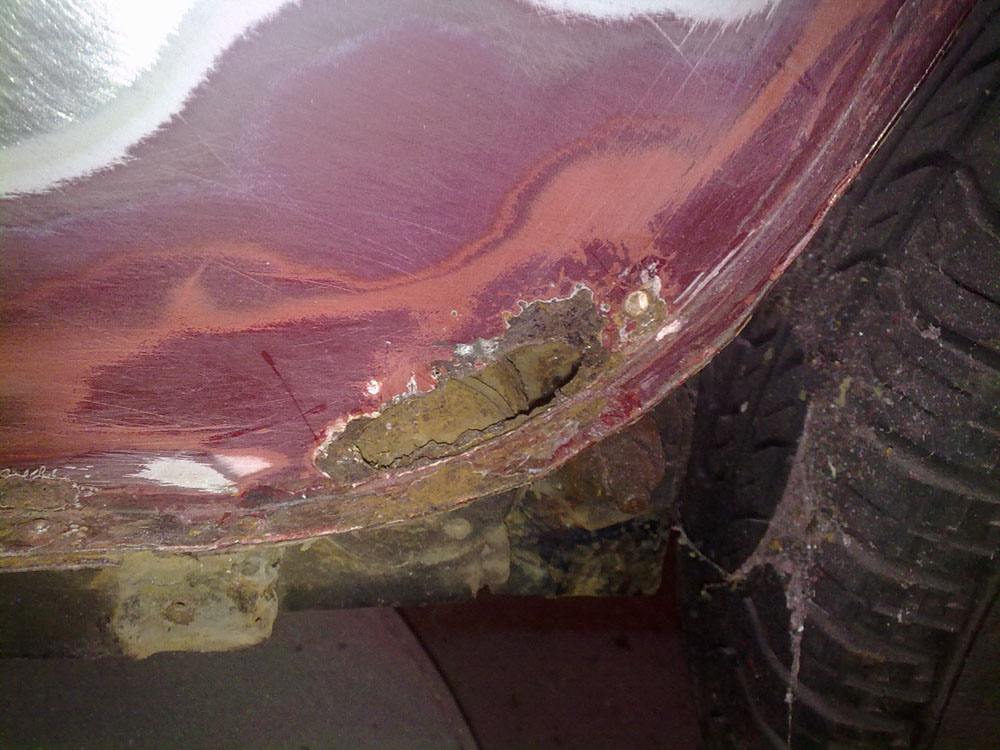
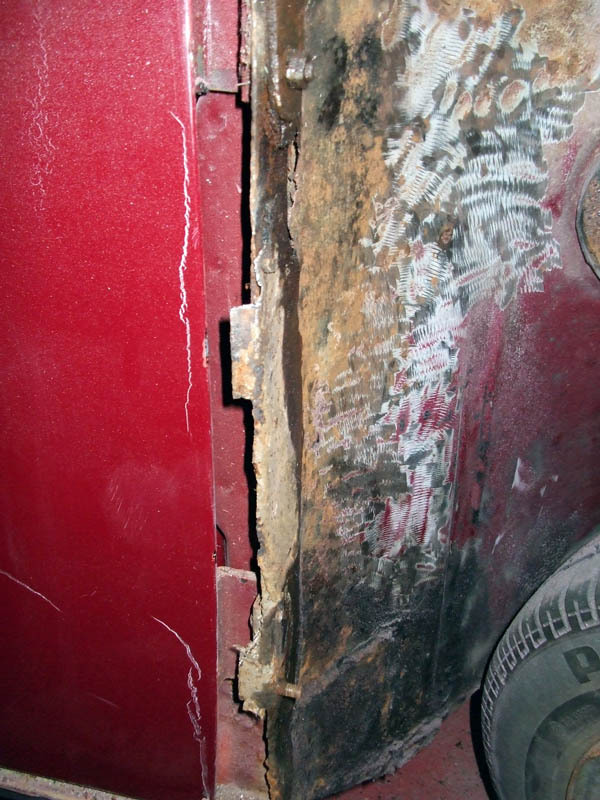
Hole in the bulkhead/flitch that will need cut out and patched...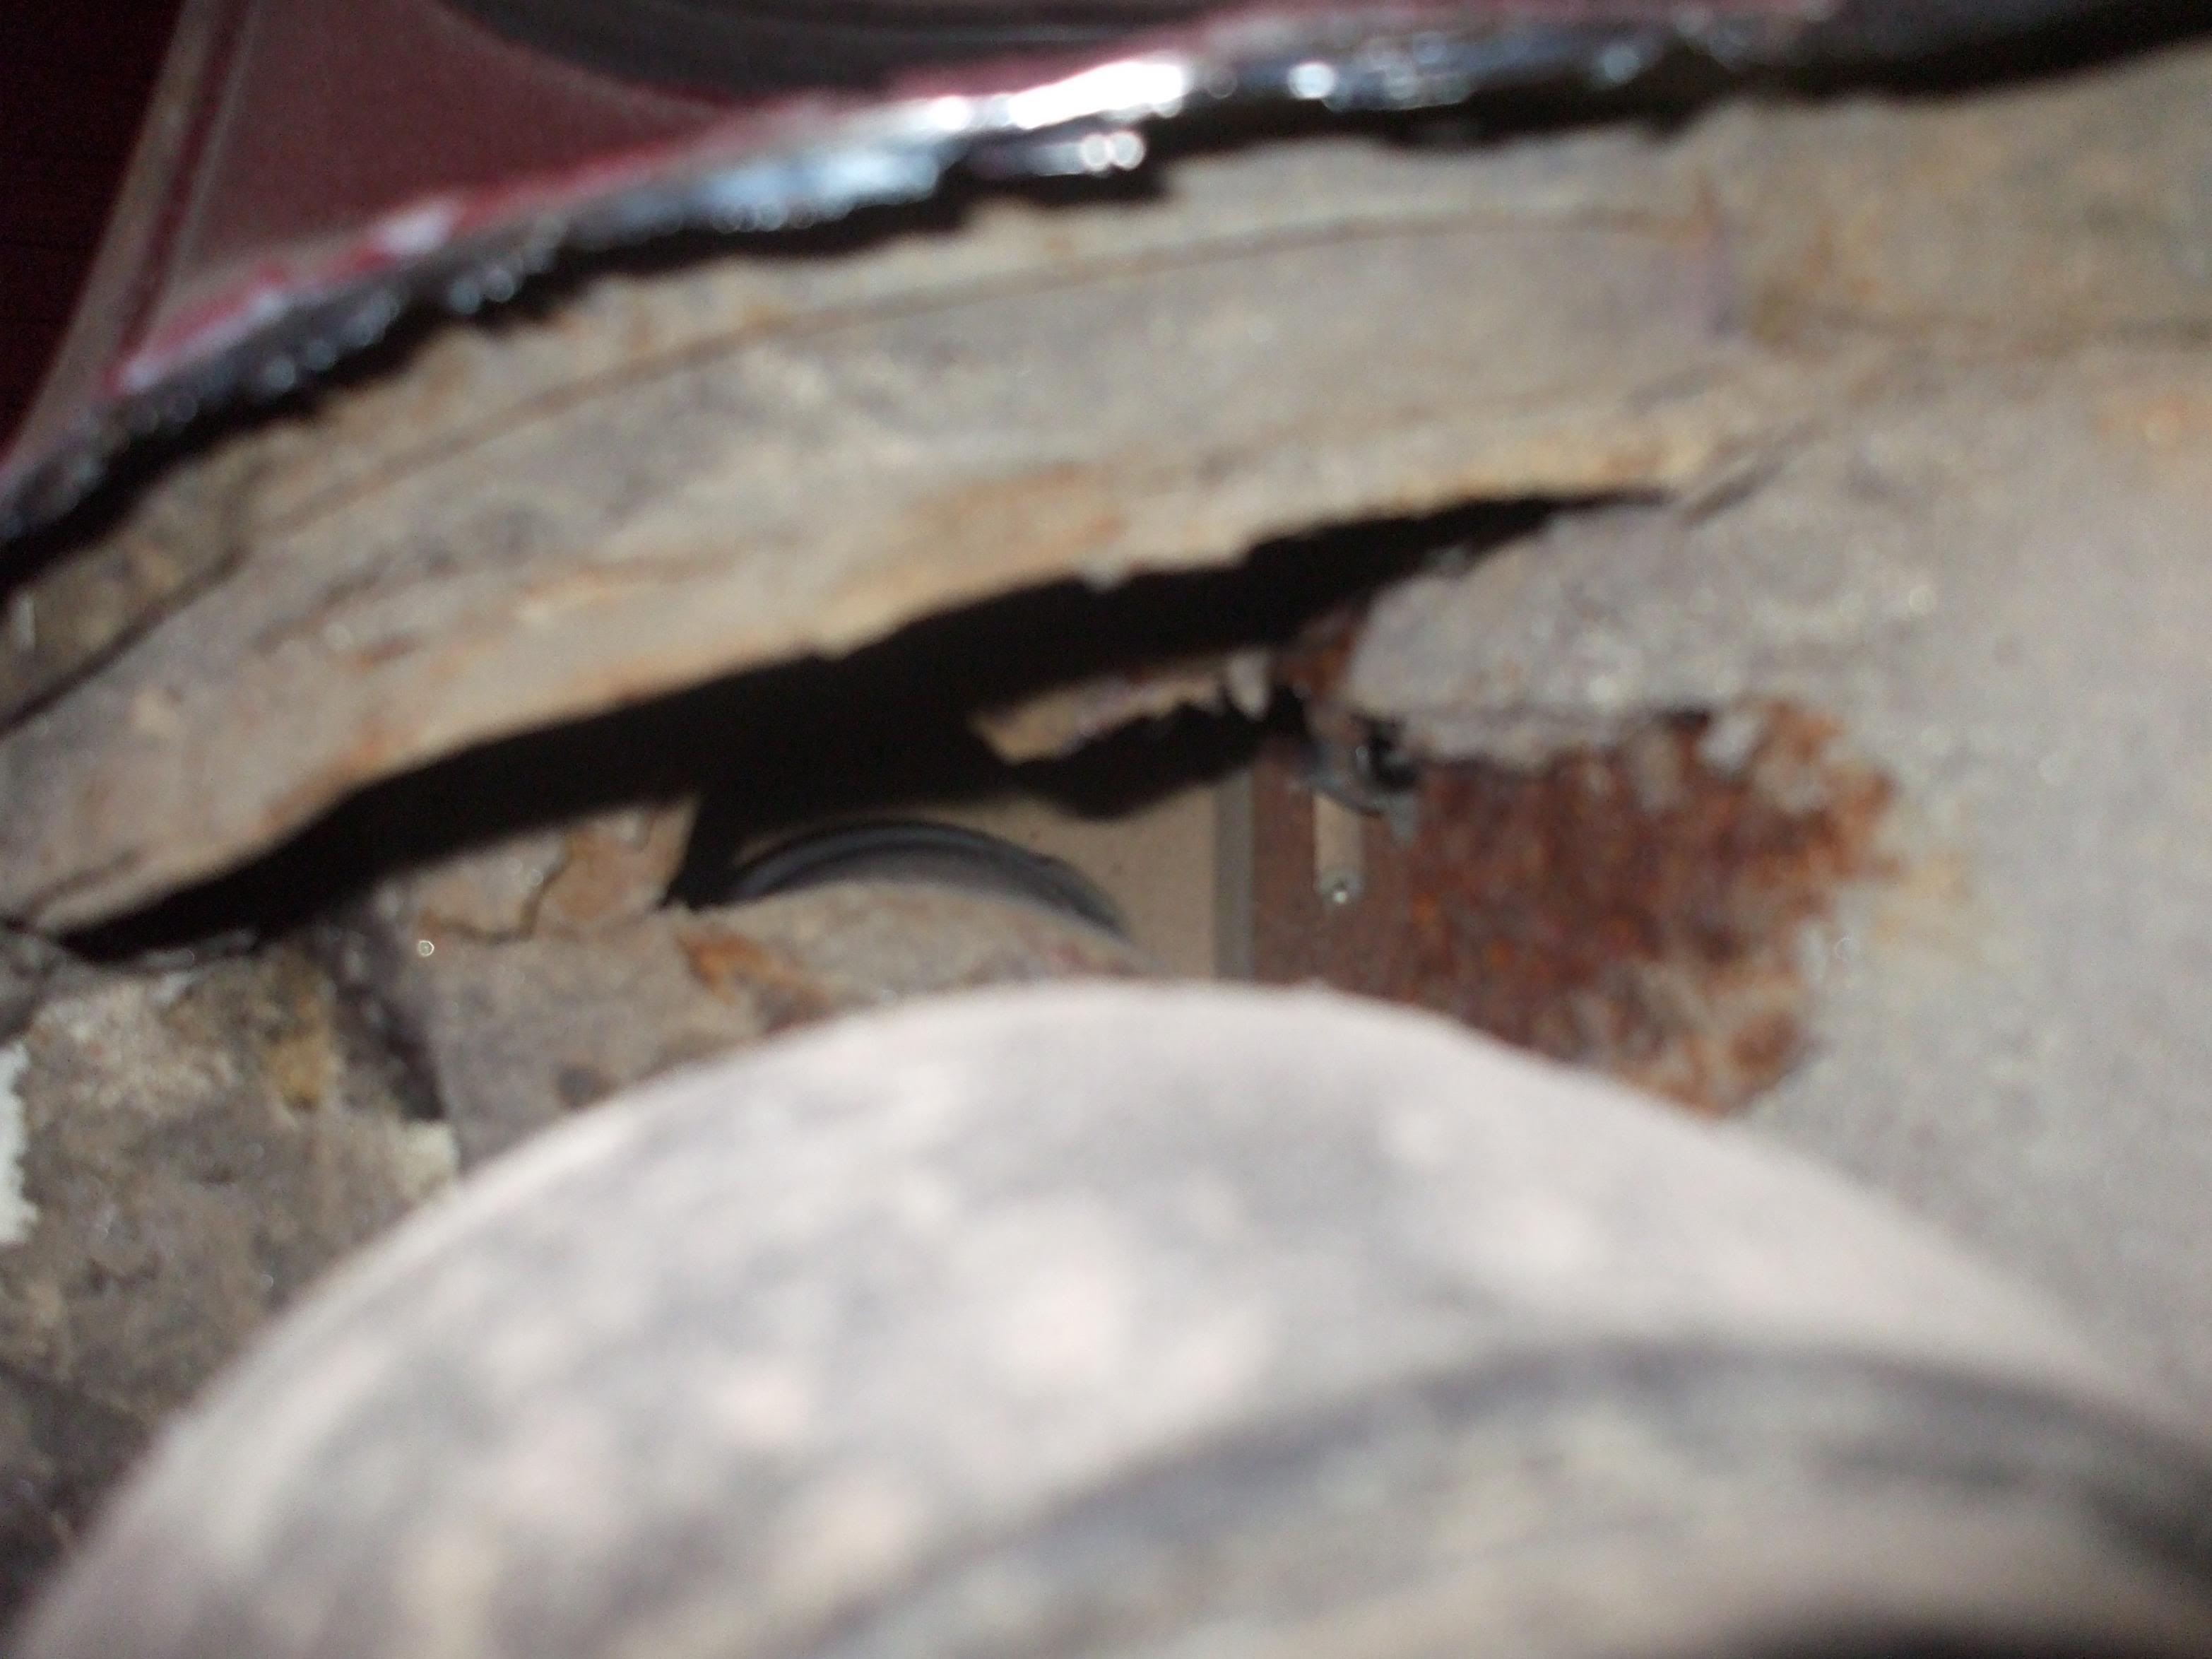
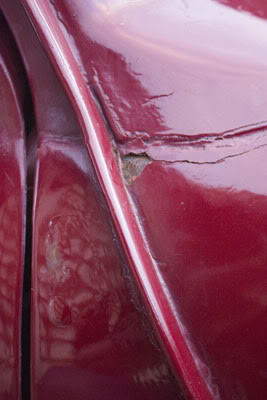
Went out after tea to do a bit more. Tidied up the edges etc. The drivers wing wasnt held on with weld....but filler! Was surprised to find a plume of dust coming out as I took the grinder to it!!! So after taking that off I found Im going to need a scuttle reapir panel as its rotten too. Pics say a 1000 words here...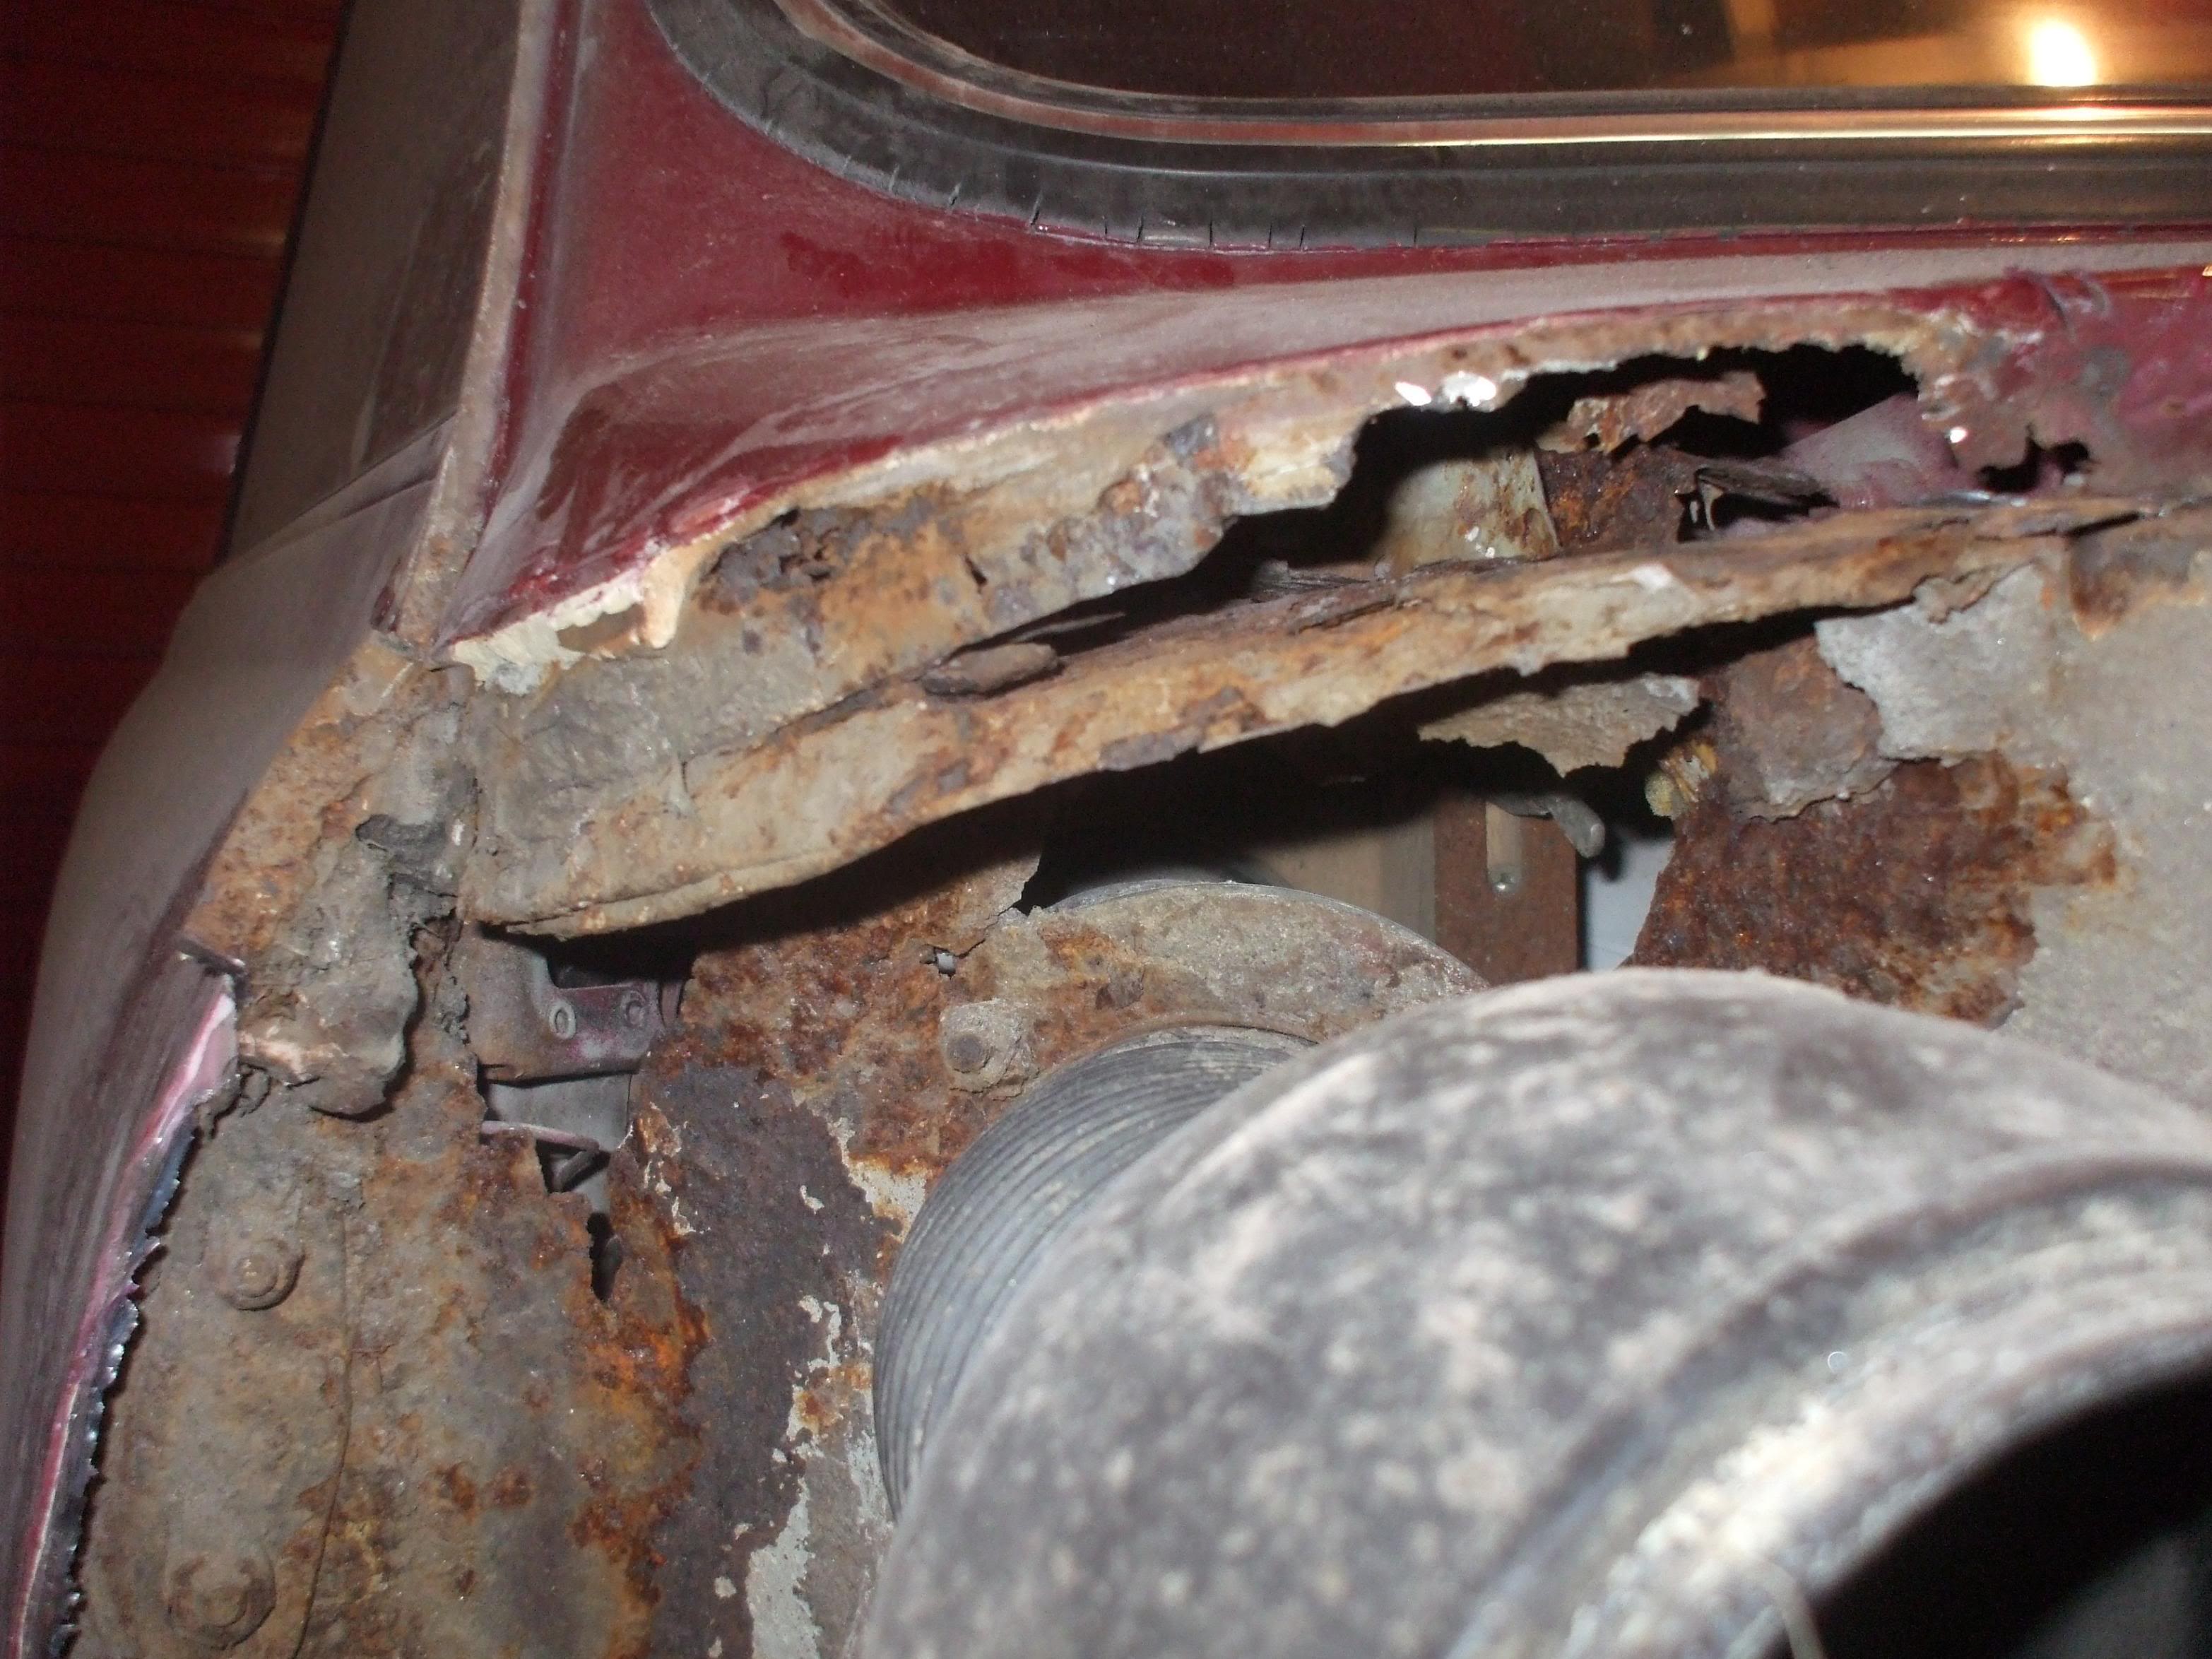
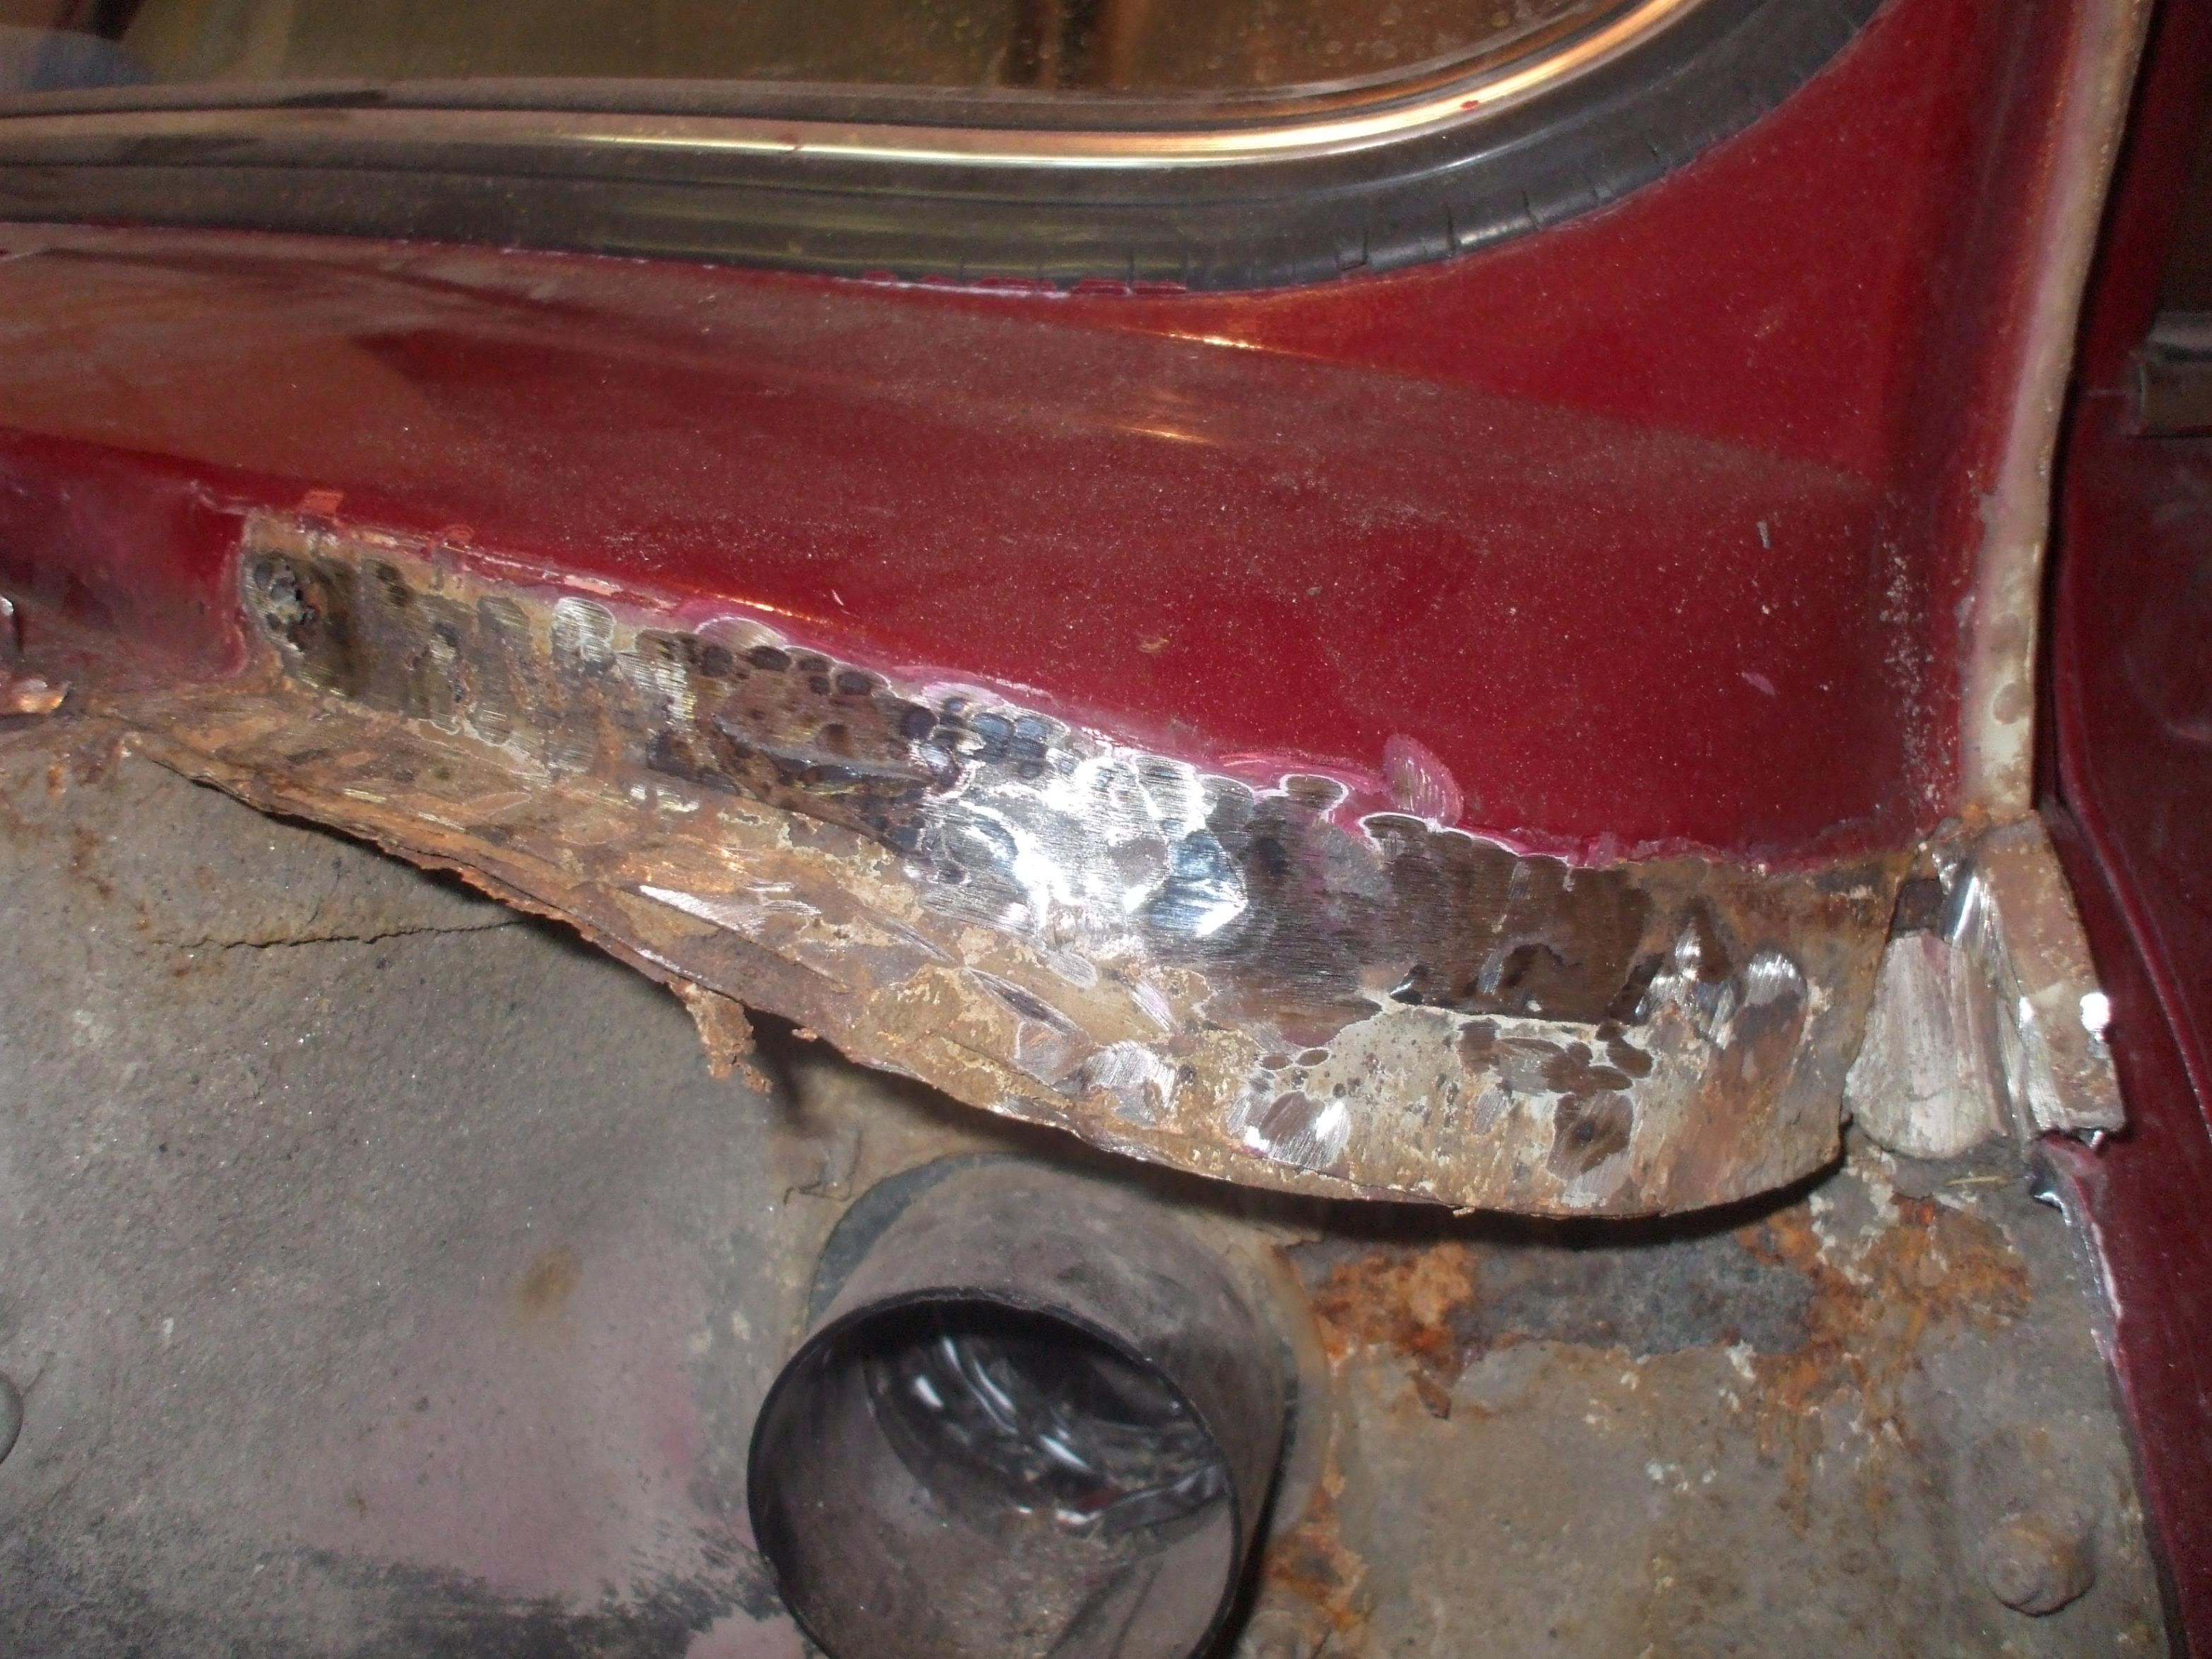
Going to replace the passenger side scuttle bit as well. No point in bodging it. 
So tomorrow morning before I go to work its out with the drill and wire brush attatchment to get rid of all the crap from the inner wings. Then its onto sanding the body
The pics..... 
and they all have this lovely sticker on them 
So there you go  CHUFFED!
Ok you pic whores heres your lot for tonight
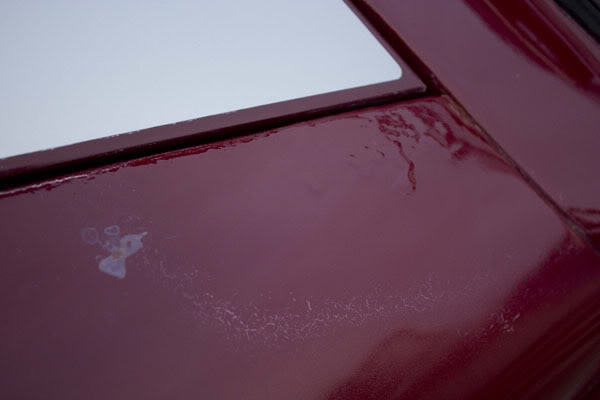
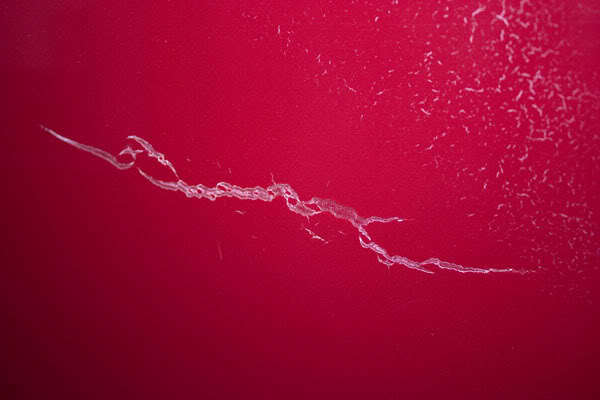
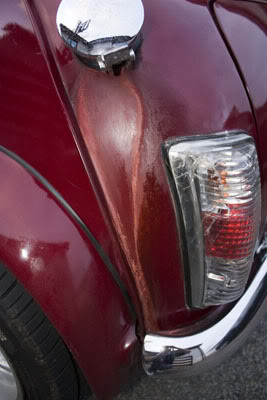
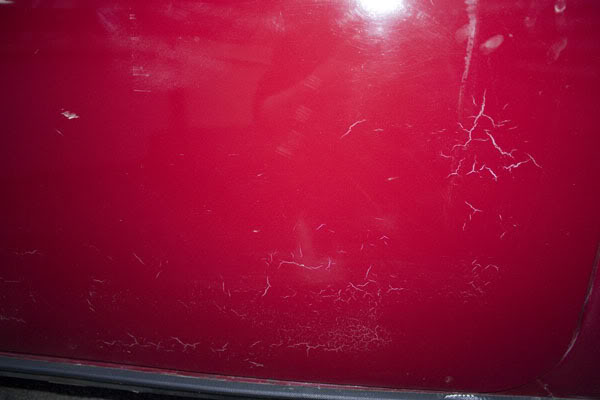
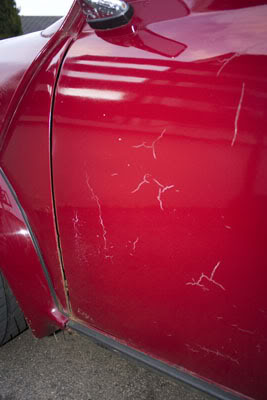
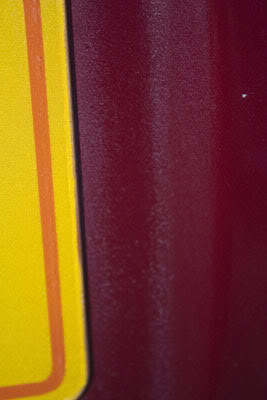
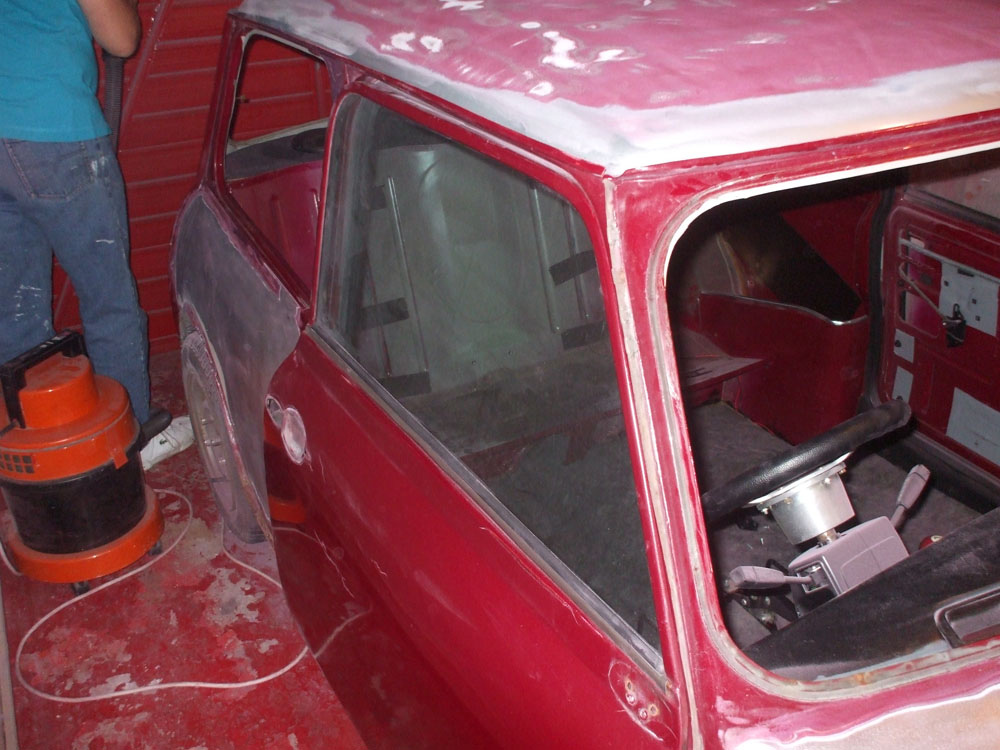
Basically took the gloss off of it tonight but most of its going down to bare metal (roofs ok) as before we got some seriously bad reactions from layers underneath so I want to eradicate that possibility for the new paint. Plus theres a few dents and dings to take out/fill.
Heres the polythene sheeting in place to prevent the front of the garage and the workbench being covered in red dust. Its working well so far!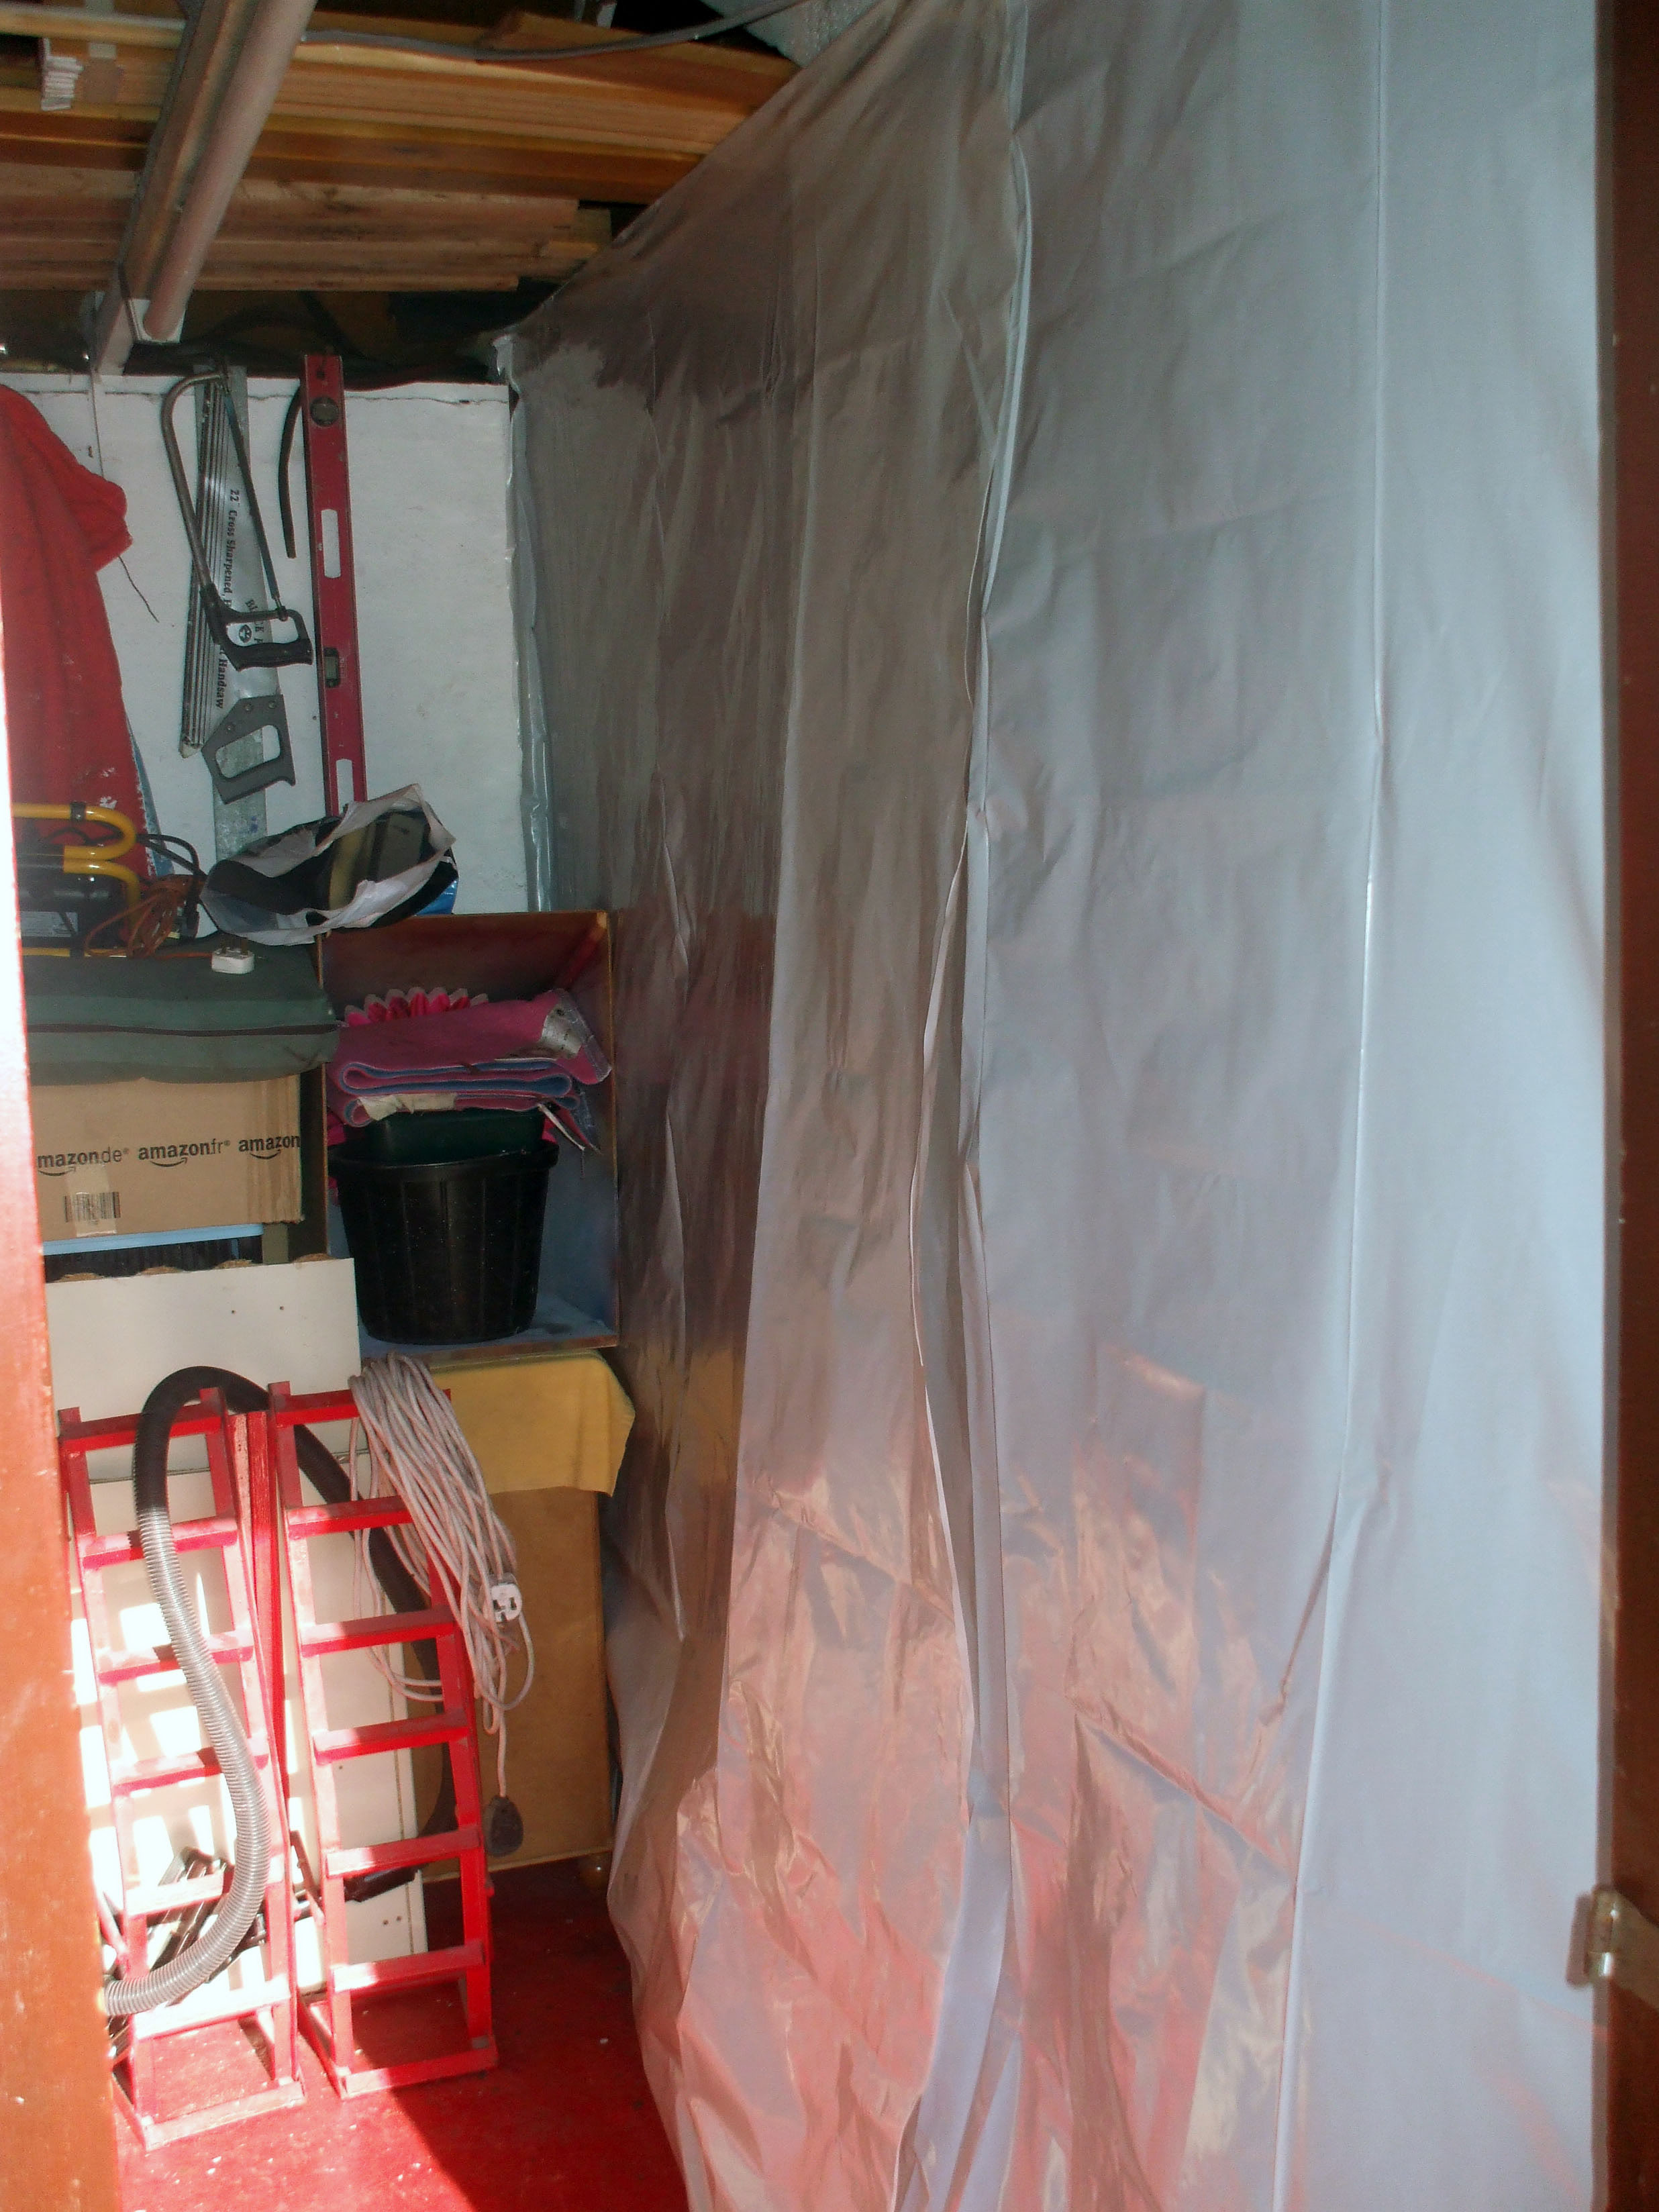

Covered up the enginebay as I CBA taking this out and getting covered in red dust as well!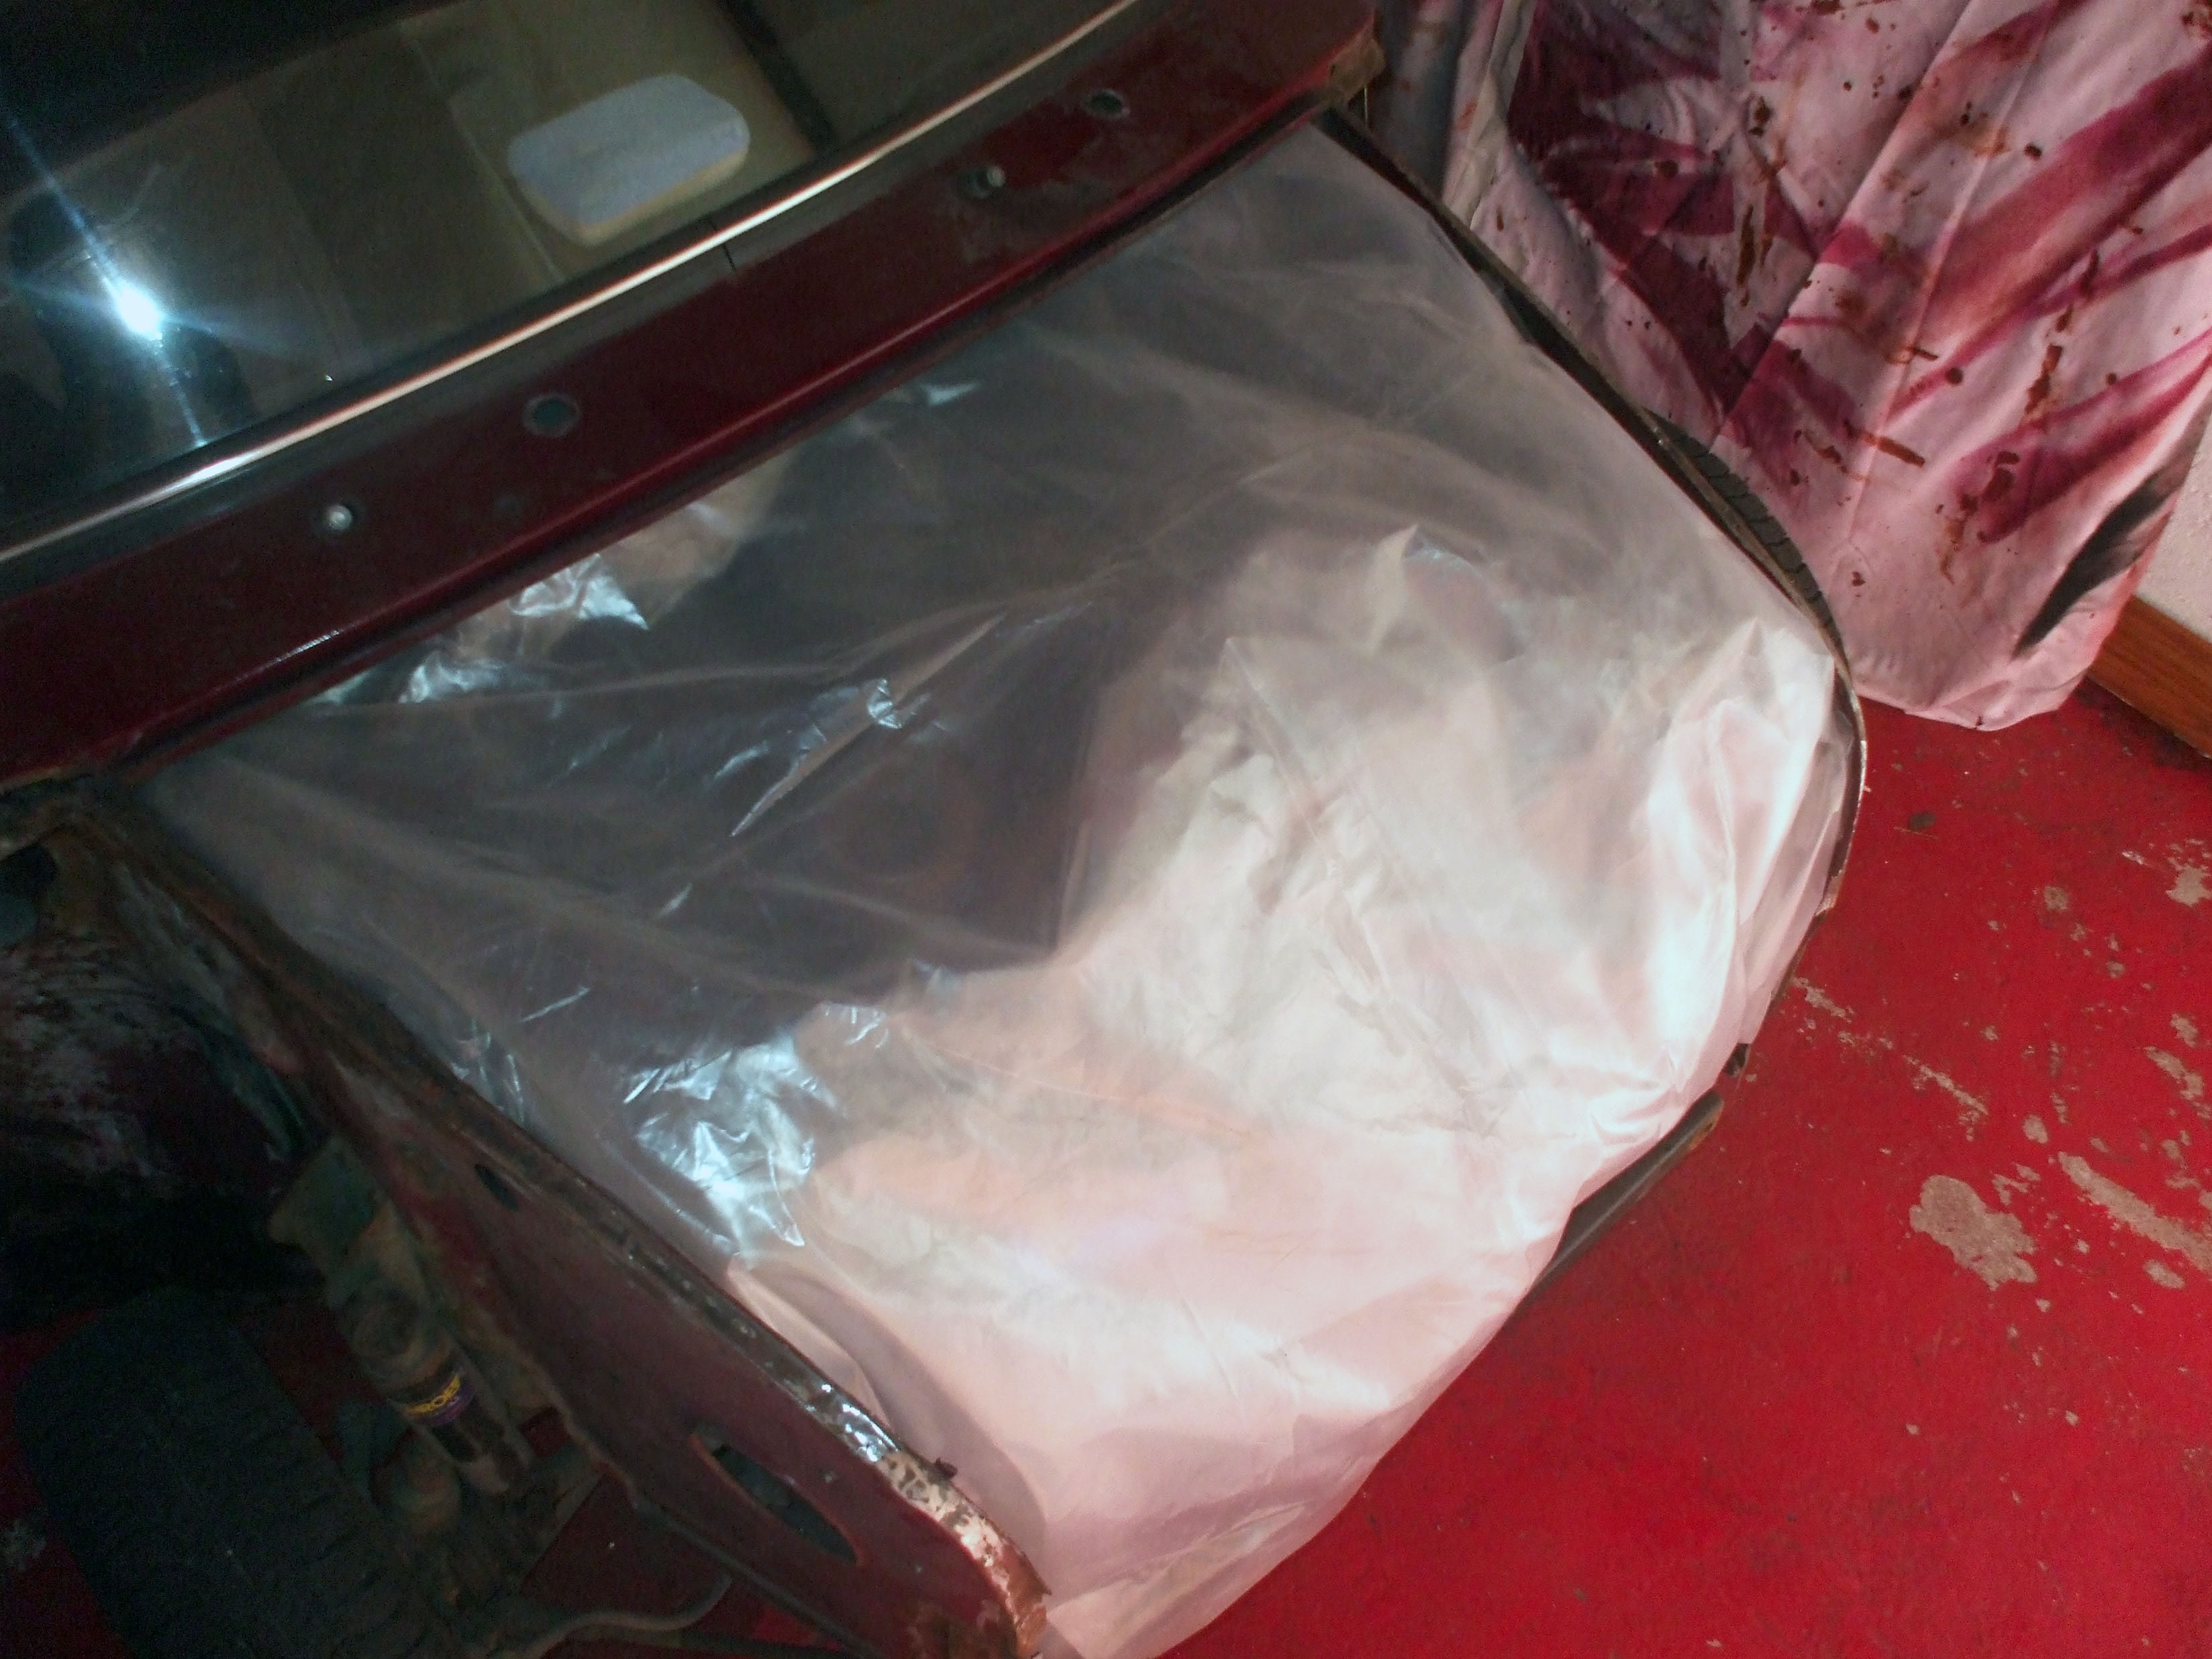
Roof before...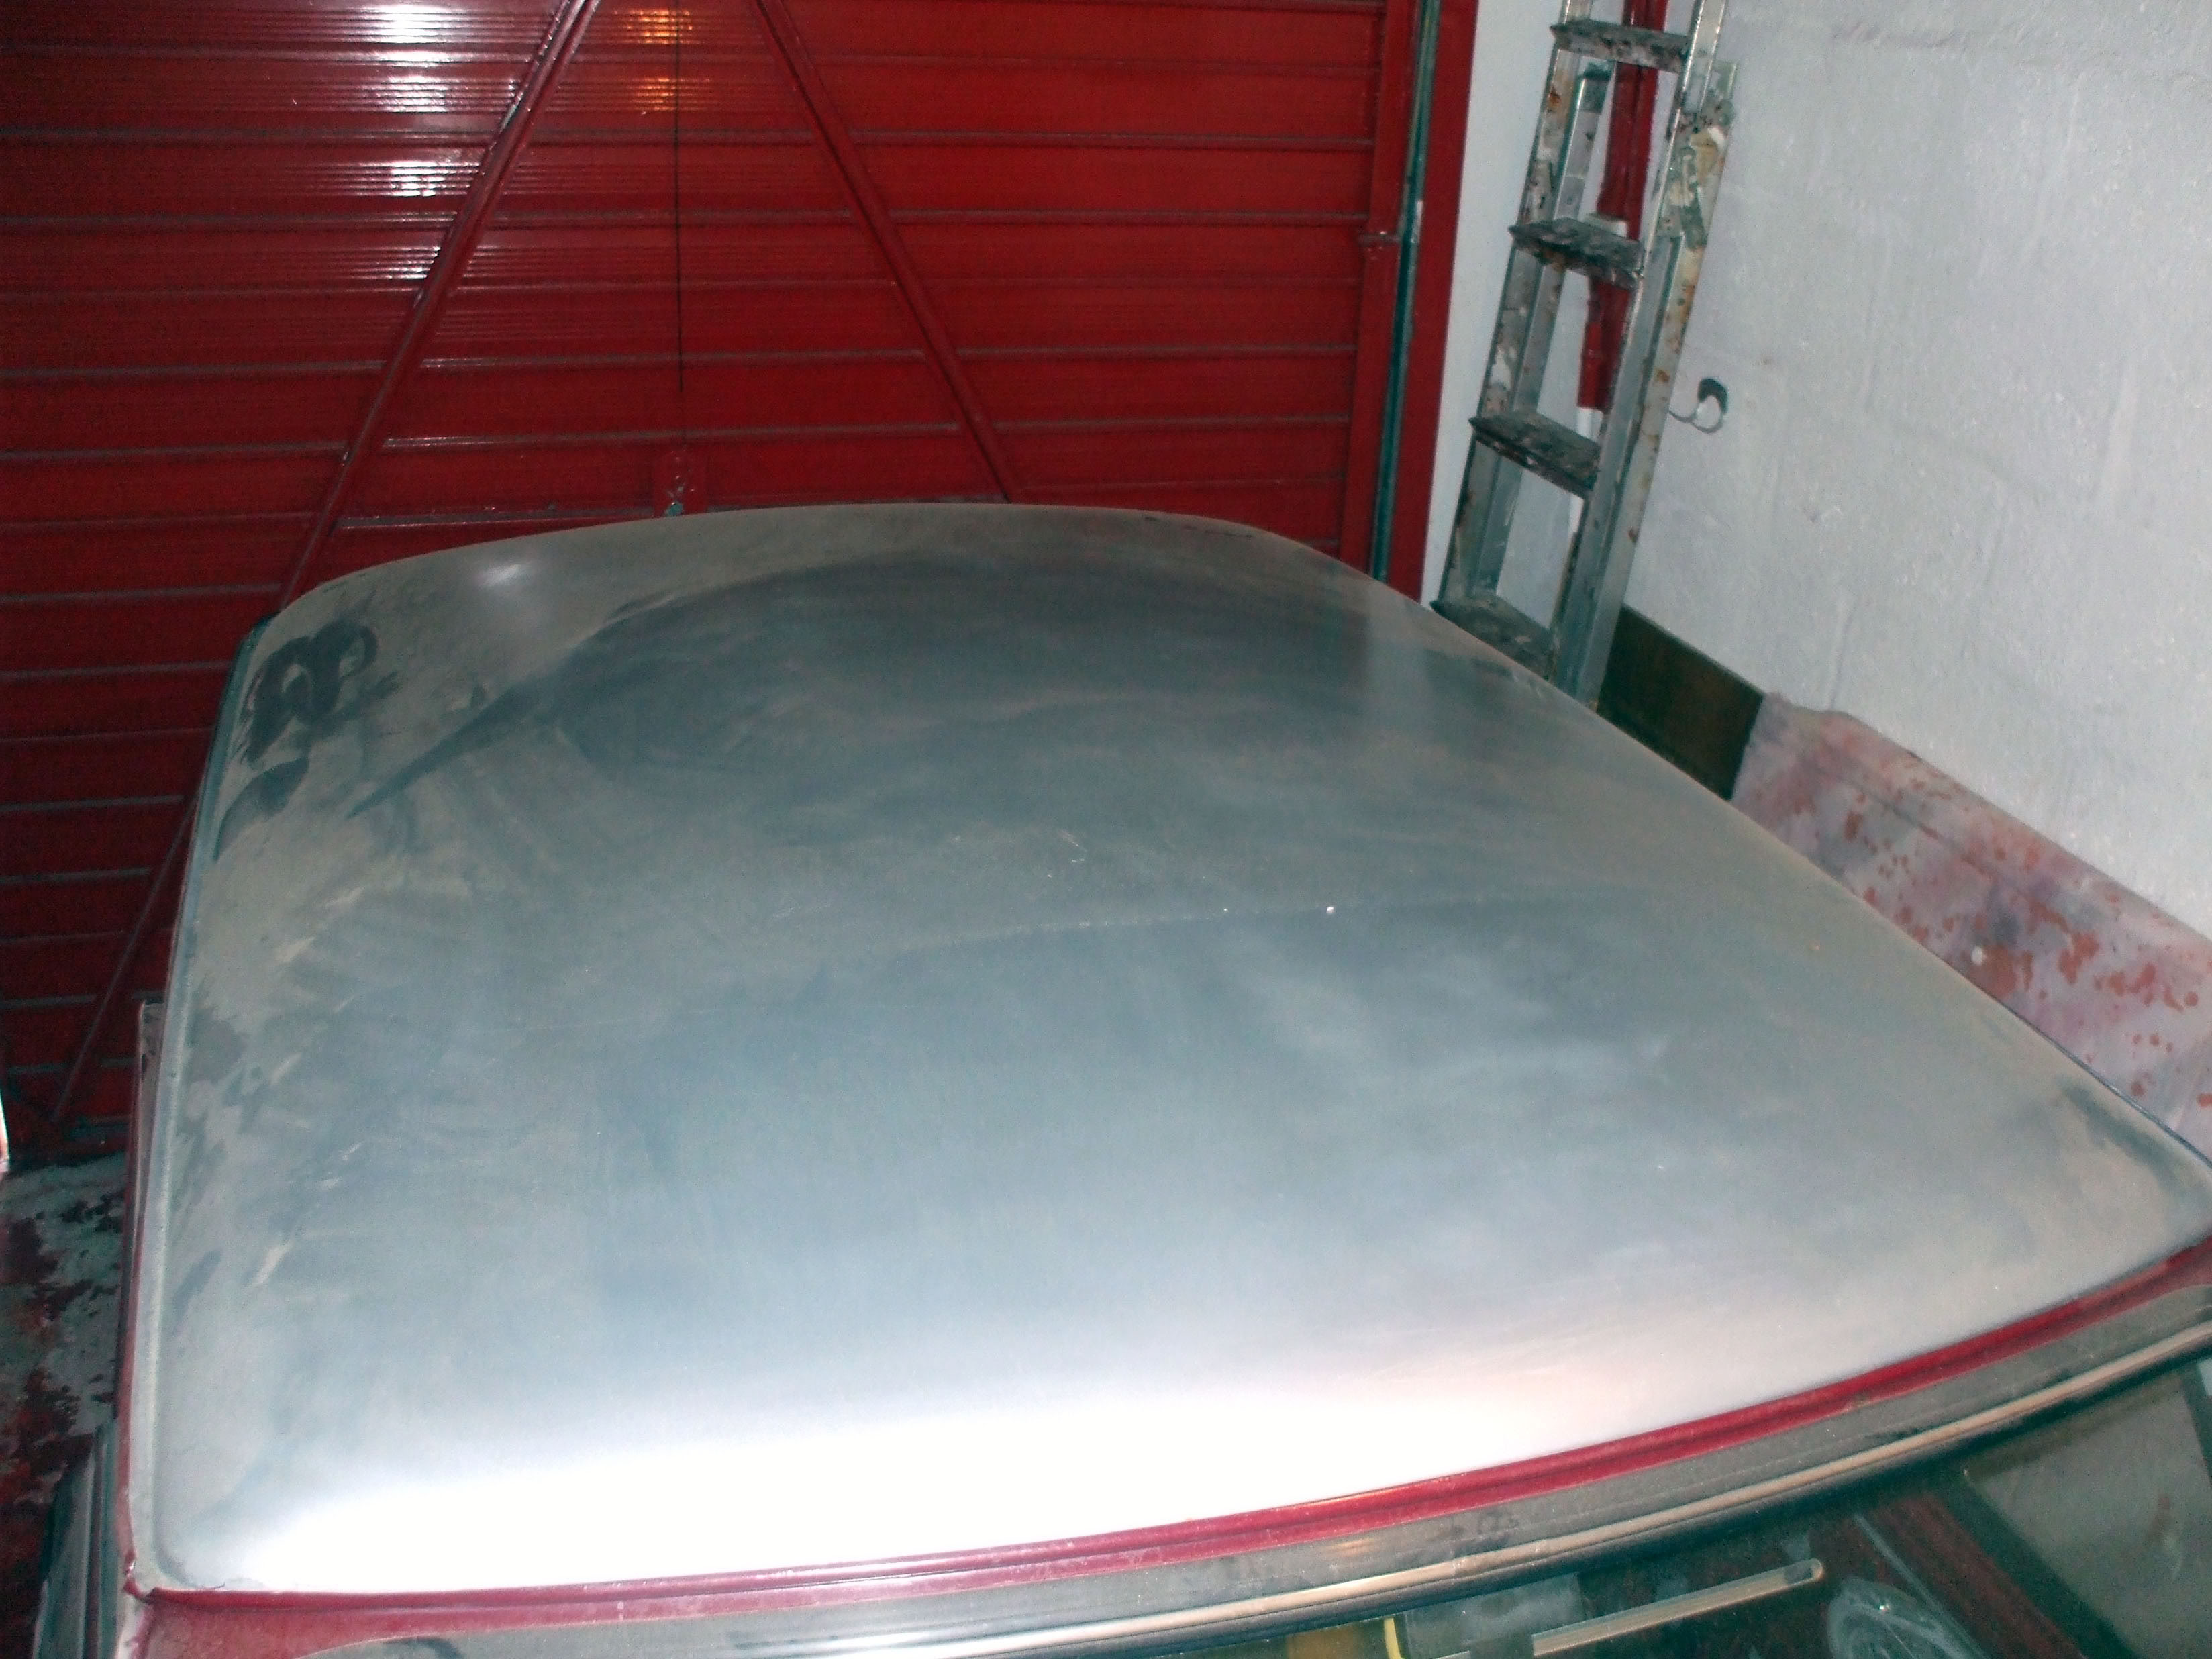
Roof after...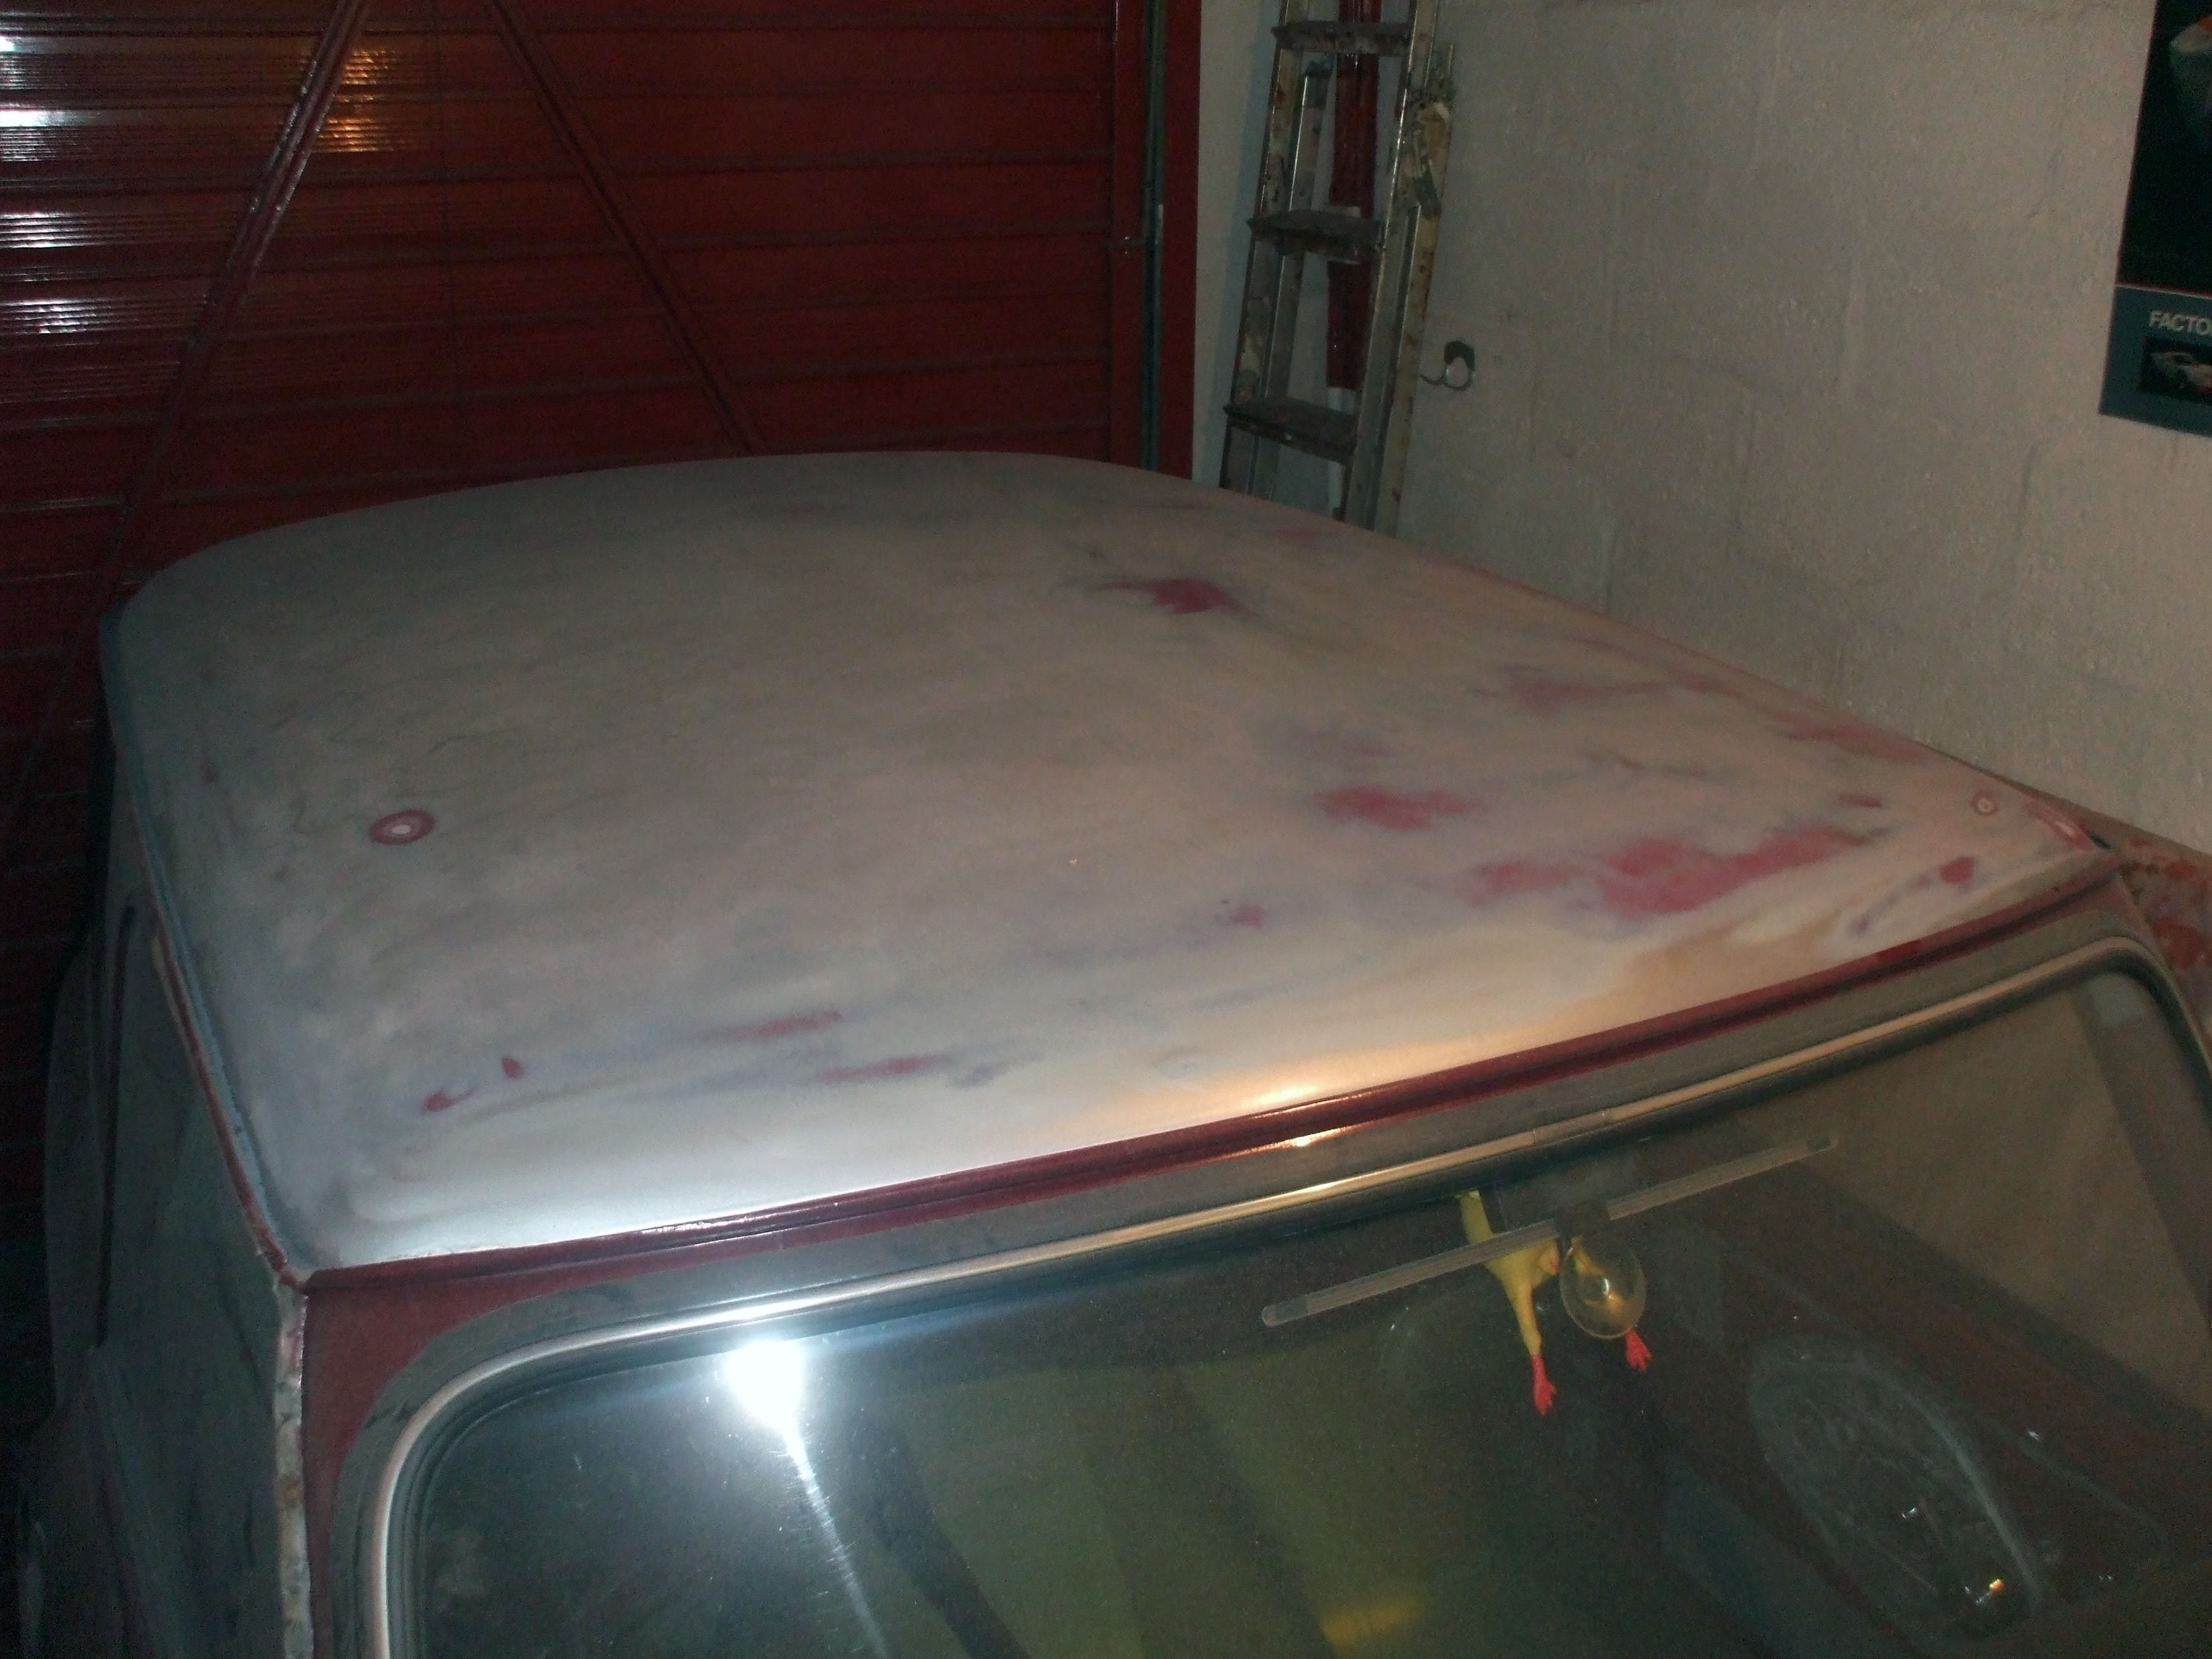
Rear N/S corner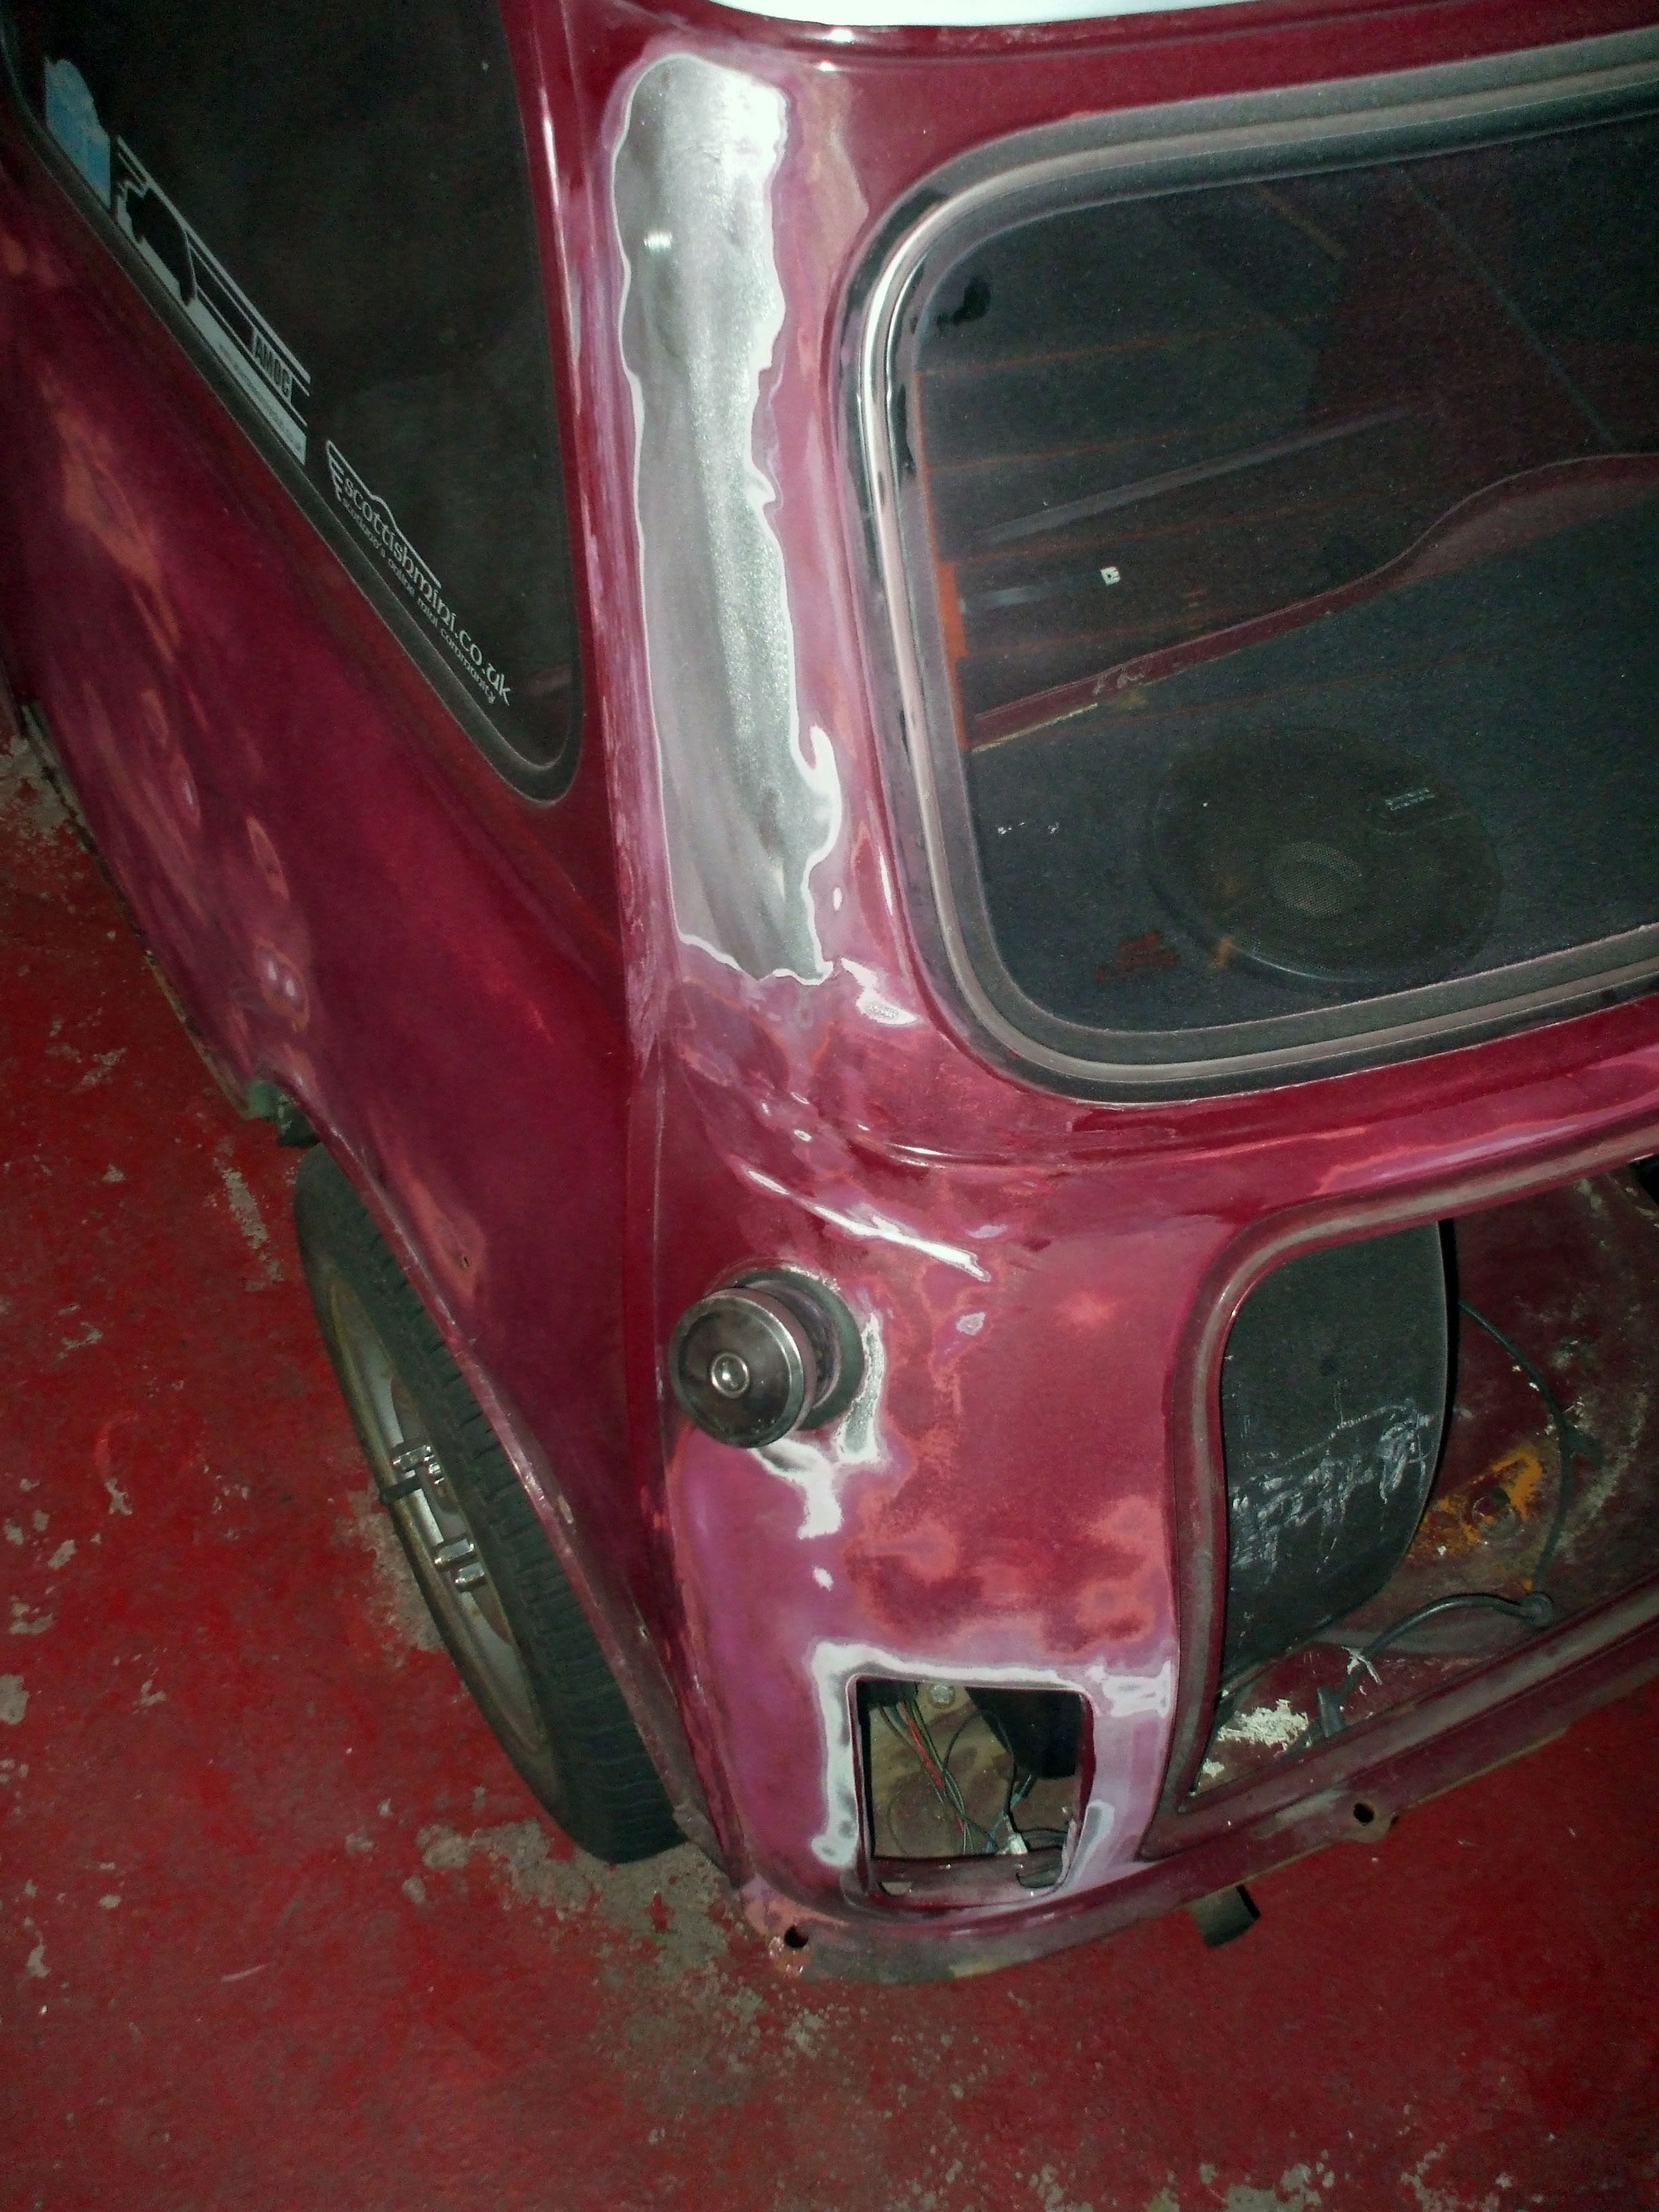
Full rear
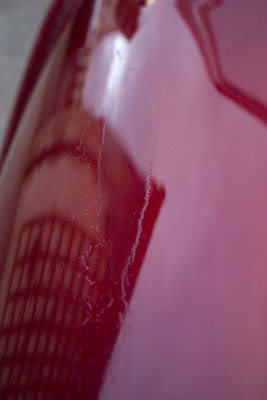
N/S Rear wing. Needs taken back to bare metal as it has a large straight dent in it at about shopping trolley height...... Cant see it in the photo though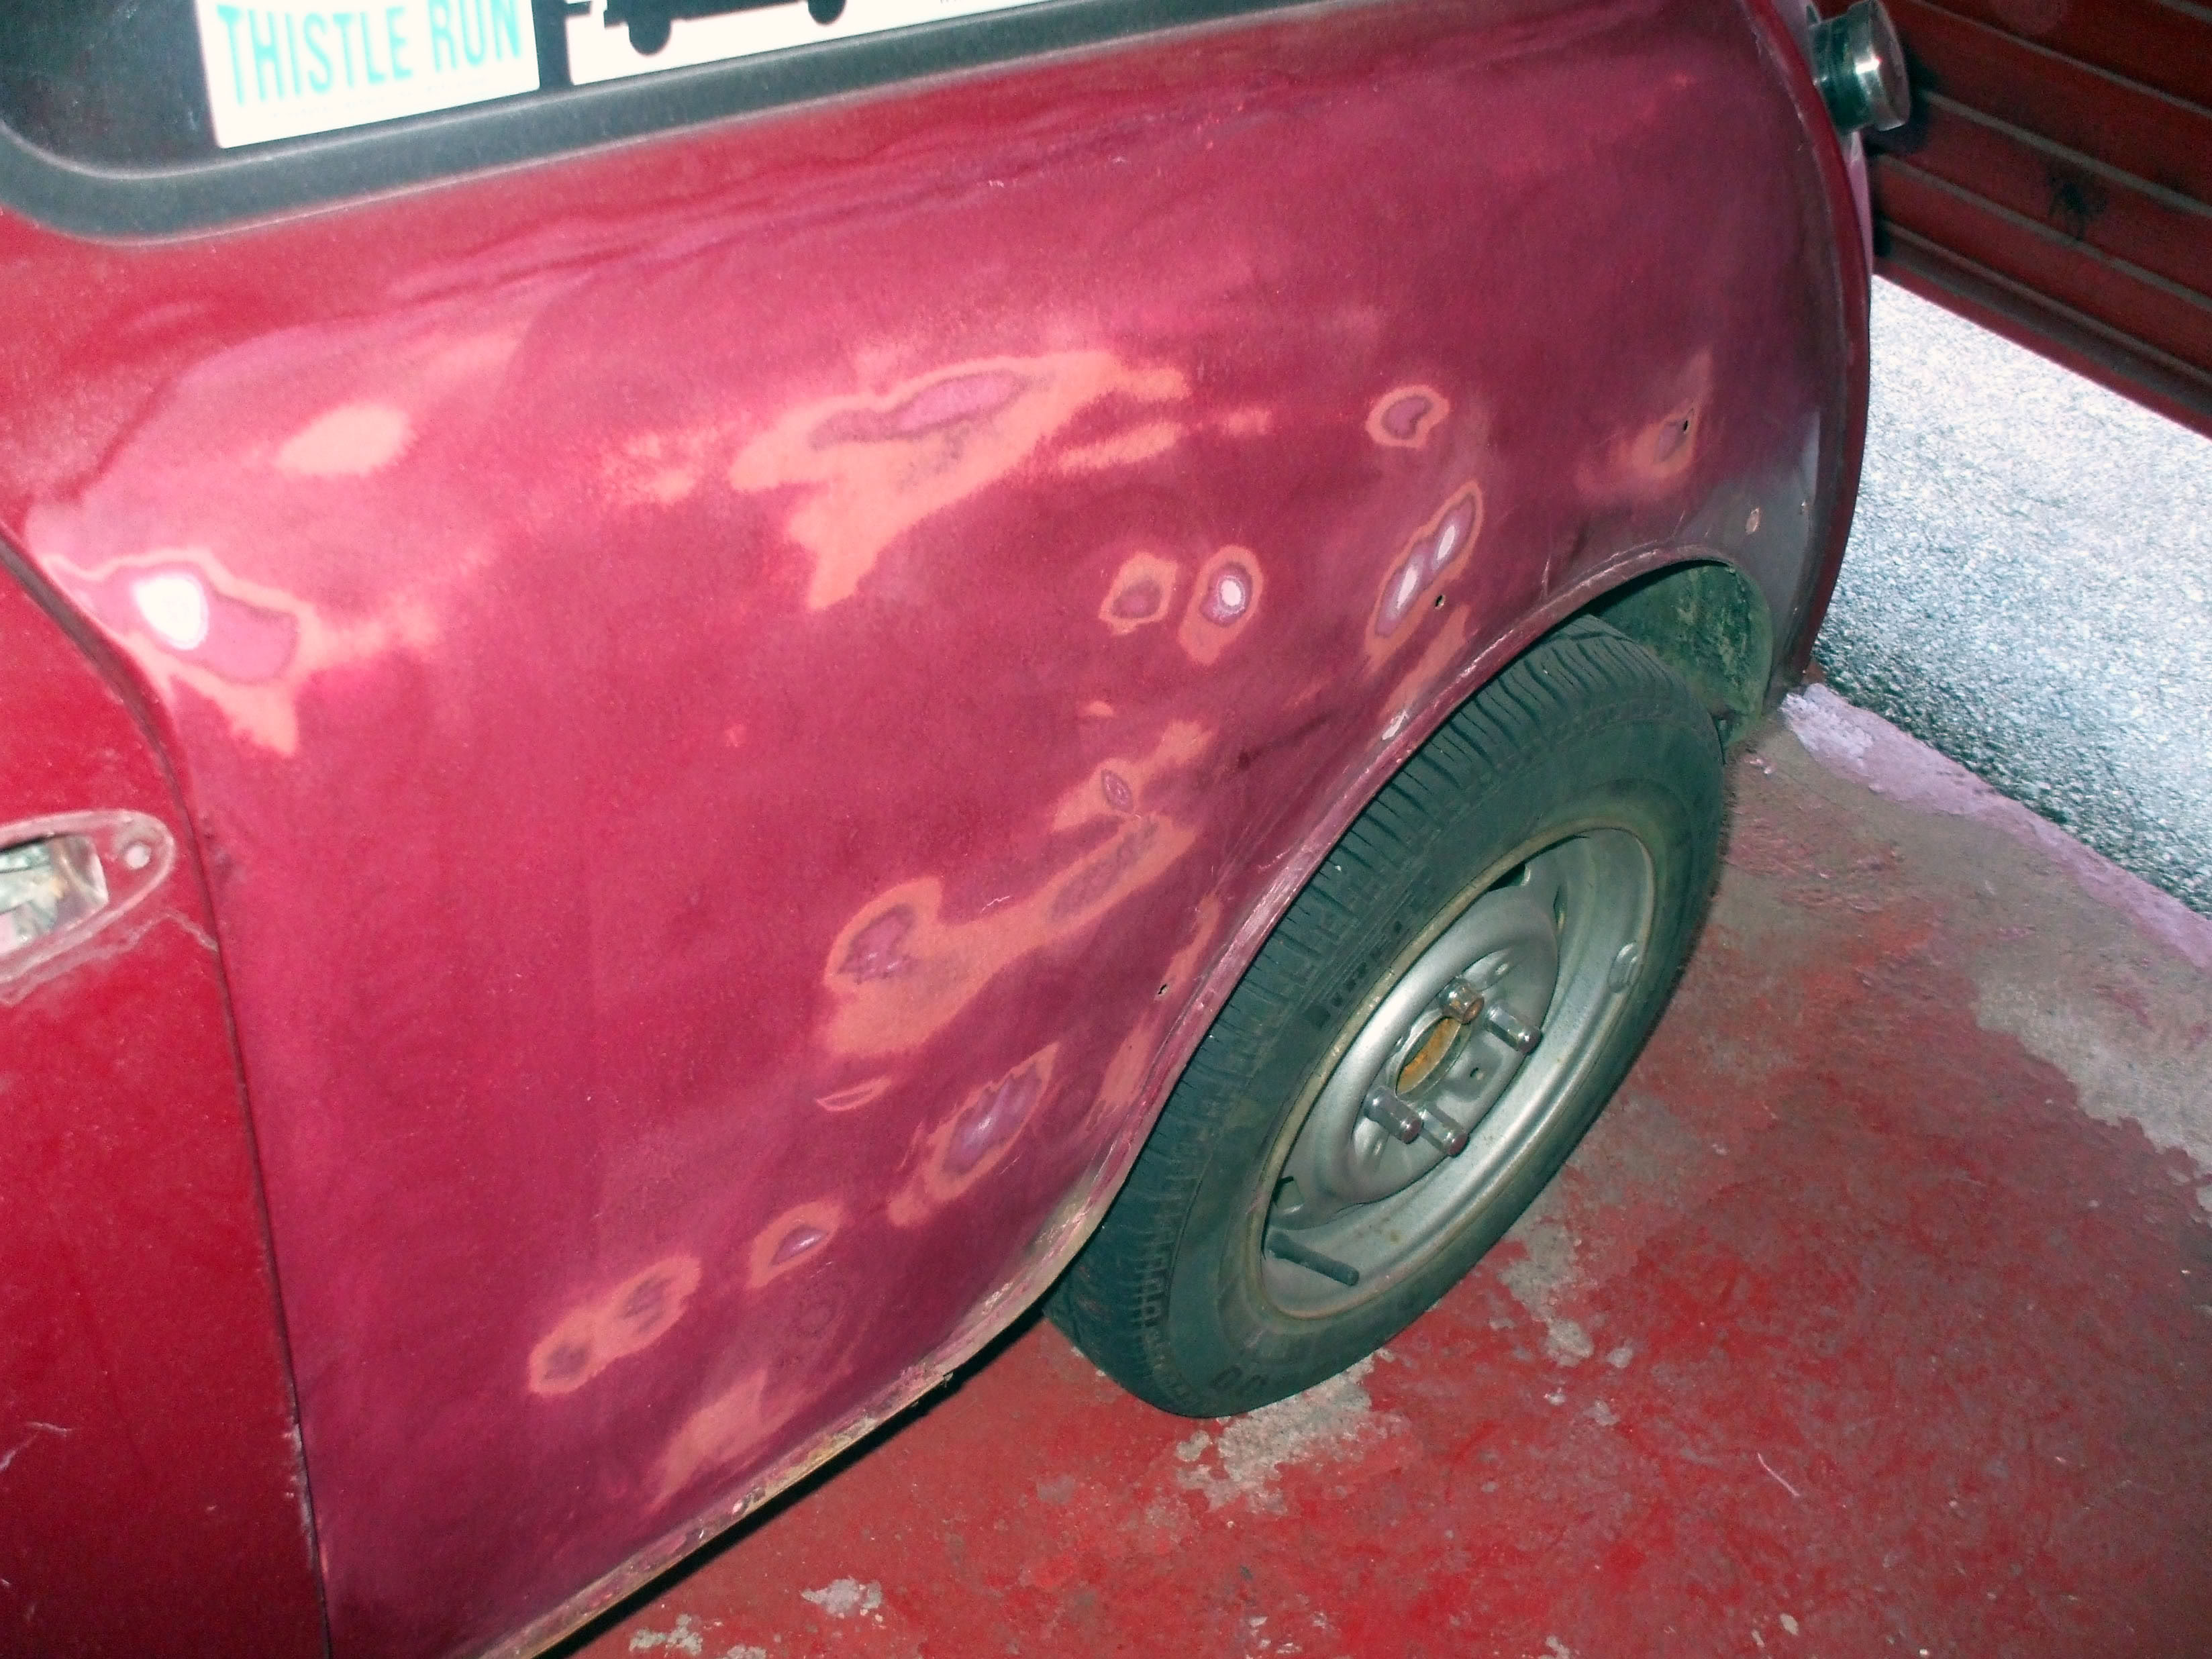
And next time Im wearing gloves!
So thats some progress!
Today I had a dig about at the scuttle again....and uncovered something awful! Filler and massive chunks of fibreglass everywhere! :wall: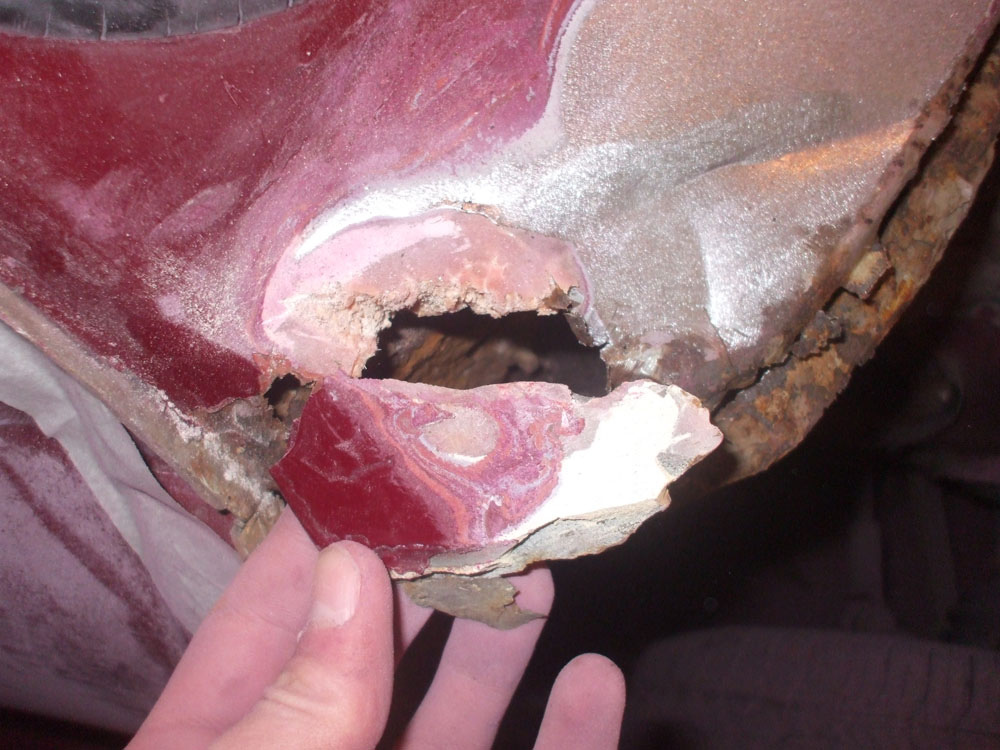
this is a solid lump of filler/fibreglass!!!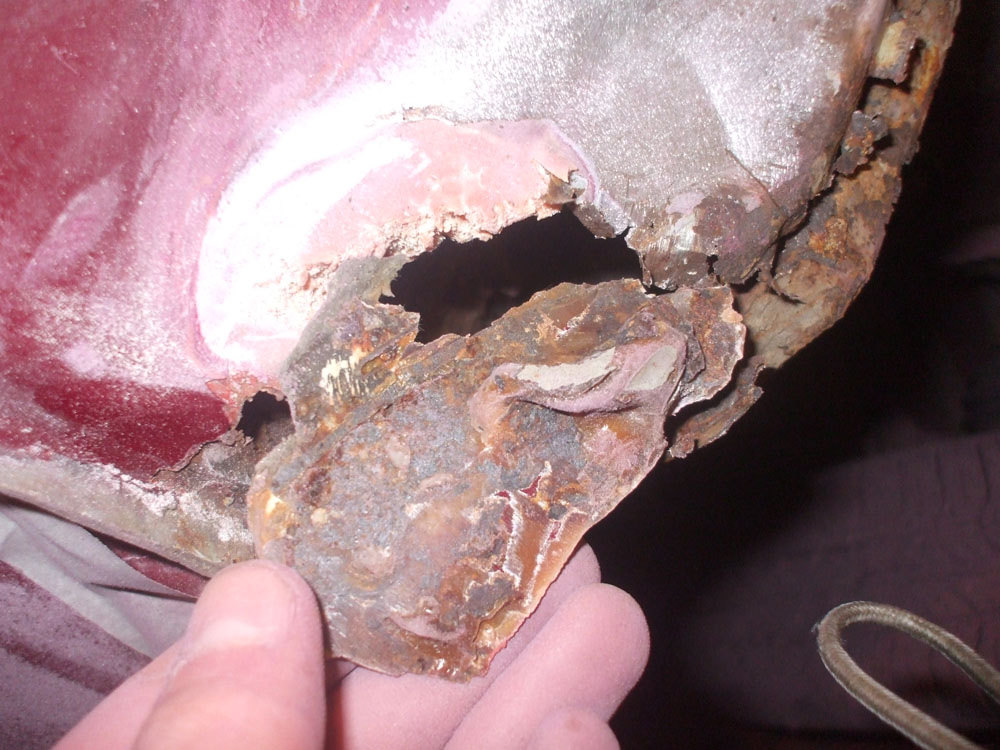
To give you an idea just how thick this combo was.... :doublesho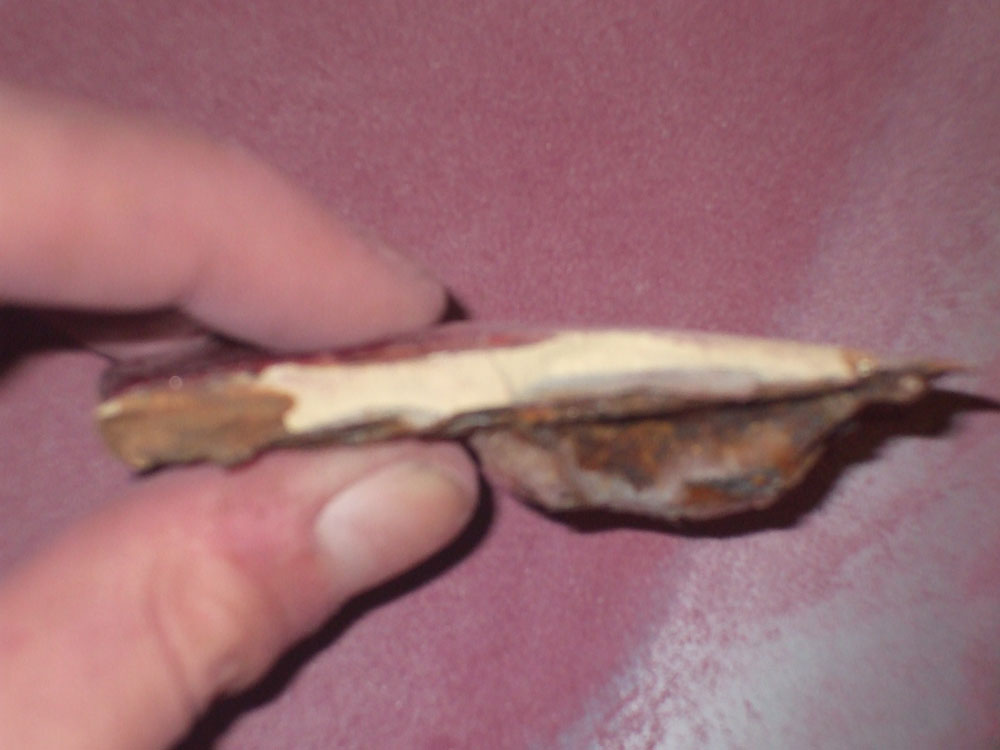
scuttle sanded 
And finsihed off the rear wing... forgot to take a photo.
And its still giving up a fight! 
And thats as far as I've got with it so far. Taking my time and every opportunity when im not with my gf or working to pay for it. 
Hope you like so far!:thumb:
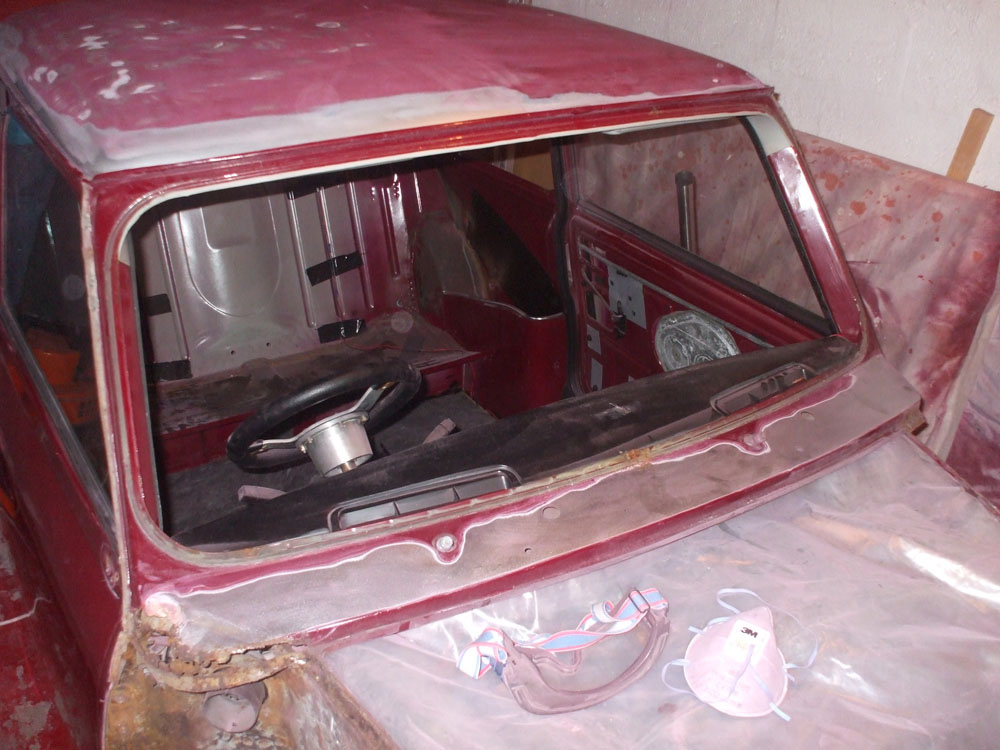
Right. Thats the orbital sanding job done, now its onto the hard stuff....HAND SANDING the rest of the finer details. GOing to take a while and a load of sandpaper but I will get there. Away to take out the glass just now so I can get right into the nooks and crannies. Will get photos taken as I go of course.
[p]-----Added 16/7/2010 at 03:44-----[/p]
Glass oot! Apart from door glass as my dads not wanting to take them out and put them back in after having to do it on a Capri back in the day. Will see what Mr Welder says about it for welding on the new skins though.....
But anyway heres the pics you long after 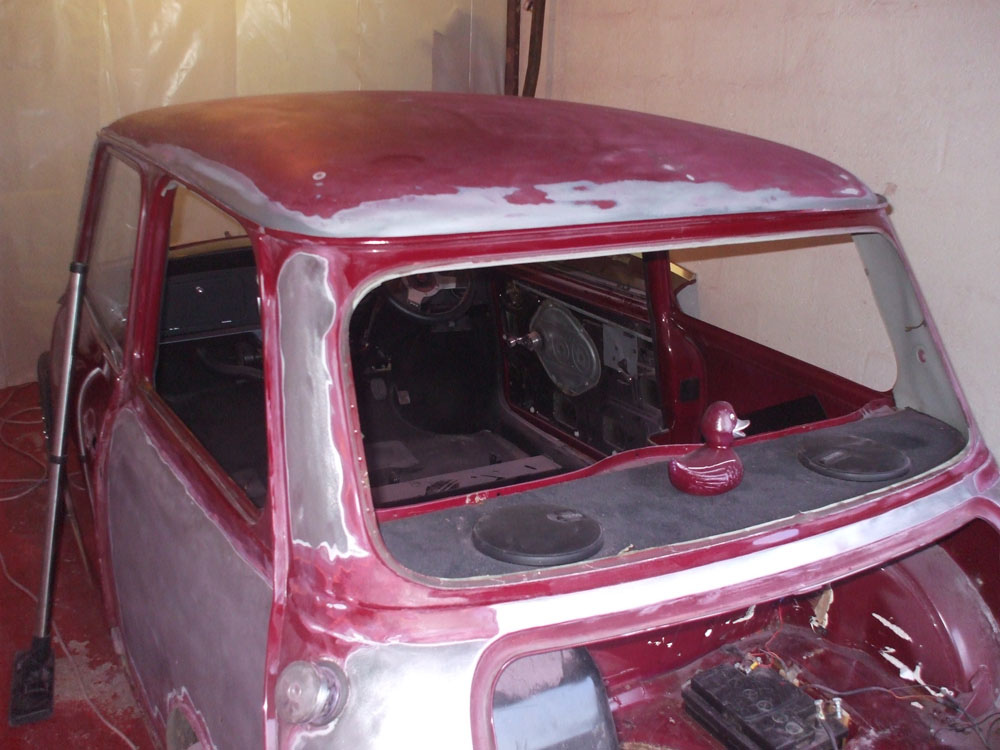
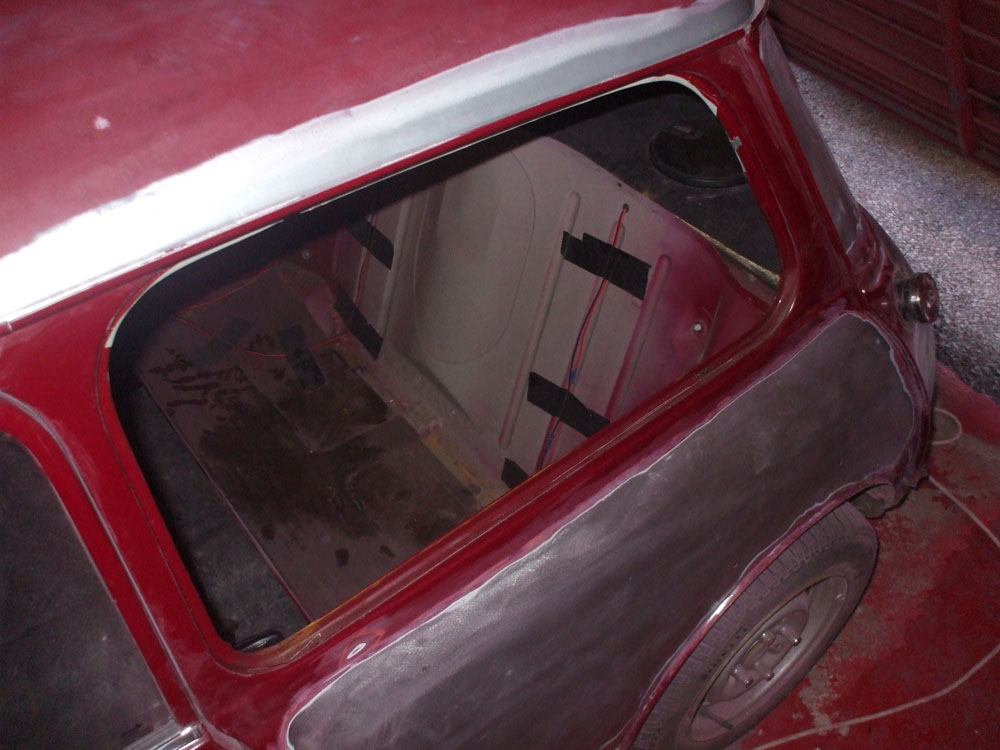
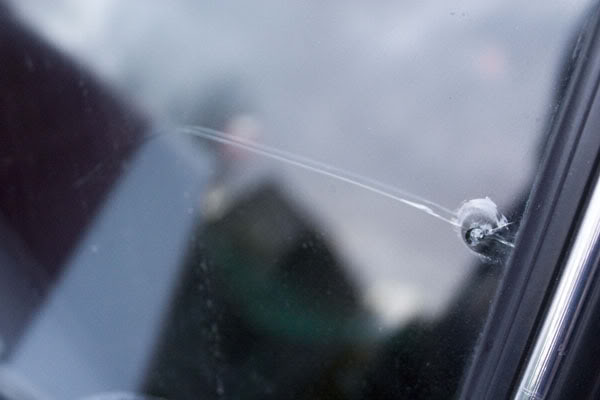
Front screen out and wont be going back after it was already cracked (see first page for pics) New one to source but wont be too hard within the club. 
This is the only bit of rust around the window frames. Where the window rubber on the front scren joined together at the front. So I breathed a sigh of relief at this!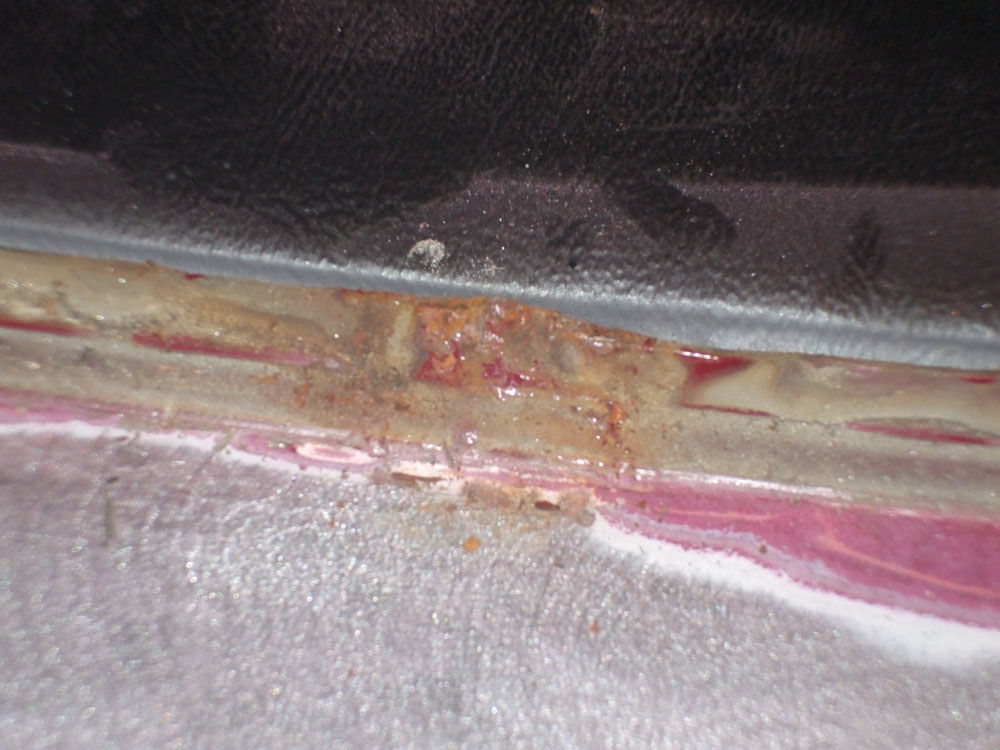
And thats yer lot for tonight 
Ok pic whores here you go! 
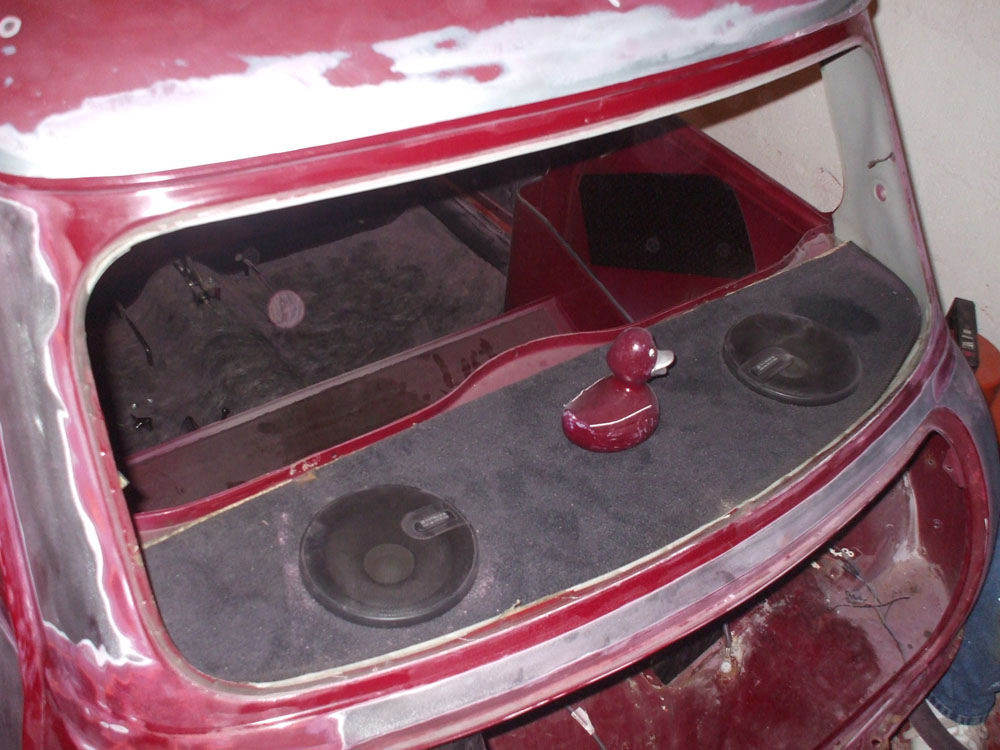
Got fed up of sanding the other day so took the parcelshelf out (eventually!) It was stuck in with silicone sealant for some reason and had trapped moisture underneath it. Thankfully not leading to any rust!!!
But it did have sn SM duck in it though!
YOu can see this hardboard backing for the pacelshelf has been a bit wet......
also tried out the smooth fibreglass bootlid for fitment! So after realising it isnt perfect its getting sold on! Its fine and a good thickness but just doesnt quite fit round the edge well enough for me so open to offers for it :thumb: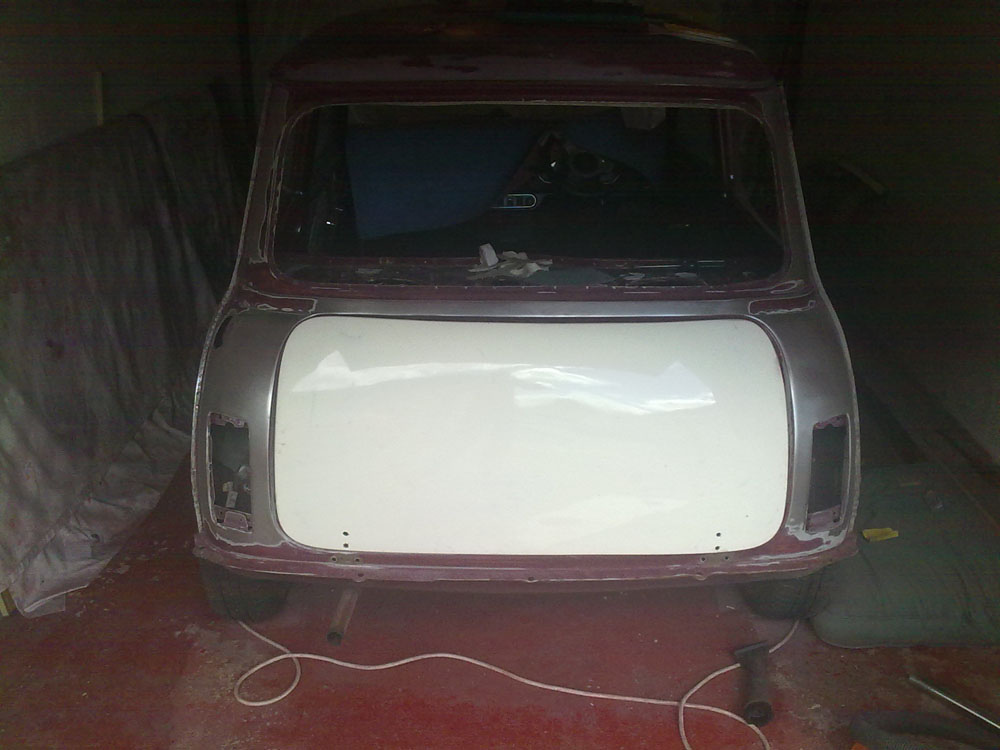
Then got back to sanding  And this revealed a hole which was covered in filler and hidden from view! So think I made a good decision not to just key the original paint........so this will get cut out and patched.
not too big but its pretty brittle at the sides so definite patch needed.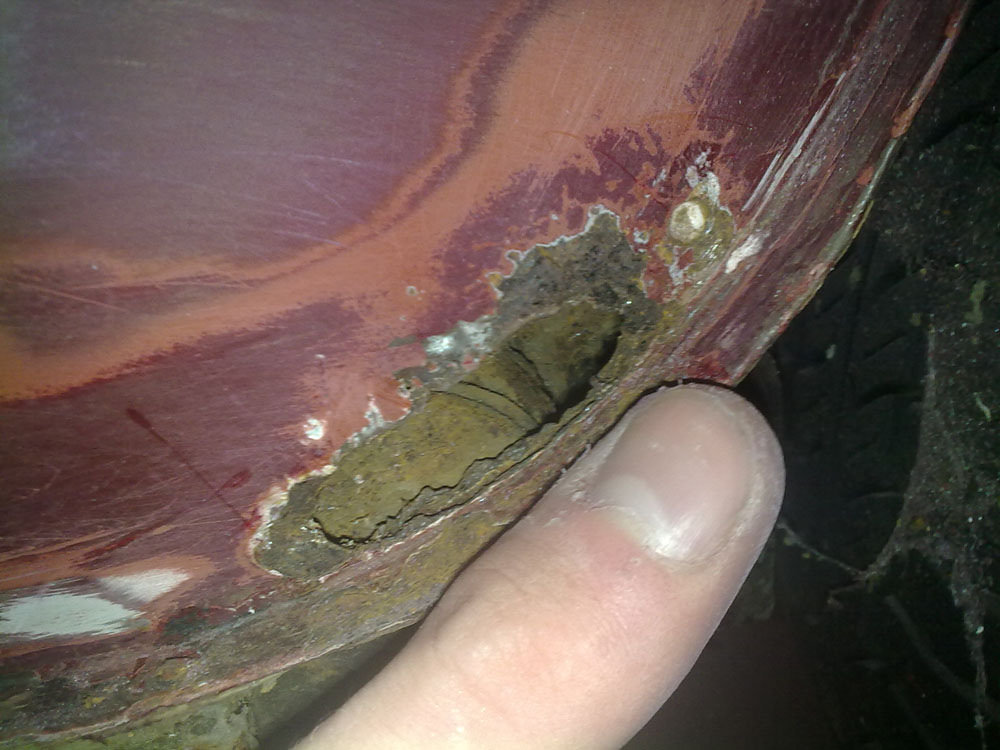
Thats yer lot for now! Still sanding away, getting there slowly but worth the effort!!!
More phone pics....and also from Photobucket instead of Flickr as Flickr wont let me direct link photos anymore!!!
Found a hole in the boot the other night.....was surface rust but poked it with a screwdriver.....oh well!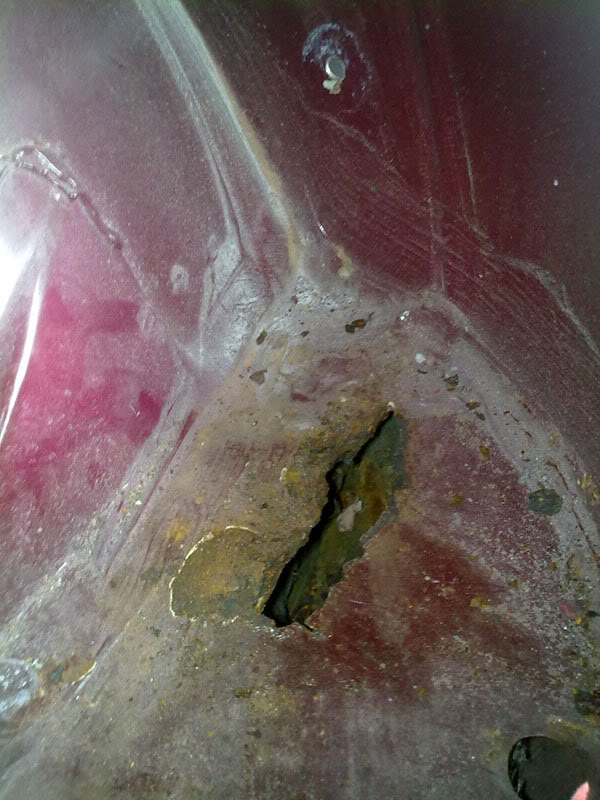
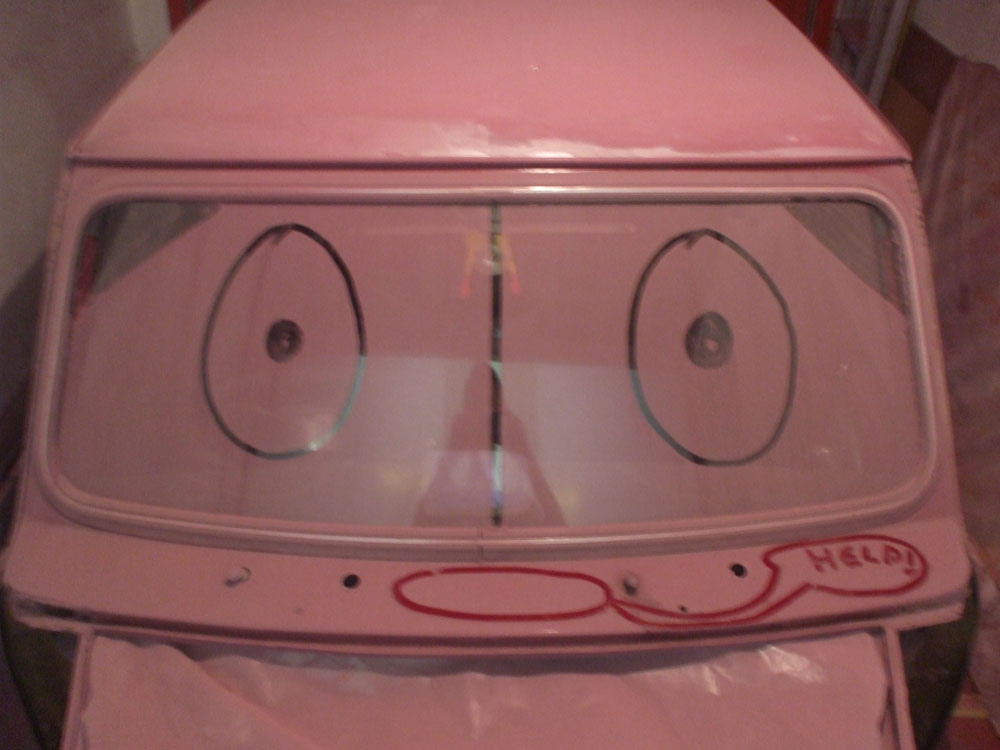
Pics of the car outside......what have I done!?!?!?!? Will look good again....some day! 
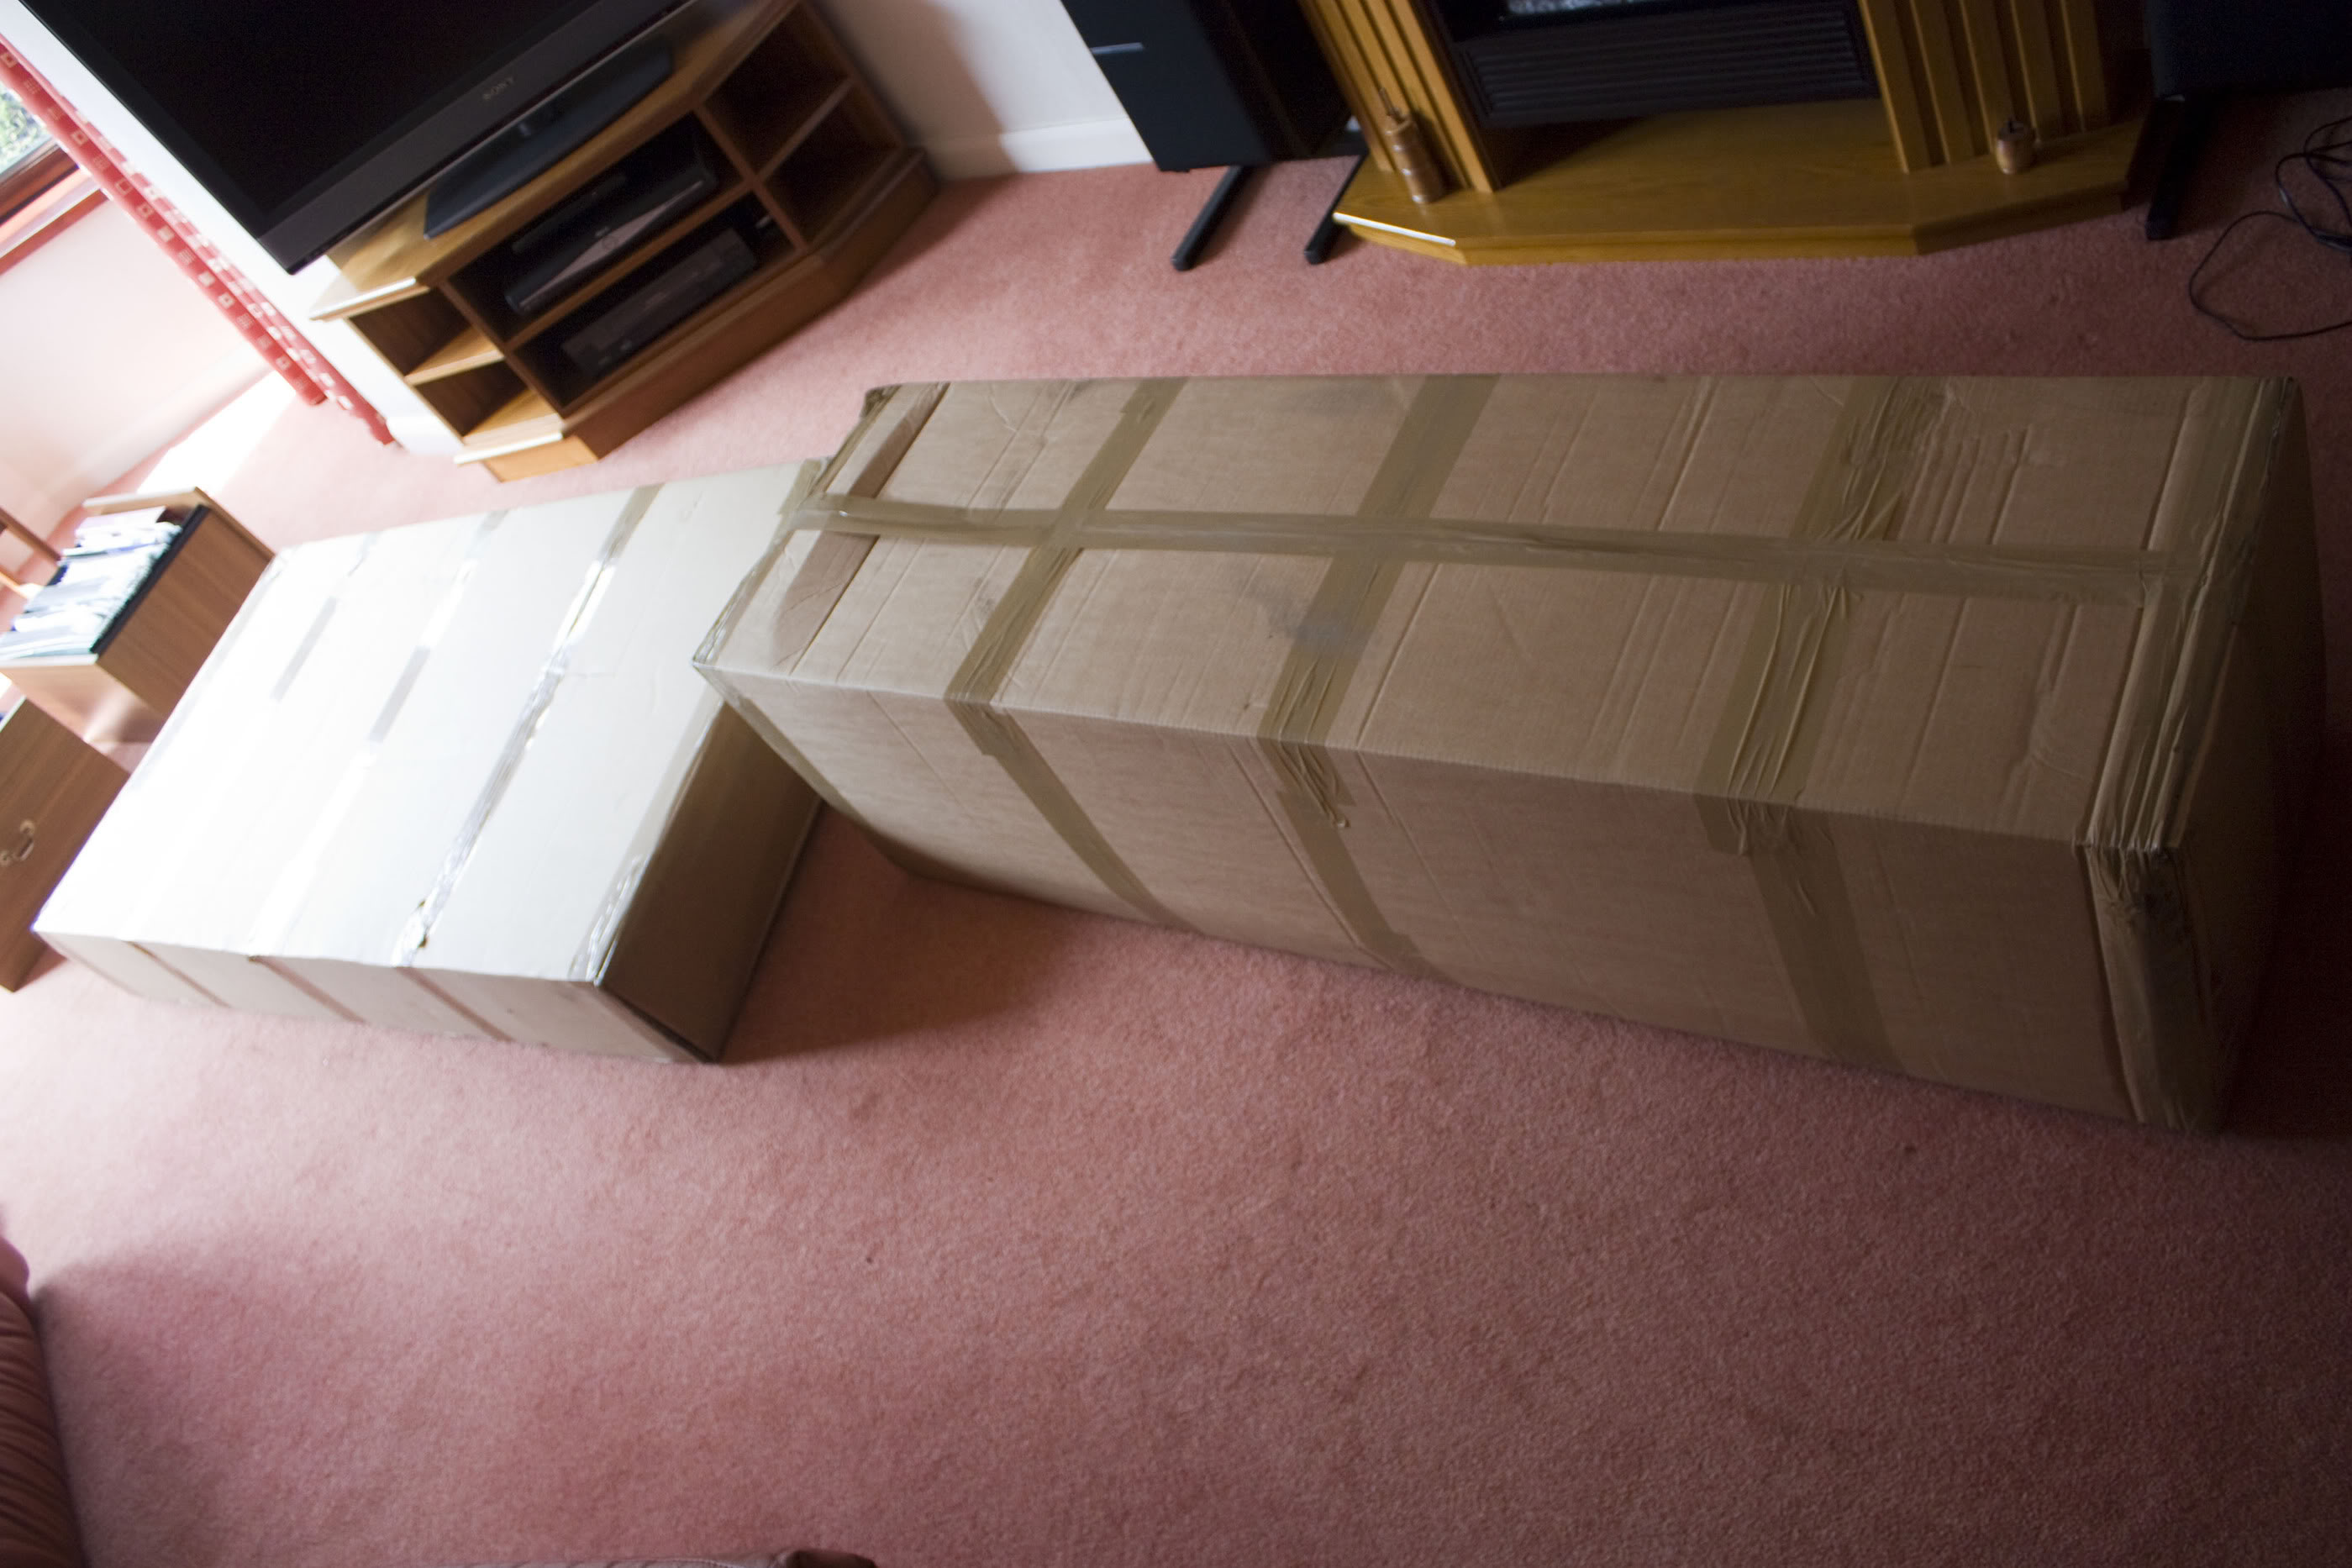
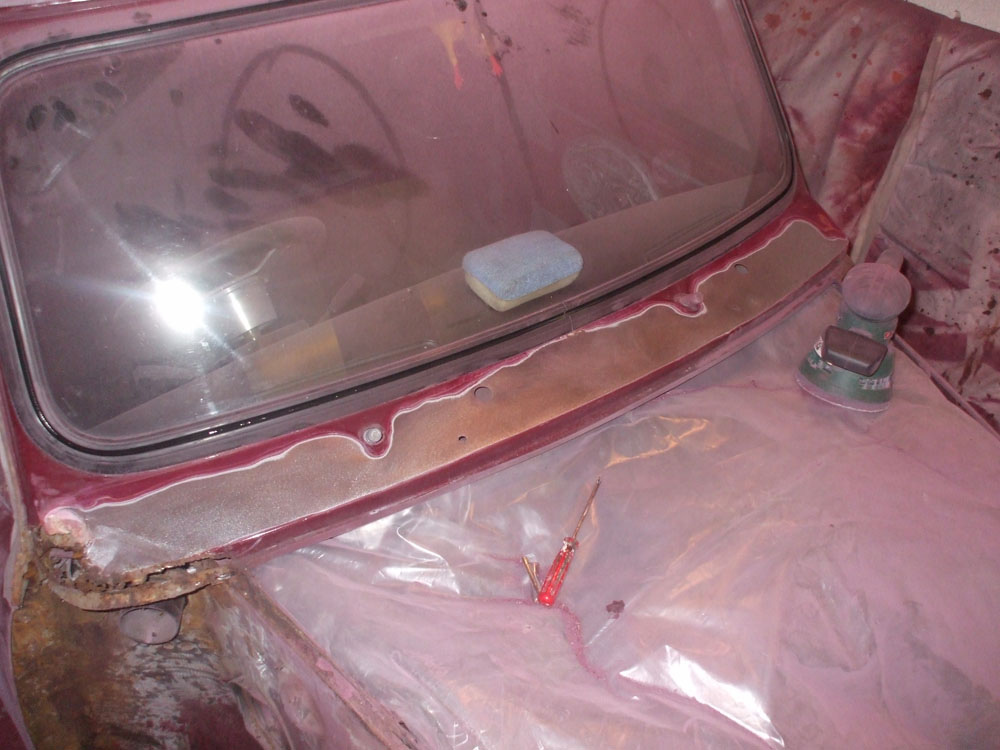
And got a new bootlid dropped off at work by Gus from Eastside VW. Dent free, bit of surface rust but nothing the grinder wont solve!
Get to work on the bootlid tomorrow sometime. 
GOOD NEWS! Photos are up!
So prepare for some (read loads) of photos
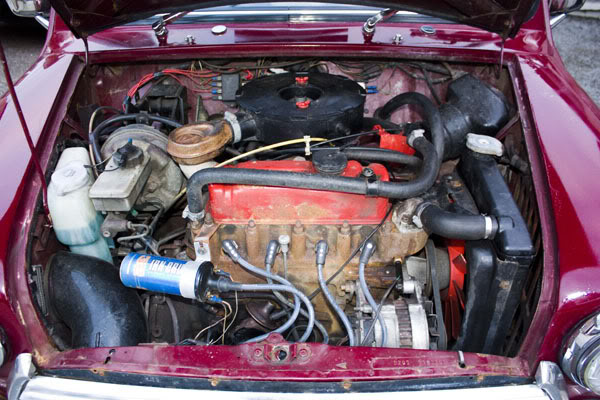
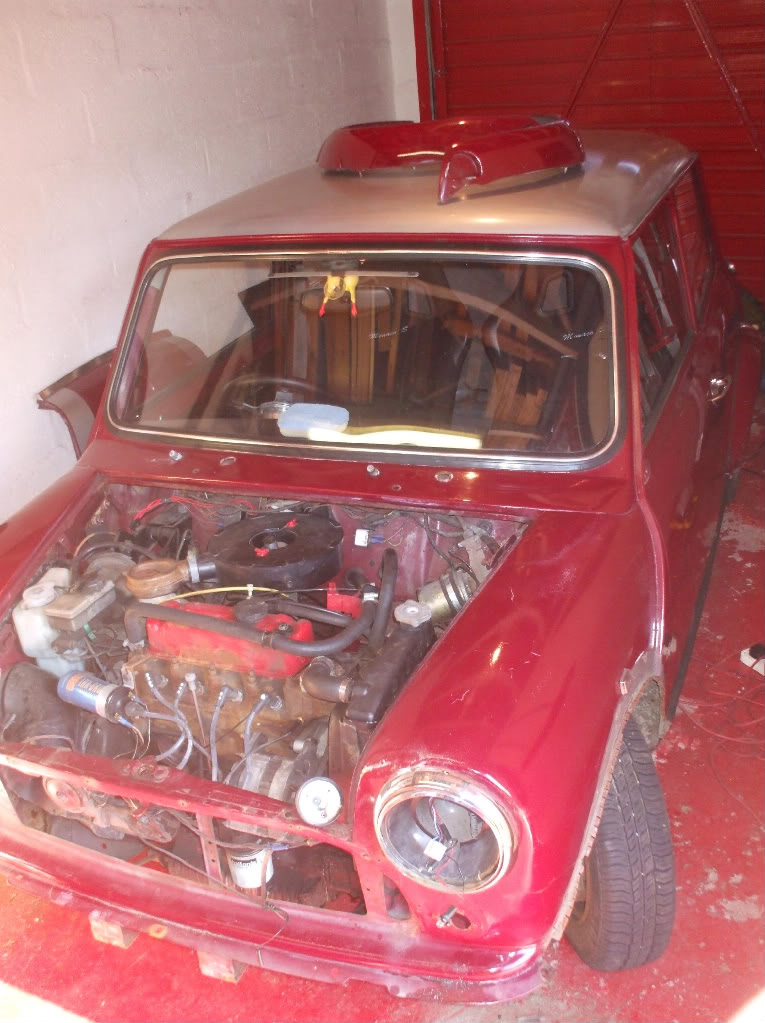
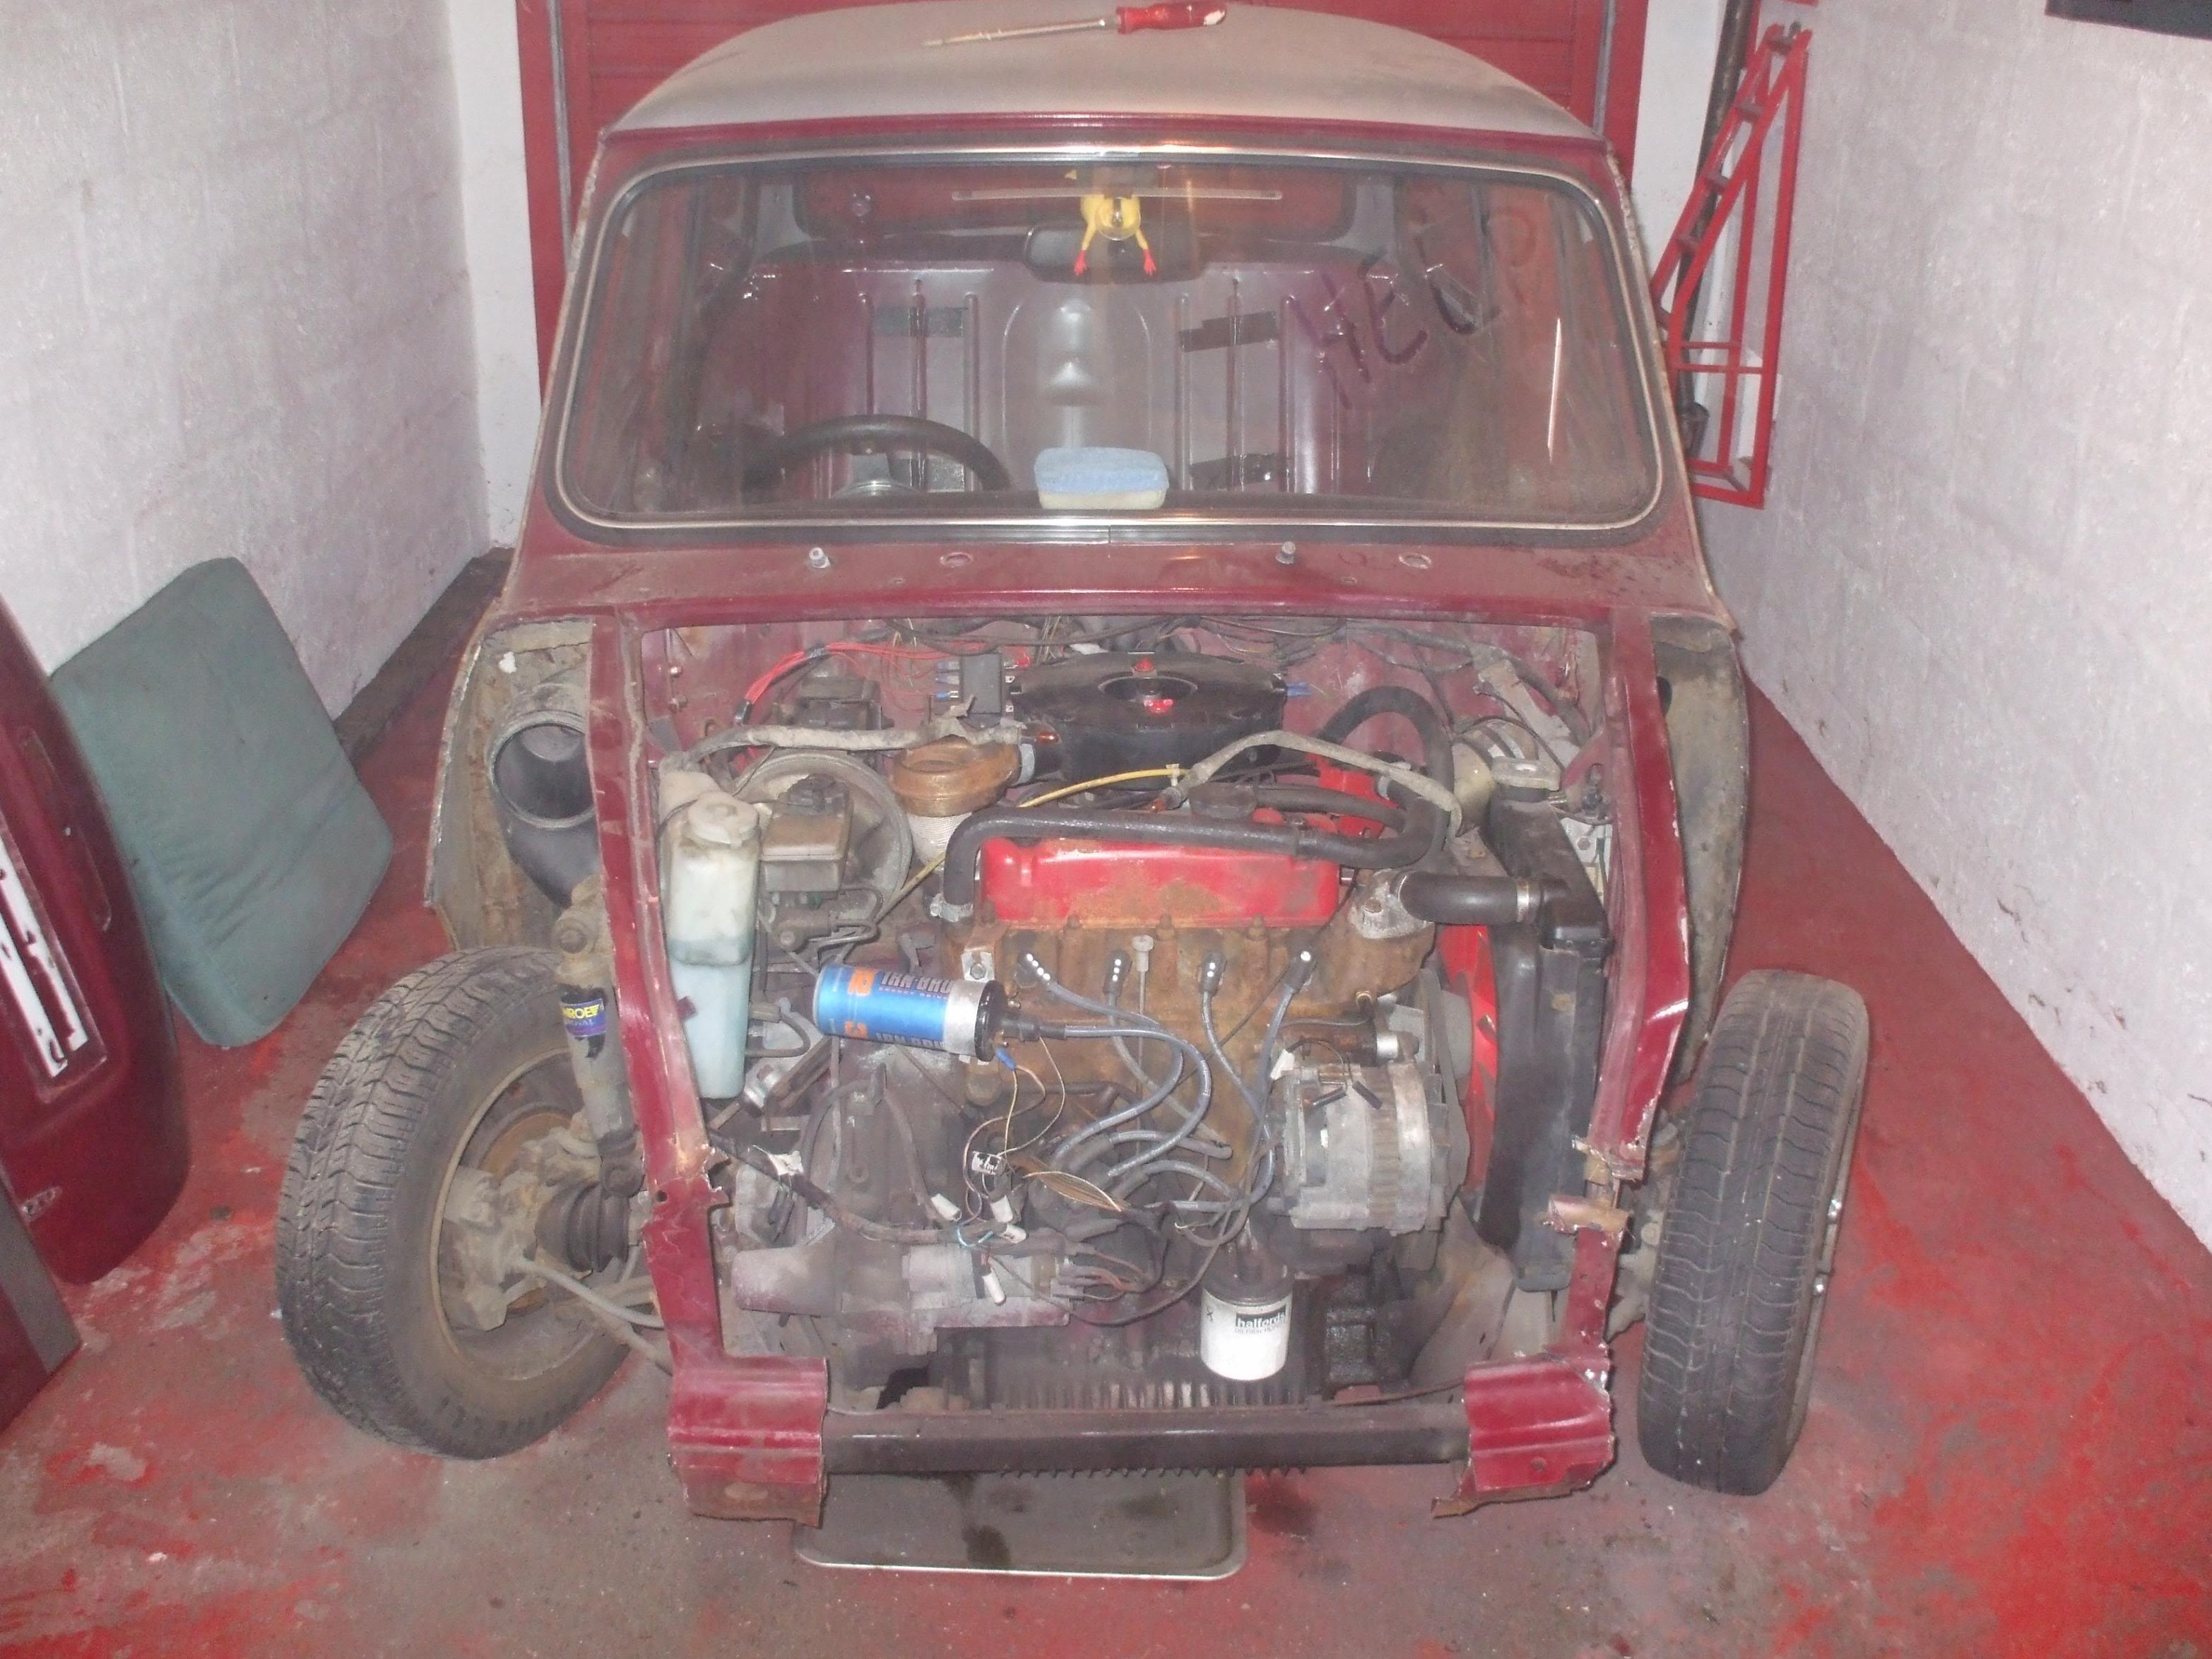
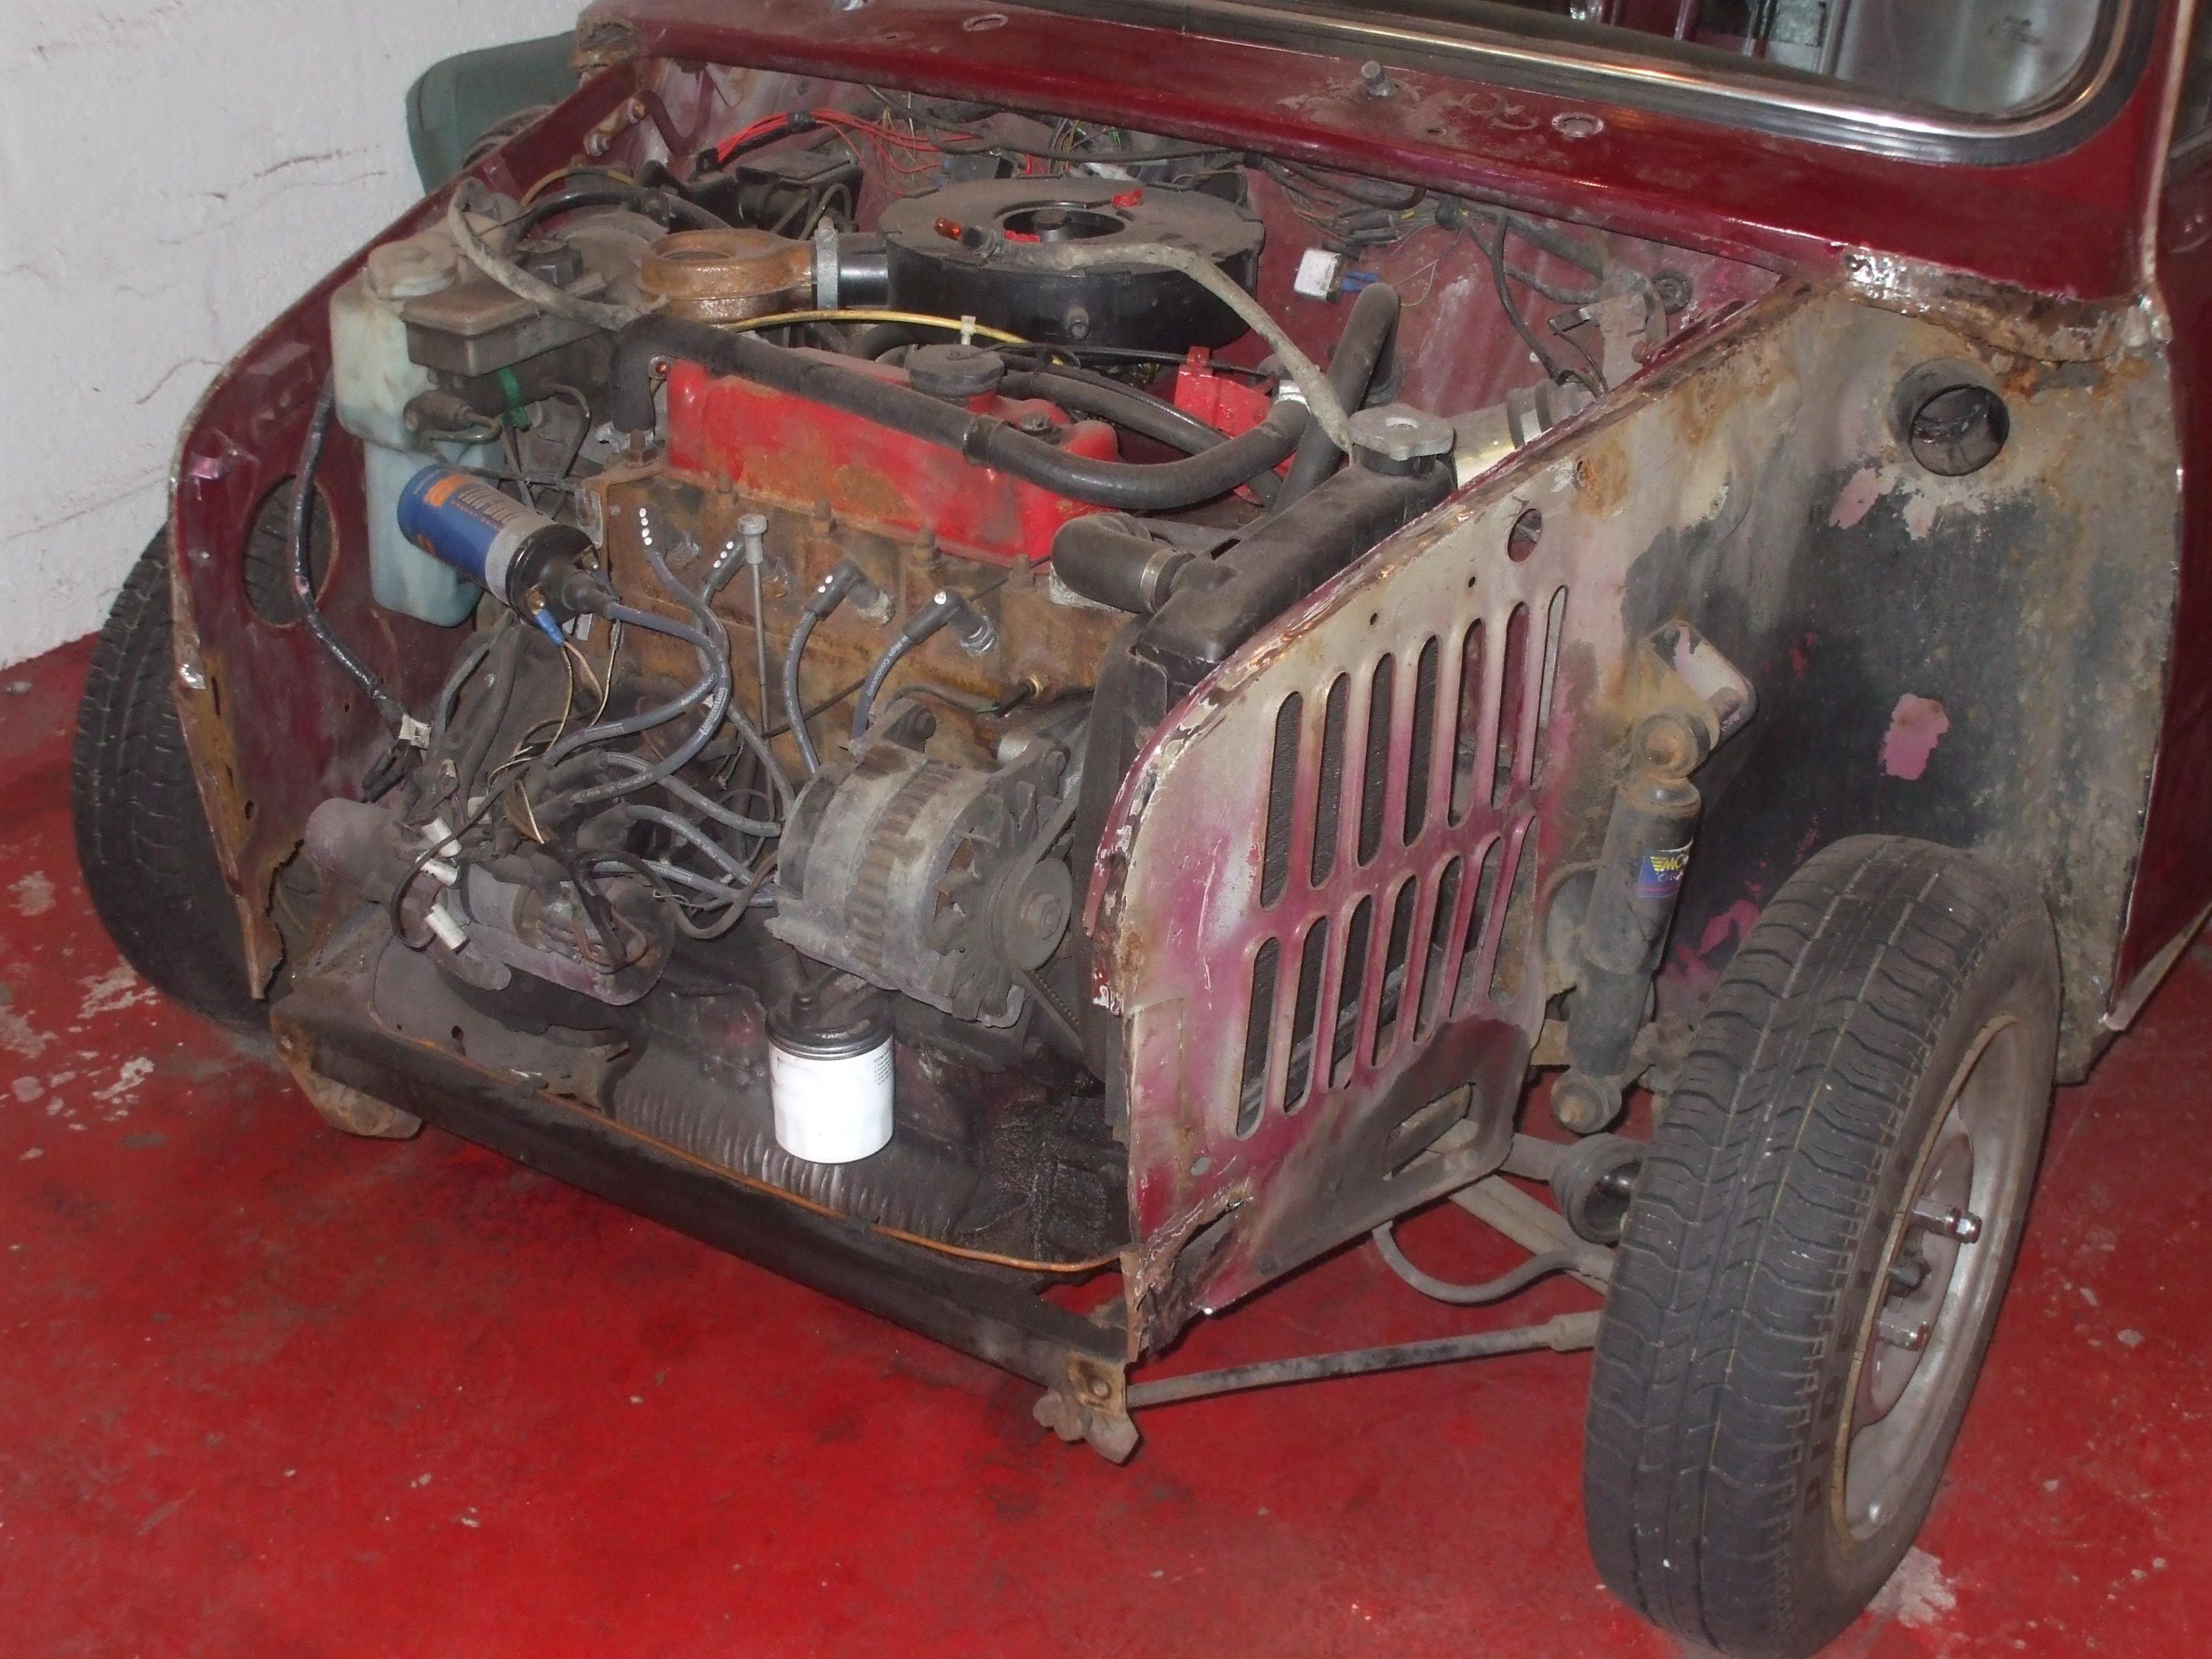
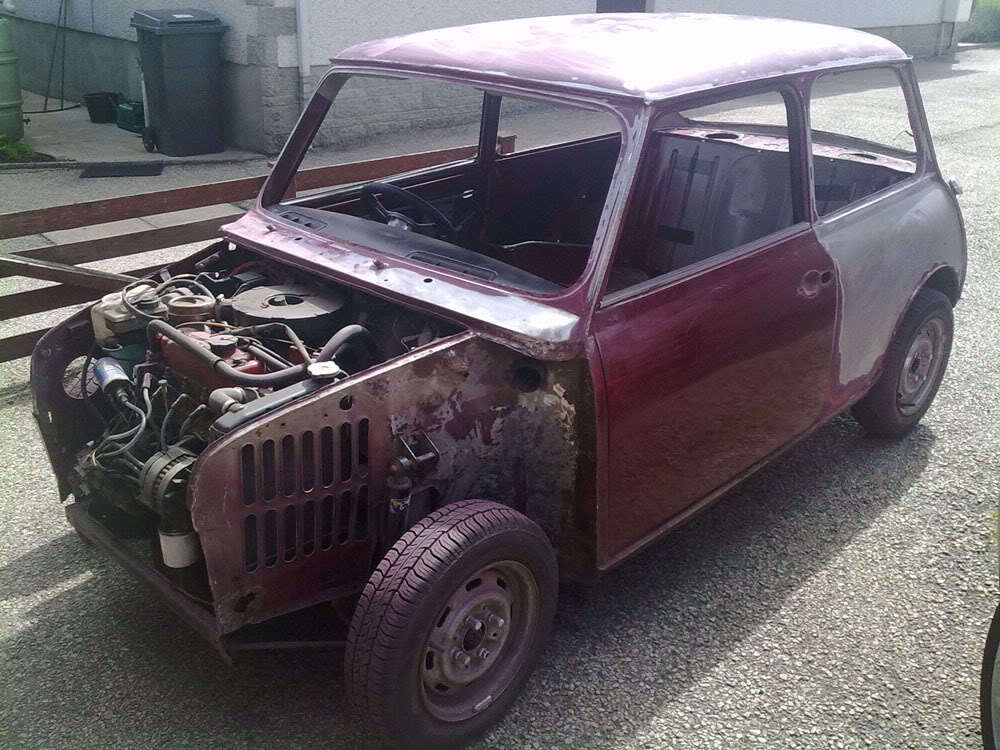
So engine still in...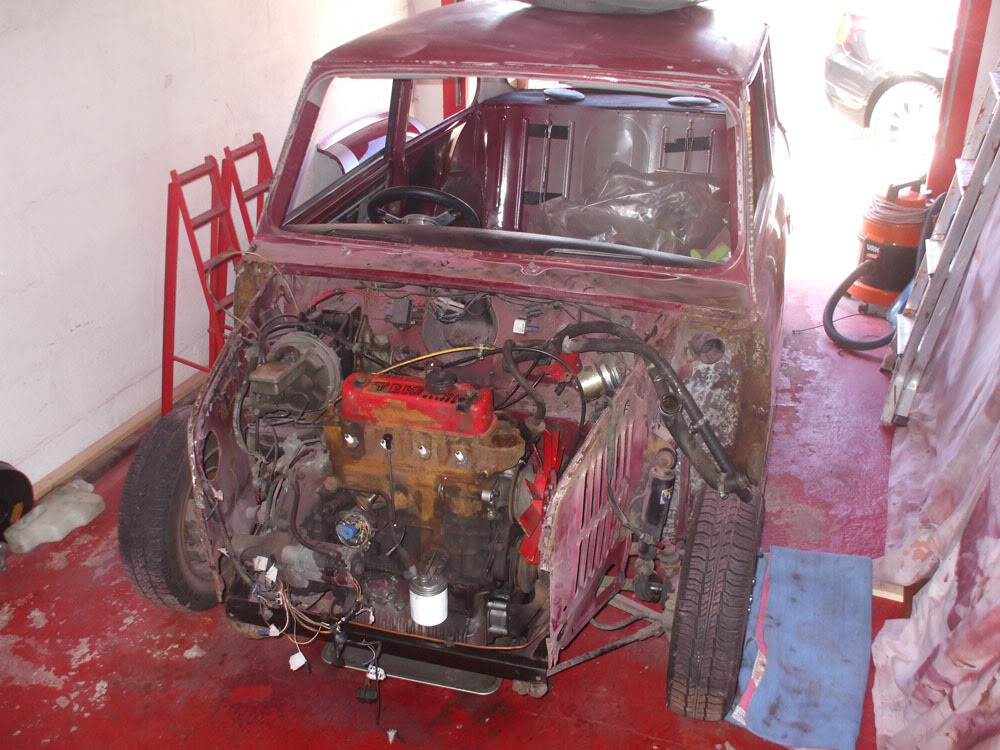
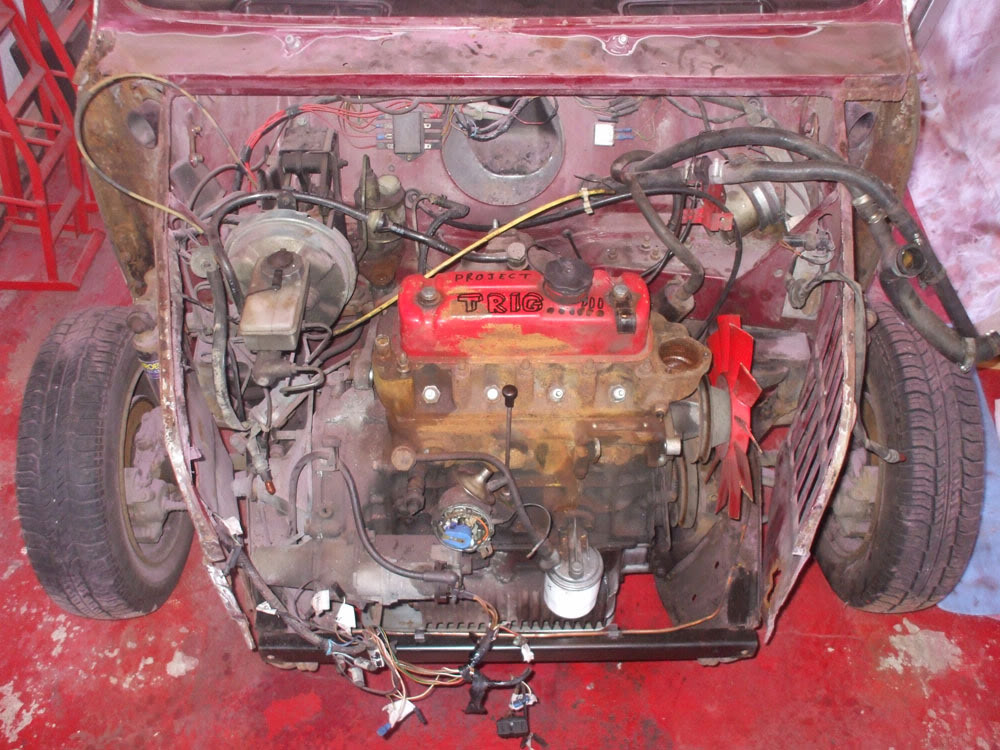
and so it begins!

who nicked me engine!!! 
Ah there it is! In all its clarted black mess glory...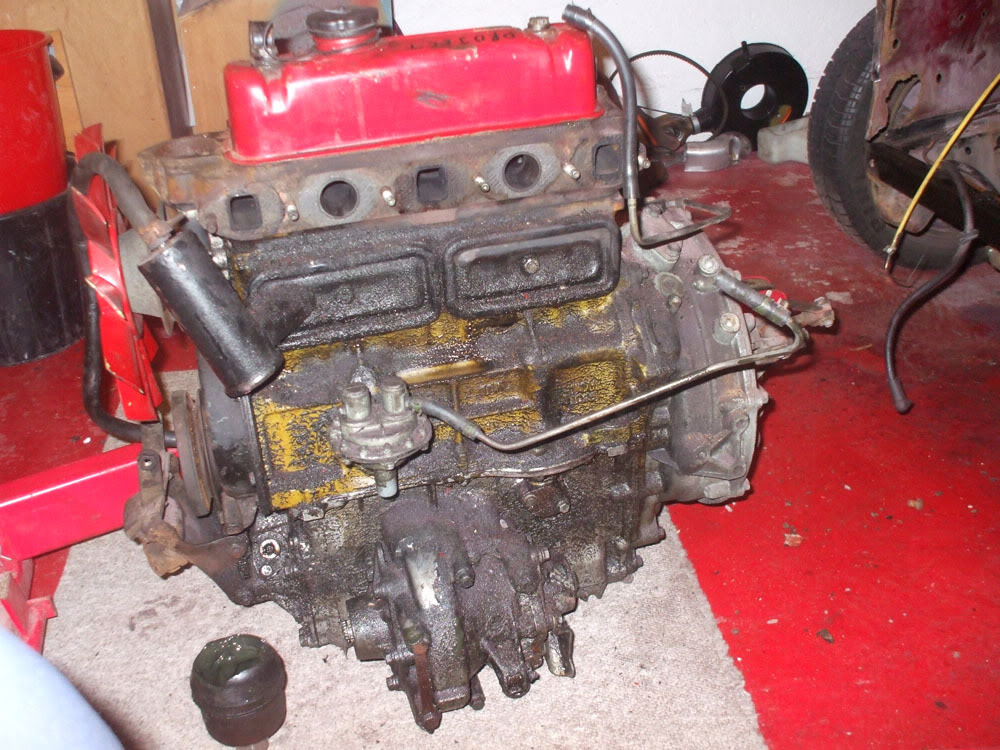
So as you can see the engine is a right state. 19 years of no cleaning has taken its toll and the paint is flaked, gone or worse rusted away. Time to clean!
Started by rubbing a bit of the crap off to see what it was like underneath.
Must try harder! So out with the Gunk!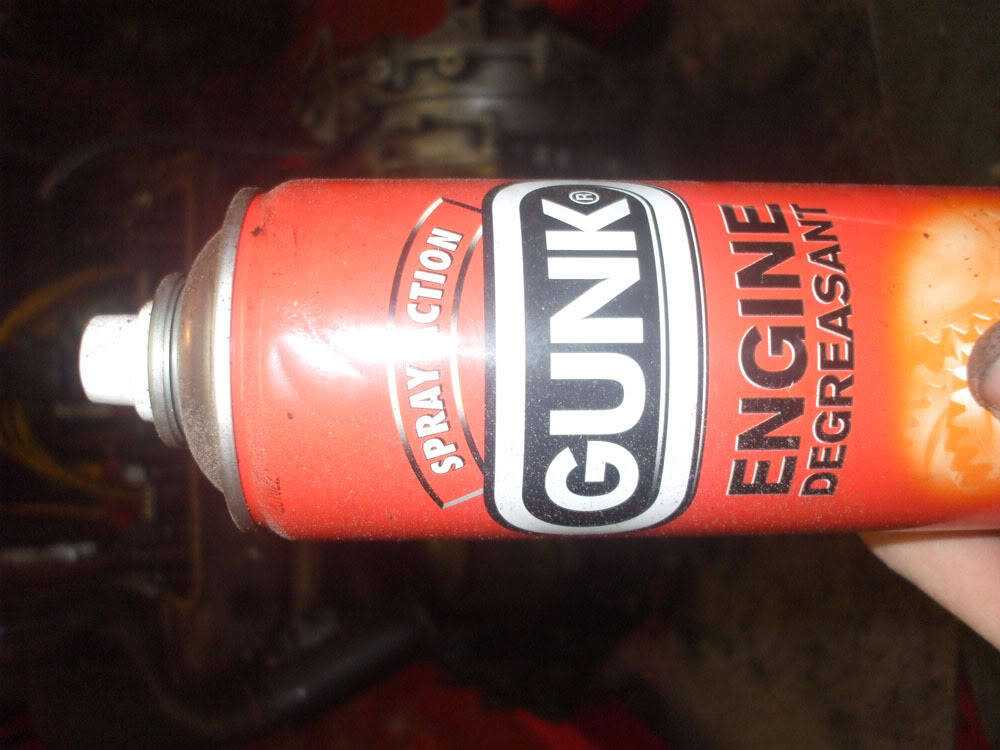
Agitate with a brush....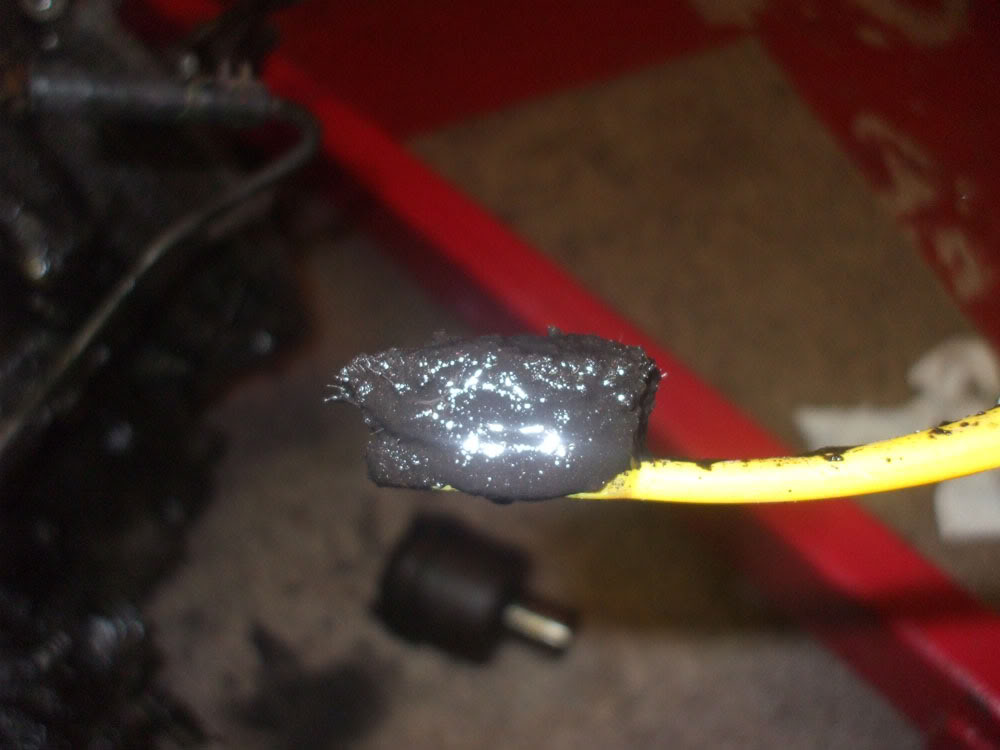
and then wipe off!
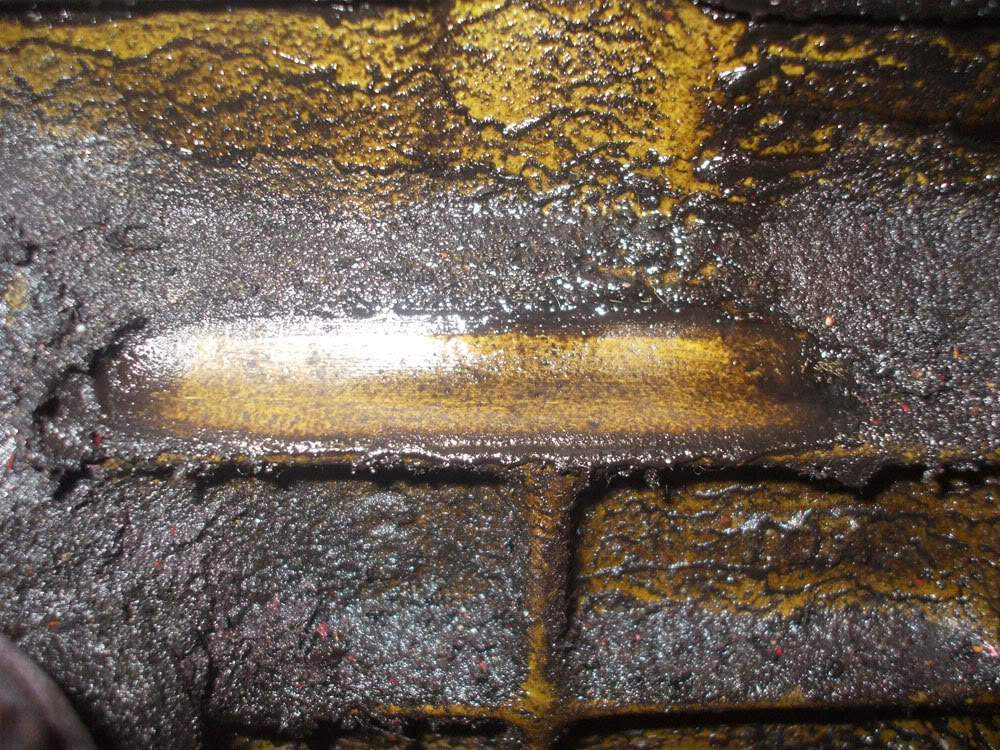
50/50
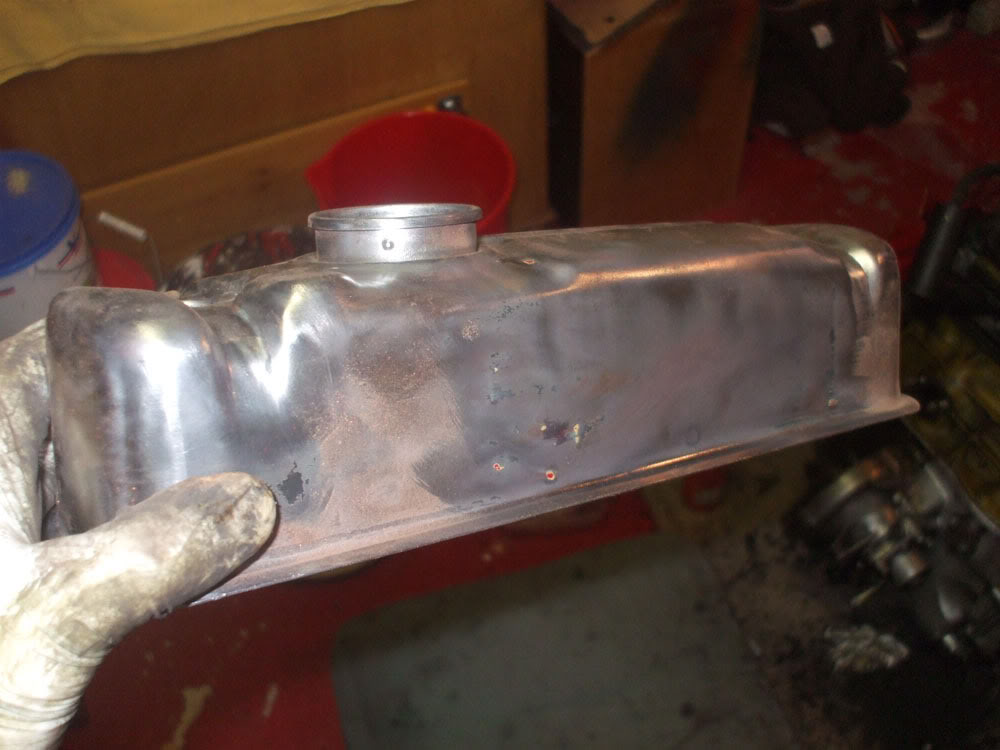
Whilst I was letting the Gunk work away at the slime I got to work on some ancillaries. Off with the rocker cover then!
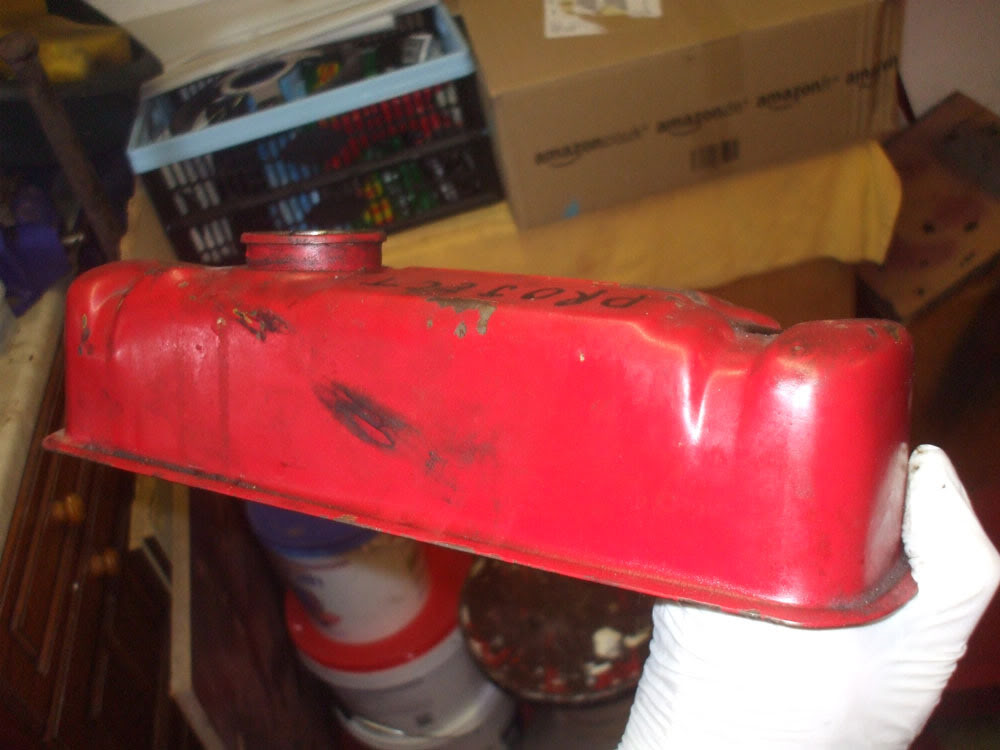
This used to be a perfect finished red rocker cover I renovated a couple years back but running the car over winter has destroyed this finish so it needed to go.
Quick going over on the bench wire wheel/grinder mabbober and the paint was gone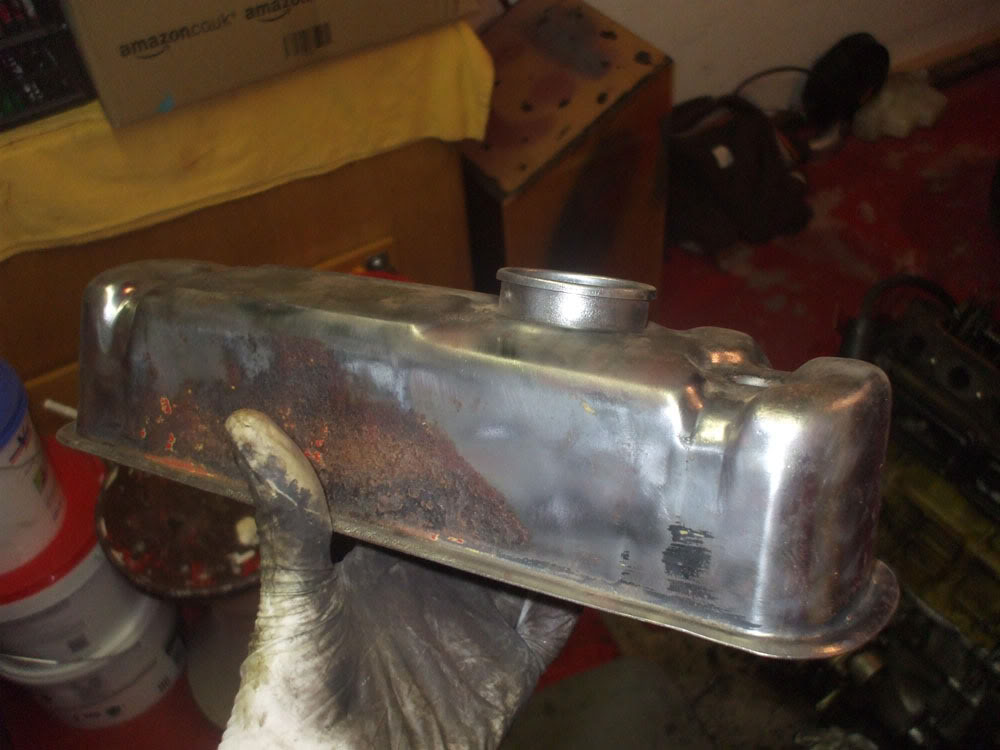
Water pump/radiator fan boss before...
and after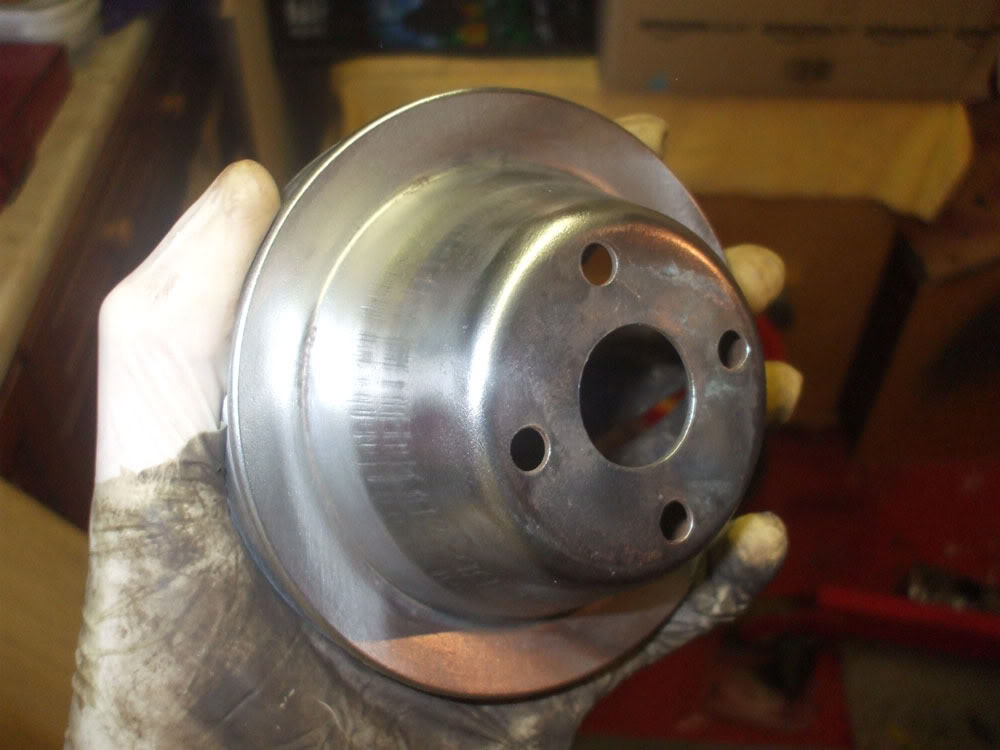
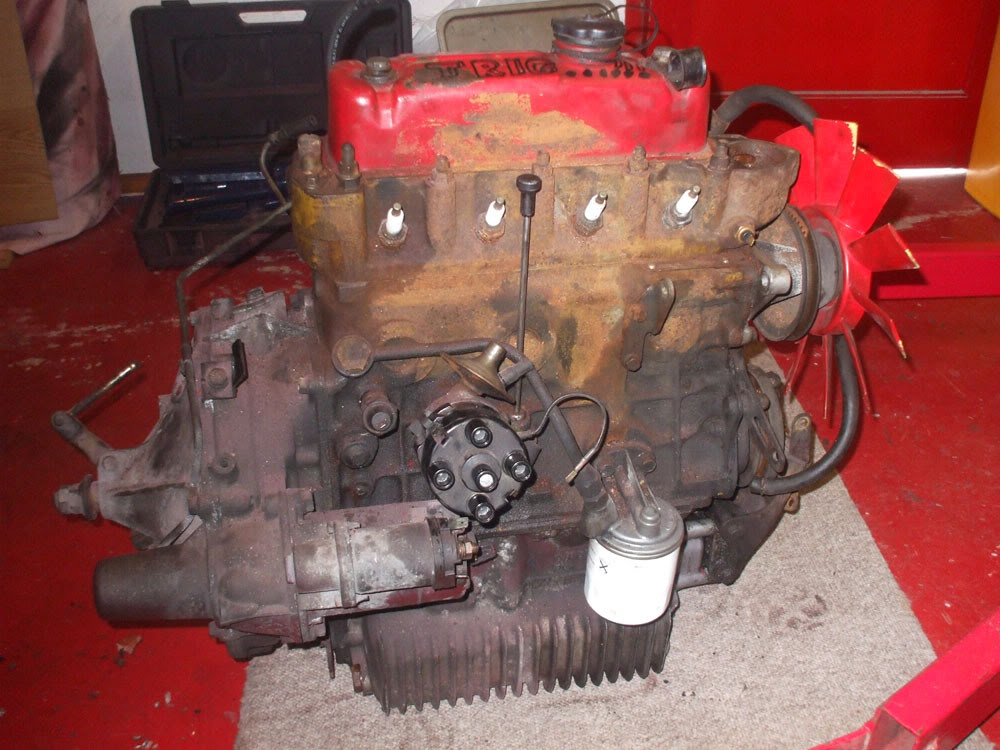
then back to the engine to finish off the back...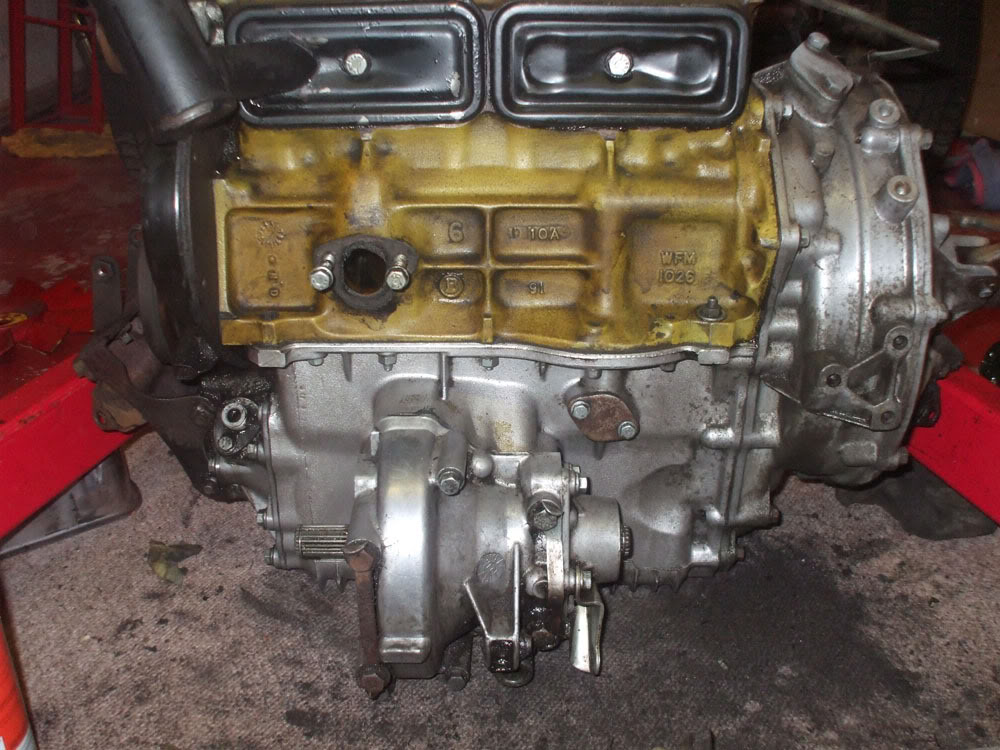
Progress indeed! Garage floor is a mess but cleaning up the engine is really satisfying as theres such a clear difference between before and after. More of the same tomorrow!
PROGRESS! Well old progress to be honest but only just got the time to get the photos off my phone!
So....starter motor before.....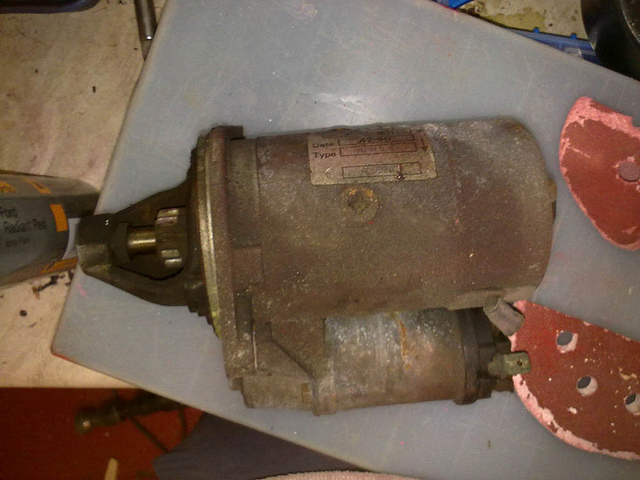
Starter motor after!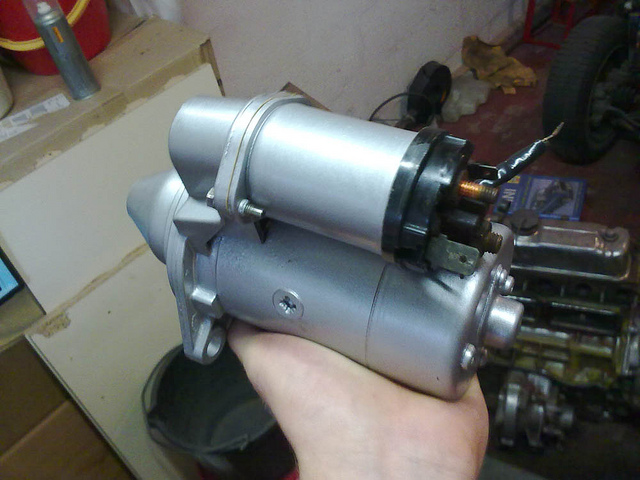
Alternator partially stripped down...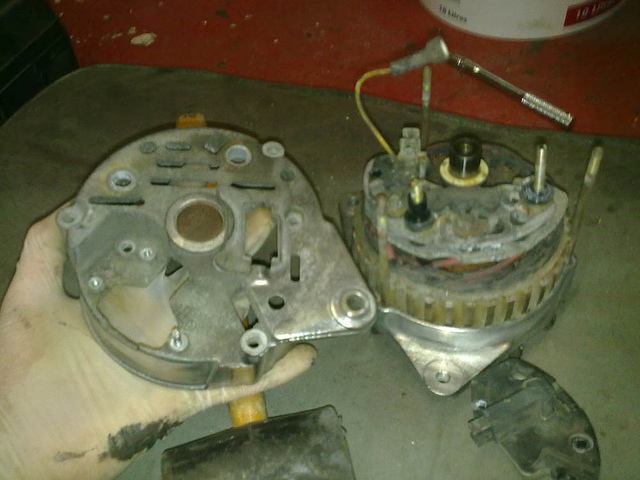
Alternator after!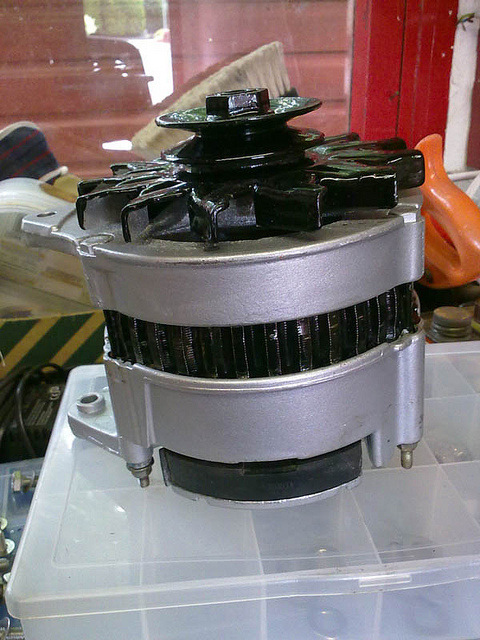
Fan (no befores but imagine this in red with yellow flecks coming through from underneath....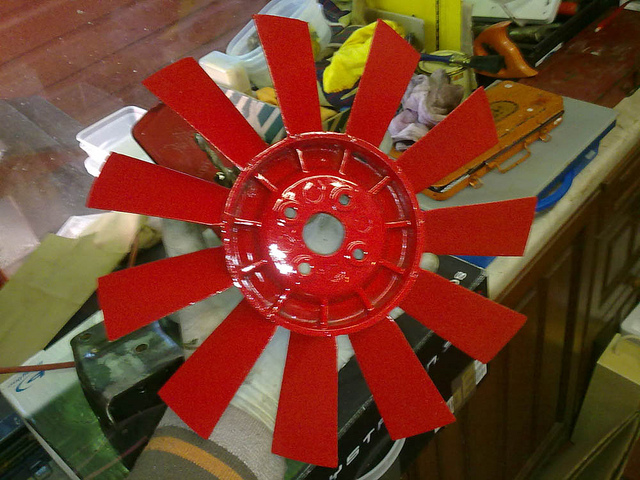
Gearbox housing 50/50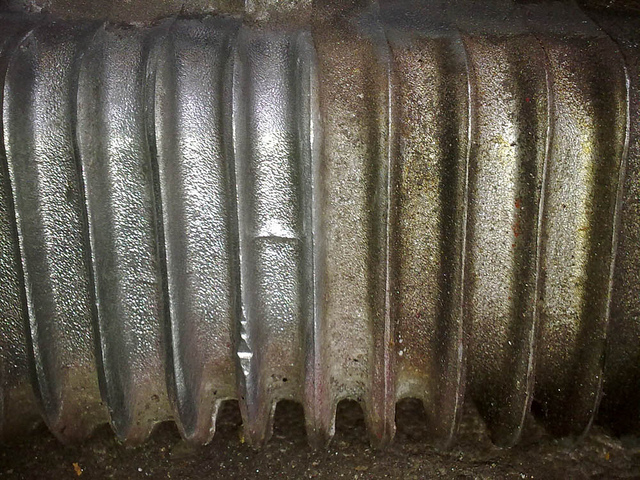
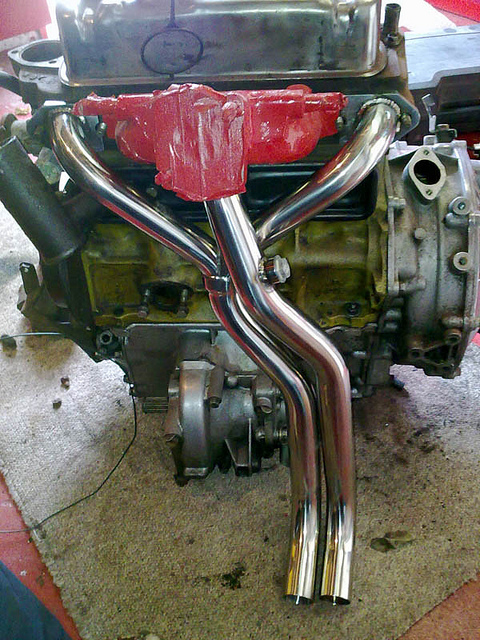
Rear of engine. Test fitting Stainless manifold. It fits like a glove 
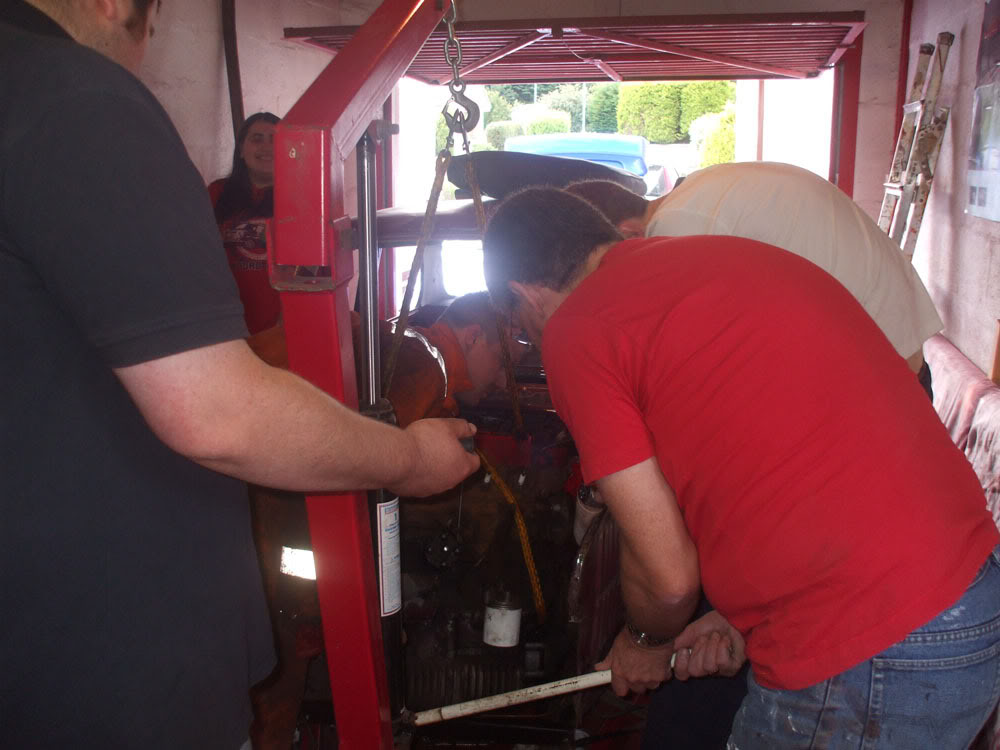
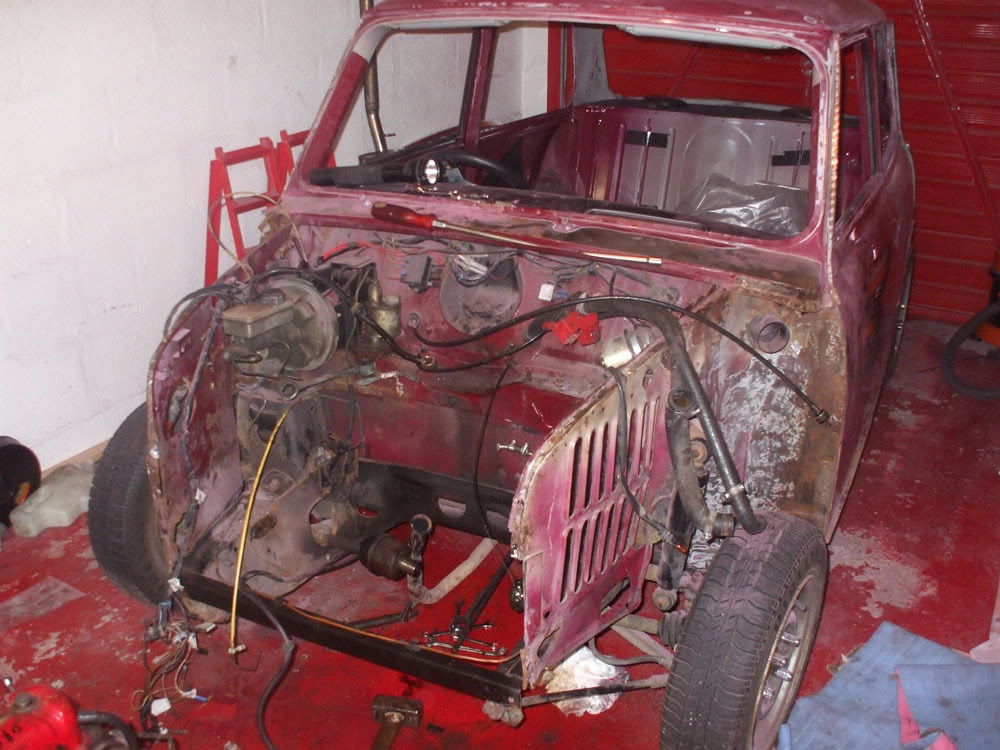
Engine placed on base of old computer desk so it can be wheeled around the garage.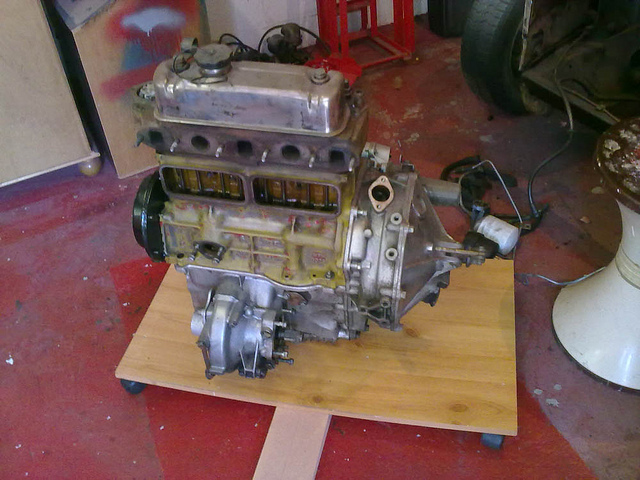
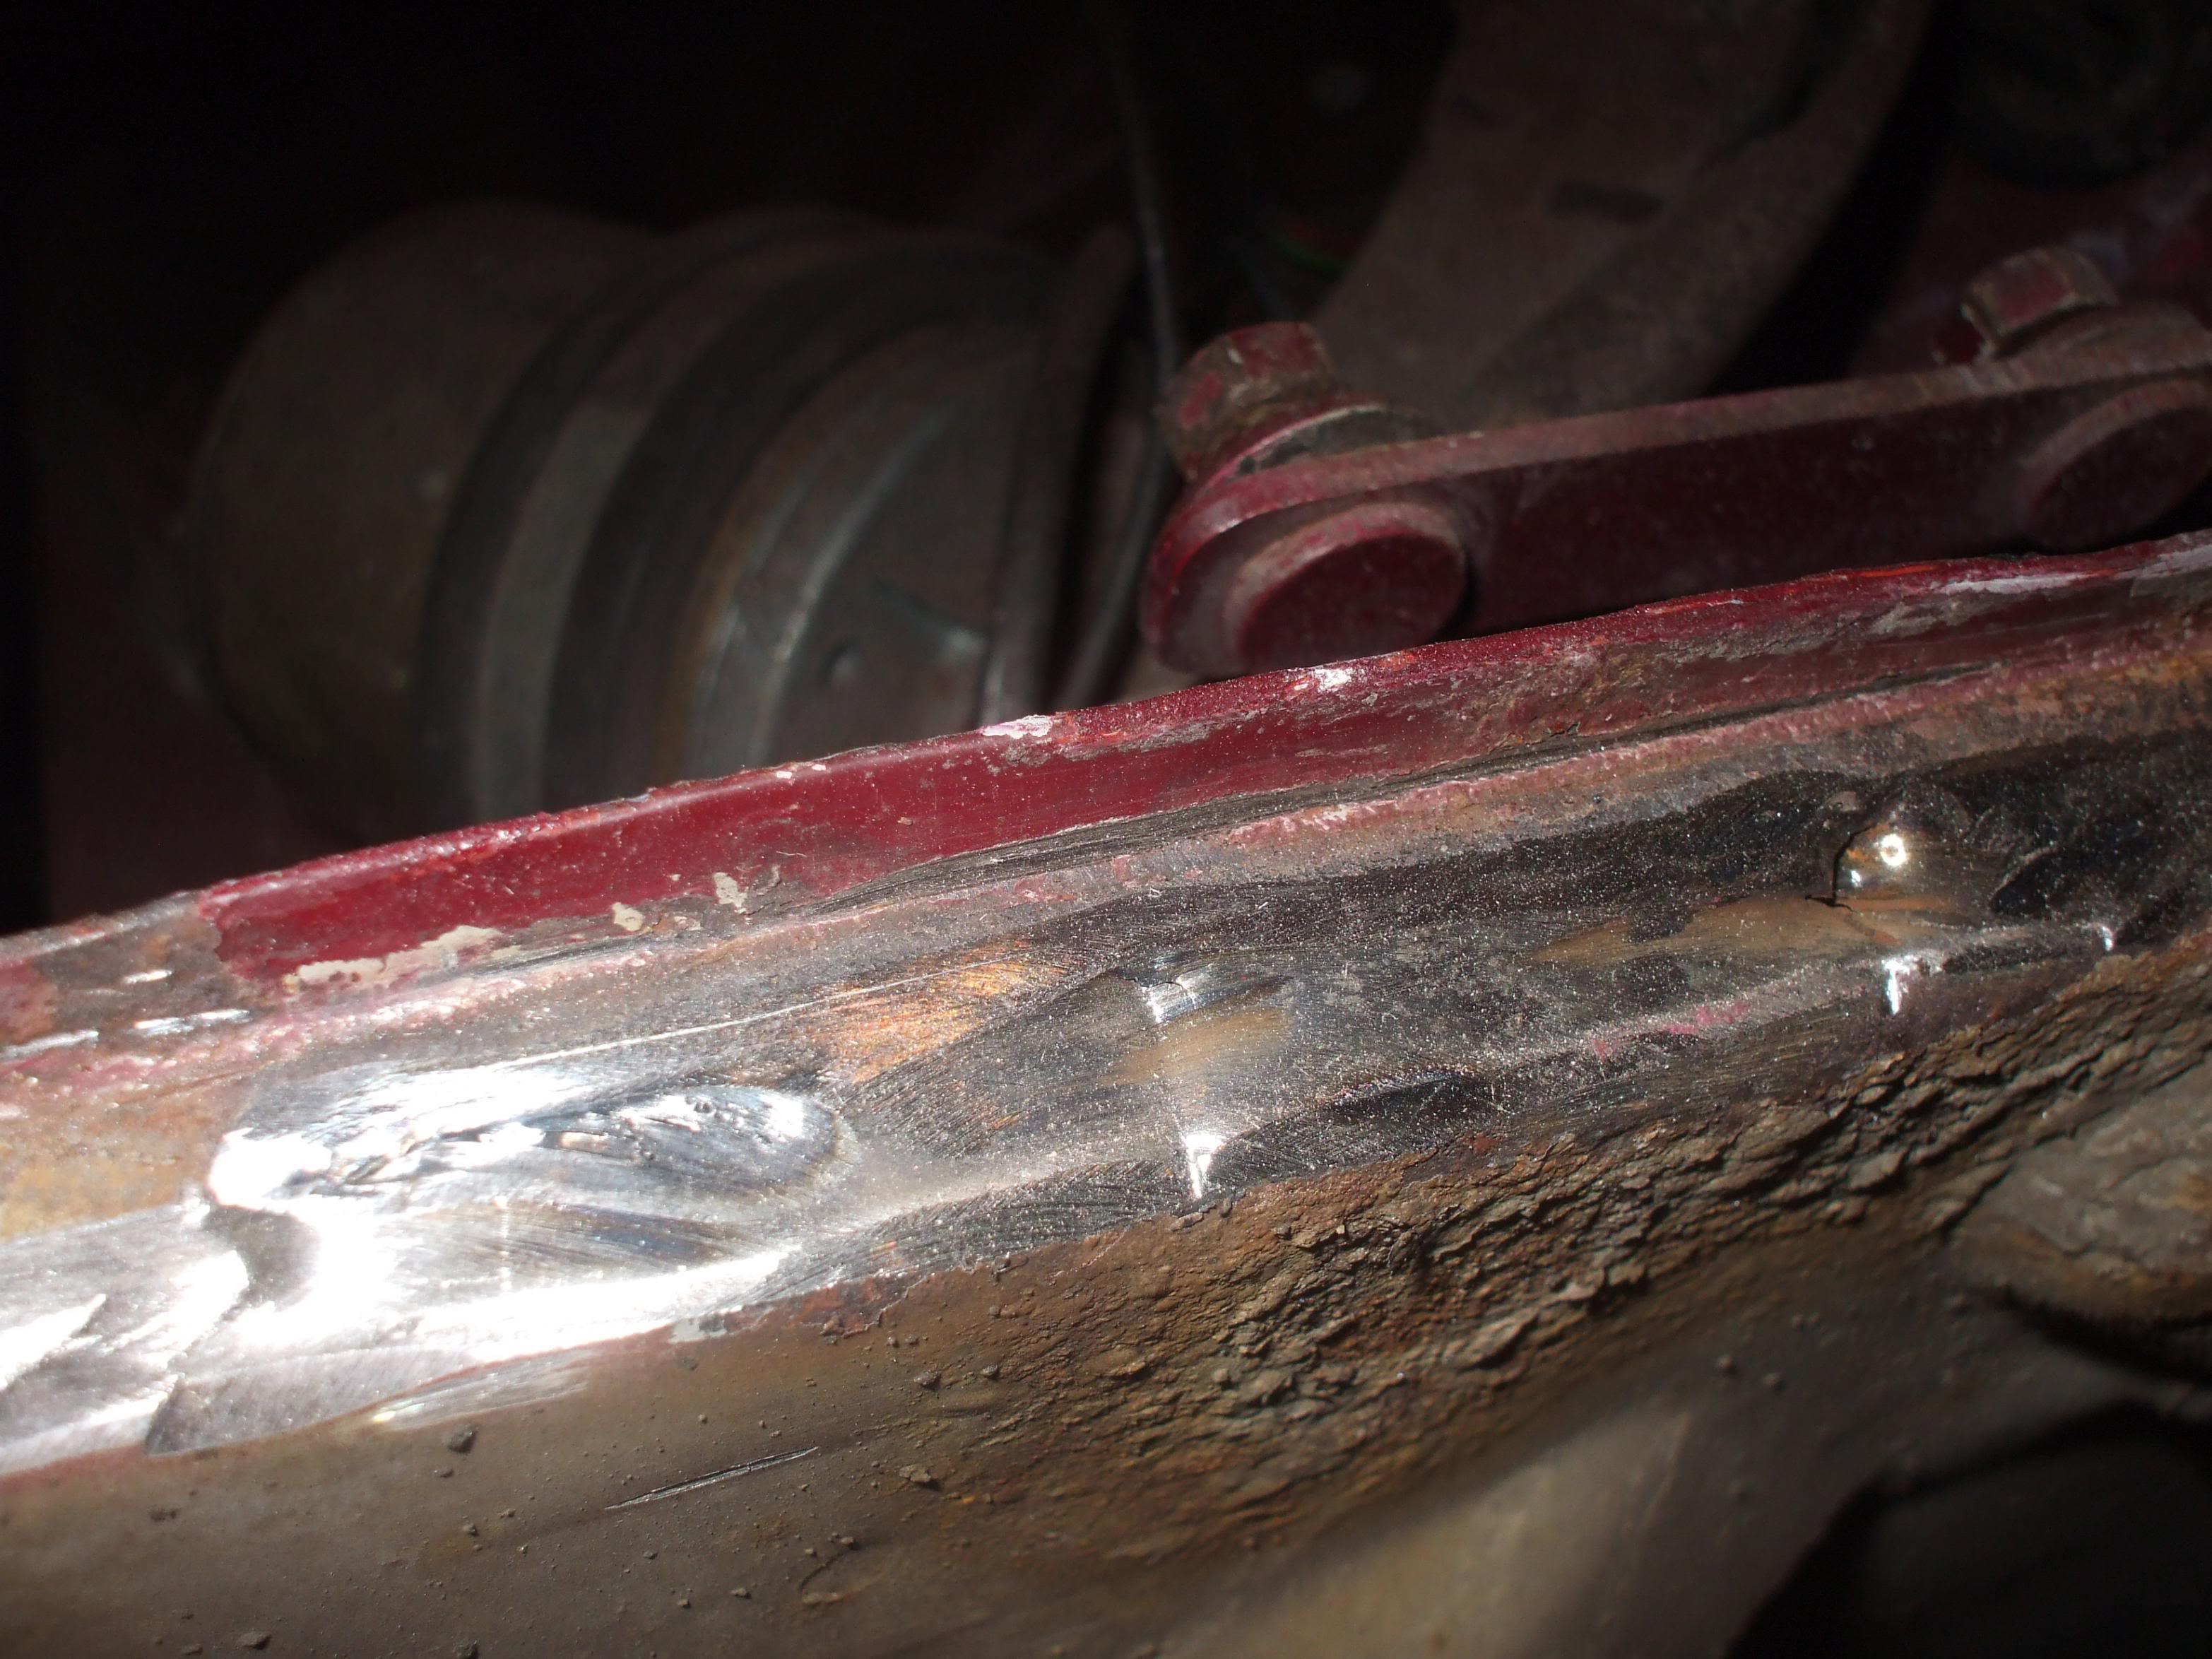
And replacing the engine bolts with stainless alternatives. No rusty inaccessible its from now on!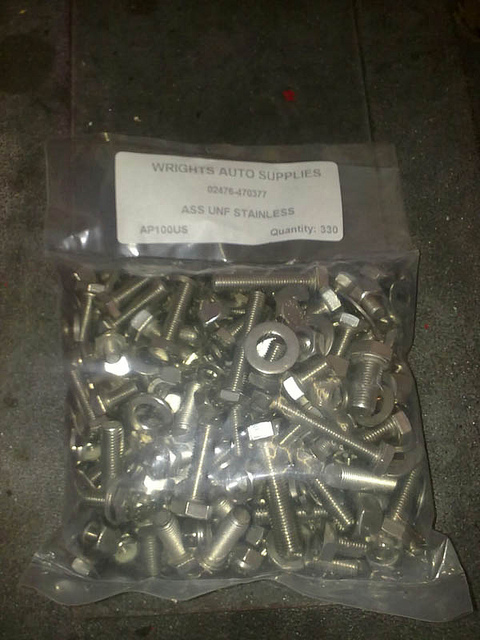
Thats yer lot for now! Havent worked on it in 7 weeks due to work/uni but intend to do some more asap before i go mental with uni work again.
PICS!
This ones more for my own reference come rebuild time with regards wire locations but I know how you all like pics! 
Removed what remained of the a panel. Lots of rot and LOADS of bog/fibreglass taken out. Ridiculous amounts that served no structural strength whatsoever.
Heres a small amount of what I took out.....
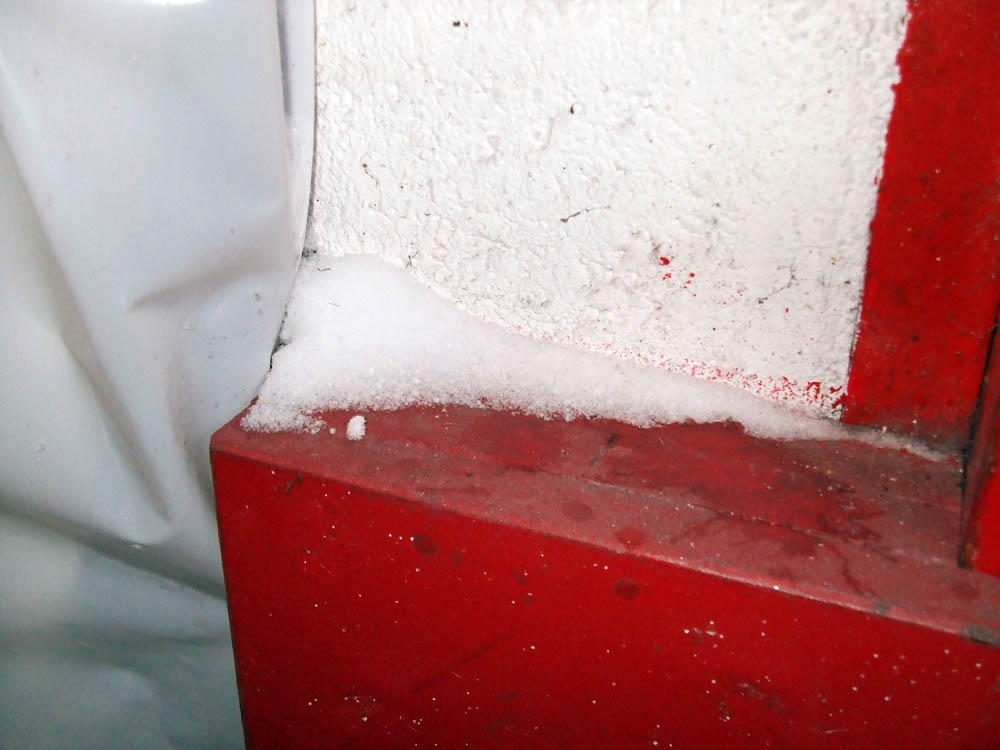
And this one to show how cold it is in the garage....snow driting inside through the gap in the door 

Comments

I LOVE Mini Coopers. Wow fantastic detail / photos here!
Posted by Diggymart on 1/22/19 @ 4:17:19 PM
Congrats BOTW what a beauty!
Posted by Diggymart on 2/6/19 @ 3:15:15 PM