You must be logged in to rate content!
4 minute read

RedlineGoods Challenger 2008-14 Shift Boot Installation
Removal of the original boot:
Remove the shift boot assembly from center console.
Separate outer bezel assembly from shift boot black support ring by pressing
in on surround tabs.
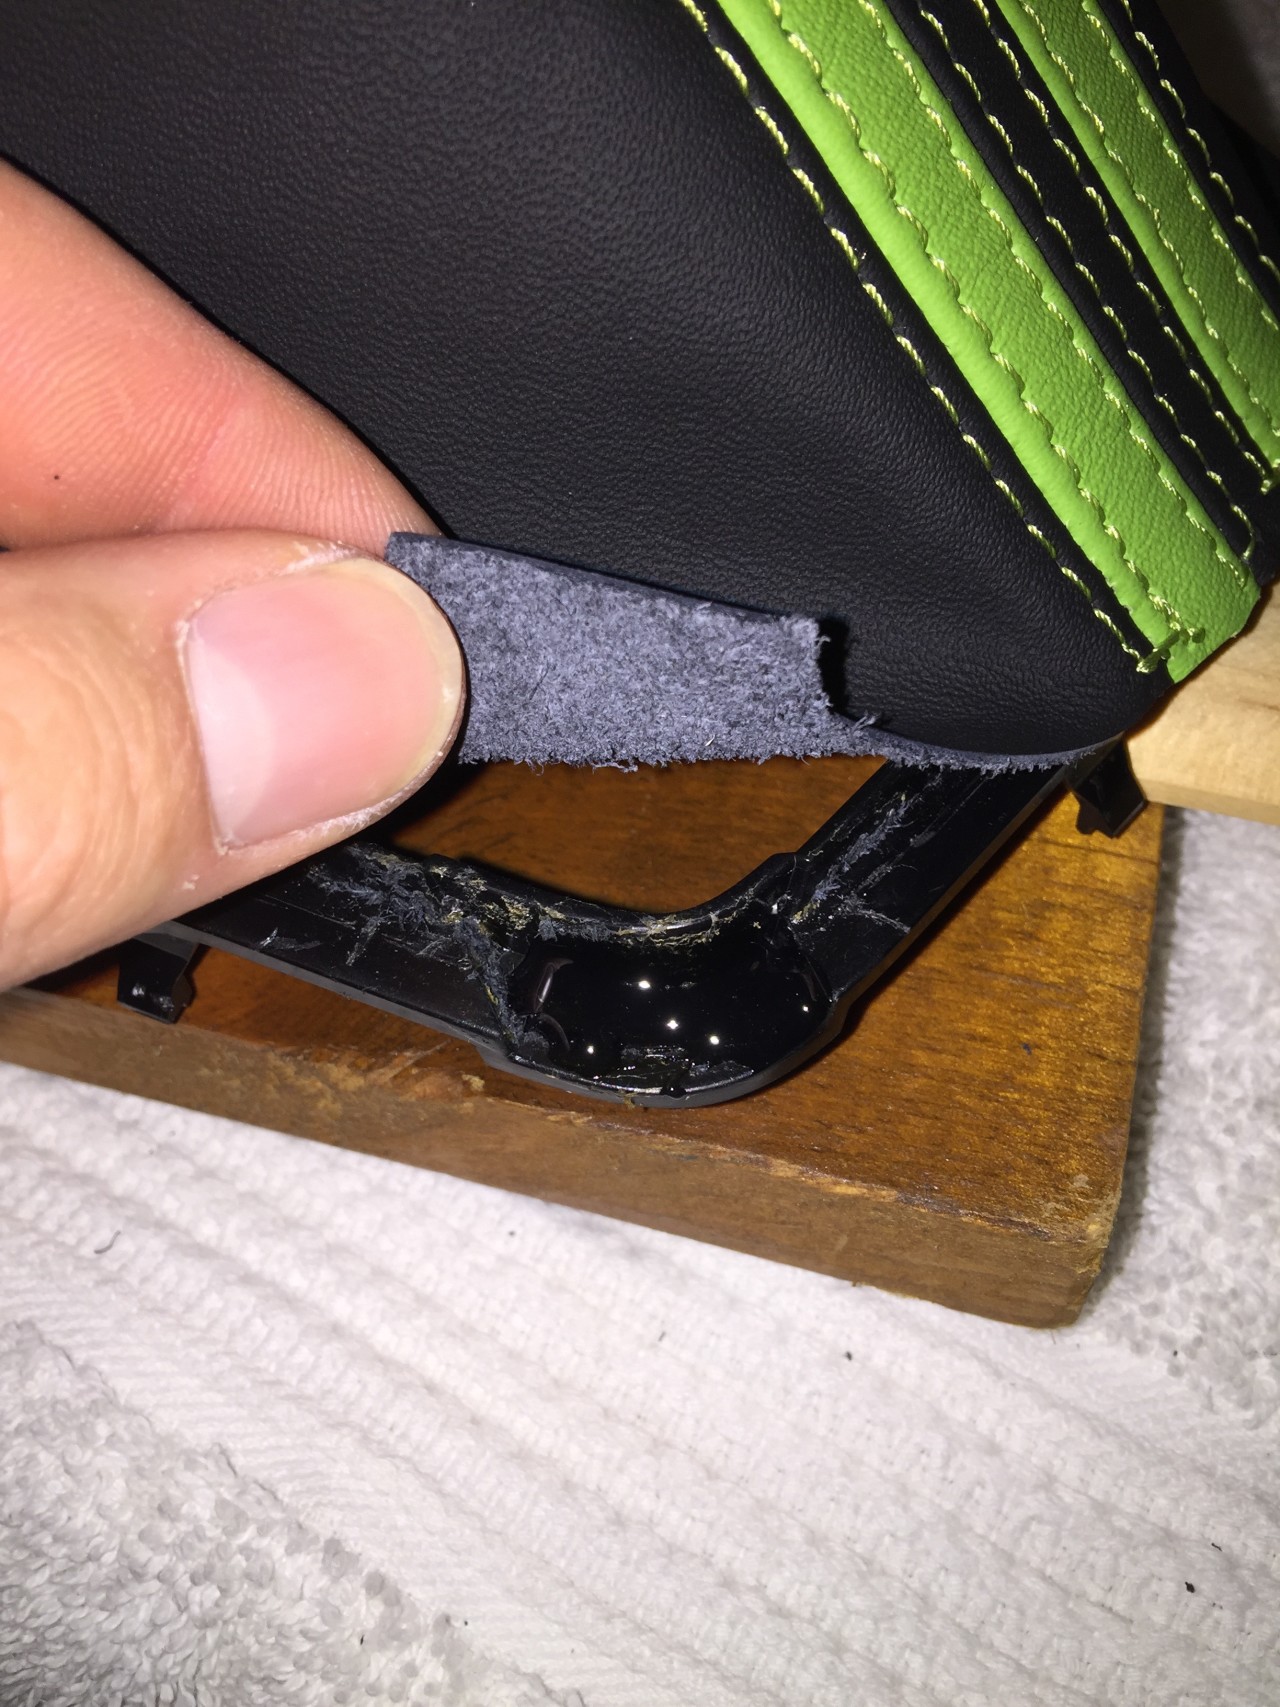
Once boot assembly is down to the black support ring, remove upholstery
staples, and separate boot from black support ring.
Remove shift boot from shift knob.
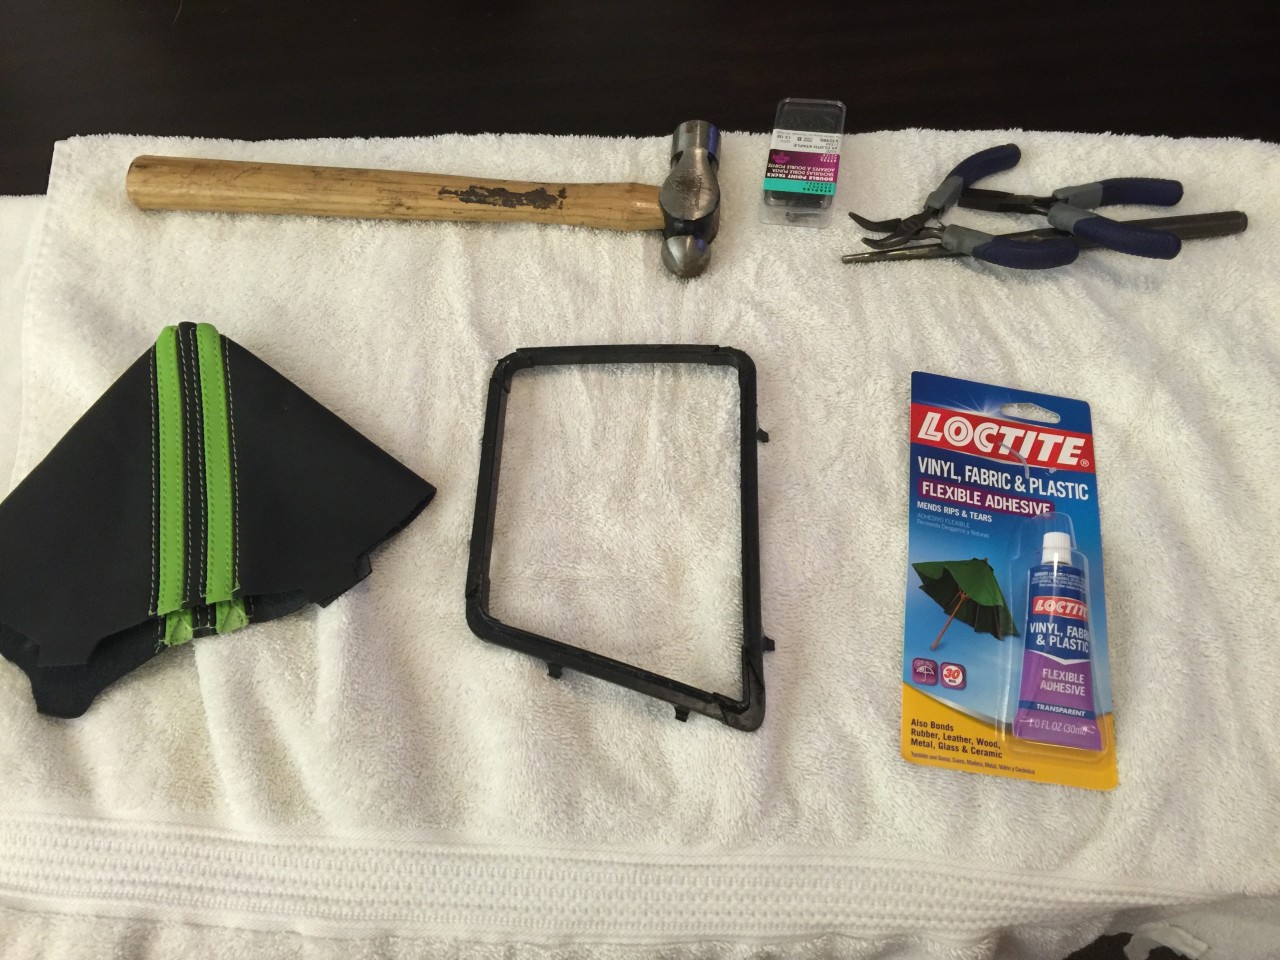
Installation of the RedlineGoods boot:
Hammer (for light tapping for removal of upholstery staples)
Assorted pliers (for removal of upholster staples)
Loctite Vinyl, Fabric, and Plastic adhesive
Toothpicks (for application of adhesive)
Small clam clips (or small clamps) (for holding leather assembly in place while adhesive cures)
1. Lay out all items on a clean rag that you won’t mind having to throw away after use.

2. Mock-up install of boot onto black support ring, to ensure you have the proper side facing the proper direction.
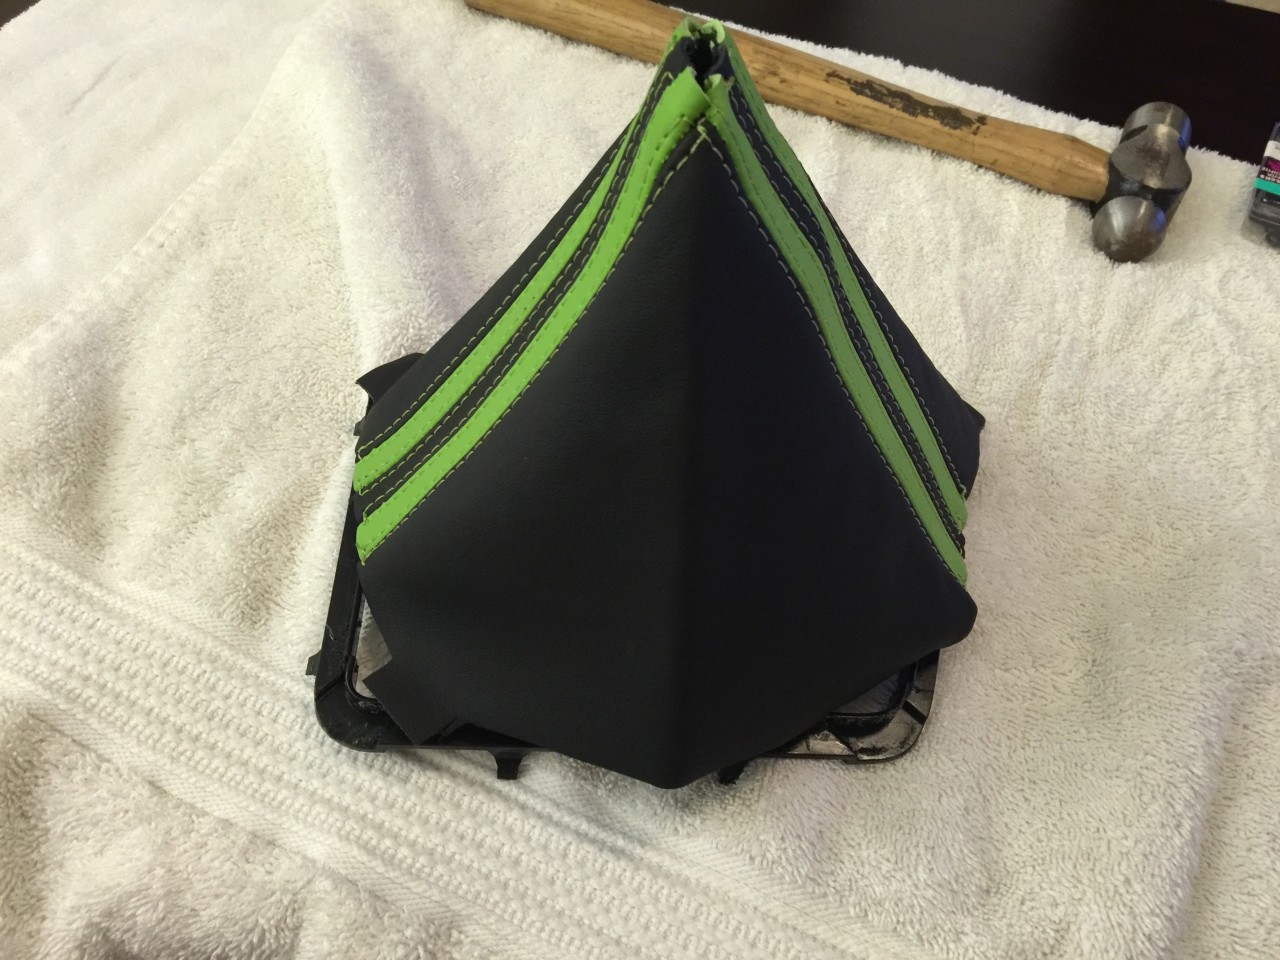
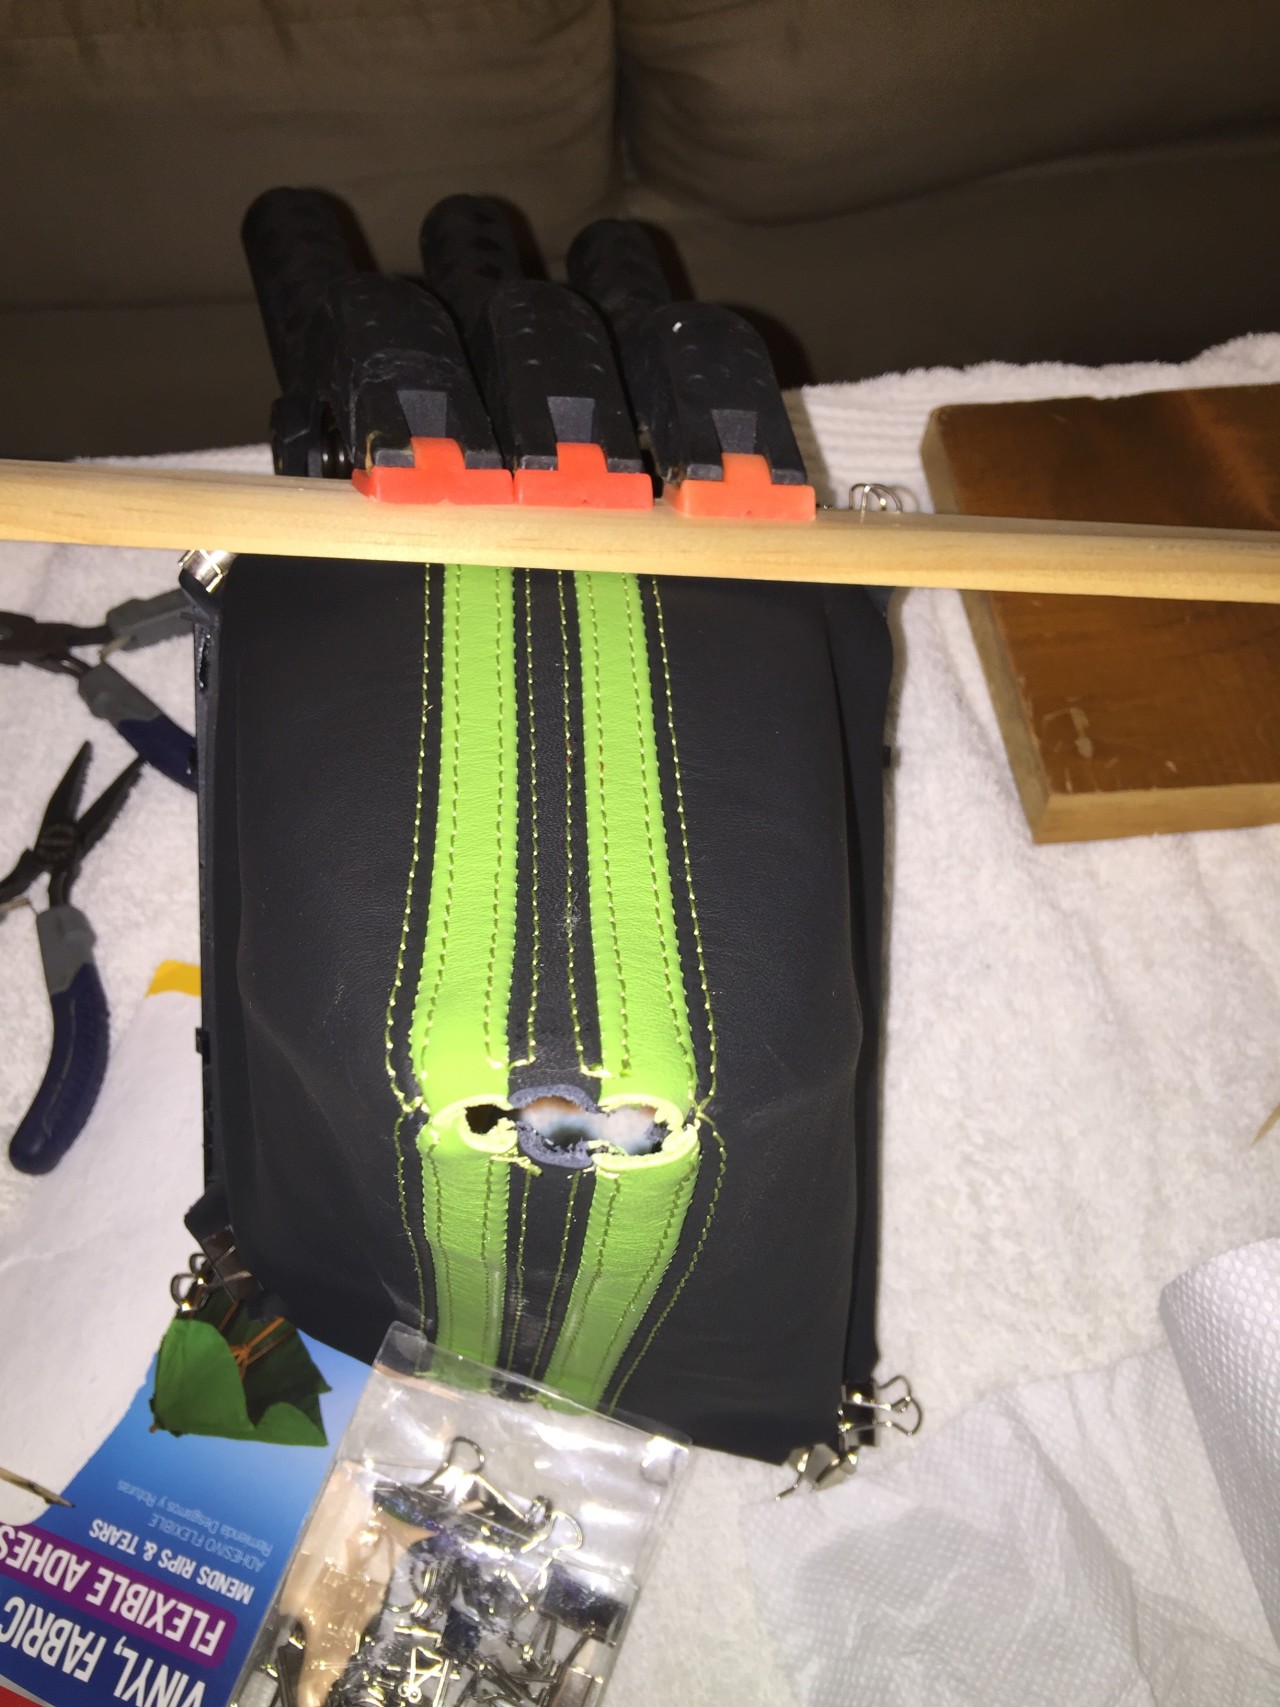
3. Lightly stretch boot over black support ring, ensuring that the tabs line up with the corner tabs as shown in image.
You may apply adhesive in whatever format you prefer, but I decided to apply adhesive on all four tabs first, clamping in place with clam clips.
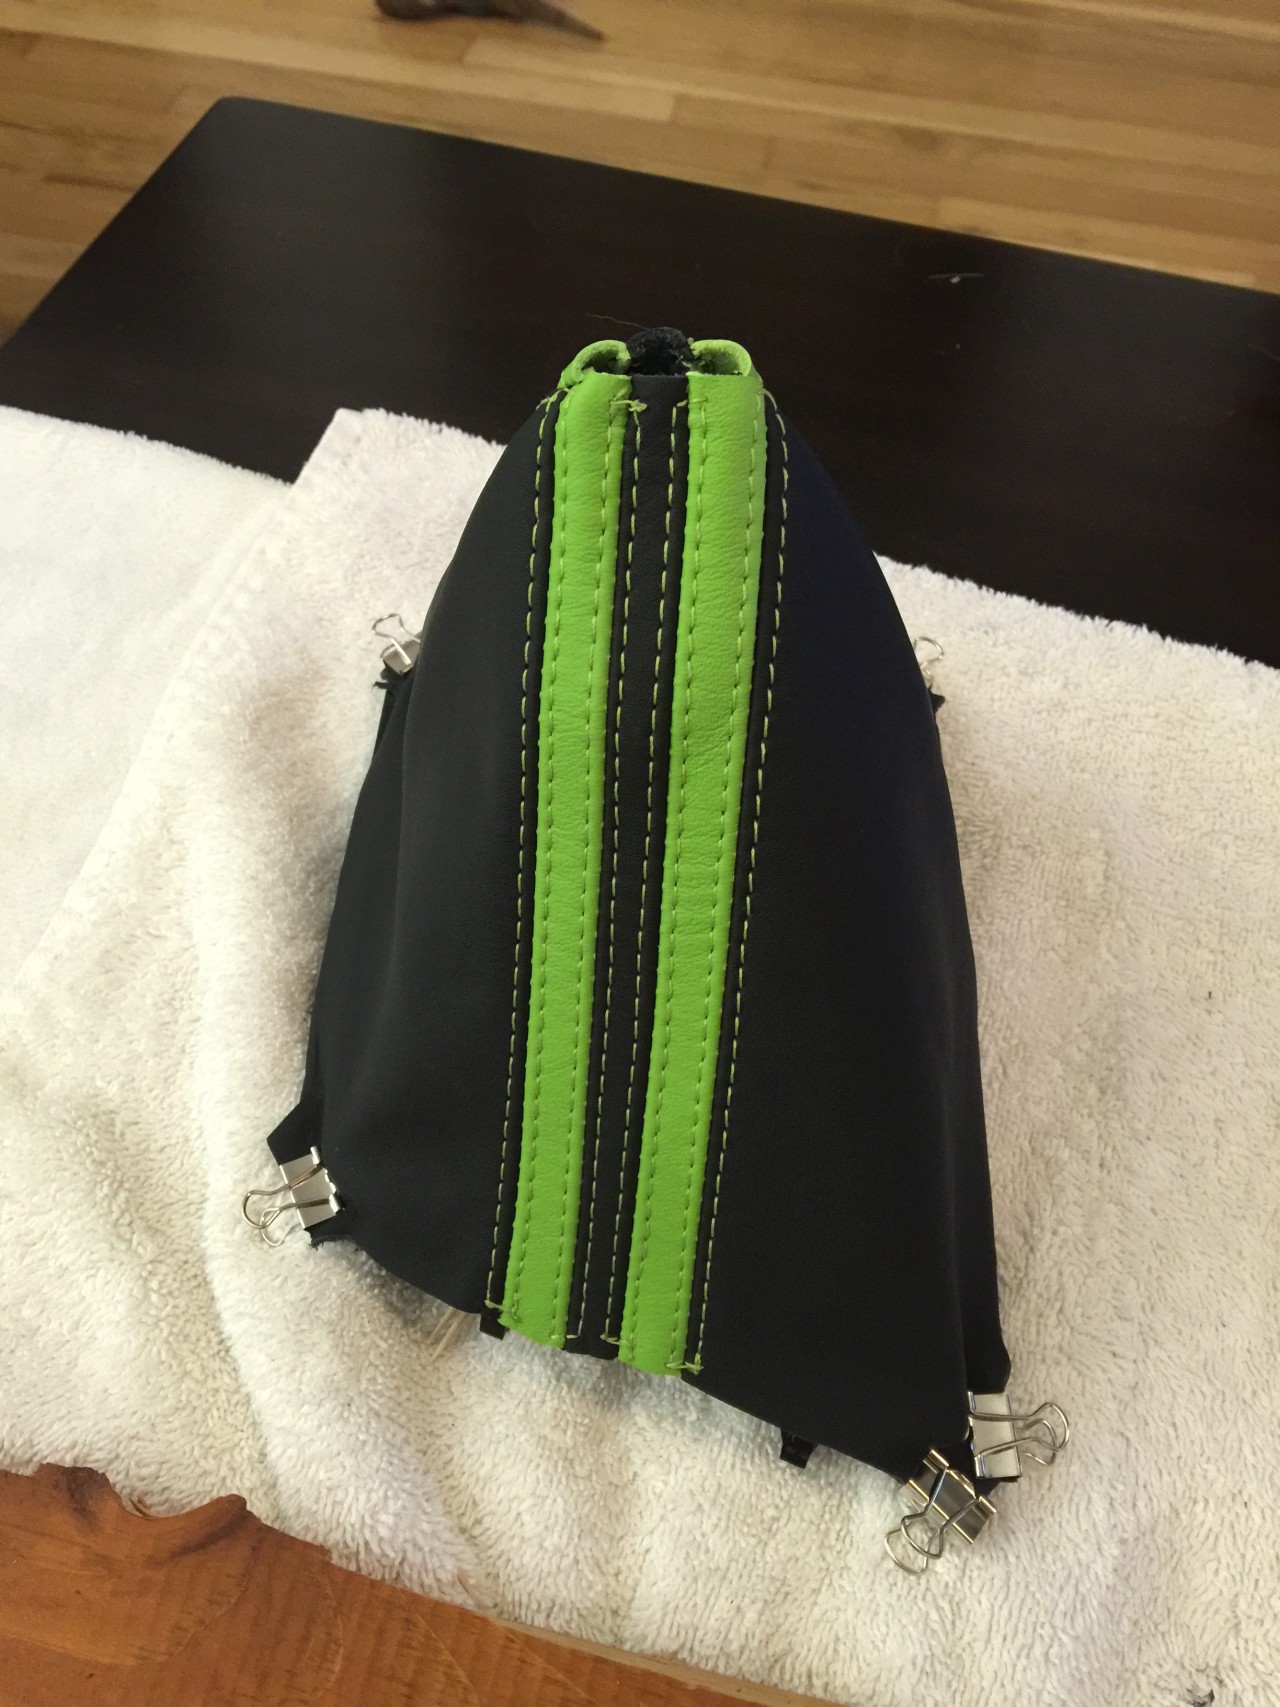
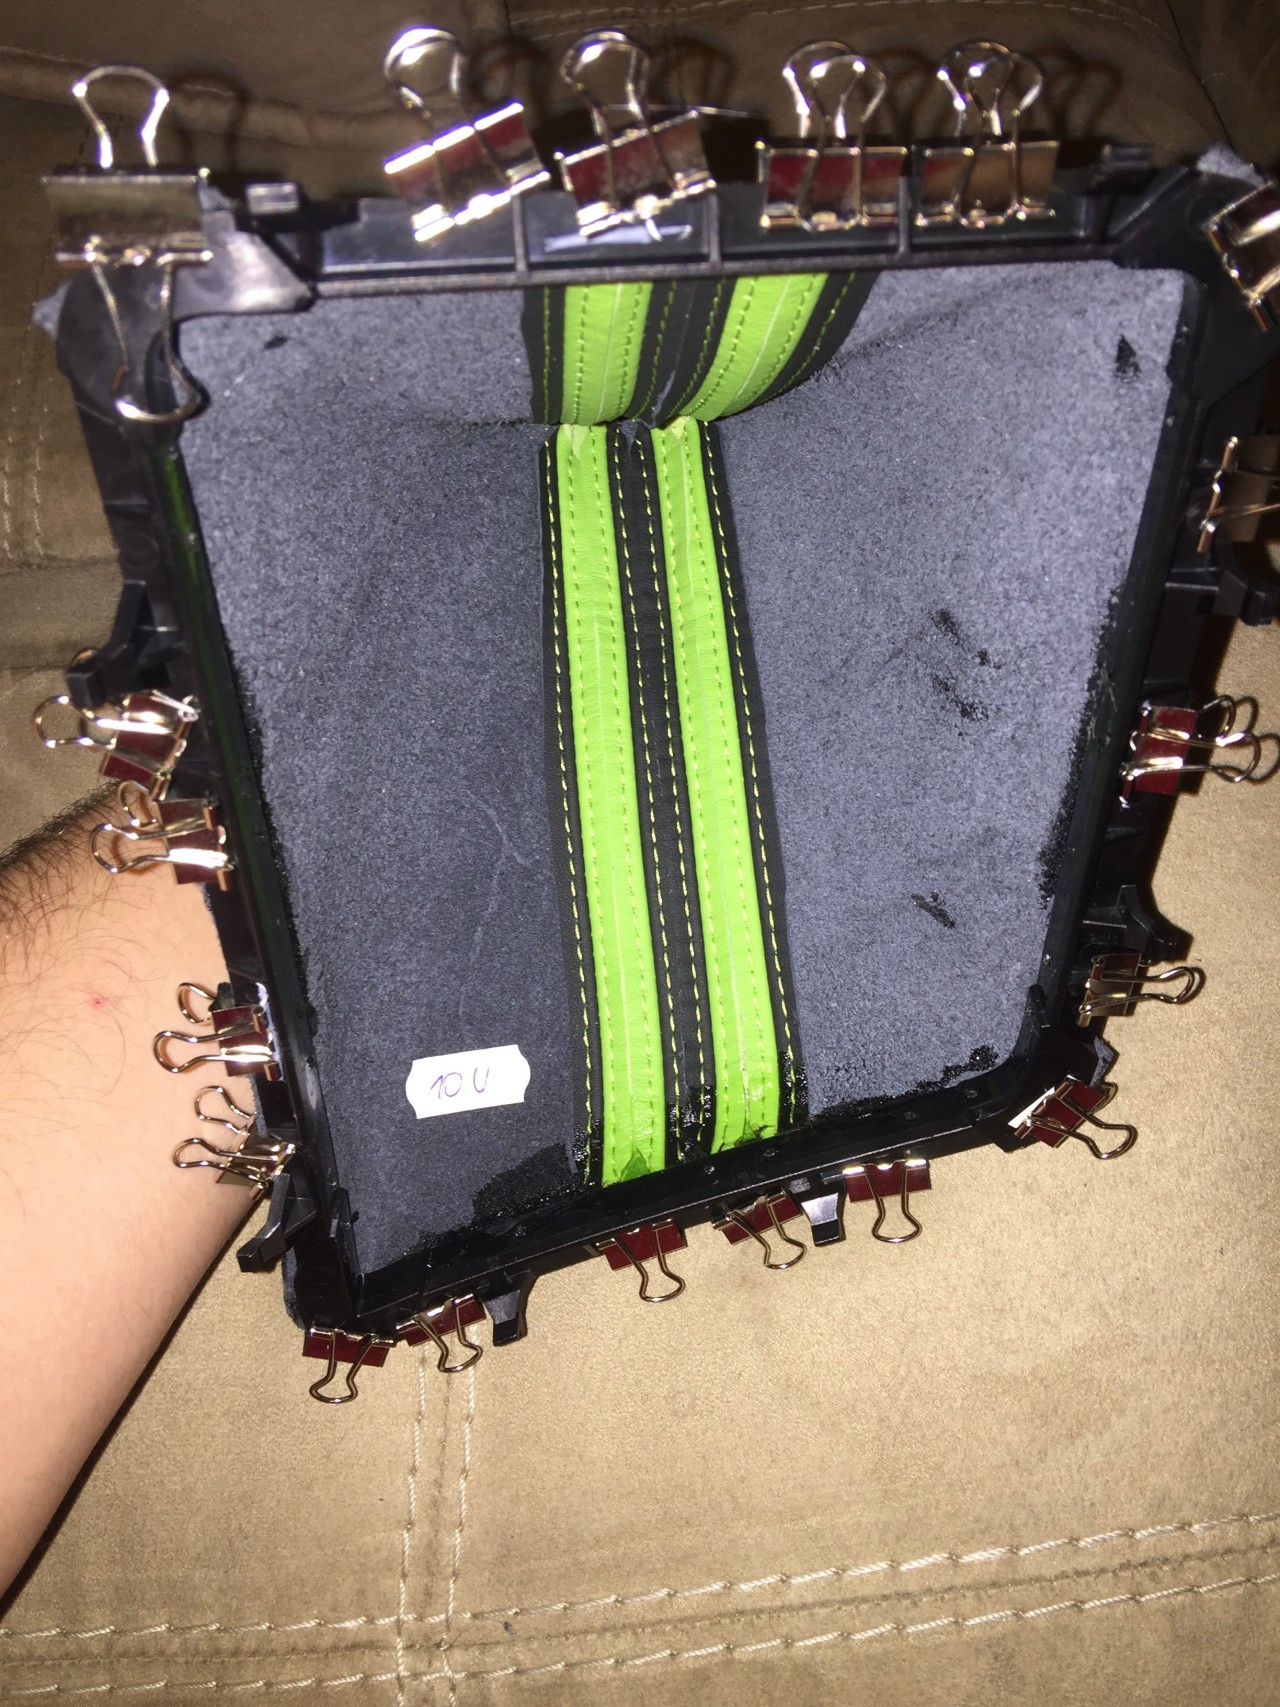
Once adhesive is cured around all corners, gently peel up every edge of all four sides and apply a generous (but placed carefully) amount of adhesive. I decided to ensure proper adhesion along the entire edge to use a small ruler held in place with quick clamps, as seen in photograph. I repeated this for all four sides until all sides were tacky.
Once all four sides were tacky and semi-cured, I secured the edges in place with clam clips and allowed it to cure for a full 24 hours prior to final installation
.
Once adhesive cured for 24 hours, you then simply snap the black support ring assembly into the chrome bezel trim piece, and install into center console, ensuring all black tabs are locked into bezel piece.
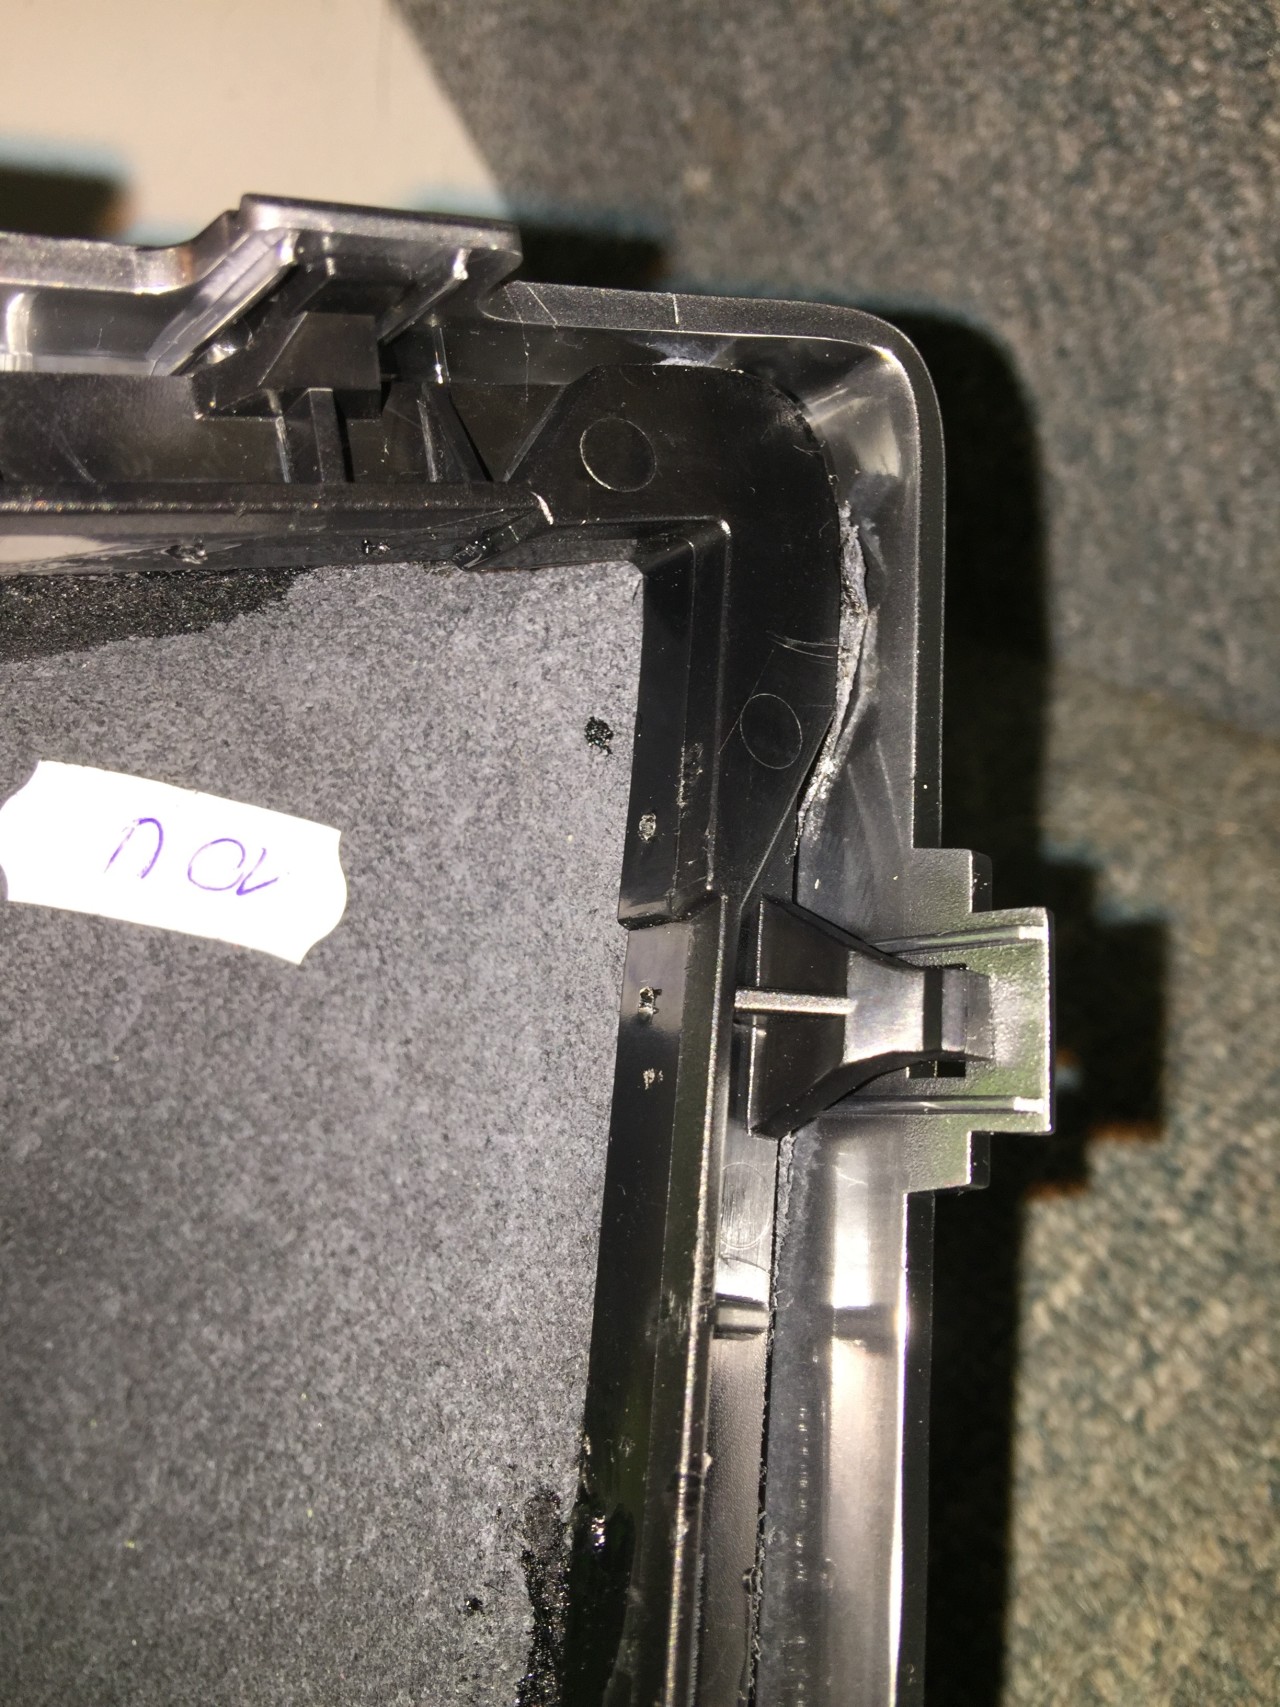
Here is the assembly prior to locking the tabs into the bezel.
Installation onto your grip handle is the exact same as removal. Because of the multitude of grip and shift handle assemblies on the market, it is impossible to give a detailed final installation process. Follow your manufacturers’ guidelines.
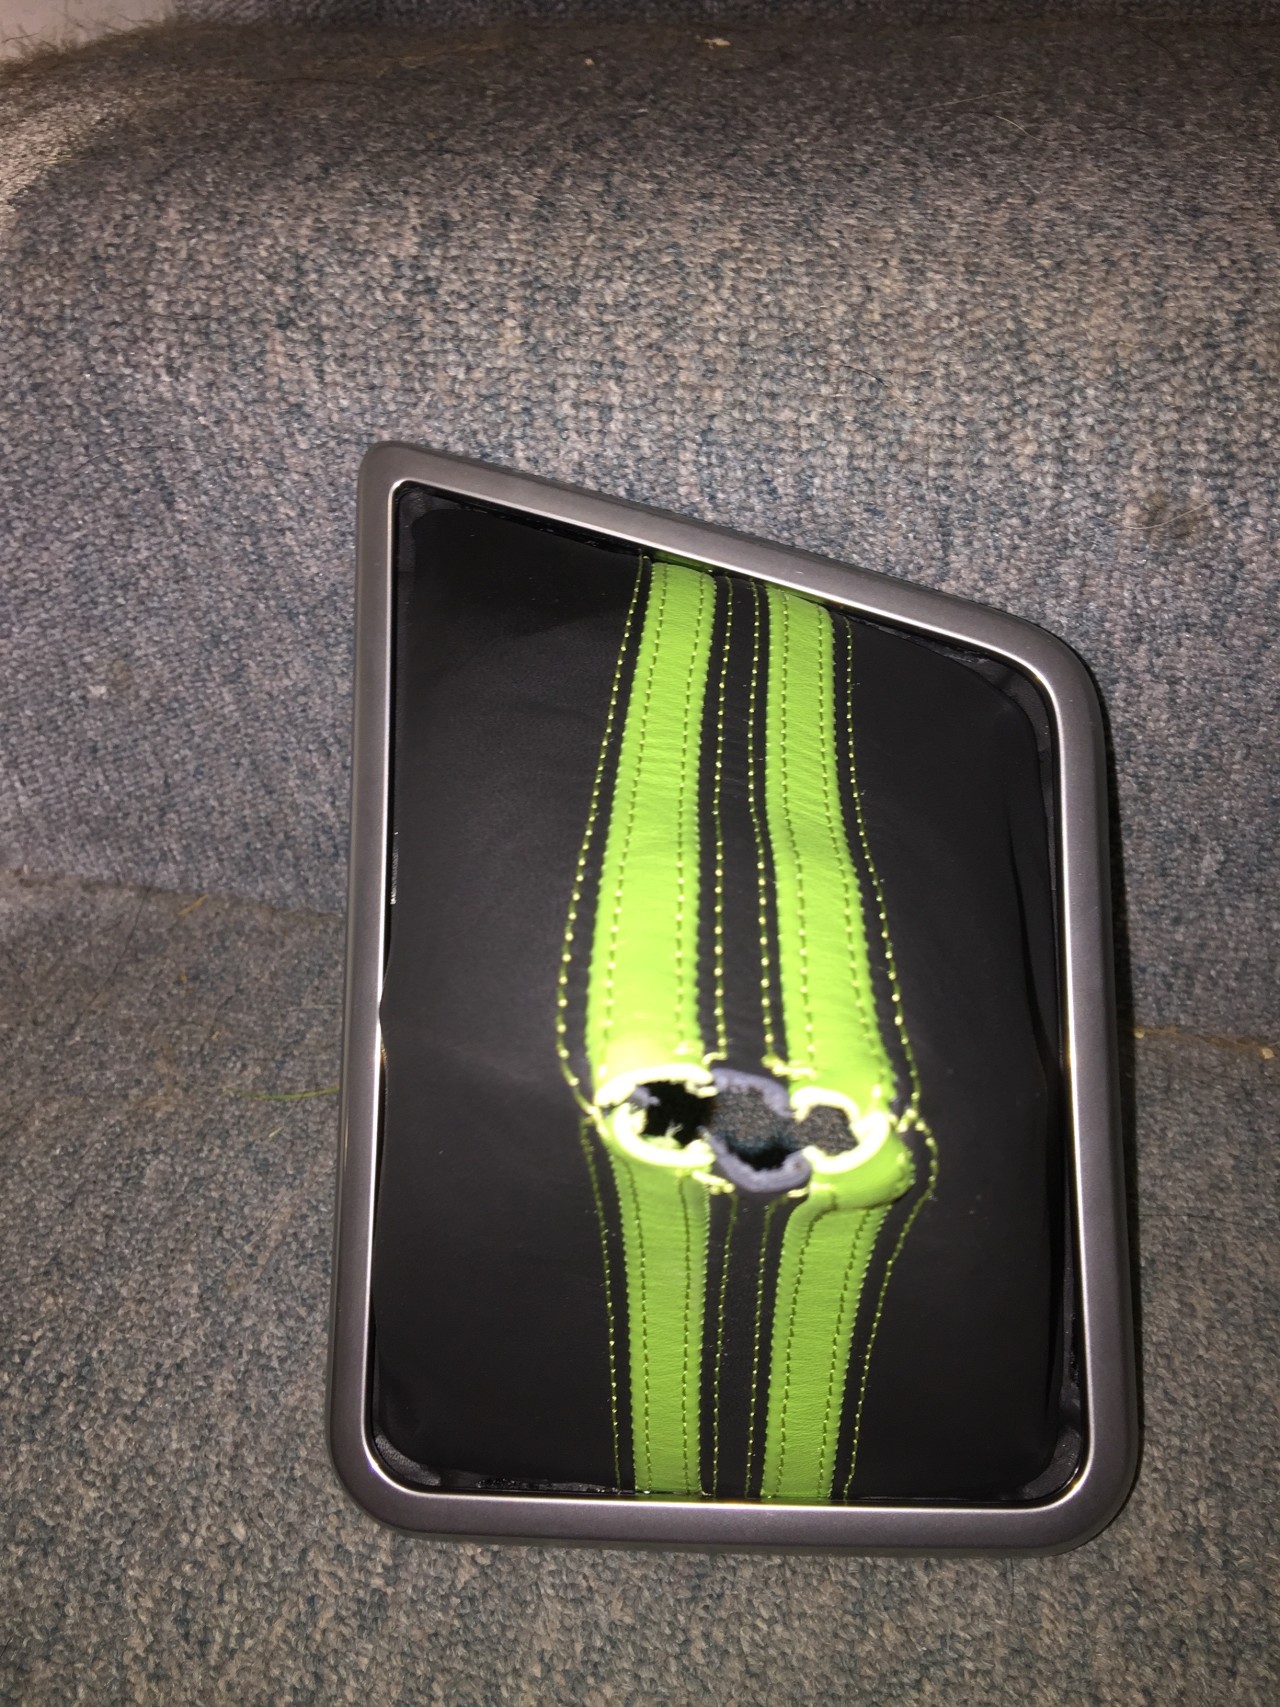
Here is the final product:
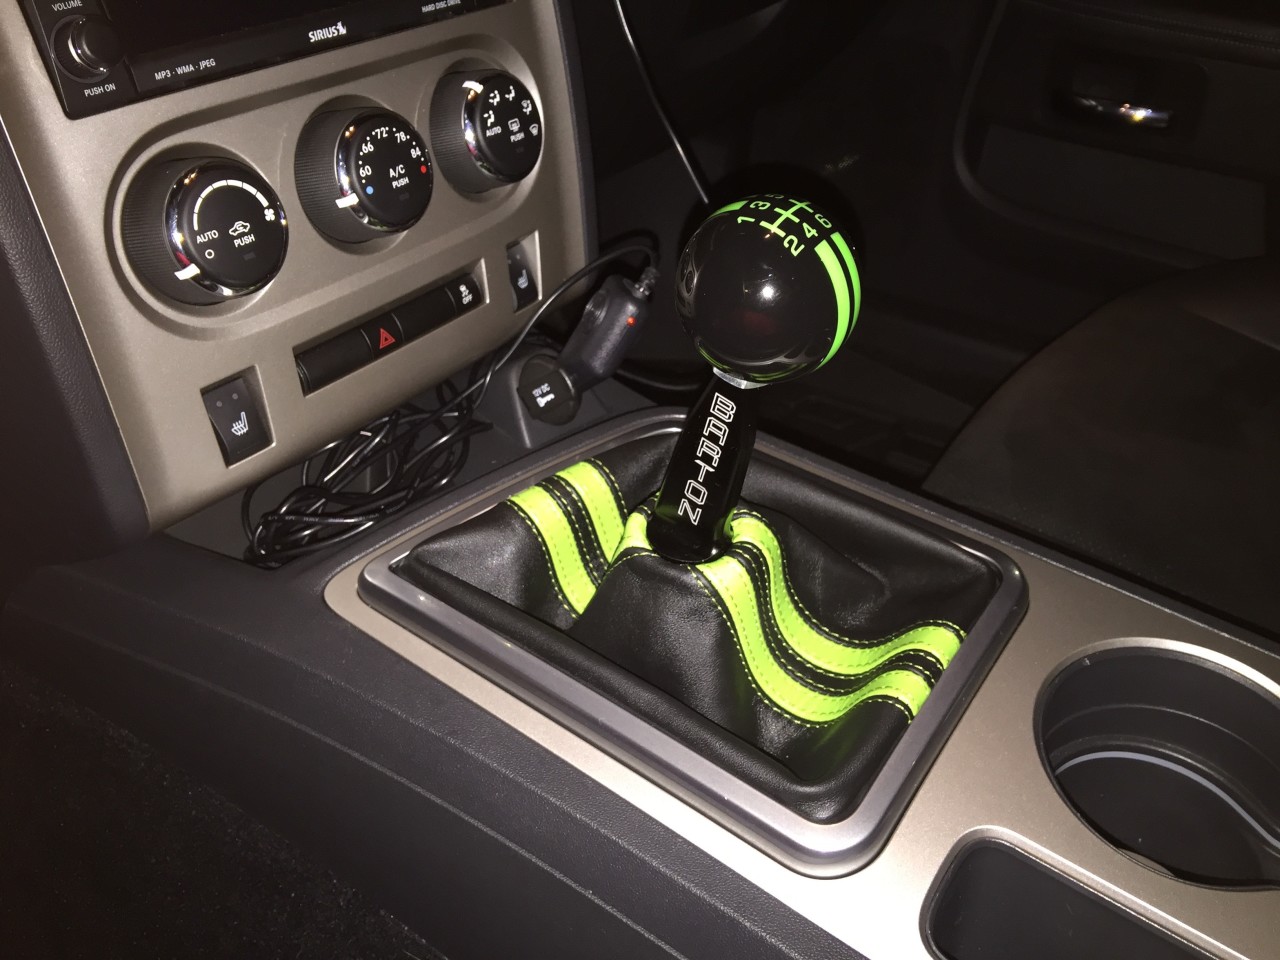
Be patient with installation! Take your time, and only have to do it once. With proper care and leather treatment, this product will last the lifetime of your vehicle!