You must be logged in to rate content!
4 minute read
DIY - Transfer Case Saver install (NP231, NP241, NP243)
Compliments of Wombat Ranger @ dodgeforum.com
4-11-2012
I've never atempted a DIY writeup before. This is a fairly common topic with these trucks, so I figured it's worth a shot. I couldn't find another one on this forum, so here it is. This writeup covers the installation on my 1995 Ram 2500 with an NP241 DLD 23 spline input.
Thanks Zman for a good deal on the part!
Transfer Case Saver Installation
1) Put your truck in neutral, set the parking brake, and chock the wheels.
2) Remove your rear driveshaft. On mine this is accomplished by unscrewing the 4 bolts that hold the u-joint straps in place, then sliding the driveshaft forward and free of the pinion yoke, followed by pulling it backwards and out of the T-case tailhousing. Starting in 2000 the 1500's stopped using U-bolt straps, switching to a 4 bolt flange design. My truck is not this way. If yours is, DON'T PANIC!!! Dial 911. Then remove your 4 bolts and follow the rest of my instructions. HD's did not switch to this design in 2000. A negligable amount of ATF will come out of the transfer case. On my 2500, the size used for the bolts was 5/16".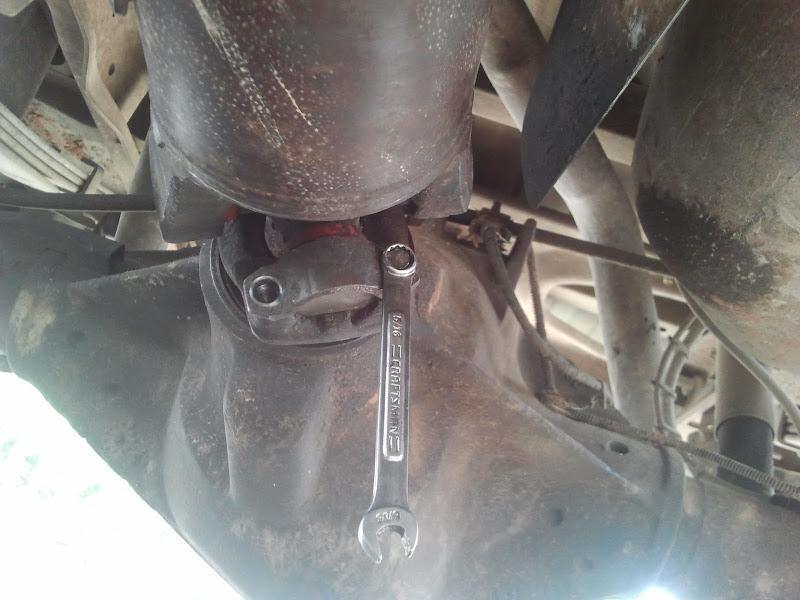
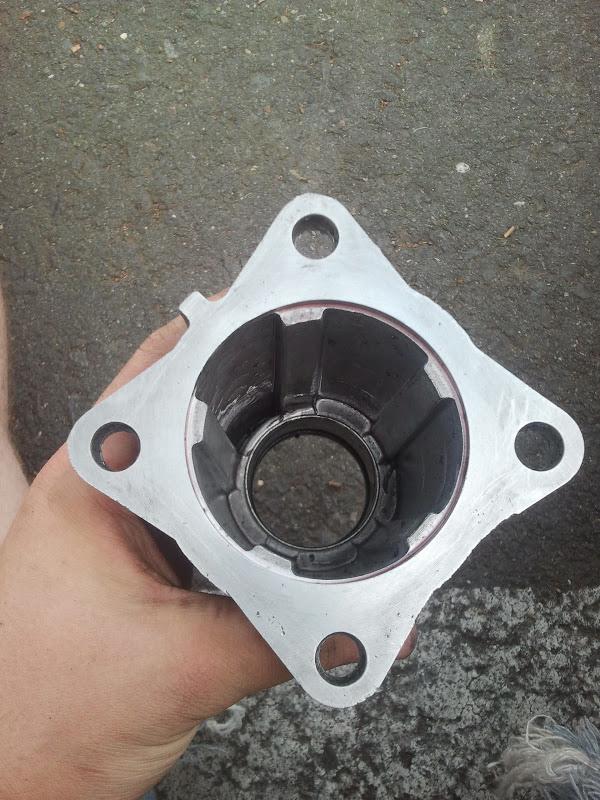
3) Unbolt the 4 bolts that fasten the tailhousing to the rear bearing retainer. Mine were 1/2" heads.
To get the tailhousing loose you may have to use some force, since it should have had a silicone sealant used on it. I just pulled down on it with my arms, but a smack with a deadblow would do just fine as well.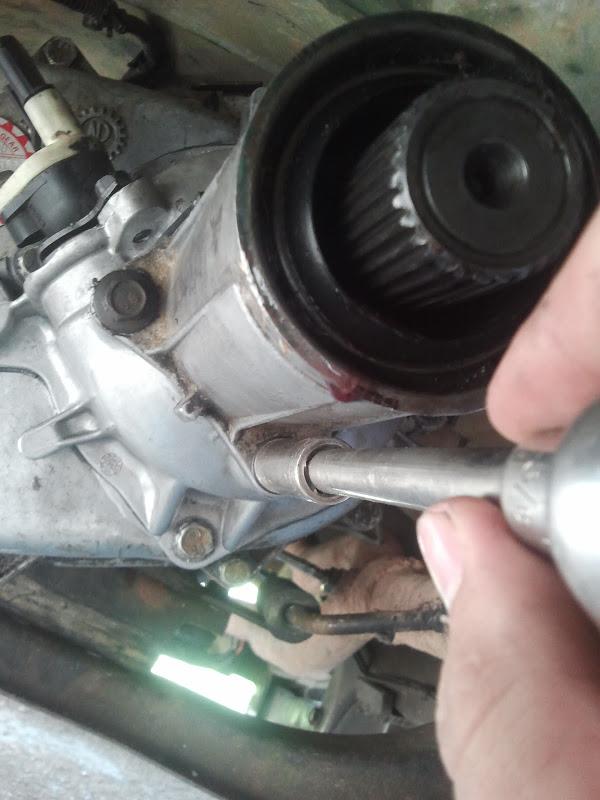
This is why my truck needed the Tcase saver in the first place. as you can see, the snap ring popped out of its groove, leaving the mainshaft loose to move around at will, eventually causing destruction of expensive internal parts.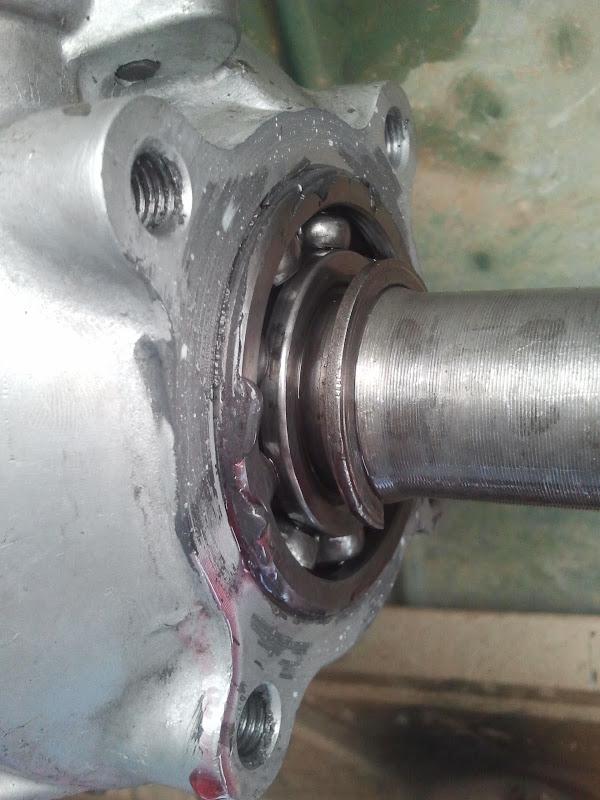
This is how the factory snap ring is supposed to function. Many people have had them break, and mine just wouldn't hold it's shape.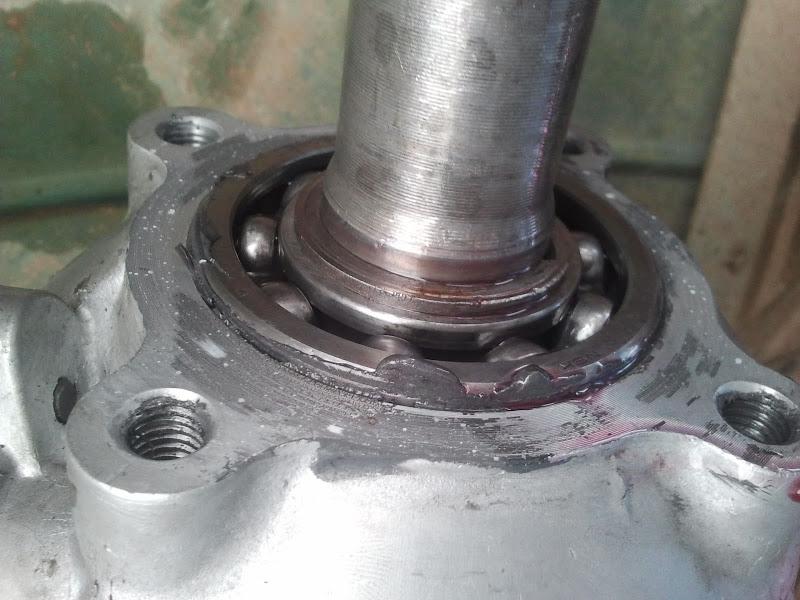
4) If your snap ring was still in it's correct place, use a pair of snap ring pliers to remove it (or needlenose pliers like me )
)
5) This is a picture of the Transfer Case Saver installed. It simply has 2 allen head screws holding it together. The ring itself has a lip that sits in the snap ring groove, providing better security to the placement of the mainshaft. My kit came with red Locktite to put on the threads, to keep them from backing out.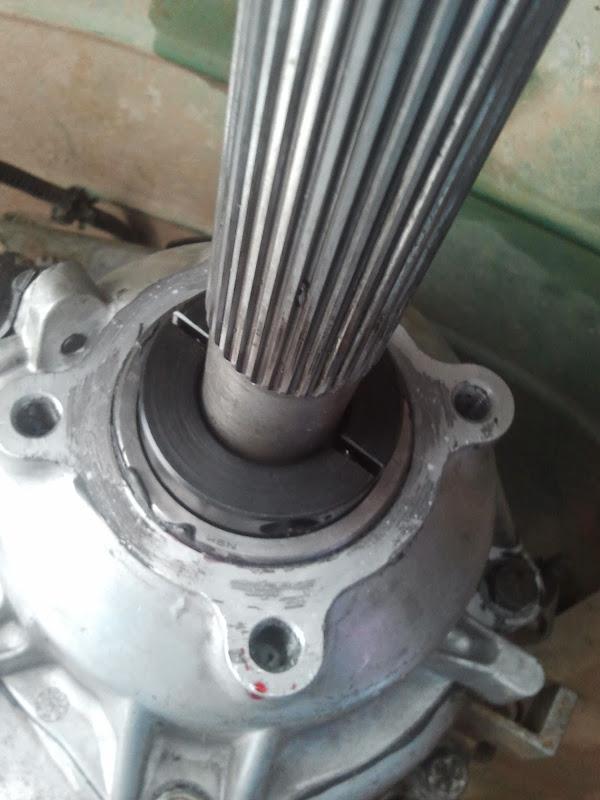
6) Clean up your mating surfaces in preparation to re-install the tailhousing.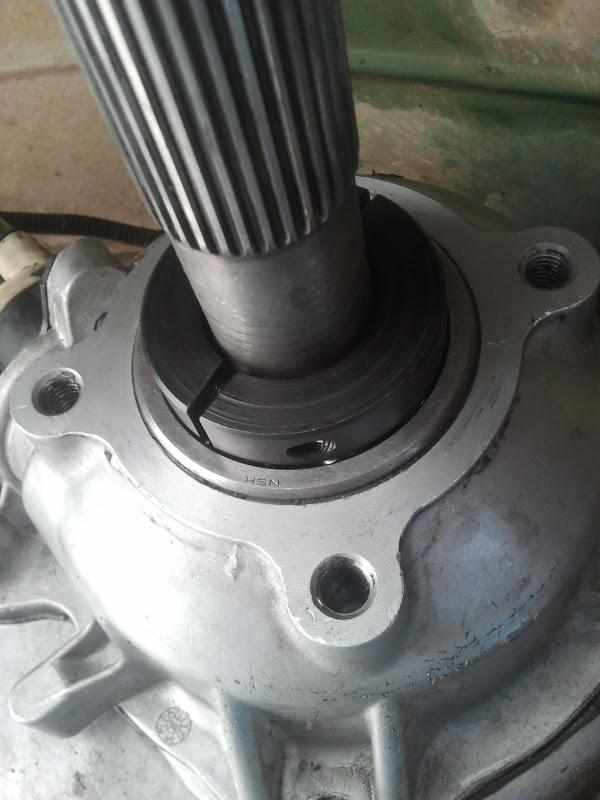
7) Put a nice thin bead of RTV silicone (I used the Ultra Black flavor) on the tailhousing. If your bead doesn't look as gangster as mine, that's okay, cuz mine is pretty thug.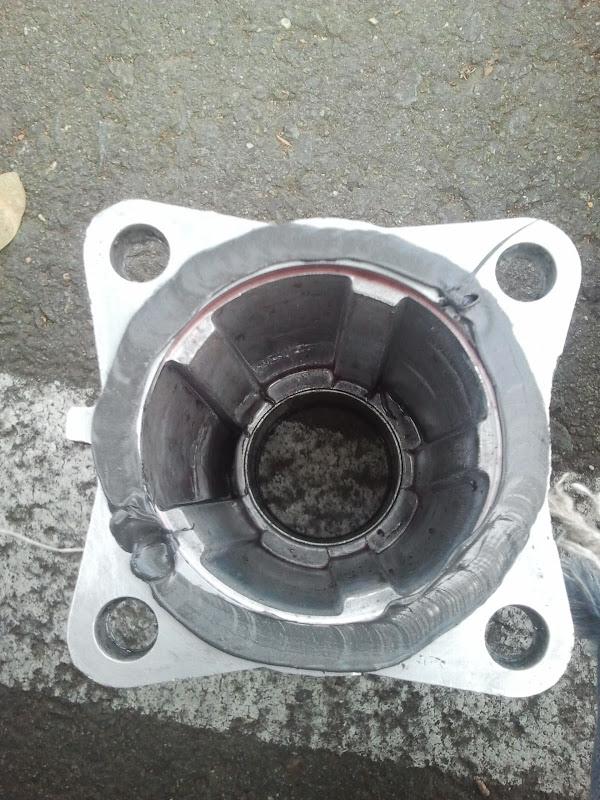
8) Re-install the tailhousing and driveshaft, wait an hour for the silicone to cure, and enjoy a trouble free transfer case!