You must be logged in to rate content!
19 minute read
348 fuel injector & intake plenum removal
Compliments of ernie @ ferrarichat.com
11-27-2010
Well fellers it's Stooge time yet again.
Today we will see how to remove the fuel injectors out of a 348, and how to remove the intake plenum. This it's the only way to do it, maybe not even the correct way to do it, but the way I did it, the Stooge way.
So sit go grab a beer, sit back, and enjoy show and tell time.
Here we gooooo...........
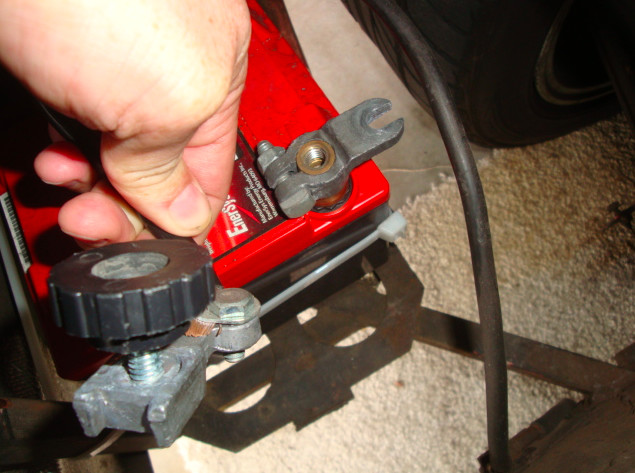
First things first. Since we are going to be fooling with gasoline. We will be disconnecting the battery.
Spark + gas fumes = kabloowee = Ernie a craspy critter = not good.
So
Battery gets disconnected.
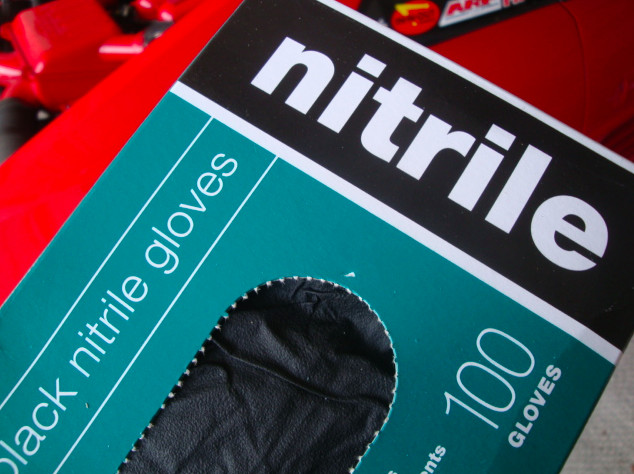
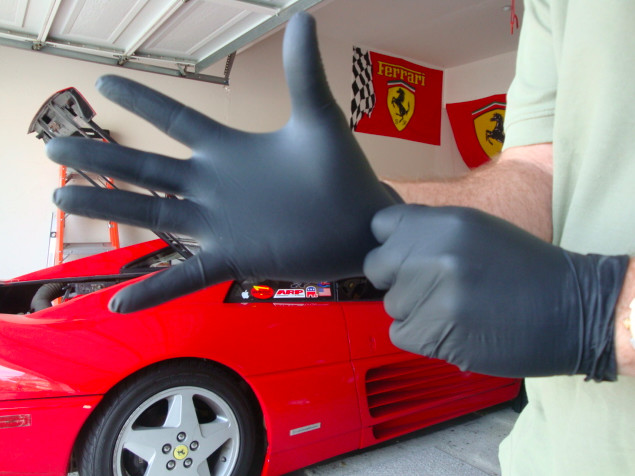
You will want to put on a pair of nitrile gloves. You don't want to get gasoline on your skin. Latex gloves will not hold up to gasoline, and the nitrile will. Plus it was something like $5 for a box of 100. So go get a box, and put em on.
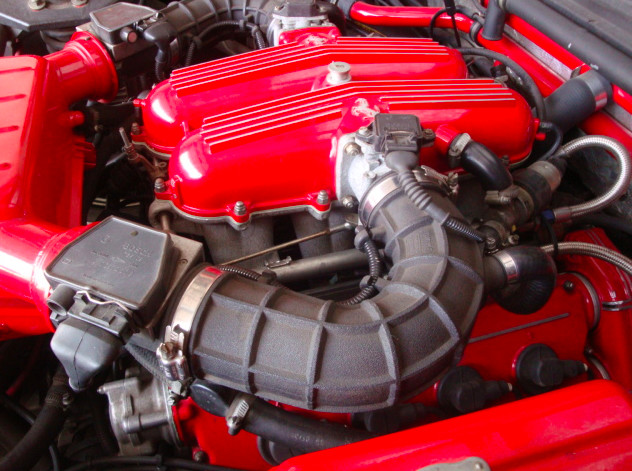
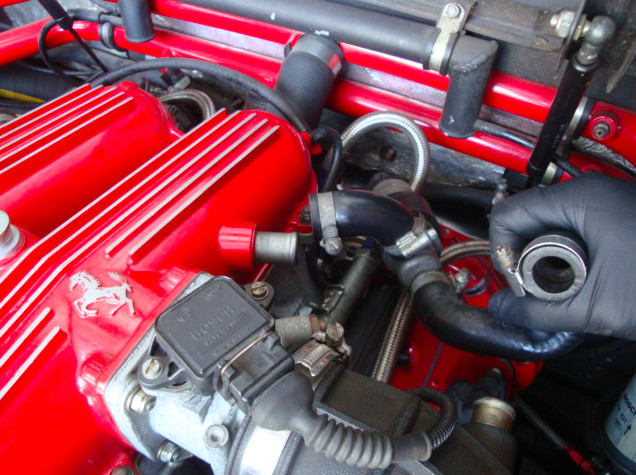
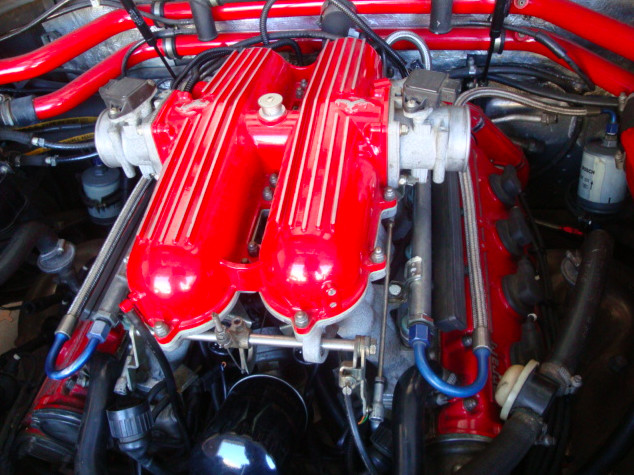
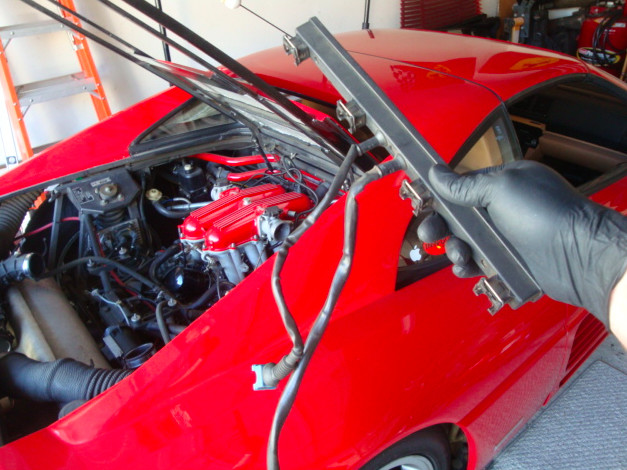
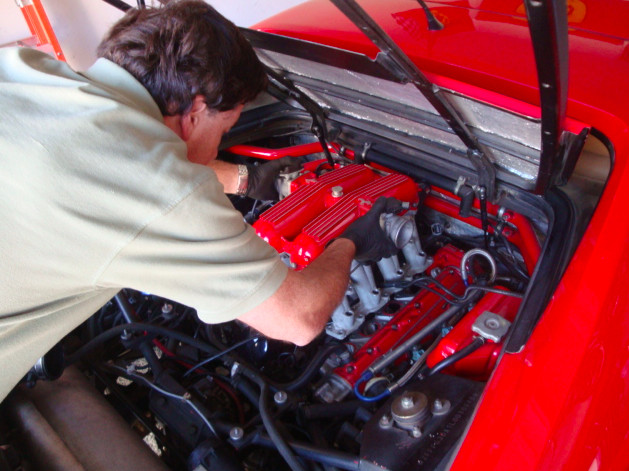
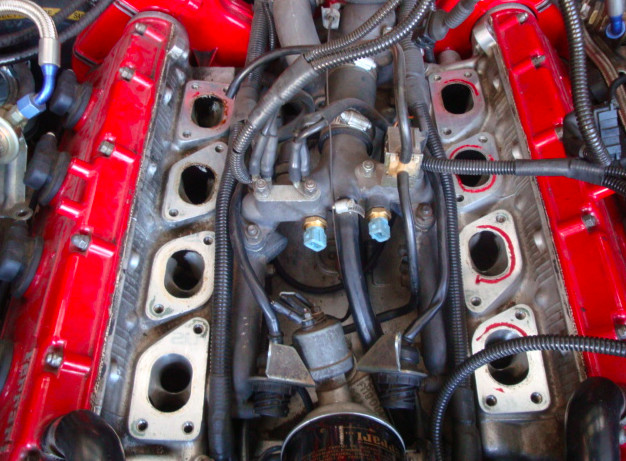
I like to have everything out of the way so I have plenty of room to work with. So We will be removing all of this stuff.
First thing I unhooked was the Idle Air Control Valves, on both sides of the plenum.
Unscrew the clamps holding the tube to the plenum
Remove the retaining clamp holding it to the plenum. Sorry fellas no pics of this because I left it off the last time I removed the IACV's, but you'll still need to remove it from the plenum. You'll see what I'm talking about when you have to do it.
Next the clamp holding it to the intake tube.
Then disconnect the clip from the IACV and set them out of the way.
Now unclip the Throttle Position Sensor on both sides.
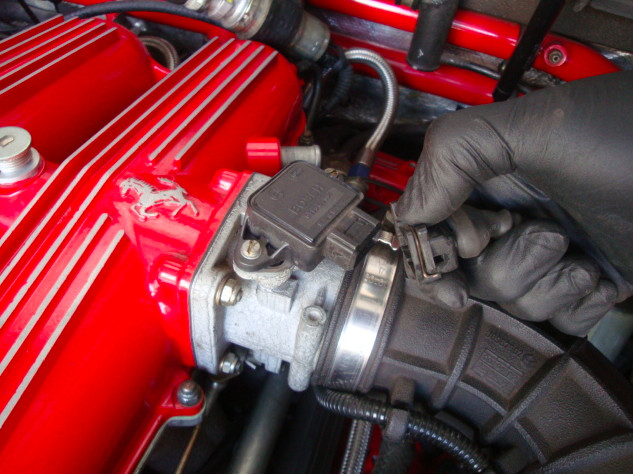
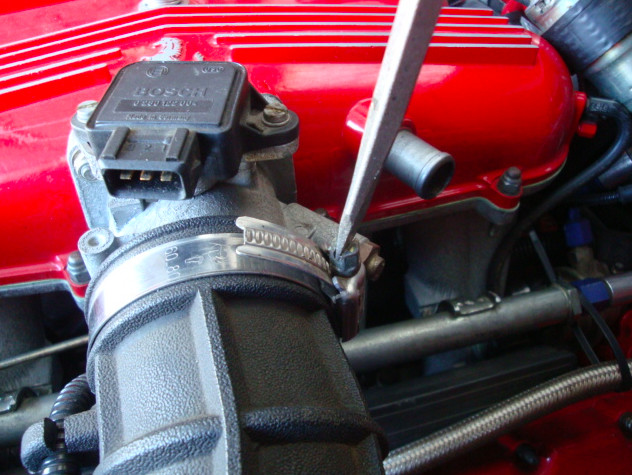
Followed by disconnecting both Mass Air Flow sensors.
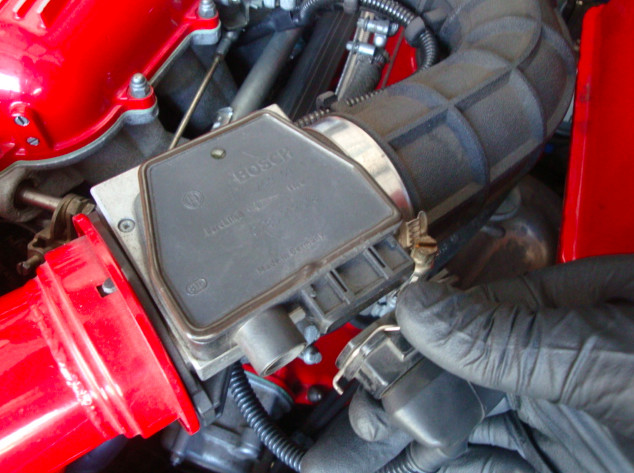
For myself I found it easier to unscrew the MAF from the air box and leave it attached to the intake tube. But you could leave it screwed to the air box and unscrew the clamp holding it to the intake tubing.
Anyway you choose unscrew the MAFs.
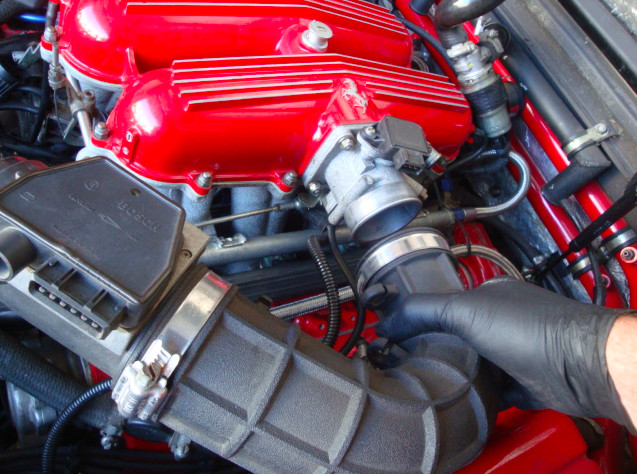
Next I loosen the clamp holding the intake tube to the Throttle Body.
BUT!!!
I DO NOT remove it yet.
Why?
Because I have more wiggle room to get it off with the air box out of the way.
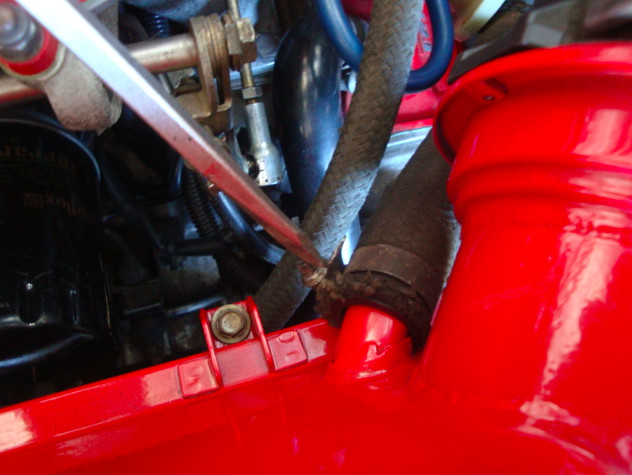
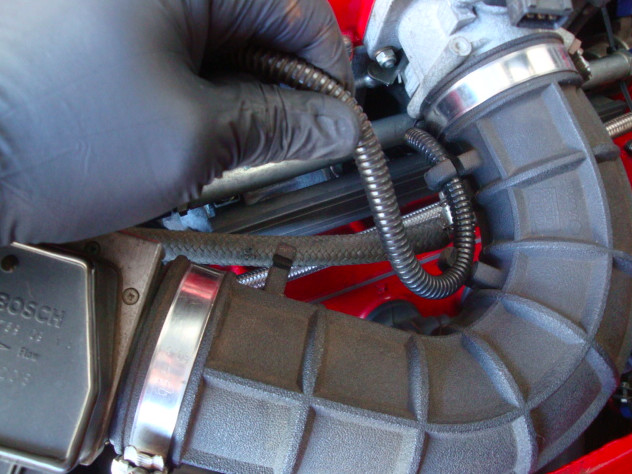
Now head to the back of the air box and disconnect the intake ducting from both sides.

Then loosen the clamp holding the Secondary Air Injection tubes to the bottom front of the air box, and pop the tubes off.
These are the lines that give you the nice little resonance, through the side glass intake, while the car is warming up.
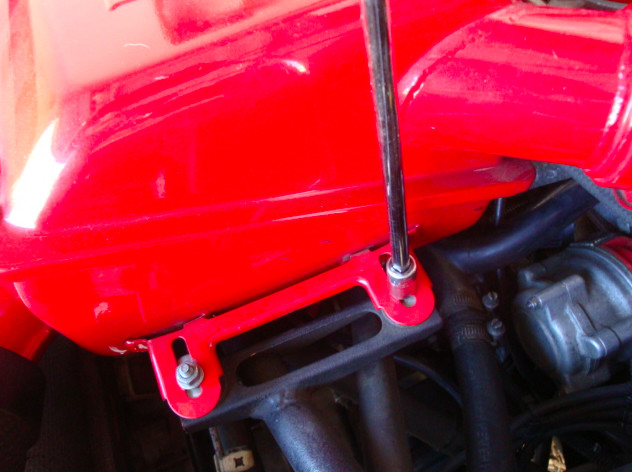
Now you can remove the 4 nuts holding the air box in place, and remove it from the engine bay.
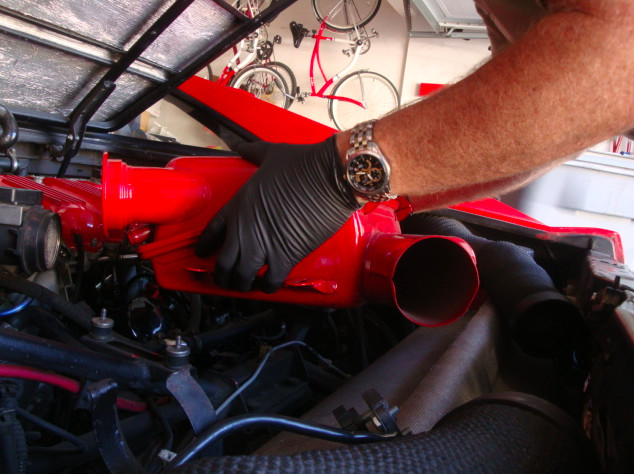
With the air box out of the way I now have more room to wiggle the intake tube off the TB, and I don't have to fool around with trying to get the MAF out of the tube. That is why I like to just leave it connected to the intake tubing.
But first you will need to pop the MAF harness out of the holders on the intake tube. Or you can do it after. I like to remove it first, then wiggle the tube off.
Once I have it off I just lay it on top of the muffler heat shield. I was too lazy to disconnect the oil vapor recovery line from the bottom of the intake tubes. That and it only needs to be out of the way. So why disconnect what you really don't need to, right?
Aaahhhh.....that's better plenty of room to work with, with all that stuff out of the way.
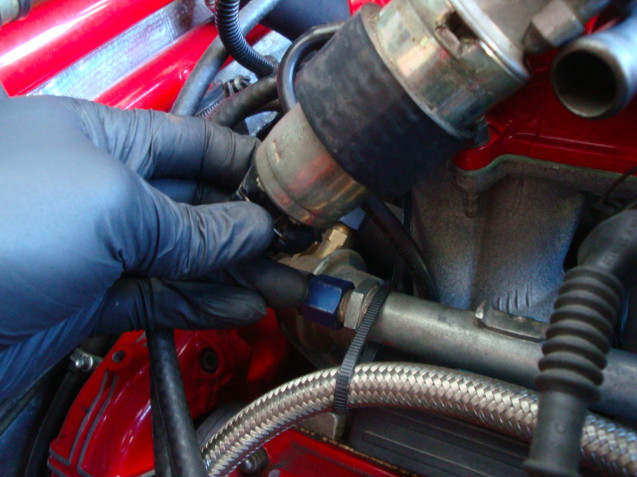
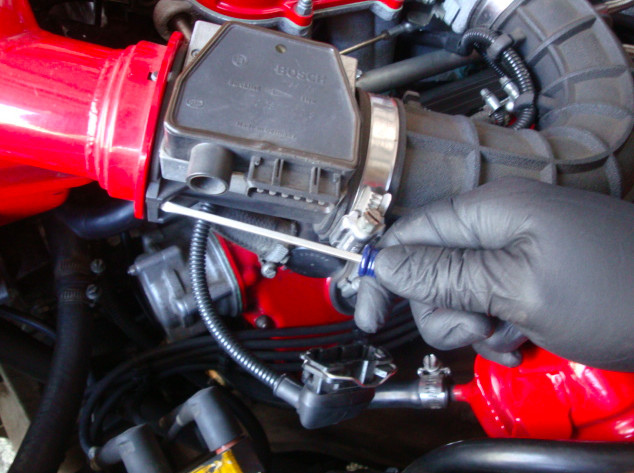
Now you will want to disconnect the fuel line from the clamp holding it in place. This is to give your hand access to the clips on the injectors.
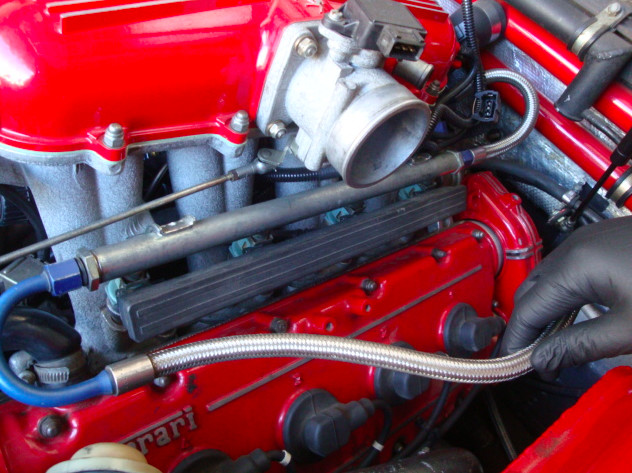
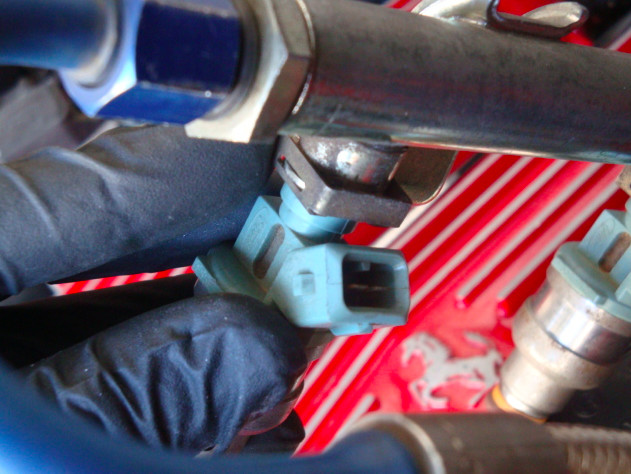
With the fuel line moved aside reach under the fuel rail harness and unclip the injectors. All you have to do in pinch the wire with you finger and apply a little bit of pulling pressure to the harness. This is to keep it disconnected. You DO NOT need to pull hard, just gentle even pressure to keep it disconnected as you go down the line unclipping the injectors.
I also disconnected the fuel rail harness from the main wiring loom.
The reason I do this is, so that I get a little bit more slack on the harness so it can hang out of the way. To completely remove it you have to disconnect the coolant temp sensors, and those are a bit of a pain to get to. Which I'll be doing a bit alter anyway.
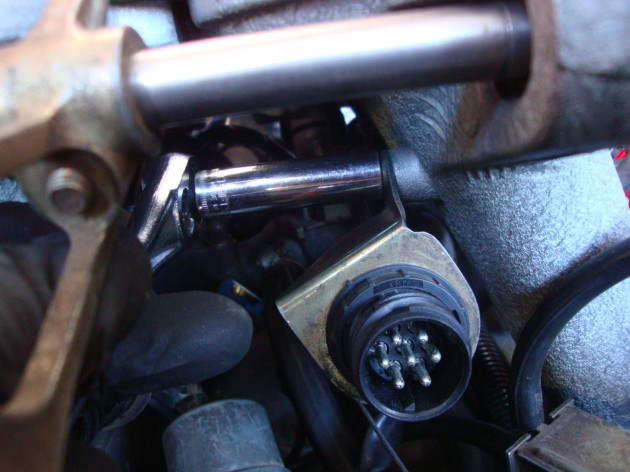
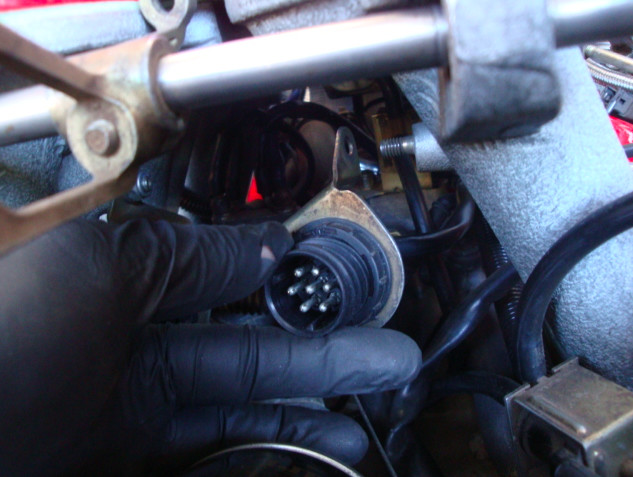
But for now, just disconnect the injector harness from the main loom by twisting the connector counter clockwise until it comes off
Now this next step will not be necessary for the majority of you.
The reason I have to do it is because I replaced the crapass allen bolts the factory used with some good old fashion 13mm six point bolts. The factory allen bolts are made out of cheap soft metal and stripped out. So I no longer have to worry about that.
Okay.
So.
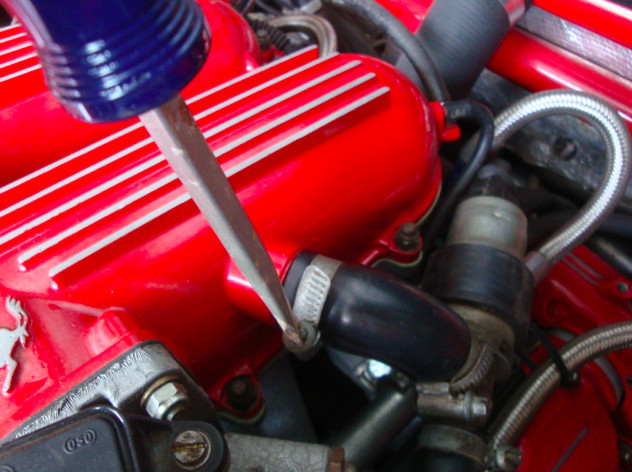
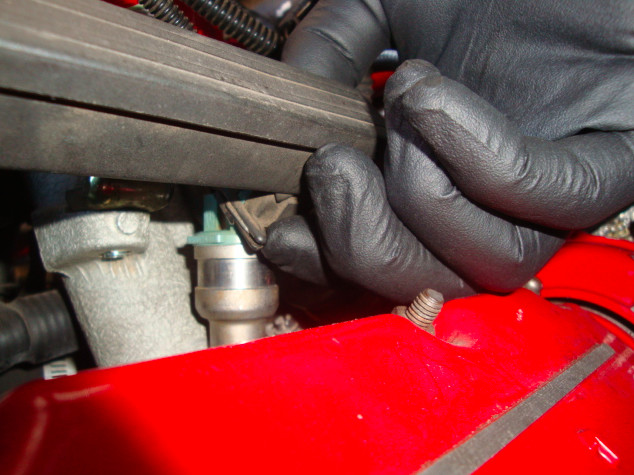
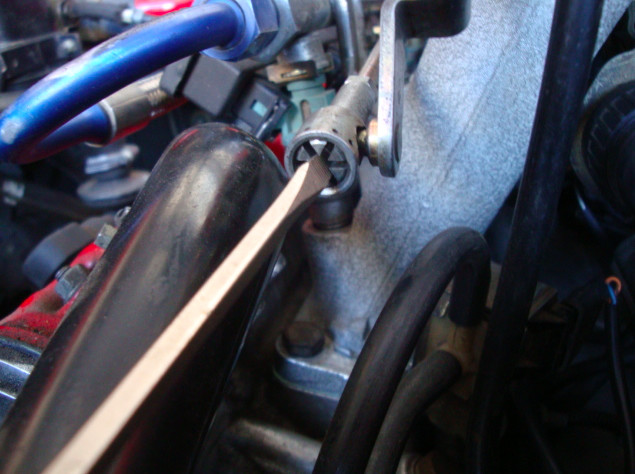
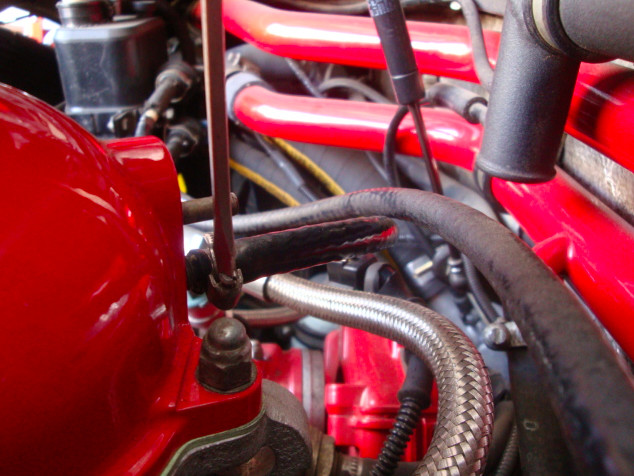
I next disconnected the throttle adjustment rod from the throttle linkage.
I F you do this BE CAREFUL NOT to fool with the adjustment on the nut, or you will screw up the way the TB's open in correlation to one another.
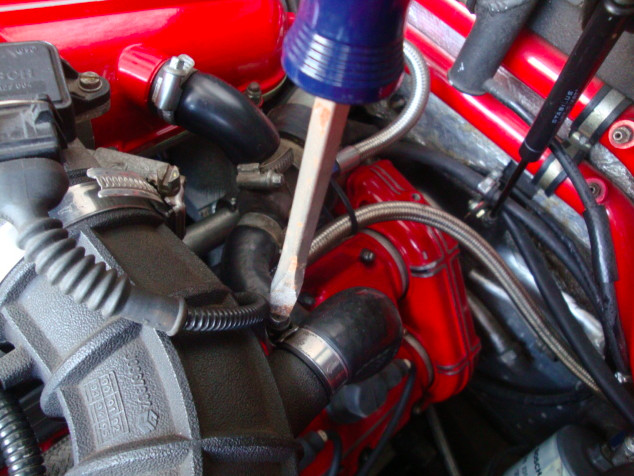
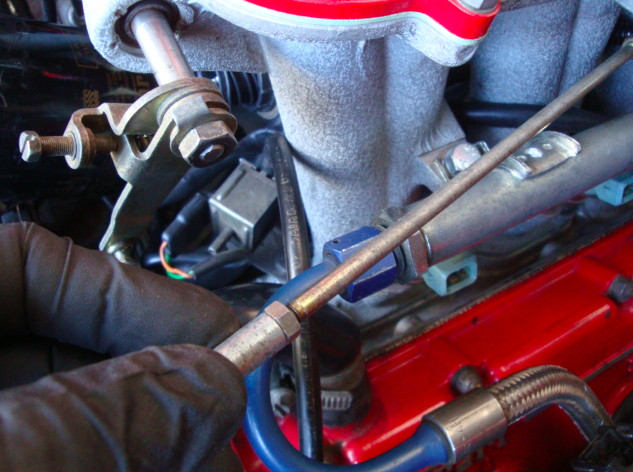
With the TB adjustment arm out of the way I now have access to the retaining bolts holding the fuel rail to the plenum, and can remove them.
One more thing. This step was only necessary for the rear injector rail bolts. The fronts are a straight shot.
Now double check to make sure everything is disconnected.
Clear?
Good.
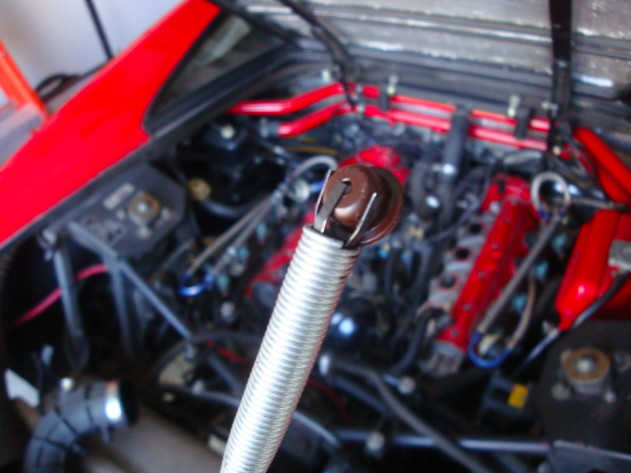
Now get ahold of the fuel rail and pop it out. You may need to wiggle it back and forth a bit to get the o-rings to come loose first. Especially if they have never been out in 20 +/- years.
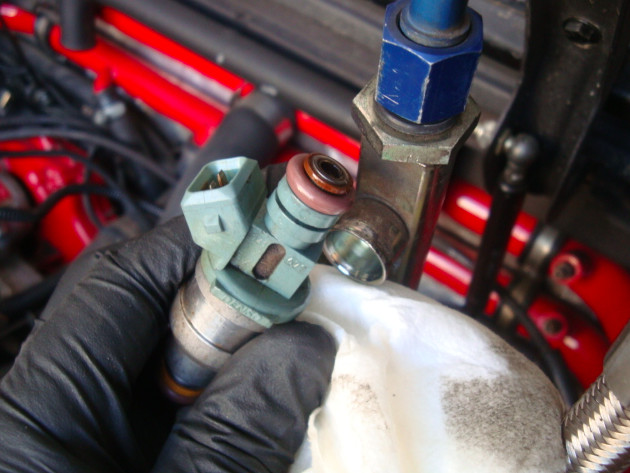
Now that the fuel rail & injectors are out of the plenum you need to get them out of the rail.
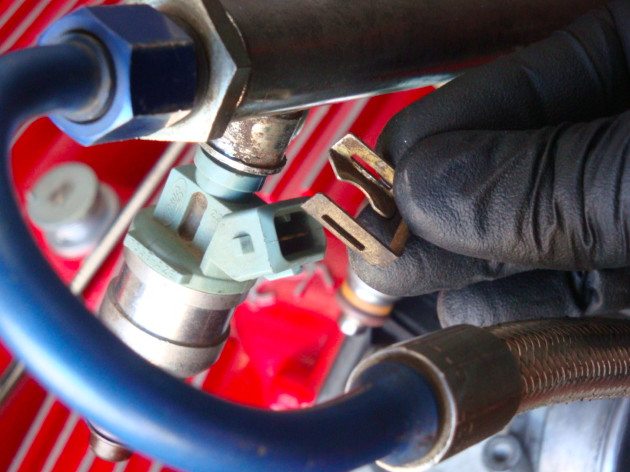
To do this you simply push off the clip holding the injector to the cup on the bottom of the rail. Just push if off with your finger from the back, and remove it with your other hand from the front, like so.
Now before we do this next step.....
M A K E
S U R E
Y O U
H A V E
DISCONNECTED THE BATTERY! Go double check now.
We good?
Okay.
Here is where the nitrile gloves will come into play. We never disconnected the fuel lines. Meaning........ there is still fuel pressure in the lines, the rail, and behind the injectors = gasoline WILL be coming out. It may even be a good idea to put. on some eye protection.
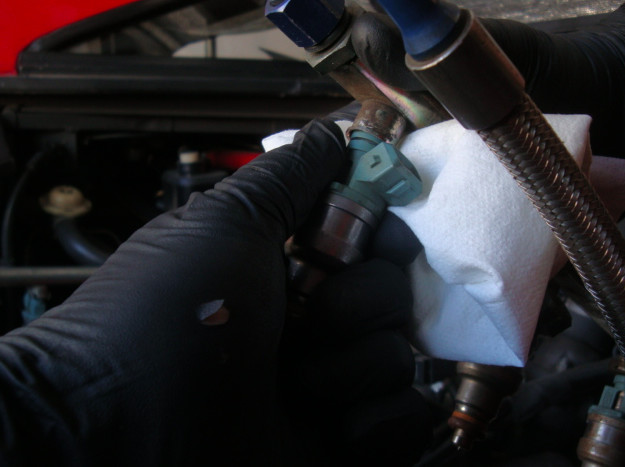
Be sure to have PLENTY of disposable rags handy to catch the dripping fuel. Oh yeah and PLEASE do tis on a COLD engine. We DO NOT need an fires.
So....
Place you rag under the injector, then start to twist the injector while wiggling it back and forth, as you SLOWLY pull it out of the cup. You don't want to do this fast because you will get gasoline everywhere if the injector pops out too fast.
So Twist, wiggle, pull, until riiiiiight before it pops out, then SLOWLY remove the injector. This helps to reduce the amount of gasoline that comes out. It won't stop it, just make it much more manageable to catch with a rag.
And that is how I removed the fuel injectors from my 348,
Stooge Style.
But wait just a minute.
Did I say this was a fuel injector AND intake plenum removal?
Why yes, yes I did.
But why?
Here's why.
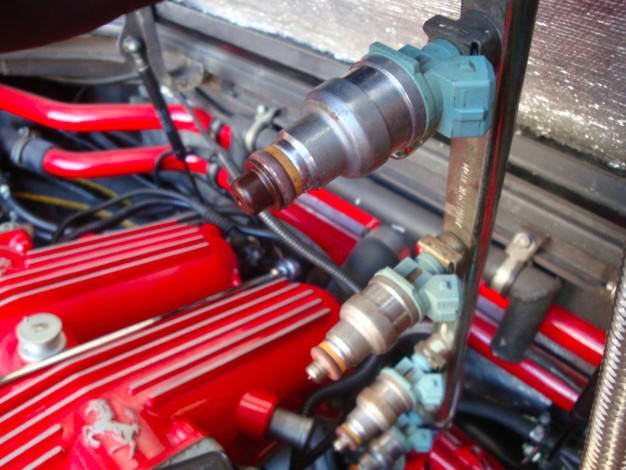
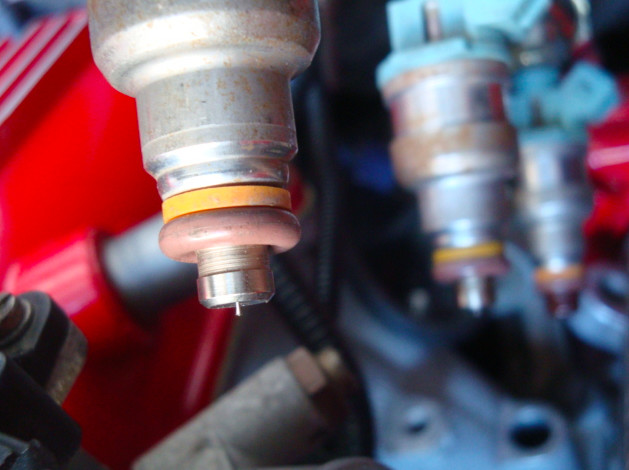
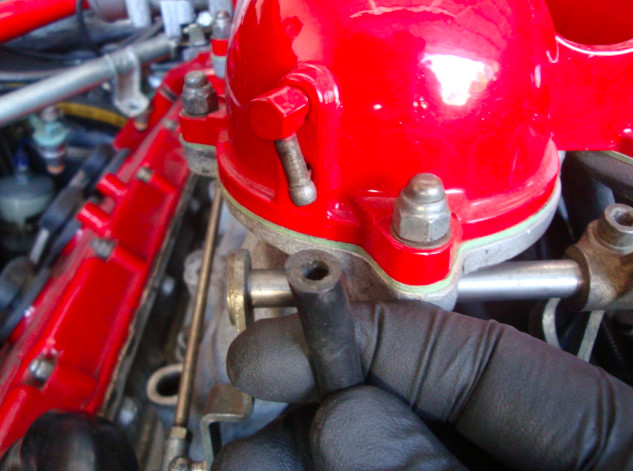
See what's missing on these two injectors?
How about the caps!
And guess where they went?
Try right down the injector hole INTO the intake ports in the HEAD!
Yeah, a big time pain in the ass. So the only way to get them out is to, you guessed it remove the intake plenum.
Before I post the plenum removal I just wanted to let you know these are NOT the factory injectors. See I already had my stock injectors removed and had shipped them out for testing and cleaning. The injectors you see are a set of 24/lb Ford injectors Vince gave me to test out. I tried them and the Motronic ECU's HATED them. Threw engine codes on both banks within minutes of start up. The Motronic ecu's could control the injectors, but it could not control the amount of fuel they were dumping, especially when the engine was TRYING to warm up, and at idle. So needles to say I won't be using these again.
Okay now for the plenum removal.
Since we already have the fuel rails out, we will need to finish removing the rest of the stuff so we can take the plenum off.
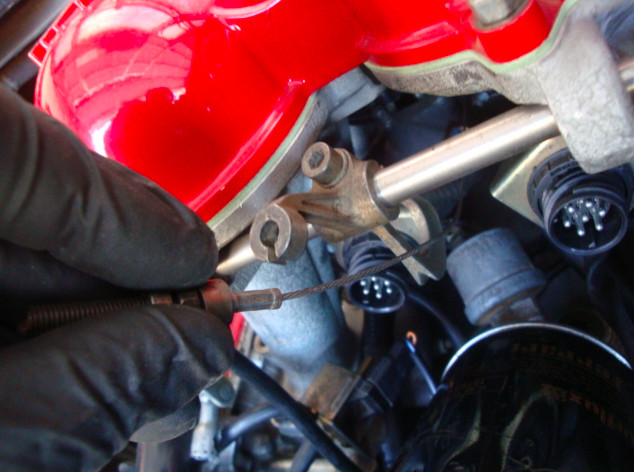
You can start by disconnecting the throttle cable from the linkage. This will allow you to roll the linkage up and out of the way, so you can get your hand under the plenum.
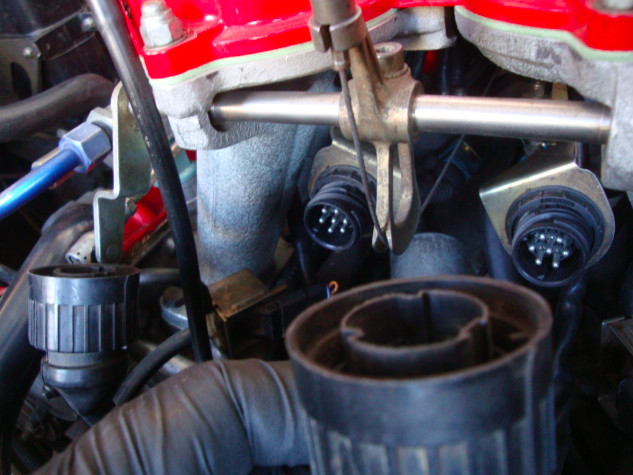
Now remove the nuts holding the main wiring loom, male connectors, for the fuel rail harness, to the bottom sides of the intake runners. These are the things we unscrewed counter clockwise earlier.
Remove them and set them down and out of the way.
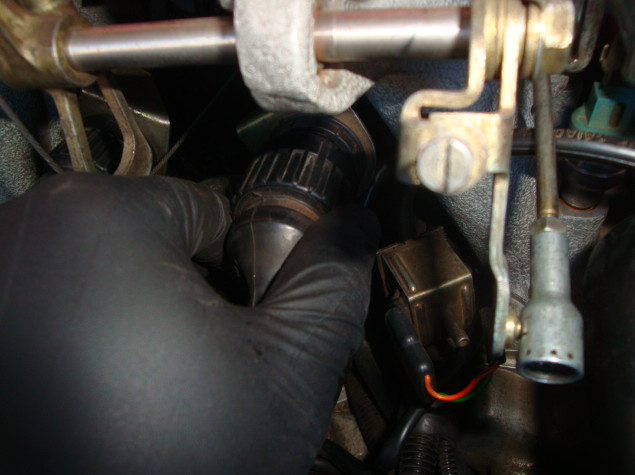
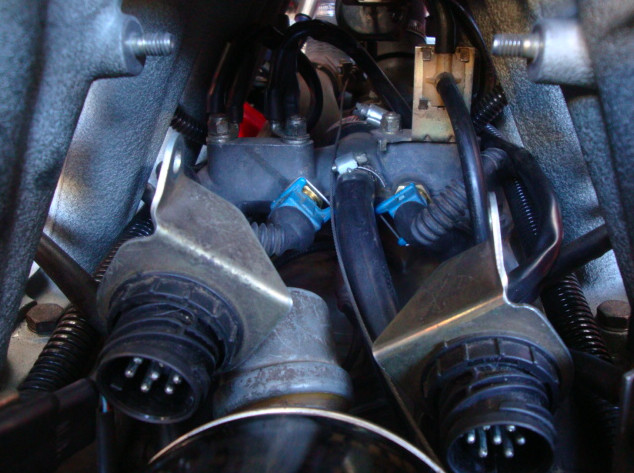
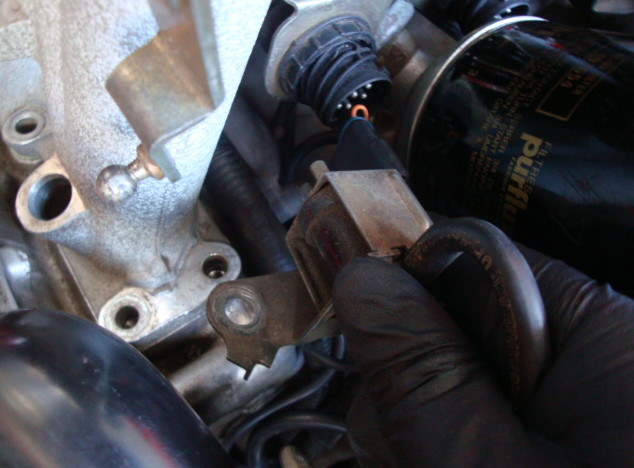
You now have room to access the clips on the coolant temperature sensors with your hand. They are the blue things.
Reach in there and unclip them. Again, they unclip by pressing on the wire while gently pulling on the clip. DON'T pull on the wire, pull on the clip.
You need these unclipped in order to completely remove the injector harness.

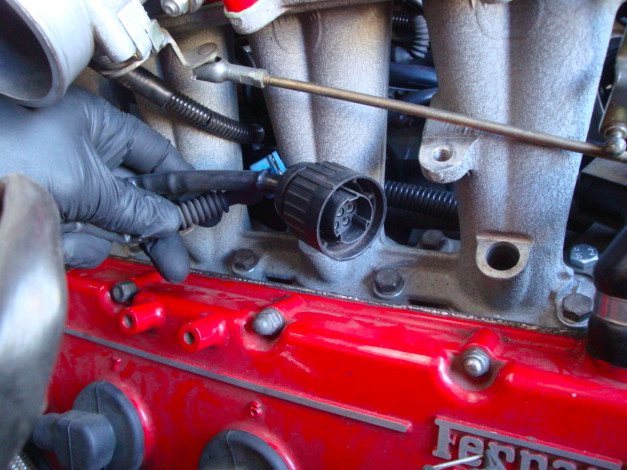
Now feed the the connectors through the intake runners and completely remove the harness. Do it for both sides.
Like this.
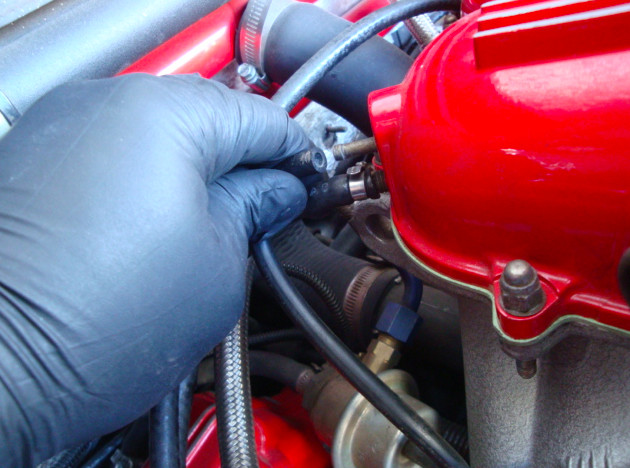
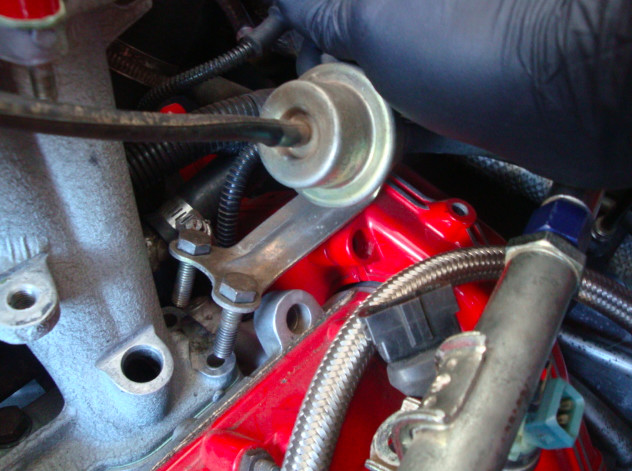
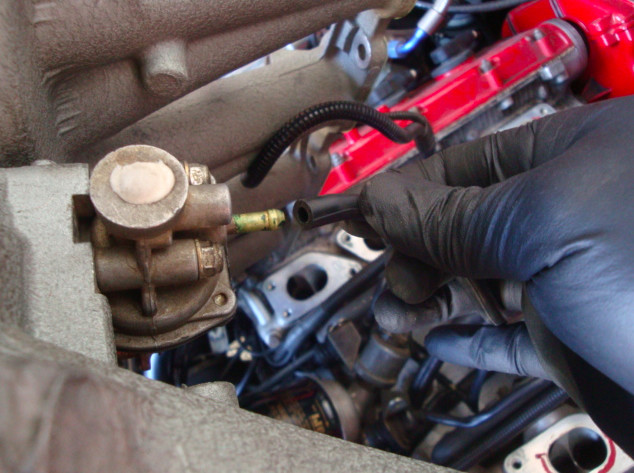
Next disconnect the vacuum line from the back of the plenum. This is the vacuum line that runs to the vacuum tank, which hold the negative pressure for the air injection valves, and for the intake compensation valve. It's located to the bottom left of the air box.
Anyway, just disconnect the vacuum line from the nipple on the back of the plenum.
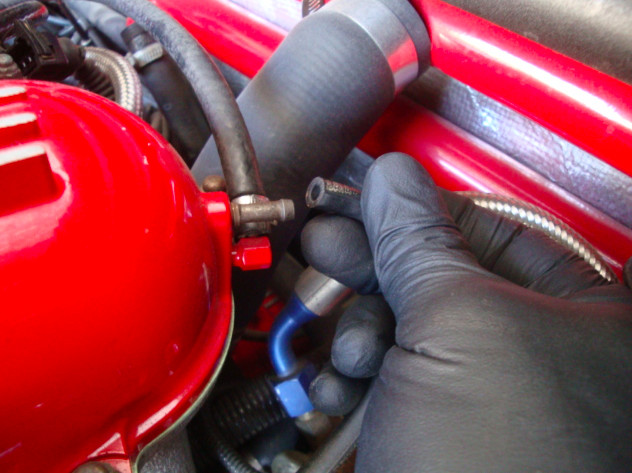
Now disconnect both vacuum tubes from the from of the plenum, that run to the fuel pressure regulators.
And then loosen the clamps, holding the vacuum lines, for both purge valves, one to each side of the front of the plenum,........and remove them.
Was that a run on sentence or what.
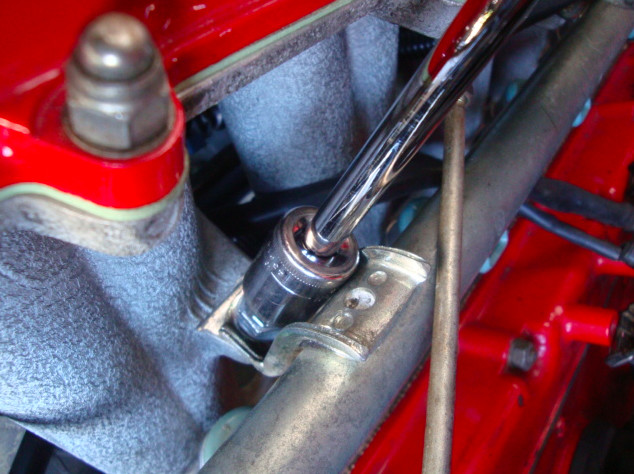
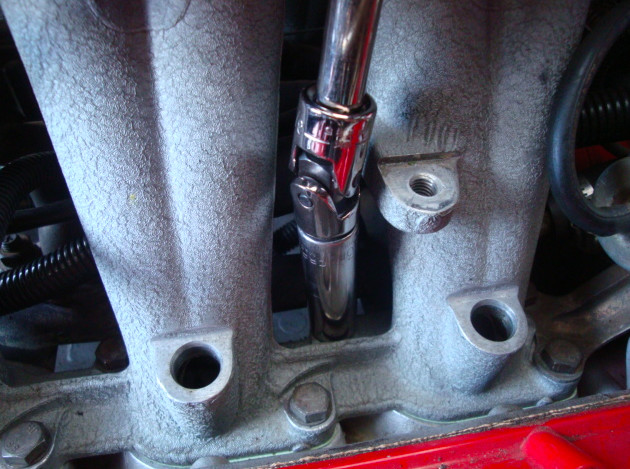
Next up are the 20 bolts holding the intake plenum to the heads. It's a good idea to use a long attachment with a universal joint/wobble on the end of it. It makes it a bit easier to get to the bolts in the middle-inside of the intake, and the one's under the TB's.
The easiest way I've found to pull out the bolts on the front of the intake are to leave them in the bracket for the fuel pressure regulator. Then lift out the bracket with the bolts dangling through, and THEN take out the bolts.
Once you pull out the bolts on the back of the intake you can just set aside the air injection solenoids. You don't even need to unplug it, just set it out of the way.
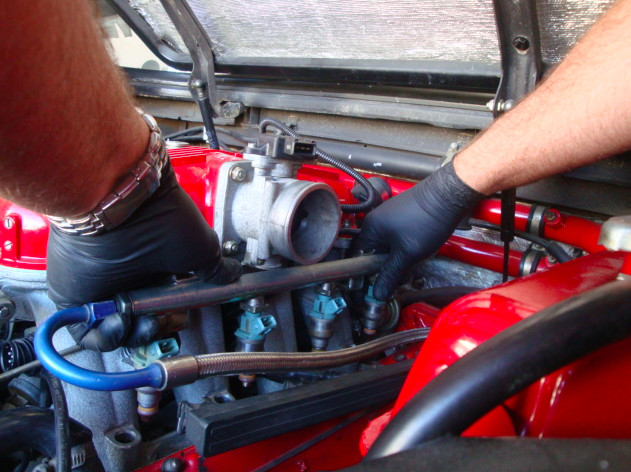
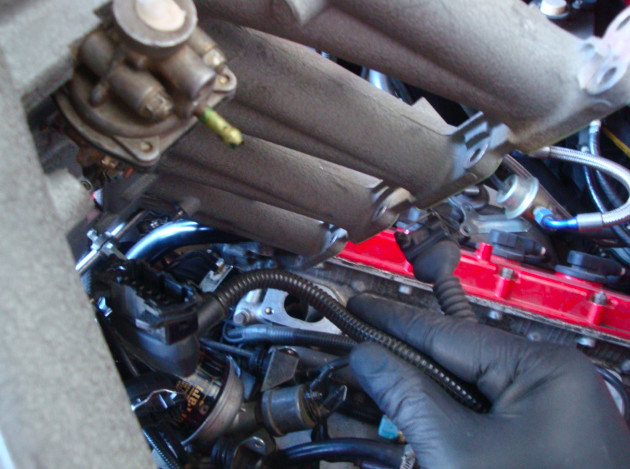
Now double check your triple check, to make sure EVERYTHING has been disconnected, and then lift up the intake plenum, but DO NOT take it all the way out.
Before you take it out you will need to tip it back and disconnect the vacuum line for the intake compensation valve.
Then fish the MAF & TB connectors back and out through the intake runners.
NOW .... you can remove the intake plenum.
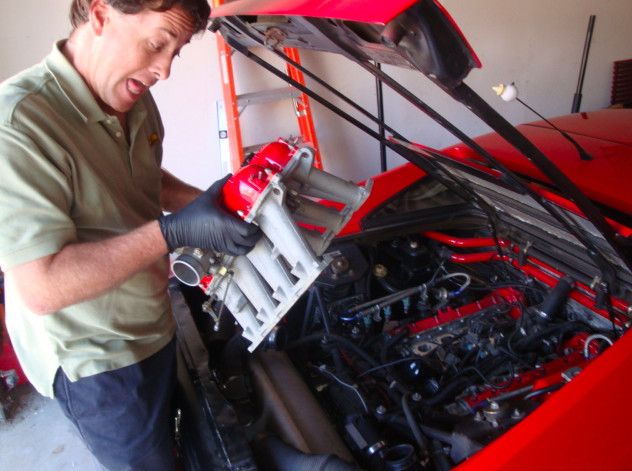
There you have it kids.
How to remove the intake plenum from a 348.
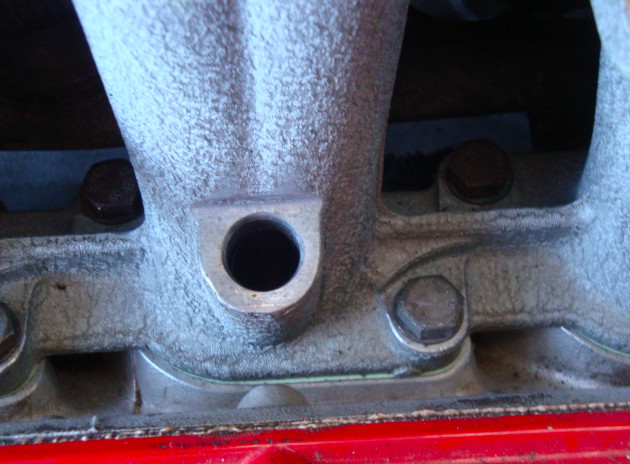
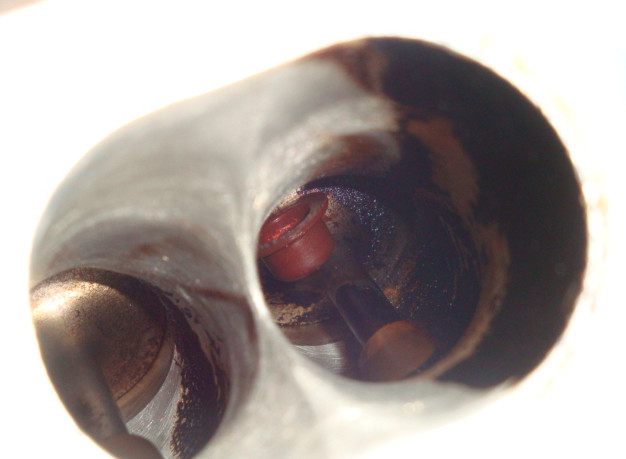
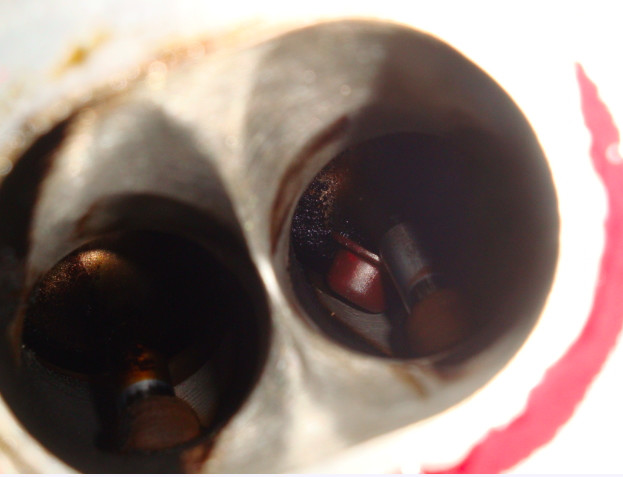
Now Ernie can have a looksie inside the intake ports to find the fuel injector cap sit on and under the valve stems. The lil' bastards popped off the #2, #3 & #5 injectors.
The injectors VINCE gave me. :P LOL
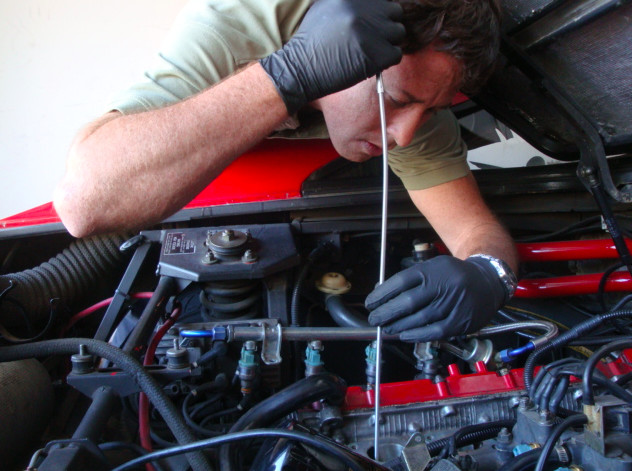
Then it was fishin time.
The one that fell in #5 was the easiest to get out. #2 & 3 were little pains-in-the-asses to get out. Since they fell behind the valve stems, every time I opened the grabber it would push the cap to the other side of the valve, and then back again, and then the other way. I finally got a long screw driver and nudged them to the top of the stem, where I was able to grab them and take them out.
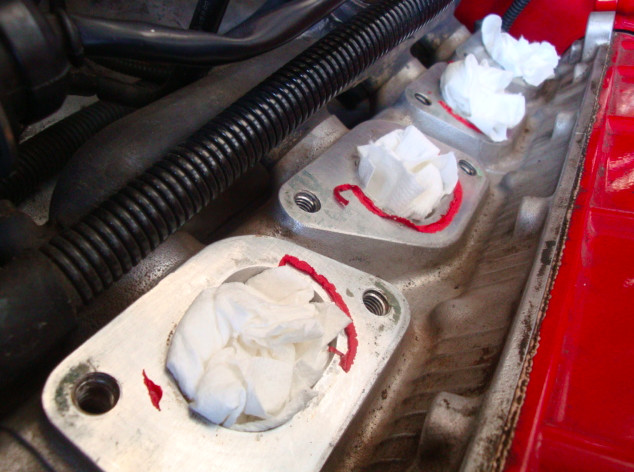
After I got them out I called it a day. But before I did, I was sure to plug up the holes with some rags. We down want anything else falling in there now do we. NO we don't.
I hope none of you guys have the misfortune of the caps coming off your injectors, and falling into the intake ports. But if you do, and I hope you don't, at least you'll know how to get to them.
Happy Wrenching.
Your friendly neighborhood Stooge.
11-30-2010
Yesterday when I was putting everything back together I took this pic of the intake plenum bolts.
For those of you that need to remove the intake, when you go to put it back on hand thread the bolts back in only half way until you get all 20 back in. Then after they are all in, finish hand threading them all the way down before you use a ratchet to tighten them up. The reason is, with the bolts still loose it gives you wiggle room to move the intake around. It really helps when you are trying to get those last couple of bolts to thread up.
Just a little tip I have found makes it a bit easier.

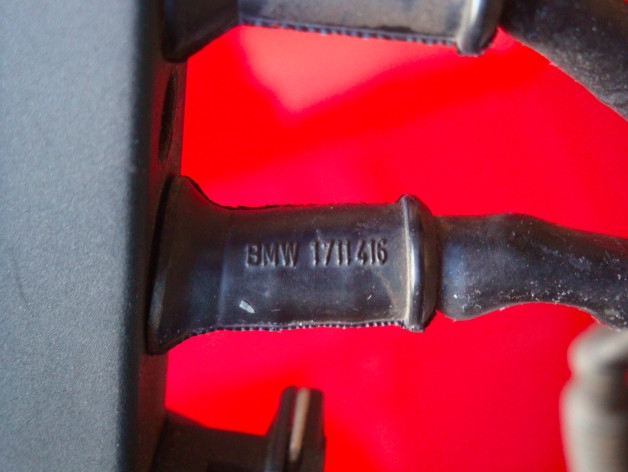
And here is and interesting pic I found on BOTH of my STOCK fuel rail harnesses before I clipped them back on.
Is that a BMW part number I see stamped on a factory Ferrari harness?
Why yes, yes it is. And like I said, it was on BOTH harnesses.