You must be logged in to rate content!
8 minute read
Pics from assembling my engine
Compliments of Smaay @ supraforums.com
11-6-2012
ok lets get started with the assembly
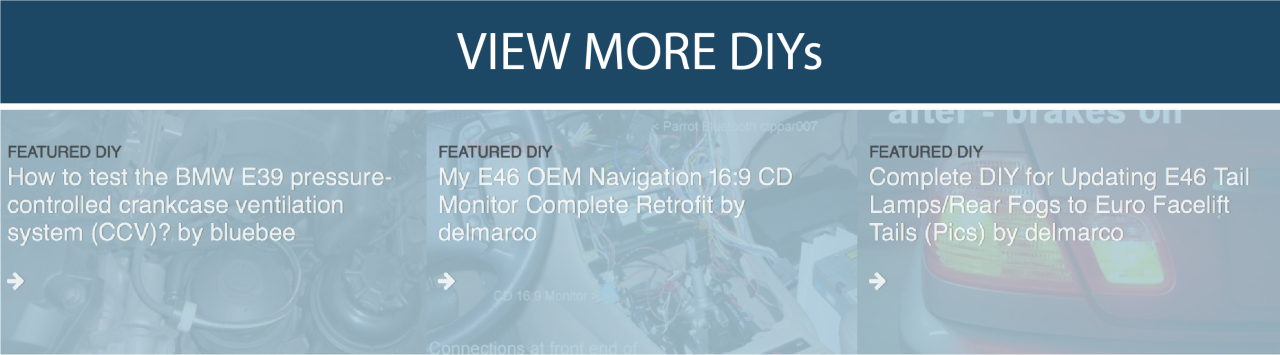
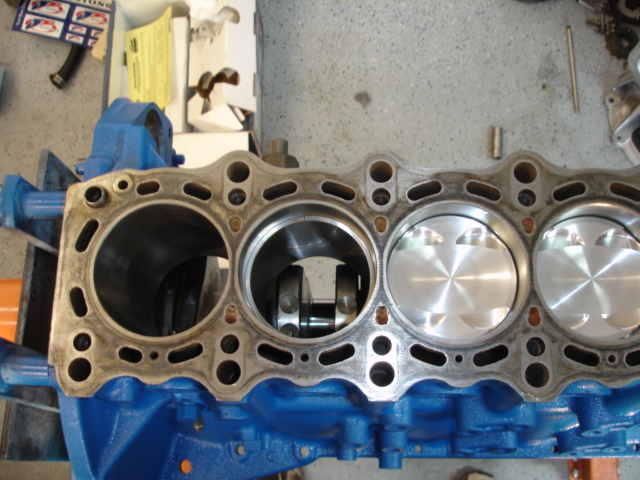
here is the block, all nice a clean.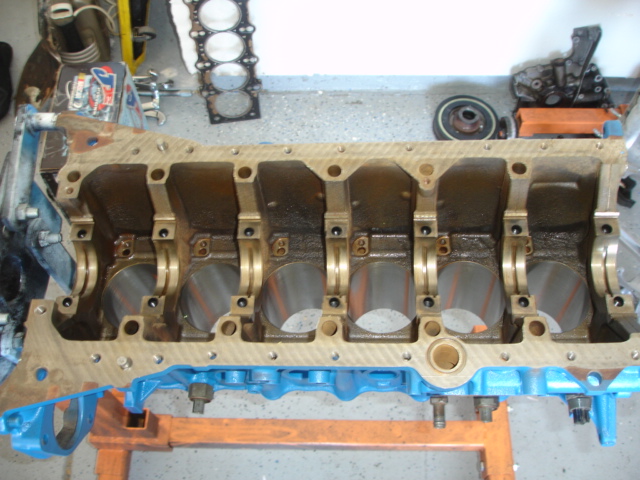
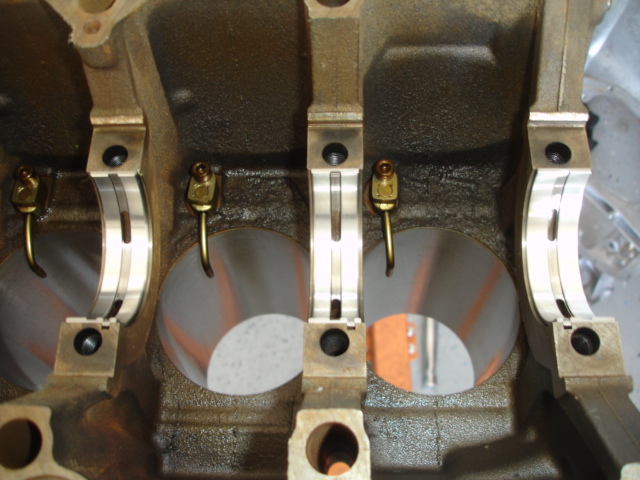
This is where the oil squirters go. they spray under the piston to help cool them when the engine is generating phenomenal power!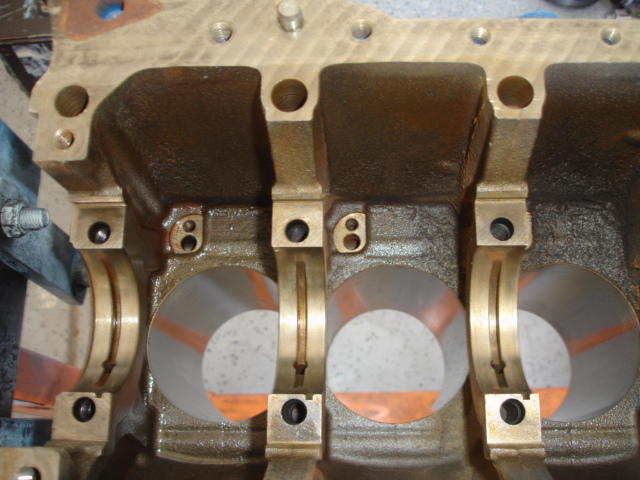
Squirters installed
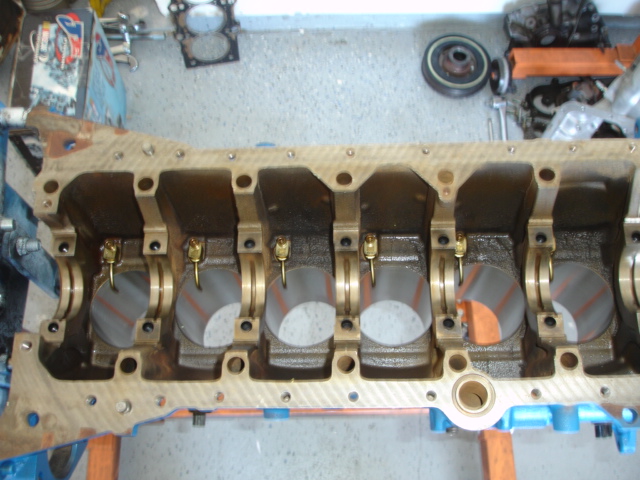
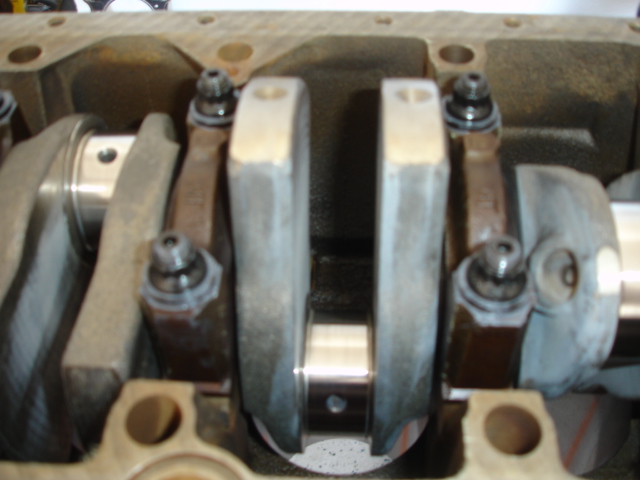
Main bearings installed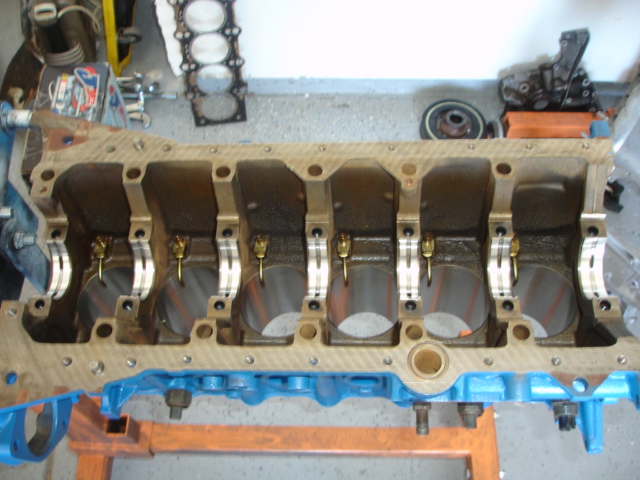
Lay the crankshaft in the block, going to check clearances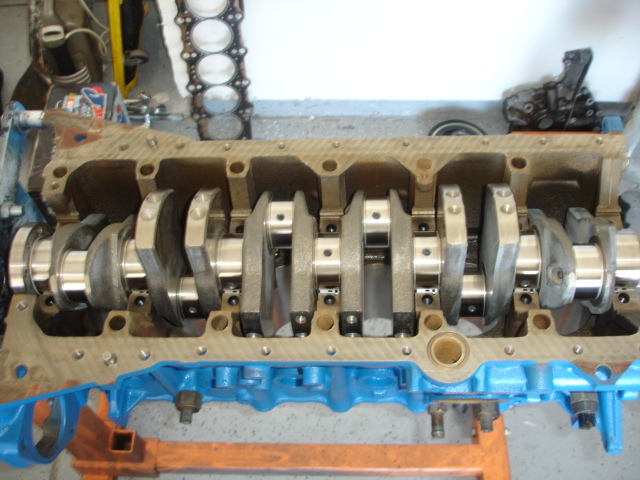
Lay a strip of plastigauge on the journals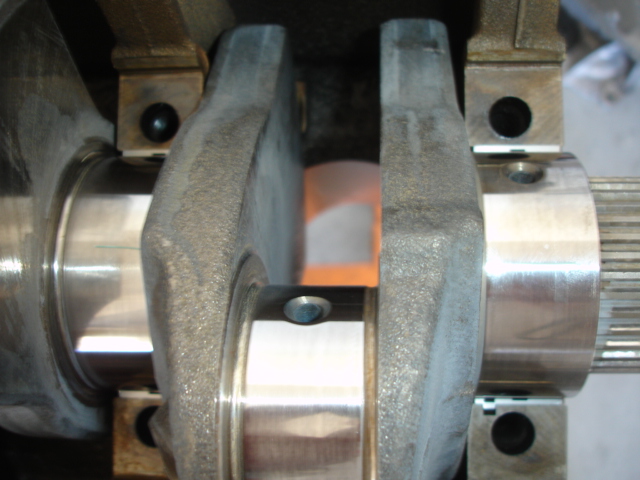
Install the main caps in the proper locations, apply the proper torque and check the clearance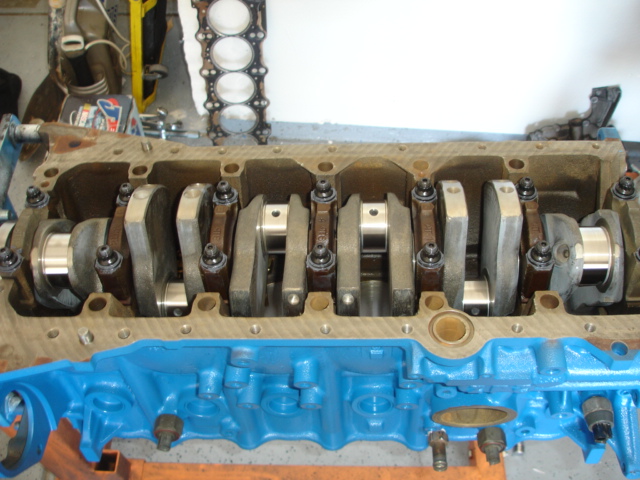
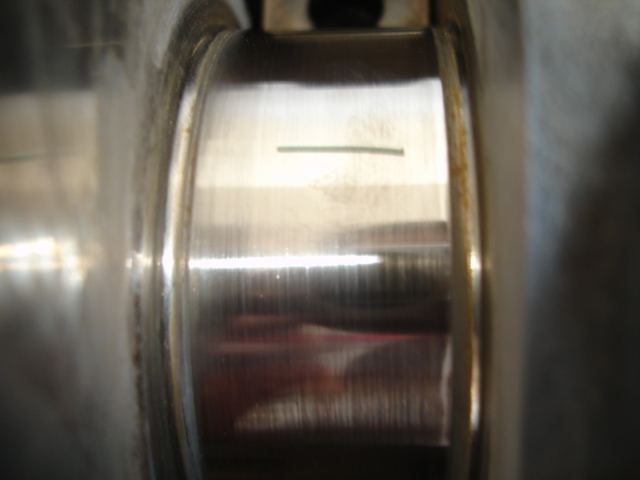
Remove the caps and check the plastigauge. it spreads out and get measured for clearance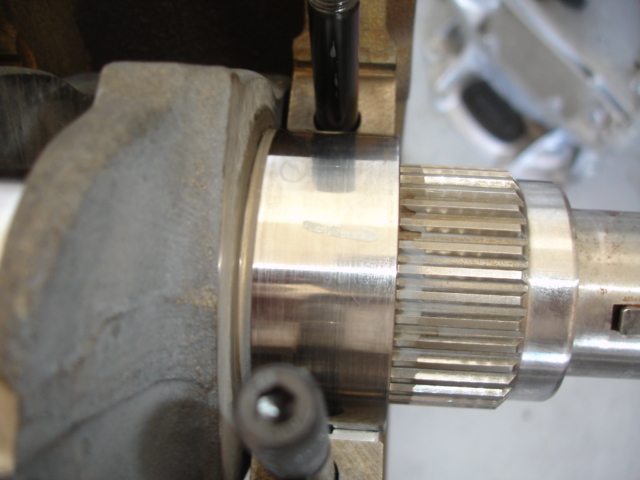
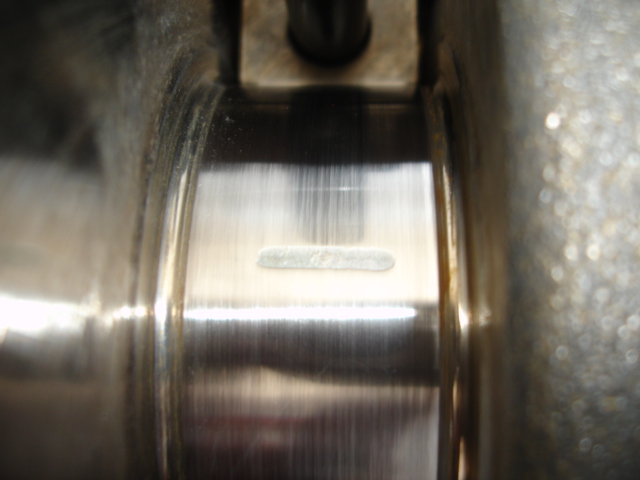
This shows .002 clearance = perfect!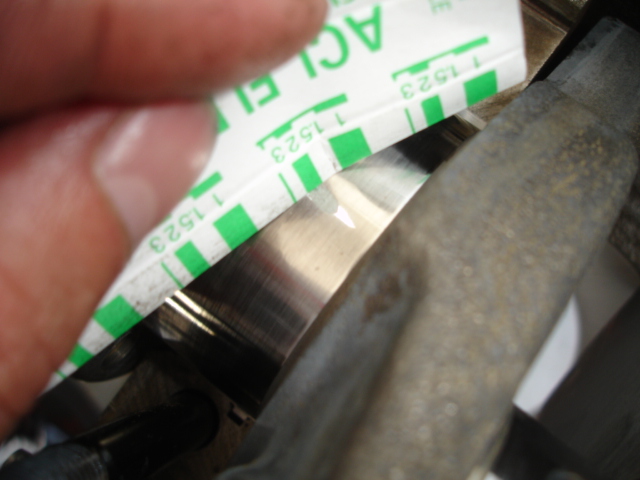
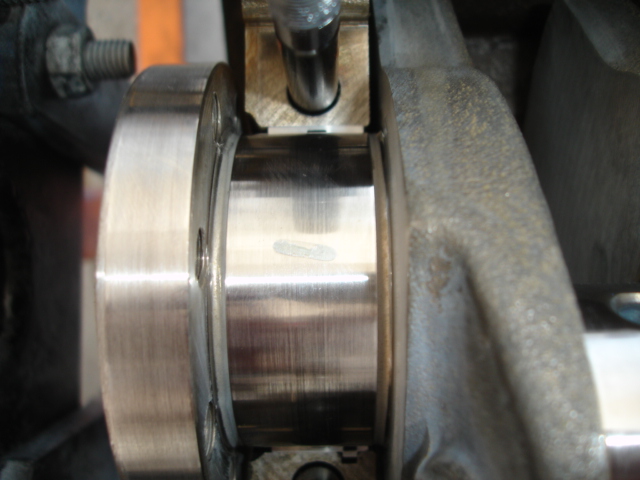
Remove plastigauge from surfaces and then apply generous amounts of assembly lube and re-install the main caps to the proper torque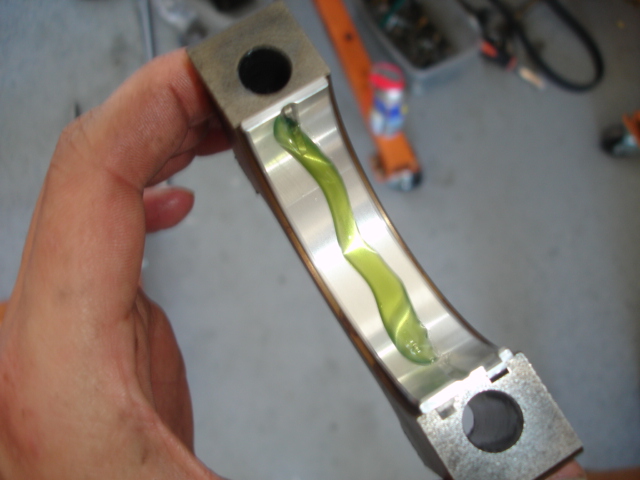
Check the ring gap. use a piston upside down and slide the ring down into the cylinder. i go the length of the piston. using feeler gauges check the gap of the rings. the piston paperwork will give you the proper gaps on a spec sheet.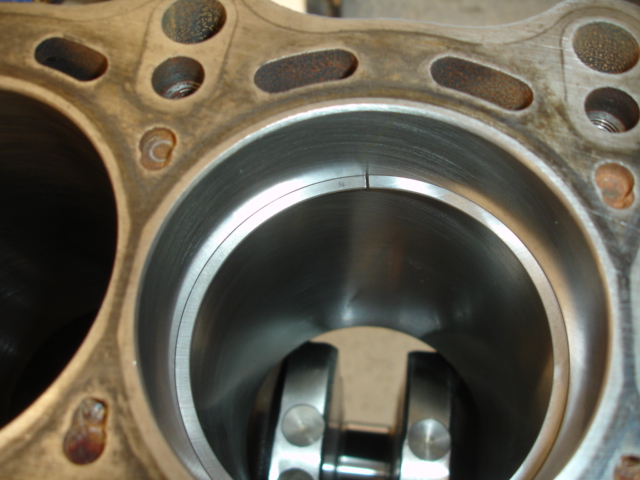
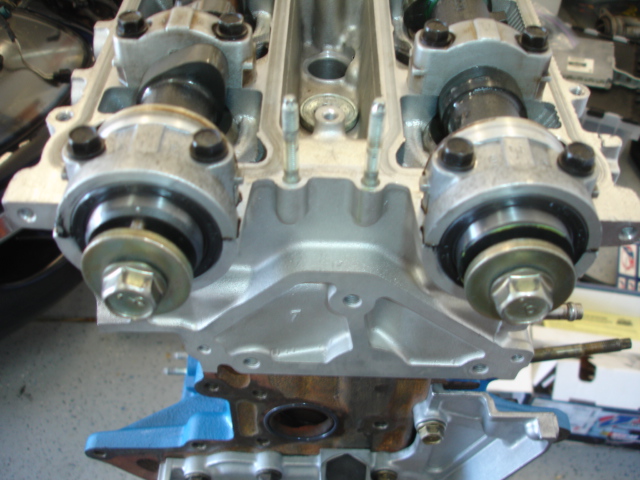
looking at front of block, install new O-rings for oil pump and water pump
Apply a small bead of FIPG for around the oil pump to seal it. This is the first Toyota engine that doesn't have a gasket that I have come across.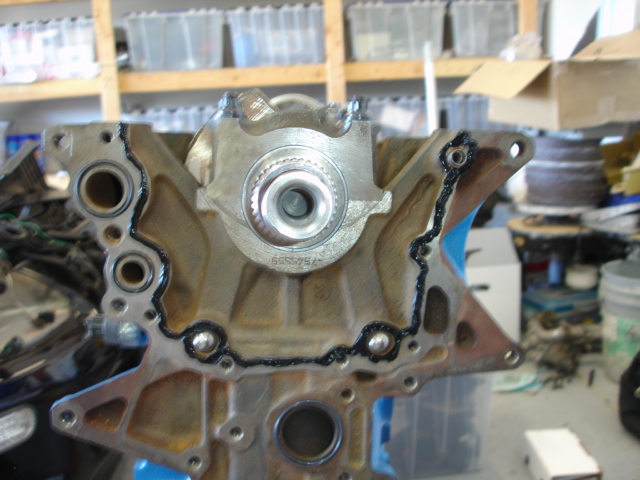
Install oil pump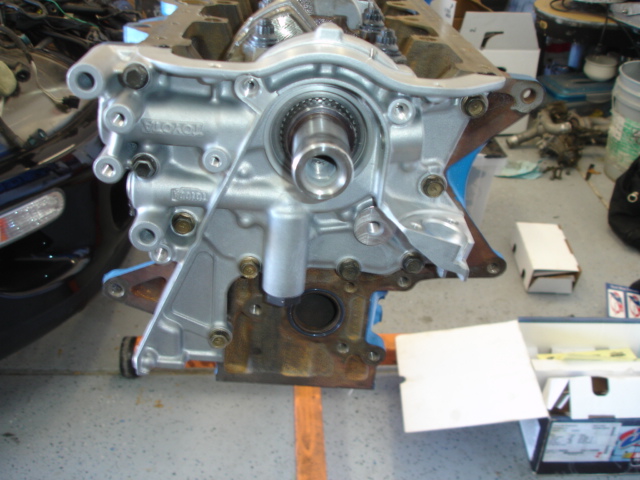
Install new rear main seal in the housing assembly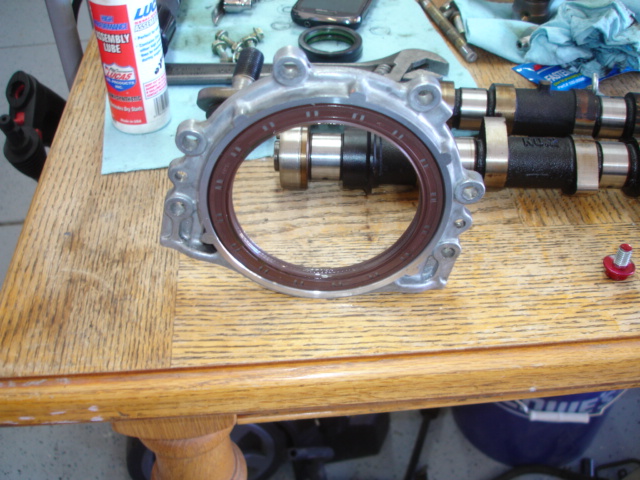
This is the #1 oil pan.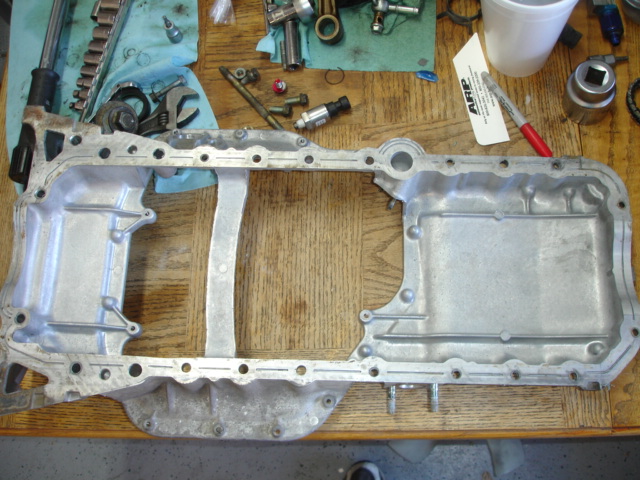
Apply FIPG around the pan to bond it to the block. dont forget to install the O-ring on the block.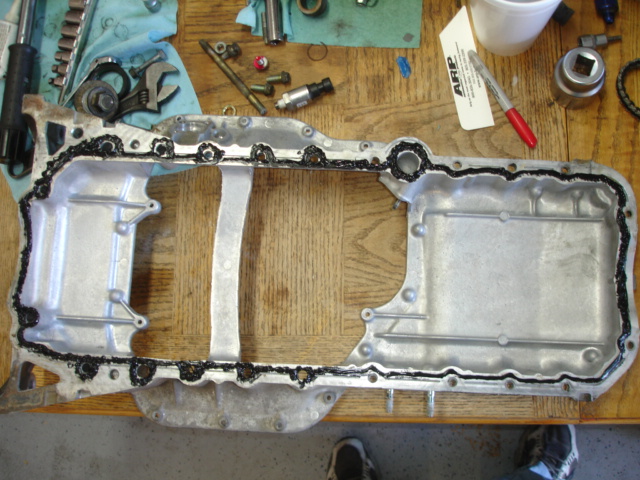
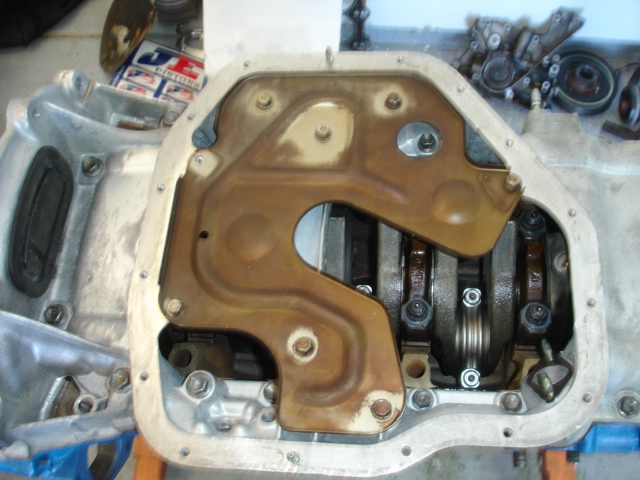
Install Windage tray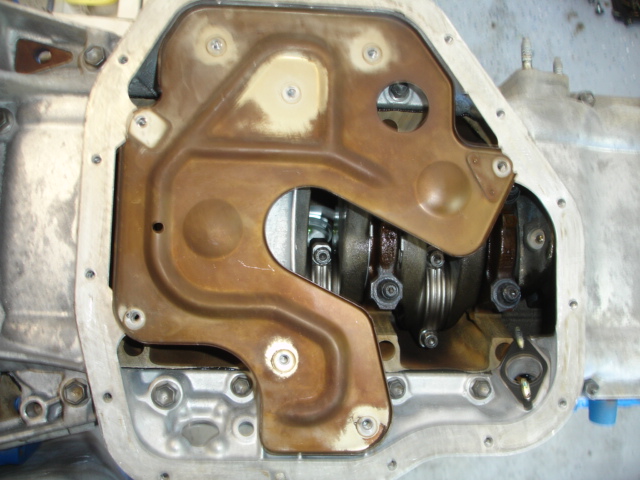
Using new gasket install oil pickup
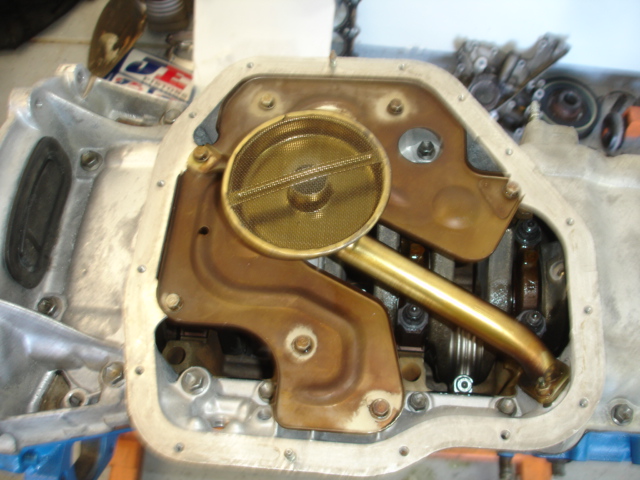
I didnt get a picture but install the #2 oil pan the same way with a bead of FIPG around the boarder.
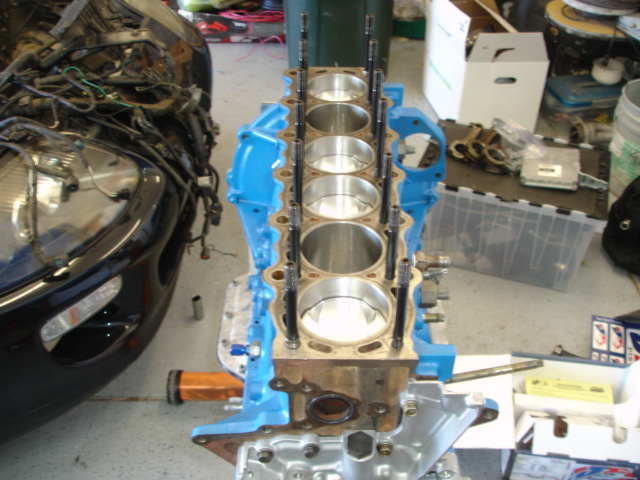
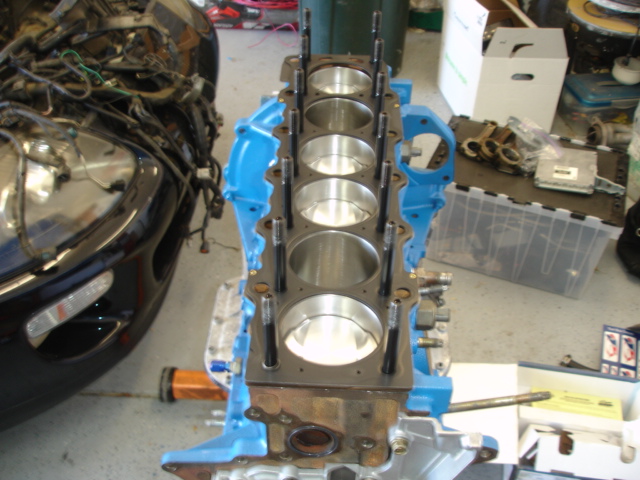
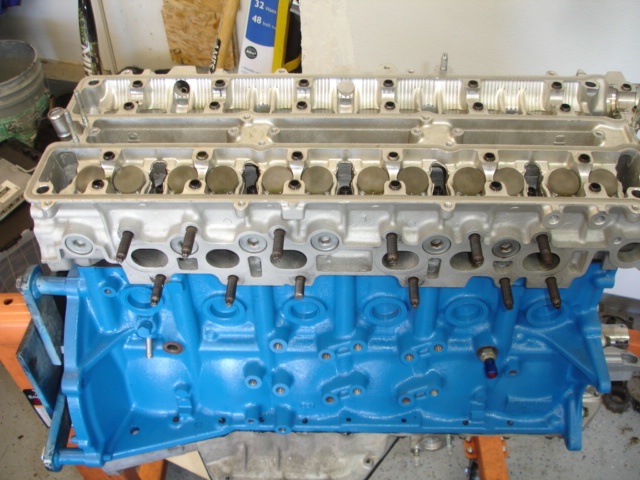
Flip engine over and install the head studs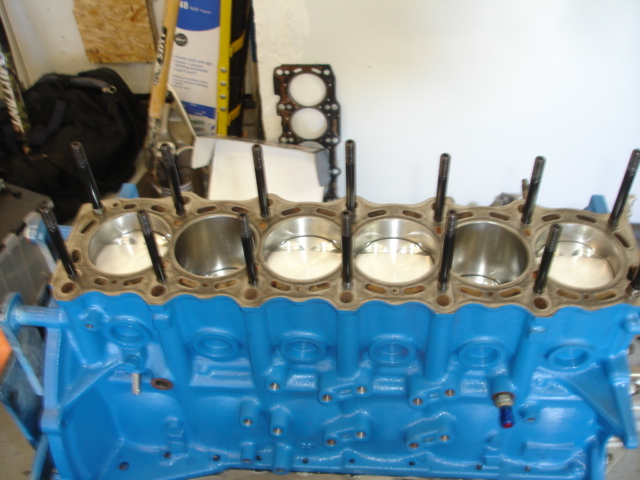
Lay head gasket on the deck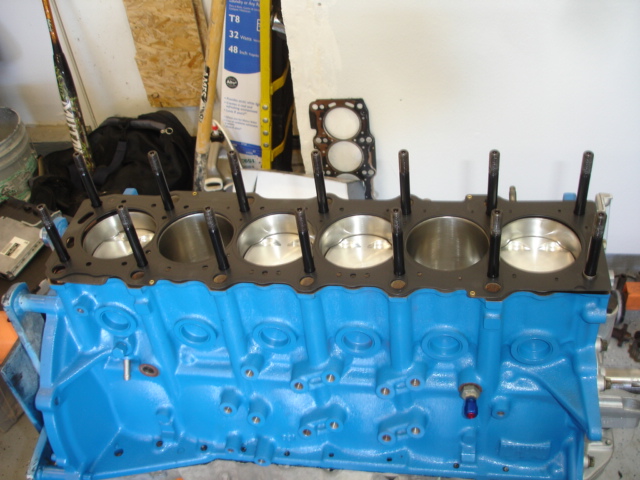
Oops, at this point I realized that the washers that get used with the ARP studs will not fit through the head and around the stud like this. What I ended up doing is removing the studs, applying the ARP moly lube to the nut end of the threads and the washers, then lowered the stud through the head and hand tightened them to the block. This way everything was properly lubed all around.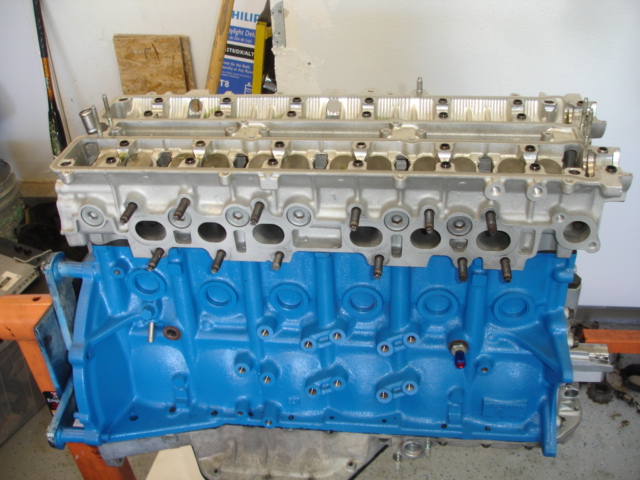
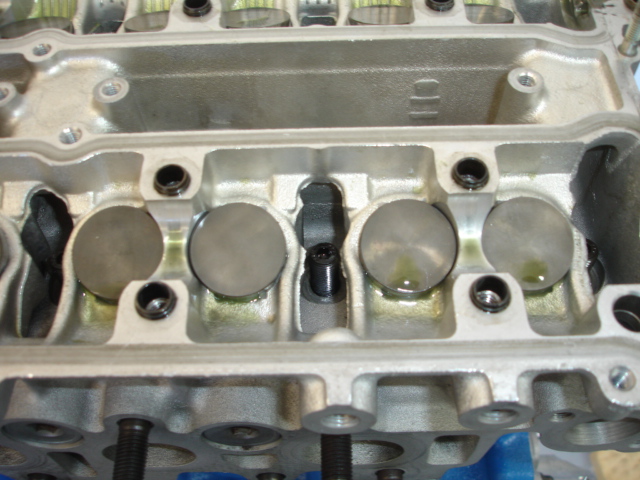
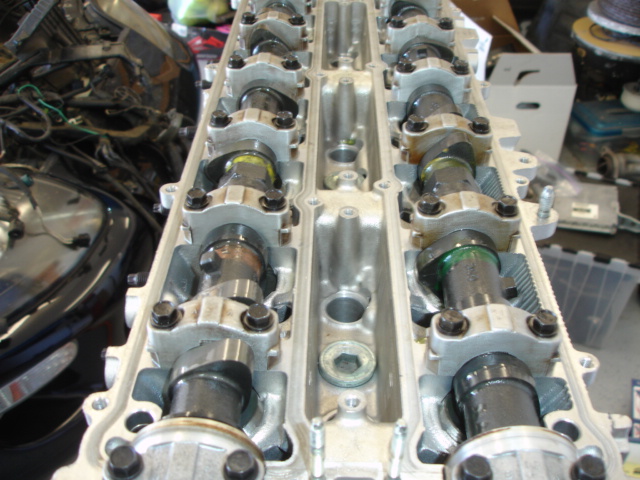
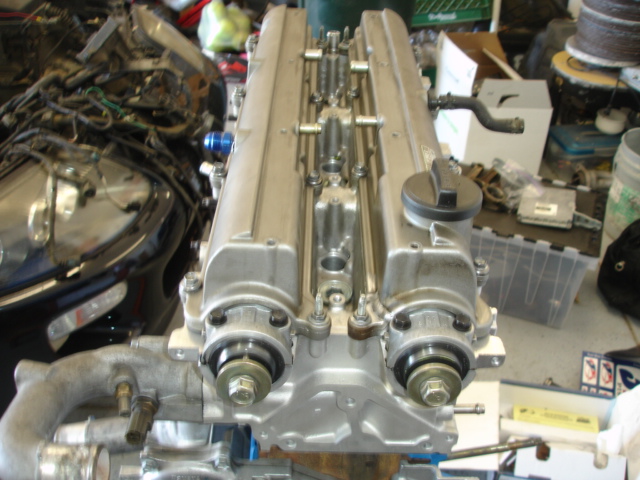
Another shot of the head with 1ZZ-FE shimless buckets.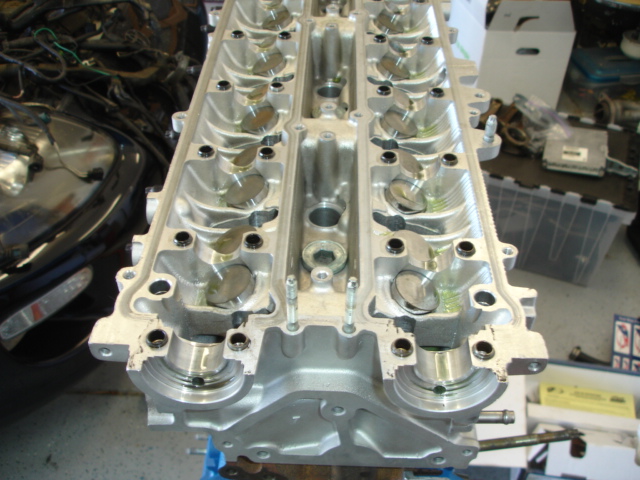
GSC Stage 2 cams installed.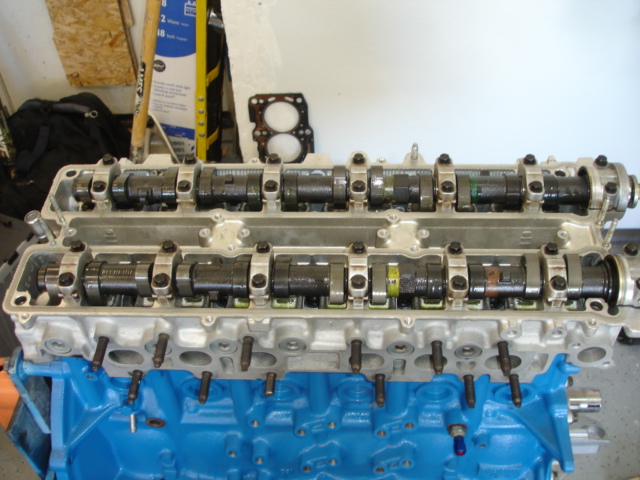
Looks like i missed a few steps, got the valve covers on, water pump is on and the water line.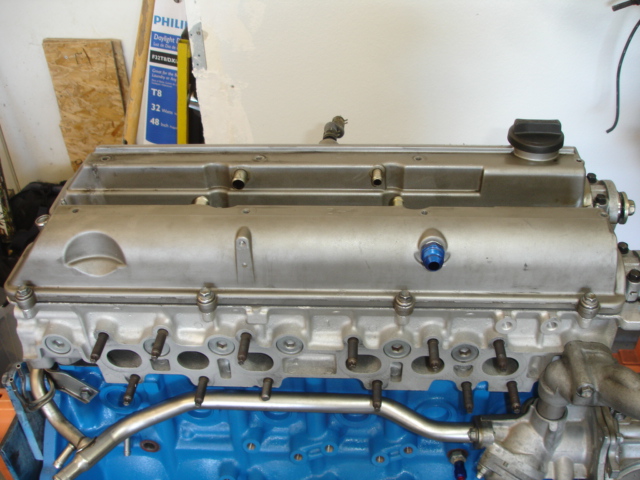
Installed Billet timing belt tensioner pulley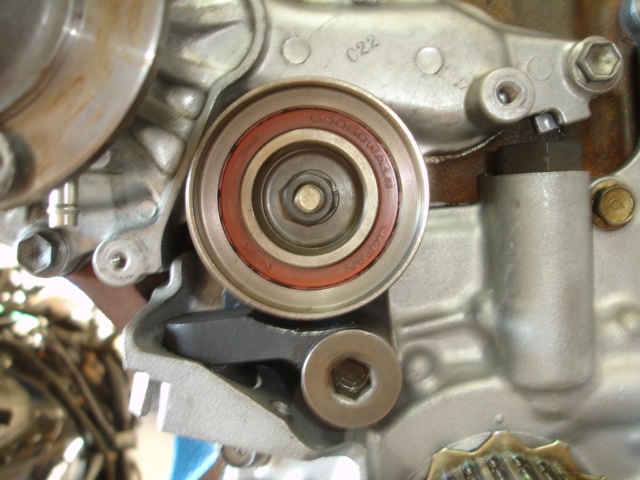
Installed timing belt
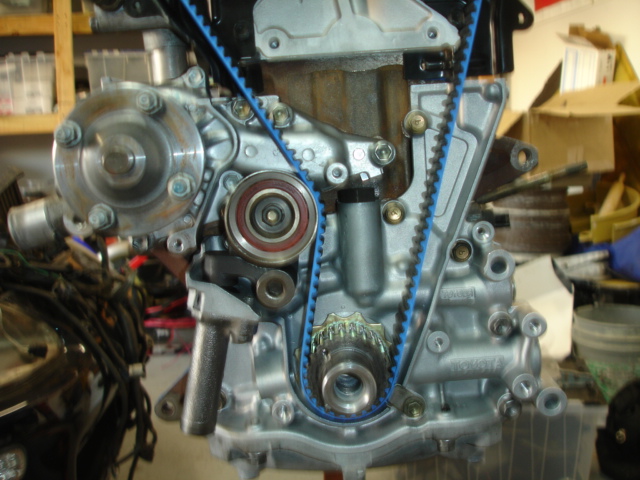
Install lower belt cover, and accessory belt tensioner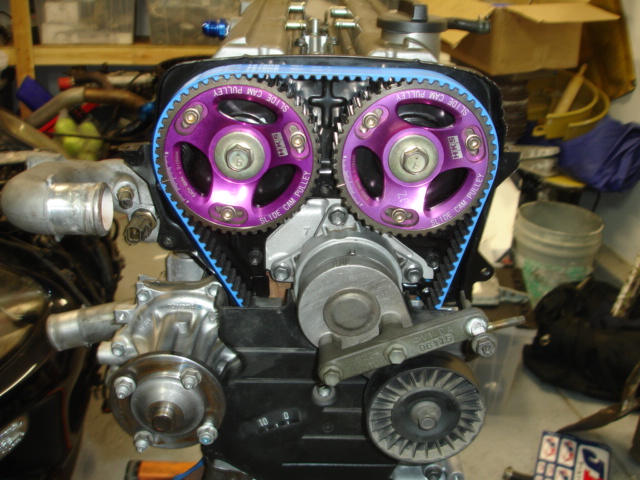
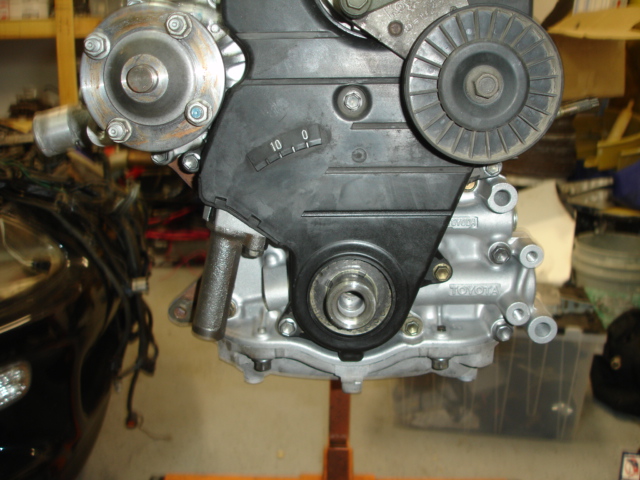
Install upper belt cover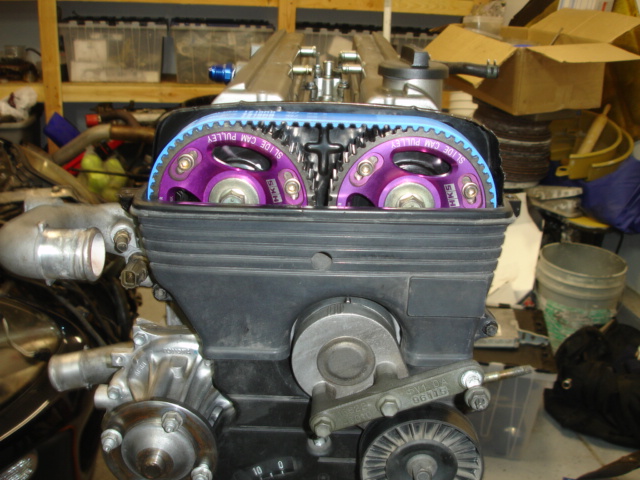
11-15-2012
i took more pics, i just need to post them, i turned the key last night and she fired right up. Smoked like a bitch from all the residue oil in the turbo and exhaust pipe. i didn't have any cooling parts on so i just ran it long enough to get it out of the garage. the engine also sounds a little different. haven't quite placed my finger on it yet.

Nice pics!
Posted by Diggymart on 1/7/20 @ 8:00:27 PM