- Floor jack
- Jack stand
- Sockets, 10mm, 8mm, 14mm
- Wrench, 10mm
- Long nose pliers
- Screw drivers, #2 phillips, Torx #30, tiny flat blade
- Side cutter pliers AKA Dikes
- Weatherstrip adhesive
- Single edge razor blade
- Patience
You must be logged in to rate content!
17 minute read
Replacing the Headlight Assembly or Lens on your Volvo V40
Compliments of rusty car guy @ www.instructables.com
My wife's 2004 Volvo V40 has a broken headlight lens. These cars have glass lenses and a stone impact had shattered it.
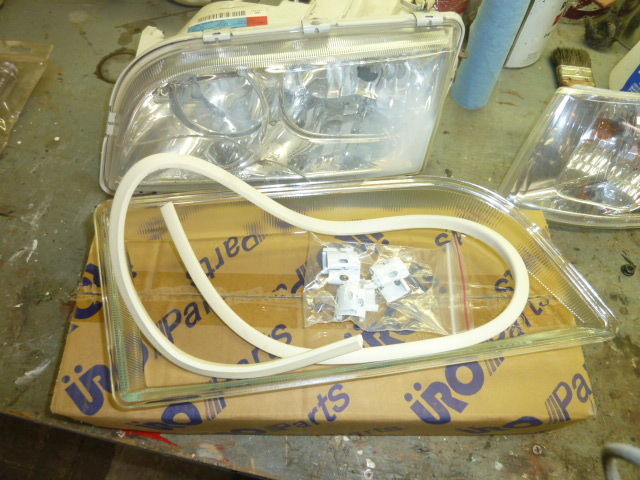
As of 2013, A new after market assembly is $140.00 - The Volvo part is over $250.00. I was able to find a new lens only, with gasket from www.IPDusa.com
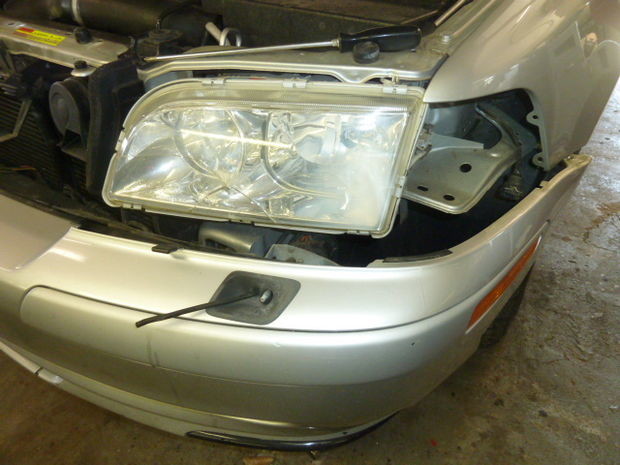
At first glance it appears you can just remove 4 bolts and take the entire headlight assemble out of the car.
Not quite. The lower part of the light is behind the bumper cover so you'll have to loosen the bumper and pull it forward.
It's not as hard as it sounds. But you will have to lift the vehicle to get at some fasteners underneath.
As always;
rule #1 is be safe. If after reading these instructions you aren't confident you can do the job, hire a pro.
rule #2 is don't break anything, no use adding to the expense of your repair.
rule #3 is don't throw anything away until the job is finished.
Step 1: Tools


Tools you will need:
Floor jack
Jack stand
Sockets, 10mm, 8mm, 14mm
Wrench, 10mm
Long nose pliers
Screw drivers, #2 phillips, Torx #30, tiny flat blade
Side cutter pliers AKA Dikes
Weatherstrip adhesive
Single edge razor blade
Patience
Time to do the job:
About an hour. I did this job on the floor. If you have access to a hoist it will make the job easier.
Step 2: Safety First
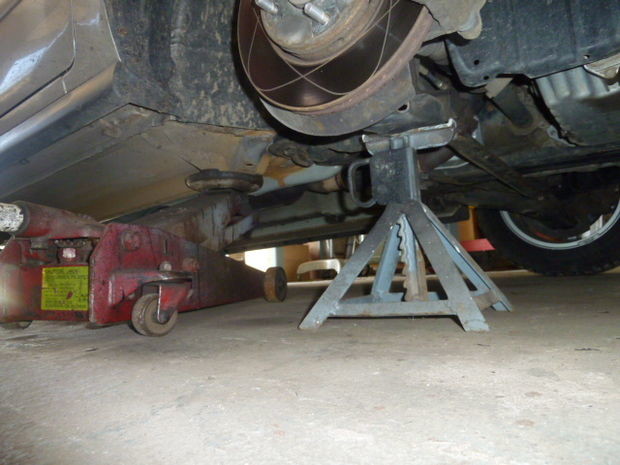
You will need a place with a concrete floor.
Lift the vehicle using the specified jacking points.
Make sure to safely support the vehicle with the jack stand.
I left the floor jack in place as an extra measure of safety.
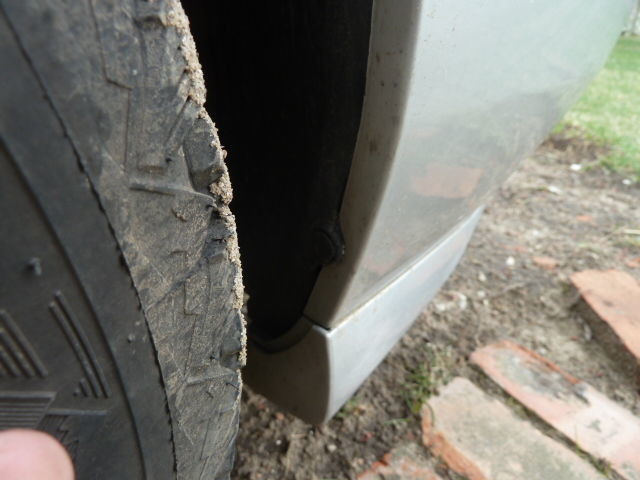
Step 3: Loosen the bumper cover.


Once you have the vehicle lifted you're ready to begin removing bolts and fasteners.
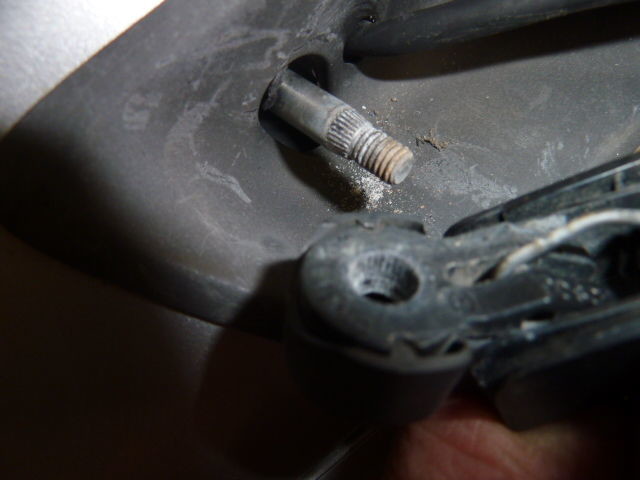
You only need to remove a few.
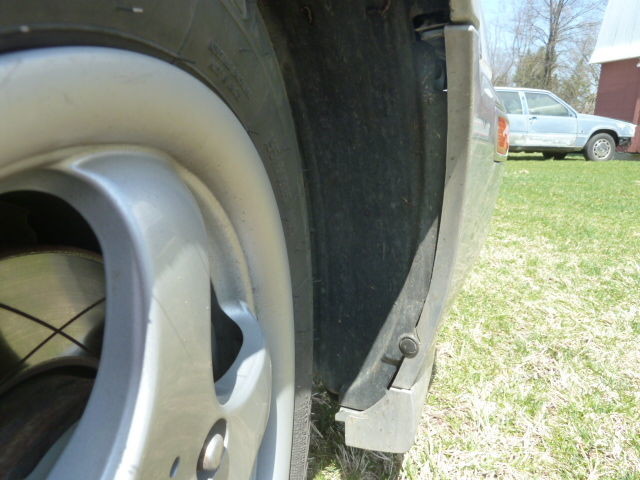
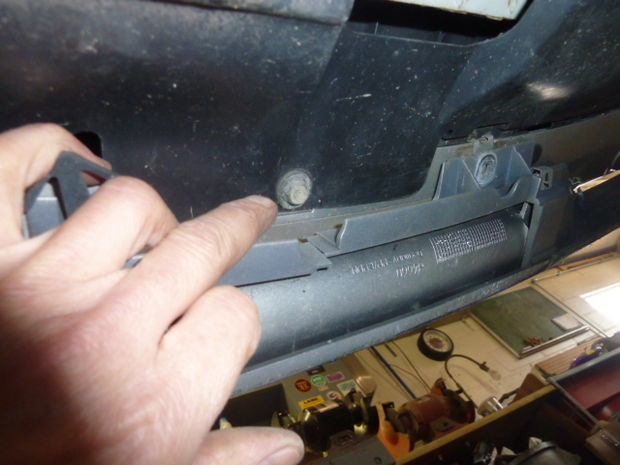
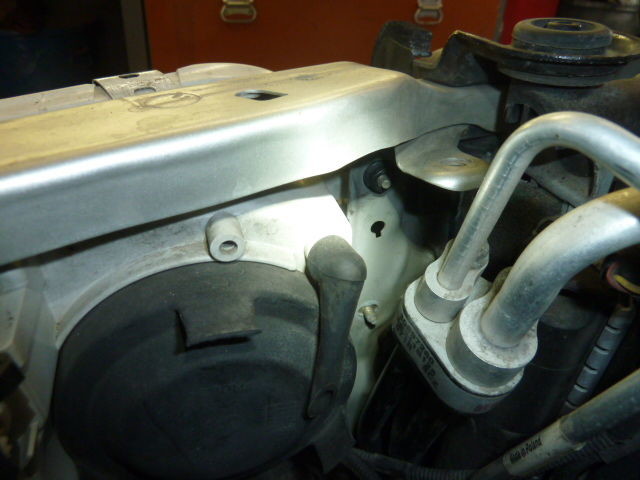
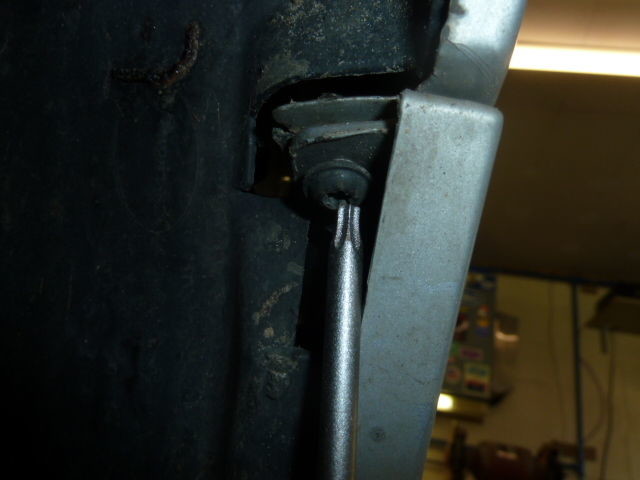
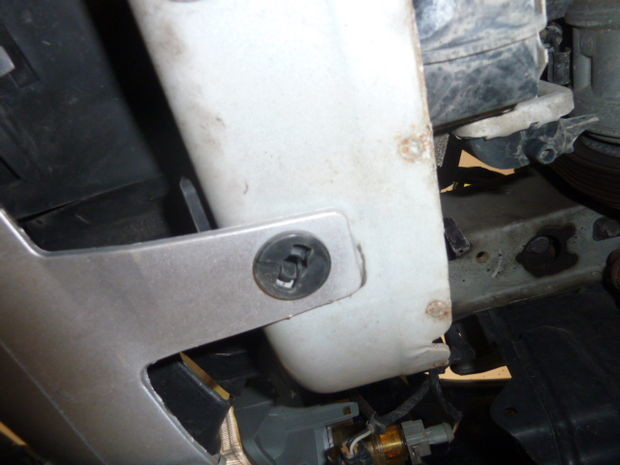
There are 2 at the front of the wheel well on each side.
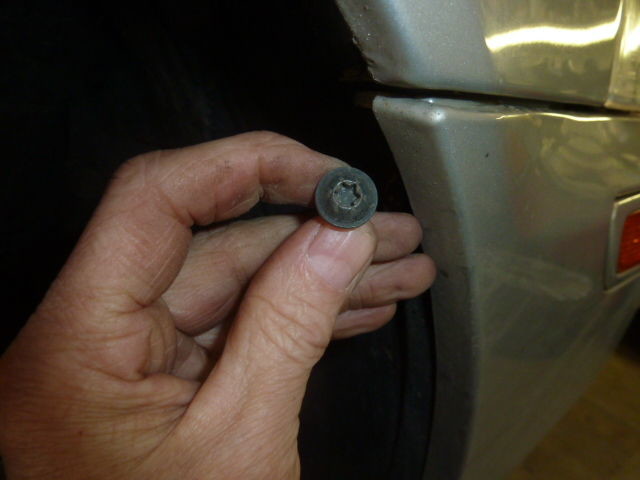
The upper one is a Torx # 30 screw.
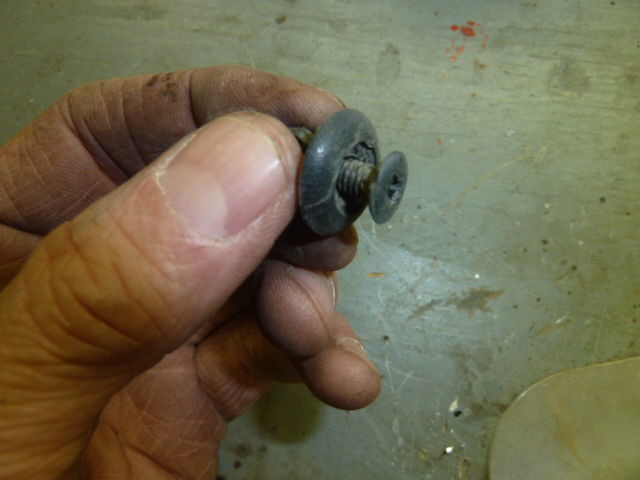
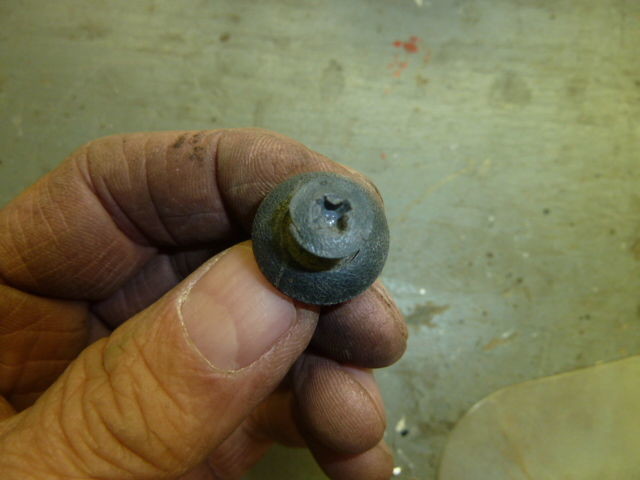
The lower one is one of those annoying plastic rivets that seem to break as often as not when removed, IPD has new ones.
Use a small straight blade screw driver to pry up the center of the retainer then remove the entire rivet from the hole.
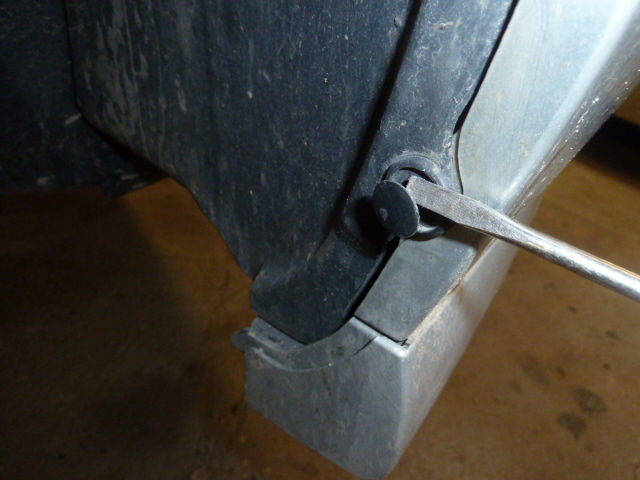
Someone has been here before and the other side had a different style but it removed the same way.
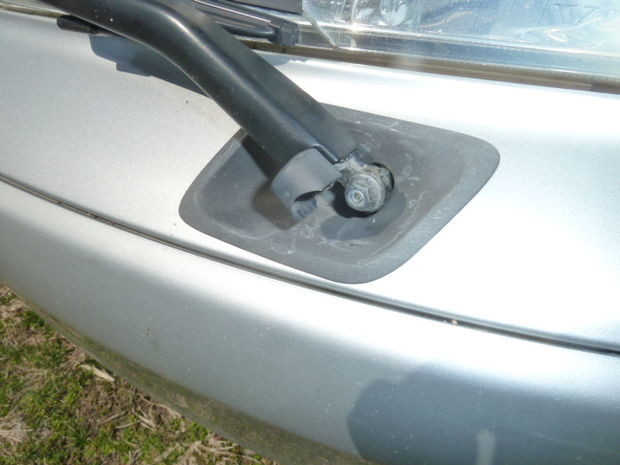
Step 4: Removing Park lights

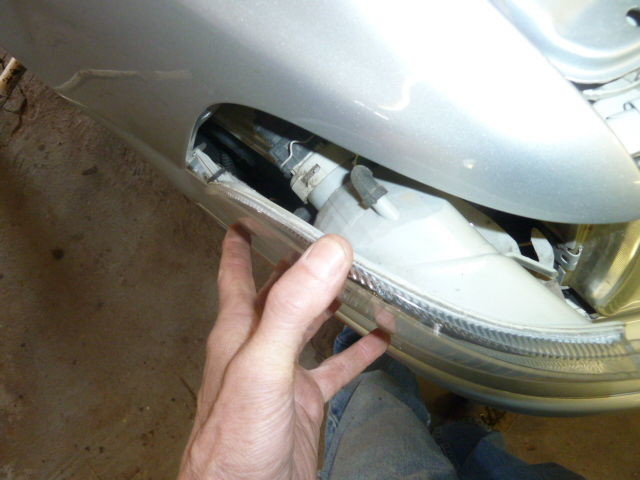


Step 5:


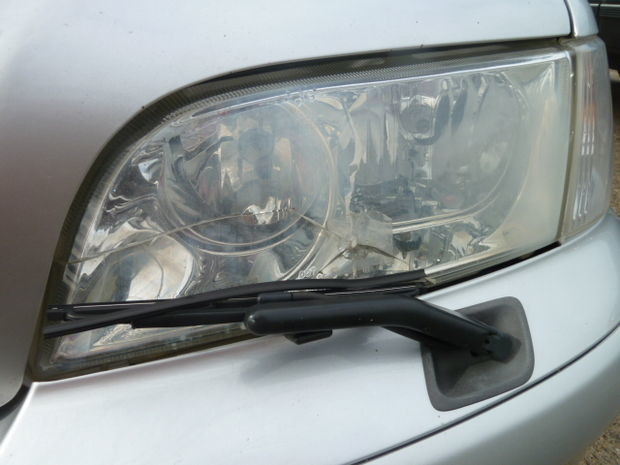
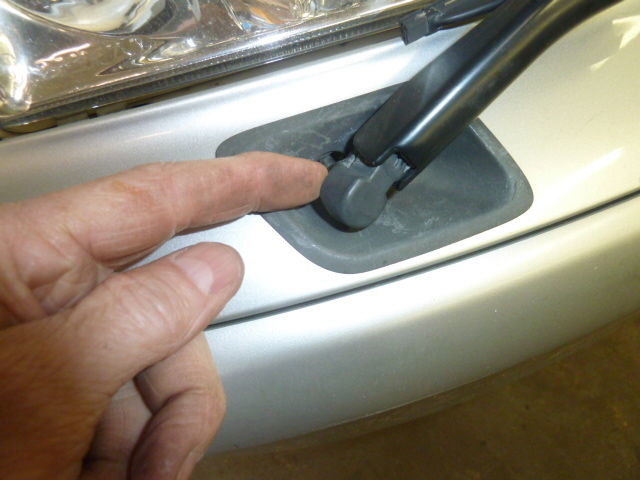
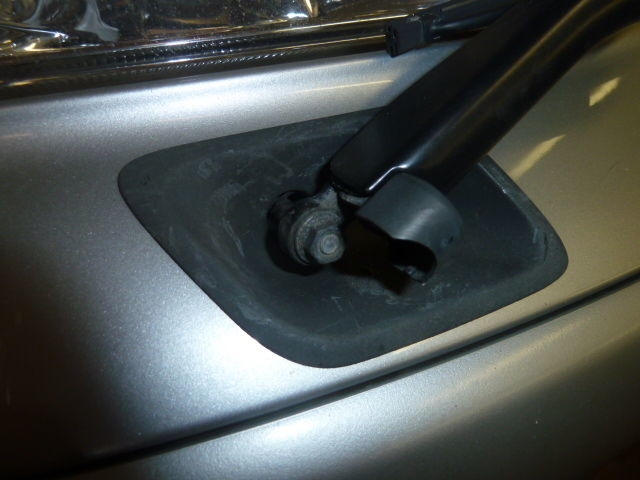
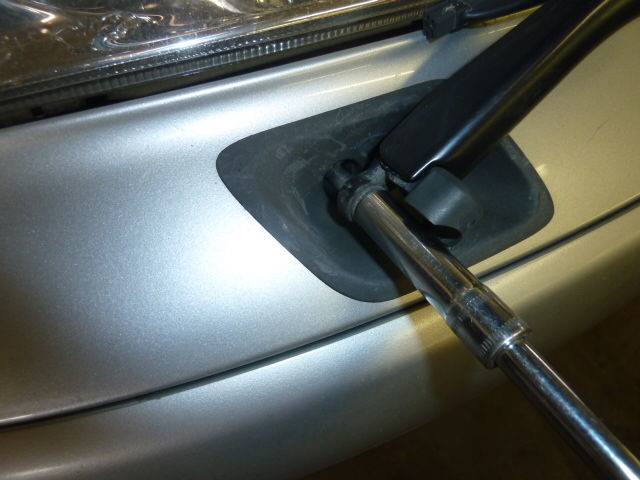
This model has headlight wipers.
There are covers over the nuts that attach them - lift the cover to get at the 10mm nut.
Once the nut is off, flip the wiper up away from the headlight, it will stay this way.
Then gently rock it back and forth to loosen it from the shaft.
Pull off the washer hose too.
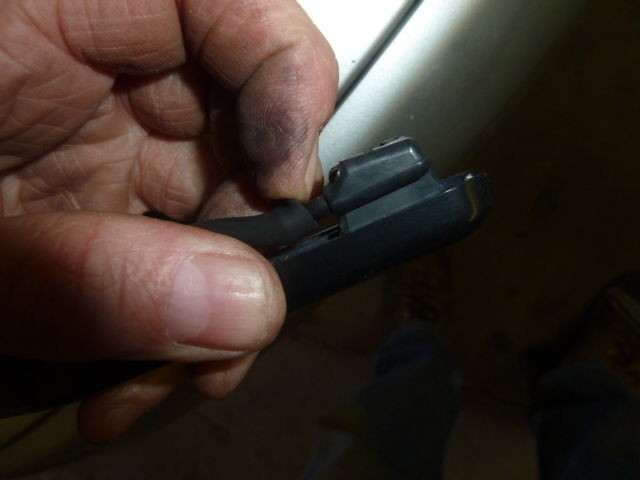
Do NOT twist. Notice the tiny, tapered splines on the shaft, this is the only thing that holds the wiper solid.
You can see that there was some corrosion. I used a straight pin to clean out the splines before re-attaching the wiper.
By-The-Way, windshield wipers are attached the same way. If your wipers strip (because of being frozen to the windshield) you can remove them and try to clean the splines then re-install the wiper - that usually saves the expense of a new wiper arm.
It seems like Swedes, who live where there is winter, would know better than to use this wimpy method of attachment (which they have been using for decades) - but I digress.
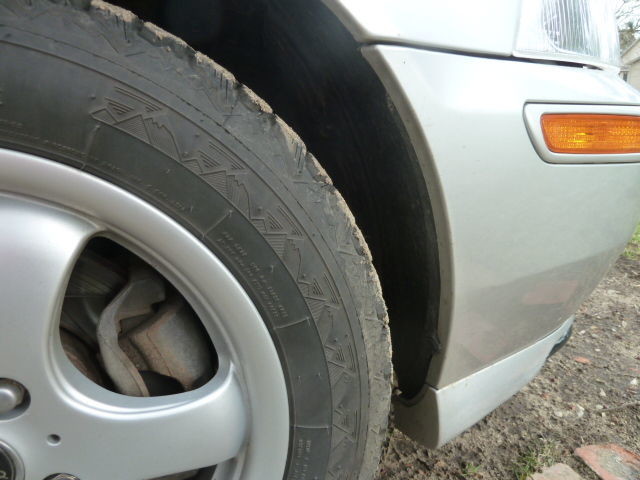
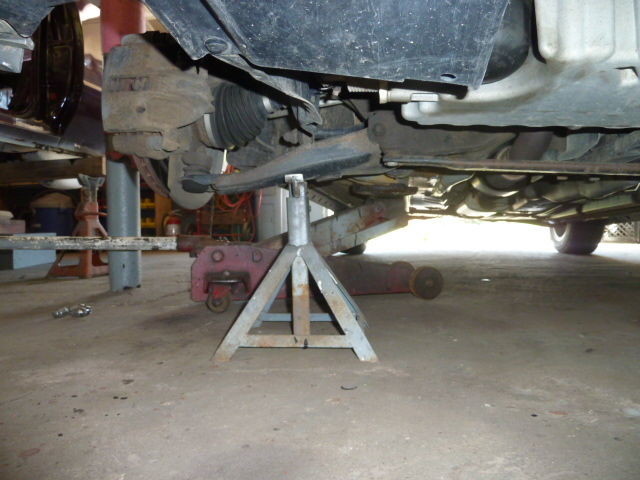
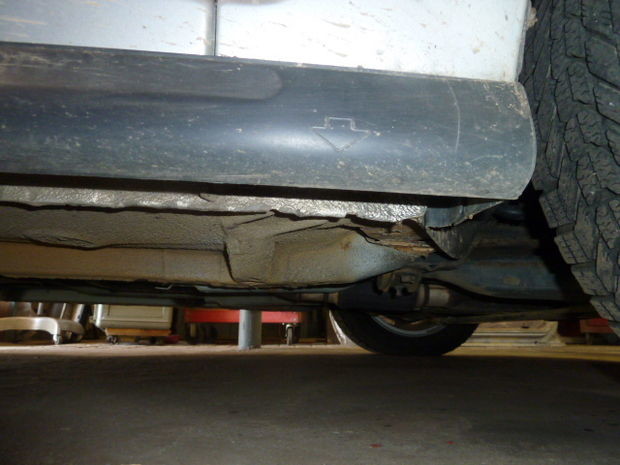
Step 6: Under the Car
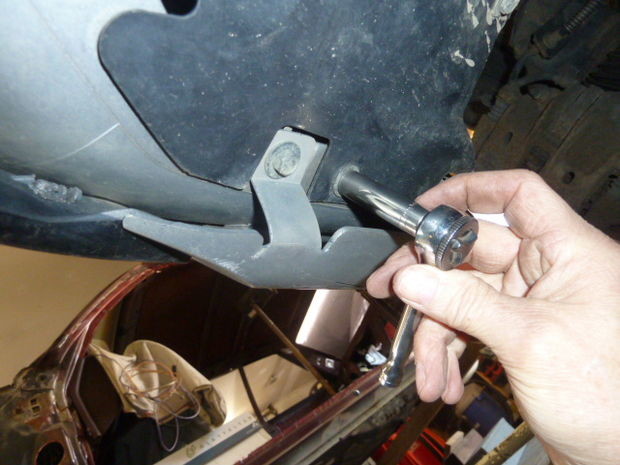


If you've ever changed your oil you may be familiar with this step.
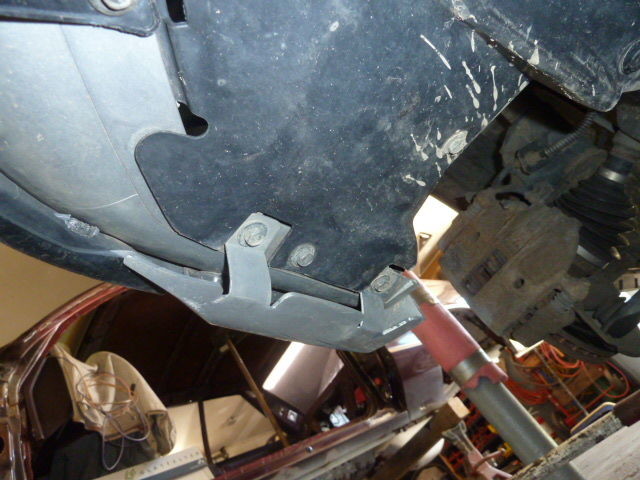
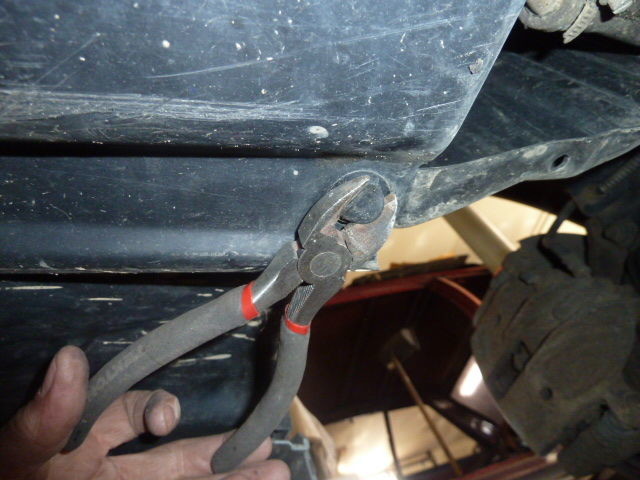
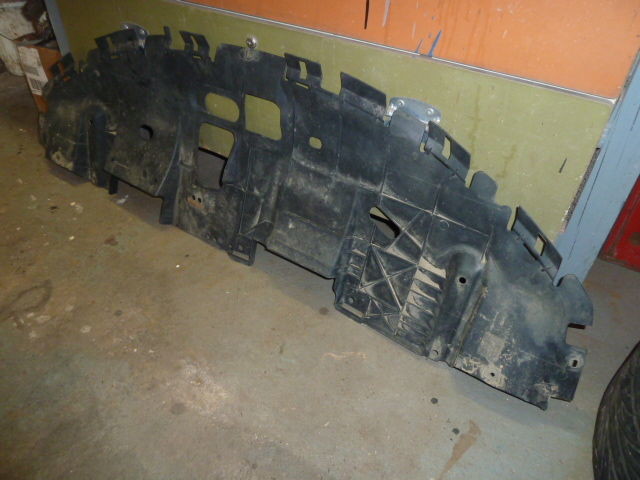
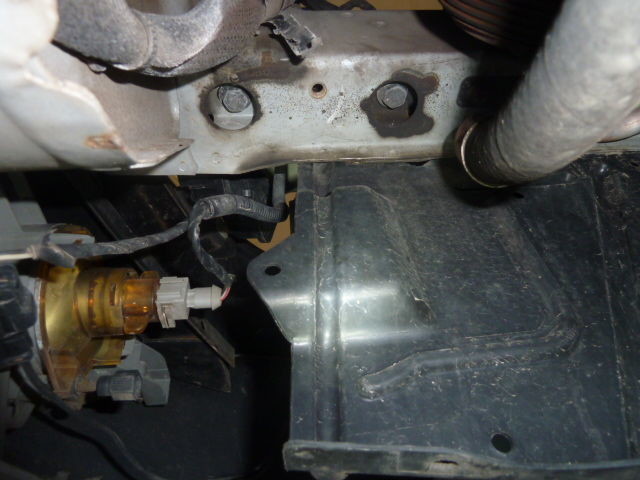
You'll need to remove the black plastic panel under the engine.
This is held in place with 5, 10mm bolts and more of those annoying plastic rivets.
There are 2 bolts on each side in front of the wheel, and one in the front center.
DON'T REMOVE THE SPOILER BOLTS. It can stay in place.
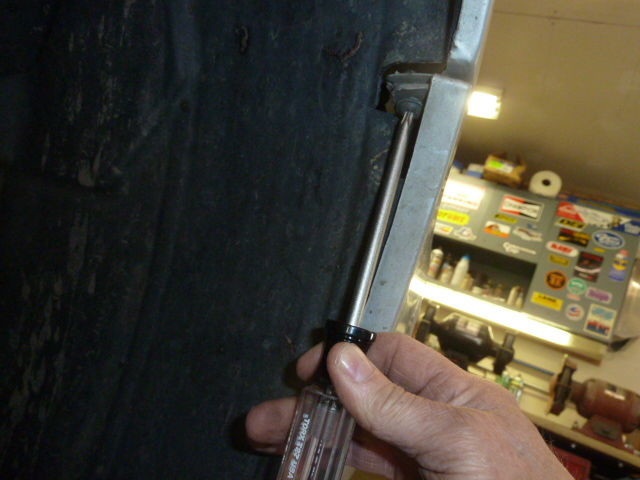
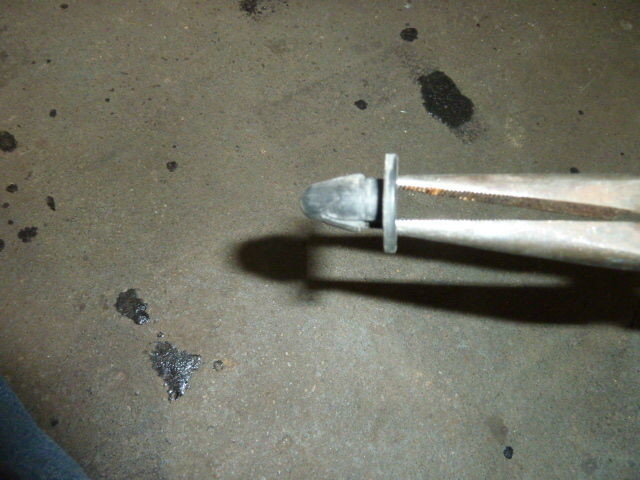
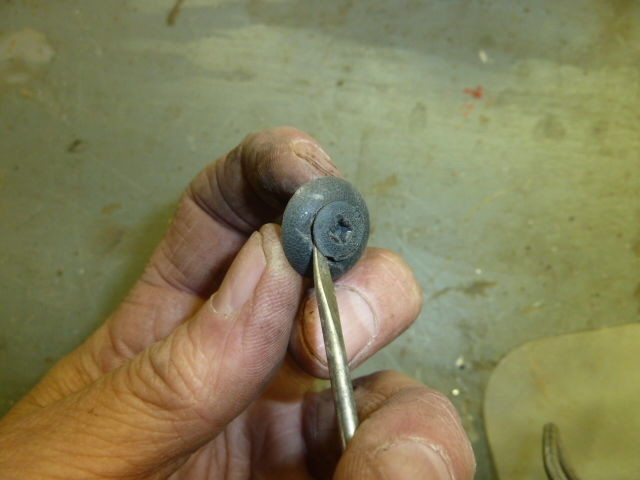
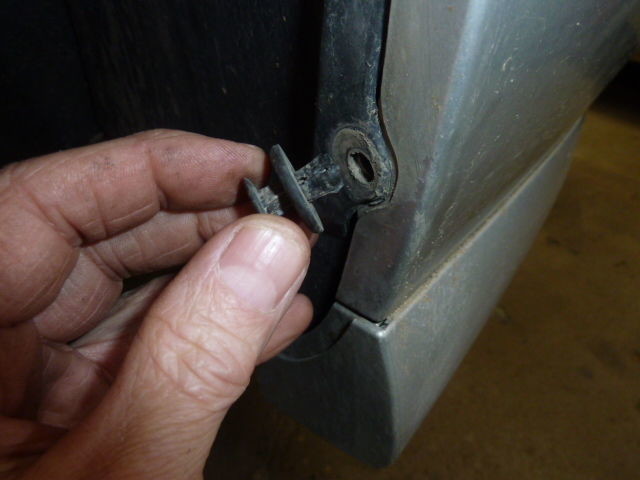
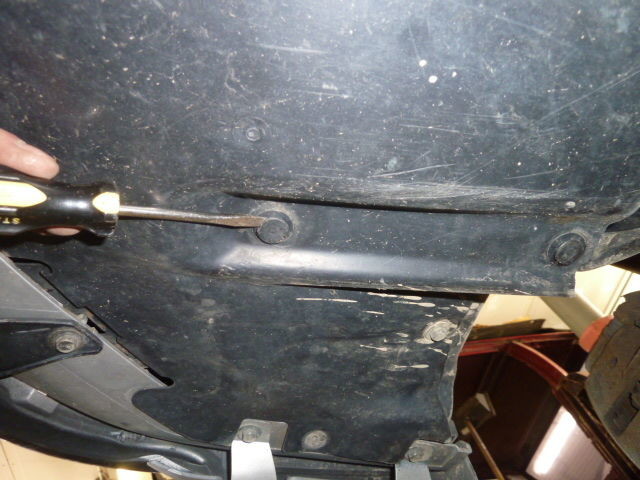
For the plastic rivets try the flat screw driver, or you may find a pair of side cutters useful to get under the head of the center pin and then pry it out (don't clip it off).
If you find, like I did, that the heads of some of the rivets are missing, use a punch or other small round tool to push the center pin up through the main part of the retainer, then remove the main part of the retainer.
Once you have the fasteners removed slide the panel rearward and drop it to the floor.
If you pushed out the centers of some retainers, look for those pieces on the top of the removed panel.
Save them for re-insertion later.
Step 7: Loosening the Bumper

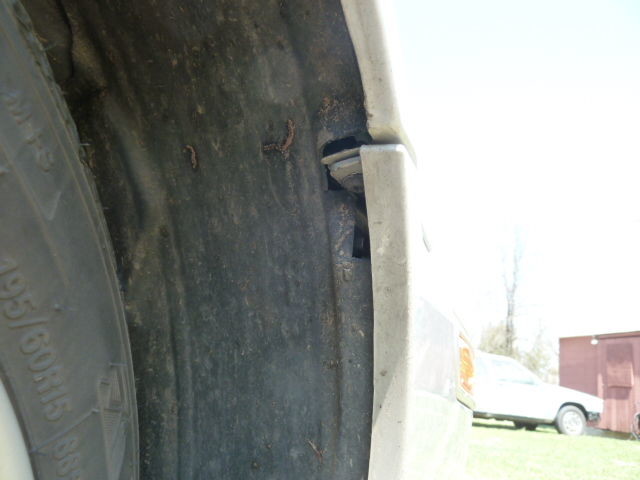
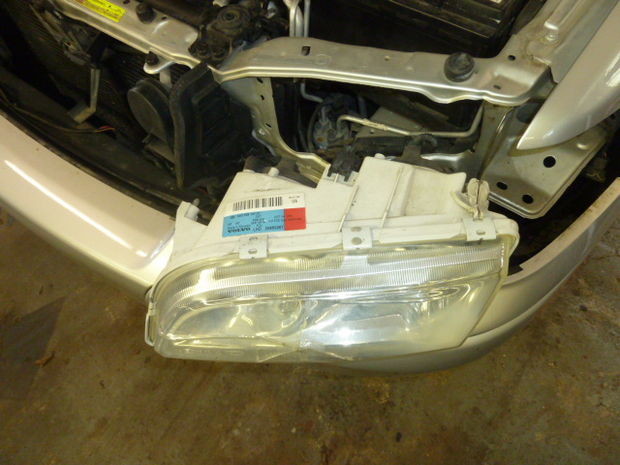
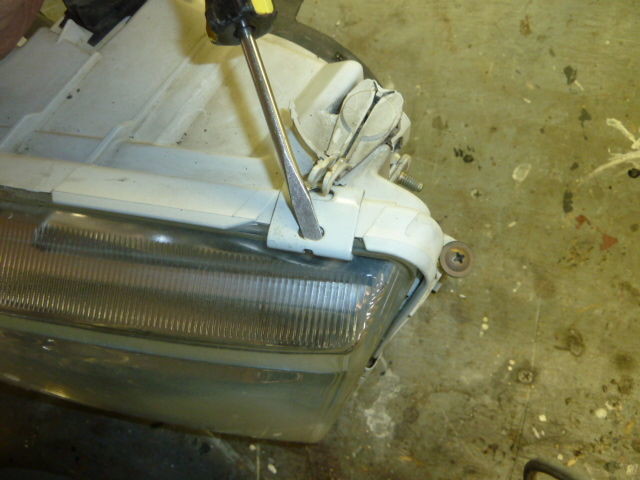
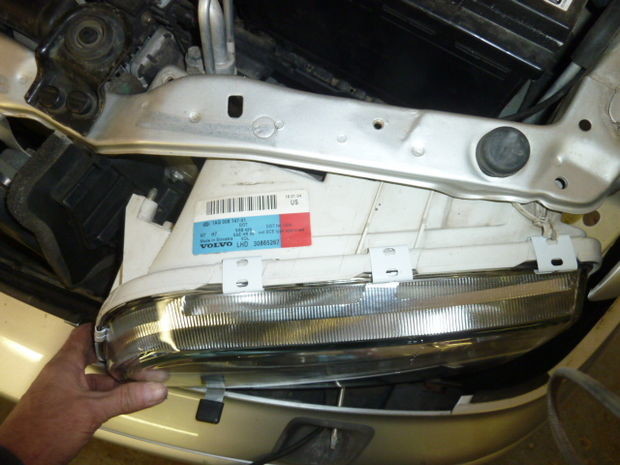
Step 8: Removing the Headlight Assembly


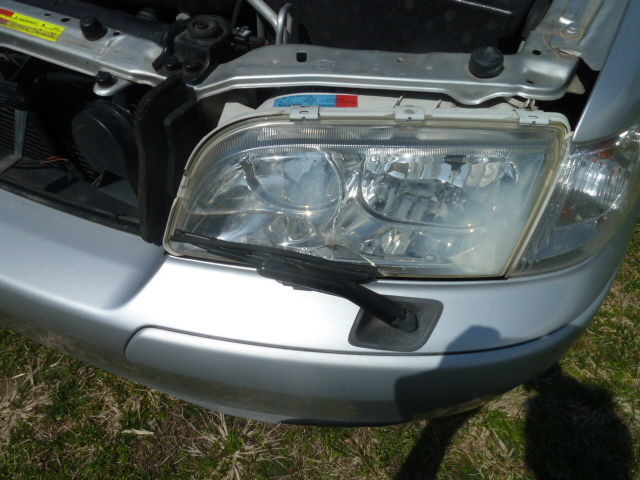
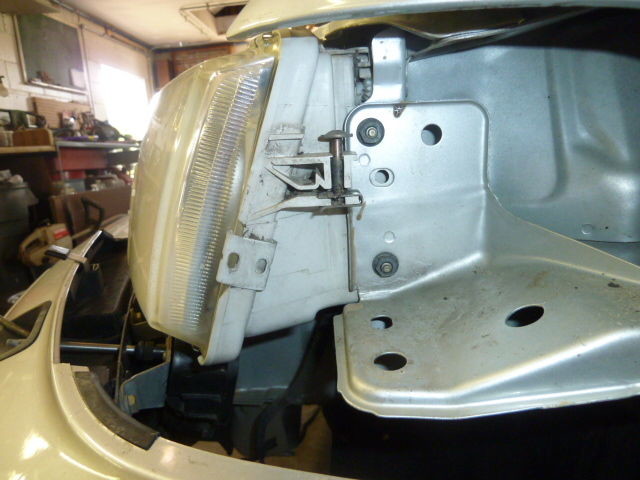
It was the left side headlight on this Volvo that was damaged.
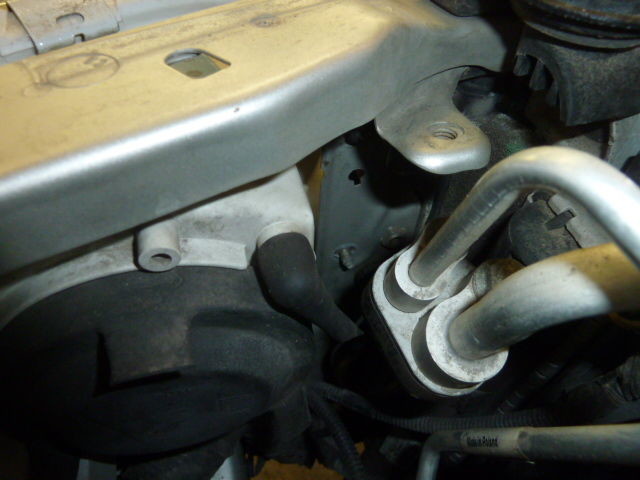
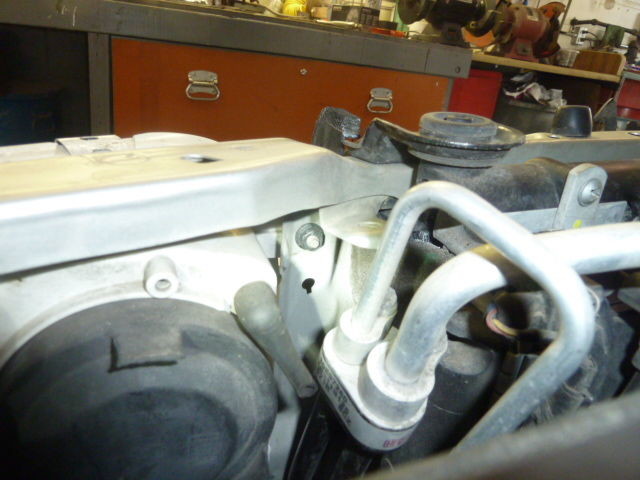
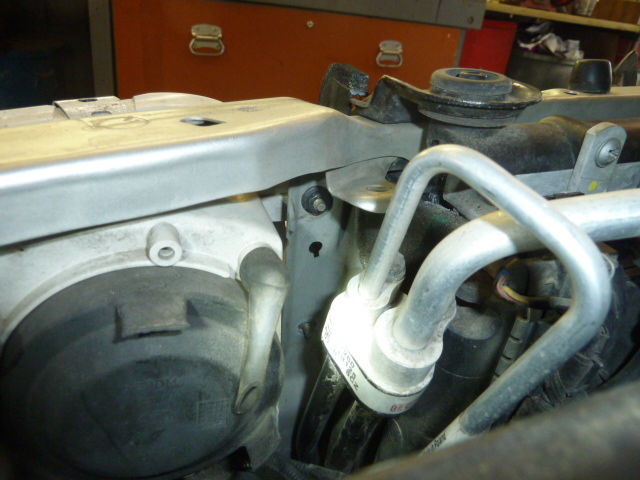
Air conditioning lines made this one of the tougher parts of the entire job.
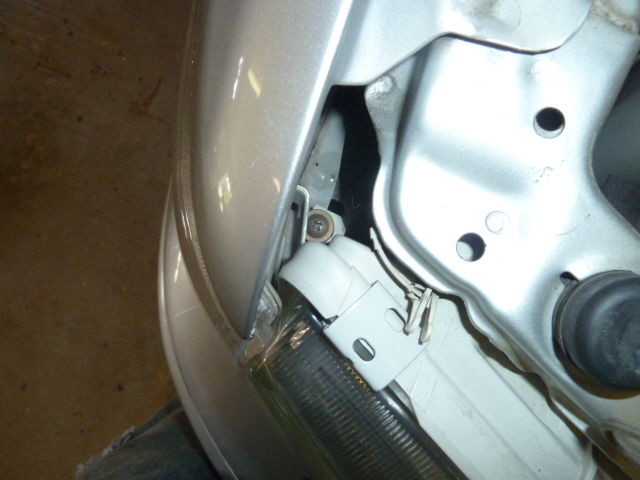
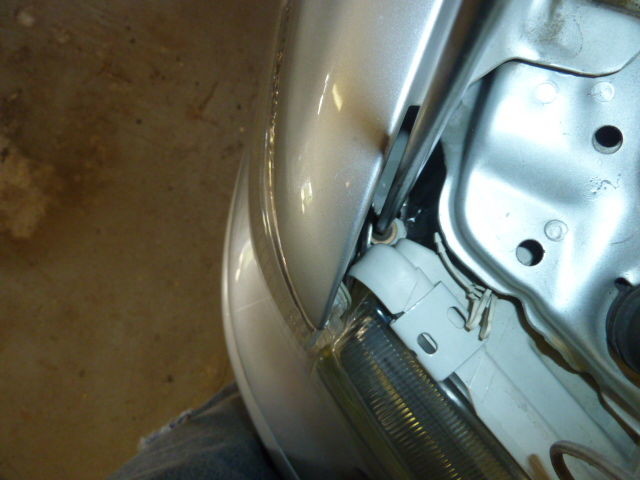
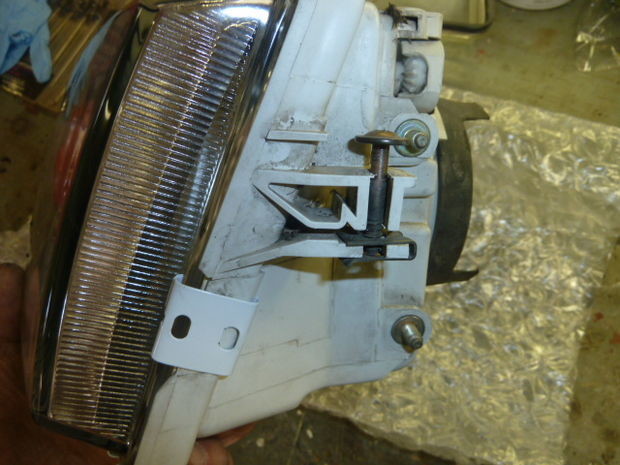
Do the easy thing first. Remove the 2 side nuts behind where the park light was.
In the next photo you can see the other 2. I have already removed the lower nut by loosening it with a 10mm wrench.
The top one I was able to push the lines over enough to just get a long 1/4 inch drive socket on to loosen it, then using fingers I removed the nut.
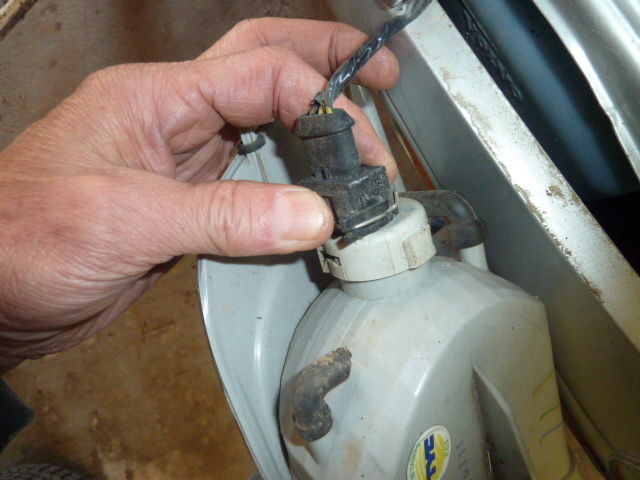
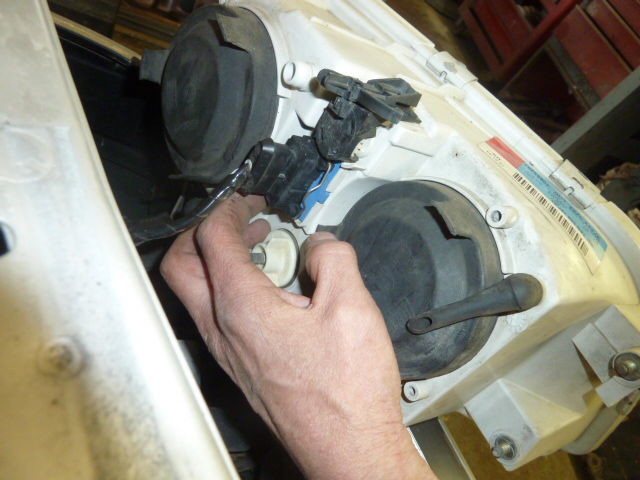
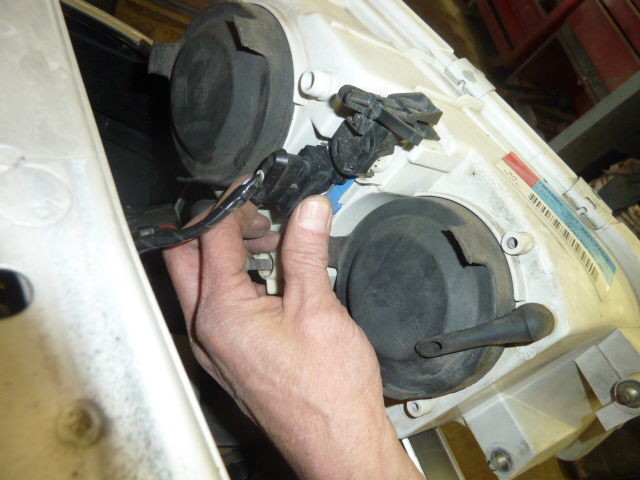
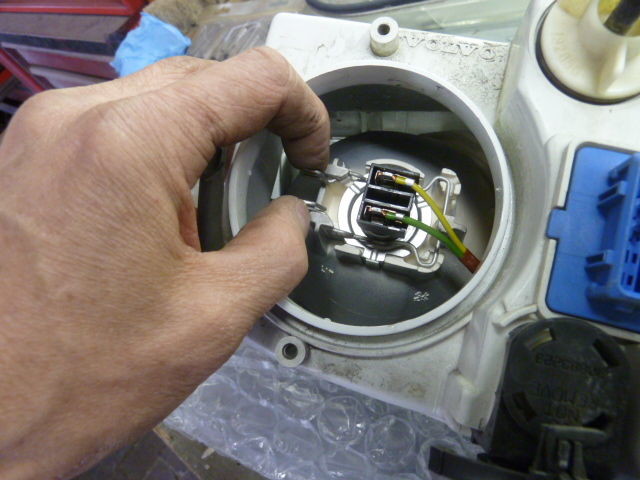
The wiring connector is the same as the park lamp - squeeze and pull.
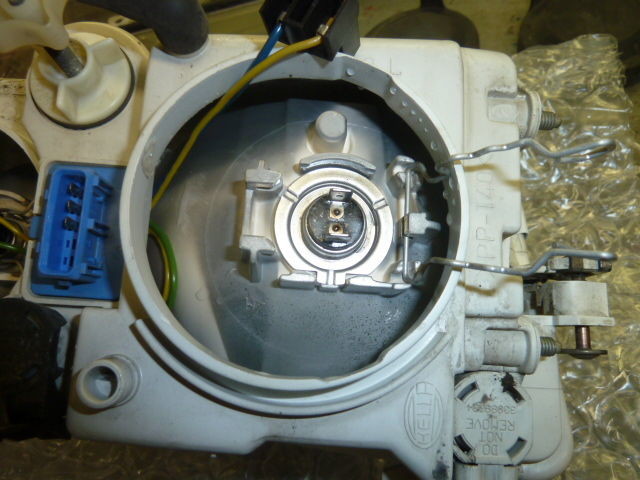
Step 9:
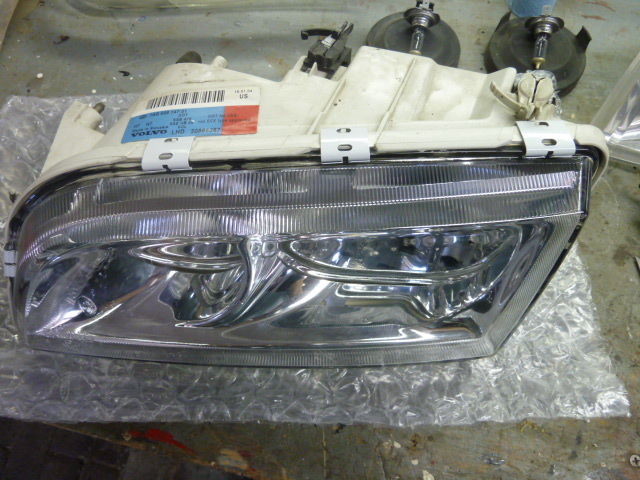
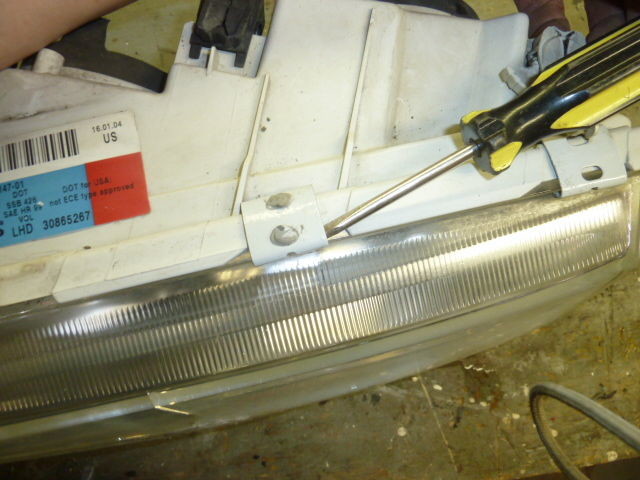


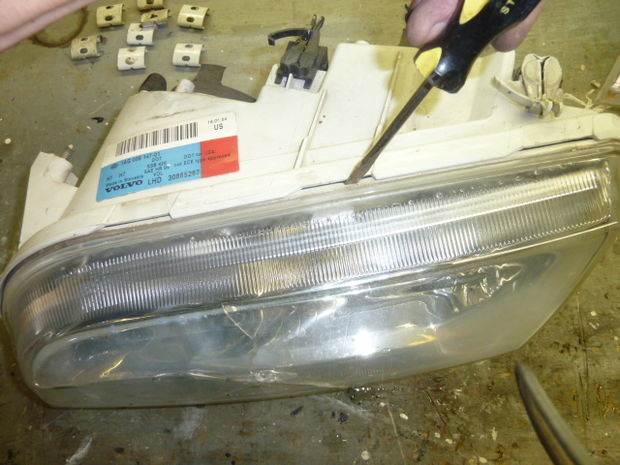
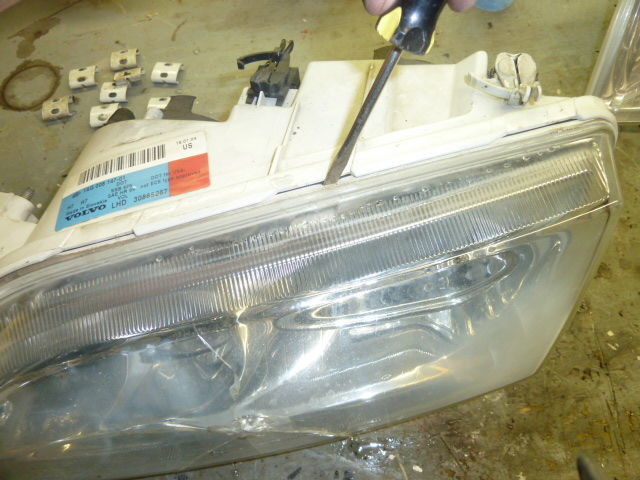
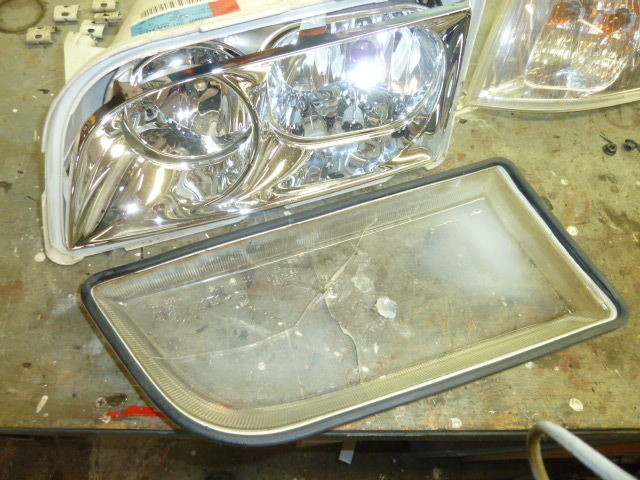
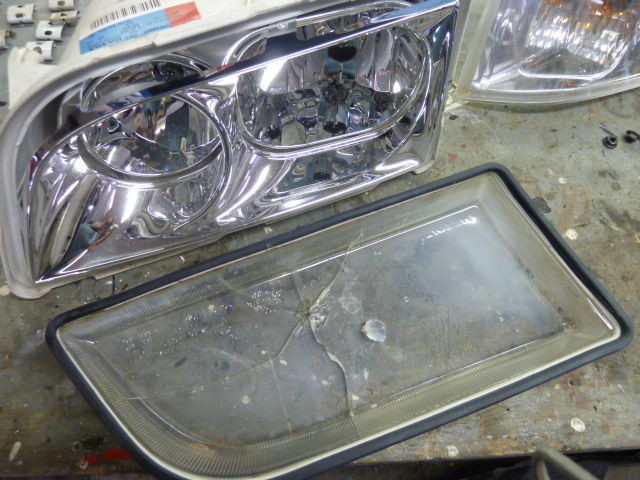
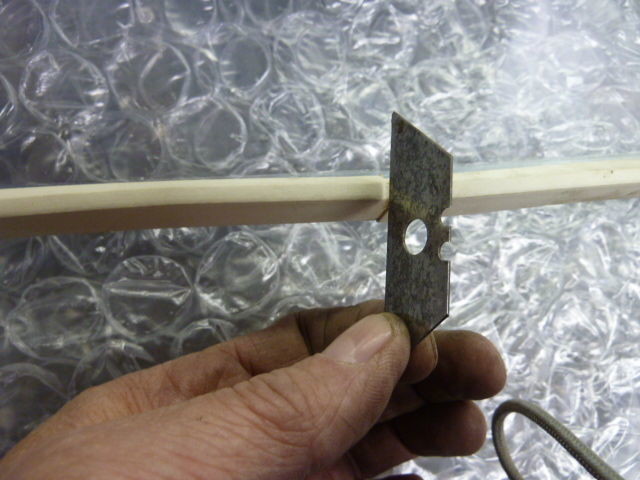
Once you have the headlight assembly out and on the bench, you'll see that the lens is held to the reflector by some white (metal) clips.
A couple have glue holding them - pry under the clip to remove it.
For the others without glue, use the slot in the clip to lever it off.
My new lens came with new clips, but obviously you'll want to save the originals if you don't get new ones.
Once you have the clips off you can pry the lens away from the housing. It's not glued there's only a rubber gasket.
Step 10:


Here's the old lens and the reflector.
One tip here. The reflective coating is very fragile. When cleaning be careful not to use excessive pressure or harsh chemicals (like ammonia).
Best is use a soft brush to remove dust and a soft damp cloth - that's all.
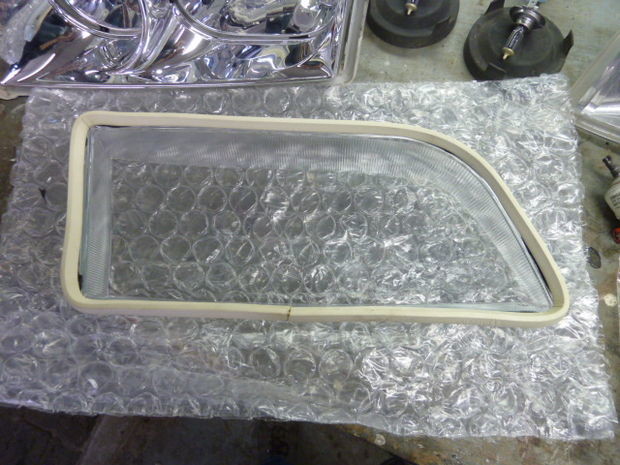
The new lens came with a gasket, glue it in place - position the ends at the BOTTOM of the lens to prevent water from entering through any gap.
Trim away excess material and glue the ends together.
Next, hook the new clips to the lens and once again using the slot, push it into place.
This may take a bit of doing since the new gasket will have to be compressed.
Now just reverse the order of dis-assembly to re-install your repaired headlight unit..
I noticed some moisture inside the next morning but it disappeared after driving the car (with the lights on).

Great DIY ?
Posted by Diggymart on 12/6/19 @ 1:51:16 AM