You must be logged in to rate content!
7 minute(s) of a 7 minute read
7-31-2018
I used to build a lot of models when I was a kid. Some boats, planes, and robots, but mostly cars. I had time to kill before an appointment and wandered into a Hobbytown. It reminded me of going to the one by my house every week, sometimes to race our cars against other kids, or to buy the little jars of paint or a model rocket kit. It was a lot of fun.
I don't have much time or money to put into a project car at the moment, so I picked up a kit and try my hand at it again. An outlet for my creative juices without spending a ton of money. I won't be able to drive it but I can put it on my desk and look at it. It would be interesting to see how the quality would compare to the ones I built way before I was old enough to drive a car.
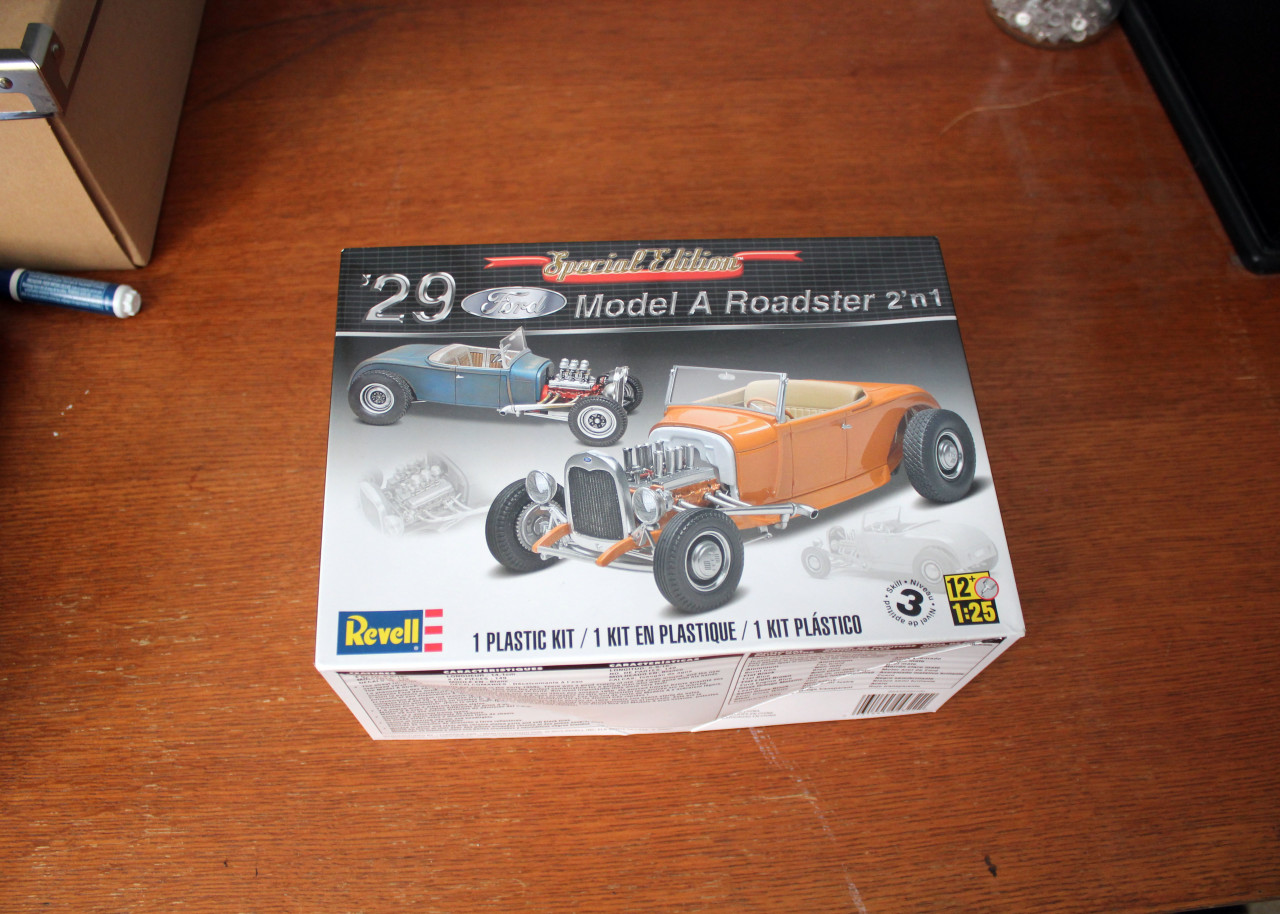
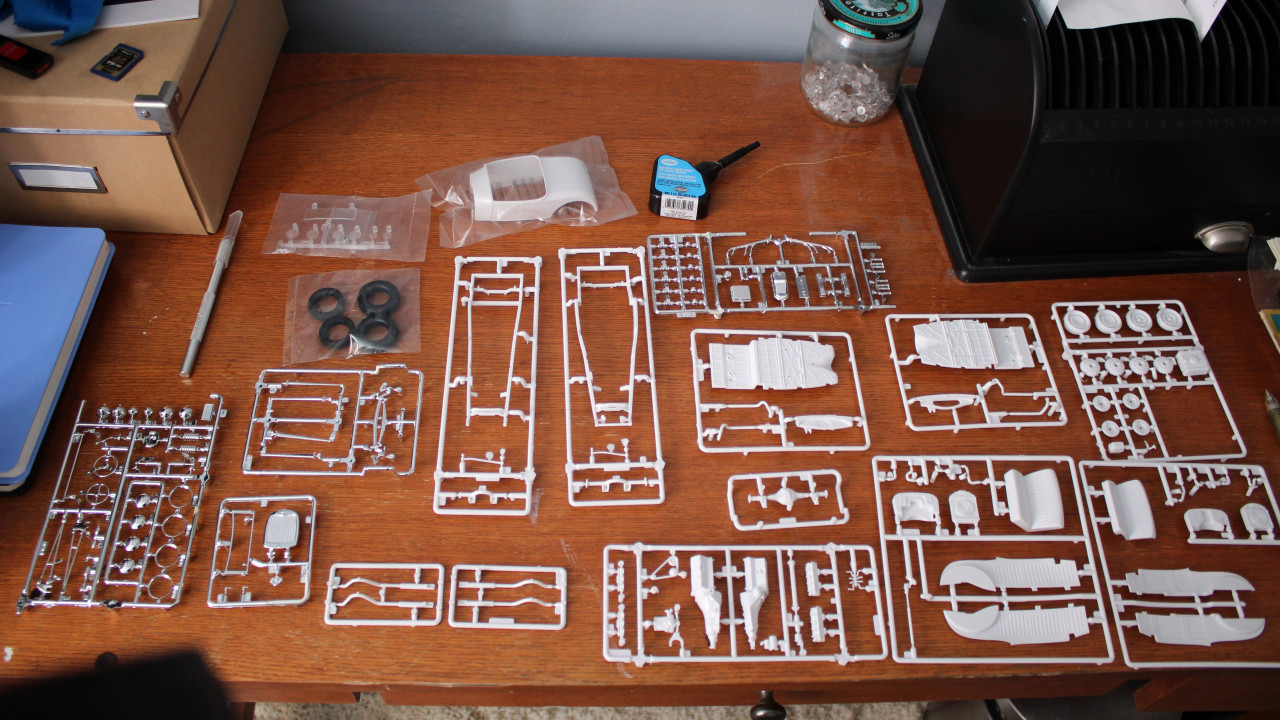
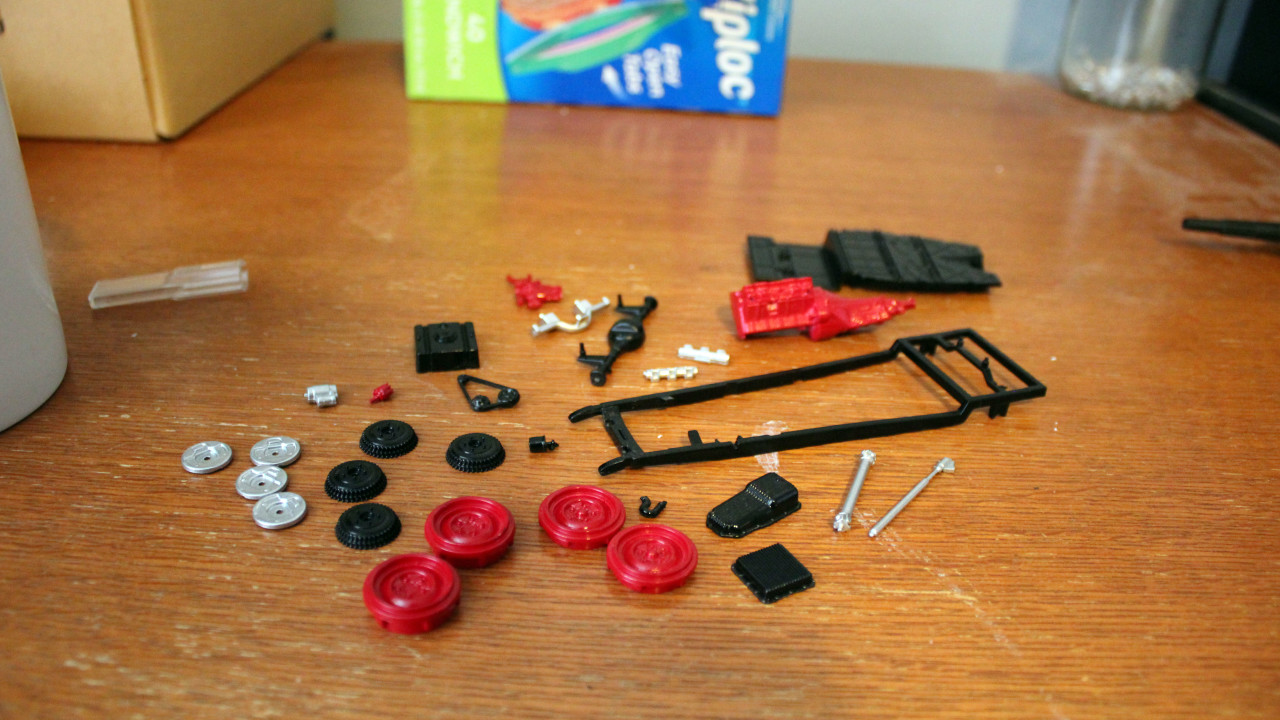
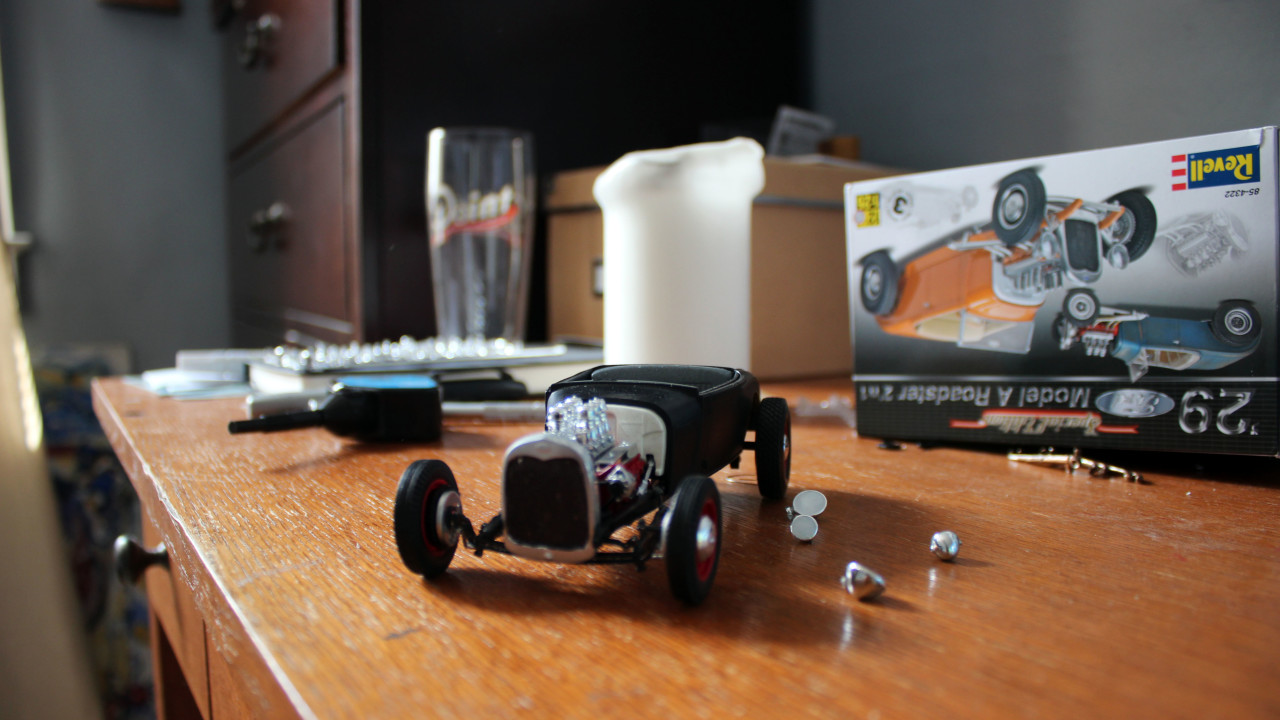
I picked up this '29 Model A Roadster kit. It is a 2 in 1, so you have a few different options as to how you want your car to look. This one included a "high boy" and channeled model, with different frames, interiors, wheels, engine parts, grilles, etc. I ended up doing a mix of the two styles. For the most part I used the automotive paint I had in the garage.
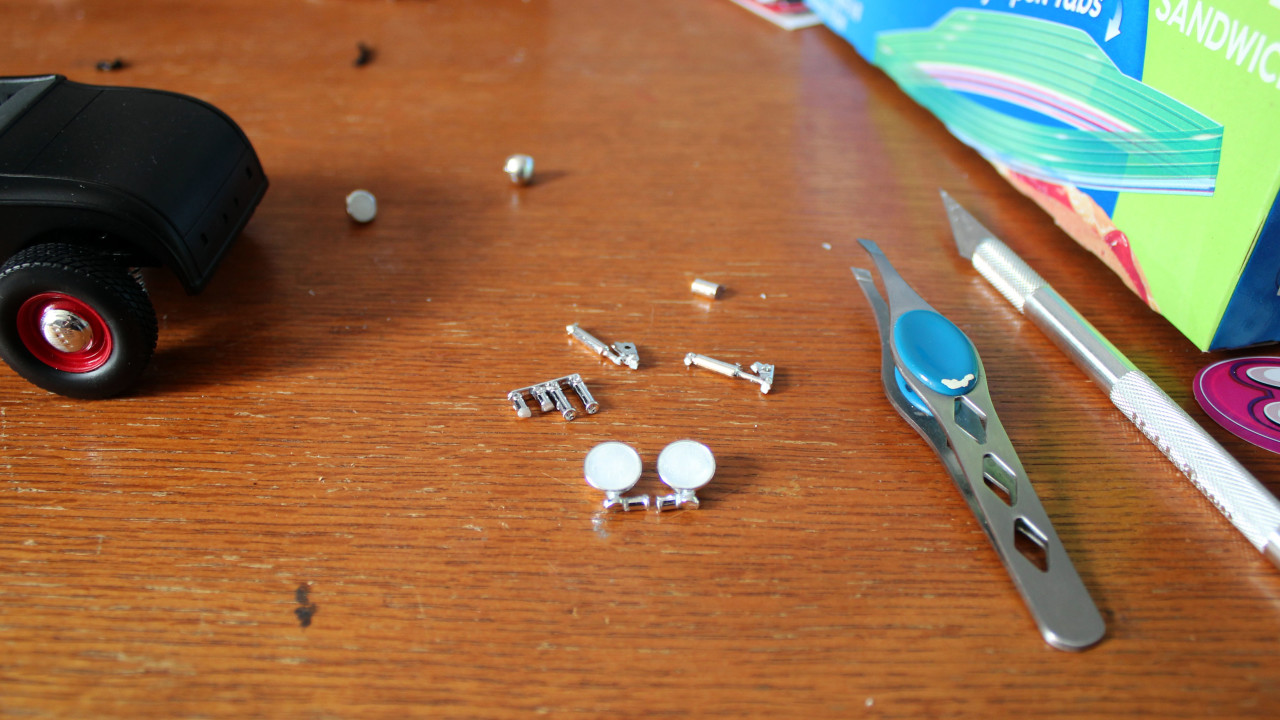
All the pieces laid out. You can see the that there are 2 sets of many parts.
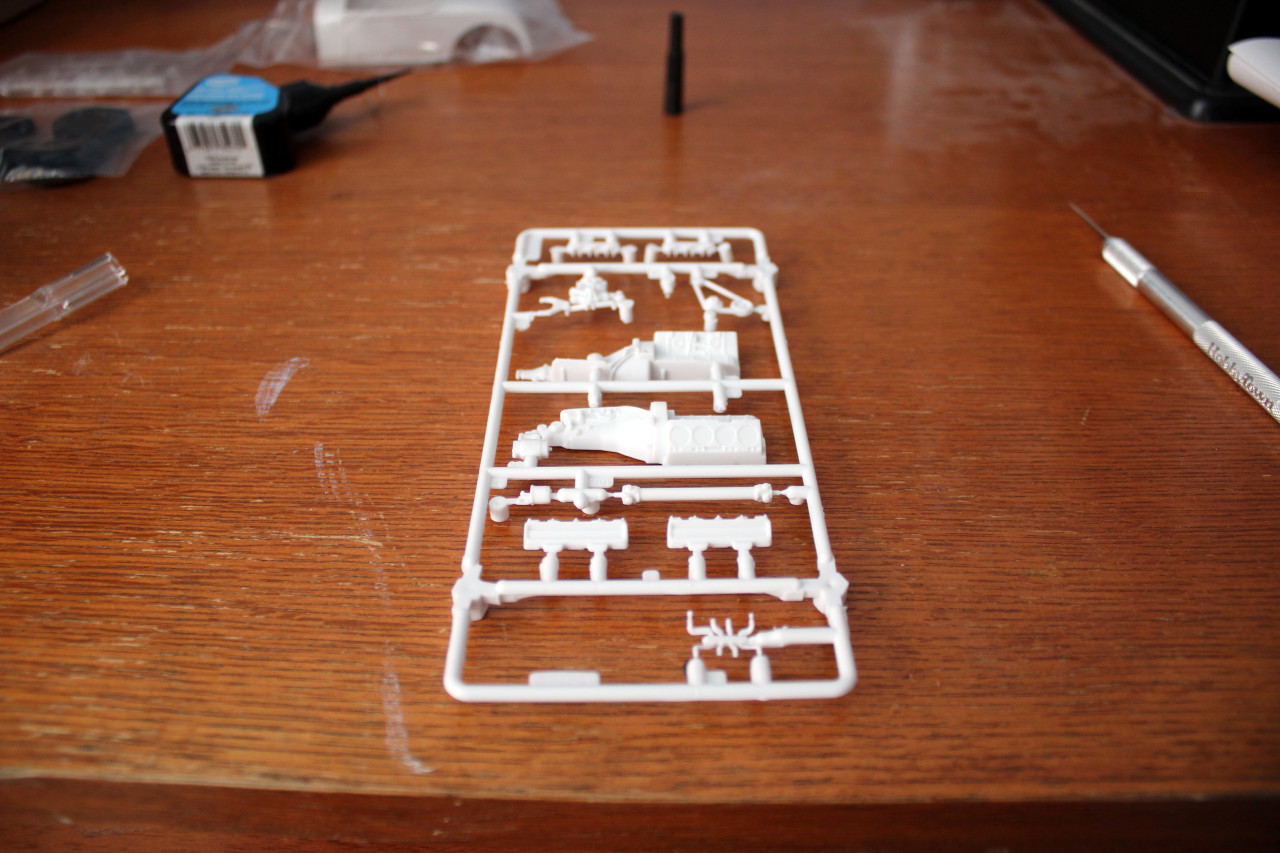
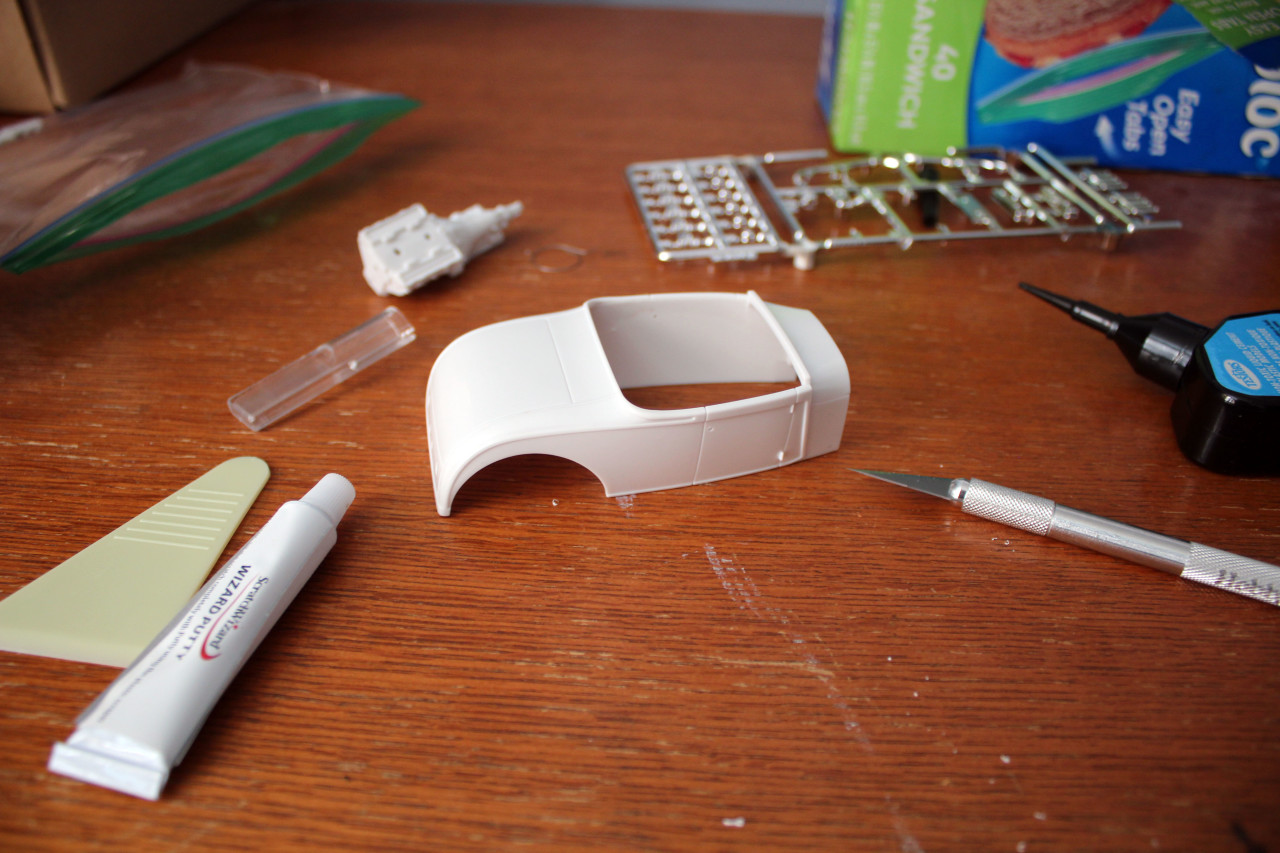
The build starts with the engine. I made sure to cut away any flashing and do a little sanding to the joined parts to hide the seam. I also shaved the door handle holes with filler for a cleaner look.
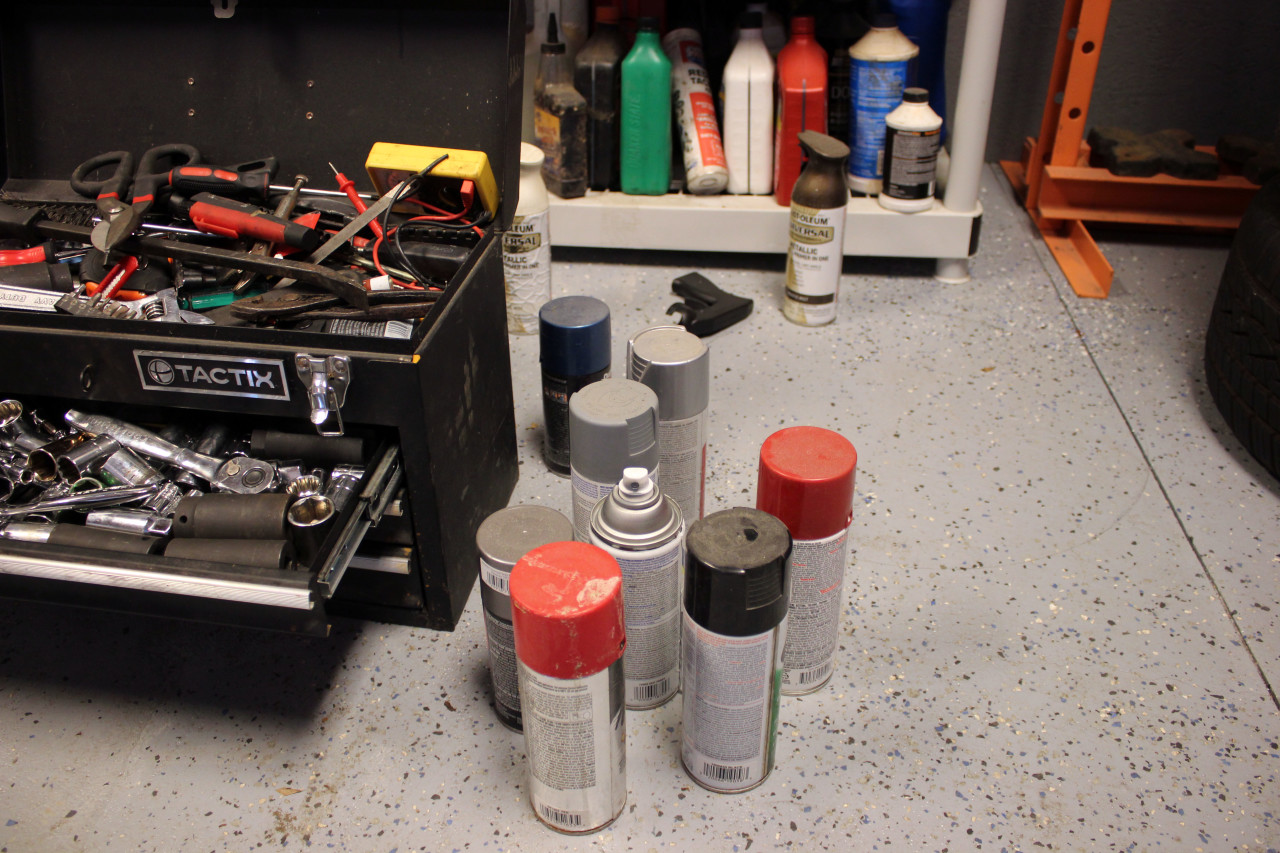
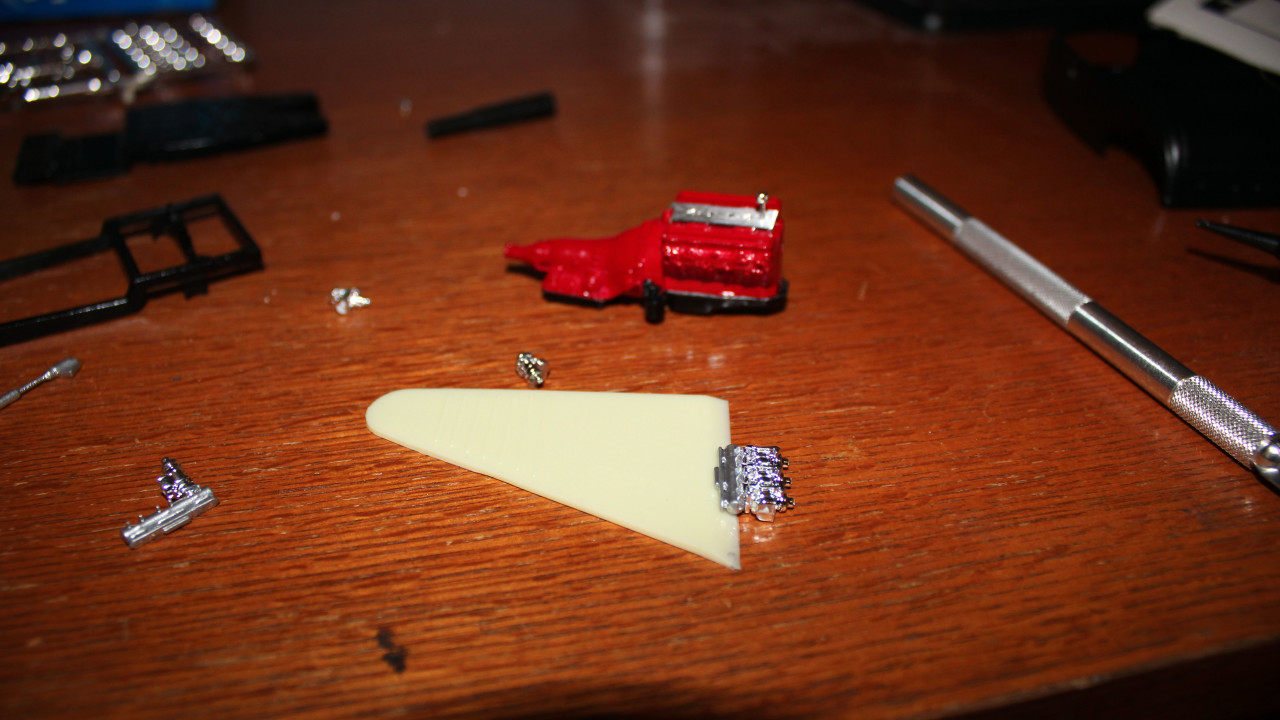
Thankfully I've accumulated a varied supply of paints and primers over the years. I for colors I chose a red engine enamel, a sparkly GM dark grey, a flatter trim paint, silver, etc. For the front firewall I chose a opalescent white/gold color.
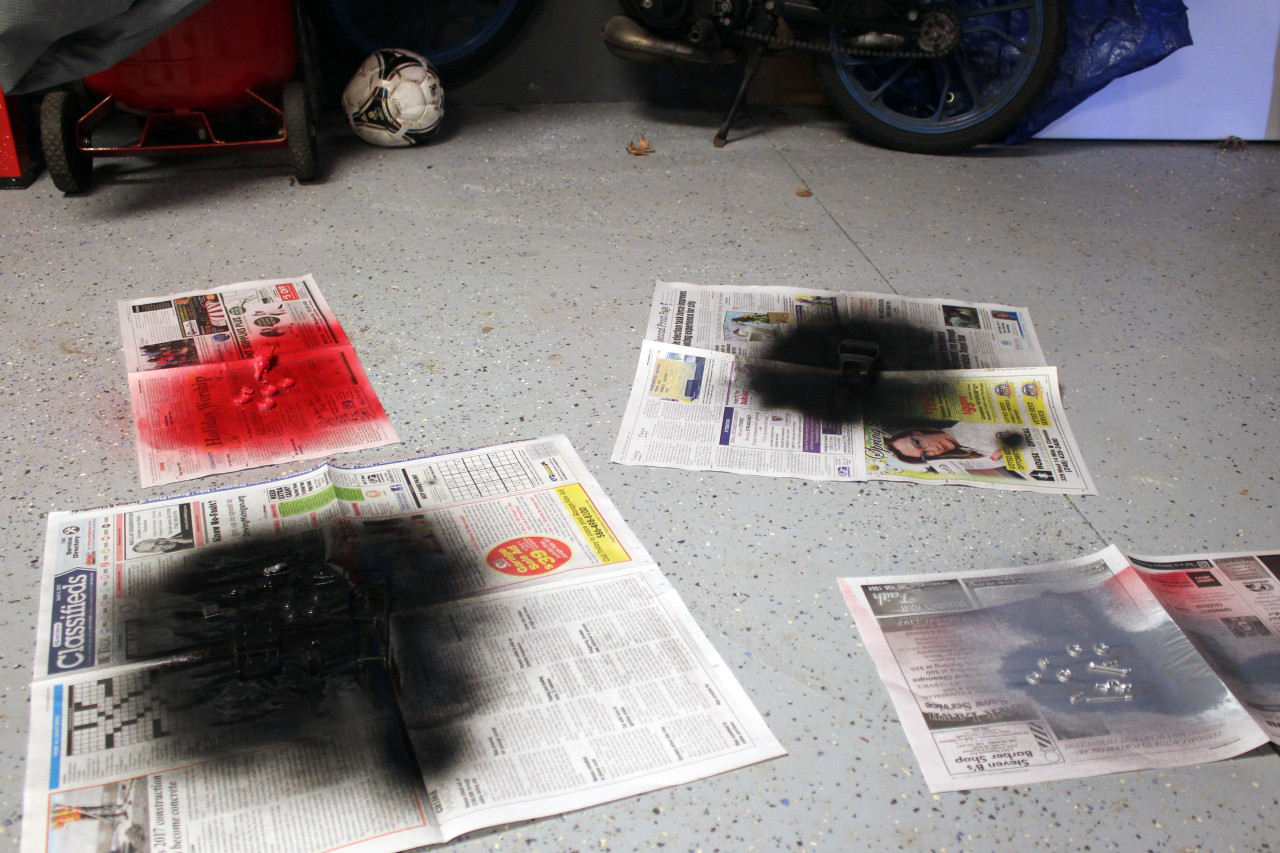
Fresh from the garage.
Engine parts start going on the block and transmission. The highboy model has the tall intake runners while I preferred this style.
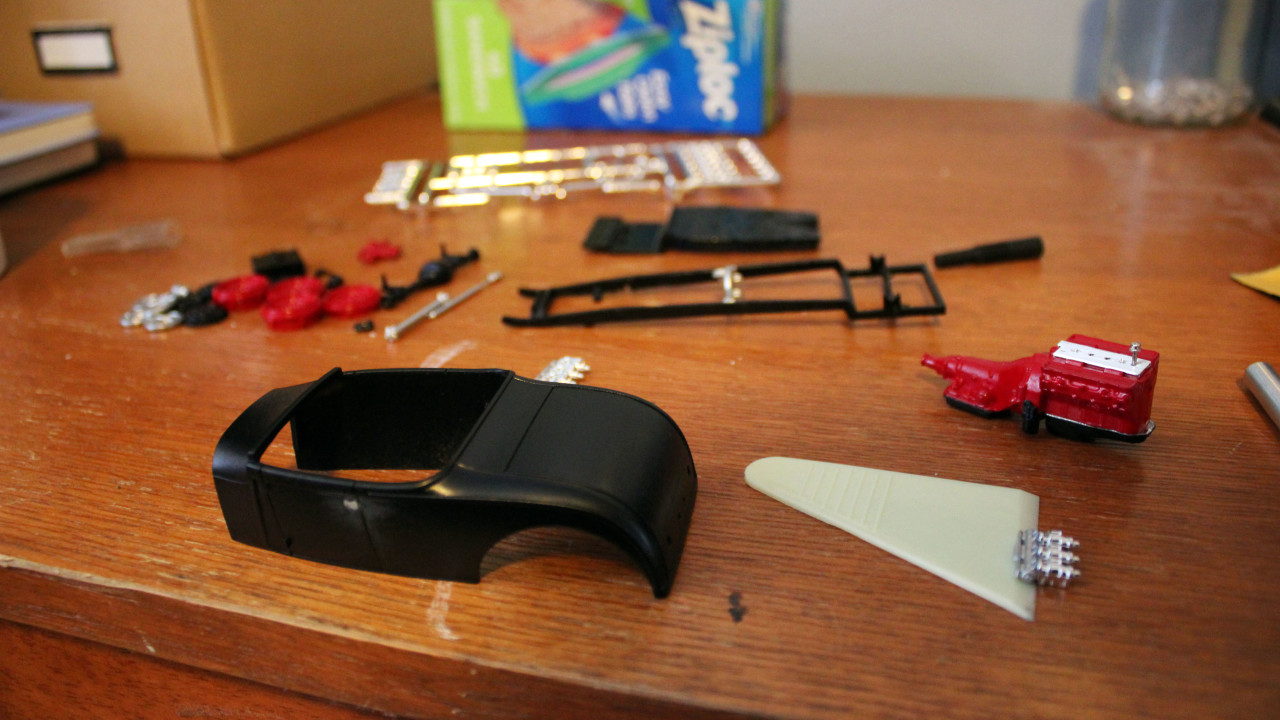
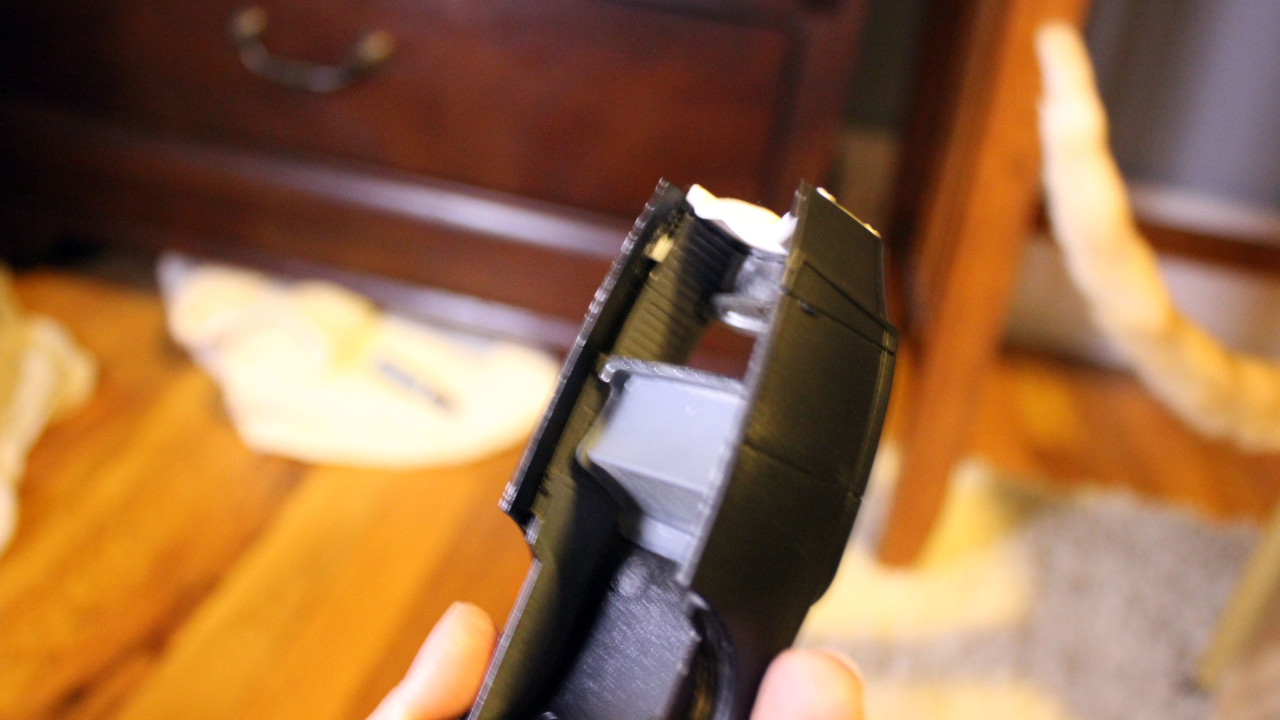
The matte black body, I had to do more work on the door handle as you can see.
The engine looks pretty sweet all assembled. I'm making sure to test fit things before putting glue on. After paint some material has to be removed for things to go into place.
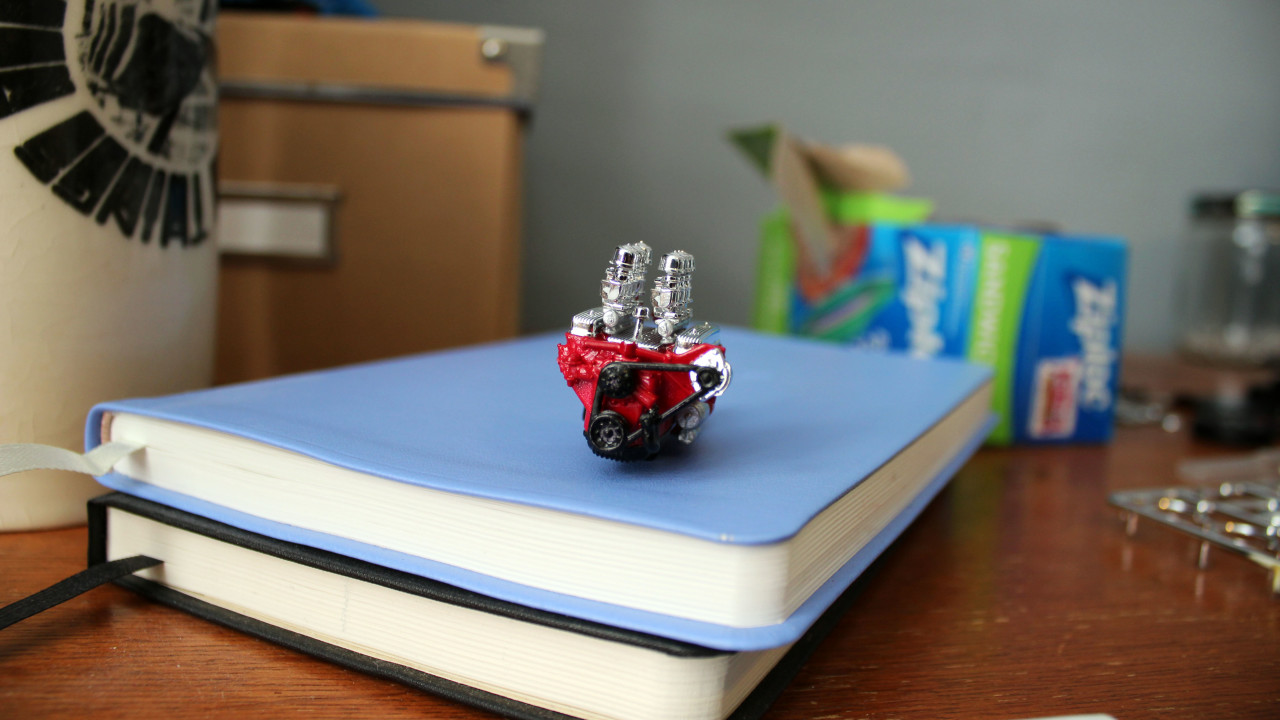
With a bit of maneuvering it snaps into the frame.
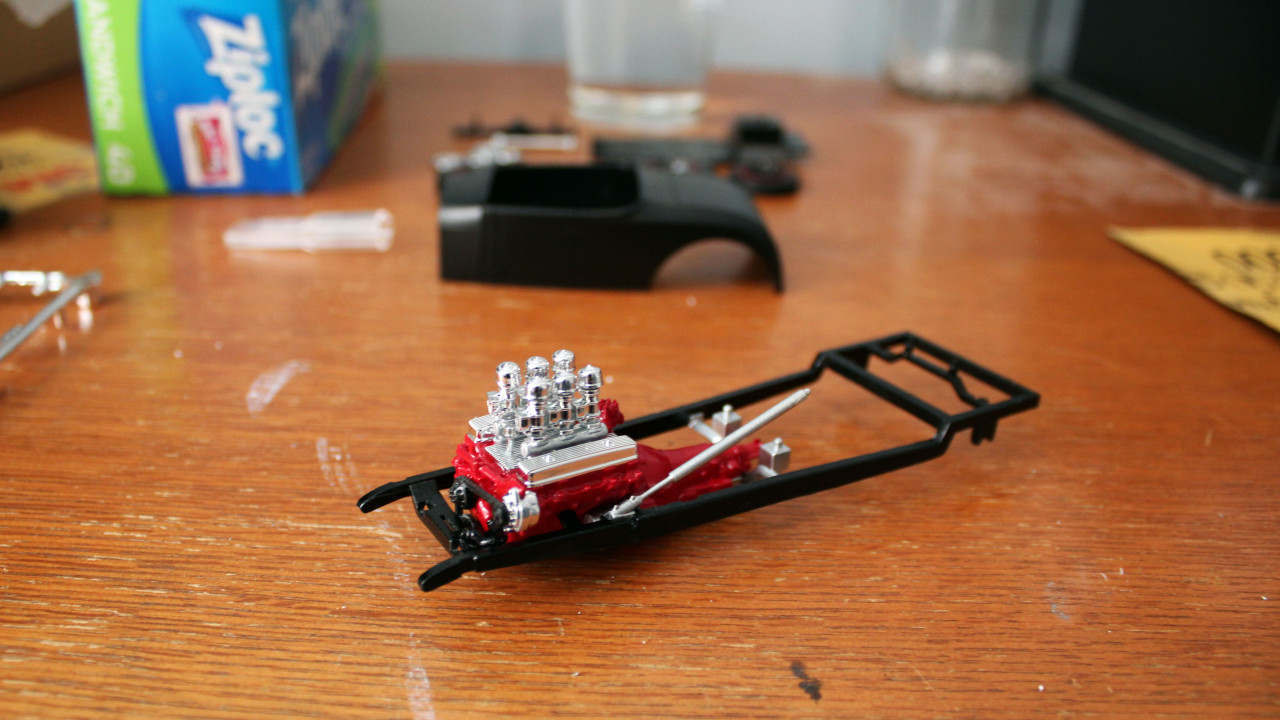
The bottom suspension starts going in. Most of those pieces are chrome but I wanted to keep the chrome to a minimum. Some are a hammered silver paint, the others are the GM dark grey metallic that looks really nice. Still a little shiny but more subtle.
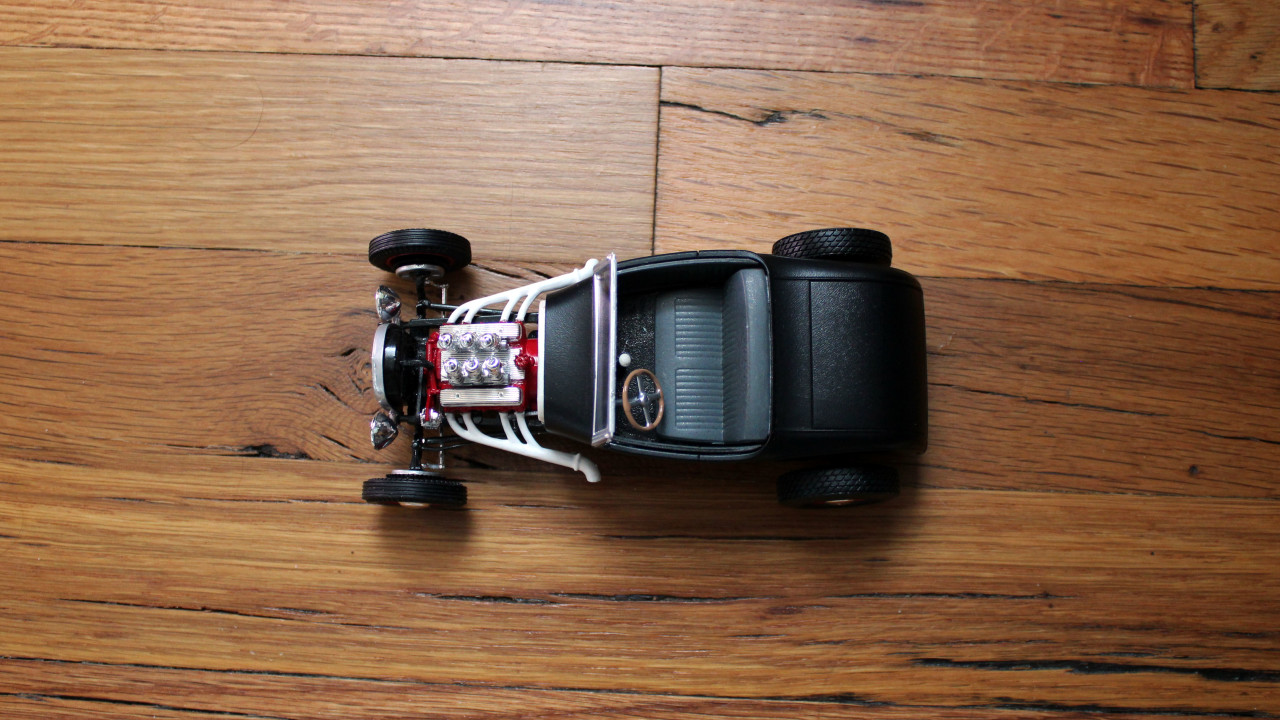
Now the all important body. With some trimming the interior side panels went in. I painted those a primer grey with some small specs of gold spray paint. They turned out pretty nice. Unfortunately the floor pan and body did not fit well together. The tabs in the bottoms of the interior side panels don't line up with the notches in the floor pan. After trimming those the front of the body-pan still seemed too wide causing the body to start separating from the firewall panel. I trimmed the belly-pan even more until it fit.
You have to pay attention when squeezing parts on as a lot of them are very thin. I accidentally knocked off a couple of the parts squeezing the body together. The handling wasn't helping the paint on some of the parts. Next time I'll do more test fitting before painting so you don't have to fenaggle the parts as much.


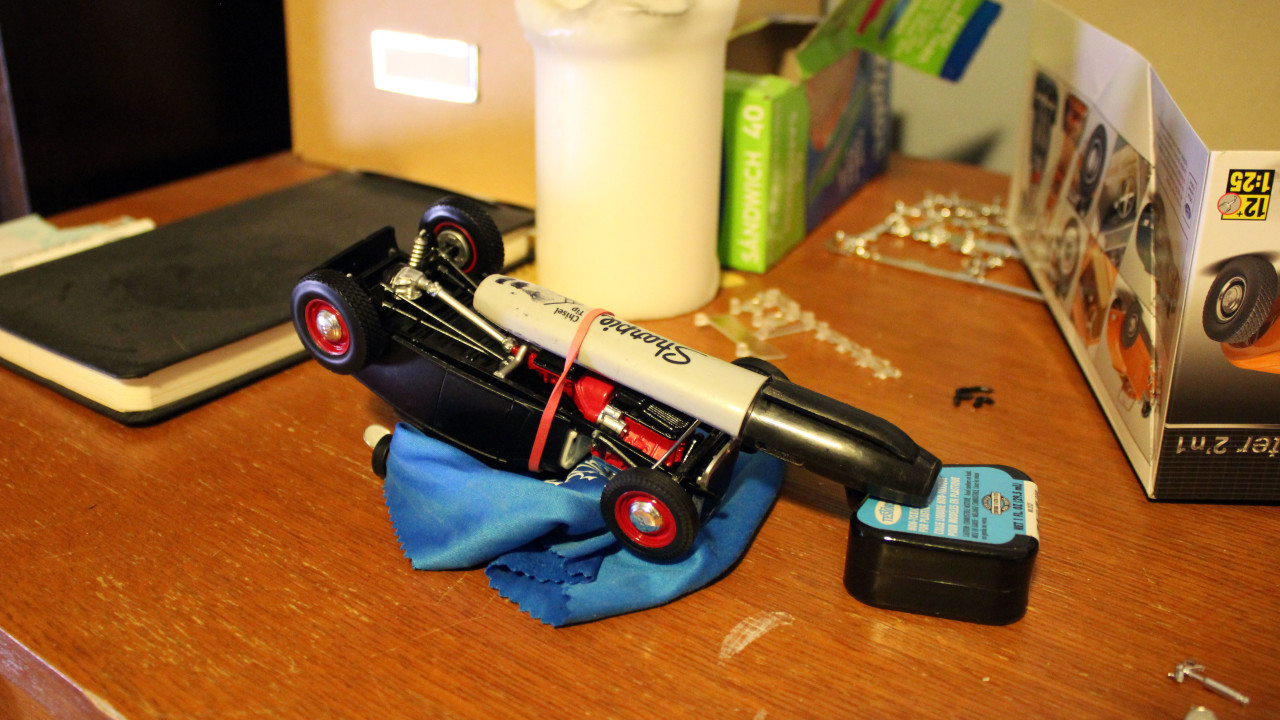
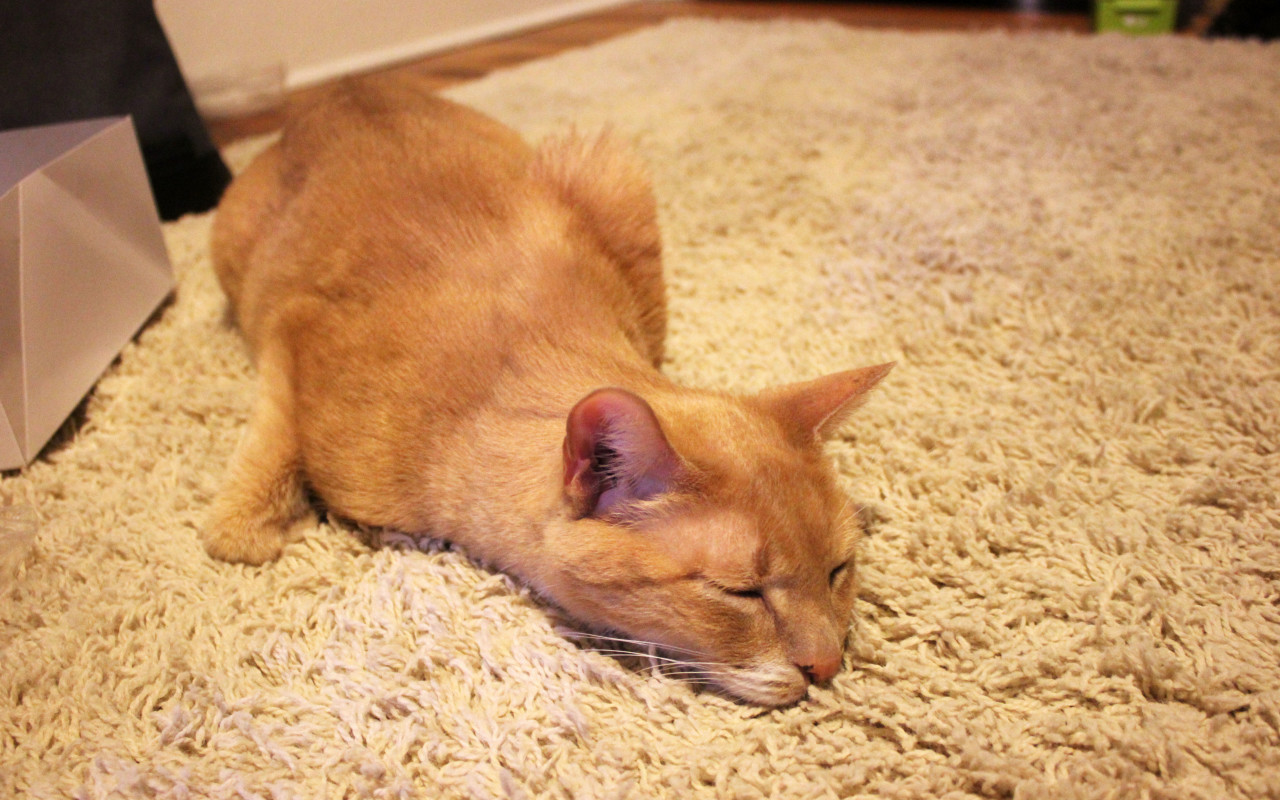
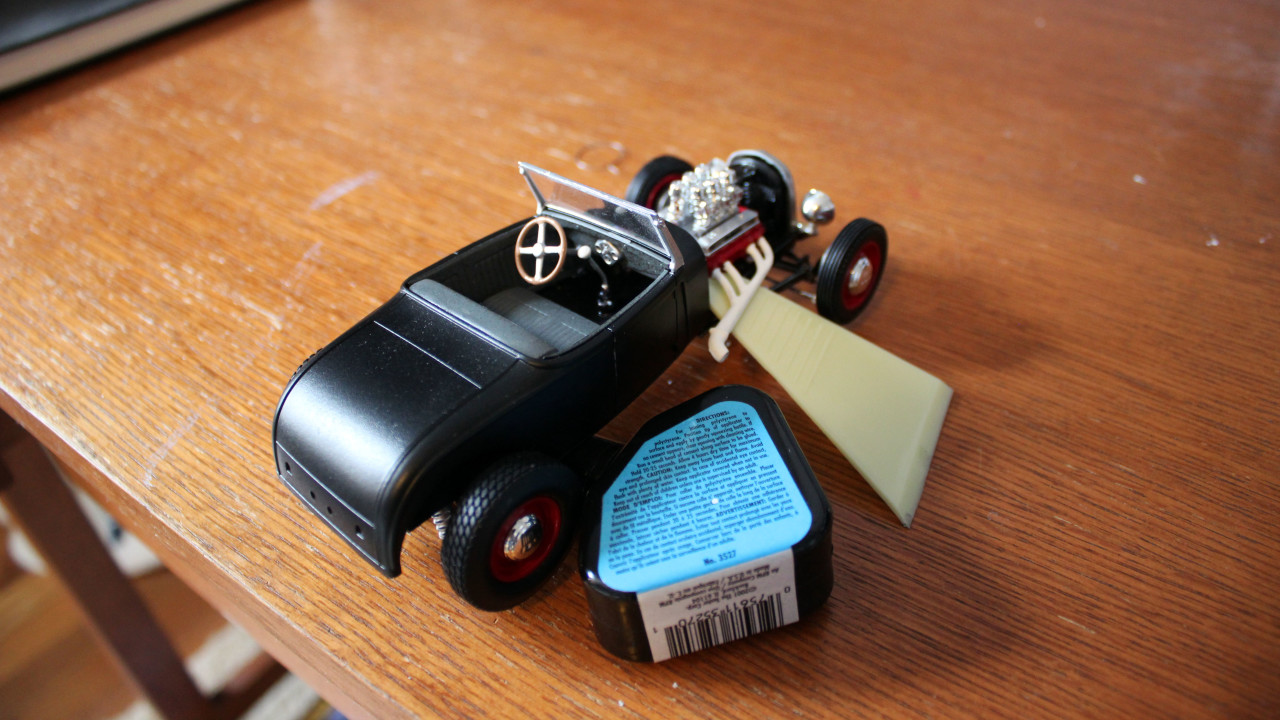
The sharpie job above kept the front of the body from lifting while drying. Otis is tuckered out.
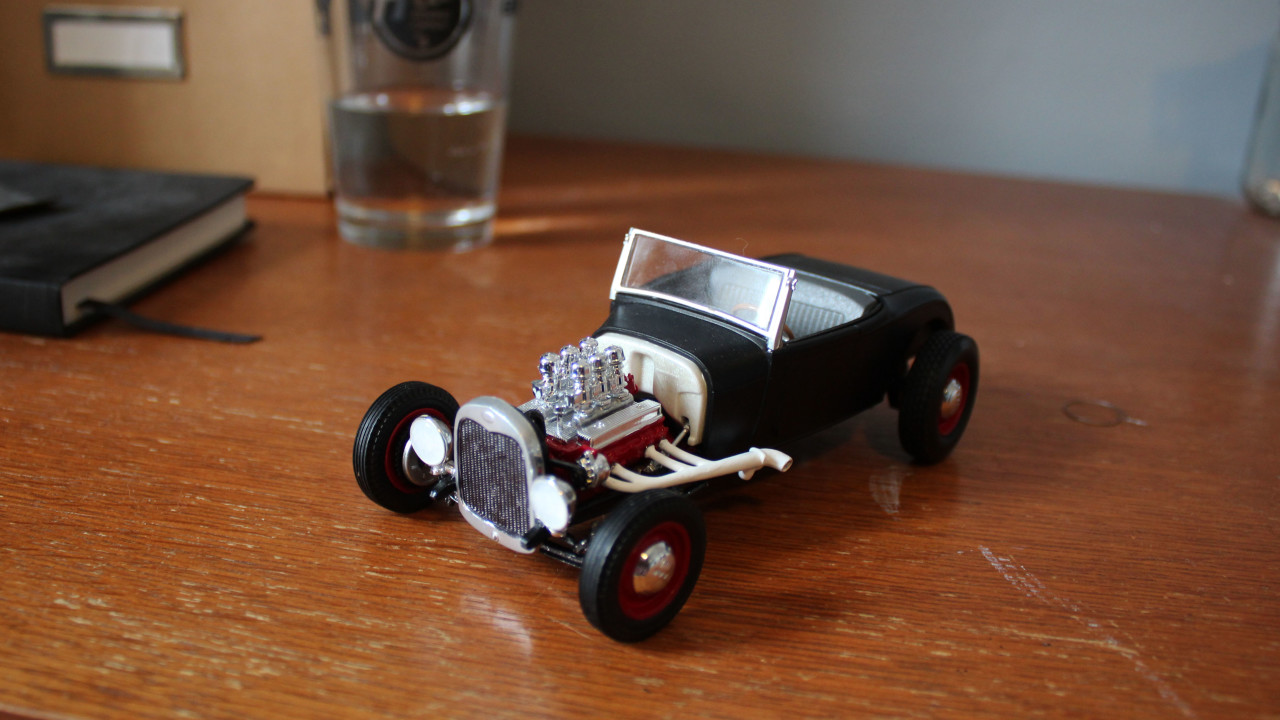
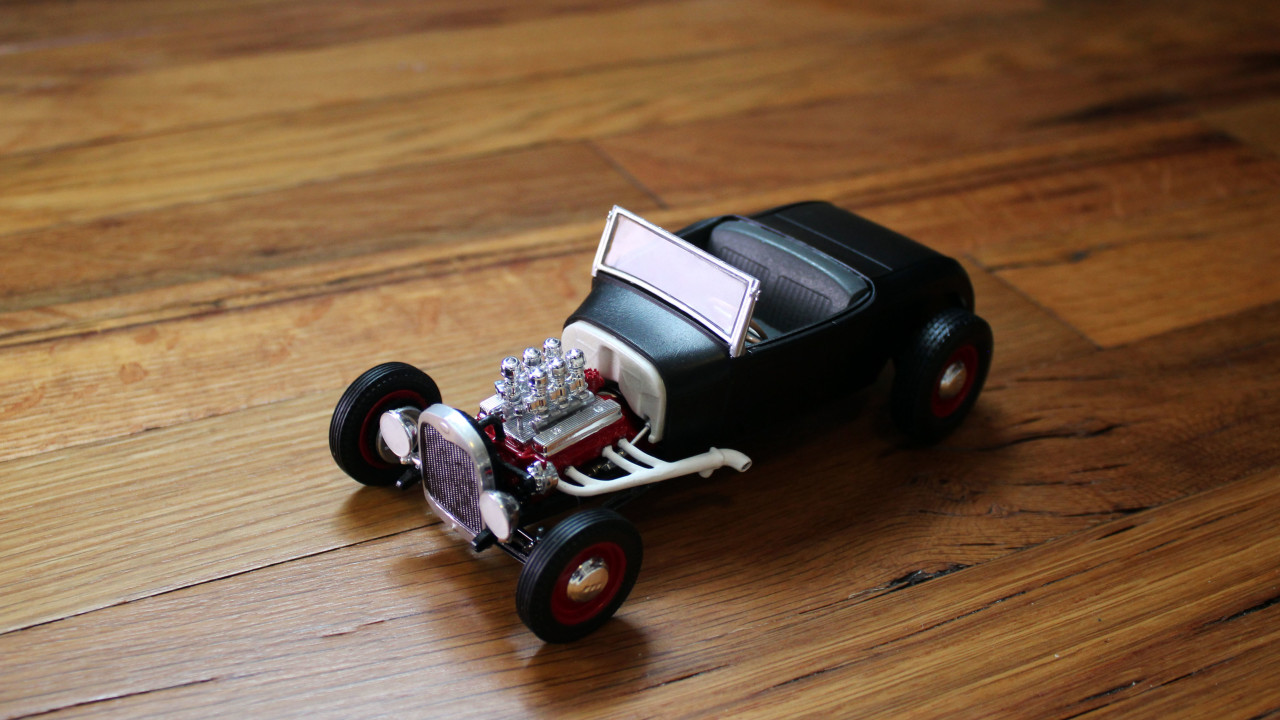
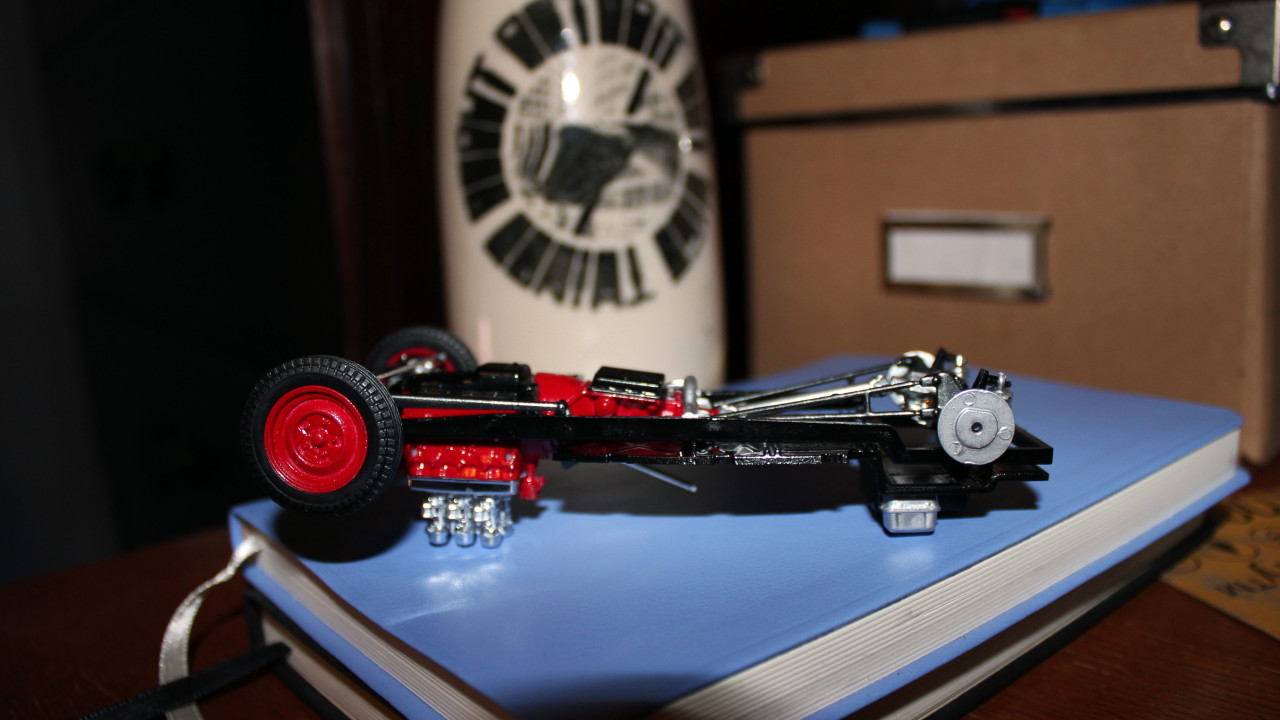
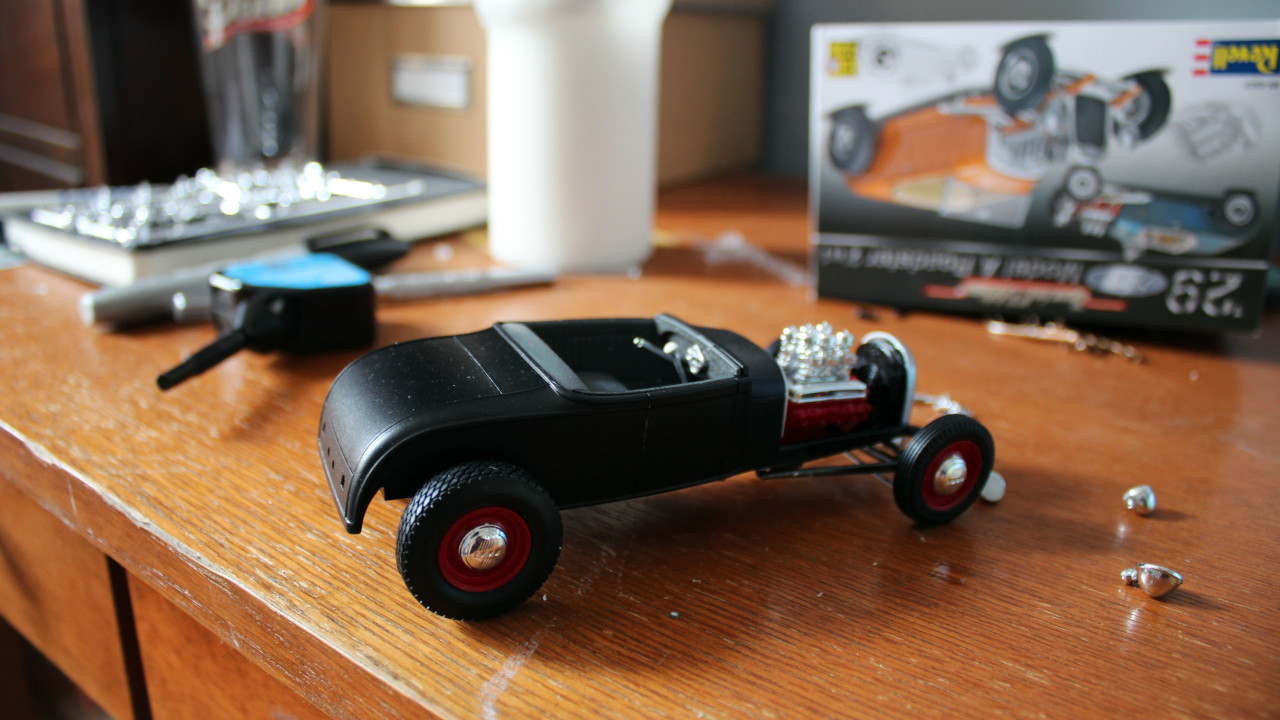
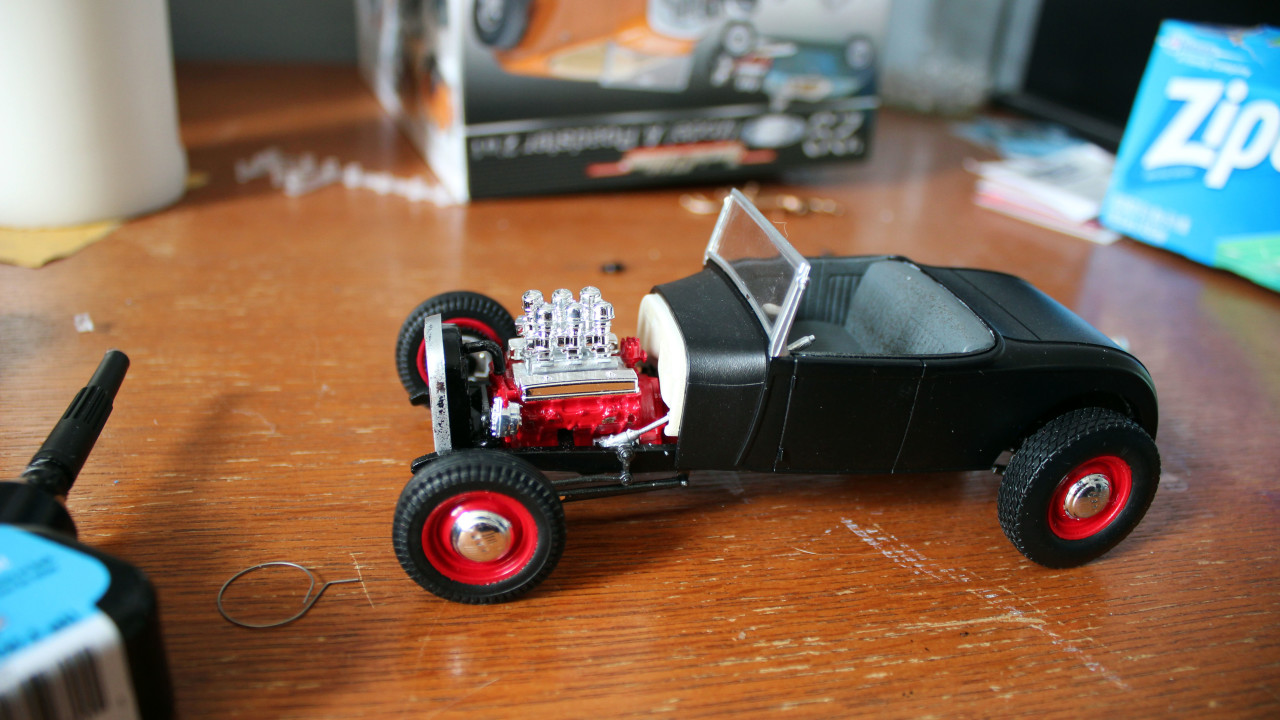
Coming together. I went for the highboy wheels with the baby moon covers.
The front shock pieces are super fragile and broke inside their frames. After gluing them together a few times before and after removing them from the plastic I found out they don't fit, the shock is 1/3 too long. It was such a pain and broke several times I abandoned it, so it would have a bouncy ride if it was a real car. I had to build a place to mount the headlights since the mounts were part of that shock frame. I wasn't a big fan of the stock placement anyways.
I sliced the intake headers I wasn't using and created lamp holders.
Windshield is on.
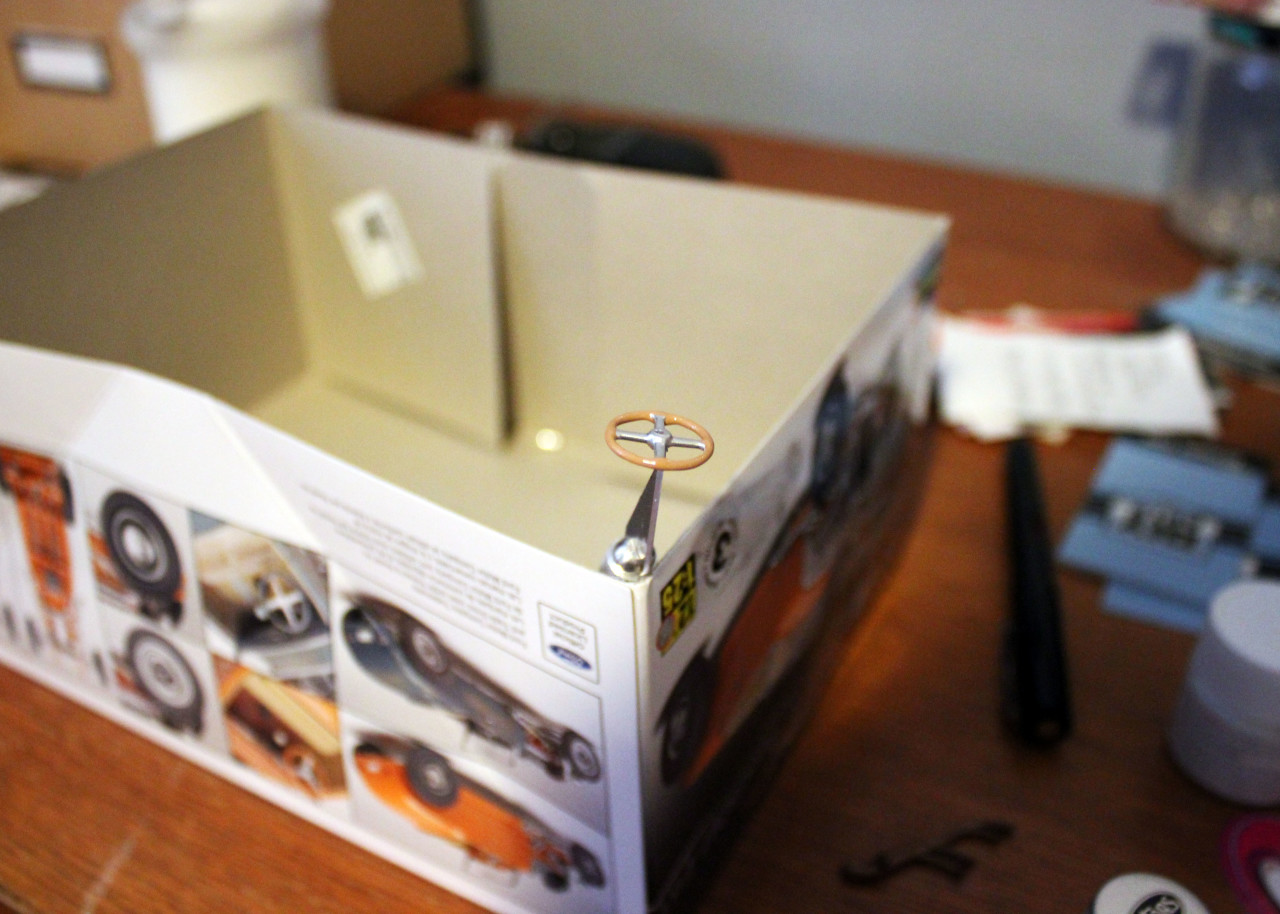
The last parts to be painted are the steering wheel wood and the exhaust which I painted flat white.
I'm pleased with how it turned out. The project was a lot of fun and didn't cost much at all compared to a real automotive project haha.
I learned some good lessons I'll apply to the next one.