You must be logged in to rate content!
17 minute(s) of a 37 minute read
3-2-2010

Building the 7A-FE, Lots of pics!!!!!!!
Compliments of Smaay @ 6gc.net
3-2-2010
Well i rebuilt Eryn's ST last weekend. I took as many pictures as I could
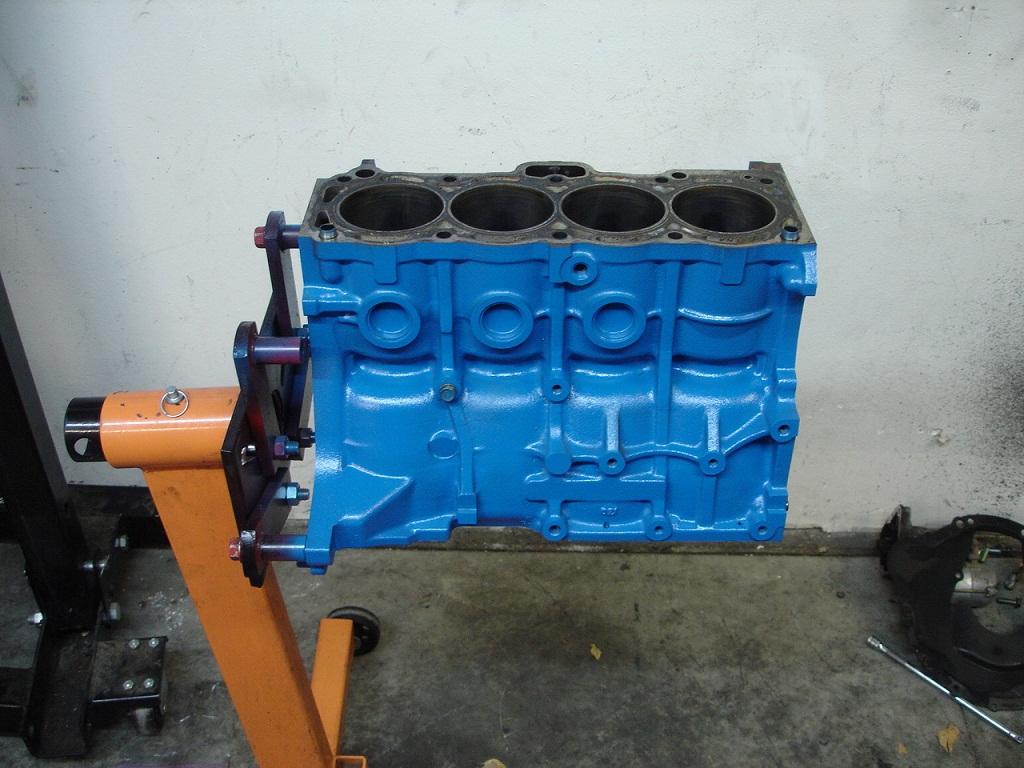
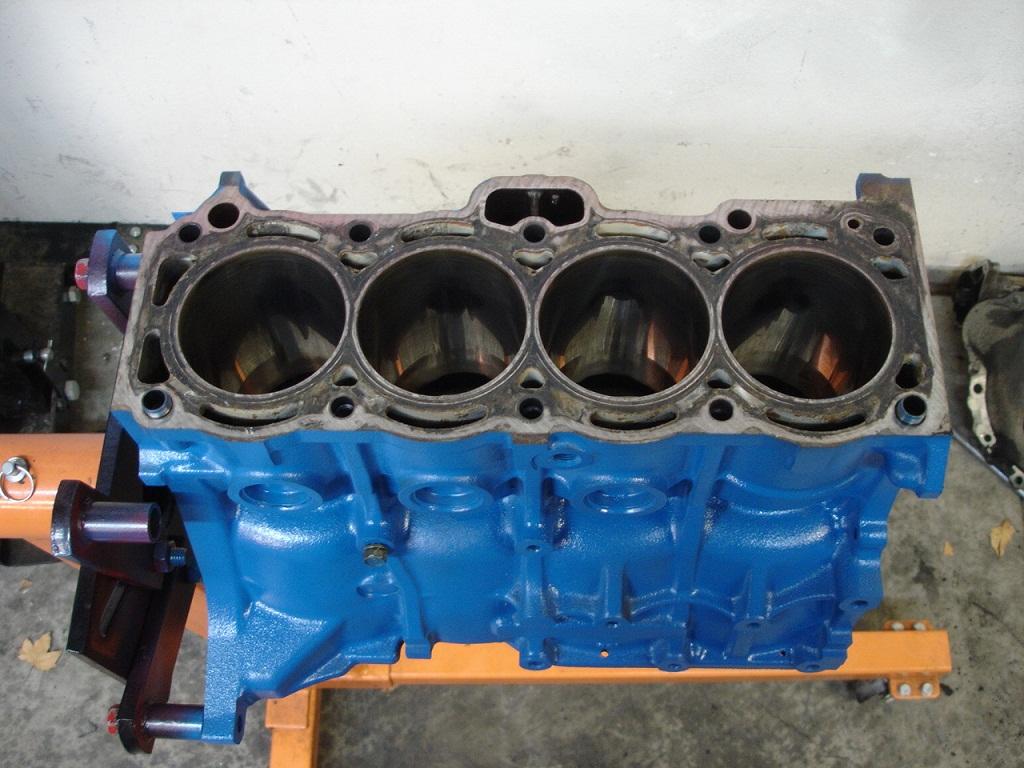
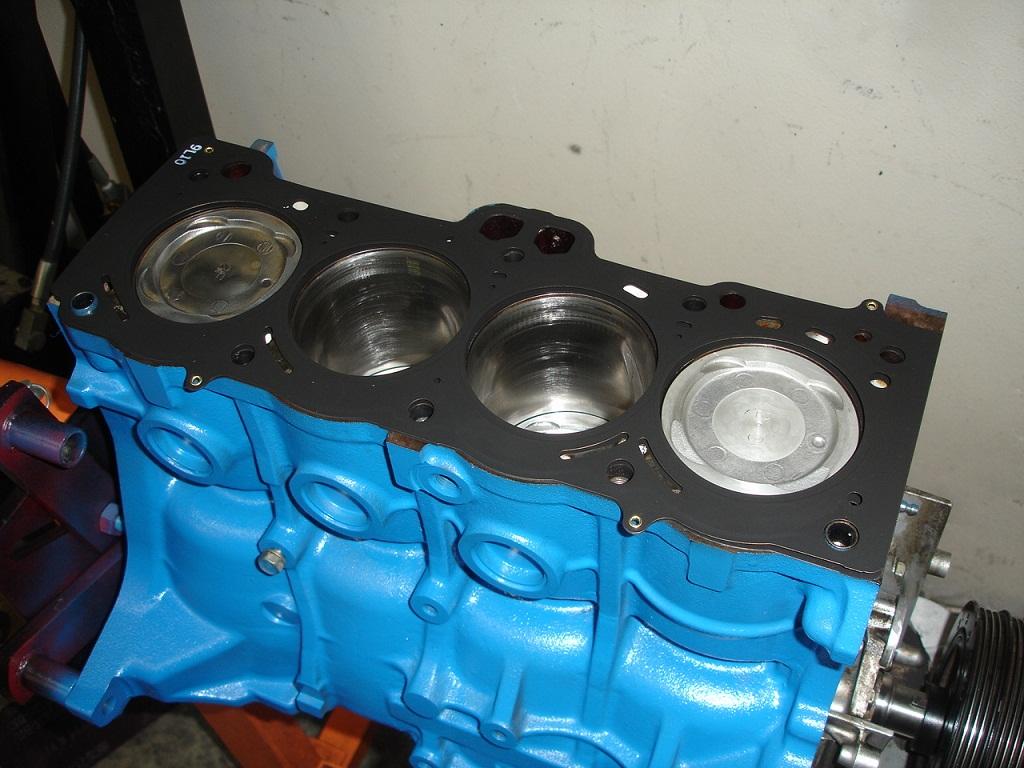
Here is the block, all pretty and blue
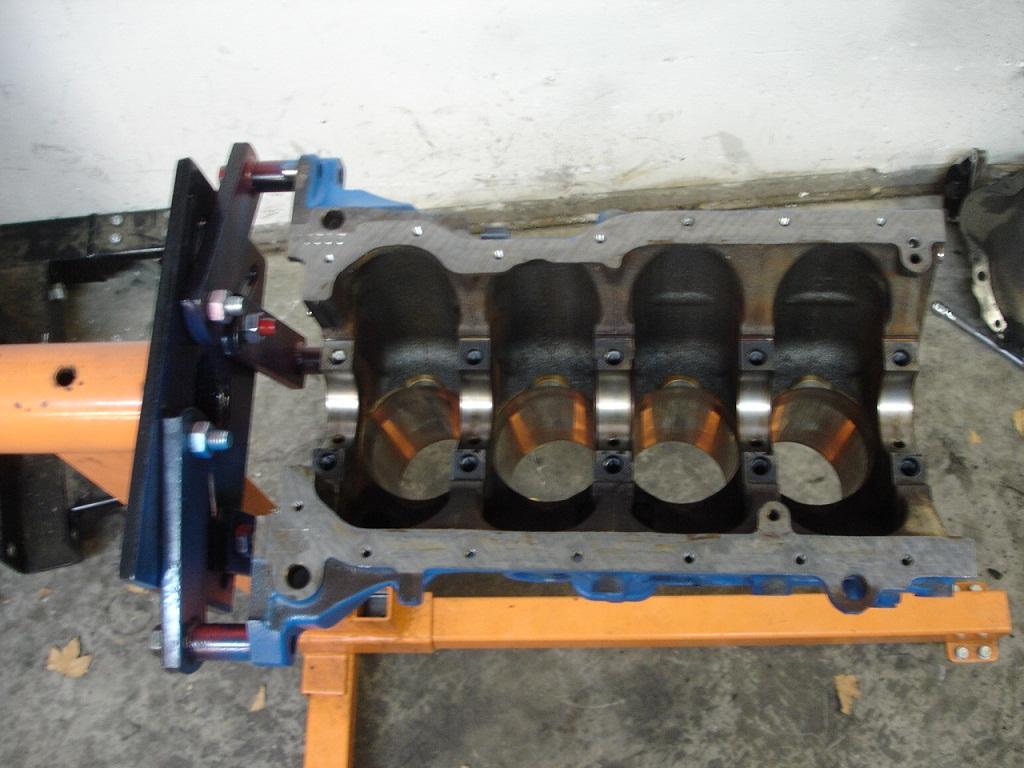
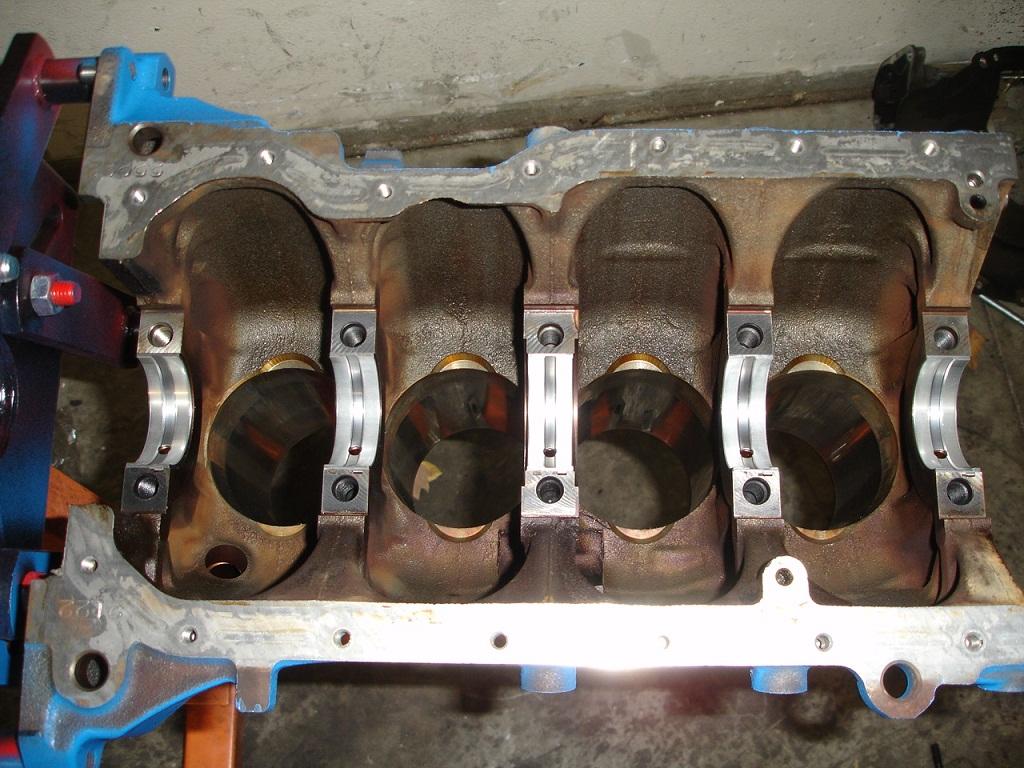
The underside of the block and where the main bearings are installed
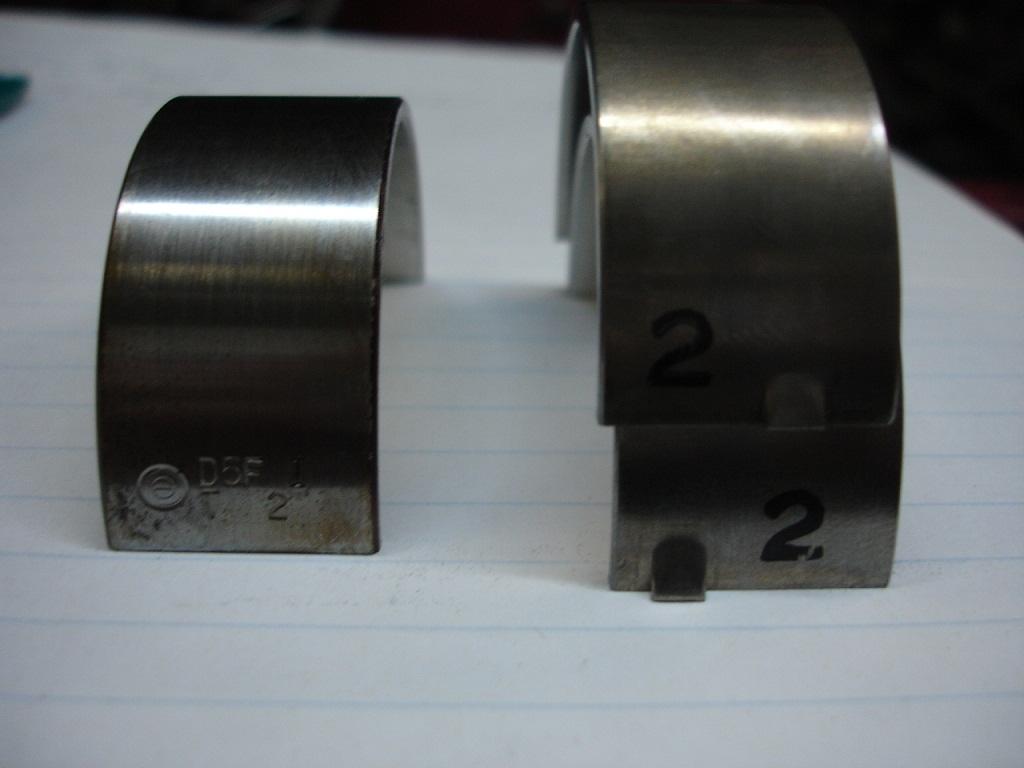
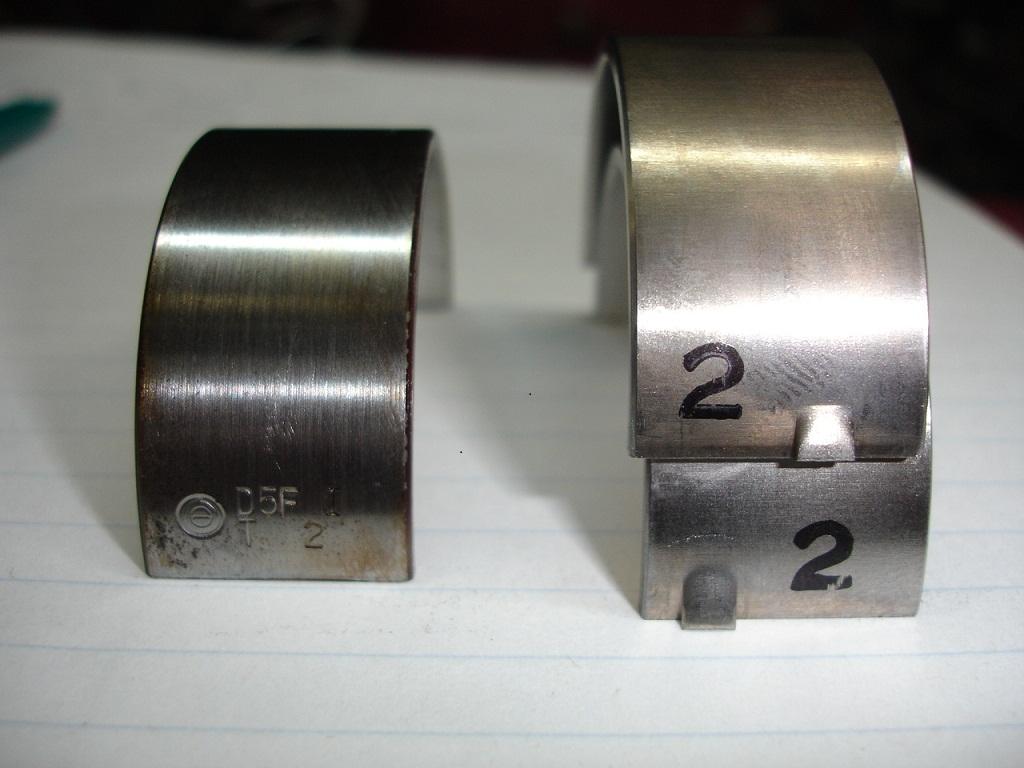
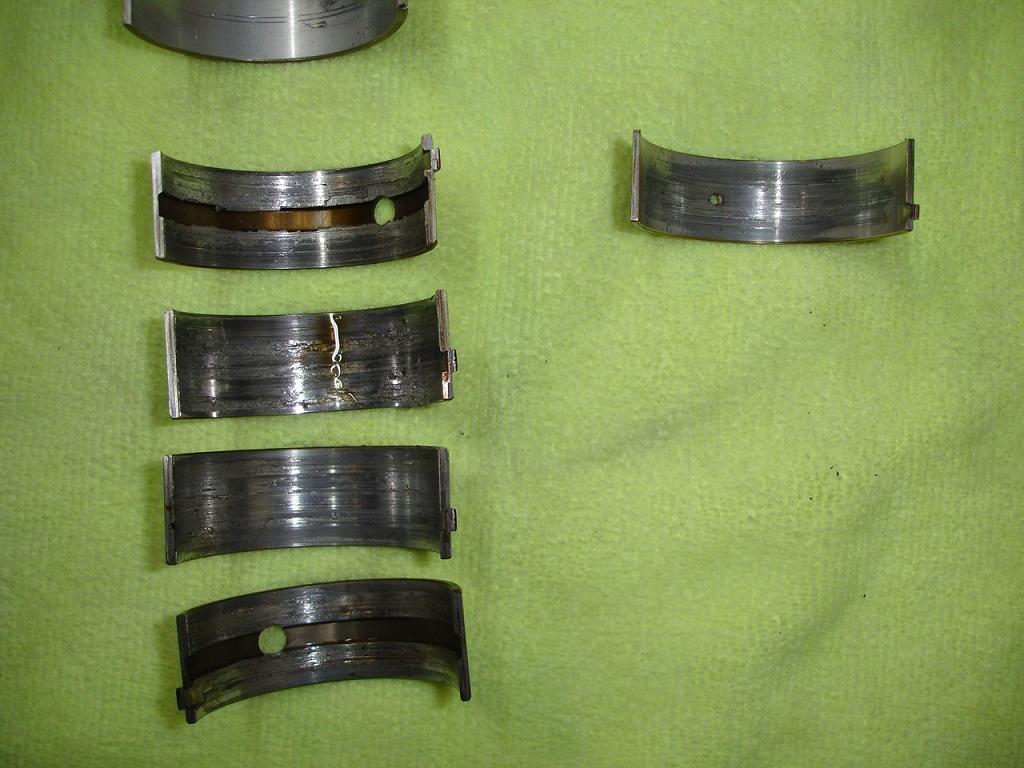
These are the main bearings, old on the left and new on the right. make sure you use the same size and plastigauge to double check clearances
Main bearing installed
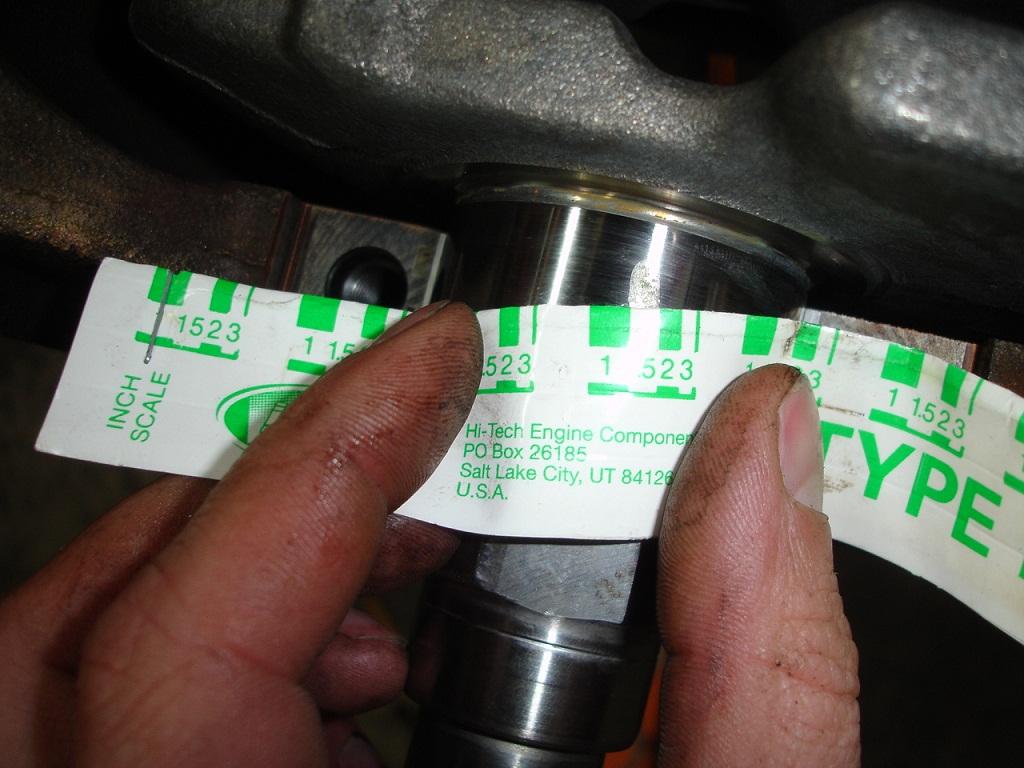
Plastigauge on the main journals, do this on every journal
Install Main caps in order, look at the number and arrow is pointing to #1 Torque to 44lbs
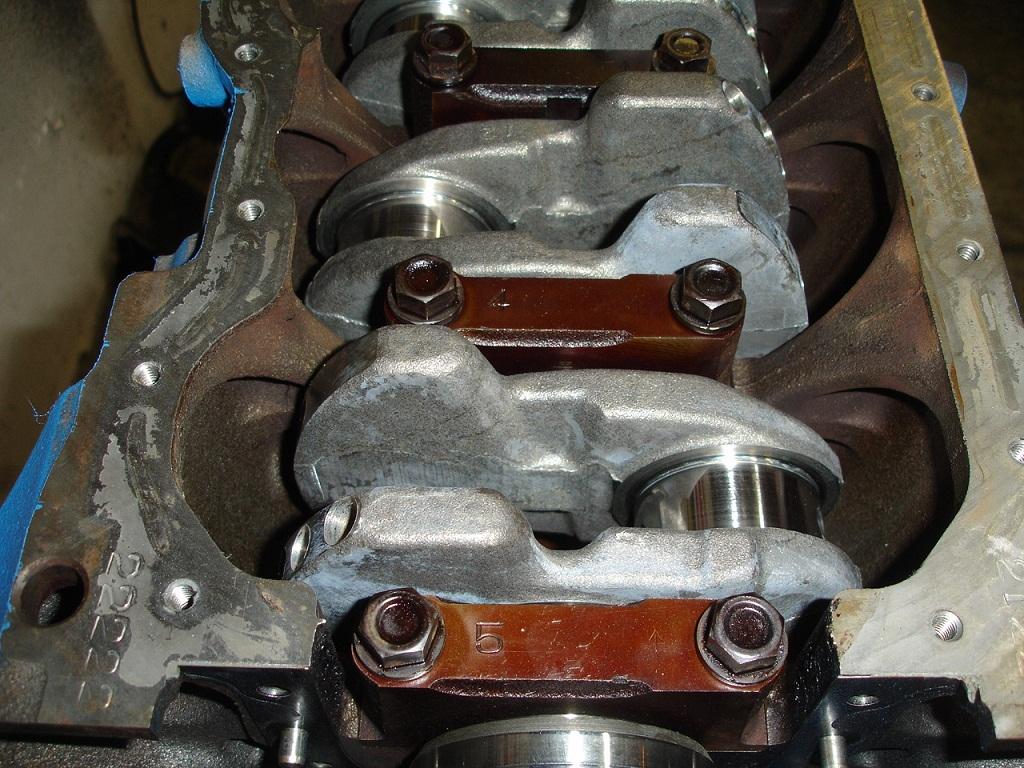
remove caps and check clearances. .0015" clearance is good!
Remove crank and clean off plastigauge, apply assembly lube generously
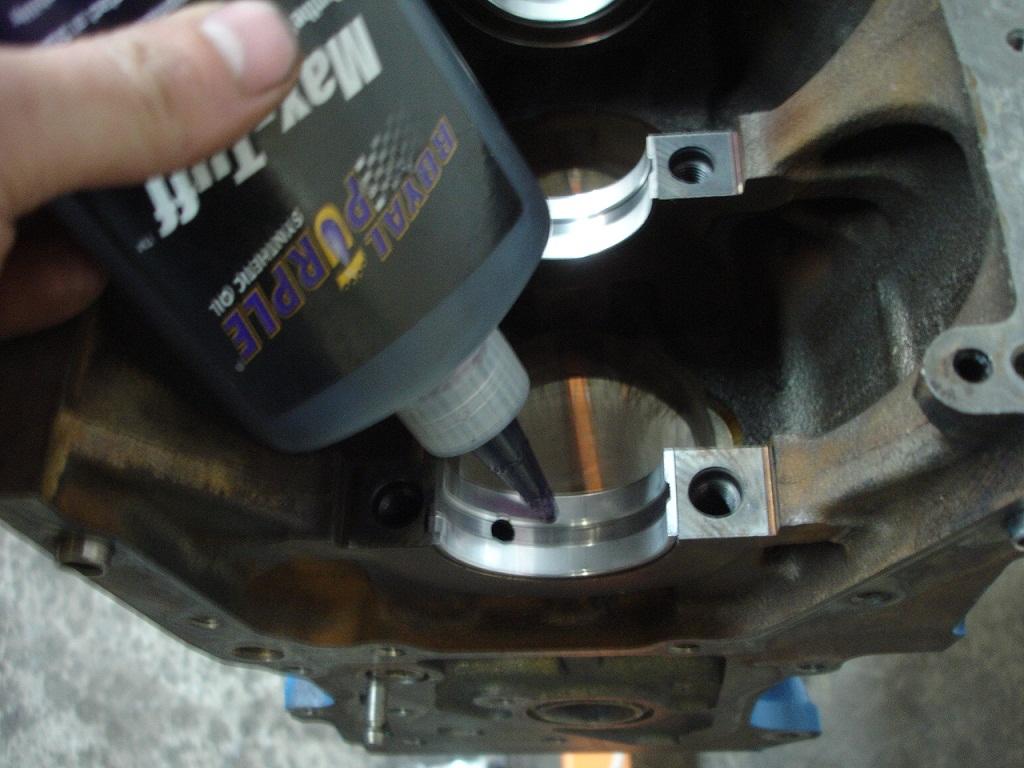

Lay crank back on bearings and apply more lube
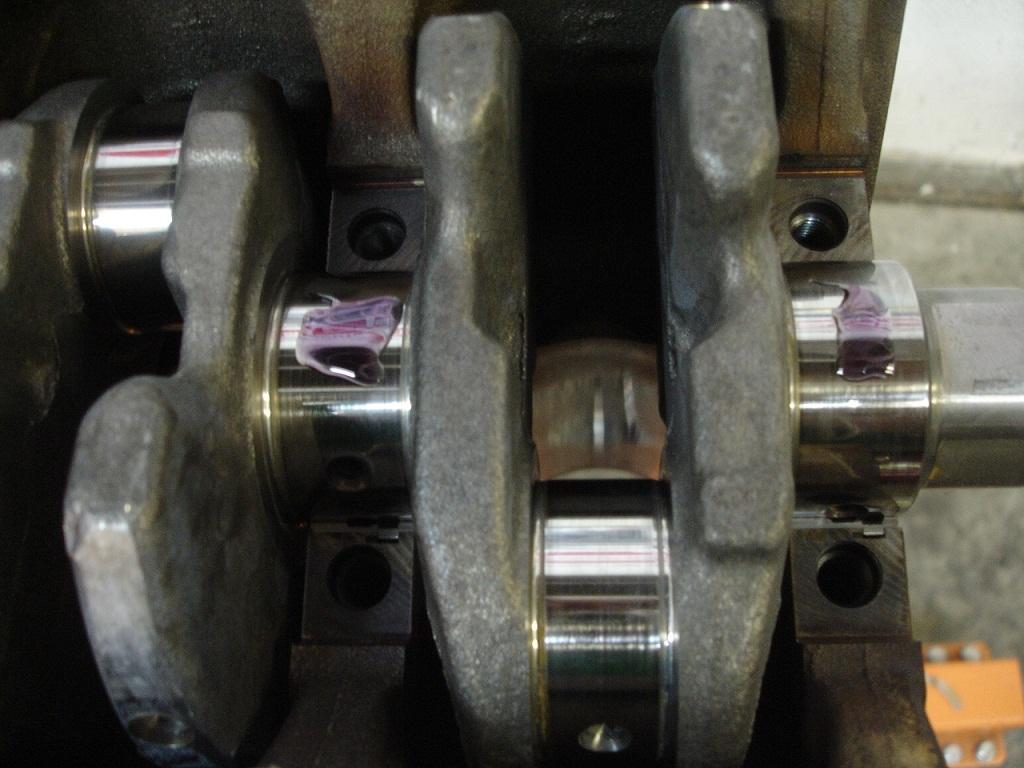
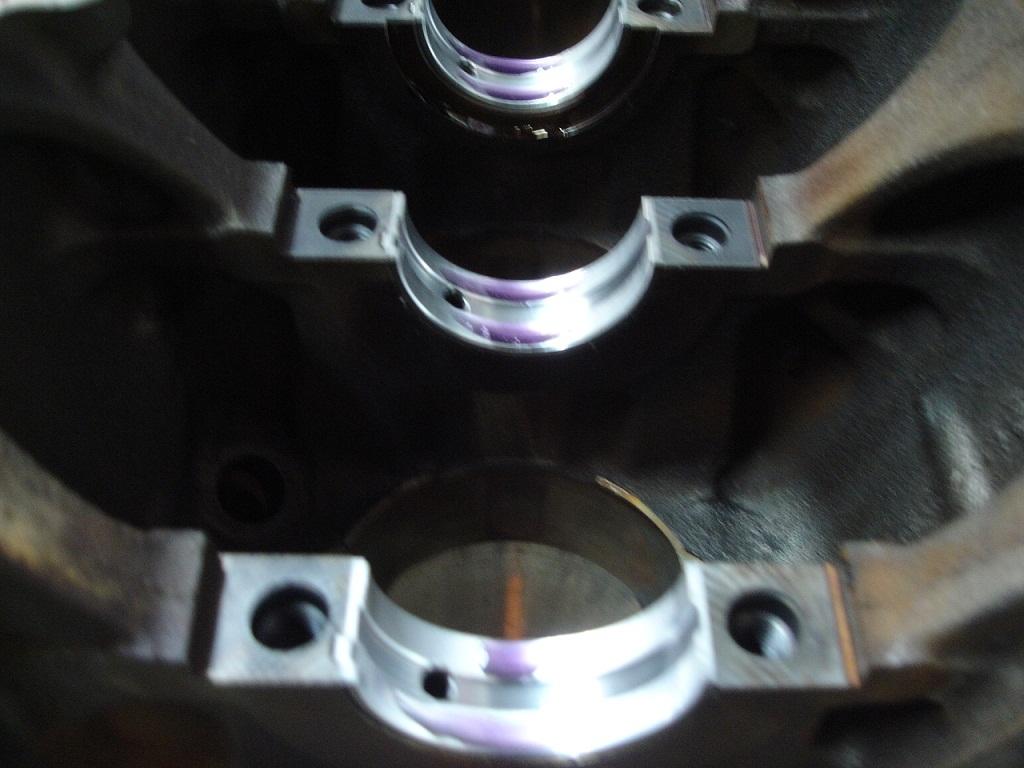
More lube on main cap bearing, my daddy always says, you can never have too much lube ![]()
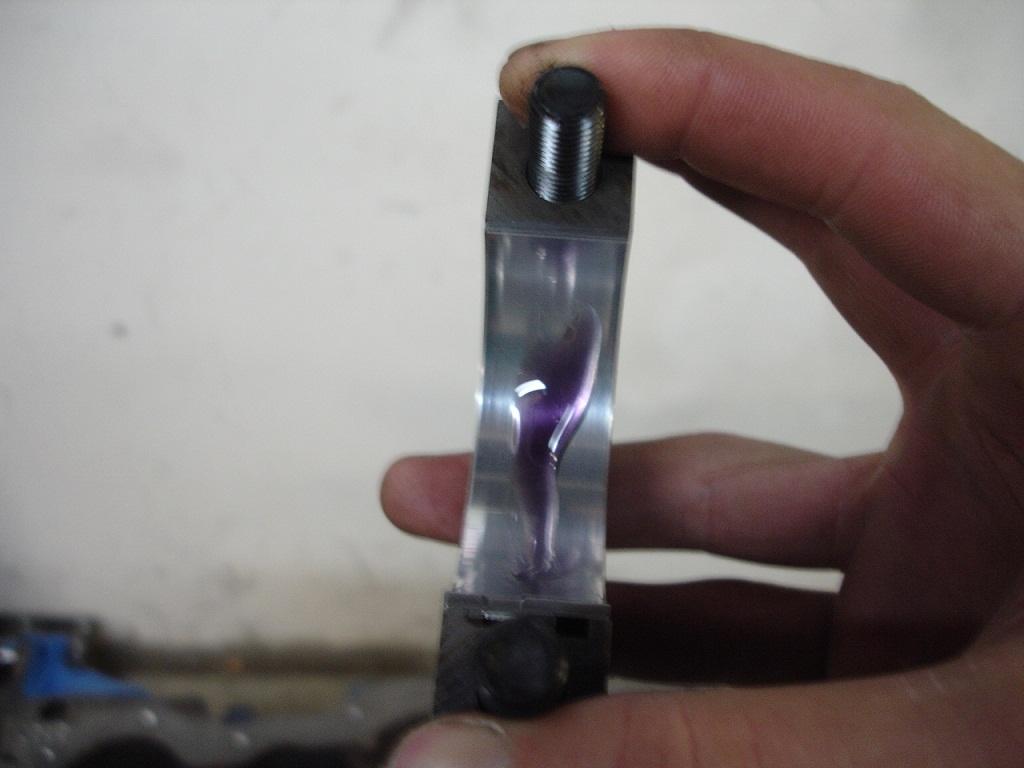
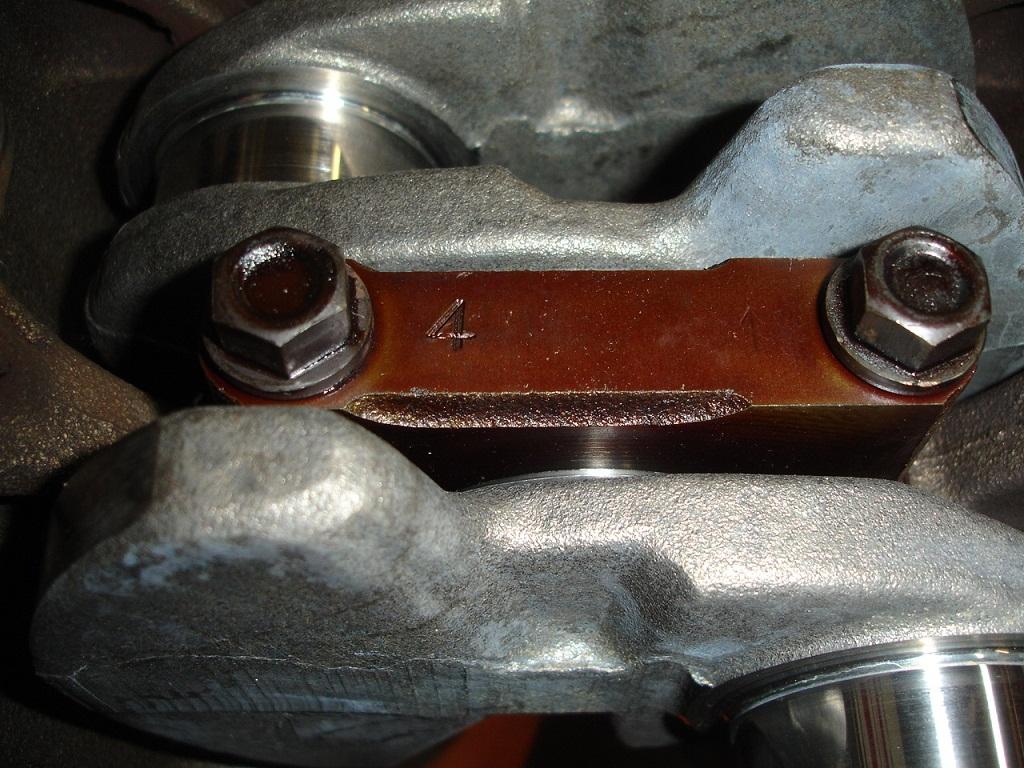
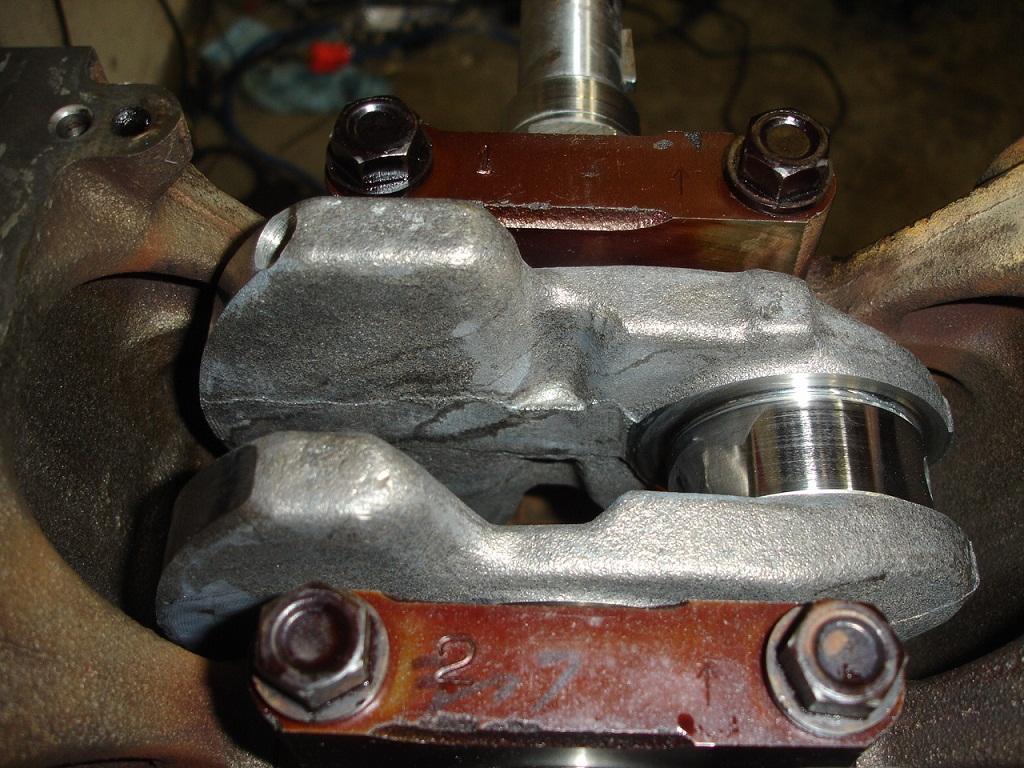
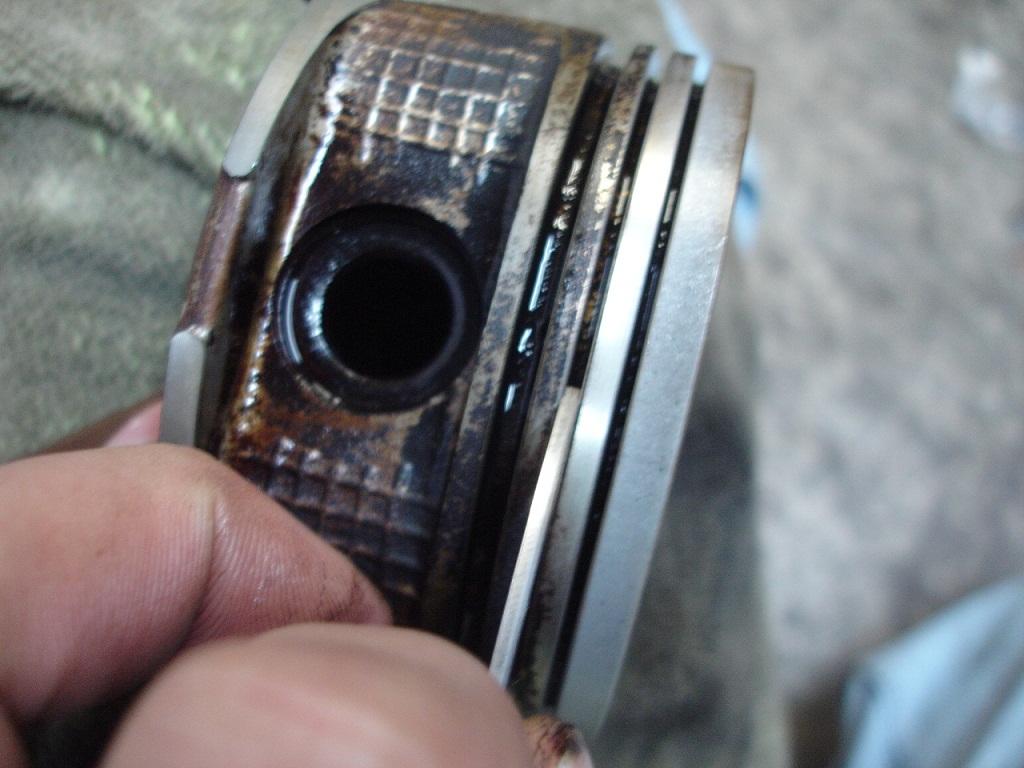
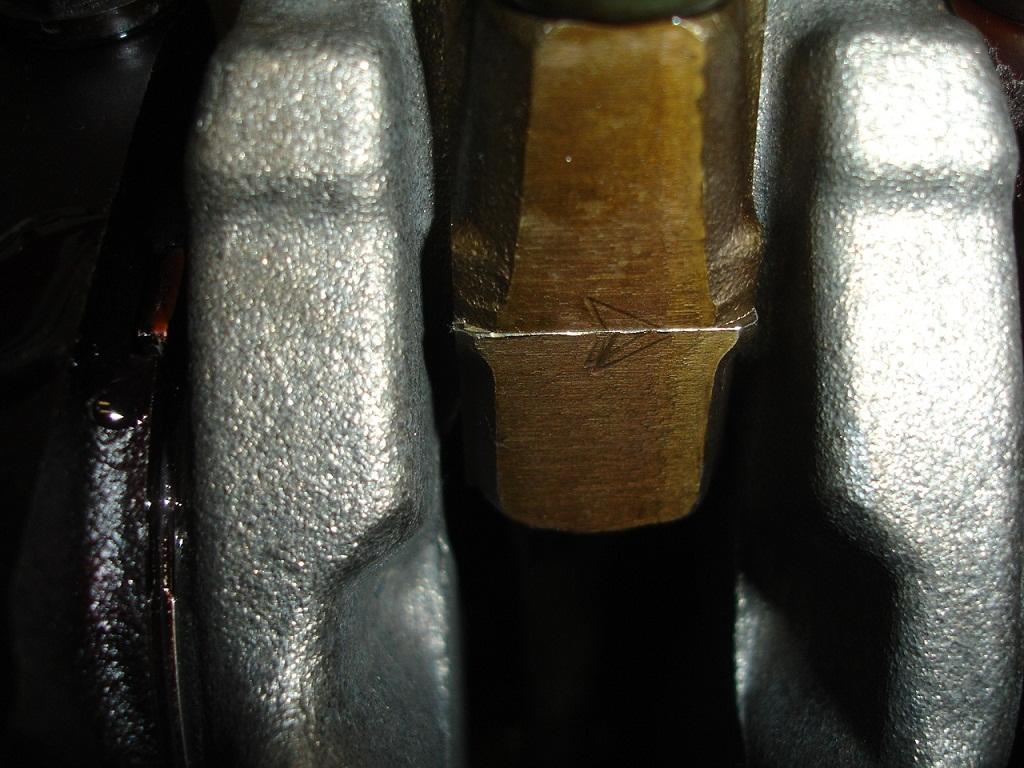
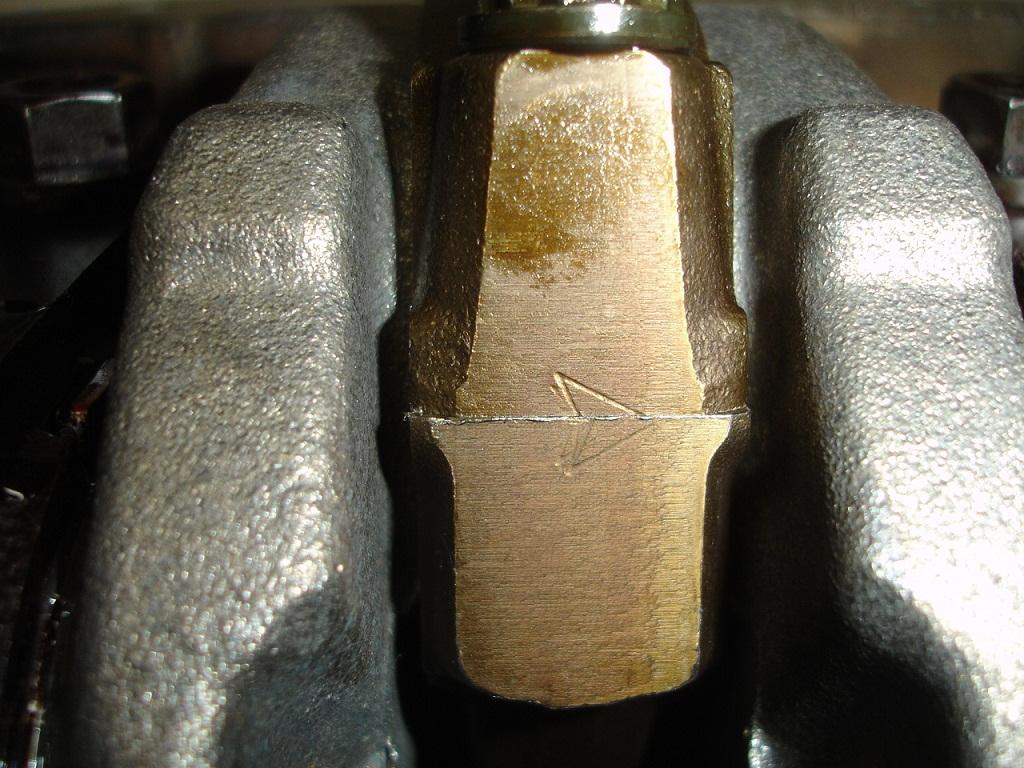
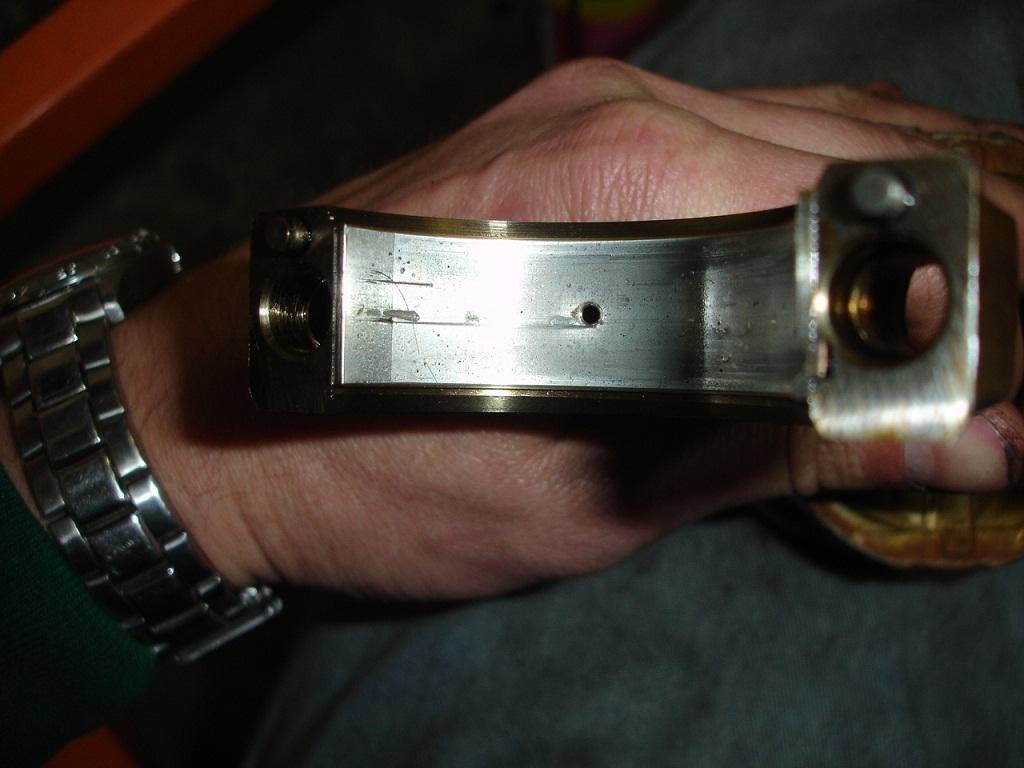
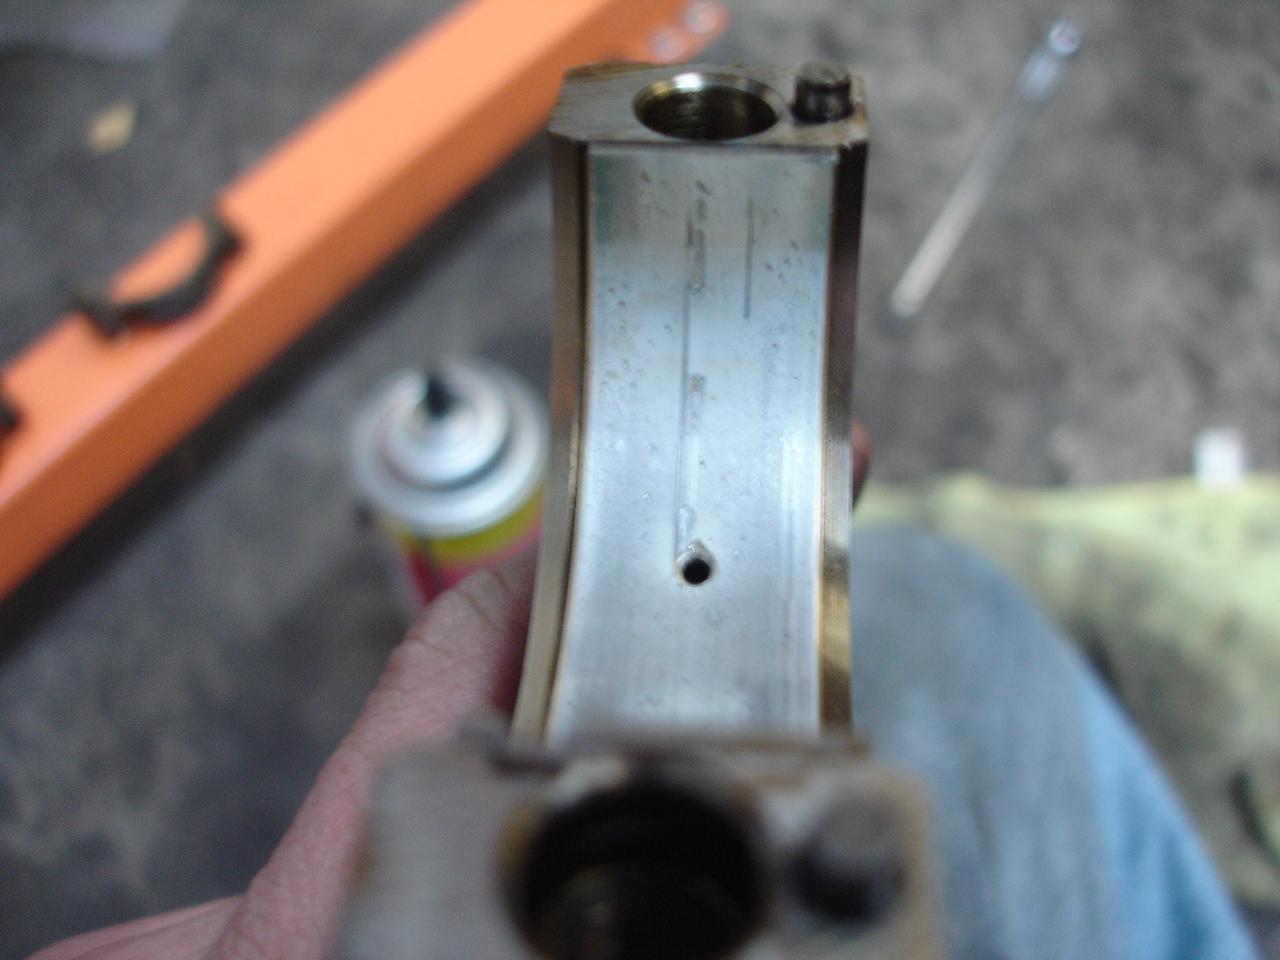
rod cap, make sure you line them up and install the correct cap on the rod
This is the wrong match you want an M not a goofy looking triangle like this
More lube on the rod bearing
Using a spring compressor, install the piston and rod assembly
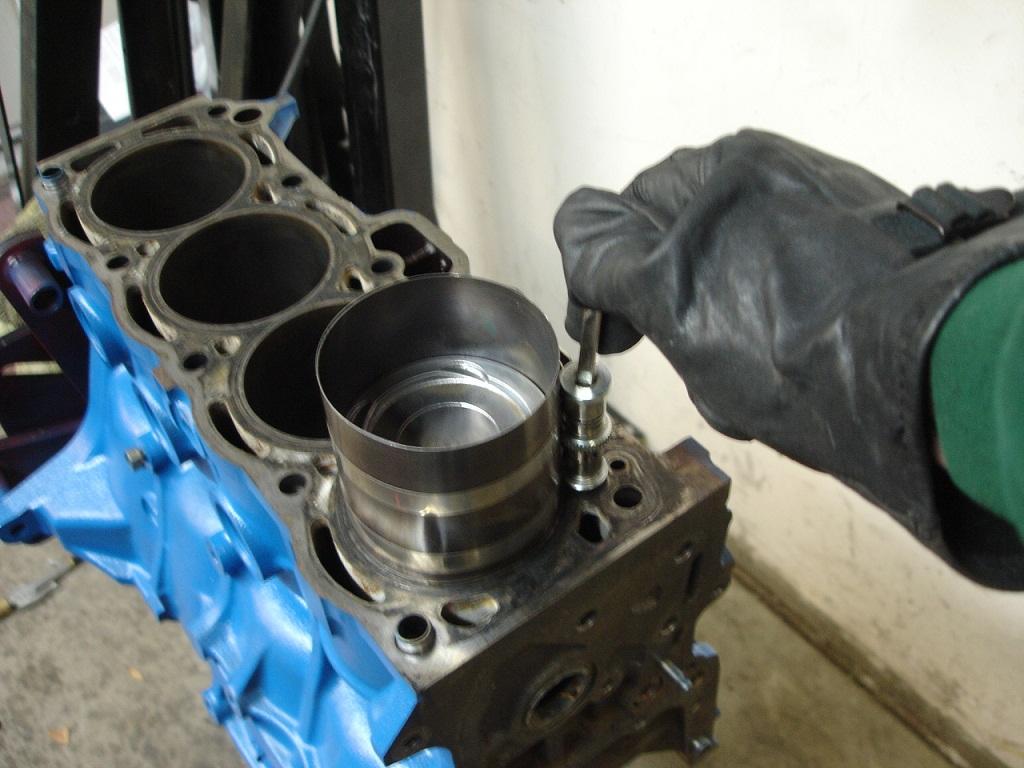
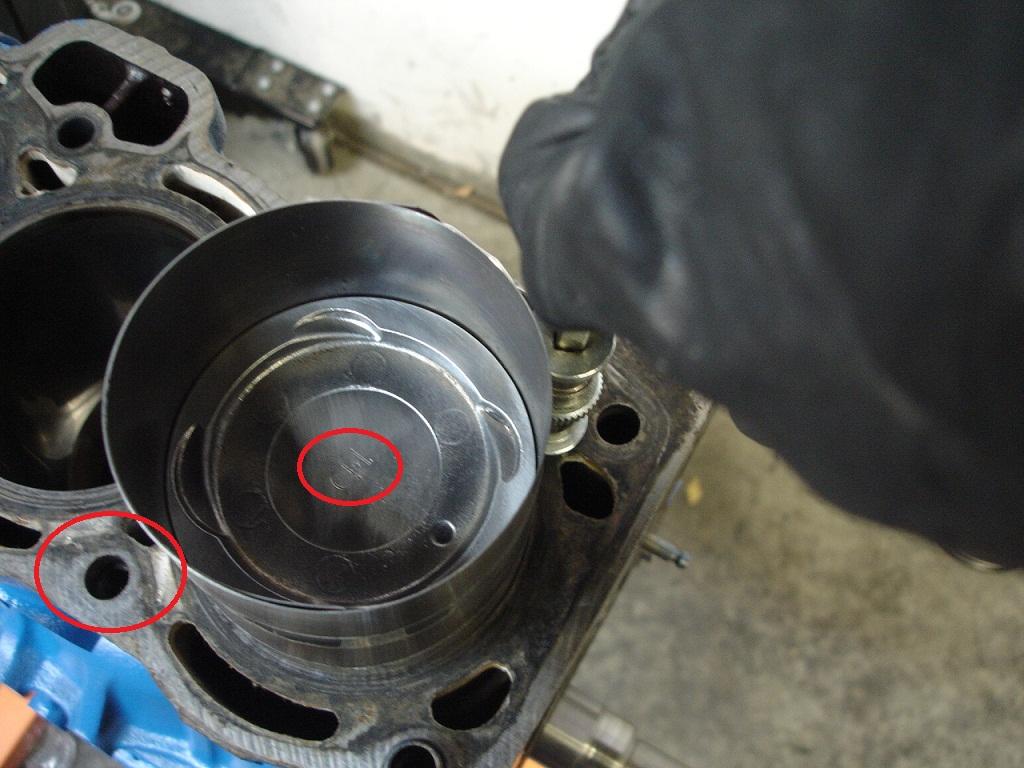
make sure you install the correct piston according to the mark on the block. This is actually wrong. #1 piston in a #2 spot. you can see the marks on the block in the circle
Piston installed (wrong one...oops)

Take one of the old rings and break it, use this piece to clean the gunk out of the ring lands
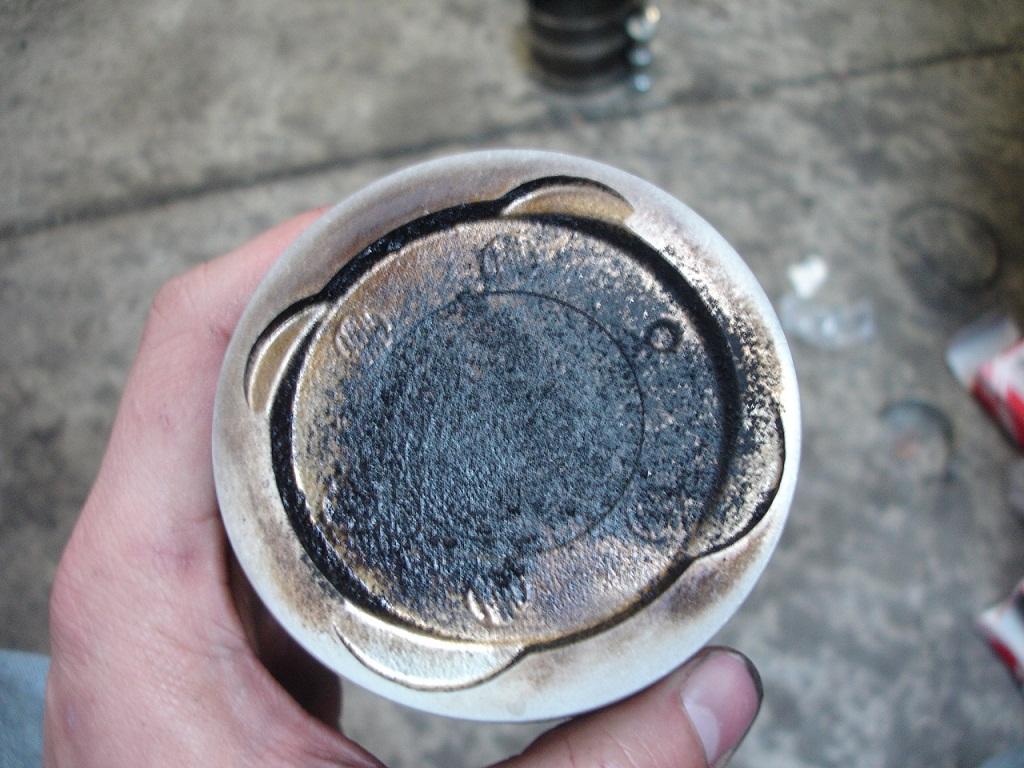
Top of dirty piston, i didnt get a pic of it after i cleaned it

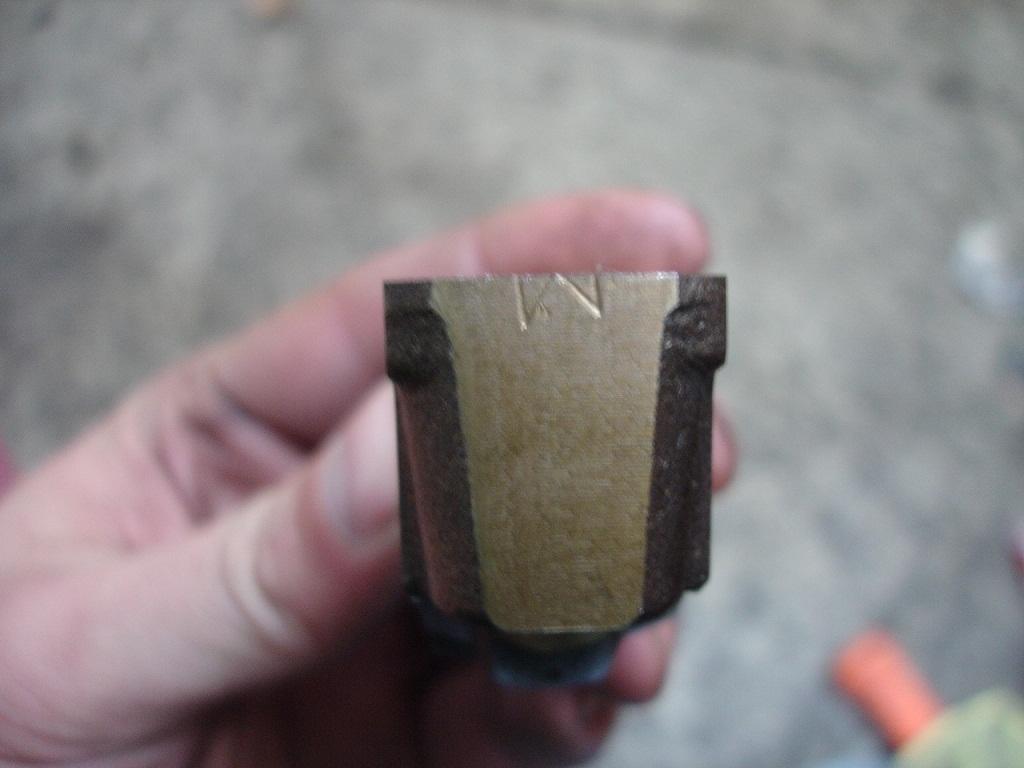
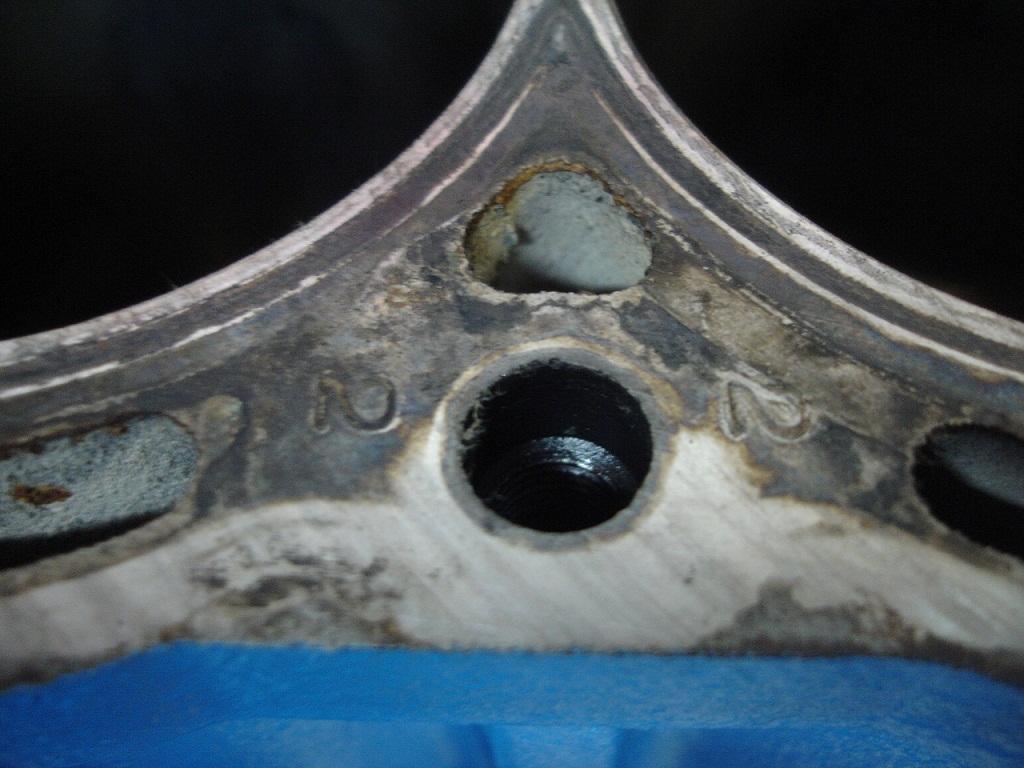
Marks on the block to identify piston size
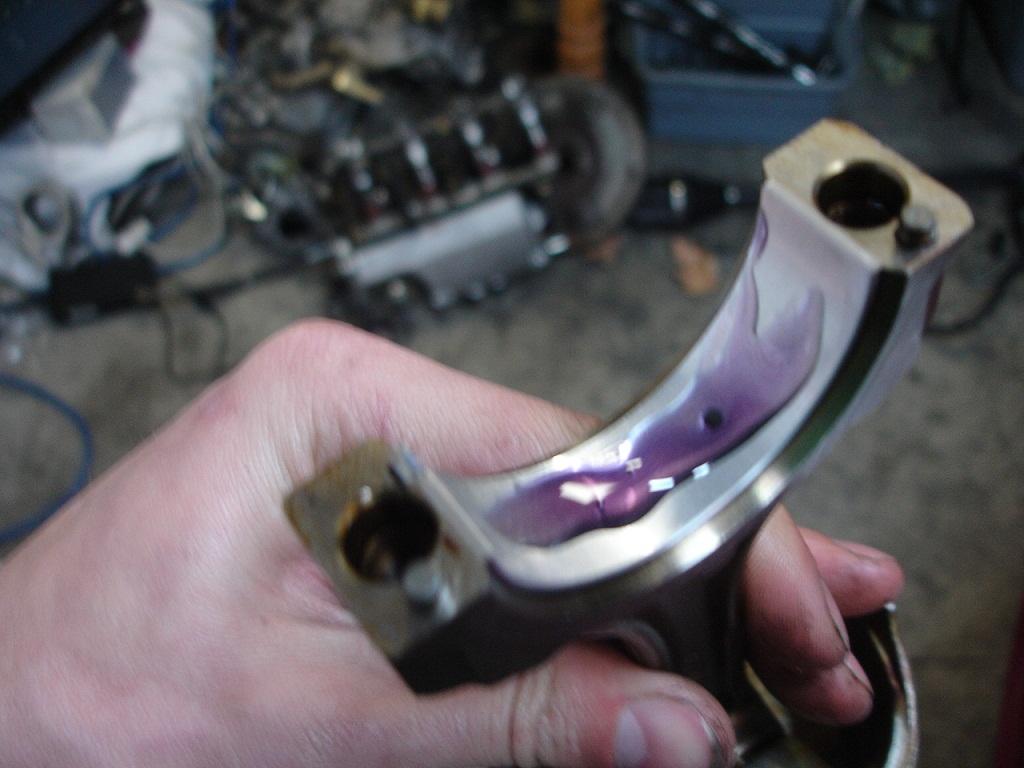
Another shot of the wrong cap and rod together Do not do this!
Crap collected in ring lands, look at the oil ring, this is why you burn oil, the ring is too gunked up to expand
Cleaned out piston
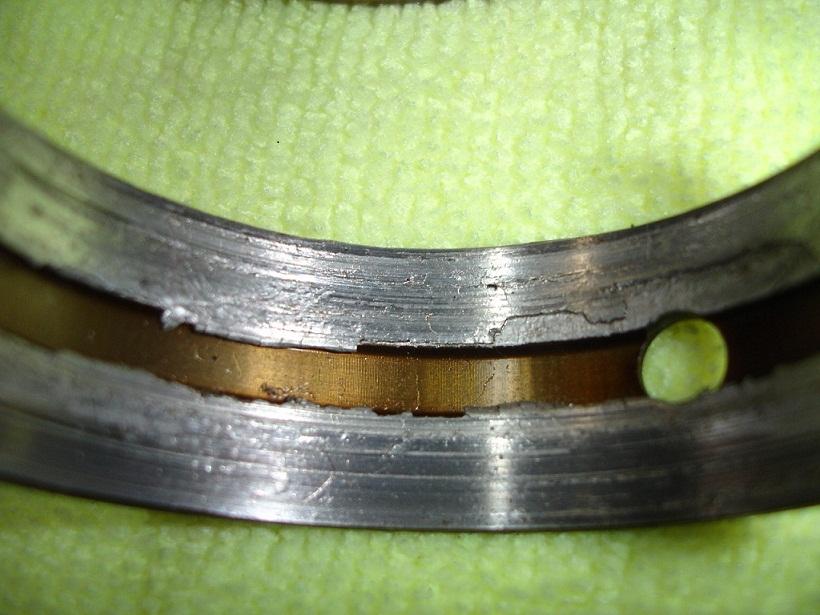
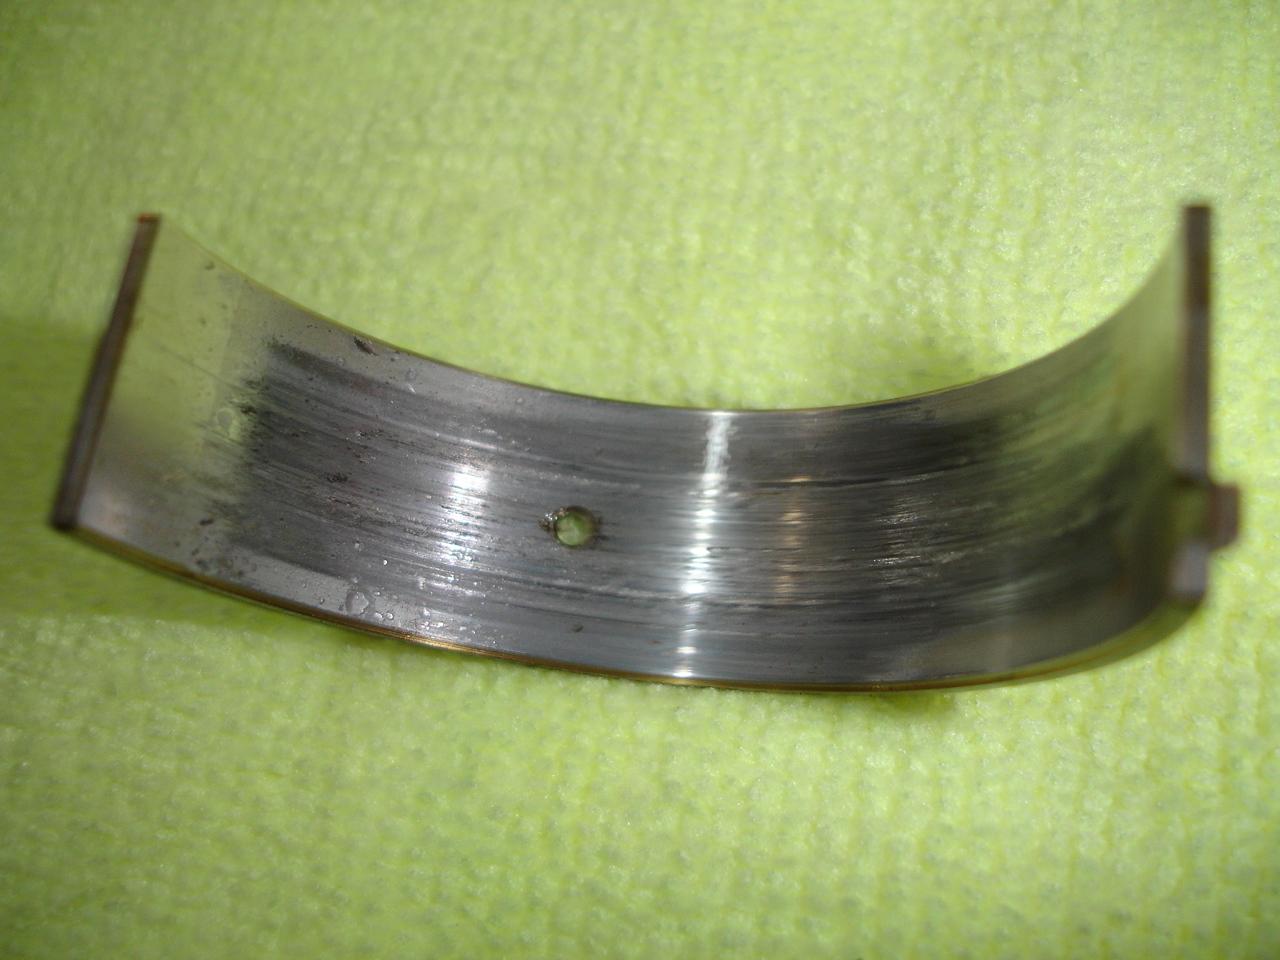
Damaged bearings
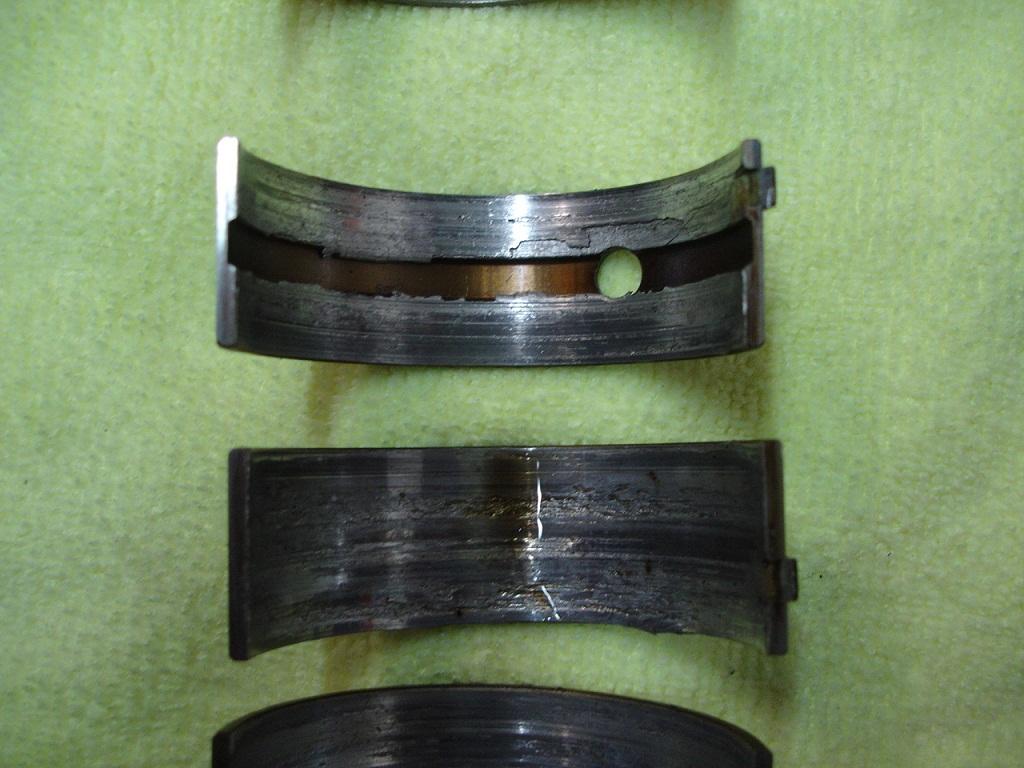
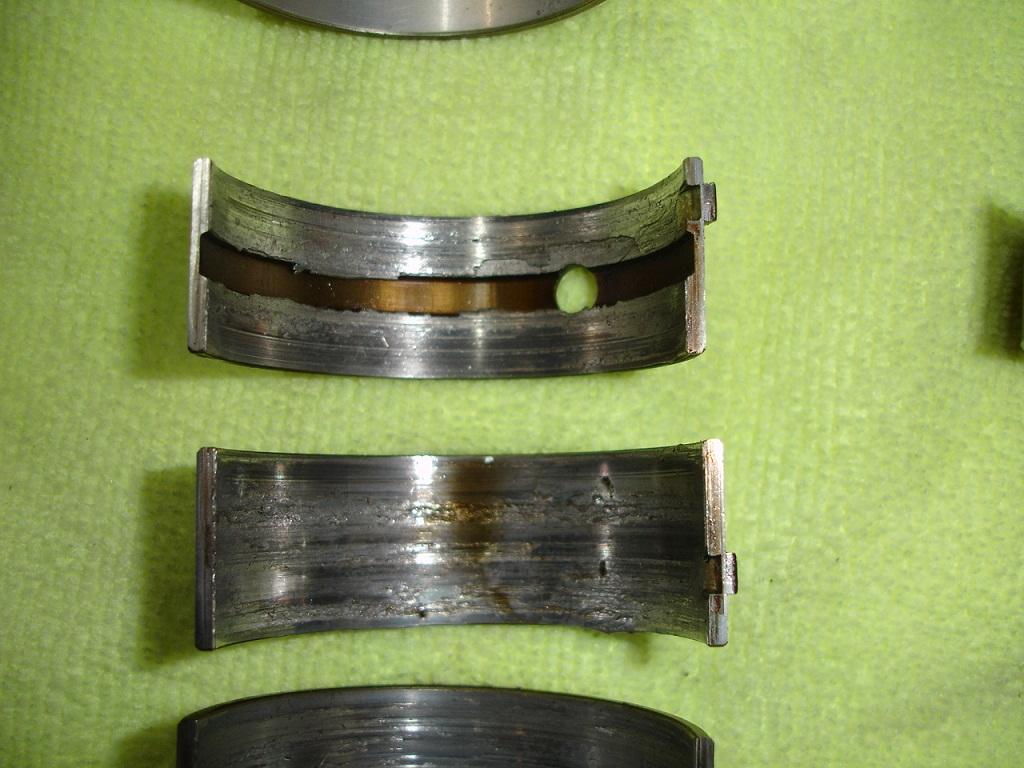
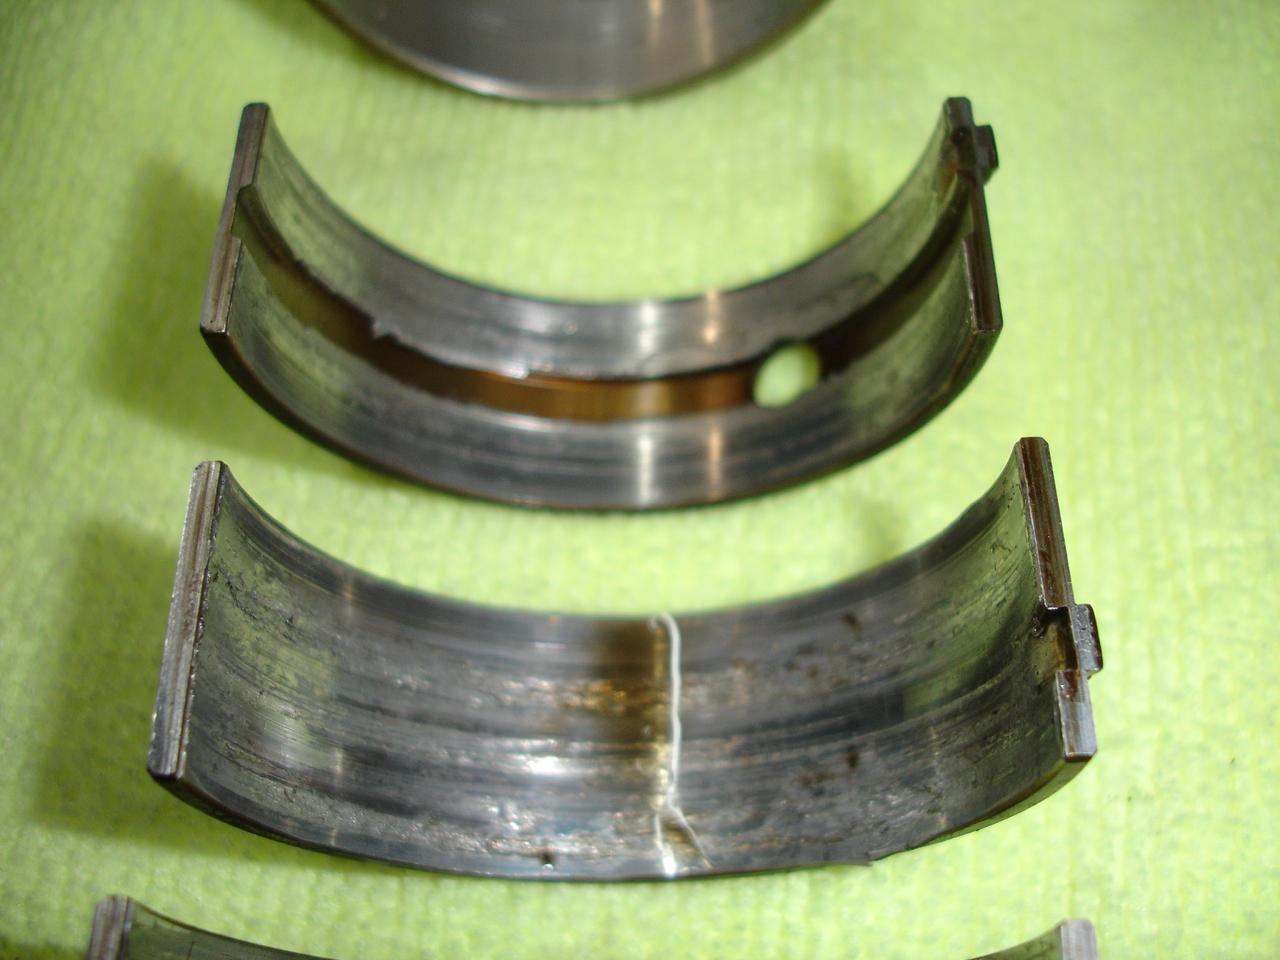
Amazingly the crank was fine, look at the bearing!!!!!
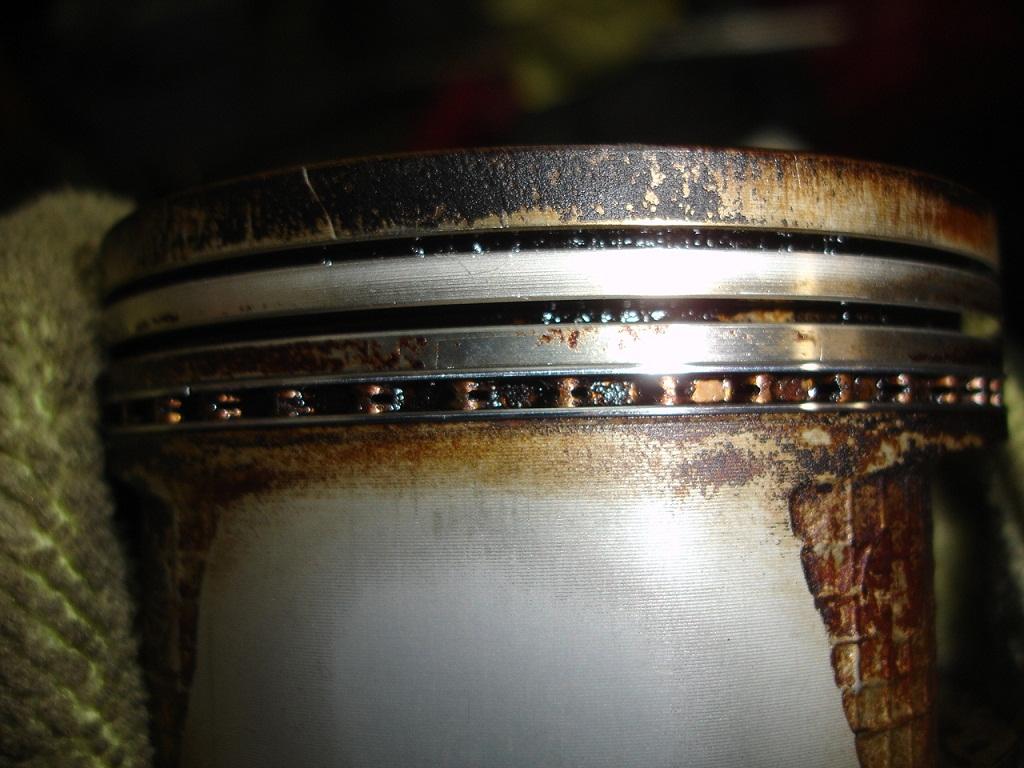
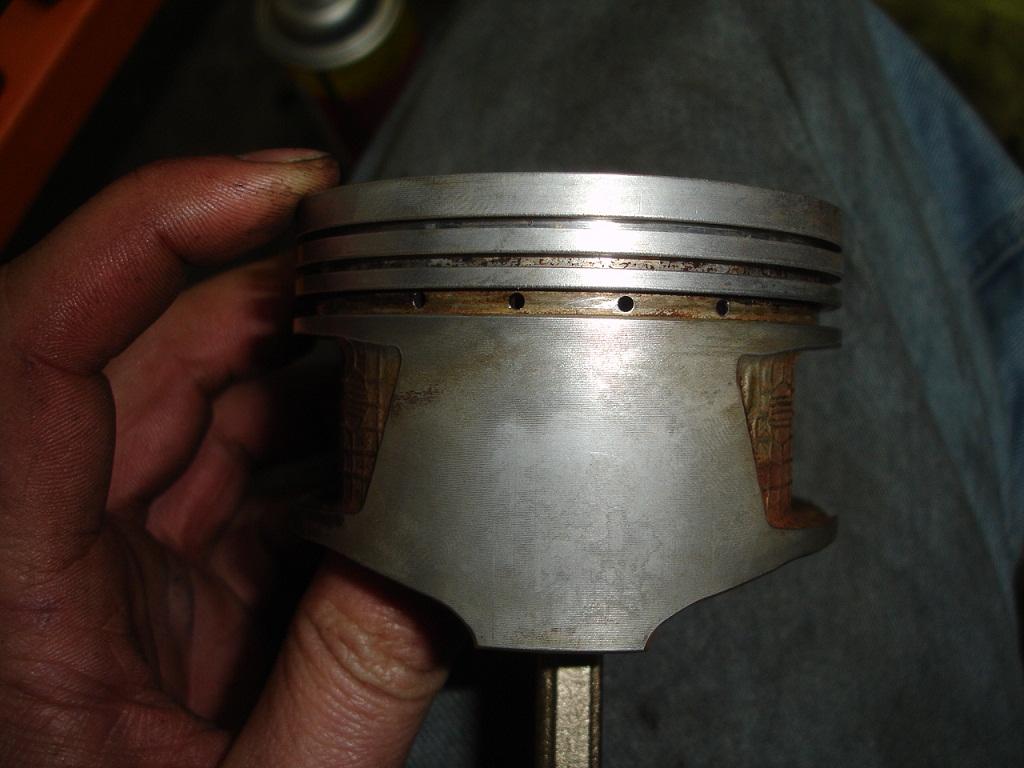
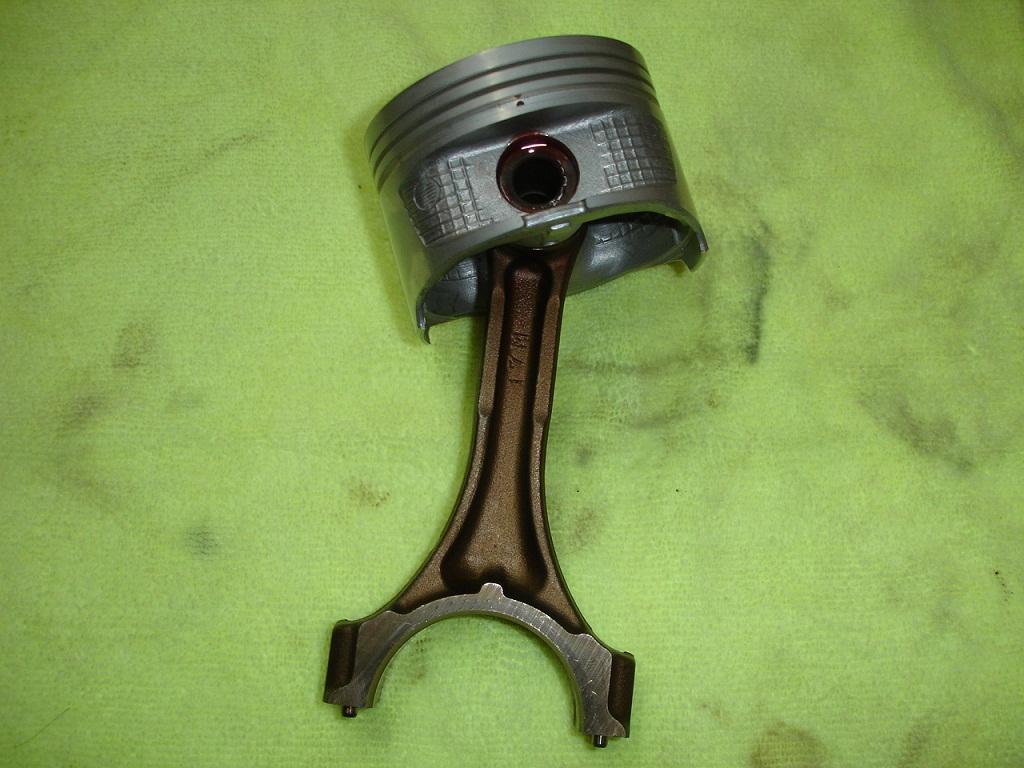
New piston installed, the old one had some damage on it. Something bad happened in this engine

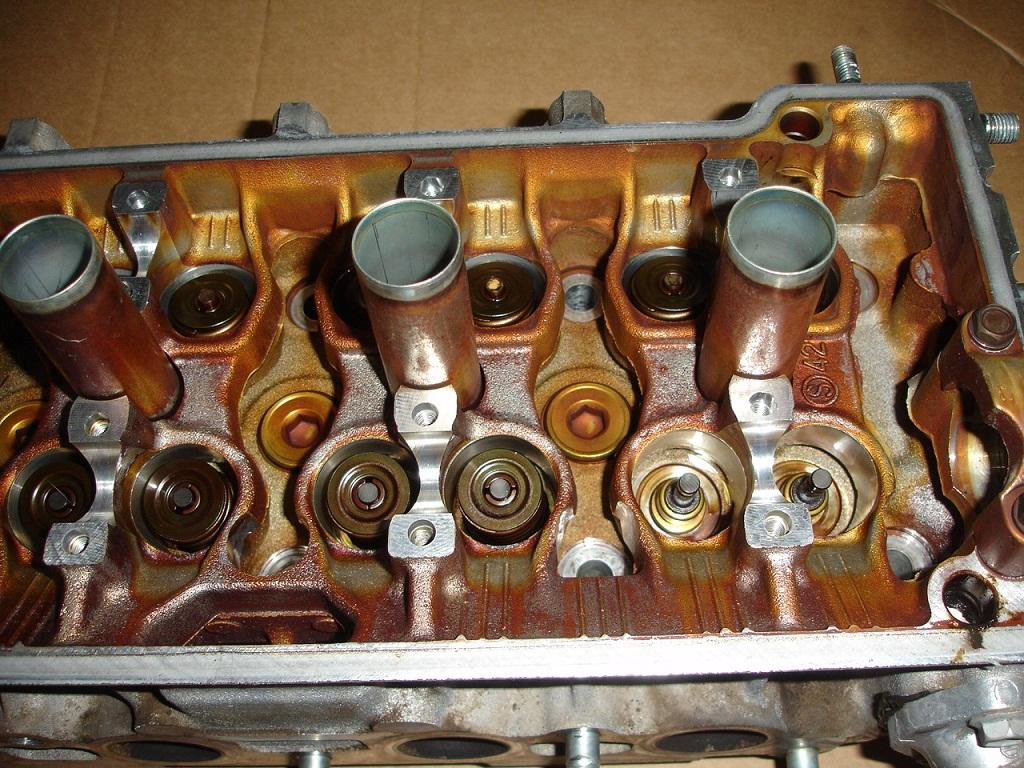
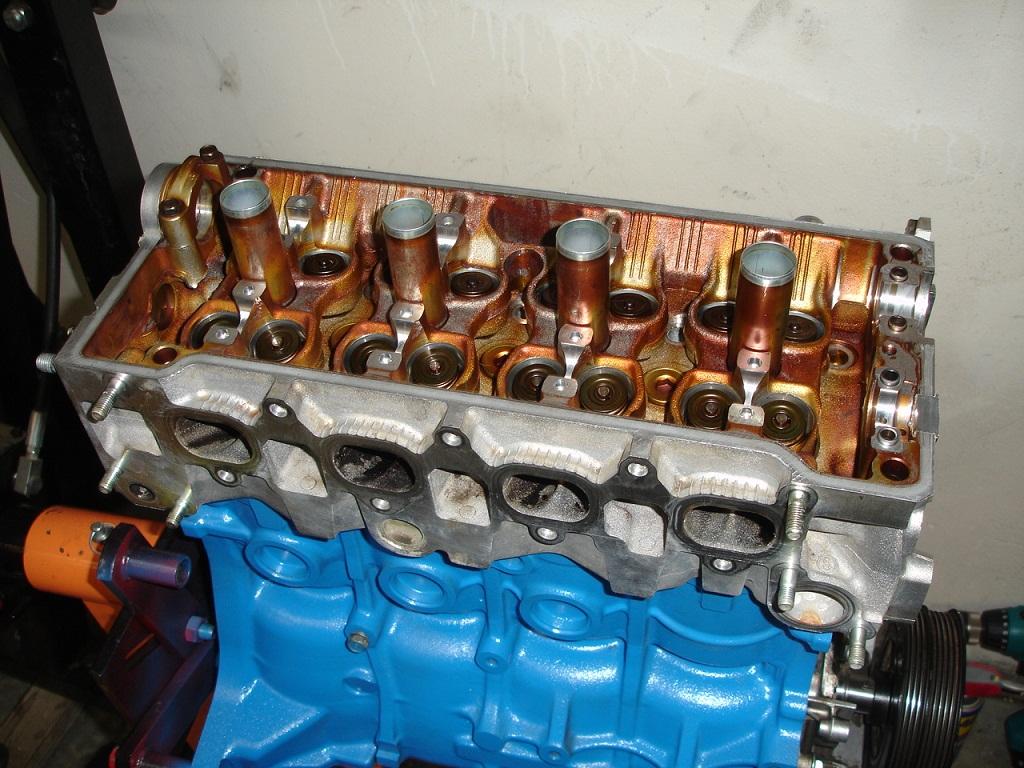
Head all cleaned up
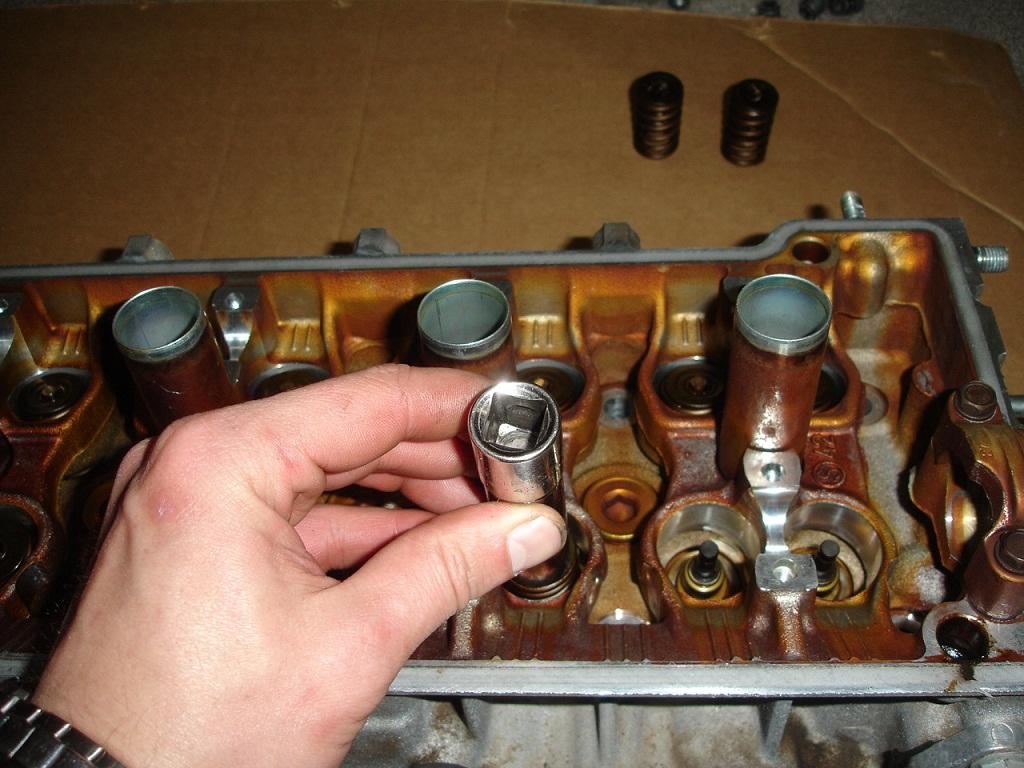
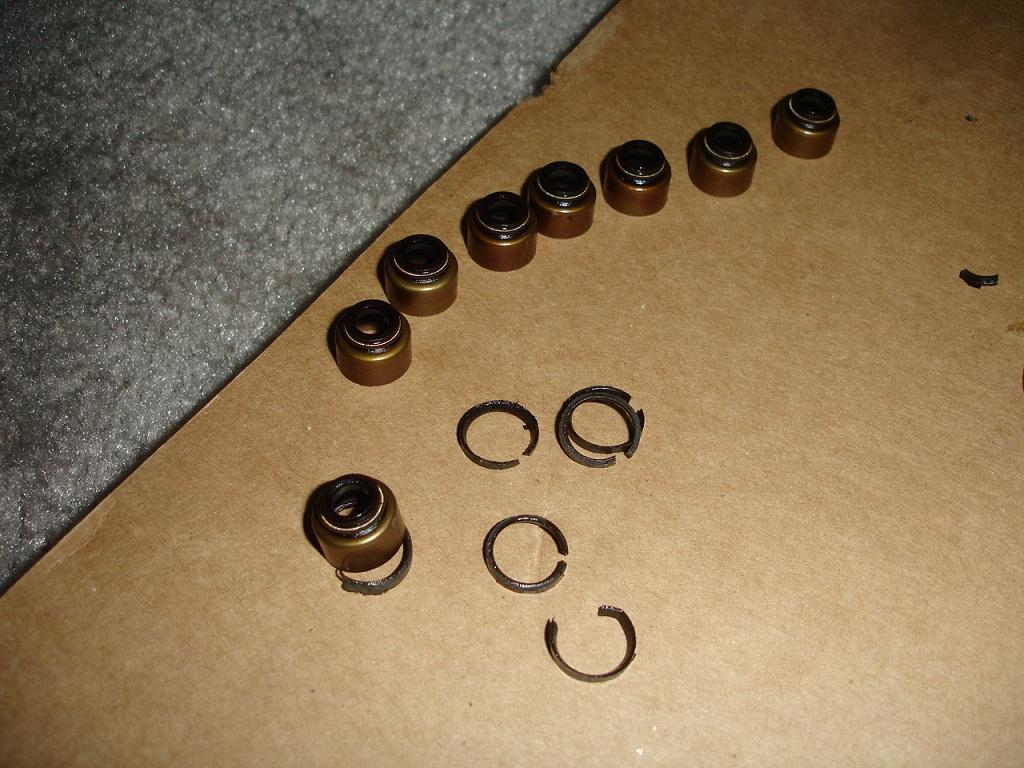
Removing the keepers and retainers, I use a socket and smack it with a dead blow hammer.
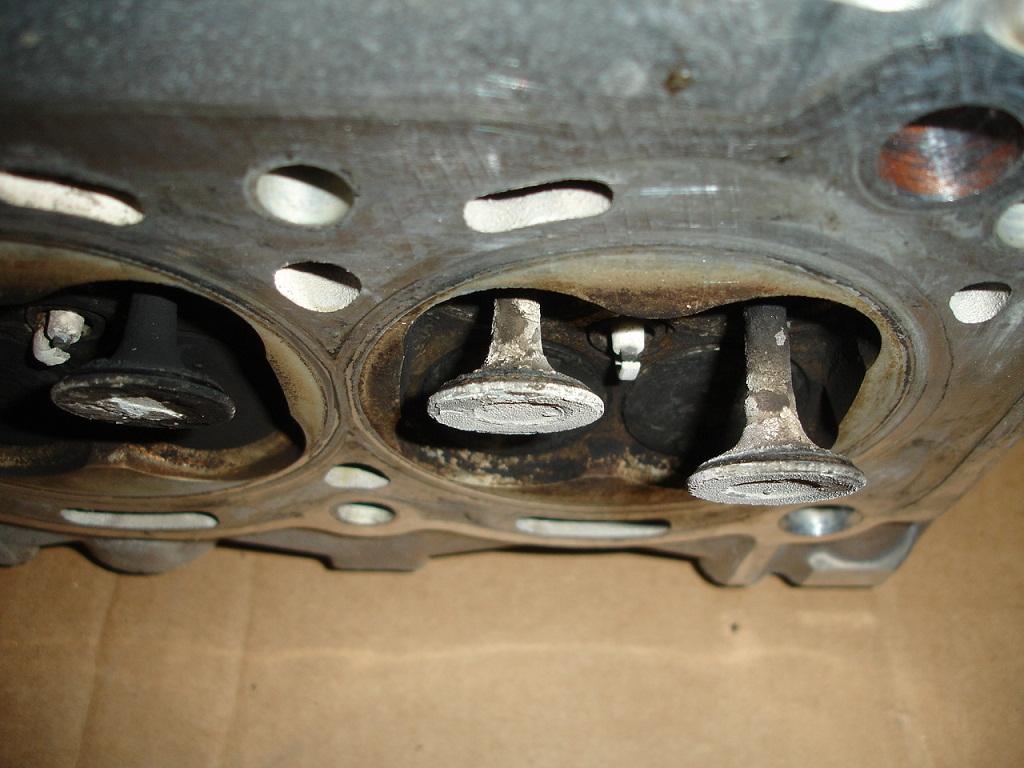
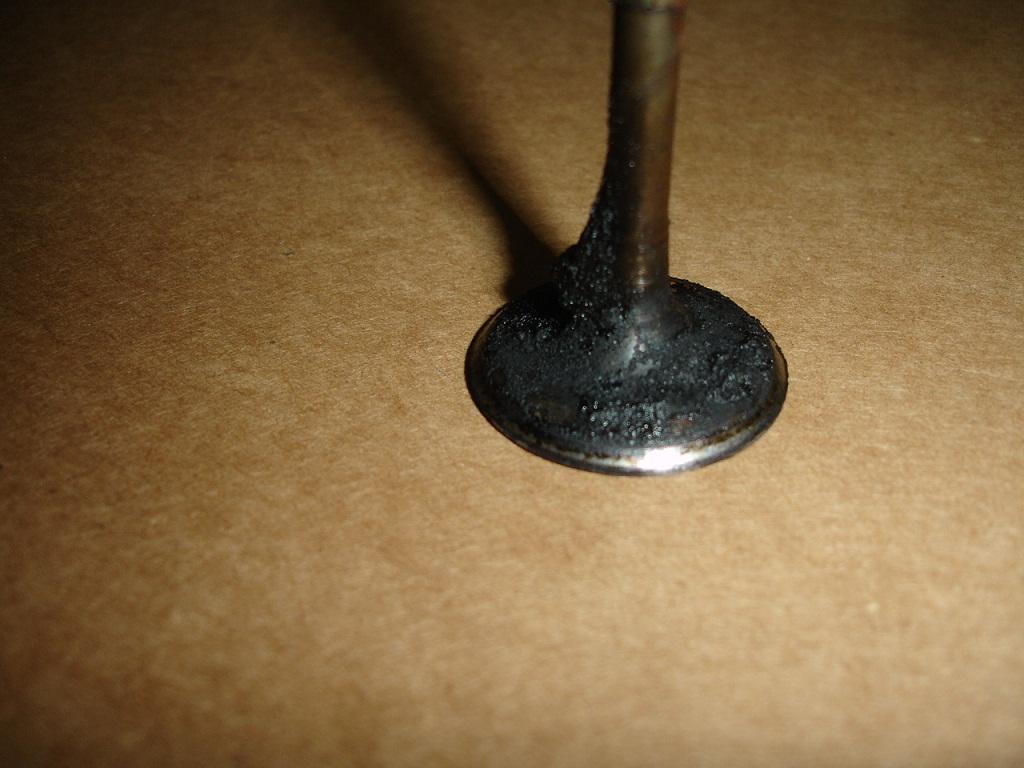
Look at these exhaust valves, nastyness!
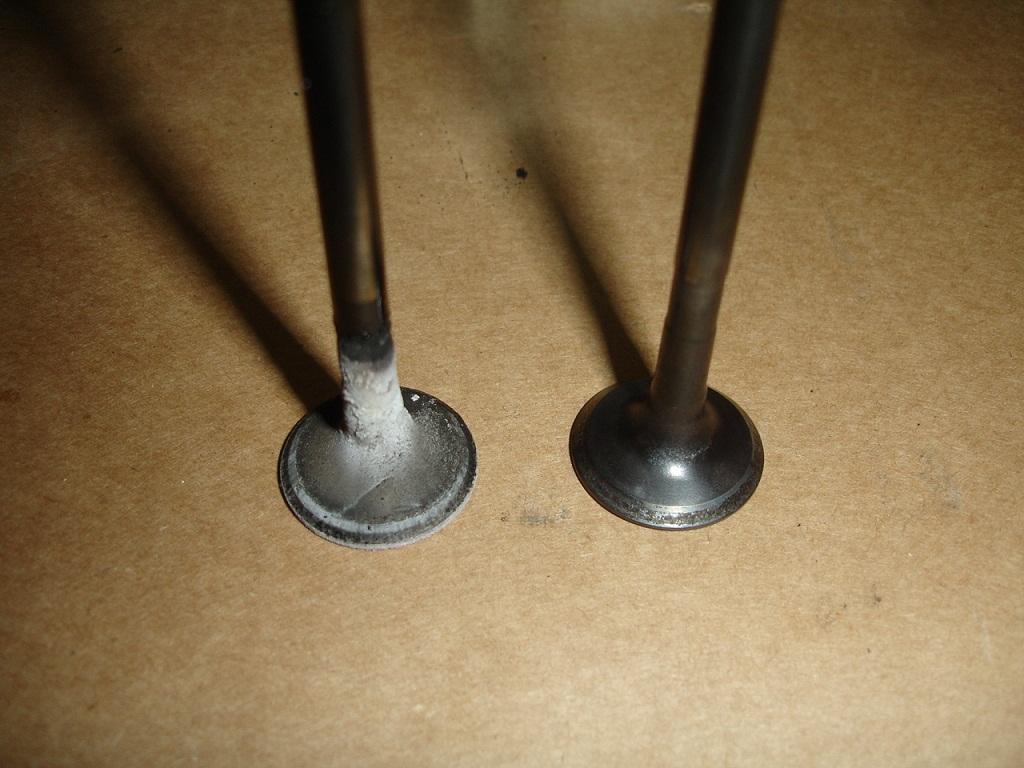
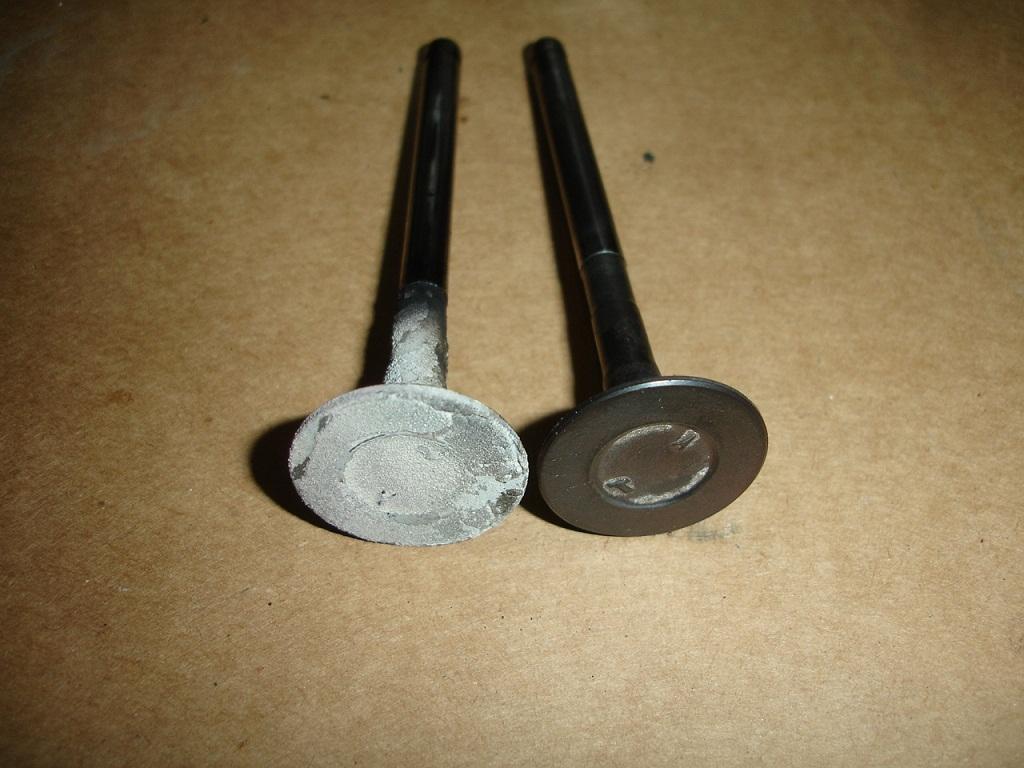
After a good cleaning on the wire wheel
These are the valve guide seals, most of them fell apart like this when removed. another reason for burnign oil and smoking
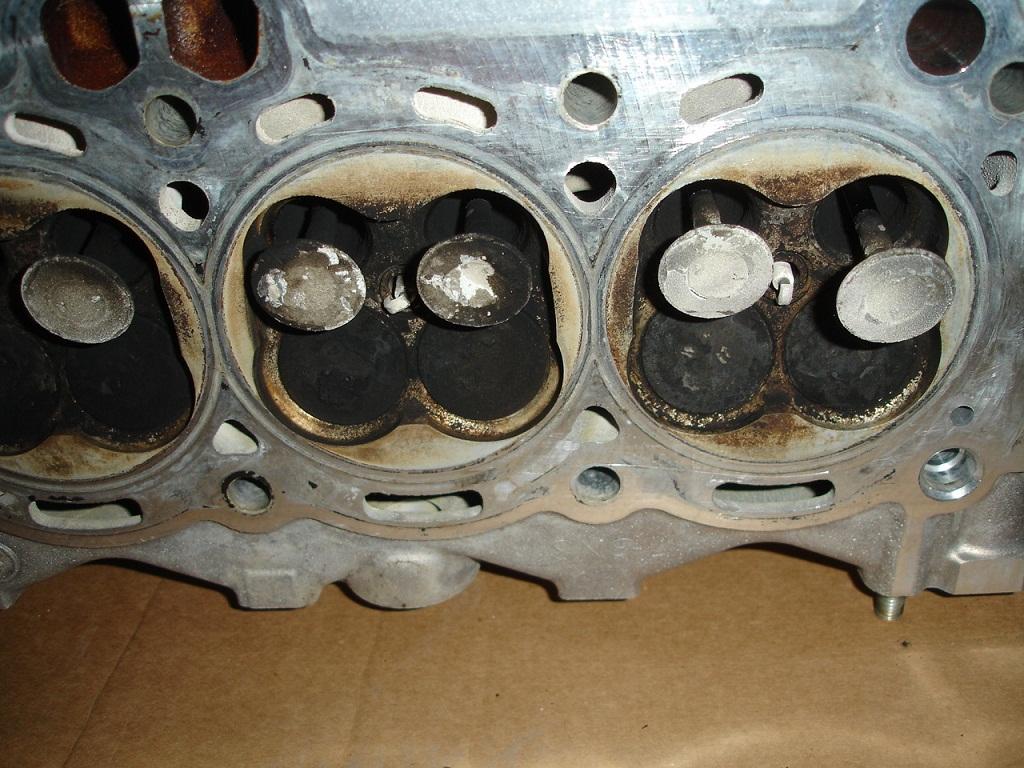
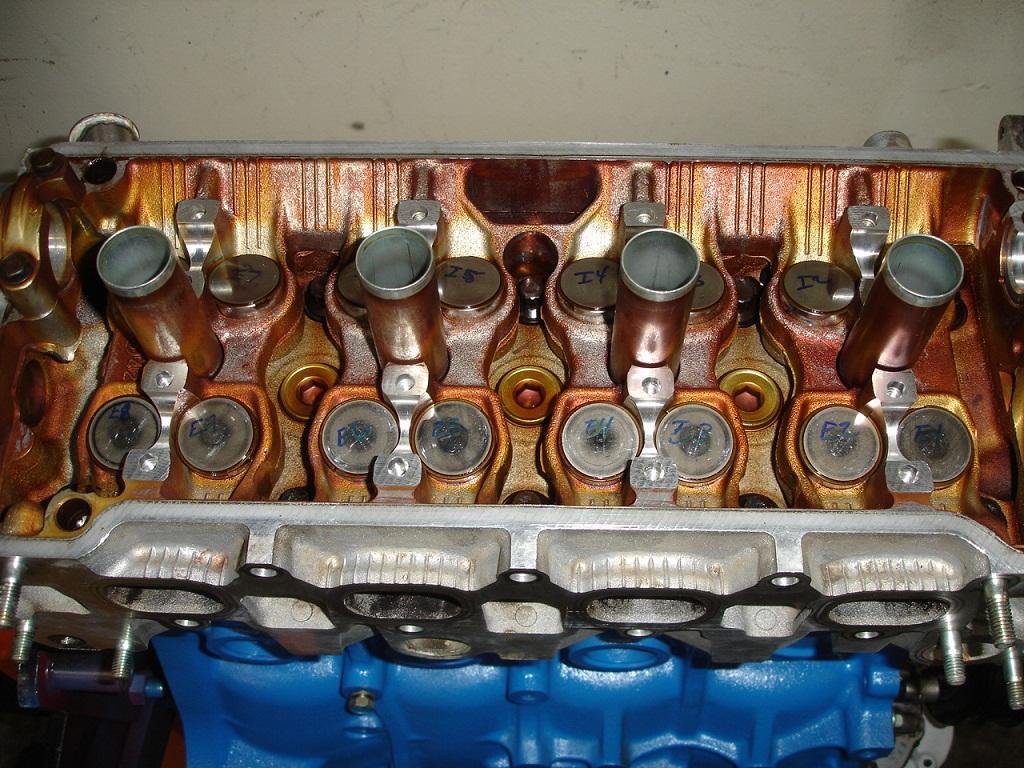
Intake valve, look at the awesomeness collected on there, think flow imporved after a good cleaning?
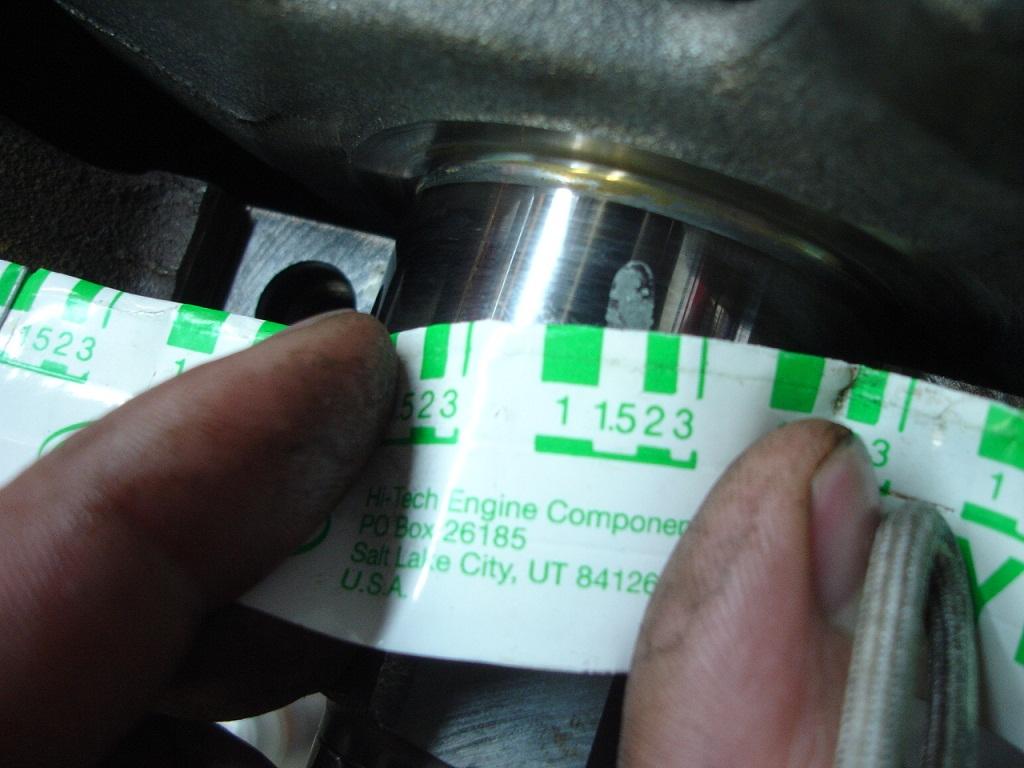
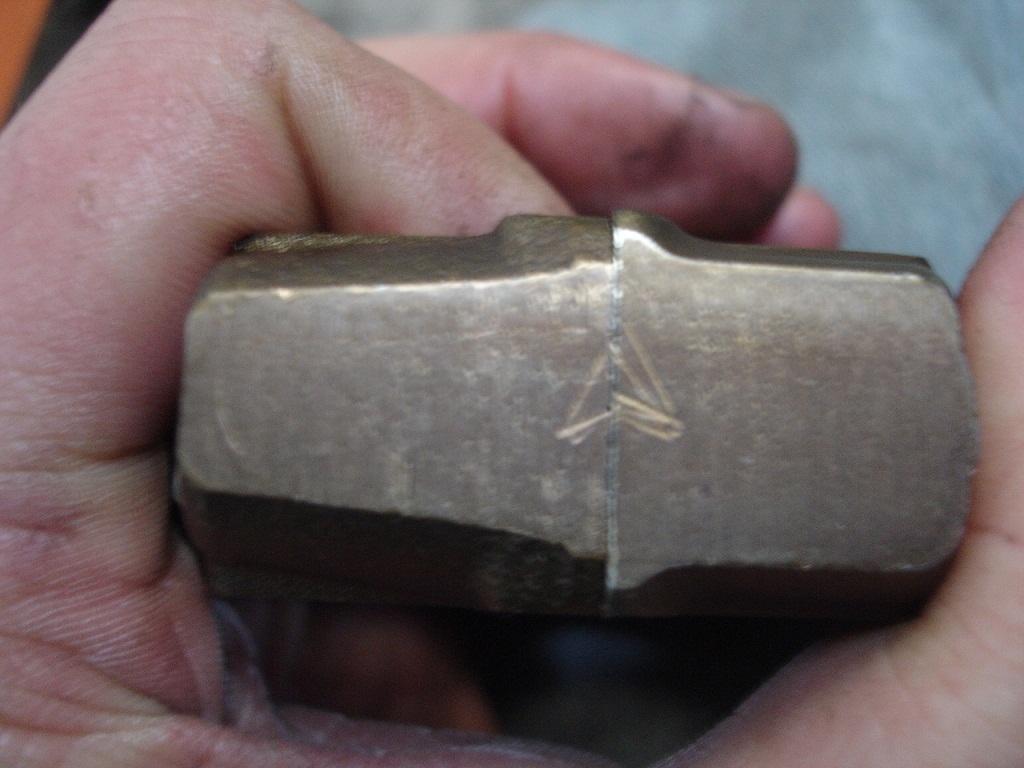
These are the marks on the crank to identify what main bearing to install
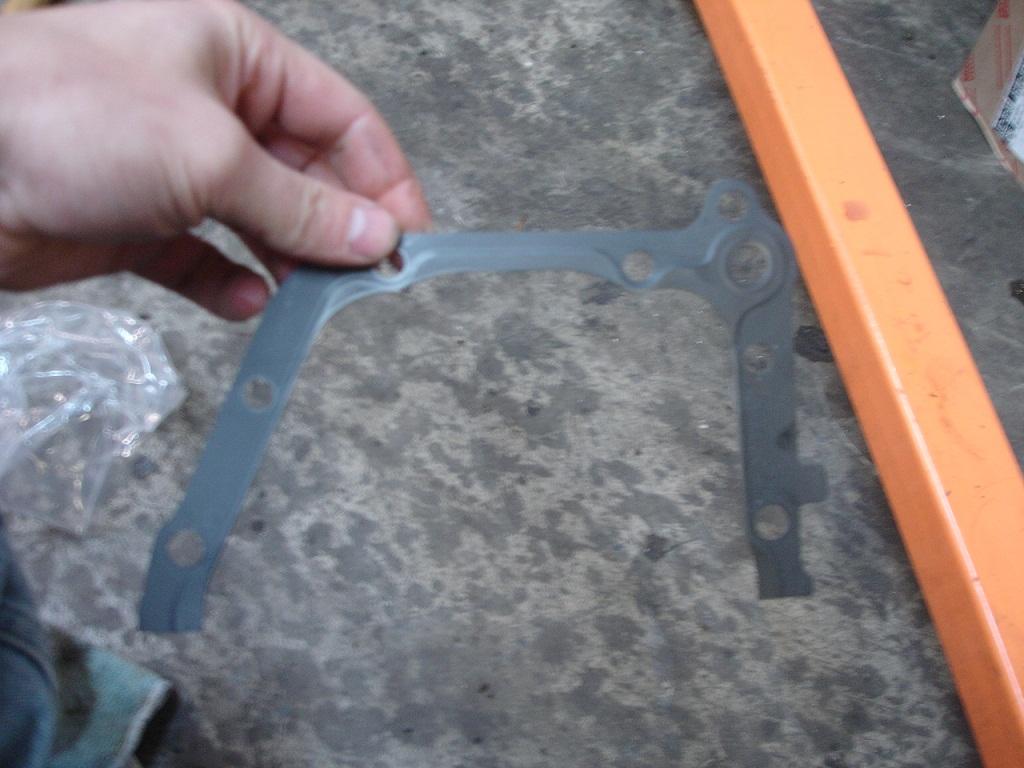
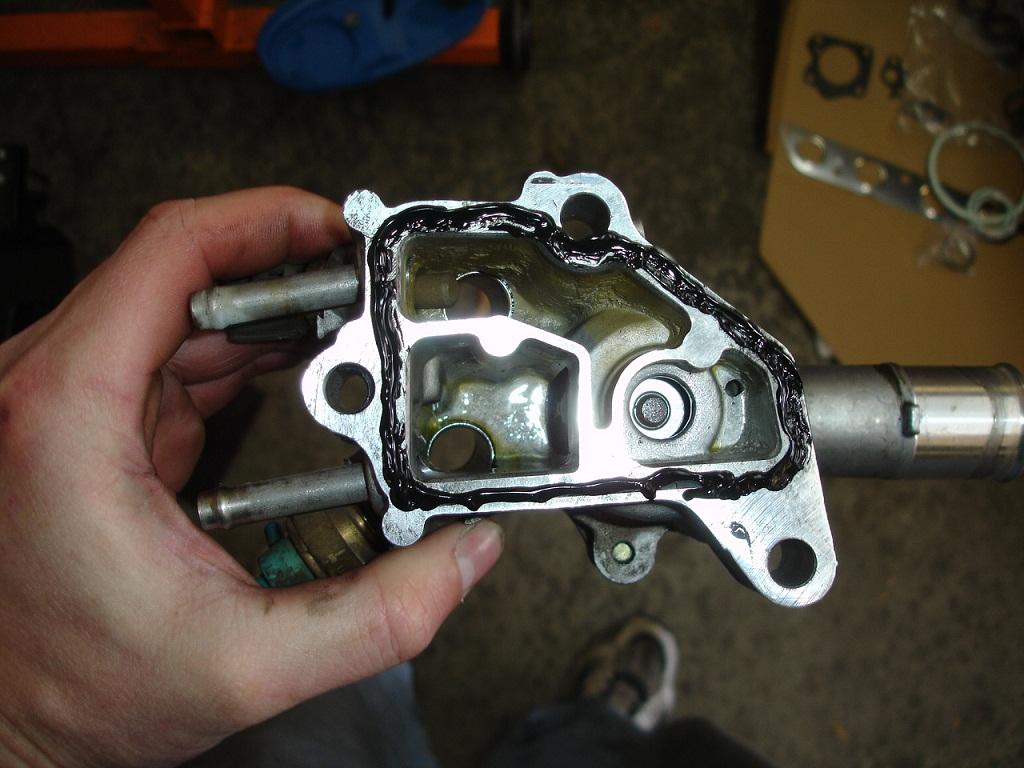
This is the new oil pump gasket
Oil pump installed

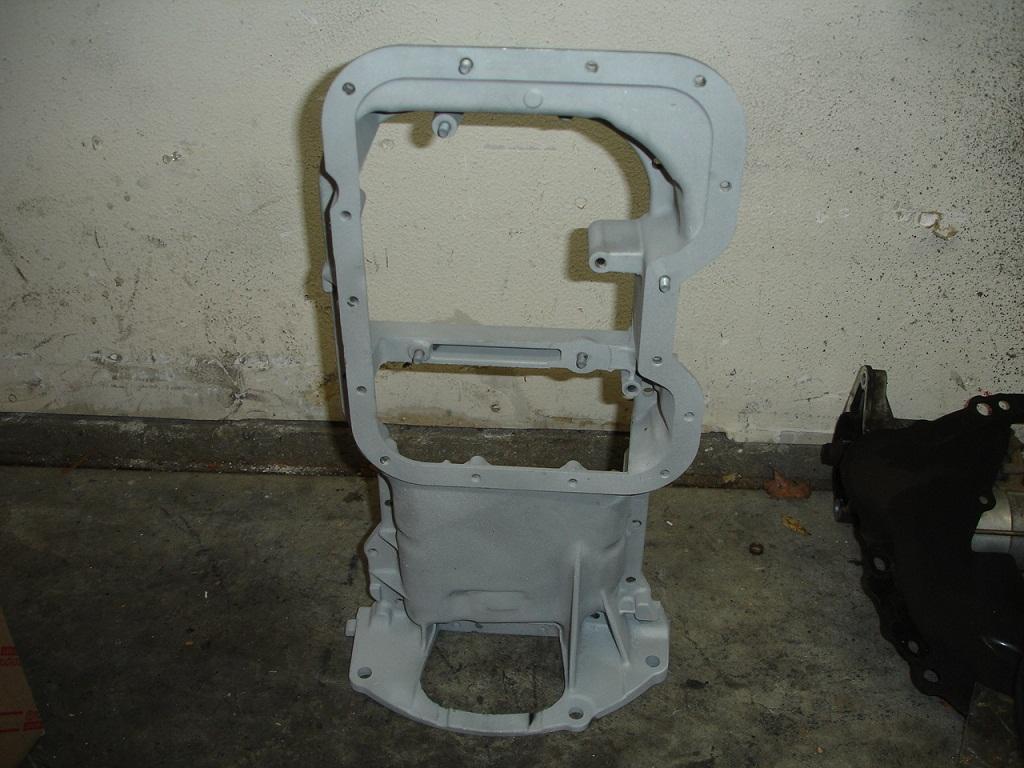
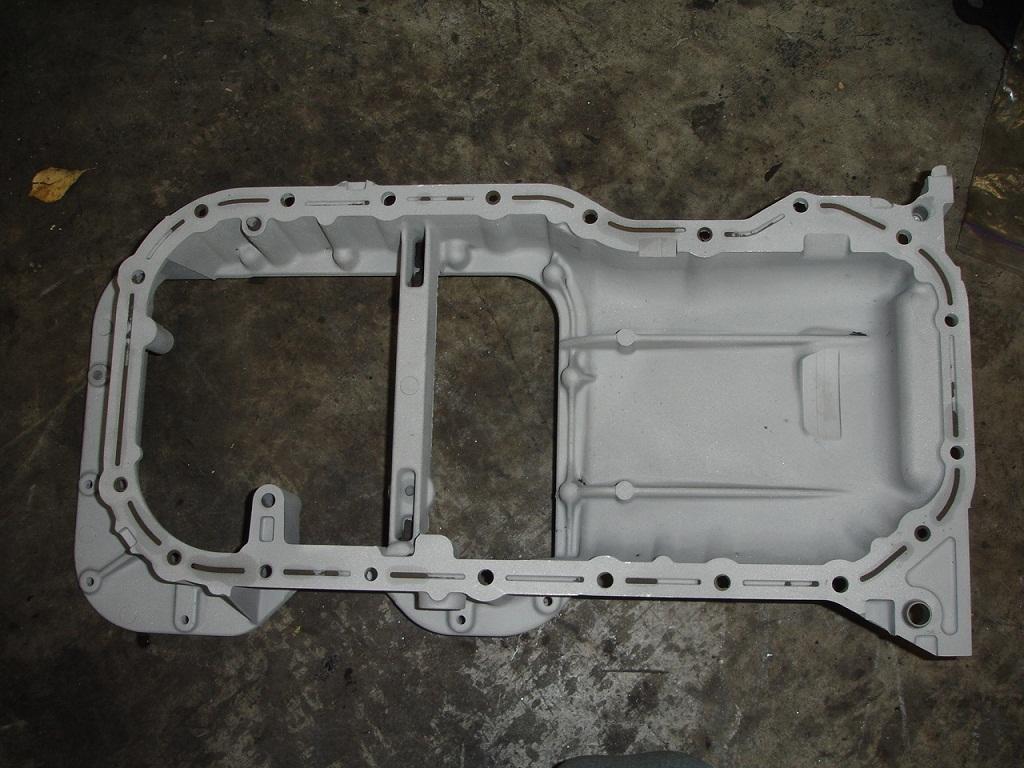
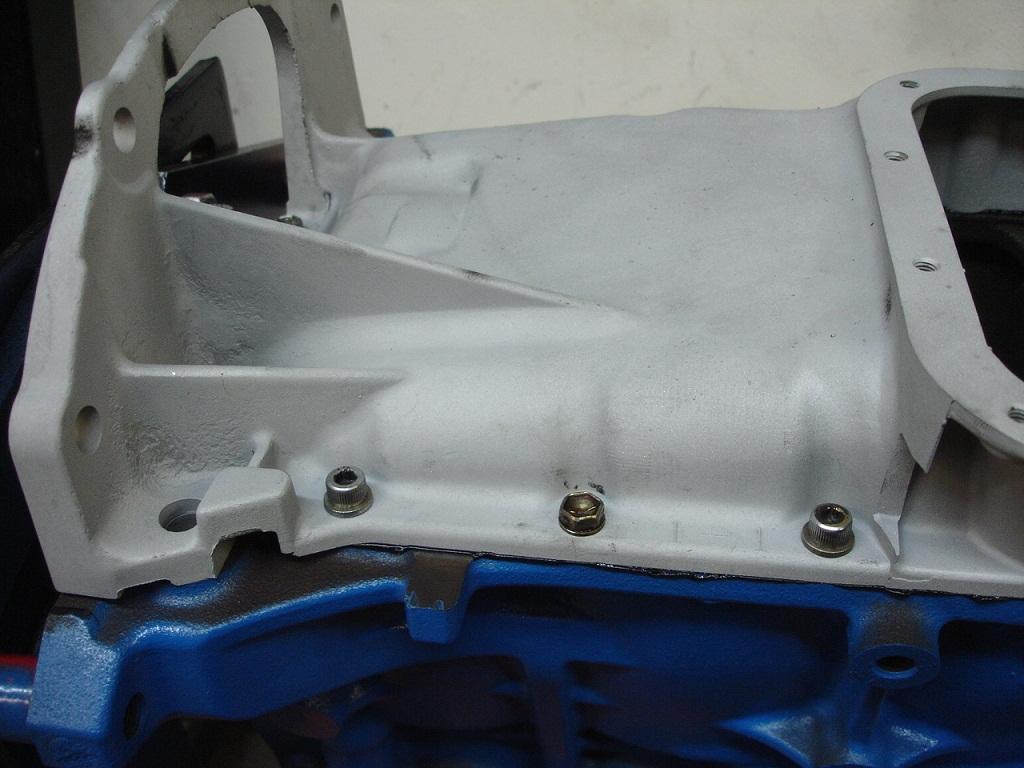
#1 oil pan after a good sand blasing
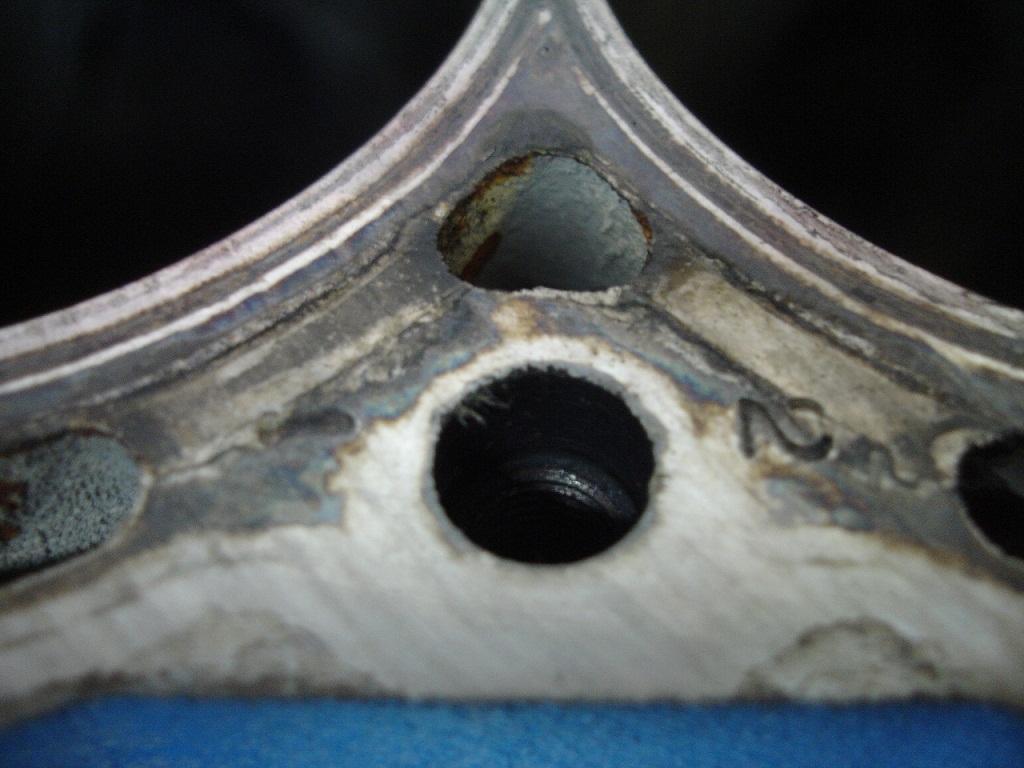
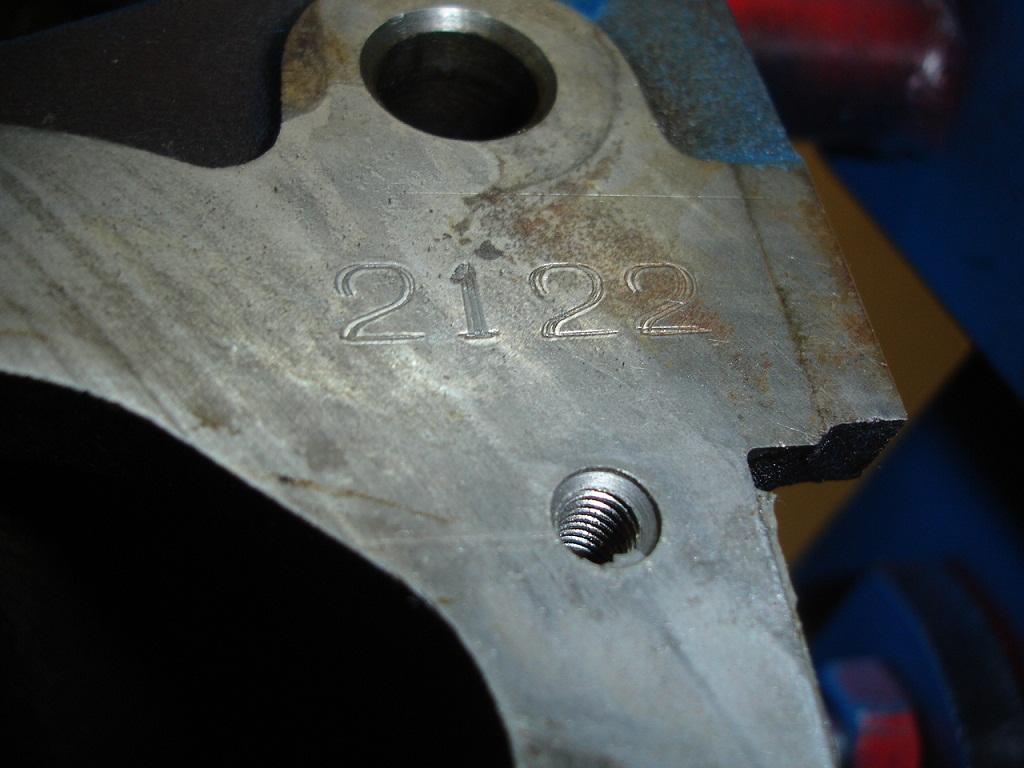
These numbers on the bottom of the block also identify what piston to install
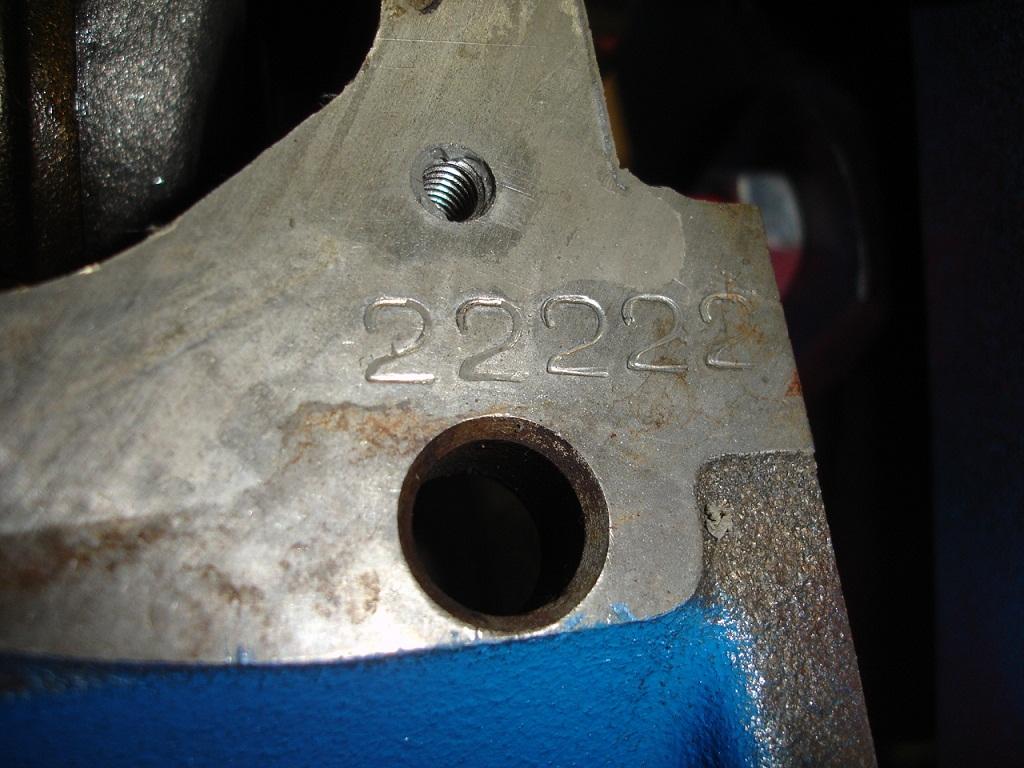
These numbers match up with the numbers on the crank to identify what main bearing to install
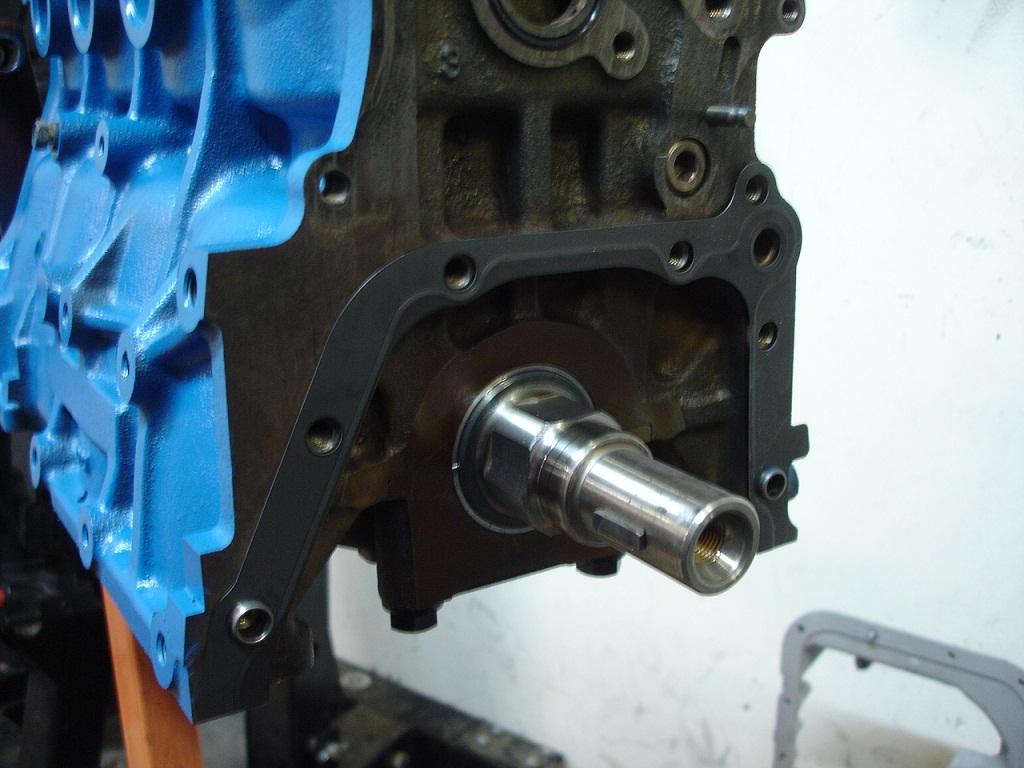
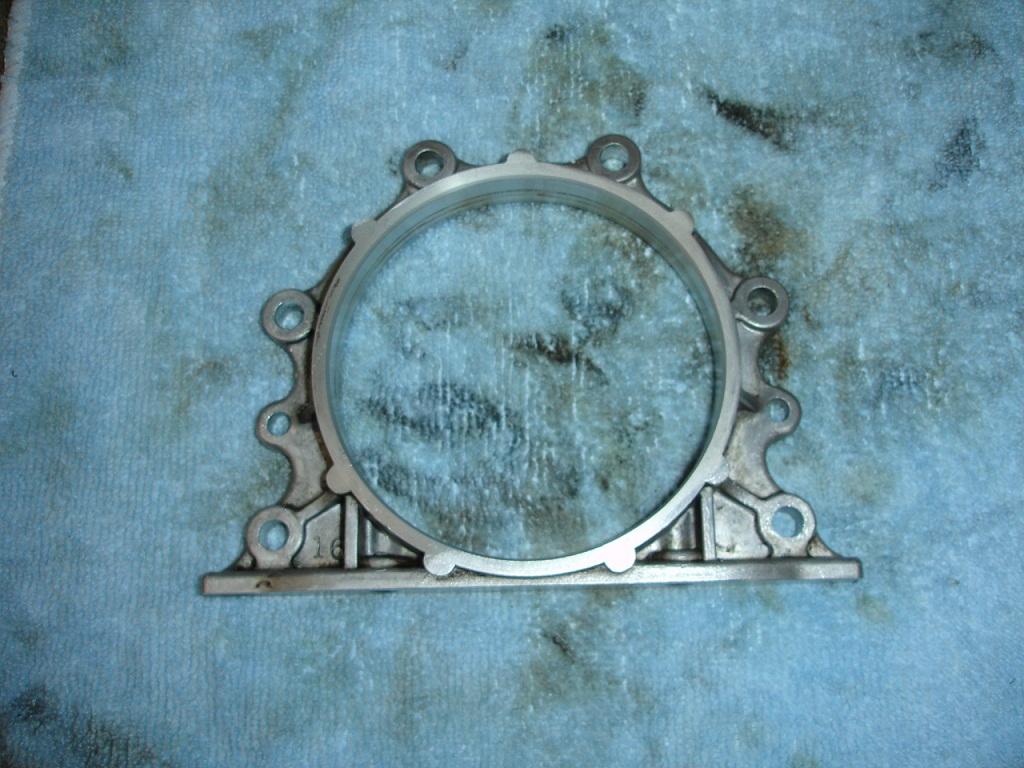
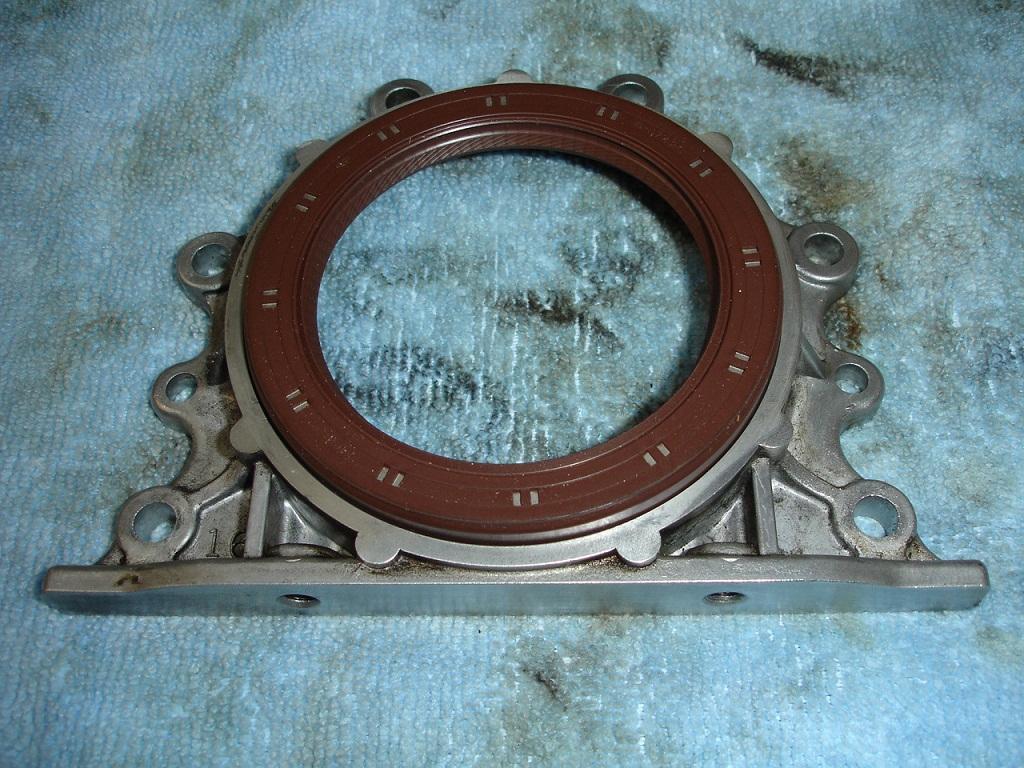
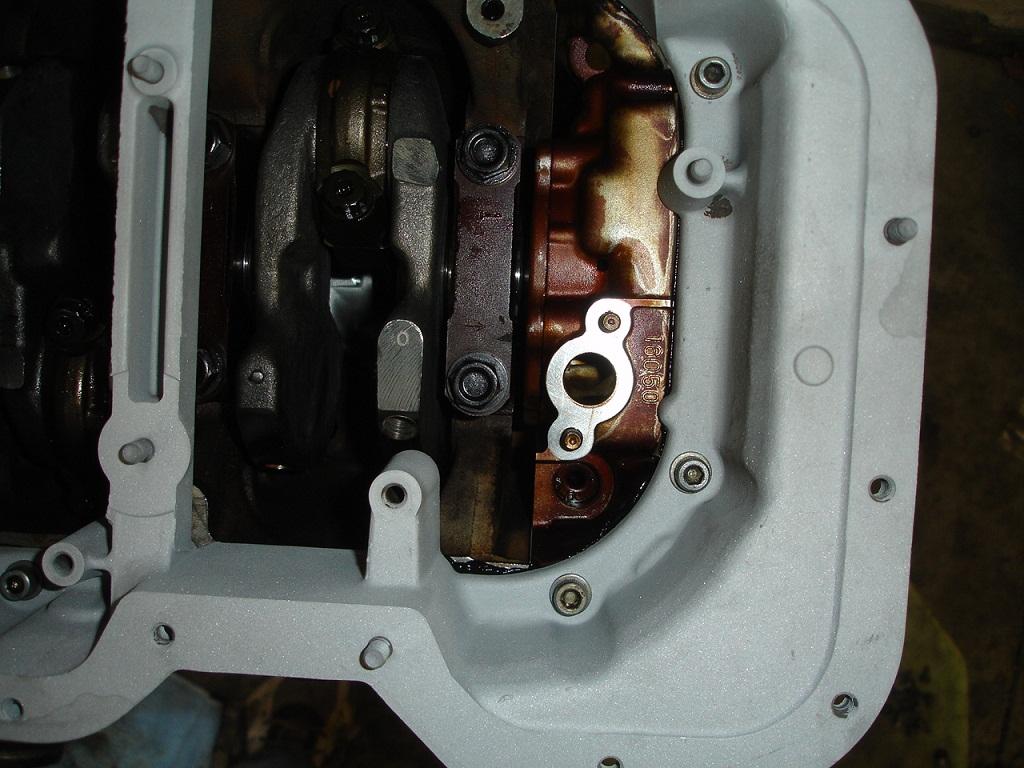
Cleaned up rear main seal housing
Seal before pressed into housing
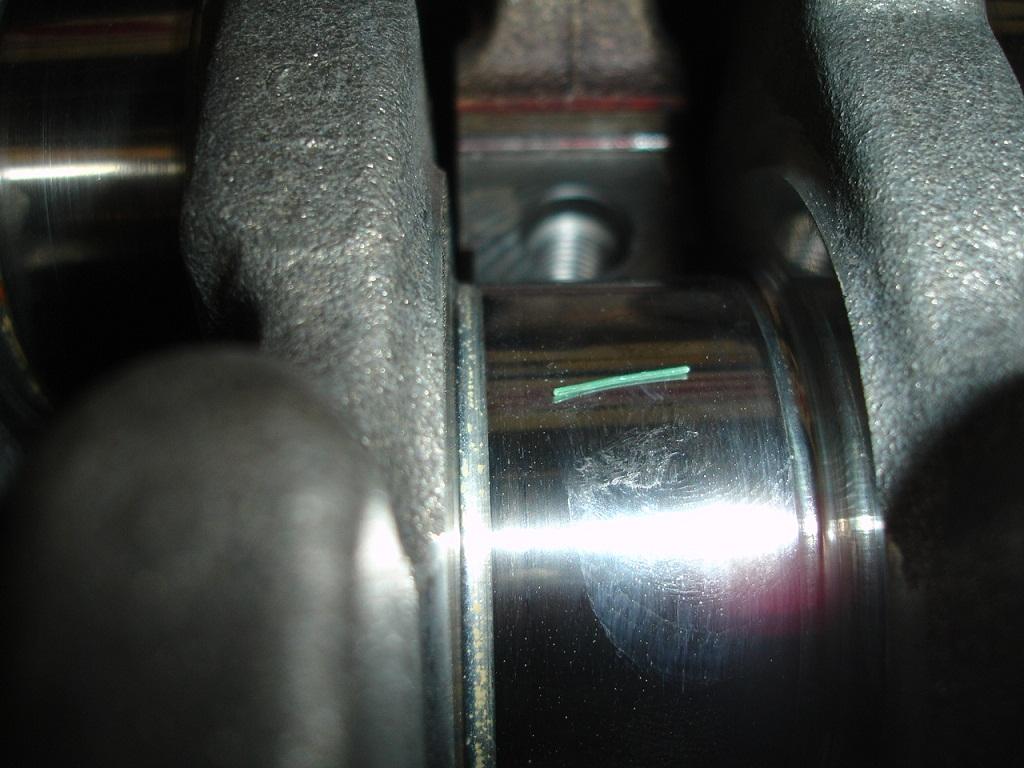
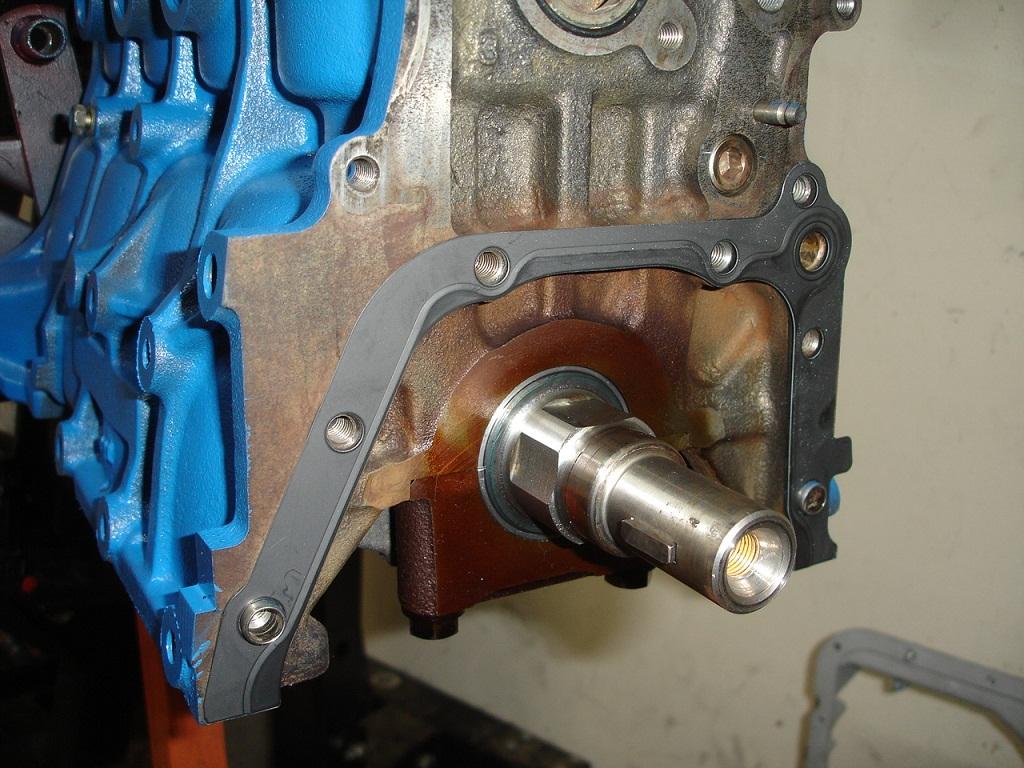
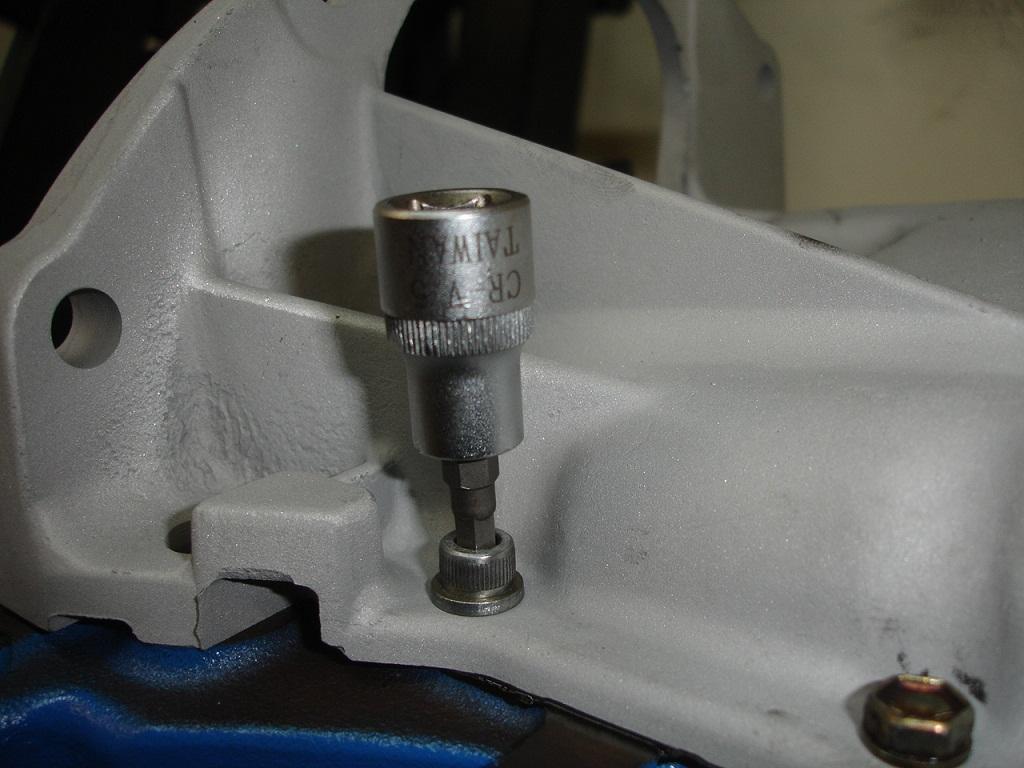
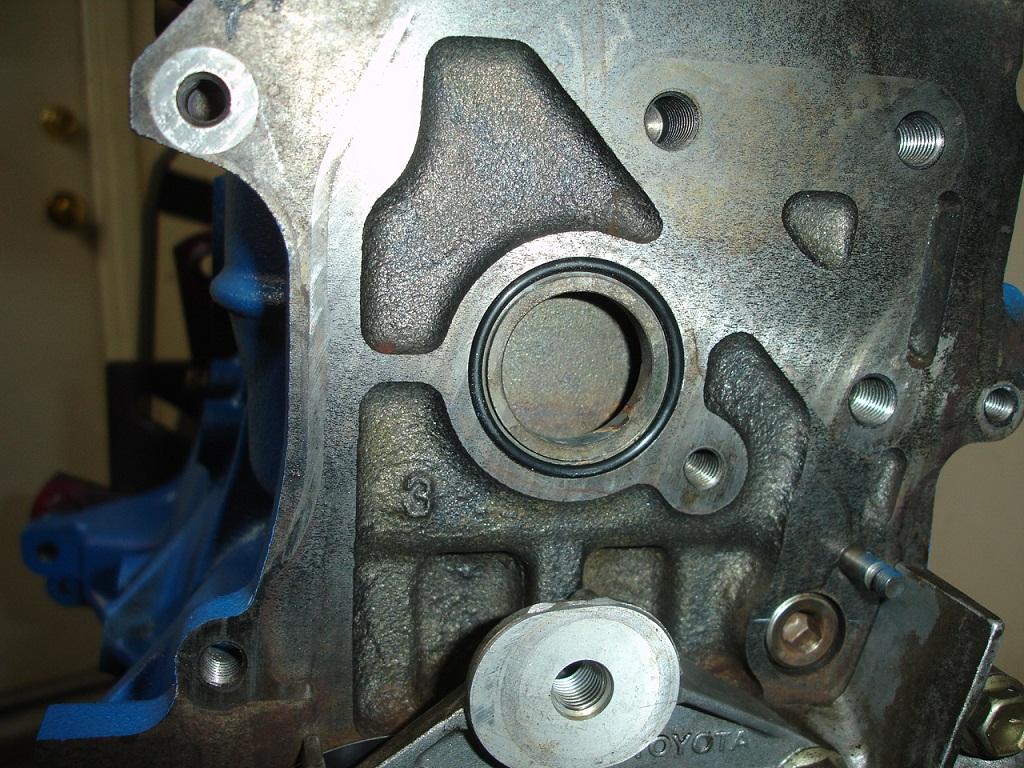
On an engine stand this area is a little tight, but you can get in there
New gasket for rear main seal
Rear main seal installed
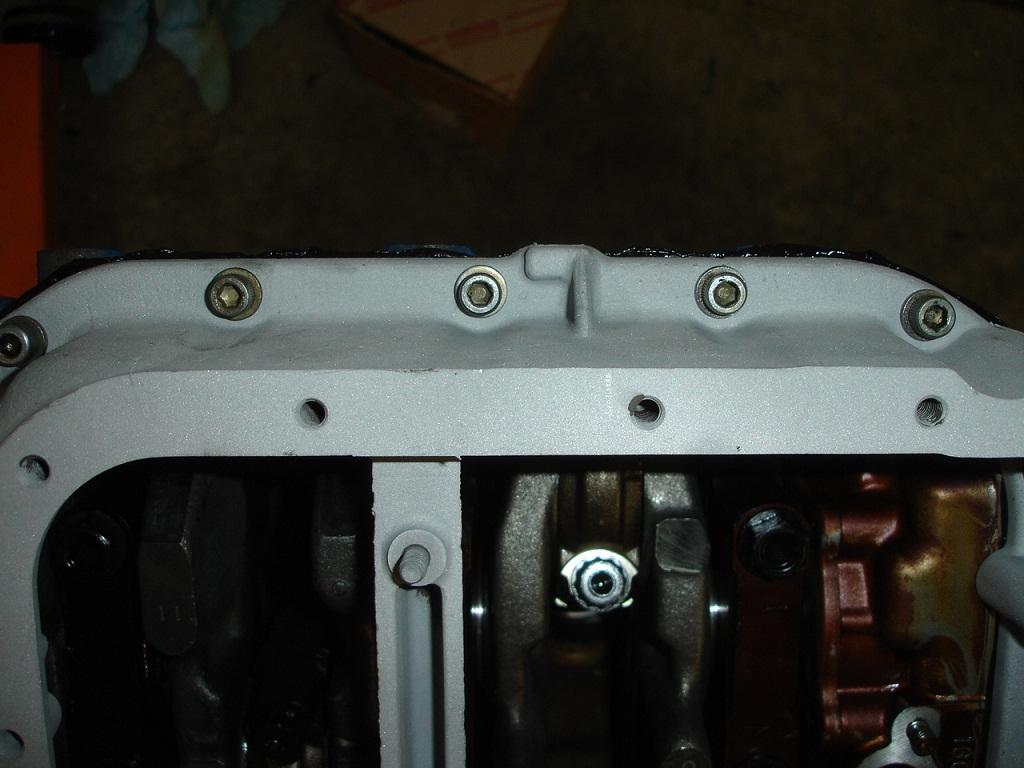
Install #1 oil pan, originally these 2 bolts were hex bolts, PITA to get out so i replaced with regular bolts
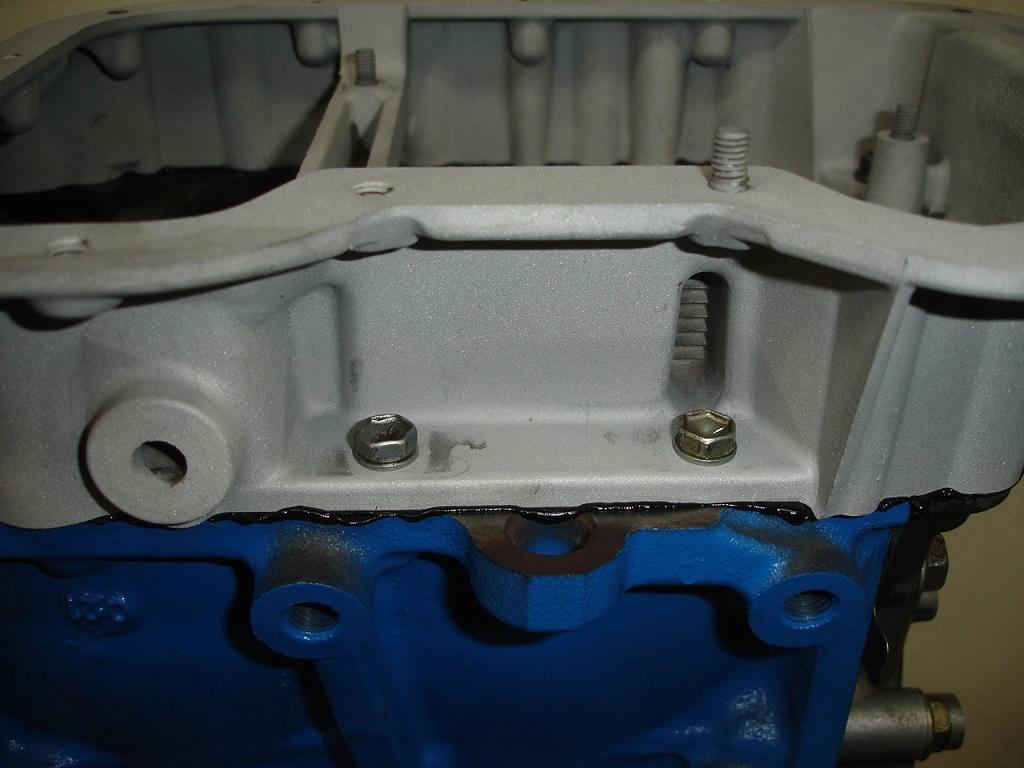
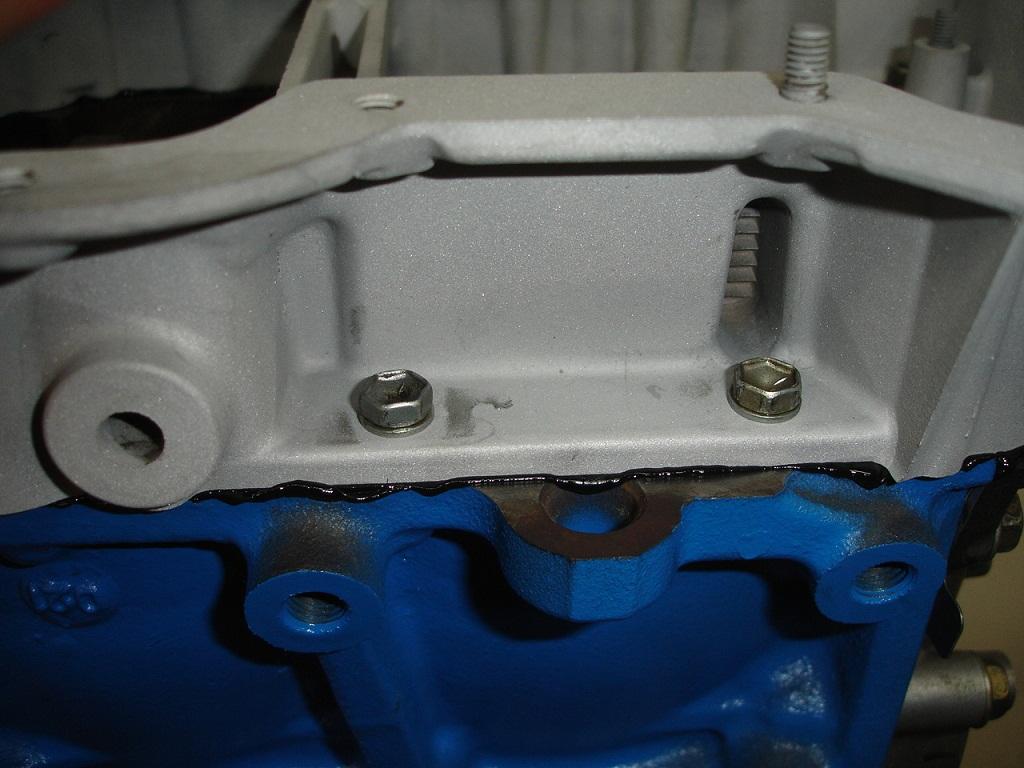
Here you can see the hex bolts and regular bolts that are used to secure the oil pan
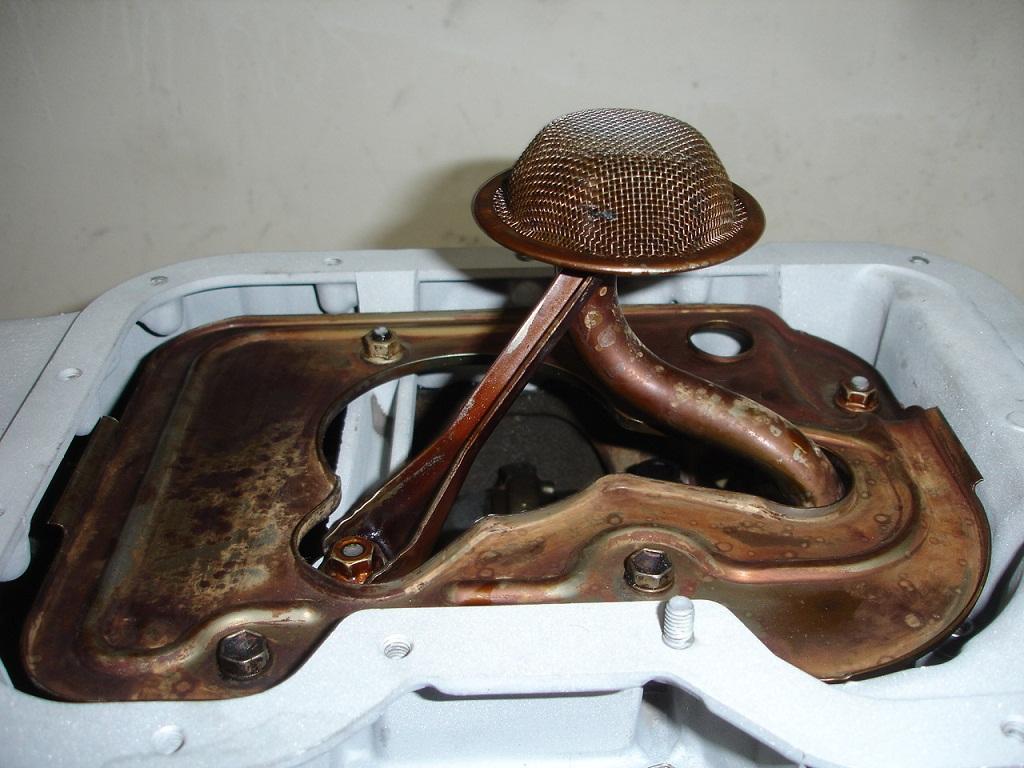
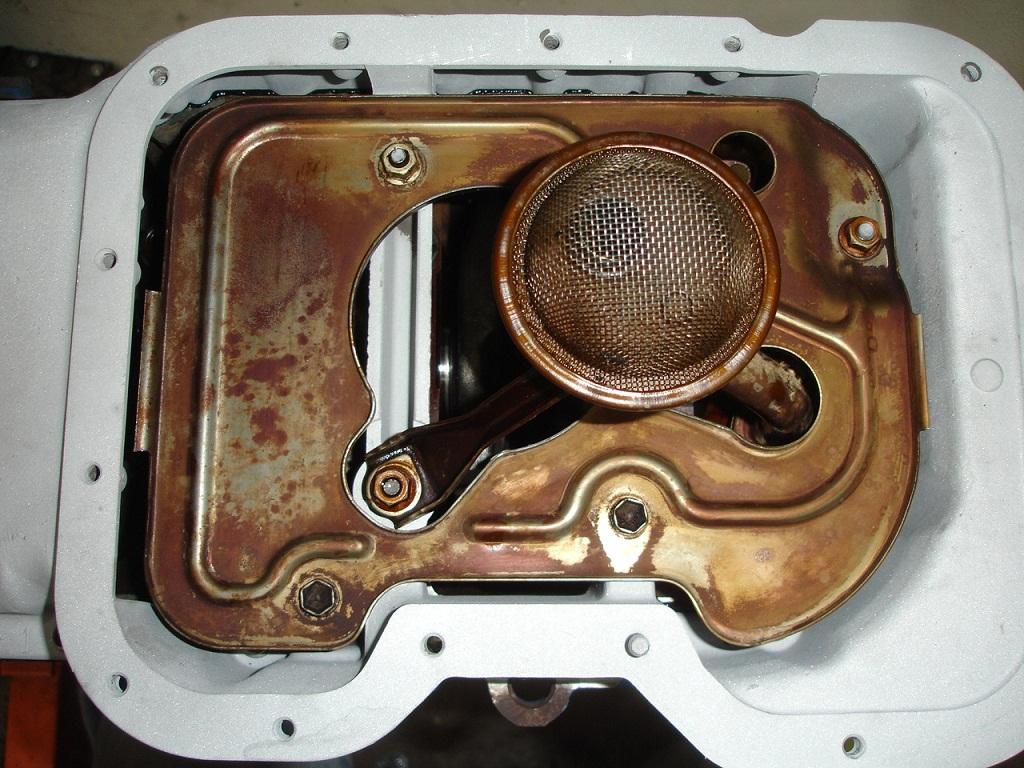
New oil pickup gasket
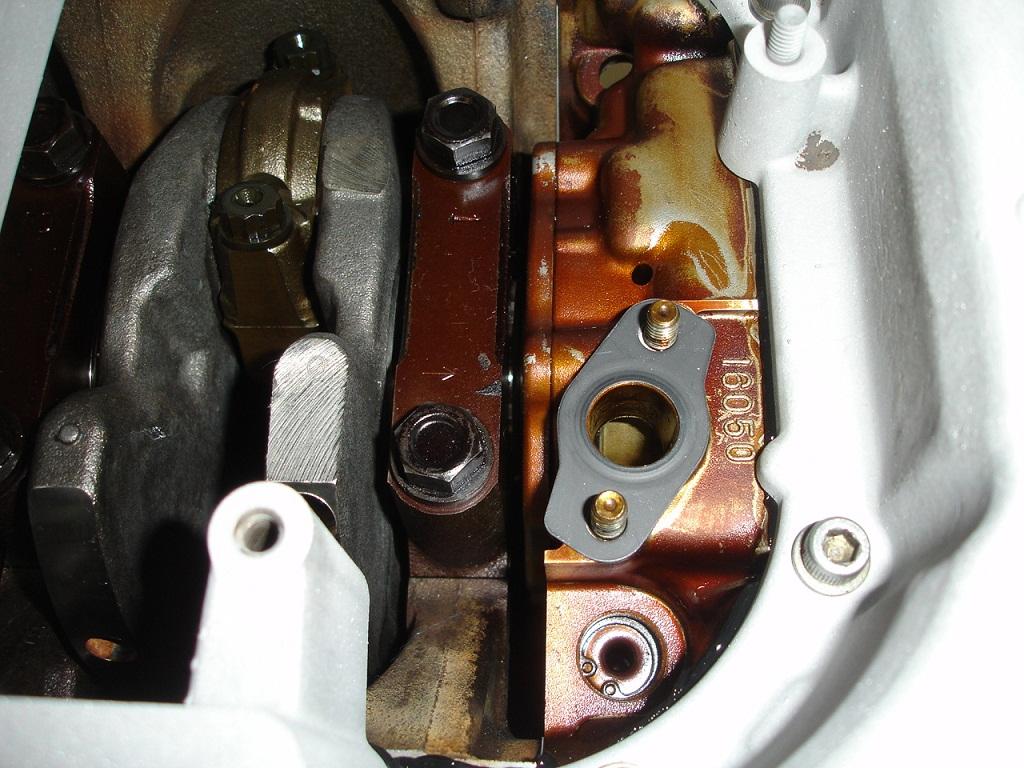
Install oil pickup
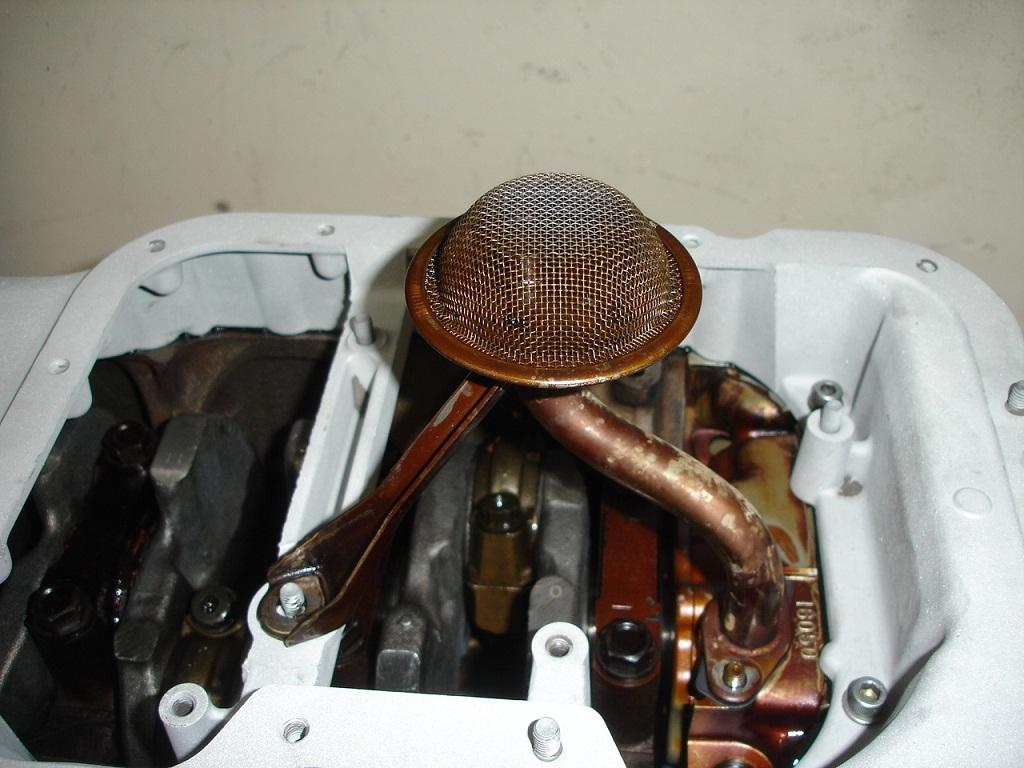
Install windage tray
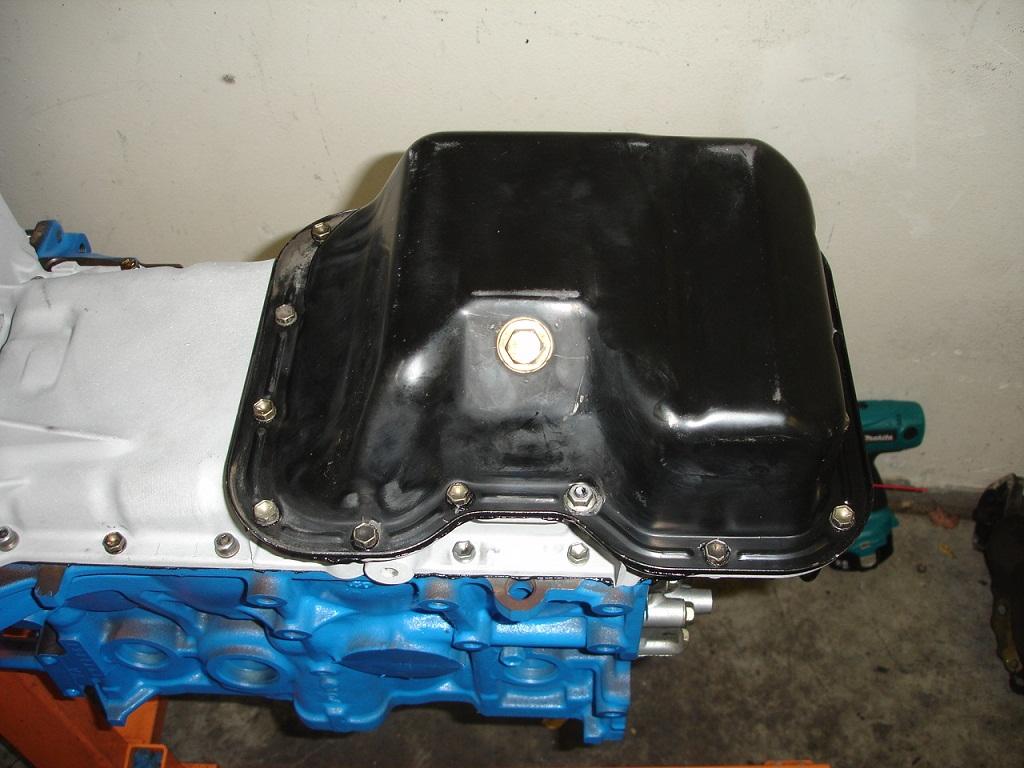
Install #2 oil pan
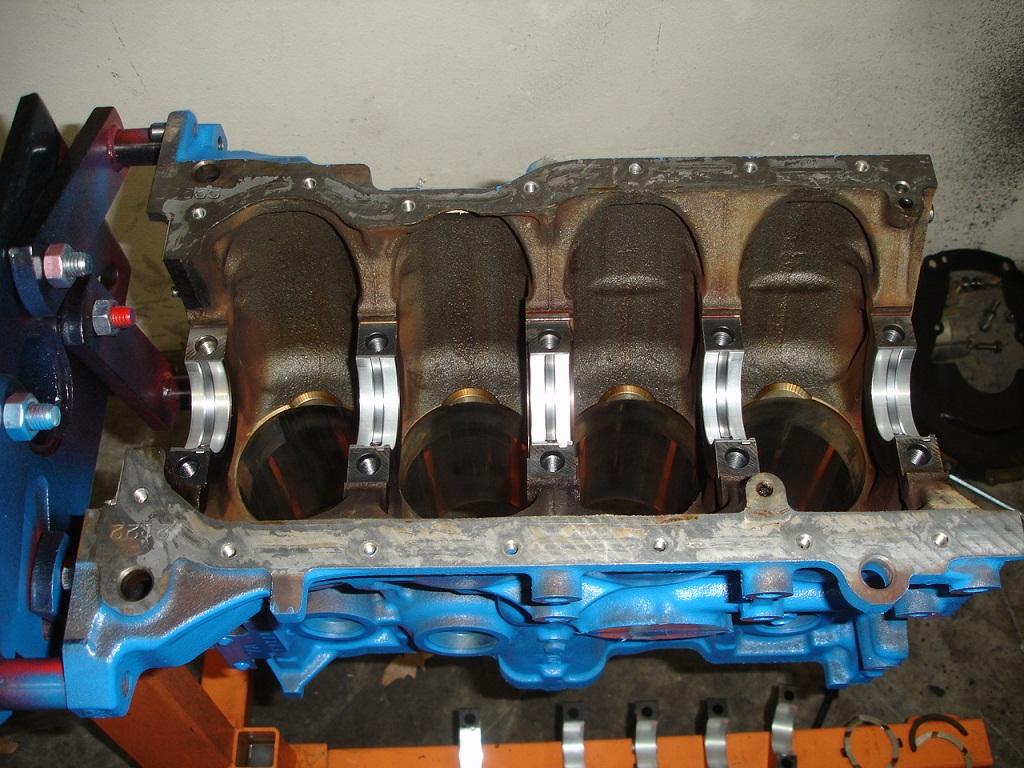
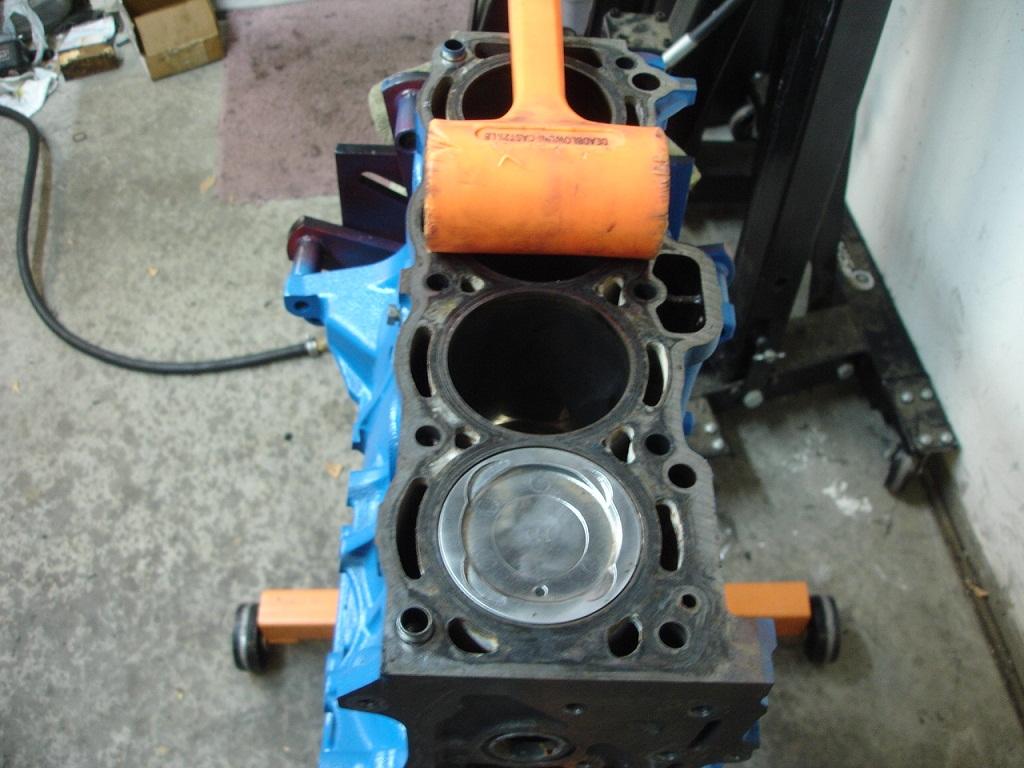
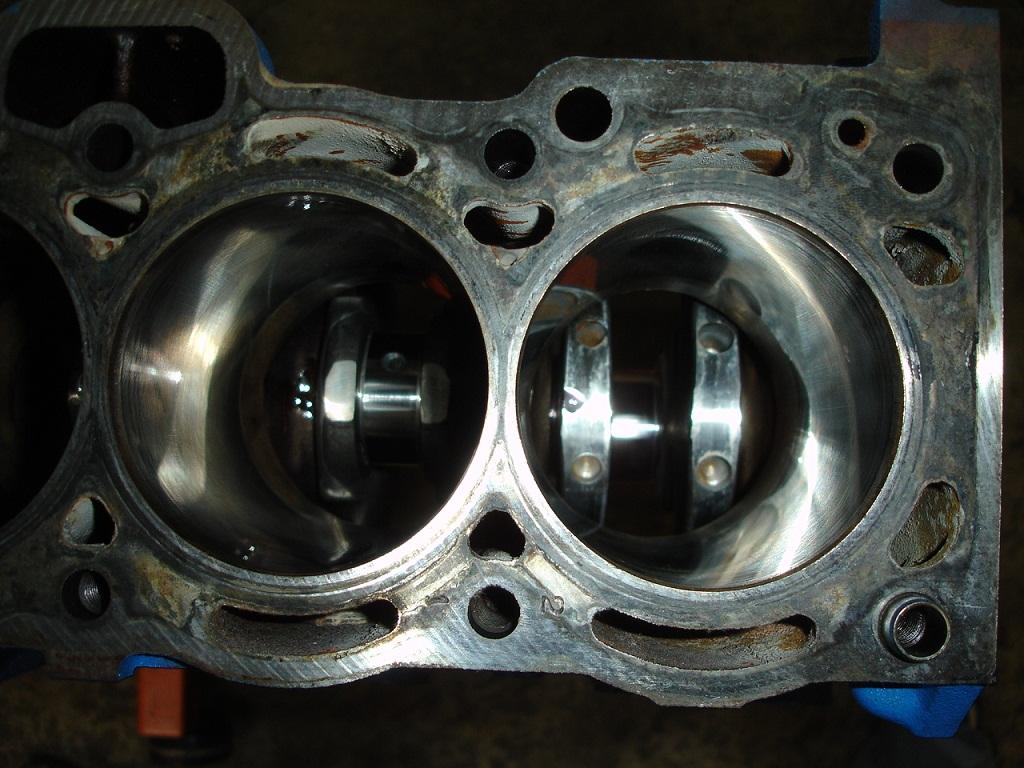
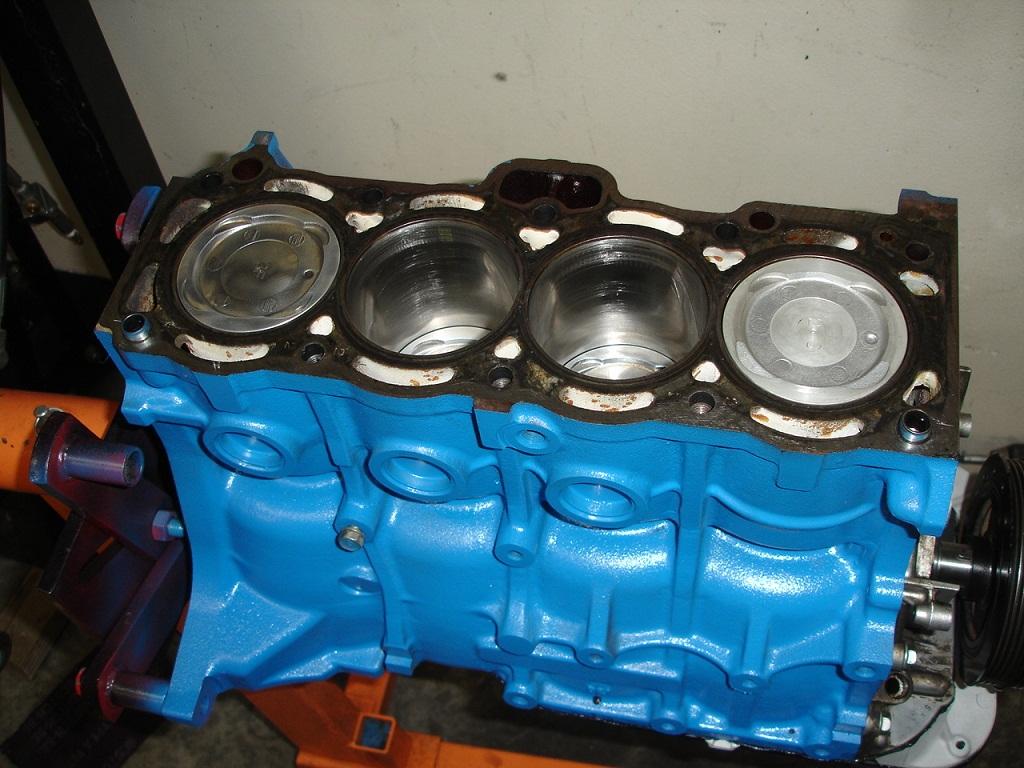
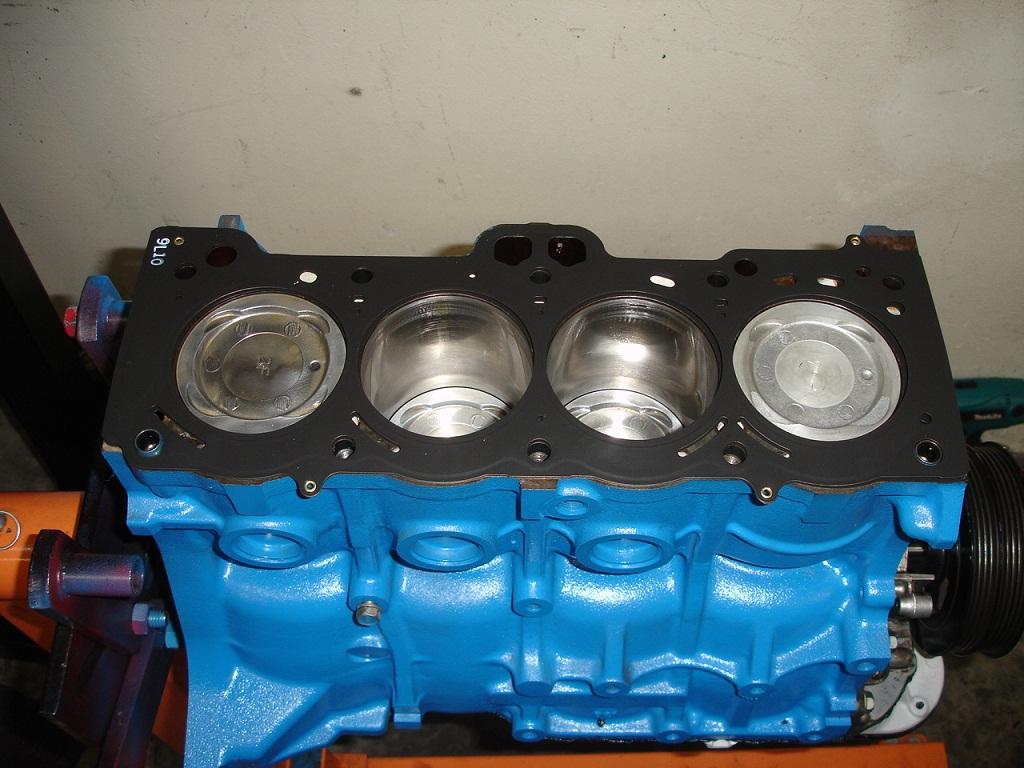
Top view, pistons installed. Make sure assembly rotates
Install new head gasket
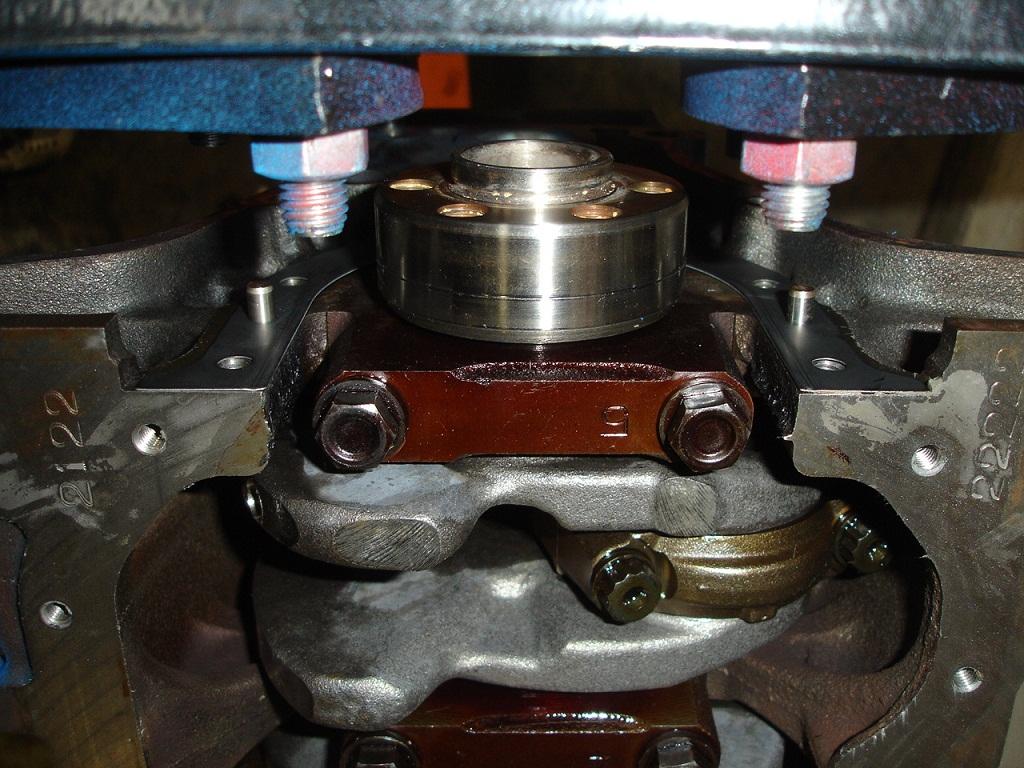
Install head on block, torque head bolts to 22 lbs in specific order, then turn each bolt 90 degrees, then turn each bolt another 90 degrees
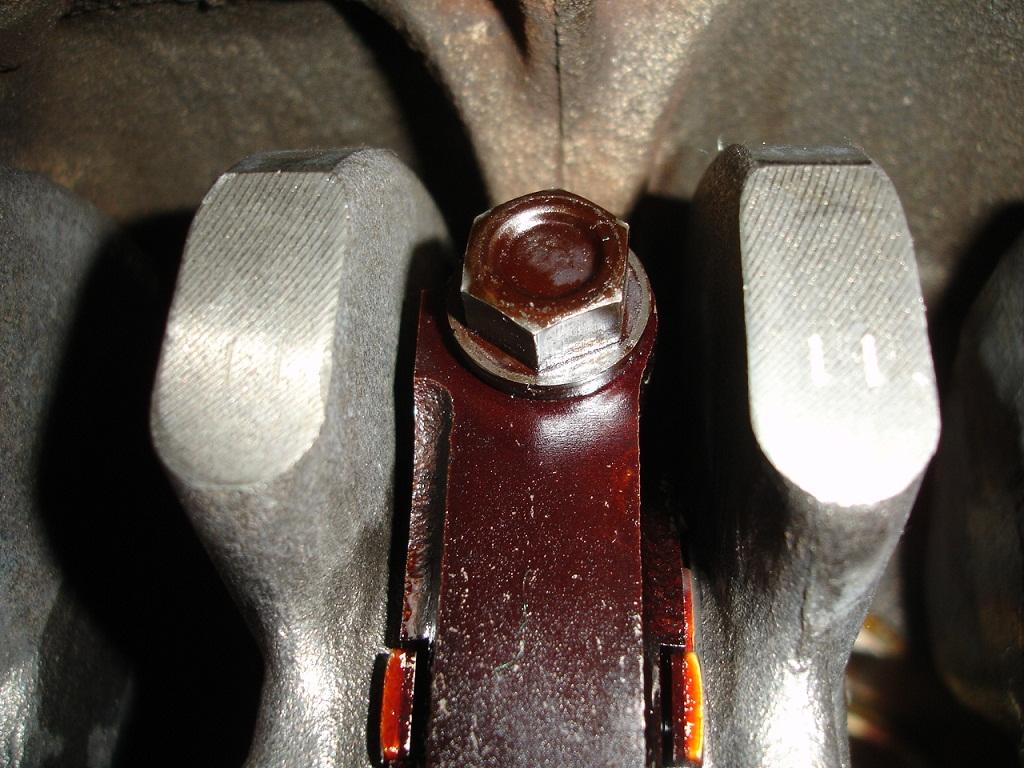
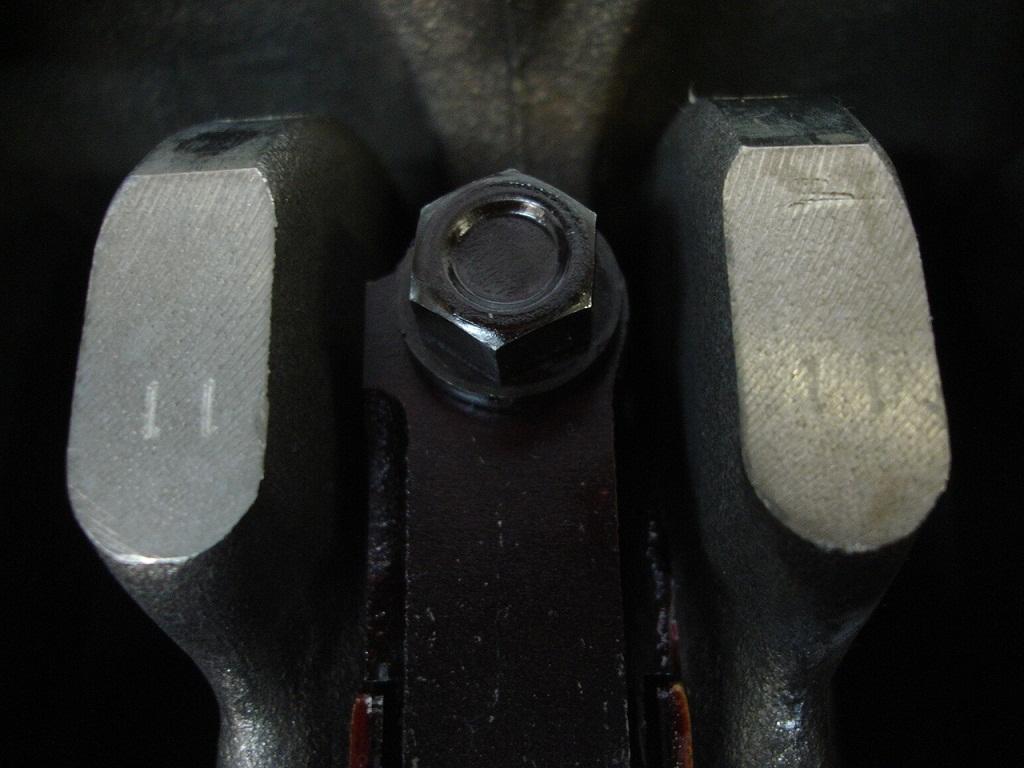
Insert shimm and bucket assembly, I oopsed in this pic also, got them backwards
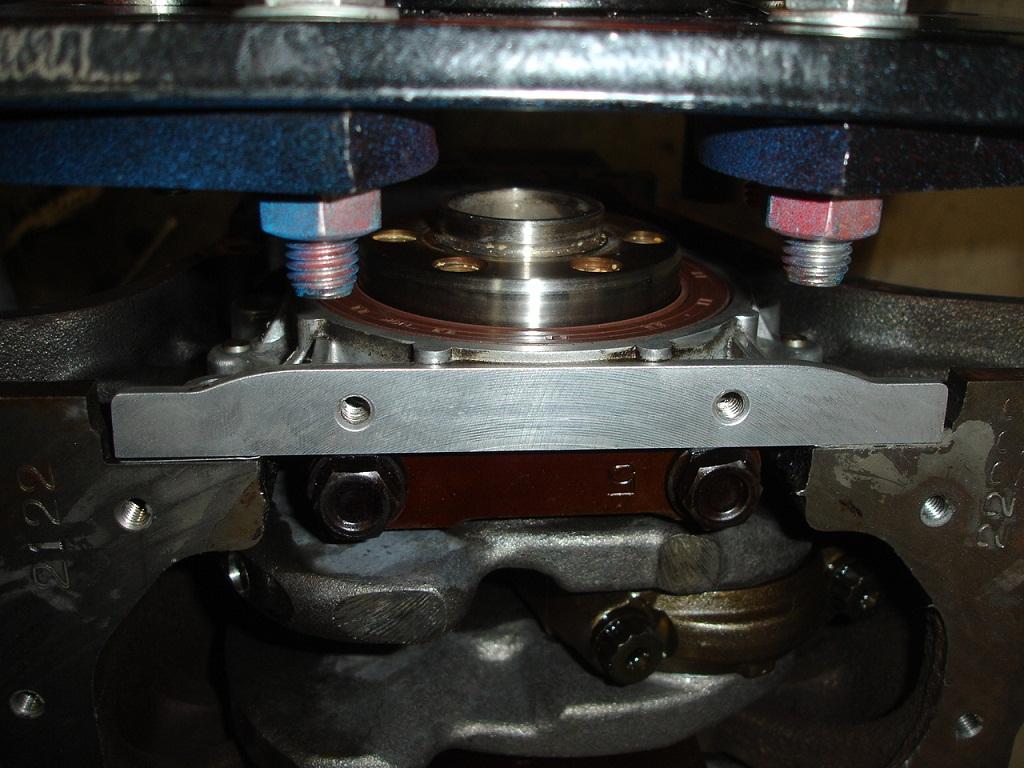
Right shimms installed, exhaust cam in position
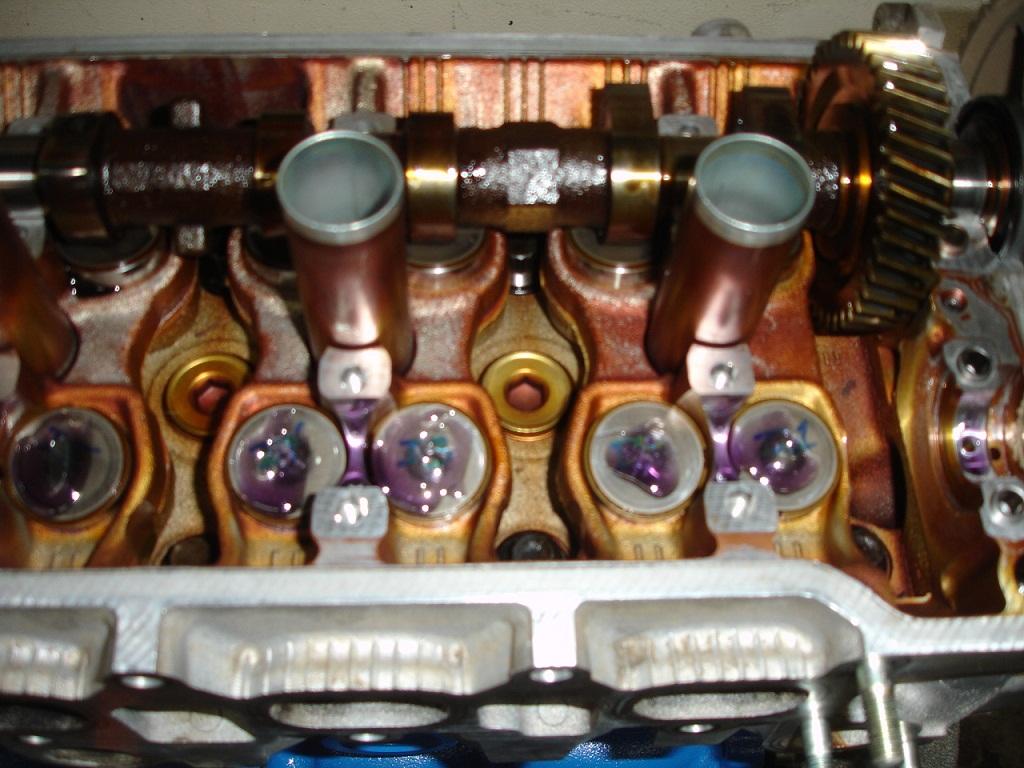
Install new cam seal
Check timing marks, make sure the dots line up during the cam rotations
New water pump seal
New water pump
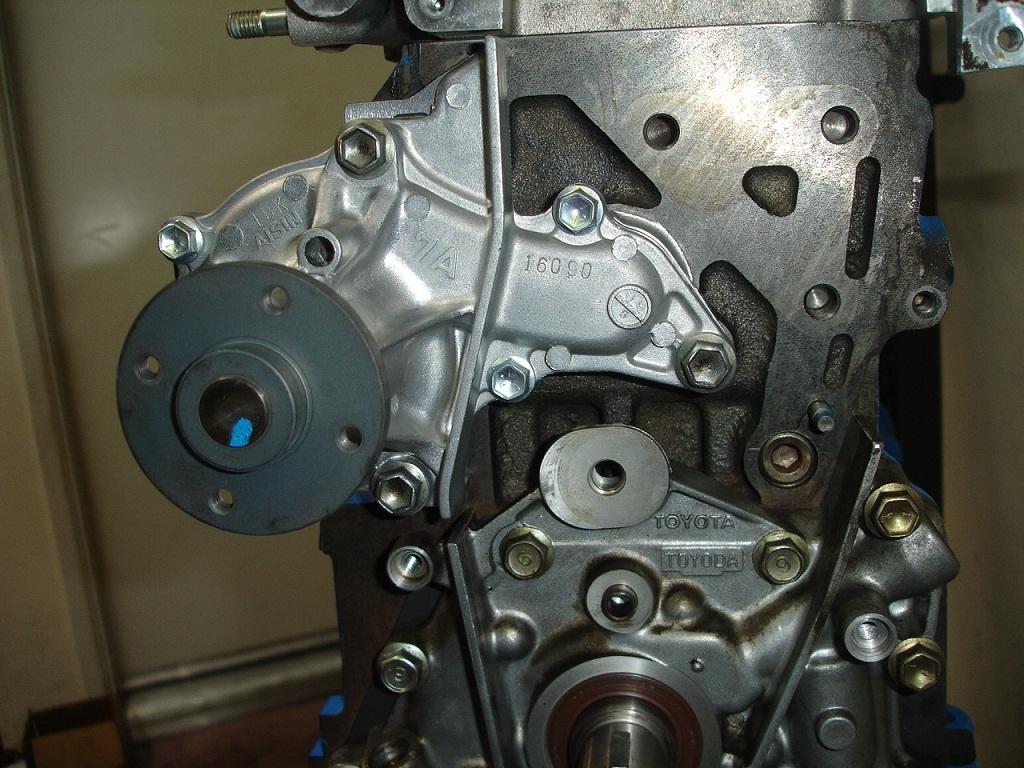
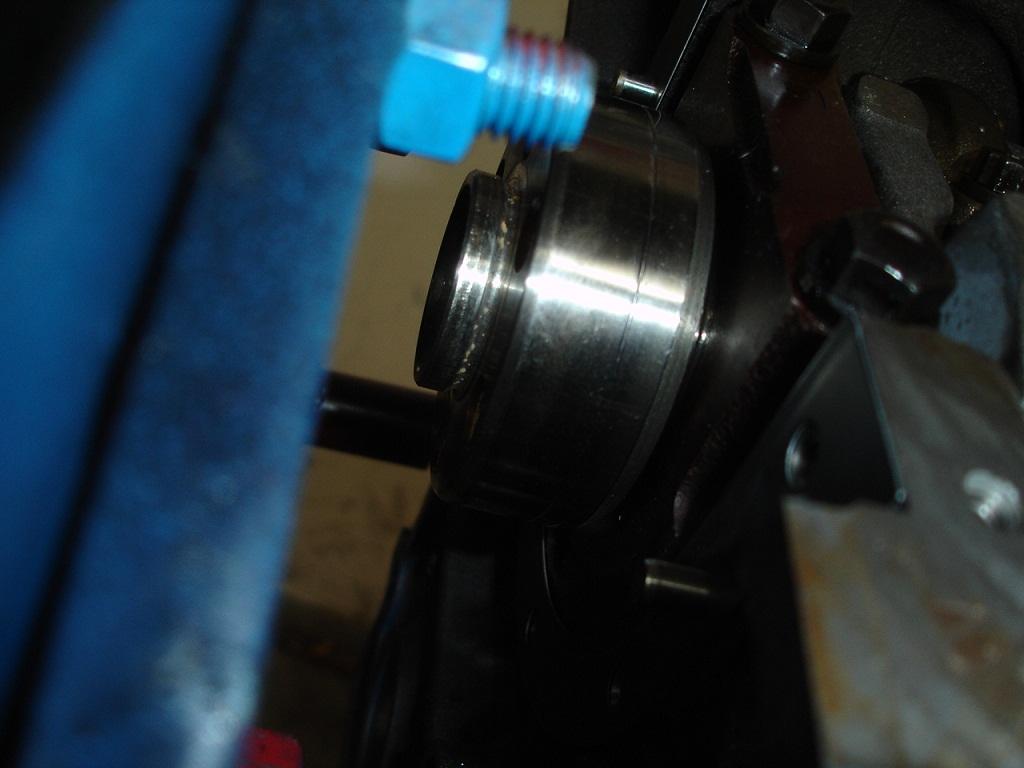
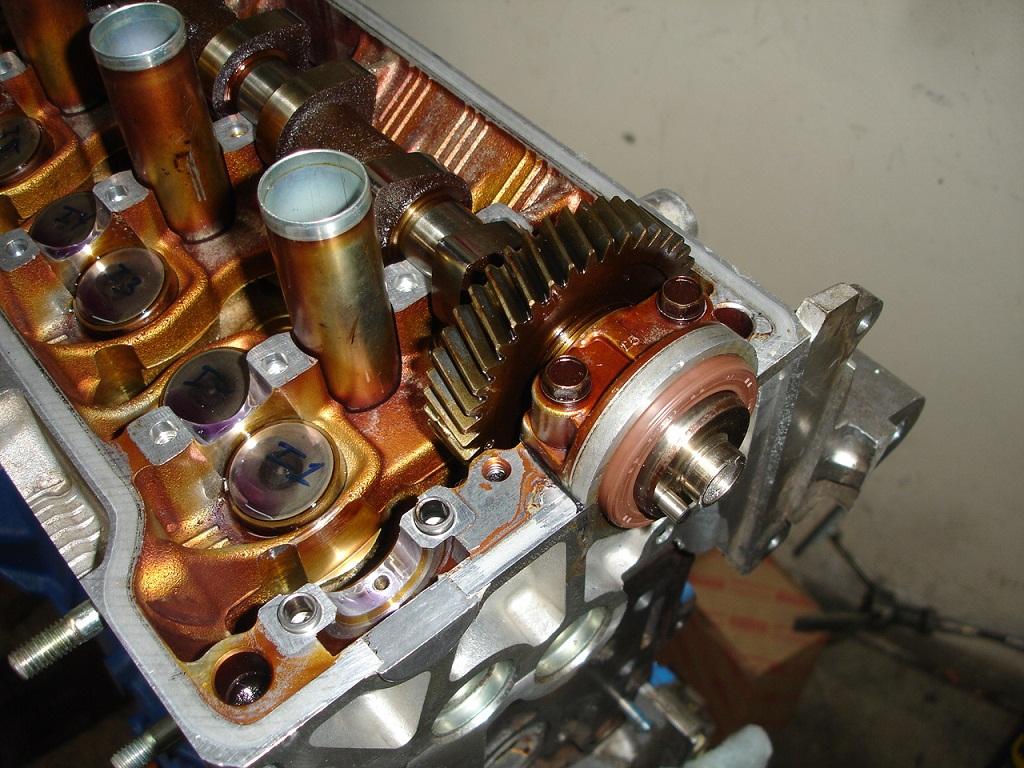
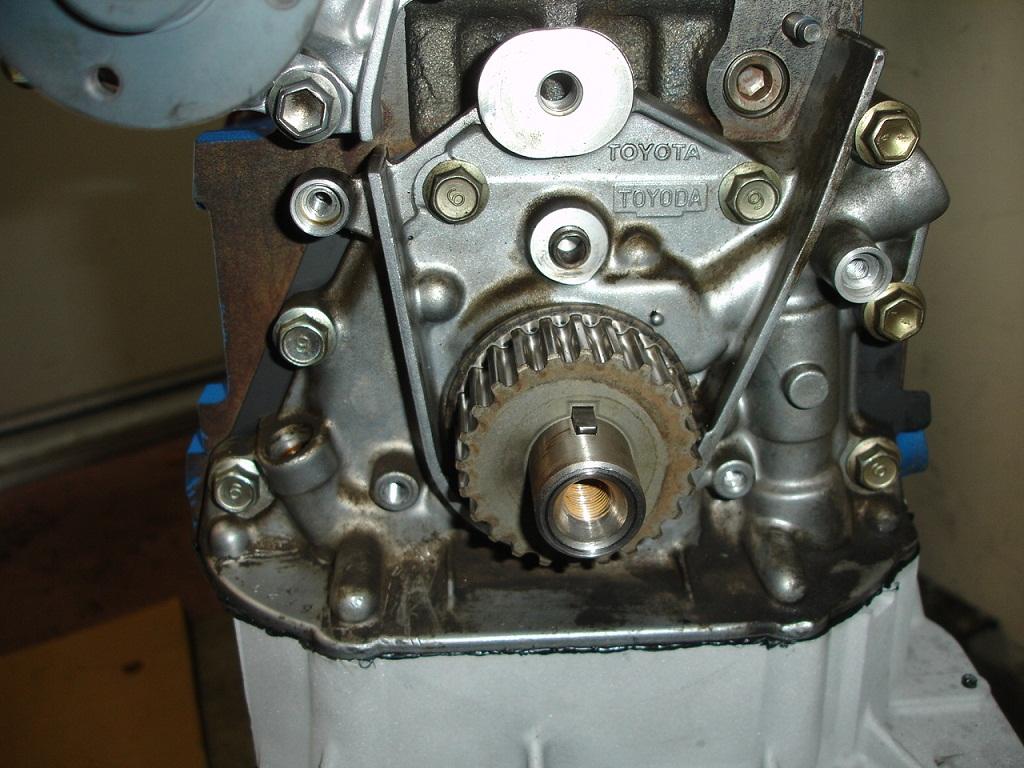
Install crank timing gear
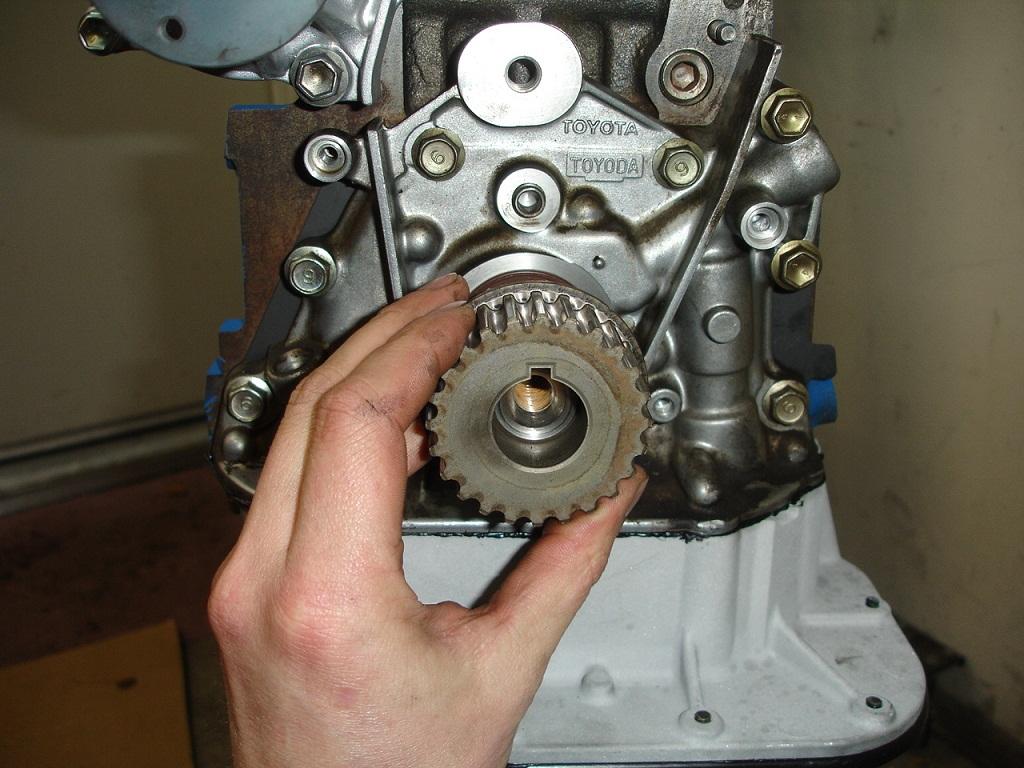
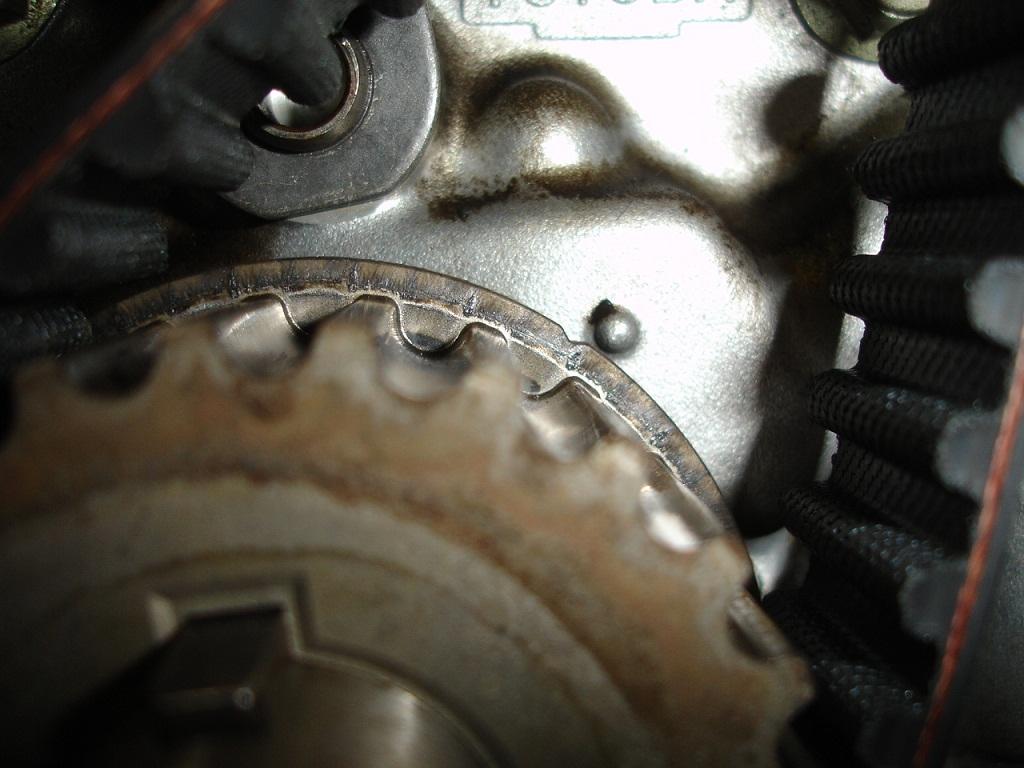
You can barely see the indent on the gear that lines up with that small dot on the oil pump, these are timing marks
New idler pully
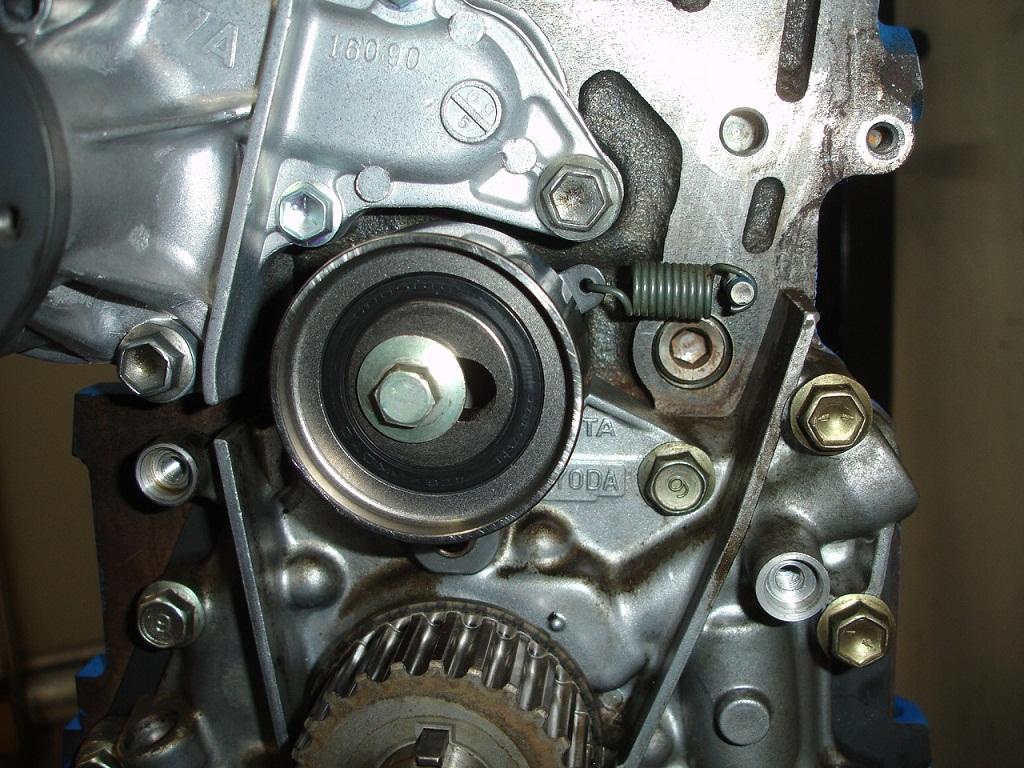
Tighten pully out of the way like so
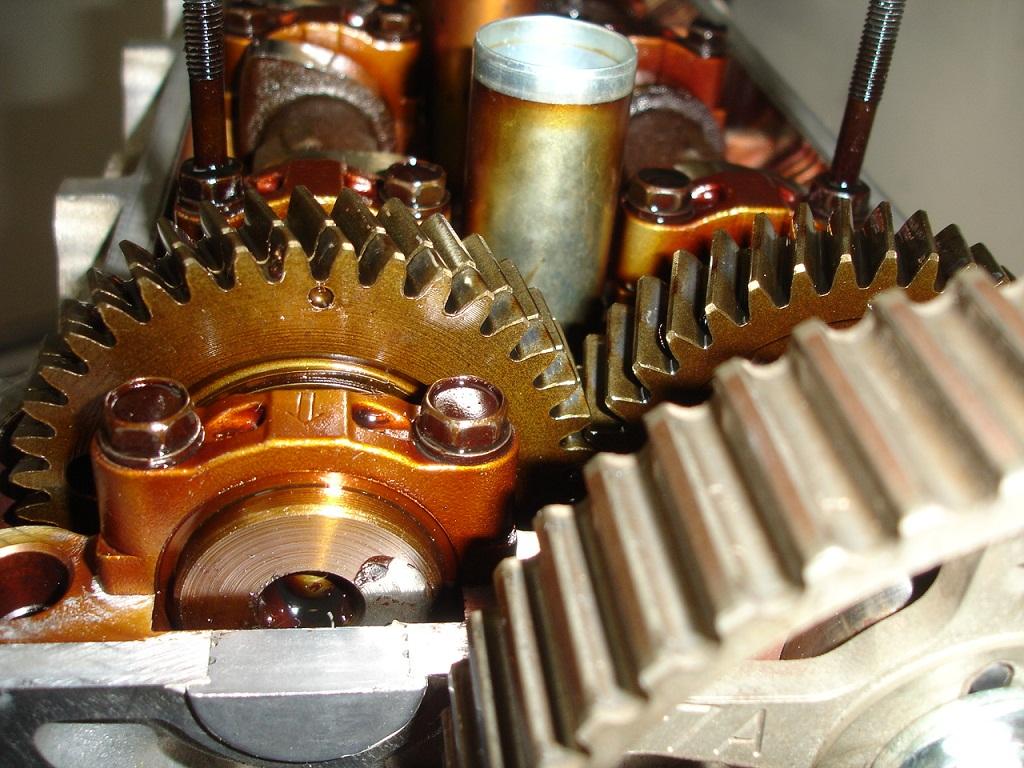
Here you can see the timing marks
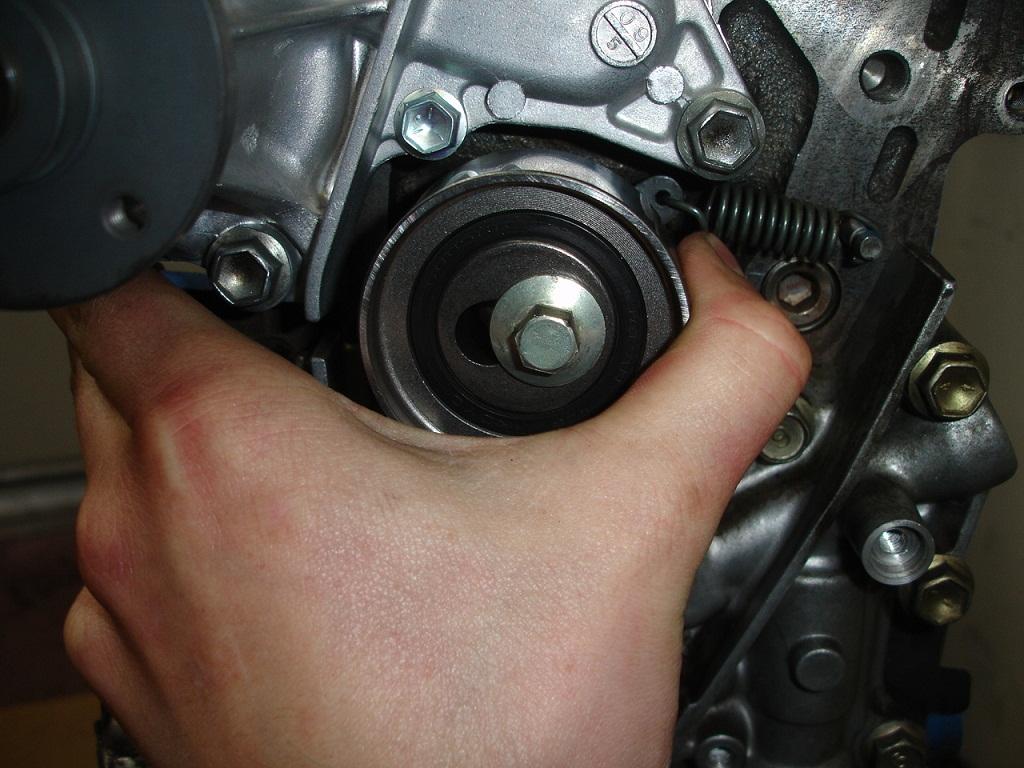
Once belt is installed, release tensioner and then re-tighten it
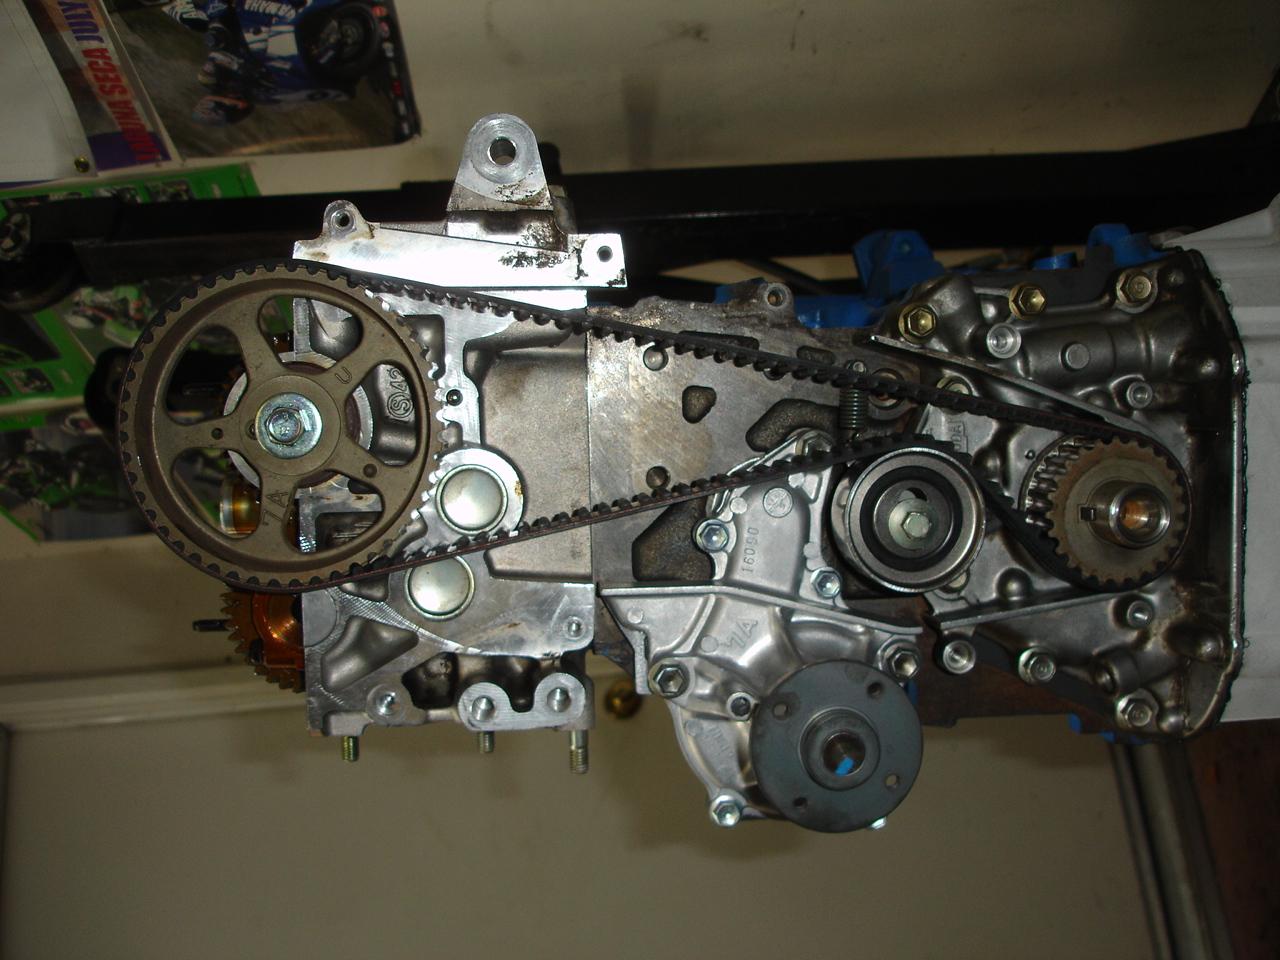
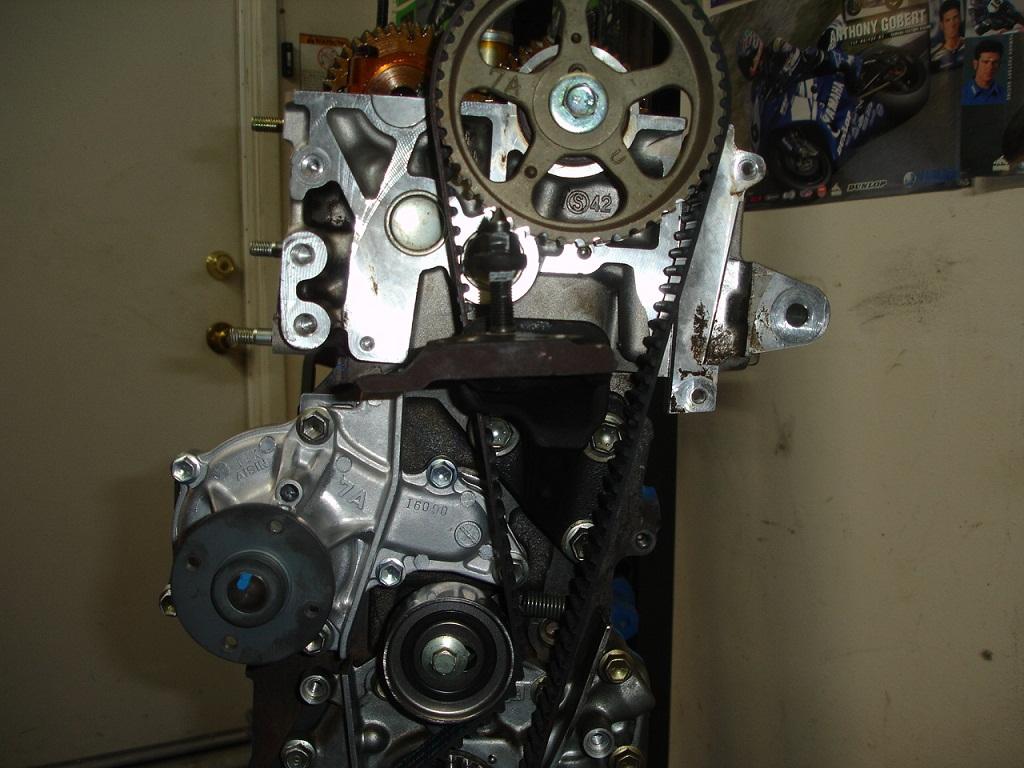

I lose my scribe so pics will be less detailed ![]() here are the timing covers installed and water pump pully
here are the timing covers installed and water pump pully
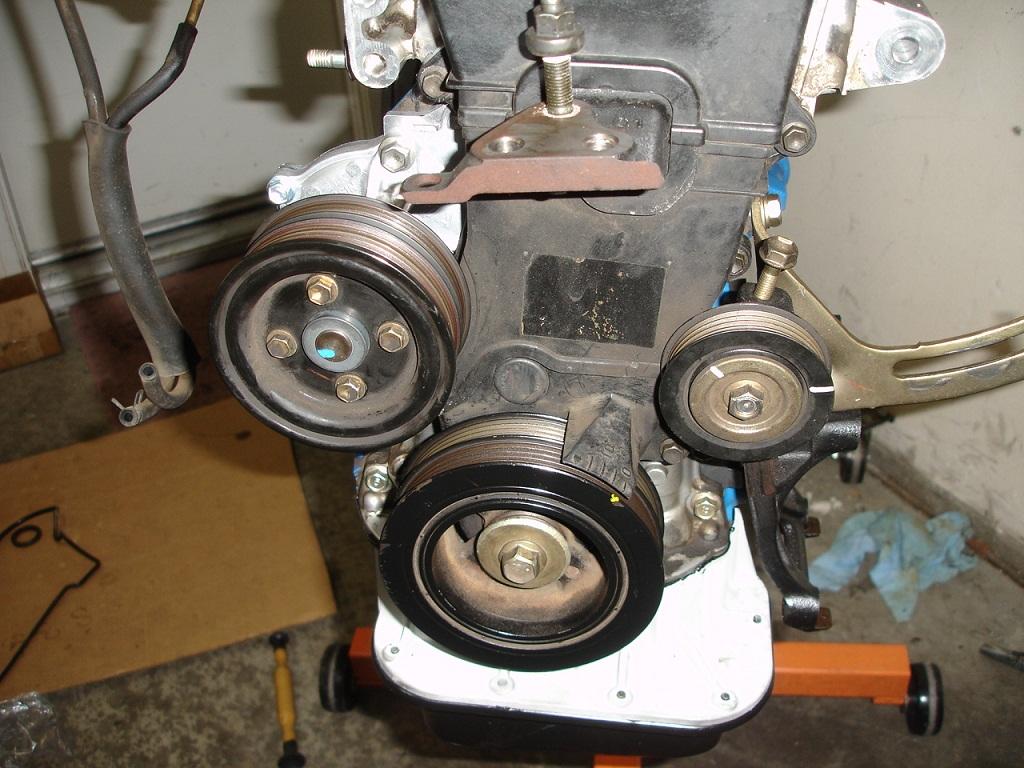
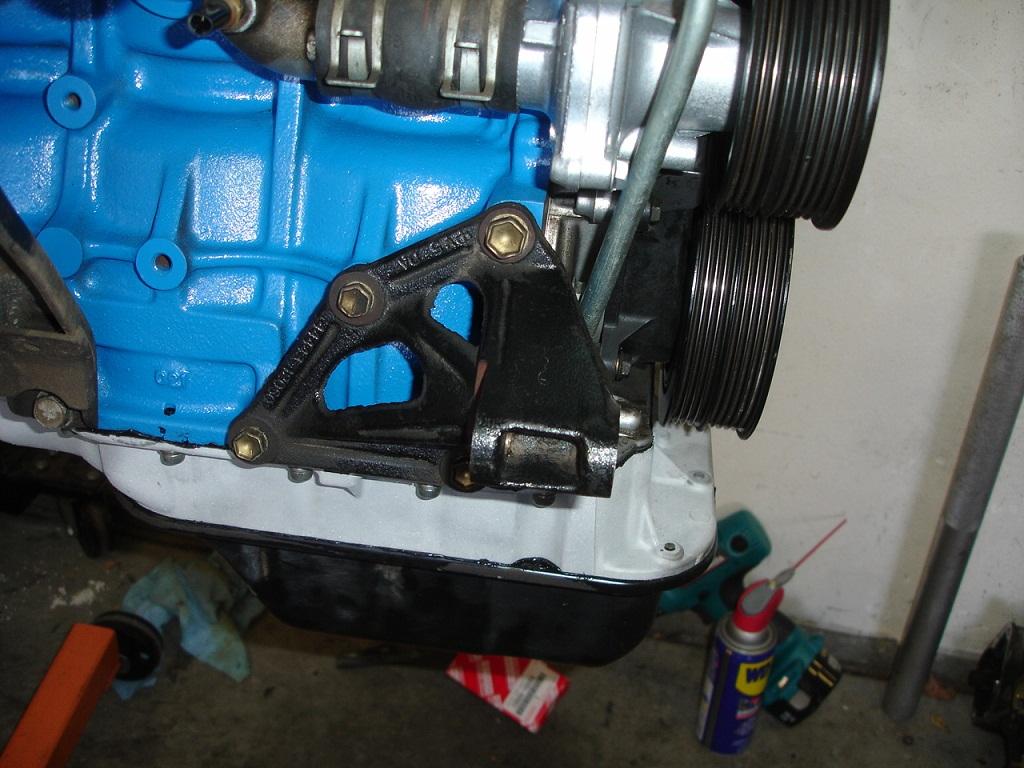
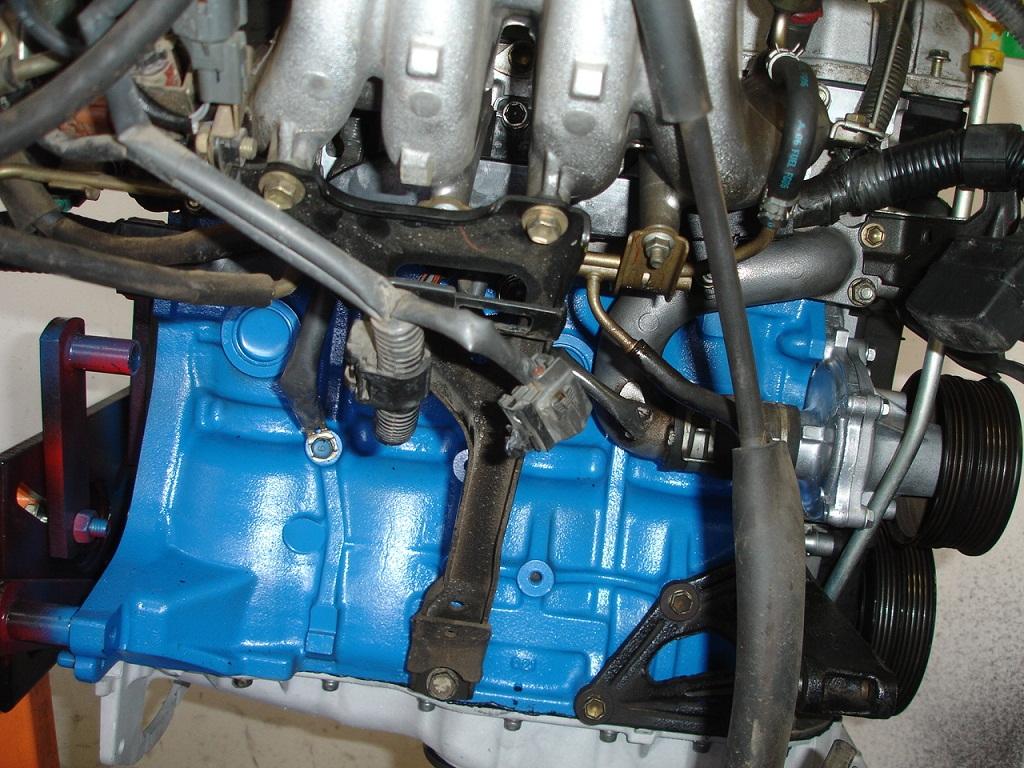
installed AC bracket and alternator bracket
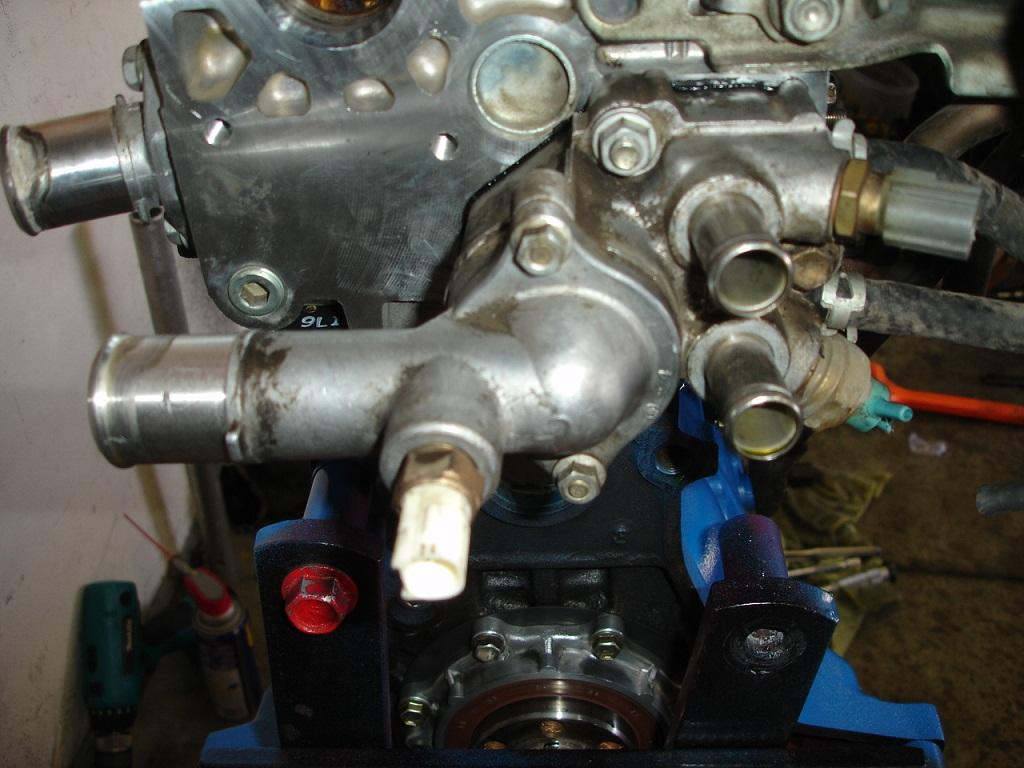
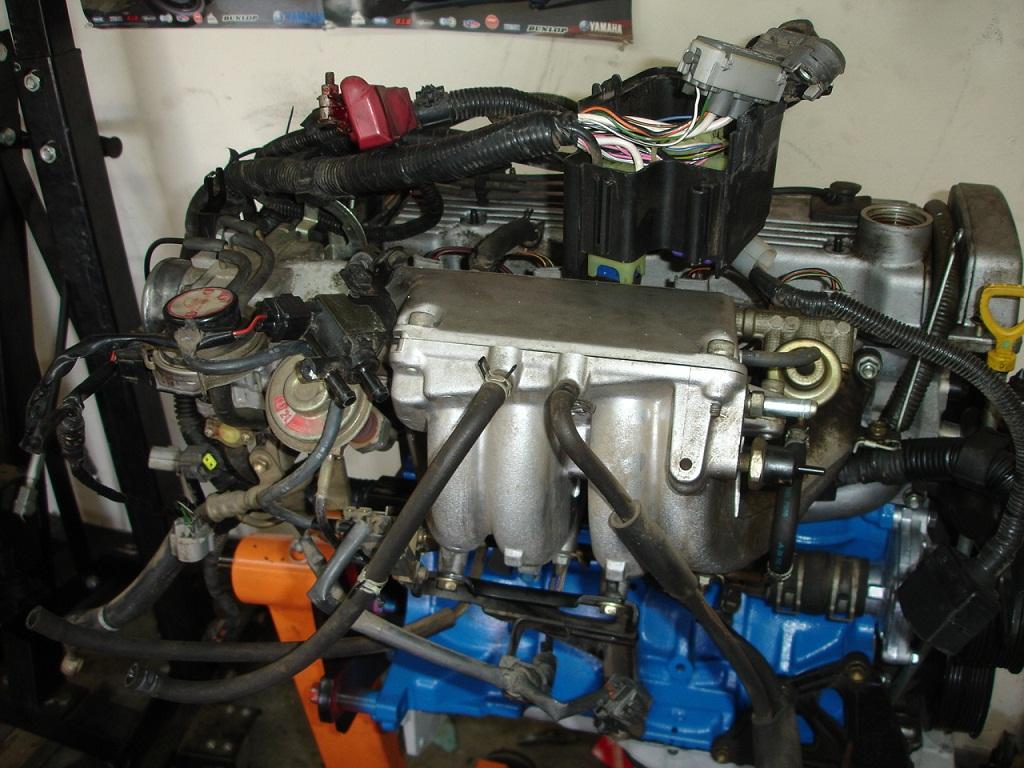
Intake manifold is installed back on, clean surface of water sensor pipe
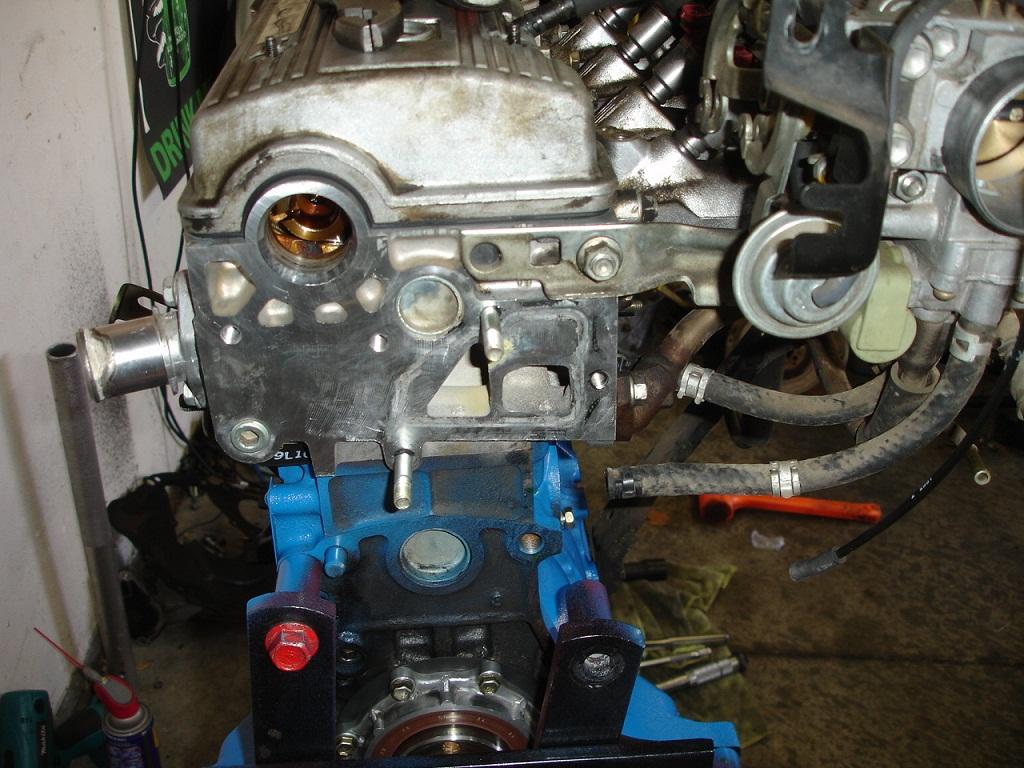
Apply FIPG on sensor pipe
Installed on head
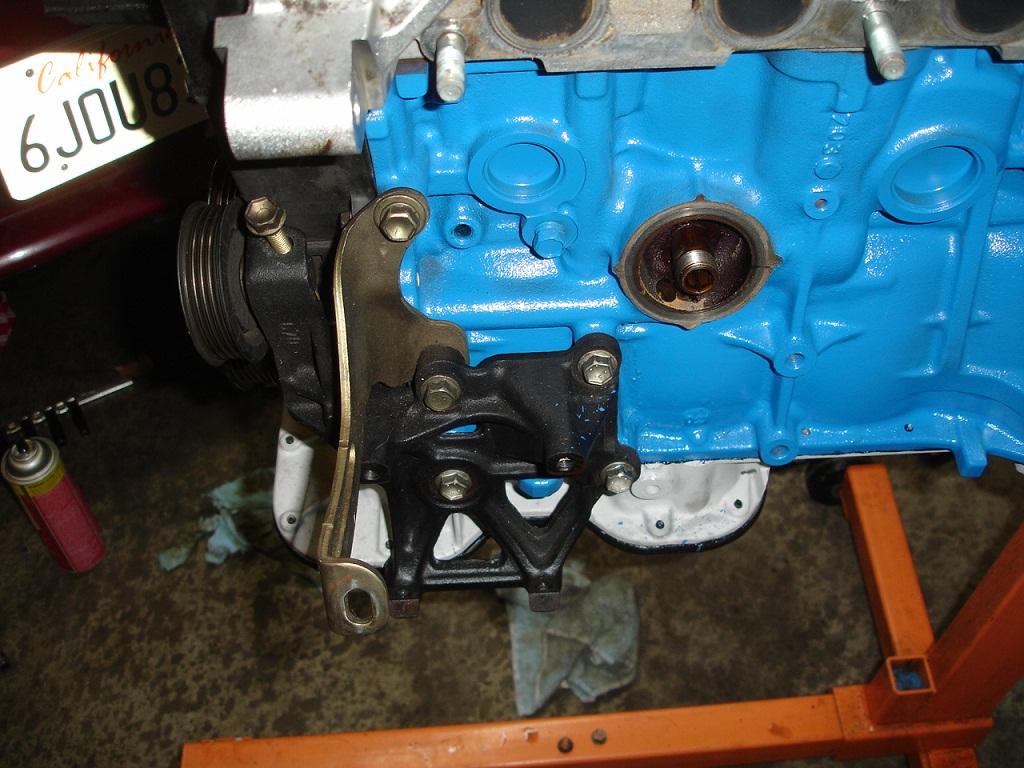
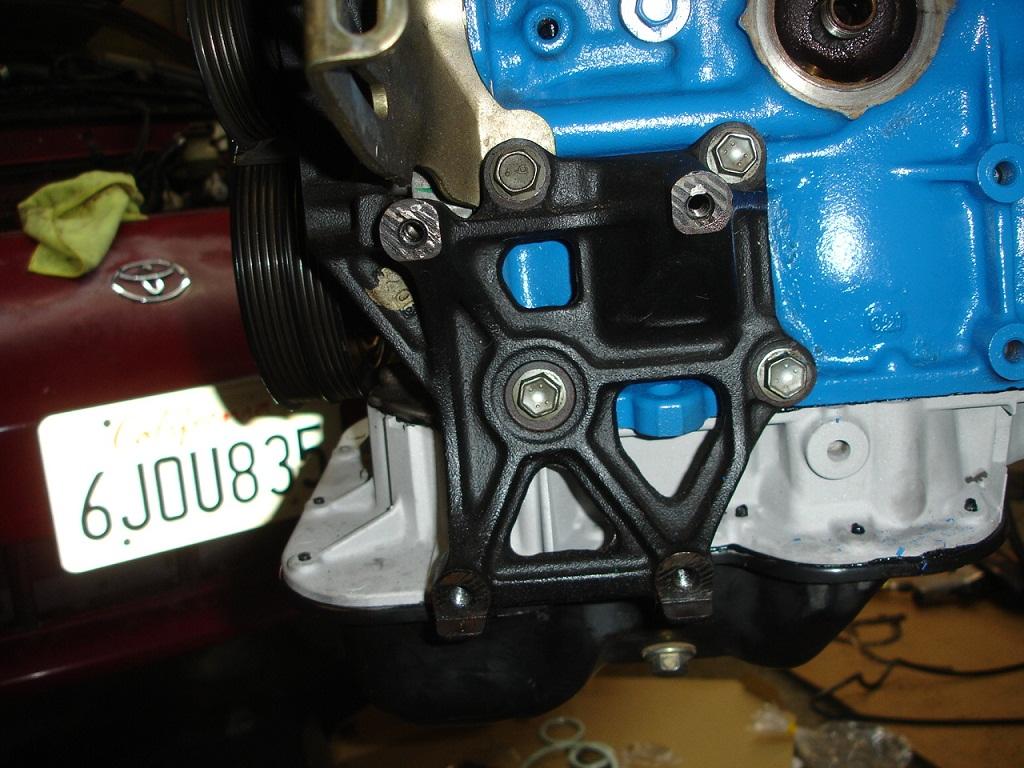
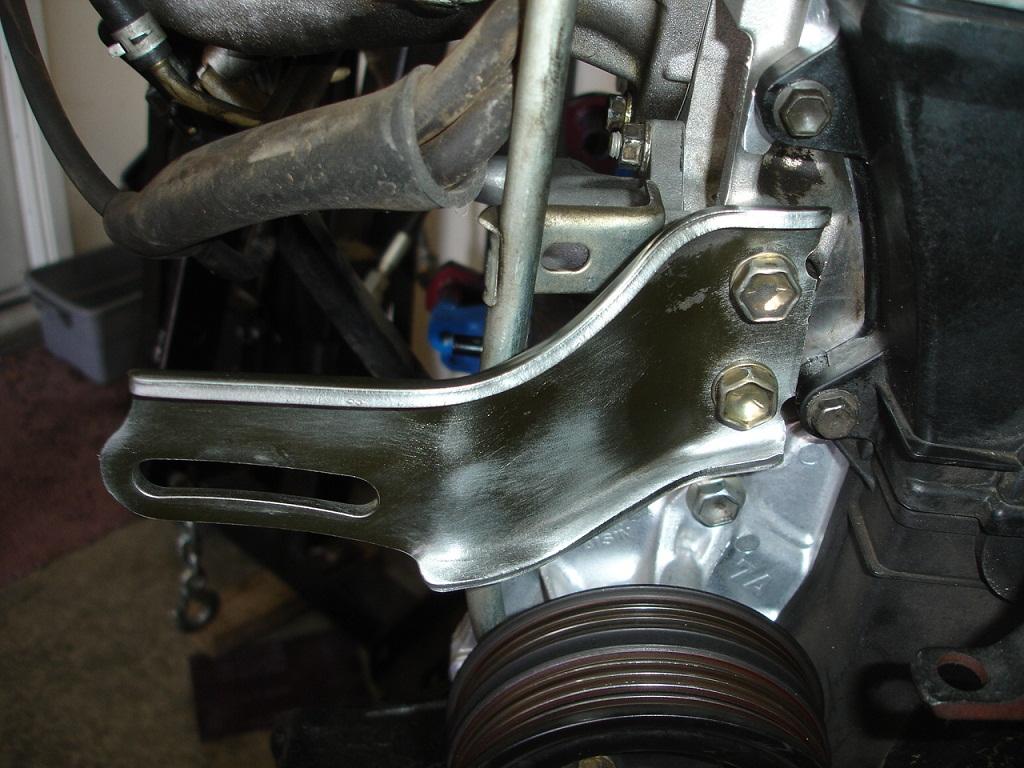
this is the power steering pump bracket
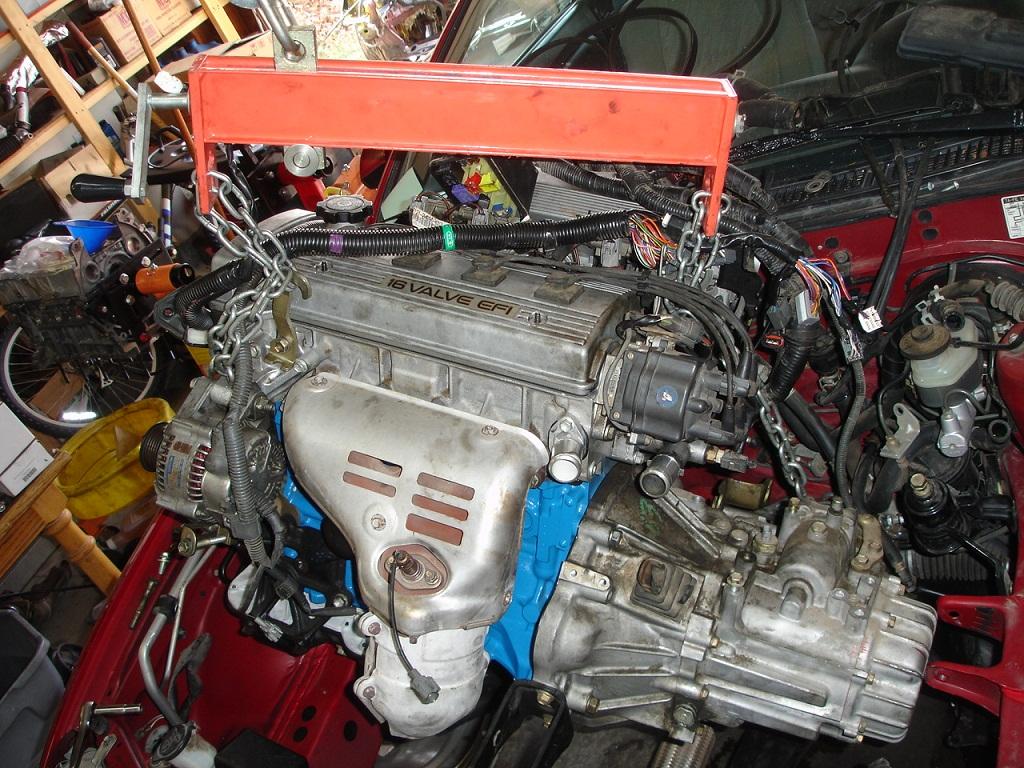
Install wiring harness back on the engine
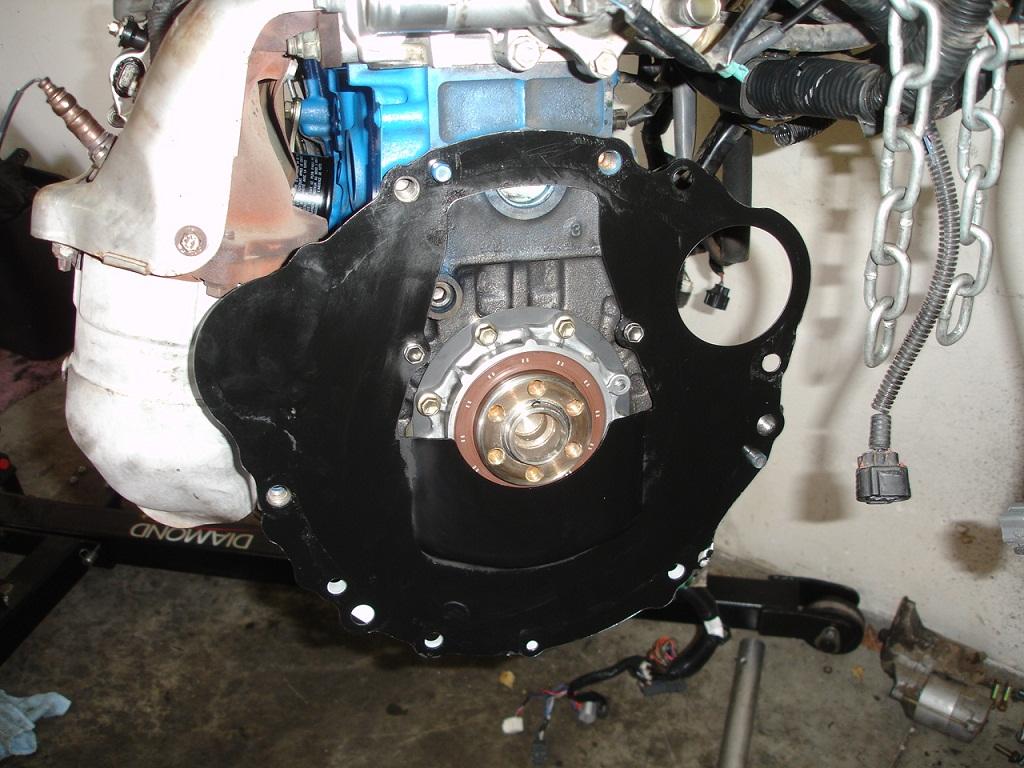
Install cover plate, sorry i dont have pics for flywheel and clutch install, then bolt tranny to block
Lowering assembly into engine bay.
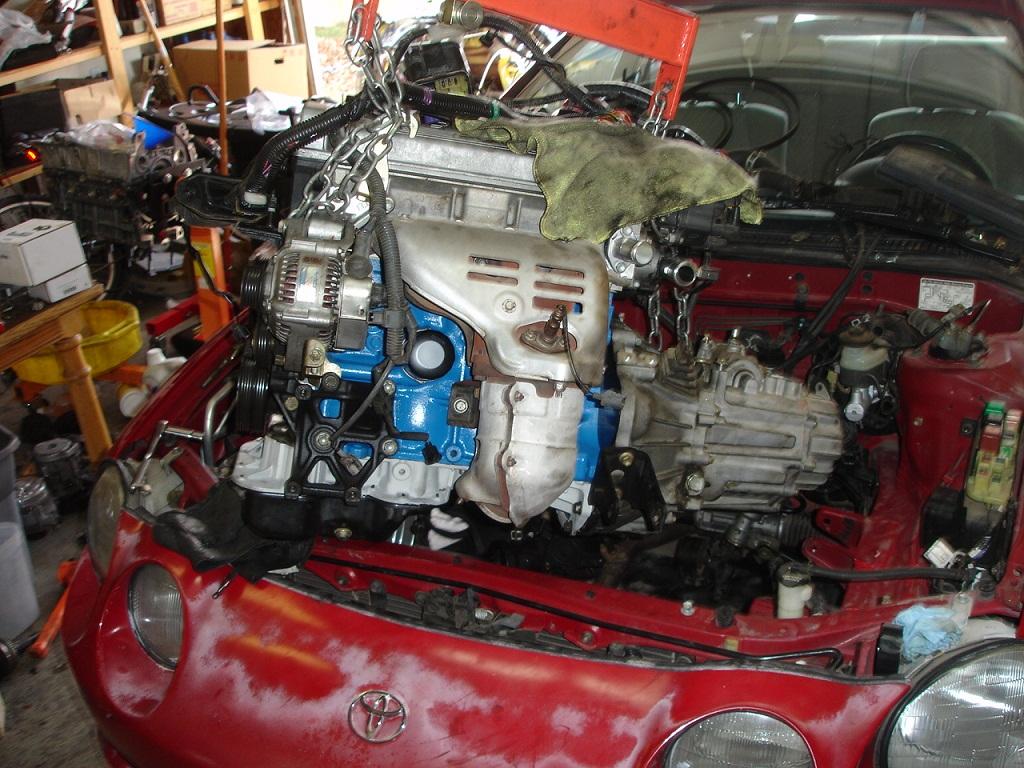
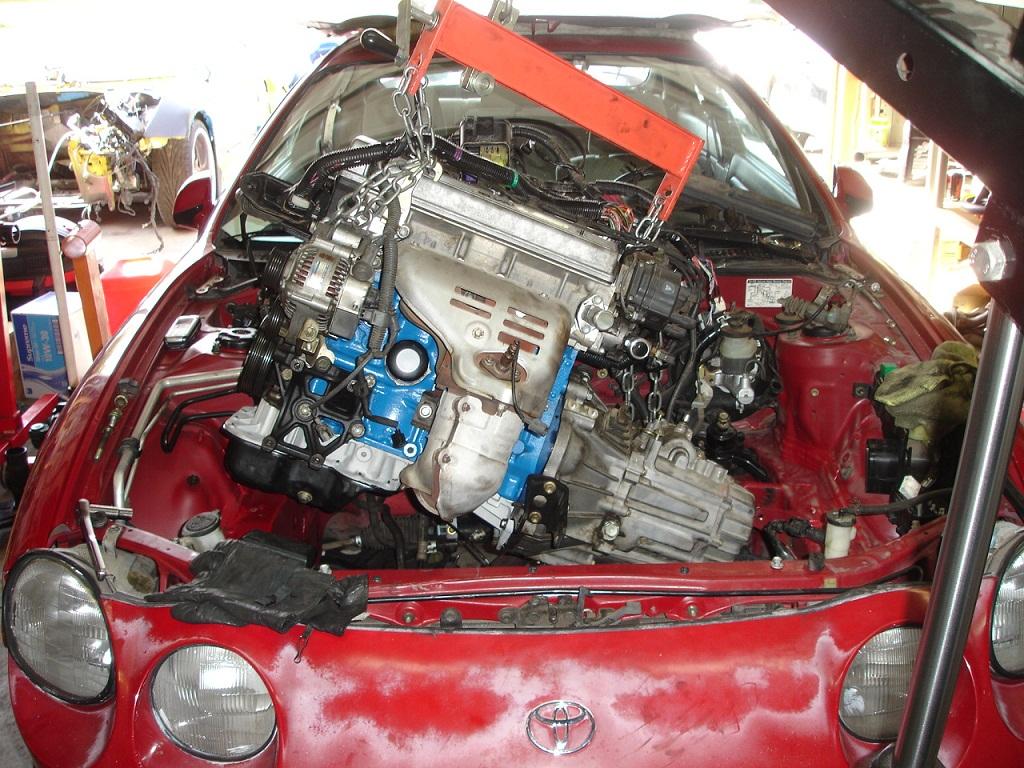
Sorry i dont have any more pics. i lost my scribe and i was install mode. I didnt have time to take pics and write down details. Engine is running smoothly and has quite a bit of pep for a 7A-FE. Turbo install will be coming next in the near future.
phew, ill add detailed comments tomorrow
I pulled the engine and tore it down in 1 day. had to wait a week for the parts to come in from the dealer. the piston and bearings got back ordered from the dealer. I only use OEM parts from the dealer. i rebuilt the engine and installed it in the car in 1 day.
The original miles were 92K and tools uses were standard 10mm, 12mm, 14mm, 17mm sockets, some needle nose pliers, torque wrench, and a few screwdrivers here and there to poke things. nothing really special needed except the hoist and engine stand.
Great build!
Posted by Diggymart on 11/4/19 @ 12:20:12 PM