You must be logged in to rate content!
3 minute(s) of a 636 minute read
7-2-2019
for those interested here is a model view of the printed part that works best for the TFS Armor Cables I got.
Here are some shots from the model:
1-front angle view (small holes)
2-rear angle view (large holes and radii edges)
3-front section View showing the chamfer to feed the wire to the front hole
7-3-2019
Hardest part done,just need to bore the head and mill it to dimension
Looking Good Ted, GREATLY appreciate your time and efforts with machining the rod ends !!
thread are definitely the hard part, 3 inches of straight threads
got my brass washers in today, so was time to assemble and solder up the headlamp connections.
funny part is i ordered 10 #2S brass washers, went to pick them up and they gave me 100 washers. so i have som spares to test and play with as well as if anyone needs some let me know.
the washers were the perfect size for the connectors. installed the printed insulators on the wires, then slipped a washer over the tip of the exposed wire, then applied the heat to the wire, waited a few seconds then applied the solder to the washer and bam had a nice round ball. the solder sent right to the brass and made a near perfect mound.
my 10 #2S Brass Washers
3d Printed Custom Headlamp Insulators wire tip side

3d Printed Custom Headlamp Insulators wire insert side
washer placed over wire tip
beautiful round solder mounds for contact
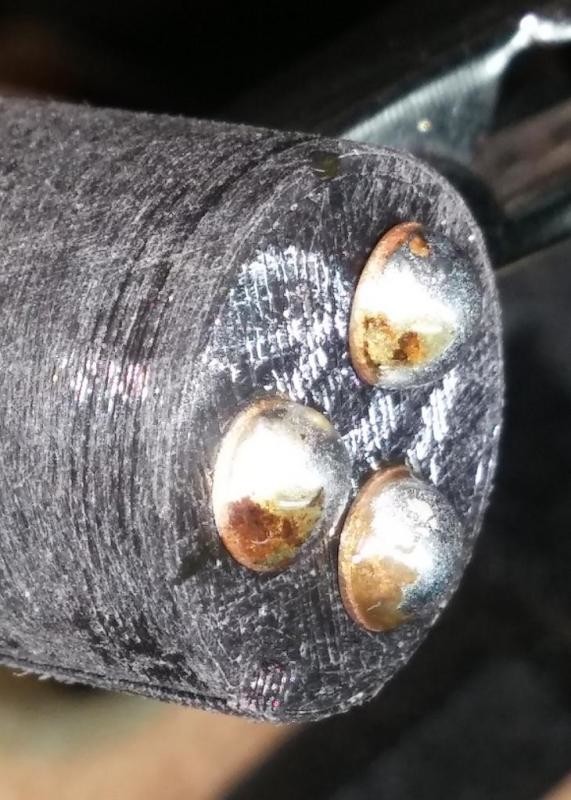
another angle of solder before cleaning
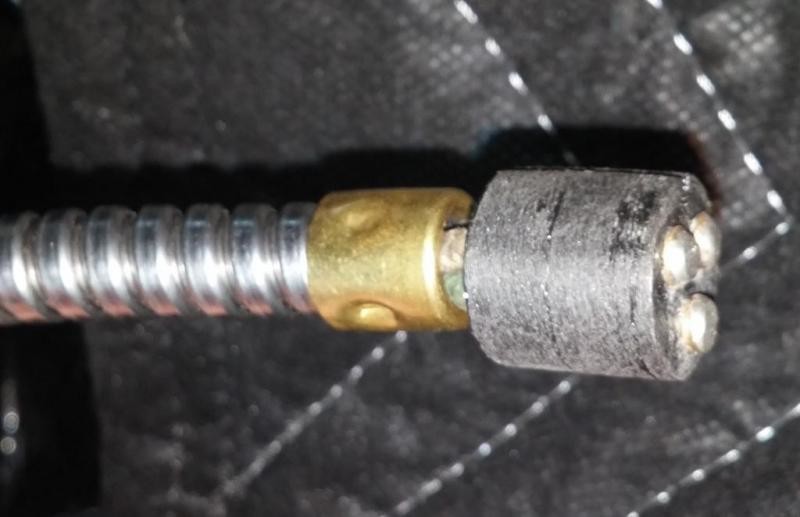
pulled up the armor cable to the insulator

line up the notched and slide on socket cover
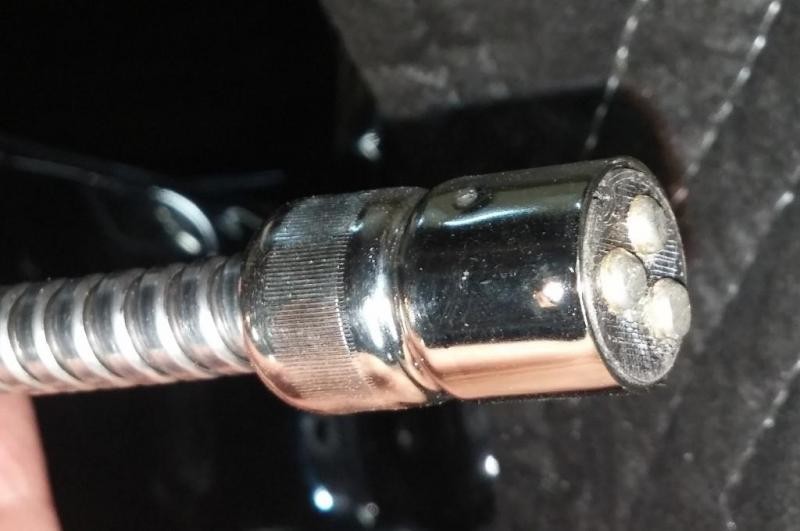
insulator fully installed and connector ready
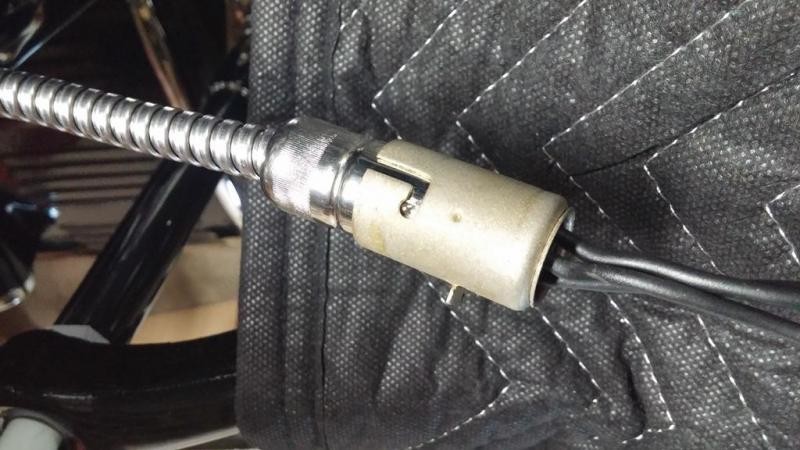
test fit with mating headlamp socket
Great car !
Posted by Diggymart on 9/7/19 @ 3:48:57 PM