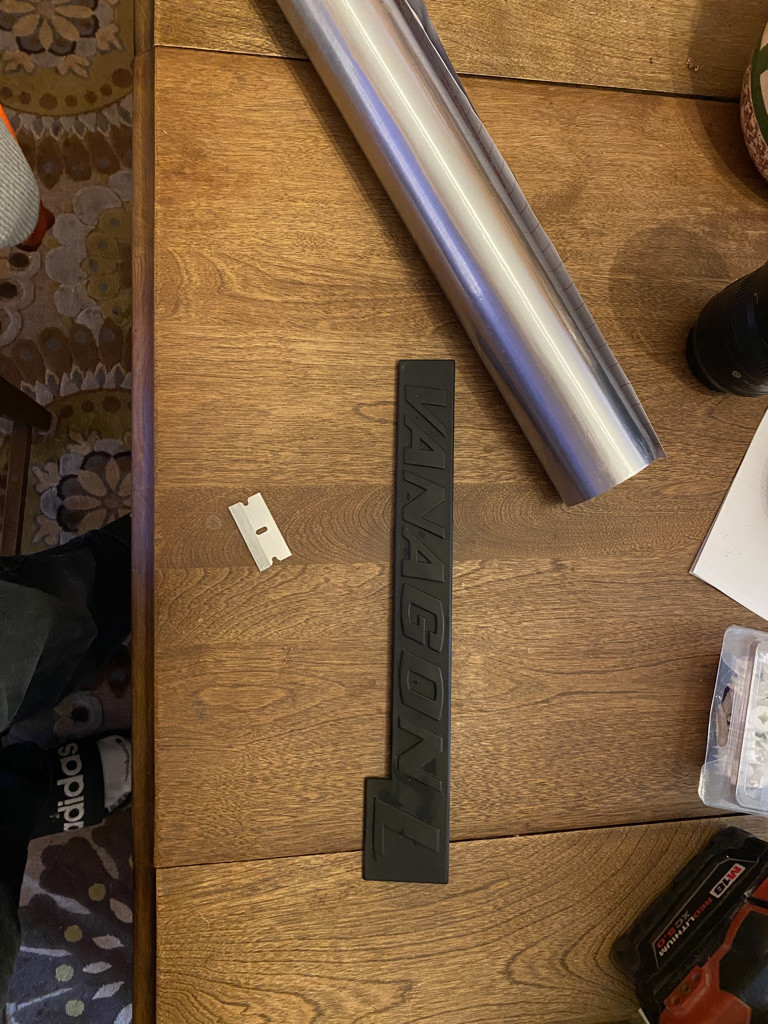
- Badge
- Vinyl (Colour and texture of your choice)
- Razor Blade/Hobby Knife/Exacto Knife
- OPTIONAL:
- Foam roller
- Heat gun/Hair dryer
You must be logged in to rate content!
3 minute read
So on my Vanagon the rear badges had lost ALL their silver paint over the years. Now the usual way to fix this is to replace the badge or to carefully mask it off and paint it with model paint and try to duplicate the original sheen and texture.
I had some extra time and wanted to try something I had seen online; Stainless steel texture vinyl wrap.
Now I am no expert at wrapping anything so this was more of an experiment but here is my DIY on the project!
MATERIALS:
- 1ft of Stainless Steel or Brushed Aluminum look vinyl wrap (Mine was some left over pieces)
- A fresh razor blade or hobby knives (Whichever is comfier for you)
- A badge you want restored
BONUS: Some foam or a hair dryer/heat gun to work the vinyl closer to the edges and activate the glue more (Just be careful as old plastic doesn't like prolonged heat exposure)
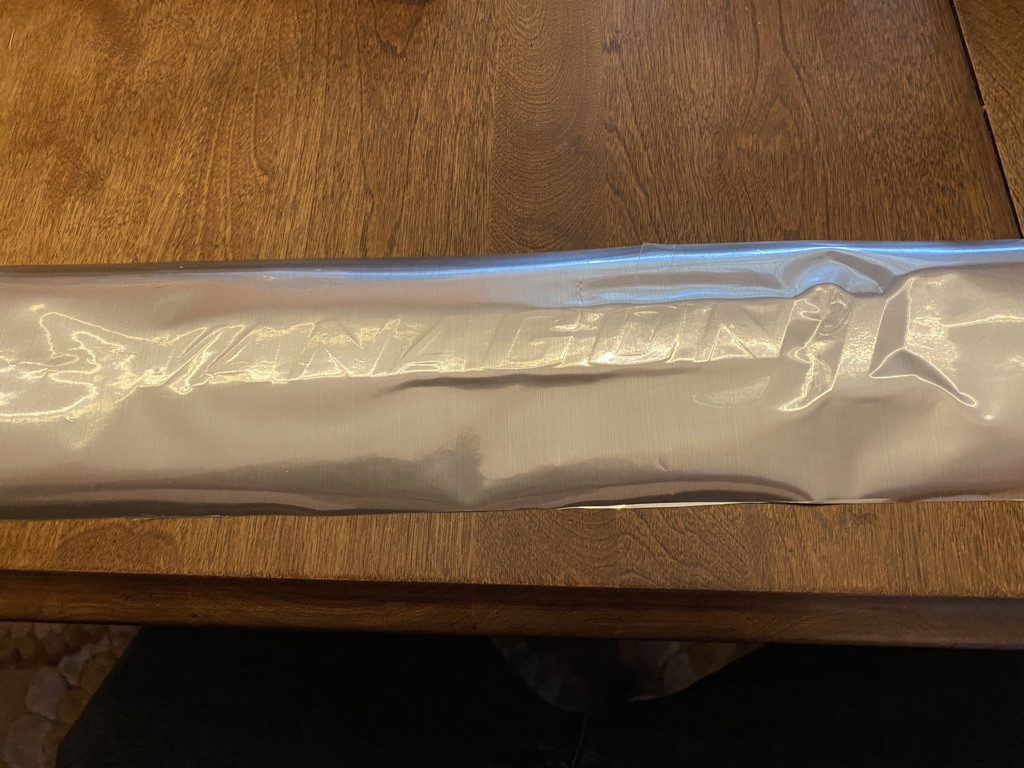
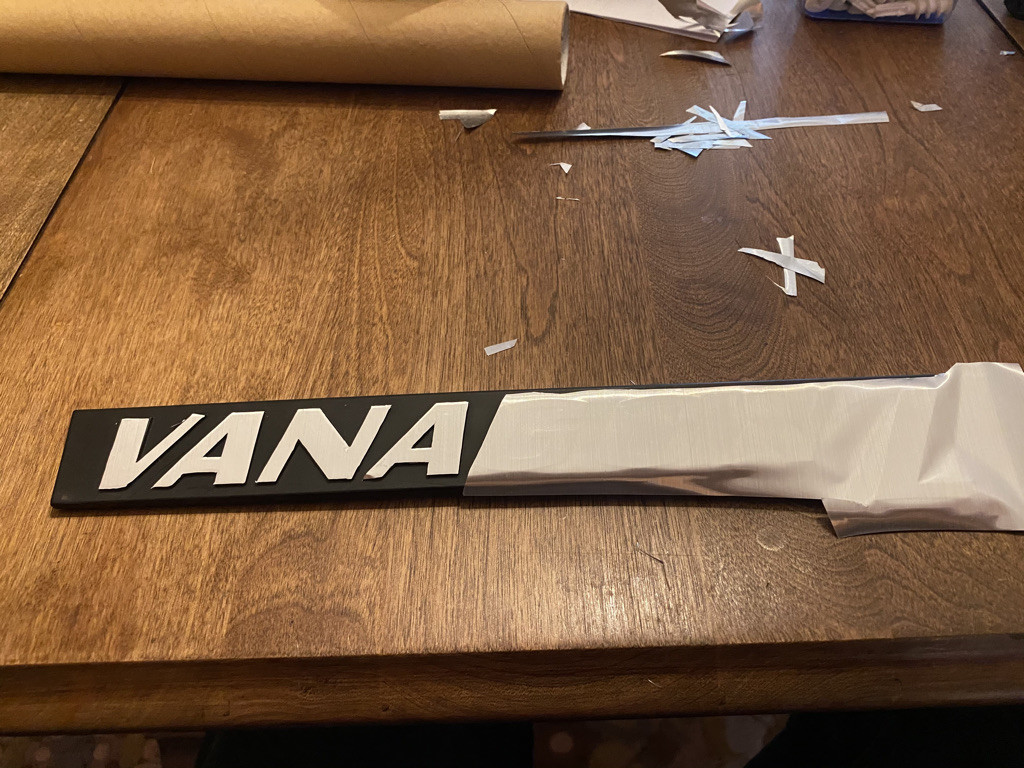
Step 1: Pick a good surface, lighting is important as well because you will want it for the edges later on. Clean the badge with dish soap to remove any old waxes, oils, bugs and glue. Unroll your vinyl and cut it so theres less extra as you start the detail cuts
Push the vinyl on the letter faces only, avoiding the dips and other areas. I used my thumb but a foam roller or a plastic spackle knife would also work to get the air out if you get bubbles or inconsistencies
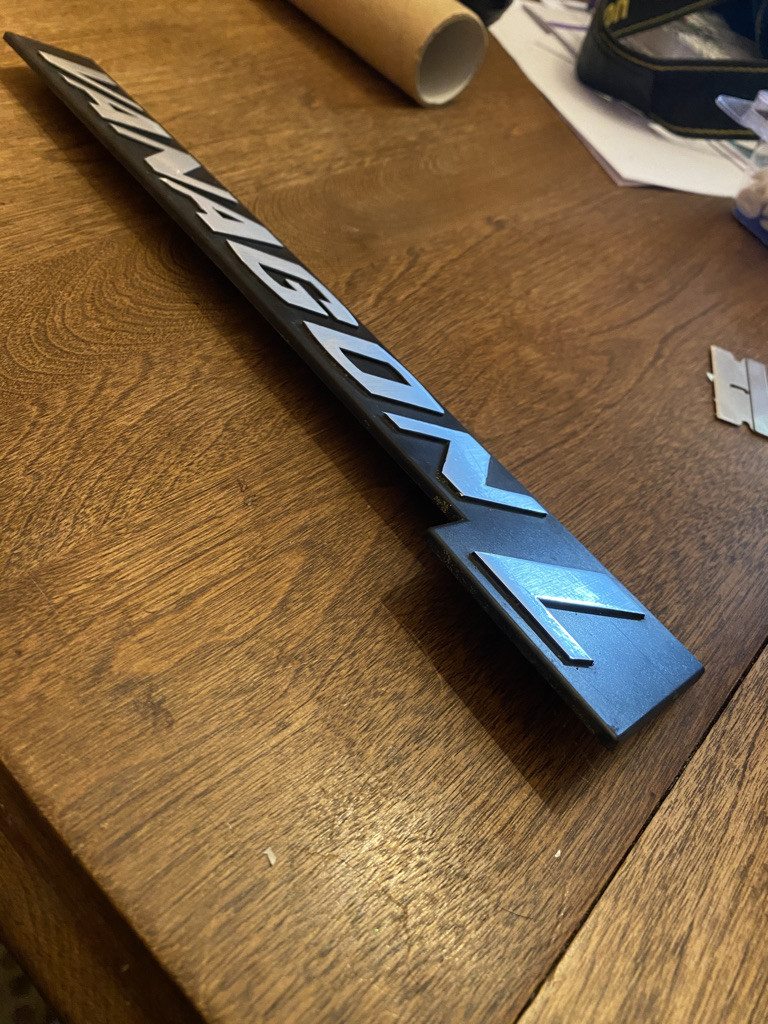
STEP 2: Start the detail cuts, work your way closer to the edge of the letters until you are running the blade against them. I split the vinyl between the letters then cut in on a 45 degree angle making multiple passes until my blade was parallel and running against the edge of the letter I was working on. BE CAREFUL NOT TO CUT AGGRESSIVELY DOWN you will cut into the badge and leave marks that you will notice and you will be annoyed with (ask me know I know haha)
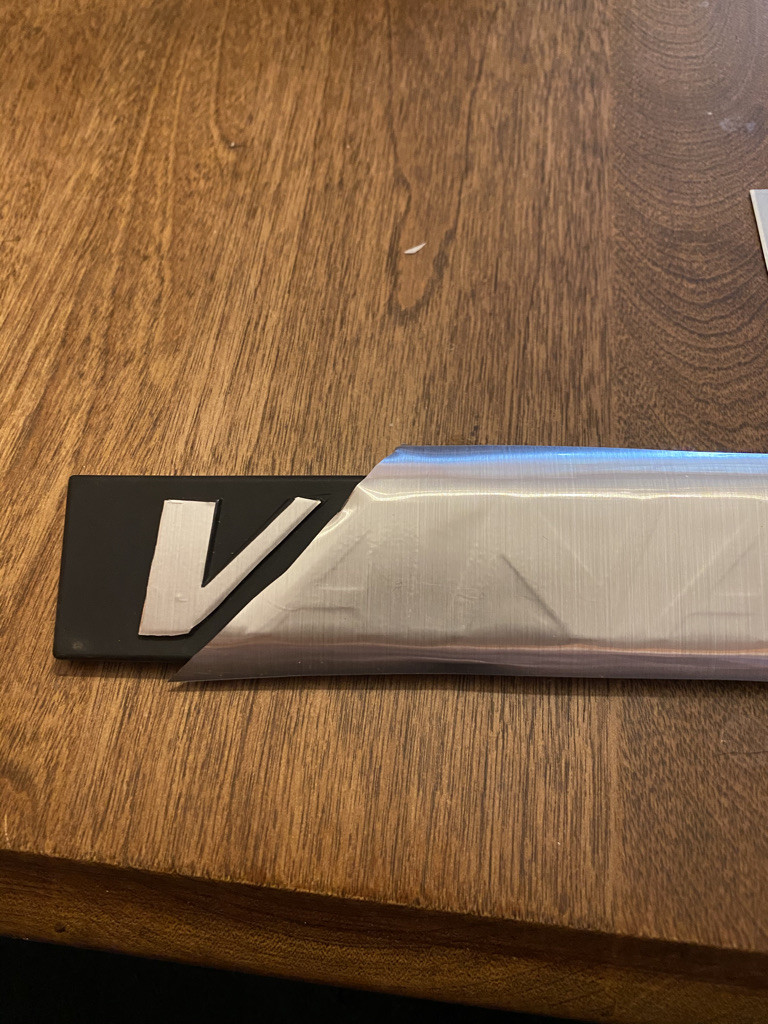
You can see here where I let my blade run too deep and nicked the badge
This was my rough first go, the edges are uneven but the closer I got with the razor the cleaner the lines got
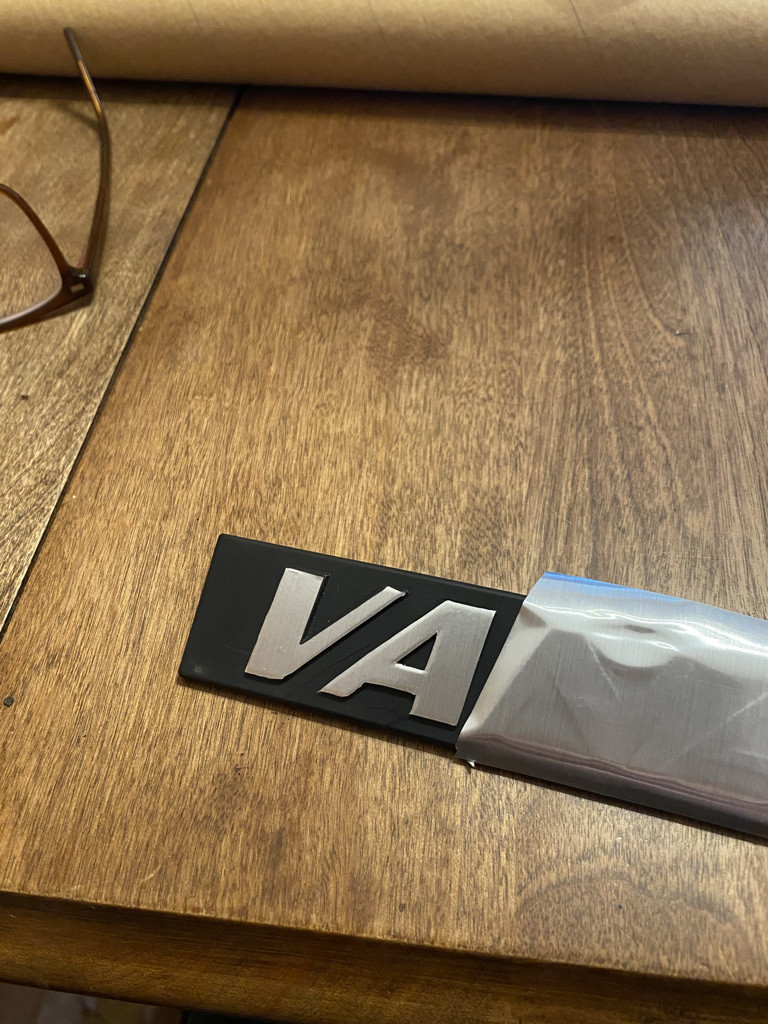
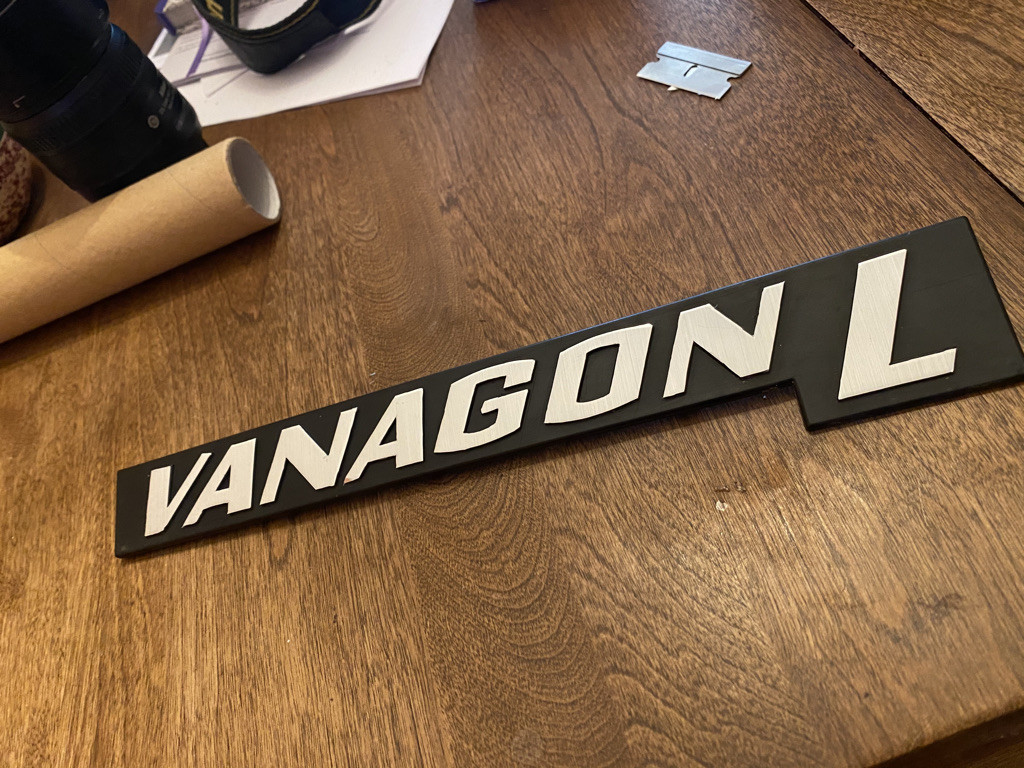
This is the finished product! Looks almost like the stock badge would have in 1980! Its not perfect but it works perfectly for me and my van. I'm going to try the VOLKSWAGEN badge next, smaller letters and more intricate letters but hopefully the same outcome! Thanks for reading and I hope this can help someone!


Vinyl is really useful stuff. I used flat-black vinyl to restore some window pillars that had gone chalky and a rubber trim strip that had lost its texture. Two years later and the vinyl still looks new. Chrome vinyl is also useful for restoring lamp reflectors.
Posted by Old_Busted_Hotness on 4/25/23 @ 1:53:10 AM