You must be logged in to rate content!
6 minute(s) of a 211 minute read
6-1-2011
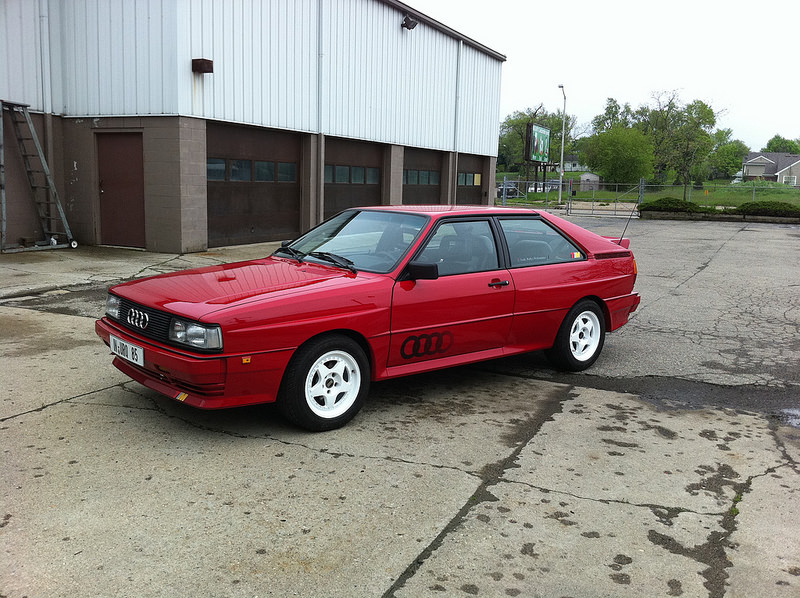
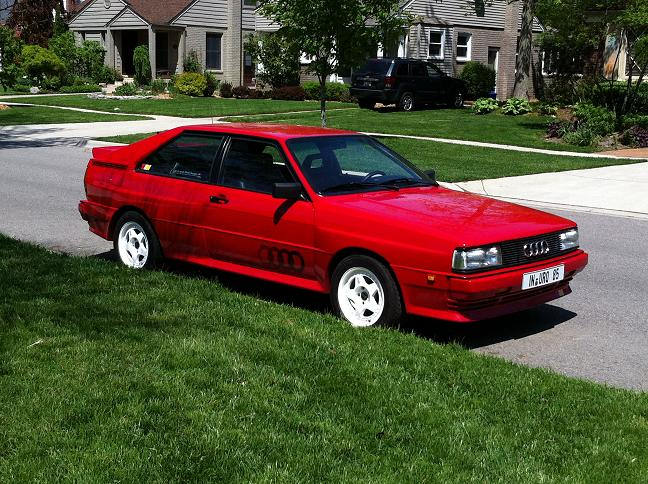
Well the wheels finally came in and I immediately slapped some tires on them and bolted them on the car. What do you think?
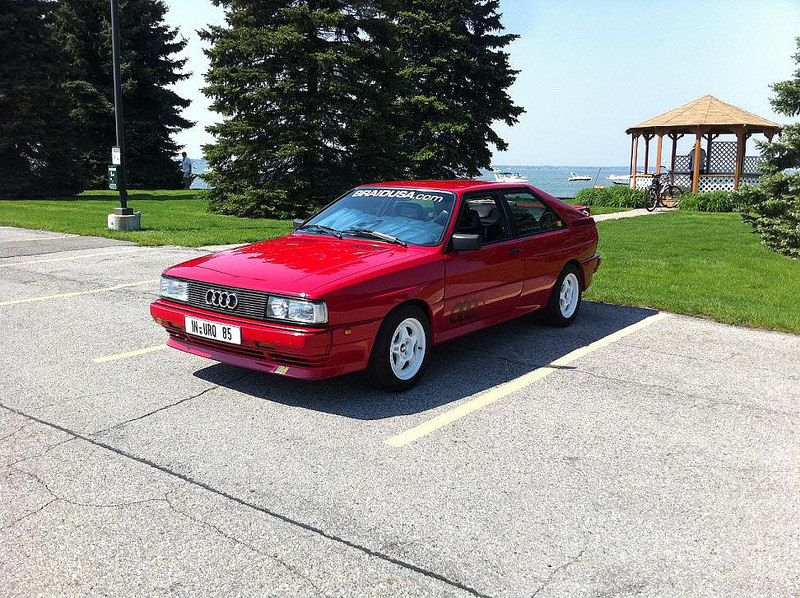
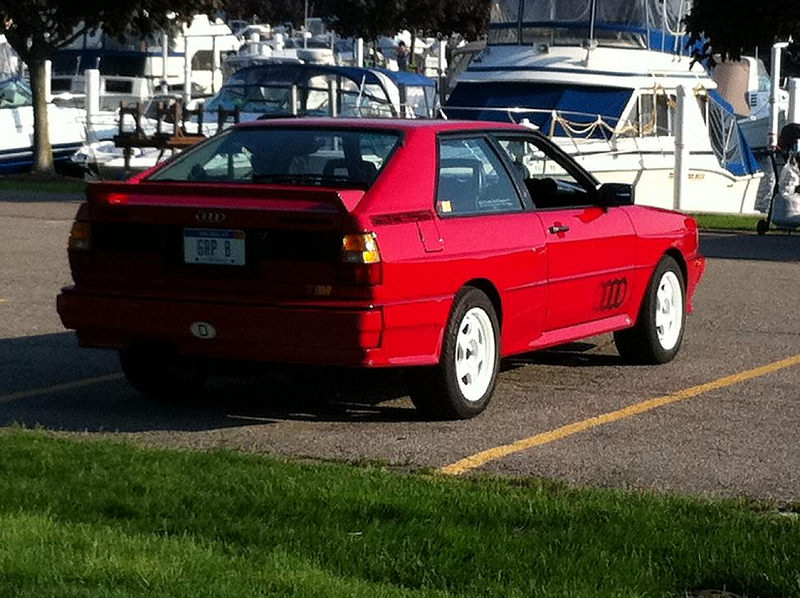
Then I took it out to the lake for Memorial Day.
In case you're curious the wheels are BRAID Serie 6 R 3 piece, 15x8 with 225/50-15 Kumho tires.
7-18-2011
Sorry chaps, it's been a while since I have had chance to update this thread. I'd like to think that since putting the BRAID wheels on the car our sales have gone through the roof and I have just been too busy fulfilling orders to post. Well, that's only half the case, I've also been kept busy keeping cars on the road. None of my four cars, including this one, have been behaving themselves so far this summer but at least it gives me plenty to write about here. So what's been going on? Well:
The first hiccup of the season became apparant when the car became hard to start. I'd noticed lately I'd had to turn the key a little more "aggresively" sometimes but then it became impossible to get the car to turn over at all. Thankfully it did this at the shop and not 1000 miles from home. It was clear contact was not being made in the ignition switch and all kinds of horrors about getting a new one and taking apart the steering column went through my mind. As it turned out it was surprisingly simple to sort out on both fronts. First off, my local O'rielly's had the switch on the shelf. God knows why but bless their little Irish souls non the less. Now, to put it in. I approached with trepidation but needn't have. AllData give pretty explicit instructions.
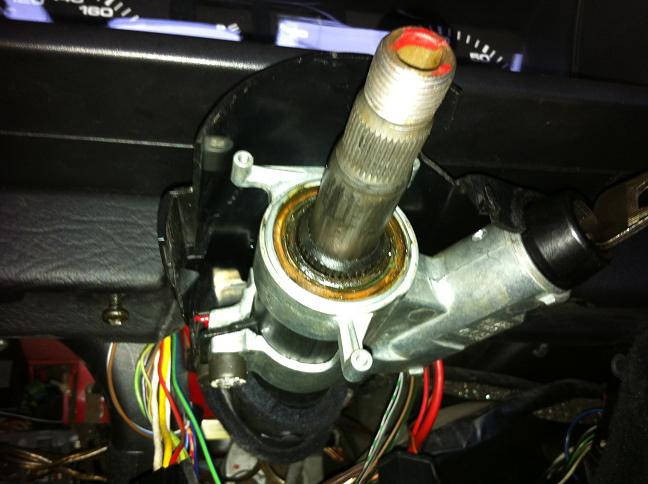
Remove the steering wheel, column shround and indicator stalks. Then pry off the spring washer that holds on the spring and you are left with this:
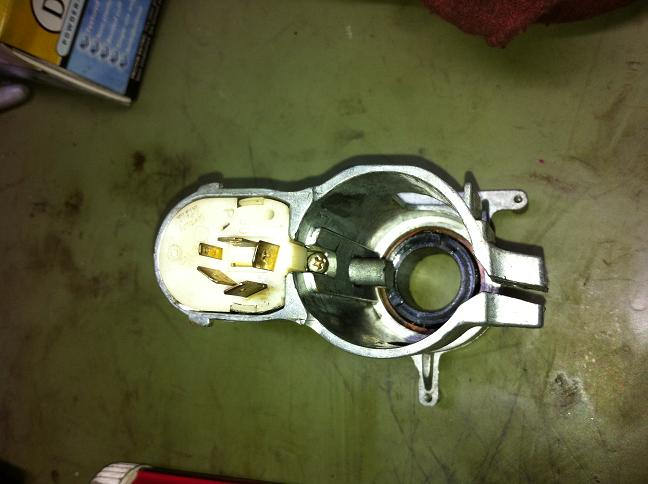
Then you remove that pinch bolt and the ignition switch housing slides up the column and lands on your bench:
Just remove that small phillips head screw to relaese the switch and pop in the new one. Needless to say, assembly is the reverse of disassembly but getting the spring wash in place was a little tricky. I used a 19mm impact socket and a hammer to drive it home. You don't need a lot of force, probably because you are supossed to use a new washer but once the steering wheel is back on it can't go anywhere.
Job done. Car's good for the summer but maybe I should just change the oil first. How hard could it be?
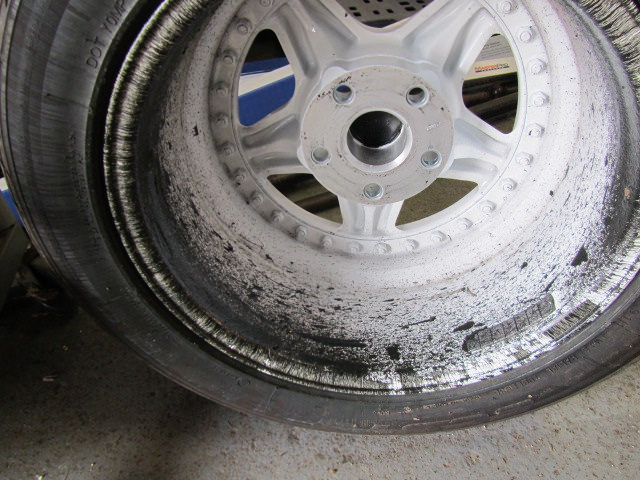
So I put the car on lift and look where the oil filter should be and bloody hell, there's two of the buggers! I was so stunned I forgot to take a picture! So off to the store to find a second filter. Apparently it's for the turbo. Why ddin't you guys tell me about this? Well, just before taking off I decide to have a look around under there and WTF is that all over my nice new BRAID wheel?
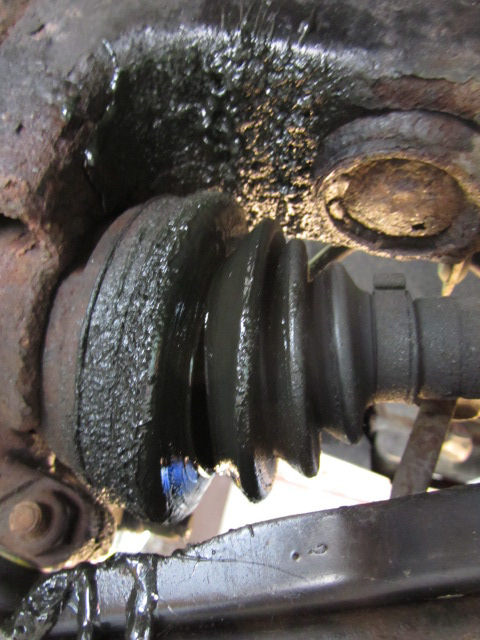
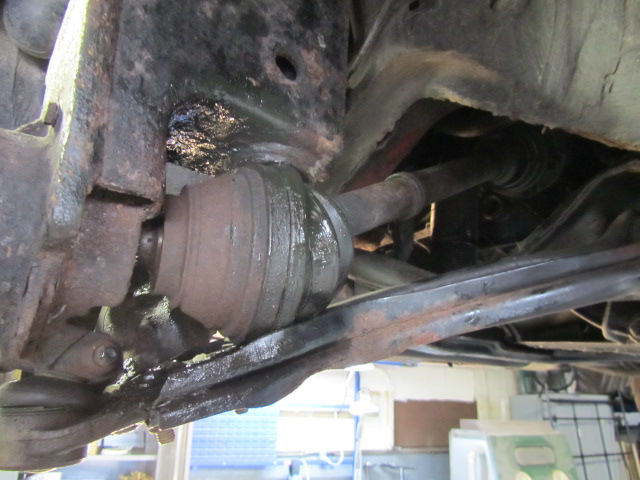
CV grease. That's what.
Oh man. Ah well. new axle, 20 minutes of a job. How hard could it be. Well, I couldn't find an axle but I did find a CV boot. No, not at O'rielly's this time but my friends at Auto Europe hooked me up with one from Worldpac. Not OE but something appropriately German. They even slapped it on for me once I got the axle out which was a bit of a trial due to the lack of space to maneuver it around.
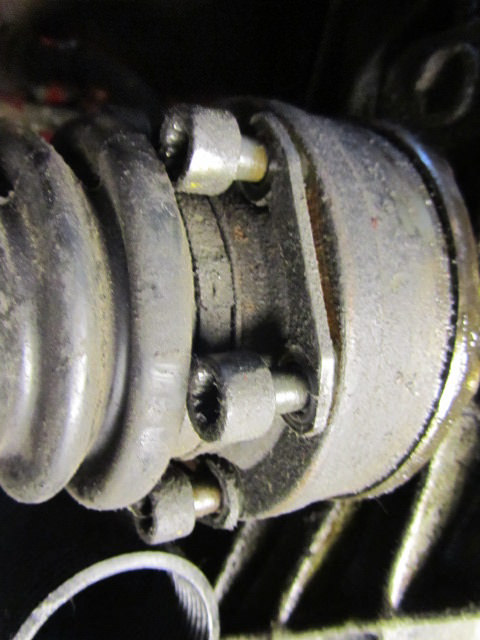
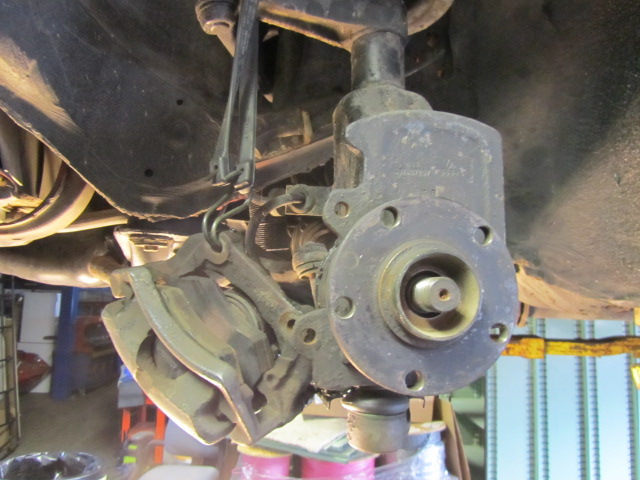
Undo these at the tranny end
Take of the brakes and axle nut
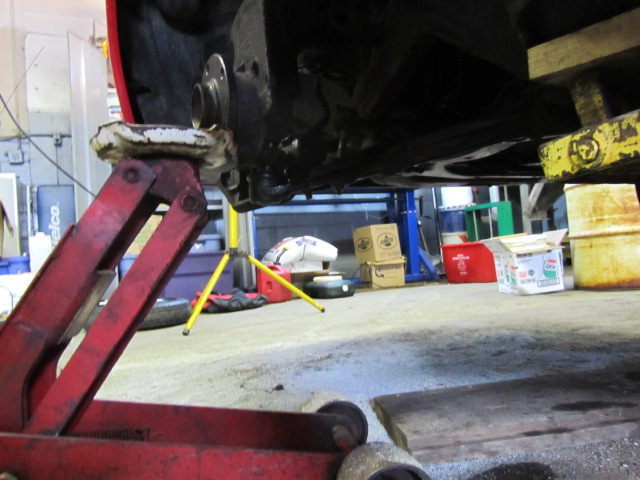
then realize there's not enough room for the axle to slide out of the wheel bearing.
Have a cup of tea and then get creative with the jack.
Voila. Off to Auto Europe with you.
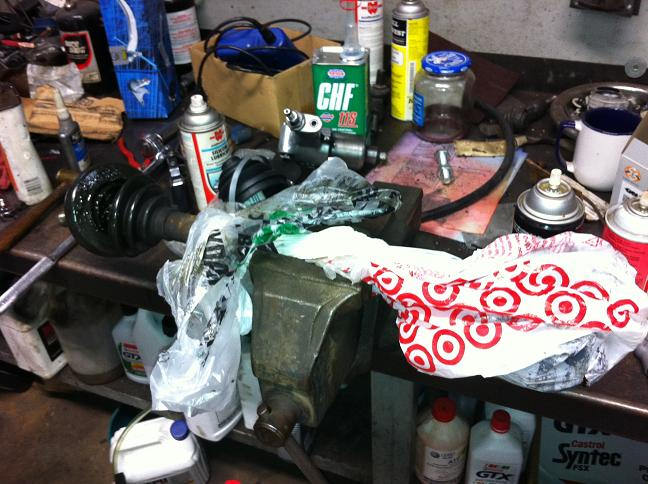
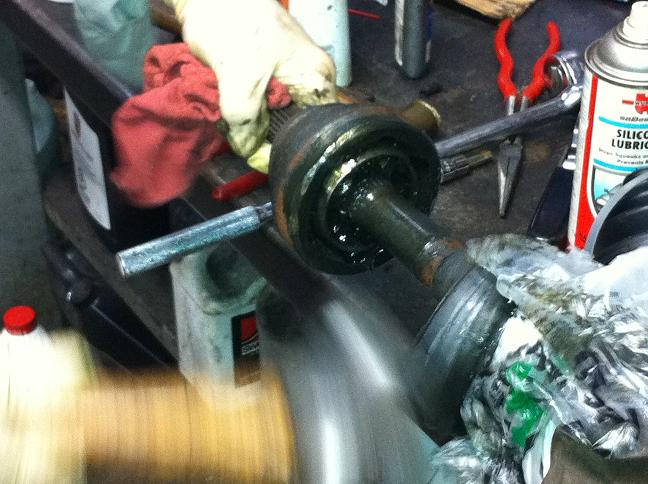
Strip the old boot. Remove the C clip and hit it with a BFH, gently of course.
Put on new boot. Run back to shop. Forget to take photo. Installation was the reverse and simple but being in there did inspire me to take on refurbishing the front suspension. So went on a quest for upper strut mounts, anti roll bar bushings, lower ball joints and even some strut inserts.
Drove the car home that night to celebrate. Look, it even made it. But there is a reason it is on the street and not up the driveway.
More on that later. I need a rest.

Thanks for sharing. I've owned two Audi's and they were great cars!
Posted by Diggymart on 12/10/18 @ 8:20:16 PM