You must be logged in to rate content!
7 minute(s) of a 297 minute read
1-13-2012
Update, but no pics.
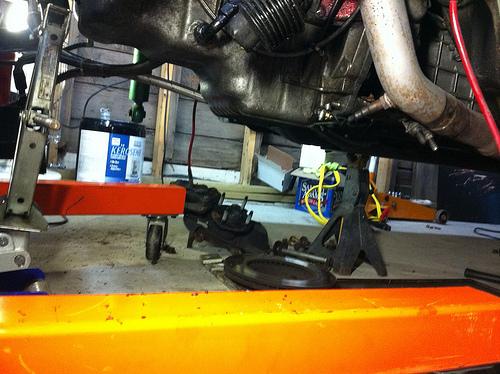
Yanked the front control arms, as well as the rear subframe. Heading over to a buddies house tomorrow morning to press out the old bushings, then dropping everything off to get sandblasted. I depowered the rack the FM way tonight as well.
1/18/2012
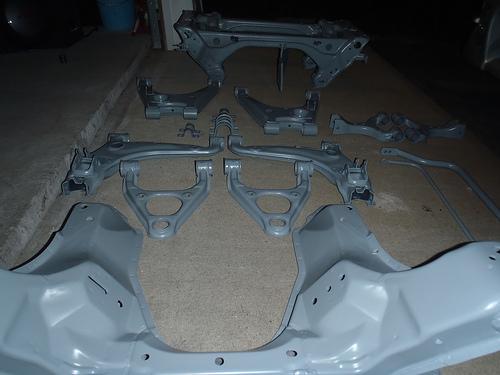
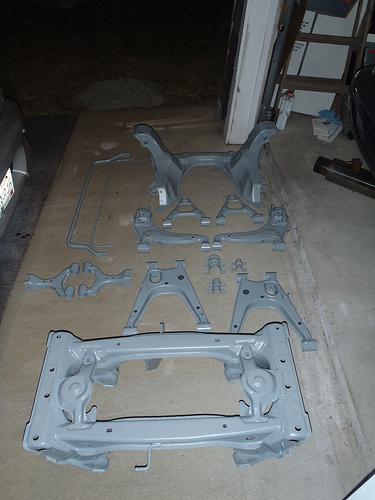
Couple pics of the front subframe removal. I'm using the engine hoist to hold the engine in place so I don't have to disconnect anything.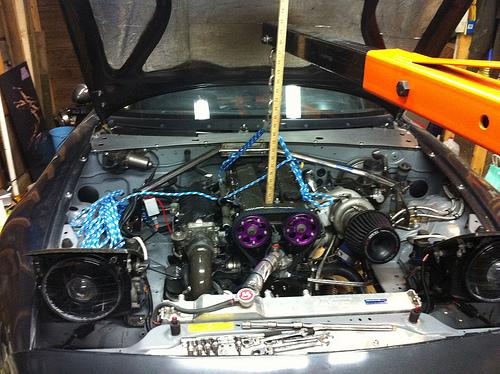
It looks very hovercraft-ish without any subframes or control arms.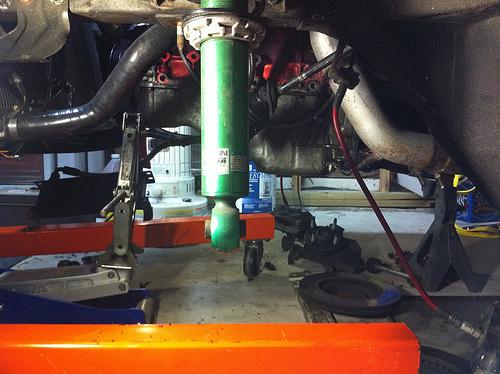
If all goes as planned I should be picking everything up from sandblasting tomorrow and then off to powder coating it all goes!
1/29/2012
Got everything back from blasting on friday, I will be dropping it all off with the powder coater tomorrow
2/7/2012
Pictures!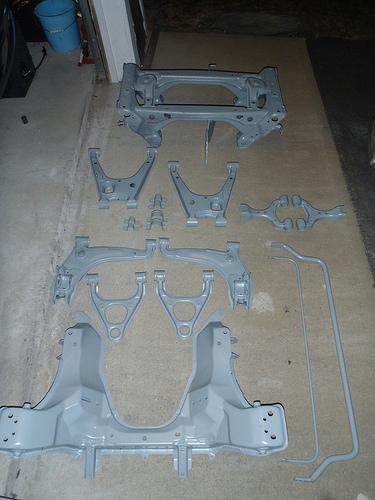
The Powdercoater used an industrial grade oil/fuel resistant, chip resistant powder- Nothing but the best stuff here 
The color is pretty much spot on with my engine bay as well (the fluorescent lighting in the garage is making the color look a bit off)
New parts!
-SuperNow FC tie rod ends
-iConcept Tie rods
-black ES poly bushings
-black ES poly ball joint boots
-949 Racing endlinks
-Racing Beat Sway bar brace
-all new OEM eccentric bolts
Once I was done admiring all the new stuff, I got to work. Bolted down the steering rack, bolted up the tie rods and tie rod ends, and put the subframe and front swaybar/RB brace back on the car
That's it for tonight.
2/10/2012
The cage works as you would imagine. It was a night and day difference in chassis stiffness. I essentially have the "street cage" as seen here:
http://www.bethania-garage.com/cages.htm
The flares are from AWR: http://www.awrracing.com/pages/miata...ody/index.html
The suspension is stiff, but not unbearable. I'm still fine tuning the dampening no it, but I am very happy with it overall.
2/29/2012
I'll just leave this here: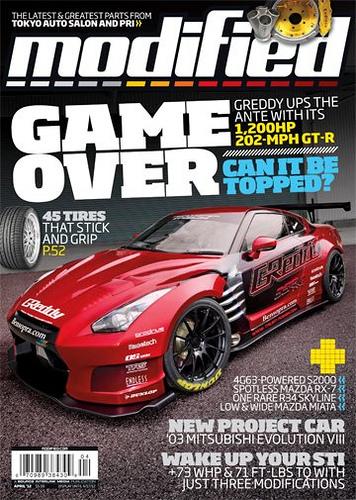
3/5/2012
Thought I'd throw up a pic as the shift knob just came in- going high class with my interior.
M-edition wooden e-brake handle, as well as a Nardi Prestige shift knob.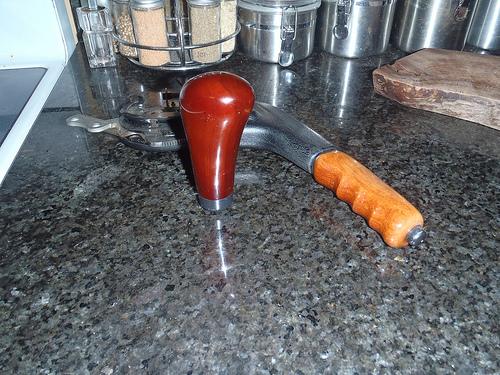
They should compliment my vintage Momo wheel nicely I think.
3/8/2012
Scanned the magazine at work:
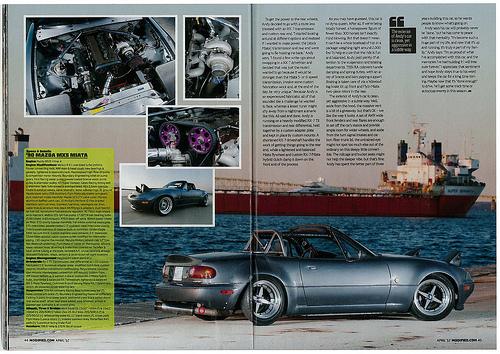
Hopefully it's decent enough to read.
3/10/2012
Made some backwards progress in the form of taking more parts off the car today.
Turns out there was a mix up with the company I ordered the bushings from, and I was only sent the rear portion of the ES bushings. I got it straightened out, but the front kit won't be here until next week sometime. So, since I couldn't finish the control arms, I went another direction with my time today.
I separated the turbo housings and yanked the ex. manifold and downpipe. I'm bringing all the exhaust components to get ceramic coated, and the turbo compressor housing is getting powder coated in the same bronze as the valve cover. That VHT spray paint didn't work out at all.
I also separated the rear diff, and will be getting the diff housing powder coated in a chrome type color. I figured it was the only thing under the car that wasn't powder coated, and since it's a pretty beefy rear end might as well make it shine!
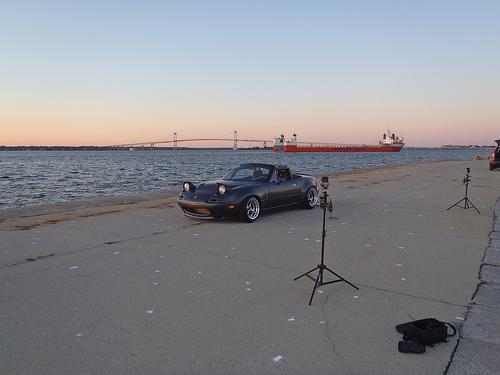
3/13/2012
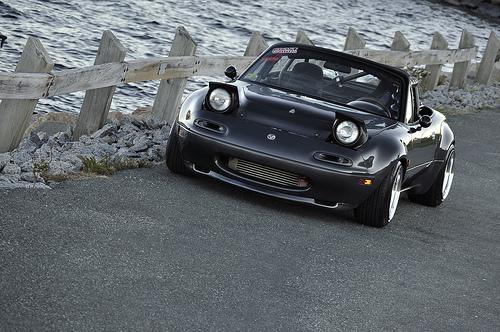
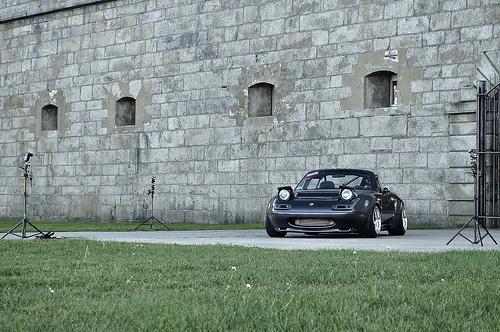
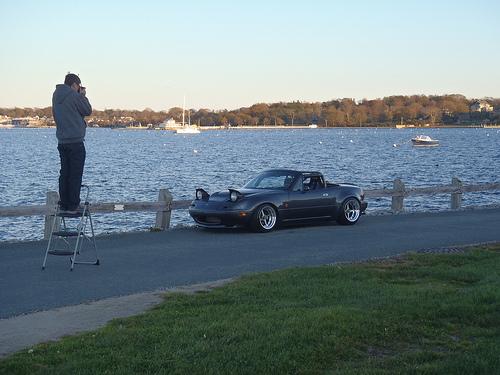
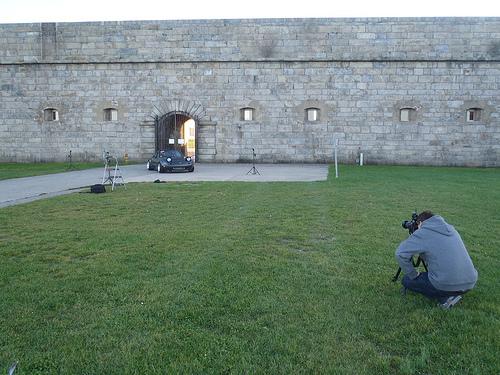
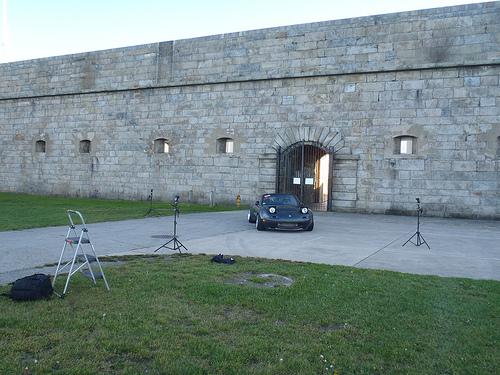
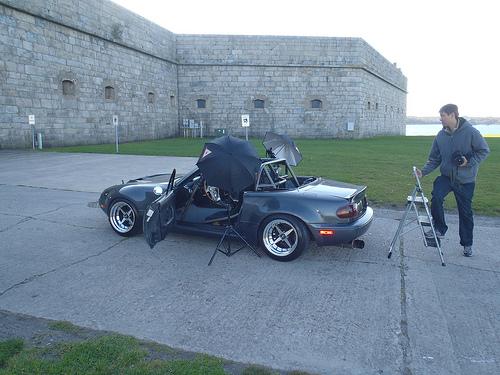
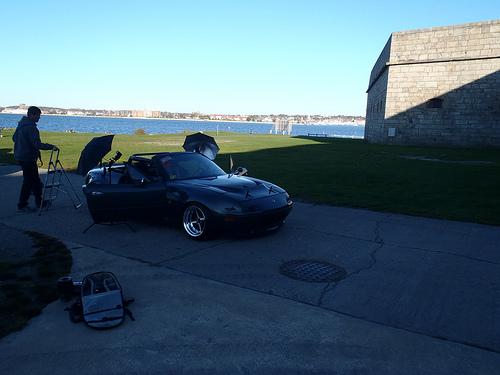
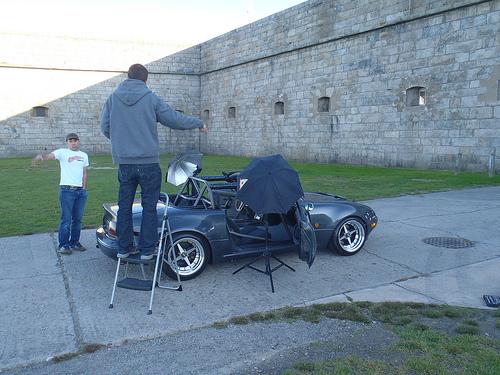
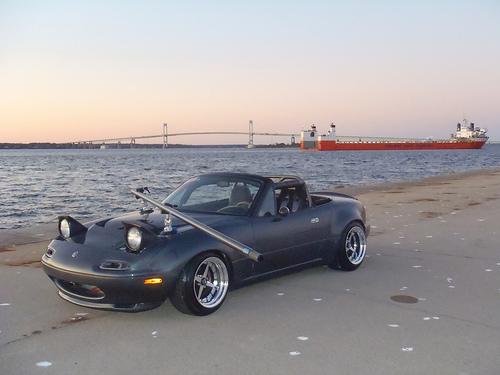
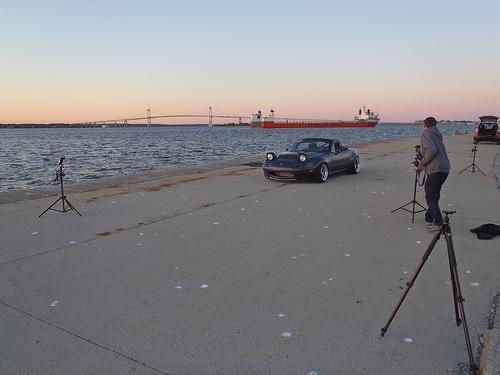
Here are some pictures from the photoshoot for Modified. All the good shots were taken by Martin Astromowicz (Astroboy), while the crappy shots were taken by me.
We did the photoshoot at Fort Adams, in Newport, RI. I got permission to go out on the grounds for the shoot.
Enjoy!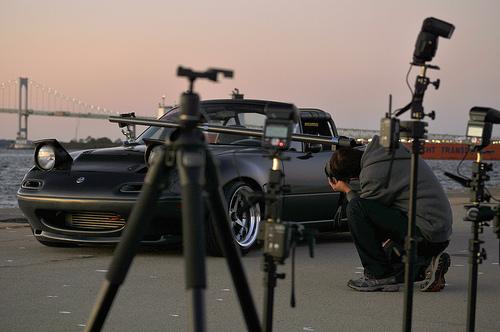


3/16/2012
Great build!
Posted by Diggymart on 1/29/20 @ 11:22:34 PM