You must be logged in to rate content!
6 minute(s) of a 297 minute read
4-7-2008
Not much done to my car this weekend, although we got my buddy Tom's buggy started which was a huge accomplishment. The last time it ran it was a 1989 toyota pickup truck, and it was 2 years ago. We stripped the harness down to bare necessities, and after a pesky grounding issue with the afm/fuel pump, and a bad connection with the starter solenoid, it fired right up! I forgot the camera, so no pictures  . I know, I'm slacking....
I did manage to install my rear coilovers though. I've been stockpiling parts, so I'll post a few of the recent arrivals  .
.
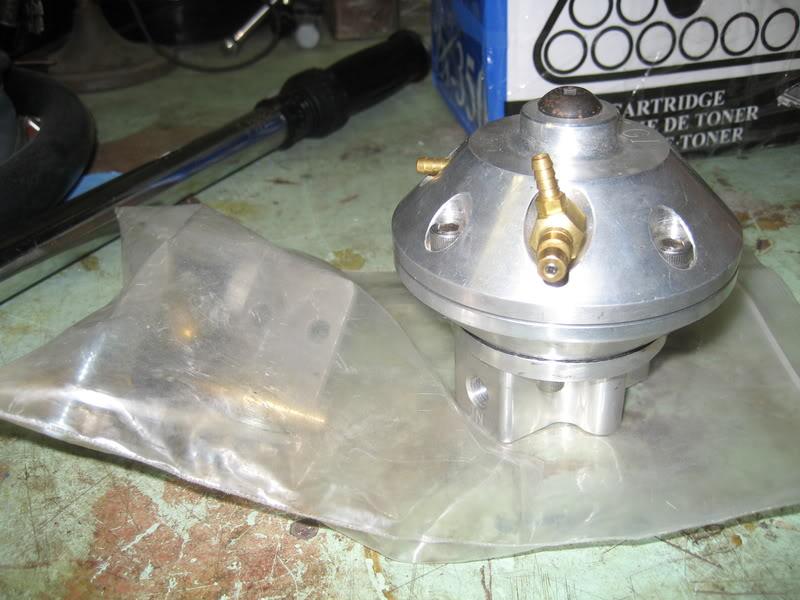
Begi adjustable FPR
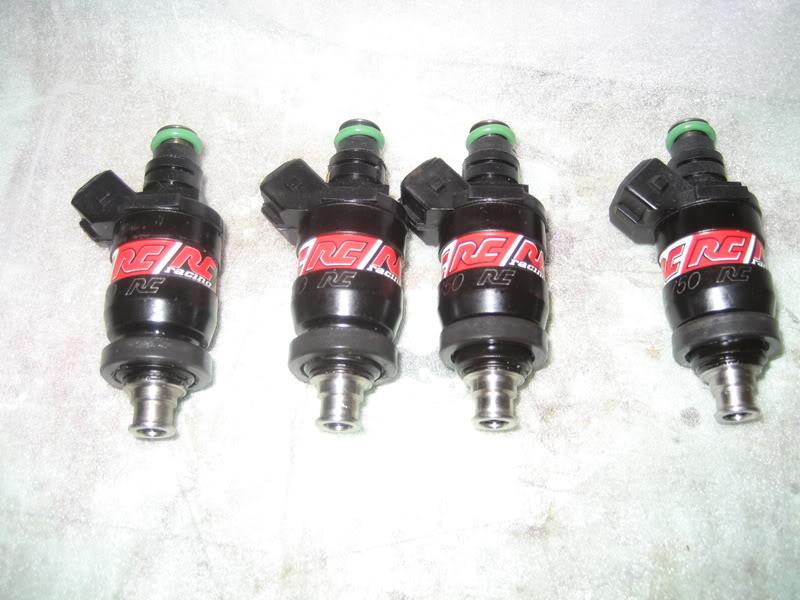
RC 750cc low impedance injectors
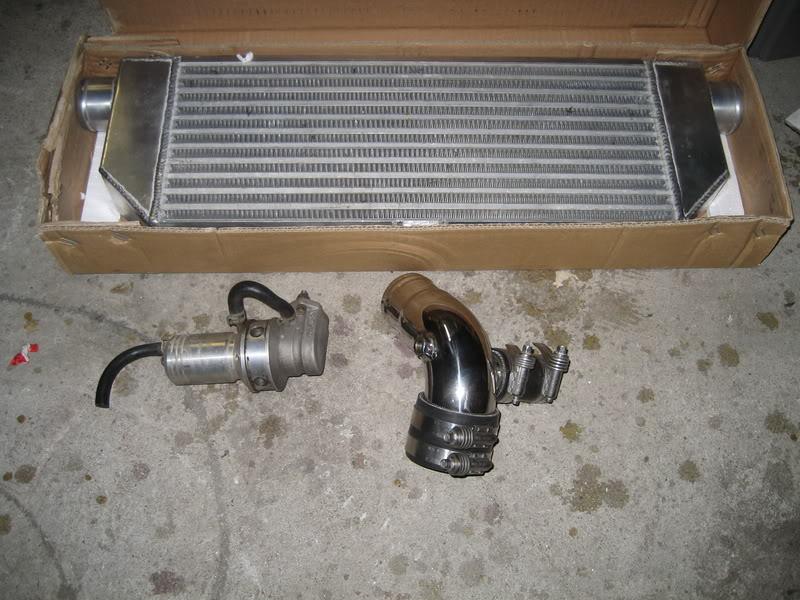
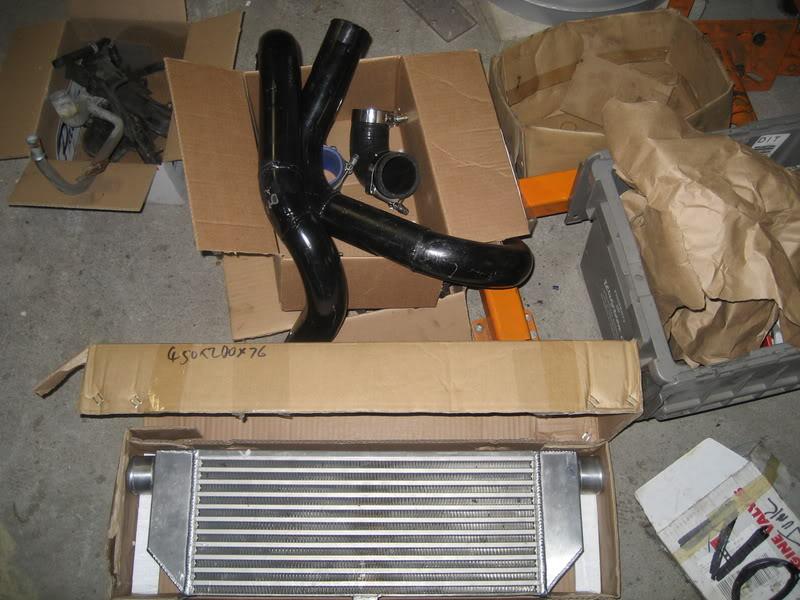
ETS intercooler (22x8x3" core), Apexi BOV, Flyin Miata intake elbow
2.5" piping
ETD DIY turbo manifold
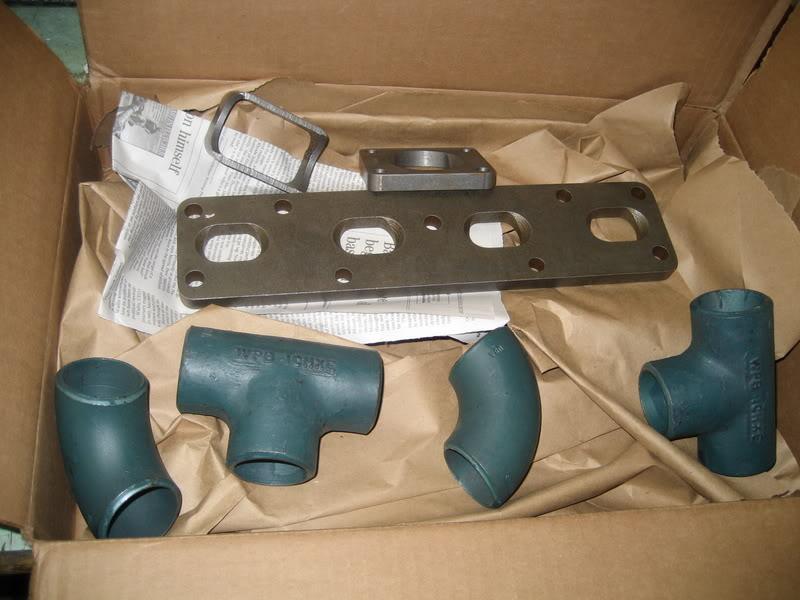
I'm going to have to port the manifold flange to match the ports on the motor- can't have those weenie holes!
4/9/2008
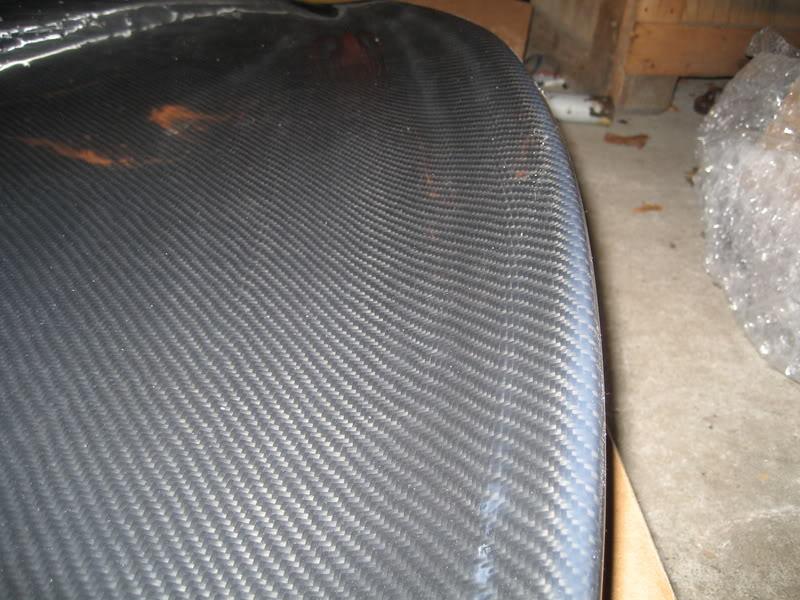
More parts, this time, carbon goods
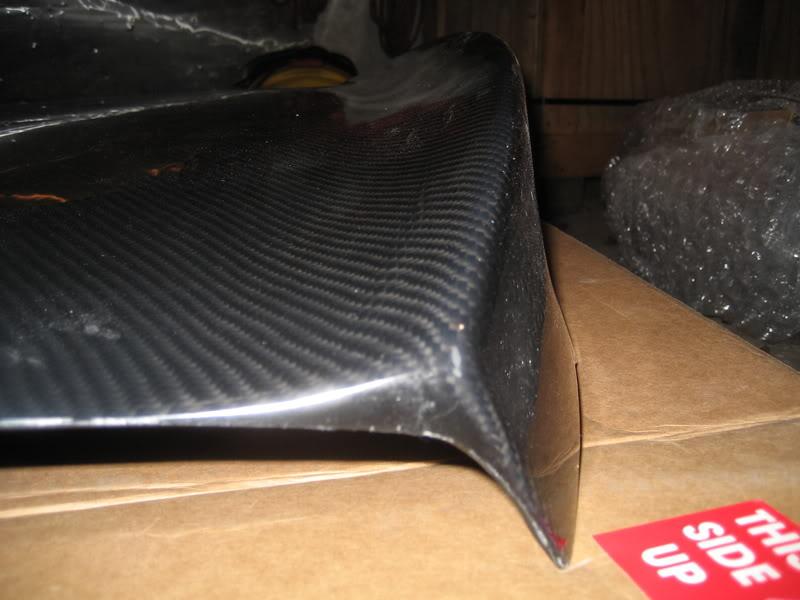
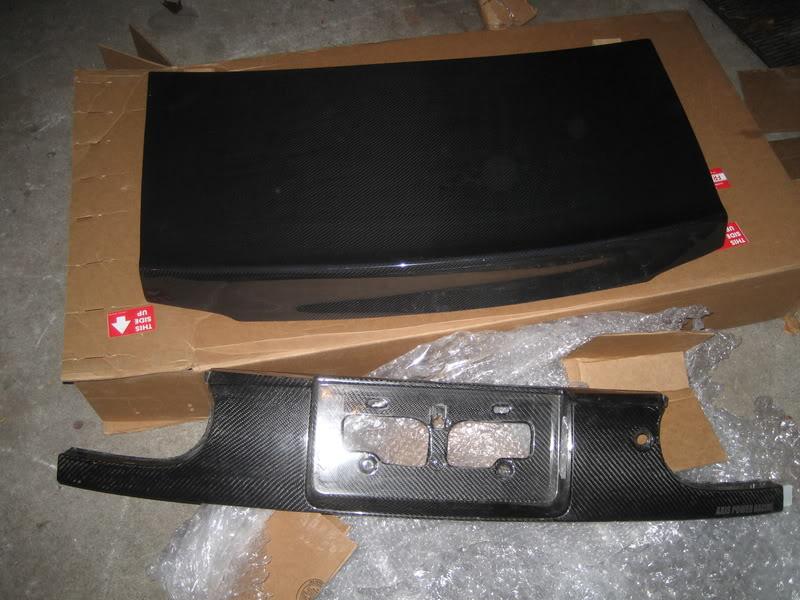
Autokonexion came through big time for me with a trunk- what a work of art!!!! I'm so impressed with the work that went into it. It is absolutely perfect.

Nice shot of the integrated duckbill wing (oh I'm in love \/ )
I had this hiding in storage, but I thought I would bust it out, I was in the carbon fiber mood
Axis Power Racing license plate trim:
5/16/2008
Got a little bit done, blew up the transfer case in my jeep so that ate up a lot of my time.
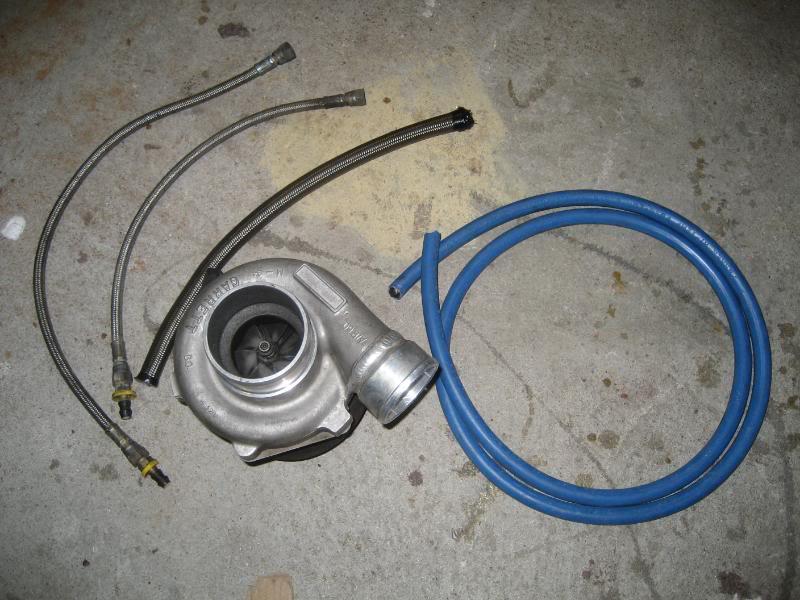
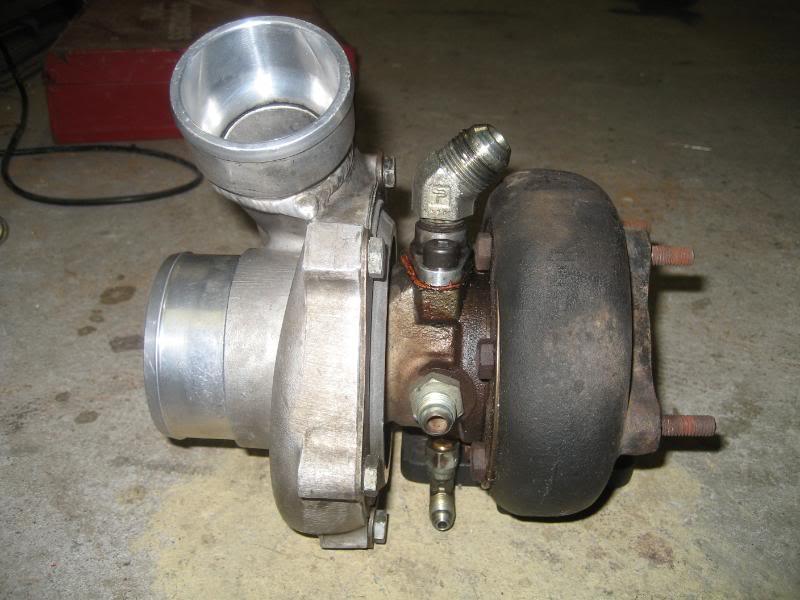
The turbo arrived. GT2871R, .60in, .63 ex
My friend with the buggy also got it all finished, we went for a victory lap in his backyard...here's a pic:

he's been working on that for the past 2 years, this is dope.
Installed my carbon fiber trunk...


and the hood too
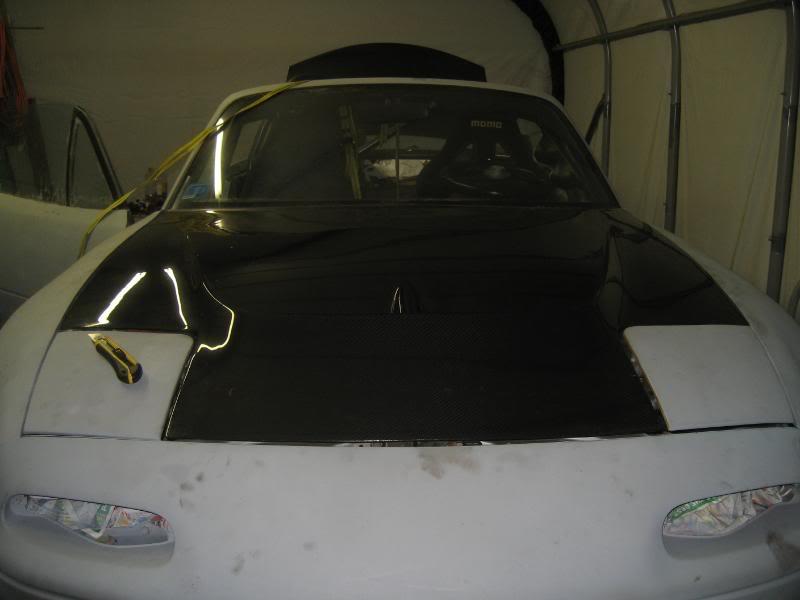

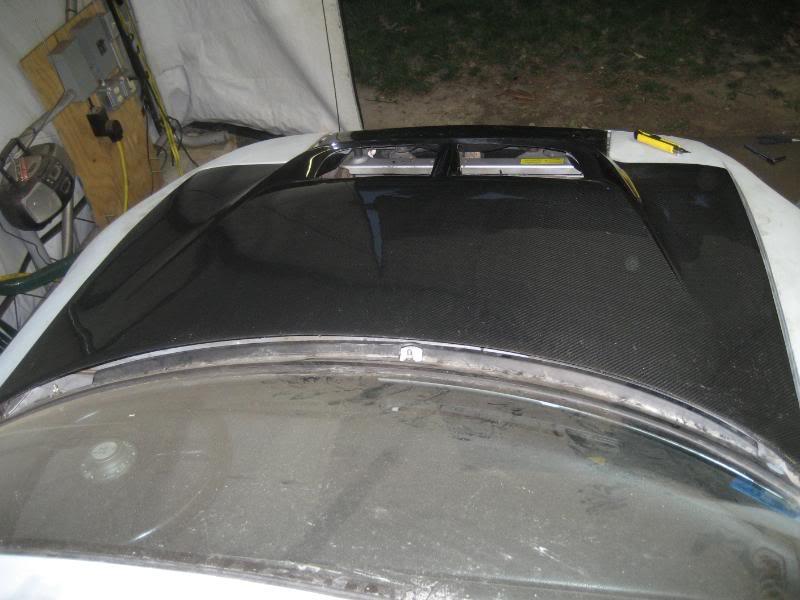
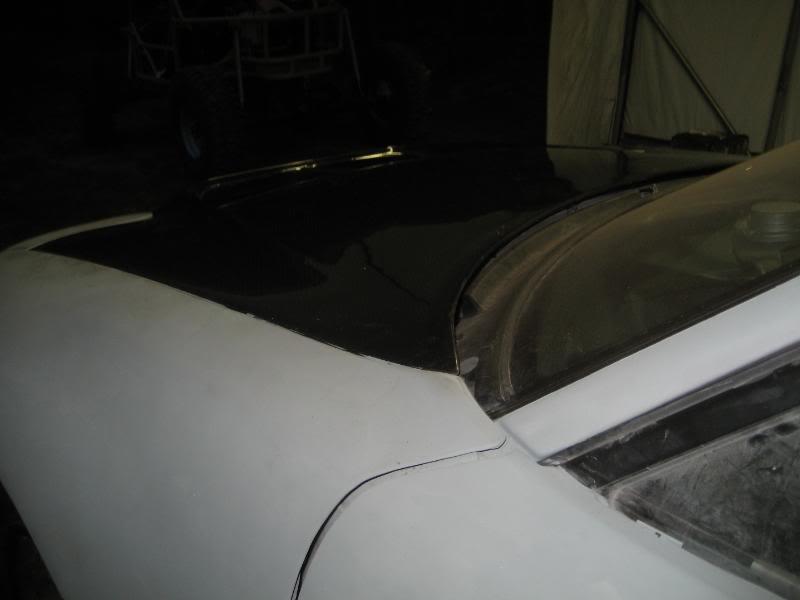
Neither one are bolted down completely, and I will have to tweak the mounts to get them to sit properly, the hood was hitting the bump stops, and I don't think it was latched in the pictures either. I'm very happy with them though, they are great products.
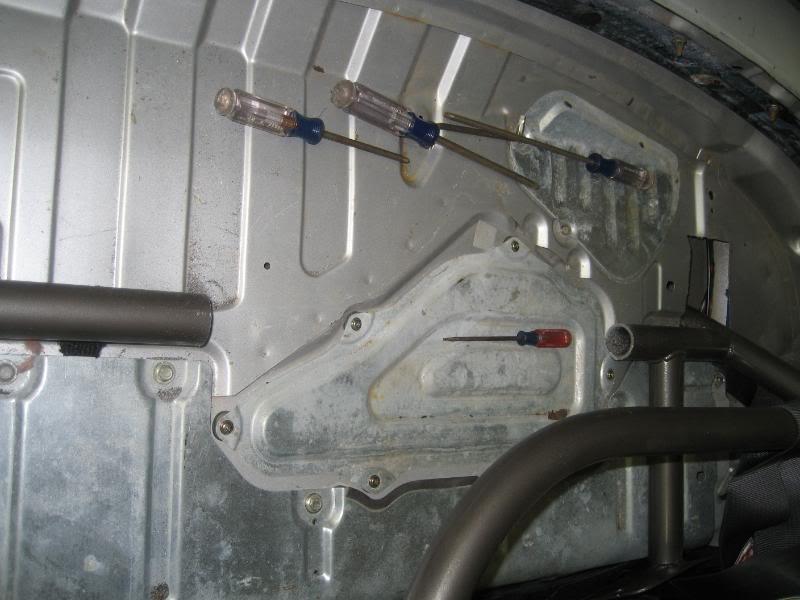
I went to install my new fuel pump (walbro 255) and realized that the lower bar of my cage was in the way. There was no way in hell I was going to take that out again, so I just got the sawzall and cut it. I'm going to make some slip joints and bolt it back in place in case I ever have to get to the fuel pump again. Here's a pic of the cut, I forget to take pics during the fuel pump install, but that's not exciting anyways
That's it for now, it was a very lazy build day, I'll admit it.
7/10/2008
I know it's not much of an update, but I have been getting things done. I haven't remembered the camera the past few weekends I've been working on the car...my apologies. BUT, I do have a few pics for you. My rear wheels just came in today and I am so impressed with them that I just had to share....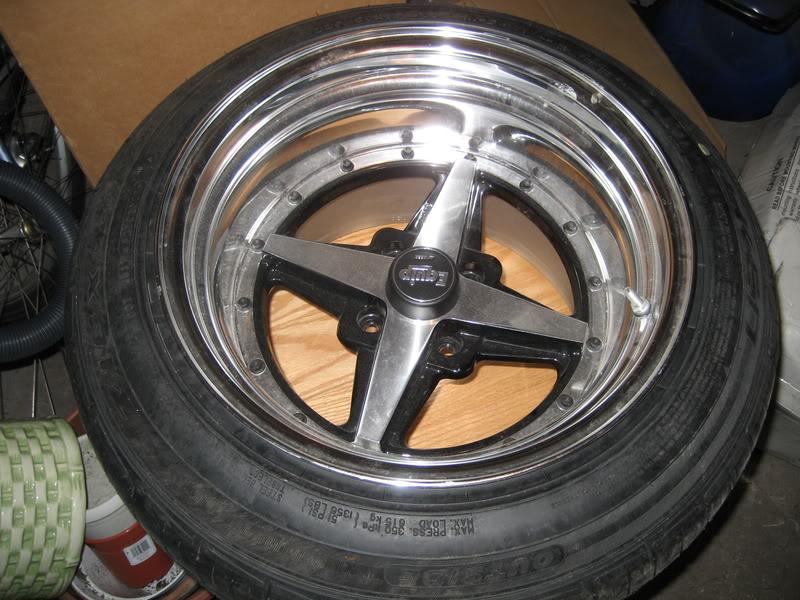
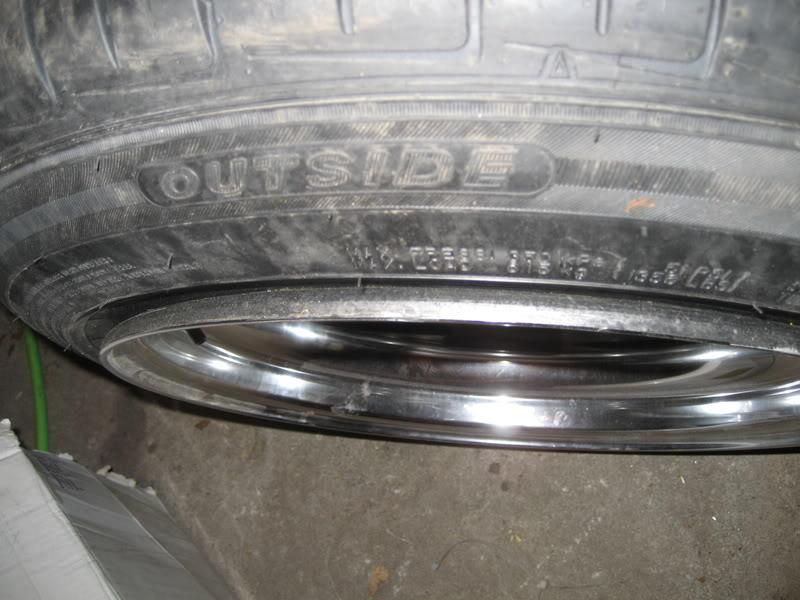
Work Equip 01s! They are 15x11 0 offset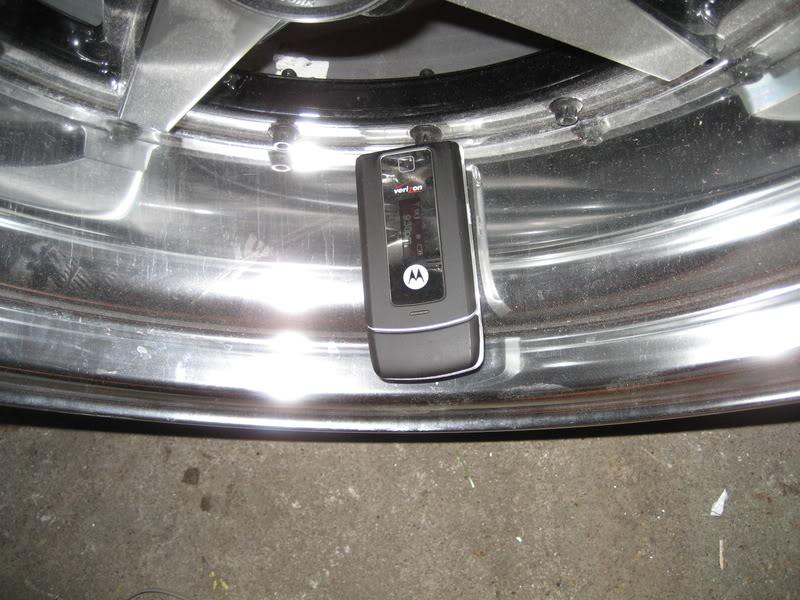
Tires are Falken 225/50/15s- the stretch looks sick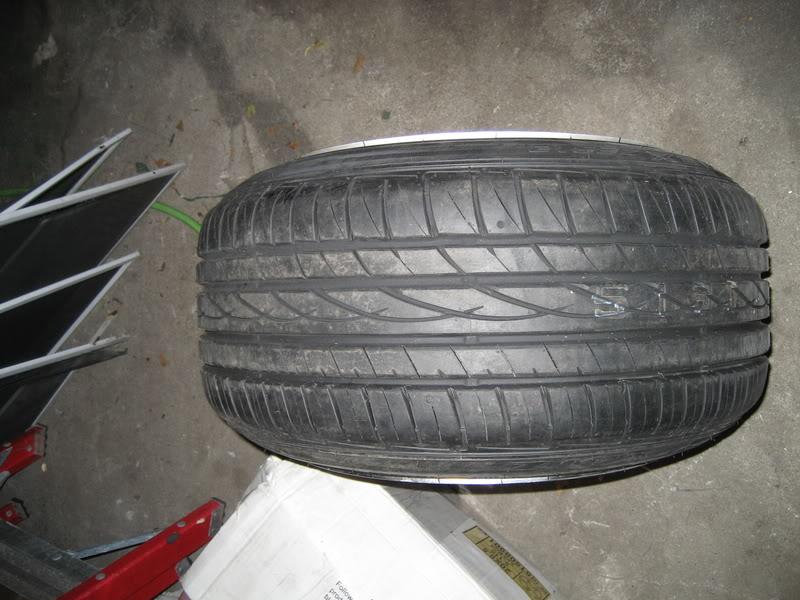
Another big thanks goes out to Autokonexion =D>
Great build!
Posted by Diggymart on 1/29/20 @ 11:22:34 PM