You must be logged in to rate content!
6 minute read
Muffler Sound Isolation SUCCESS, :) Heat Shield Modification
Compliments of mx5mia @ www.miata.net
Before I say "What" I did, let me explain "Why". I have found I am terribly annoyed by the BASS sounds that have come up thru the back end of my 2002 Miata when I have an aftermarket Muffler on it. I used to play a trombone, and had a good ear for pitch. The bass sounds just drove me nuts.
I put self stick sound deadener on the bottom of the trunk floor, under and on top of the package tray, and behind the seats. I also put this in the 2 side compartments of the trunk, under the battery, etc. I also stuffed foam & pillows in the tunnels on each side of the gas tank. This still let enough bass sounds thru, so that my Racing Beat Single still annoyed me somewhat.
My thoughts next went to the heat shield above the Muffler. I thought if I isolated the heat shield from the trunk floor, I might isolate some of the Bass sounds that come up thru the trunk. The heat shield seemed like a big EAR. to transfer the sound up into the car.
WOW!! SUCCESS!! The project I just completed did as much to deaden the Bass sounds, as all of the other work I did, all put together!!! 
This is a 2 part mod. One part is to isolate the heat shield, and the other part is to "stiffen it".
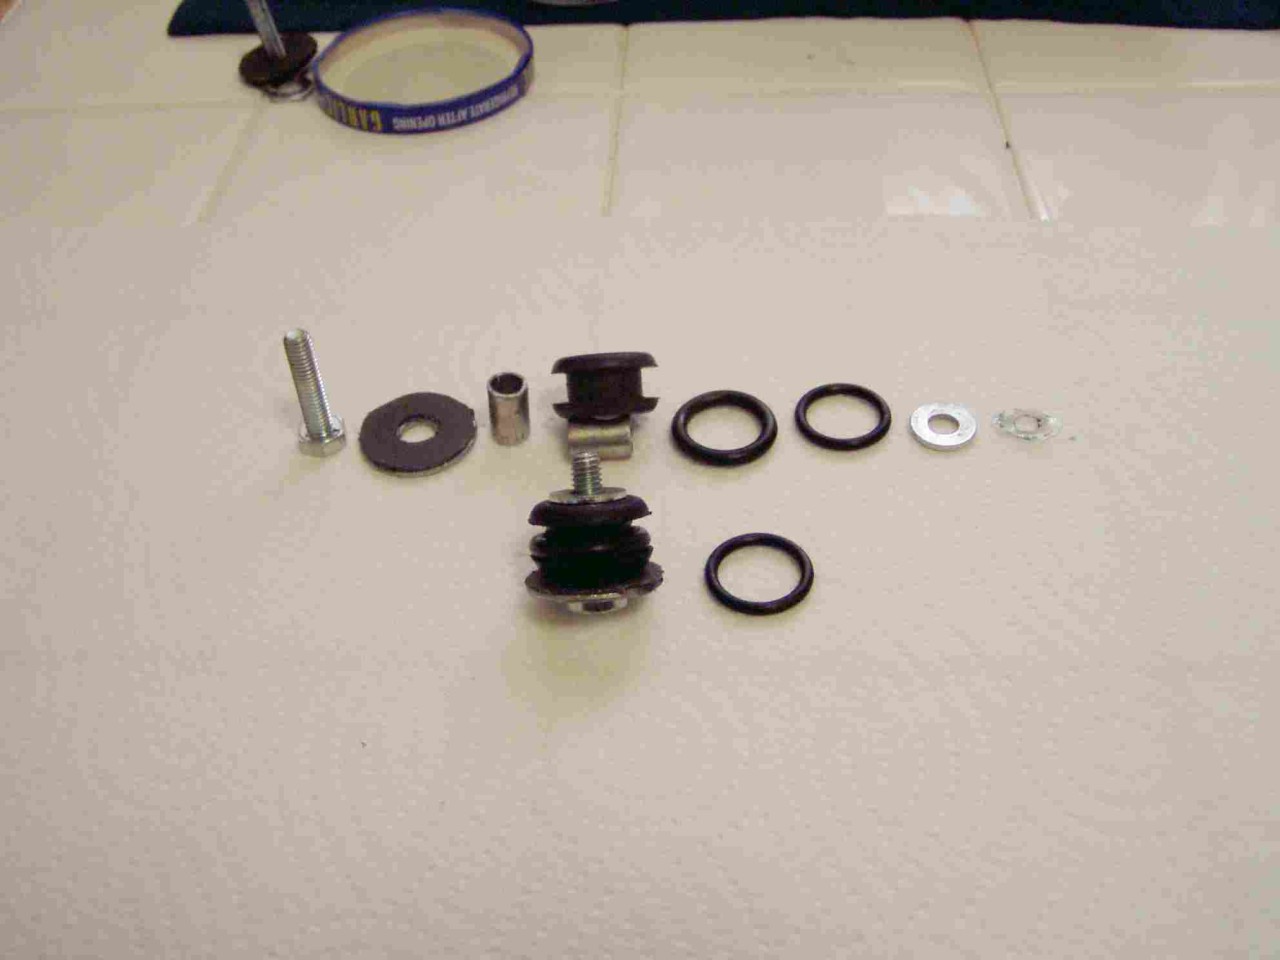
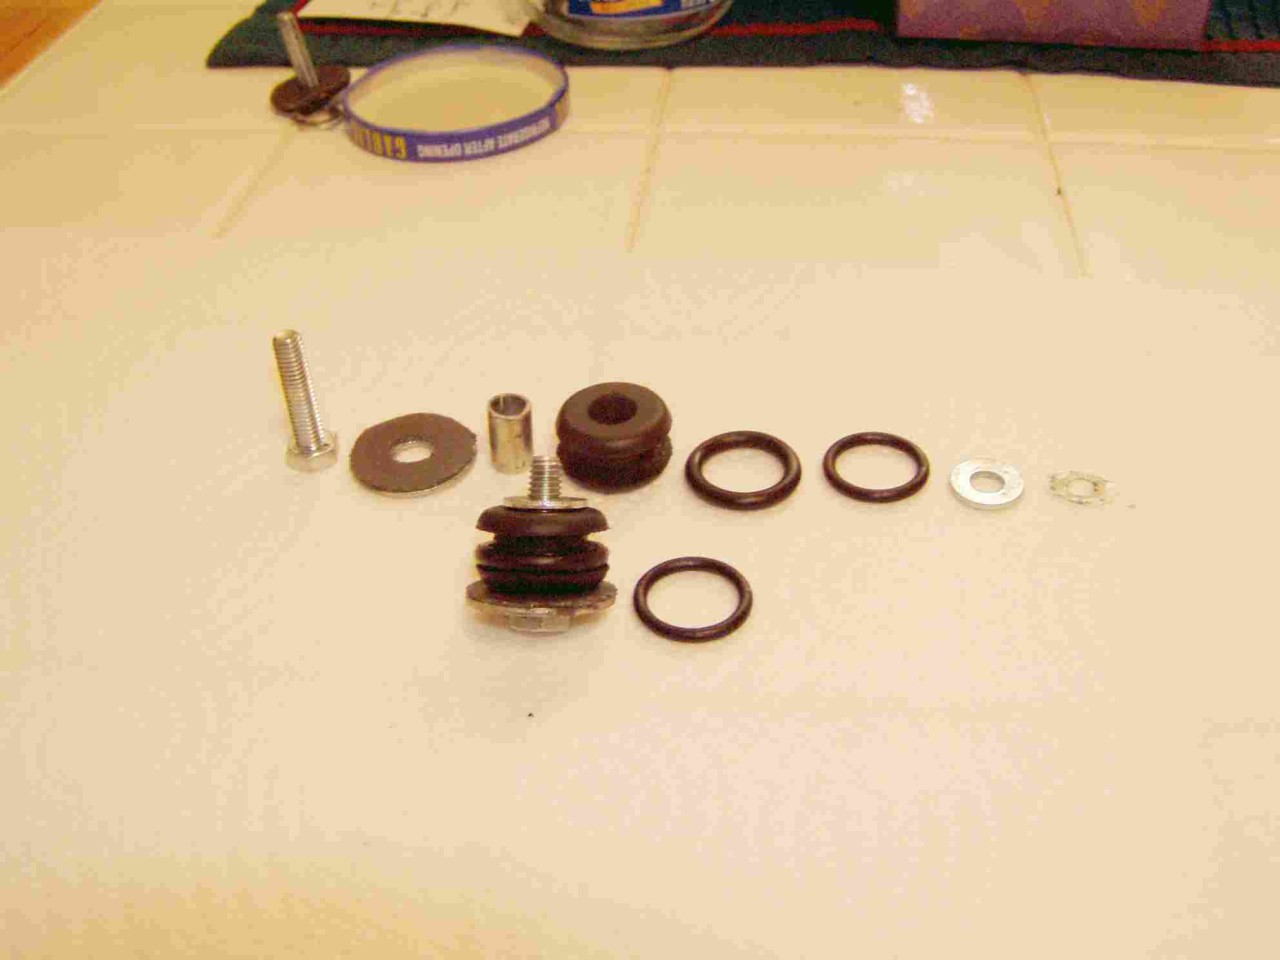
I went to the hardware store, and made isolators so that the heat shield metal did not touch any of the trunk floor metal. The 2 pictures below shows the components of the "Isolator". (pardon my photography)
Parts List:
4- rubber grommets - 78"OD. 3/8" hole to mount it. The thickness is 1/2", and the grommet is made to fit IN a 5/8" hole. The slot around the circumference of the grommet is 1/4" wide.
4- M6 x 1.0 bolts 1" long
4- 1/4" Fender Washers, with gasket Material glued on 1 side to insulate muffler heat on the washer, away from the rubber grommet
4- 1/4" ID x 3/8" OD X 1/2" long sleeves. These are so I could tighten the bolt without squeezing the grommet
4 - 1/4" ID regular washers to go between the sleeve and the trunk floor, so the sleeve does not slip into the metal of the floor at the welded-in nut. (a #12 washer works better if you can find them)
4 - 5/8" ID x 1/8" thicknes O-Ring
4- 5/8" ID x 3/32" thickness O-Ring
First you open the 4 mounting holes in the muffler heat shield to 11/16". This lets the heat shield expand or contract as muffler heat affects it. A step drill works best
Then the rubber grommet slips into the 5/8" hole in the heat shield. Put a 1/8" thick O-Ring on one side of the heat shield, and put a 3/32" O-Ring on the other side of the heat shield. The heat shield and the 2 O-Rings fill the 1/4" groove in the Grommet. I did this to get maximum rubber on each side of the heat shield.
I put the bolt thru the 1/4" fender washer with the gasket material against the Grommet. Then the 1/2" long sleeve goes thru the grommet. and the M6 bolt goes thru the sleeve. The small 1/4" washer goes on top of the grommet. If you push a smallpiece of card stock, or a thin plastic washer on top of the small 1/4" washer, it will hold everything together while you put it up into place. Get all 4 in place before you install it back under the trunk.
Heat Shield Mod:
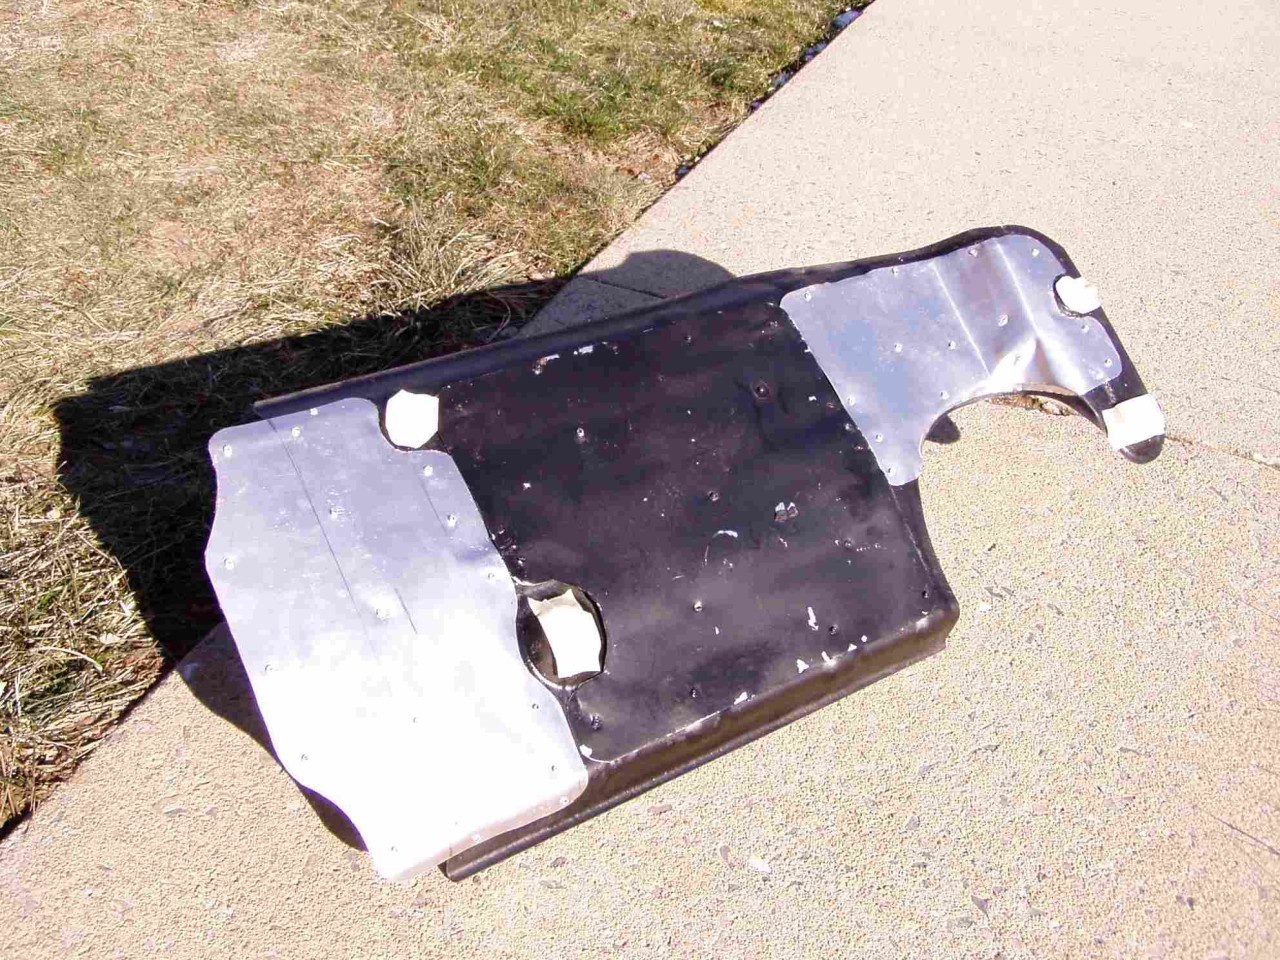
I was going to glue two heat shields together with Silicone sealer, but this was costly. So I cut pieces of Thin Aluminum Roof Flashing, and Pop riveted it onto the top/back of the heat shield. I used Hi-Temp RTV Silicone Sealant between the top of the heat shield, and the aluminum flashing. Then I Pop-Riveted the aluminum in place securely. I didn't want it to vibrate also!
Look in the picture pelow. I actually have 3 pieces of aluminum flashing on the heat shield back. I put the middle one on last weekend (look closely), and today I added the 2 end pieces. Then I sprayed the entire back with Sound deadening Undercoating spray. This made the entire heat shield stiff, and the rubber silicone between the 2 sheets of metal deadened any sound it would make if you bang on it. (I have tape over the holes in the pict. as I was ready to spray it)
If you have any questions, just ask. But I am telling you. This made such a difference., I cant believe it! NOW, I can enjoy the sounds coming "out" of the tailpipe, and the radio!
Good diy!
Posted by Diggymart on 11/22/23 @ 12:26:56 AM