You must be logged in to rate content!
11 minute(s) of a 33 minute read
5-9-2011
another small update. been busy so i have just beed doing little by little when i get the chance:
This is normal. although, most arent as bad as mine. just a little cutting, and ur good.
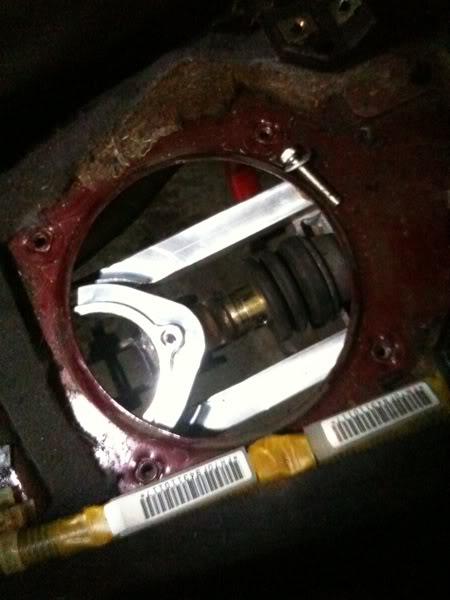
Then it looks like this when its all in.
7/16/11
FINALLY! got more parts in the mail and this beast should be driving very soon!

12/13/11
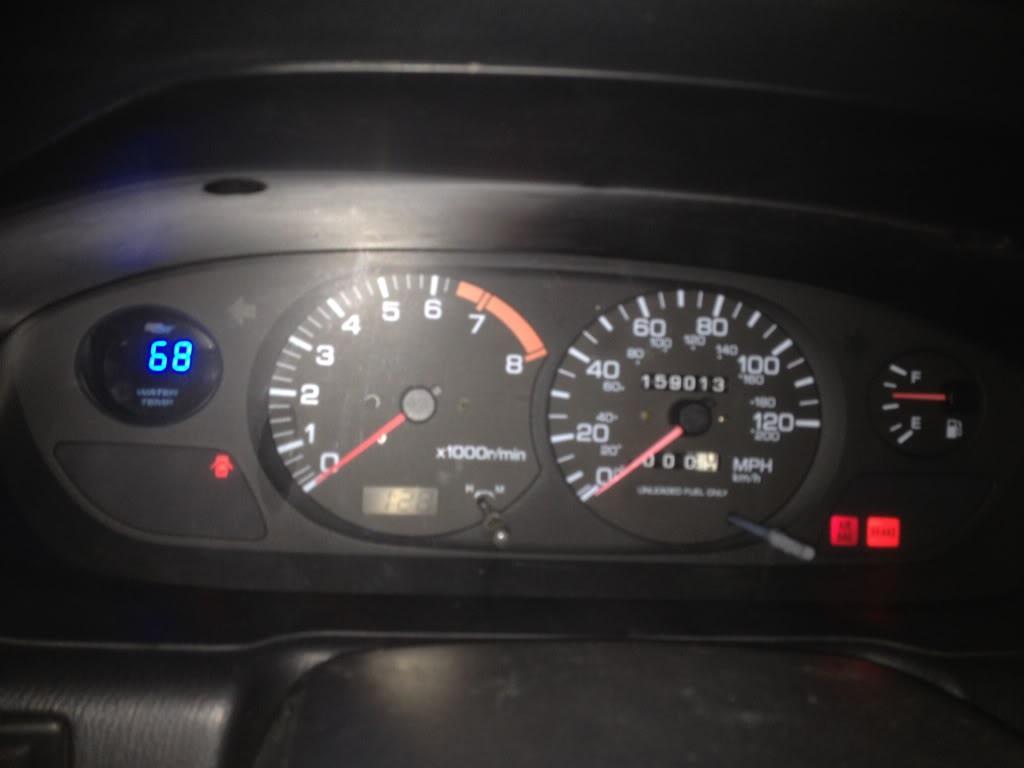
so the car is done and i have been driving it. we ran into all sorts of problems. the fuel rail adaptor from z-fever leaked fuel so we had to re-weld the flanges. the air intake they made me would have dumped the filter right into the fender and p/s rez. my Y-pipe that they made me did not bolt up to the headers that they also made, and it was too long to bolt onto the cat. i had to take all these problems to a local shop so they could basically rebuild all these parts. Z-fever also made an adapter to allow my speedo and stock tach to work, and it kinda does. every once and a while the tack will drop to 0 then bounce back up to the engine run speed. the speedo is a nightmare. the first day, it was off about 20 mph, and the past two days, the speedo hasnt worked at all.
other than all that i am having a blast driving it! I still need to reassemble my dashboard and put my hood back on lol but she is sure drivable!
1/3/12
wired in my own temp sensor. took the position of the stock one.
some soldering. I didnt want 12 miles of wires going to something that gives the same signal that these locations gave.
It works! didnt have the sensor wired yet, but it is now. It works perfect too.
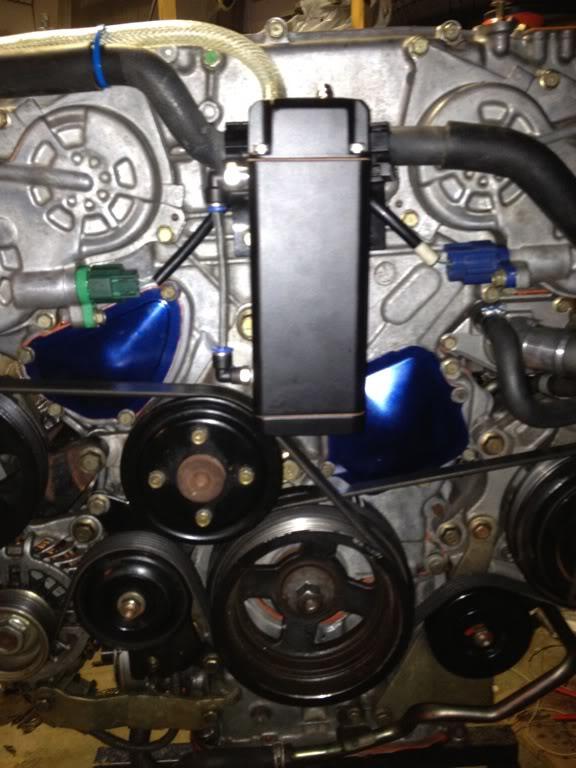
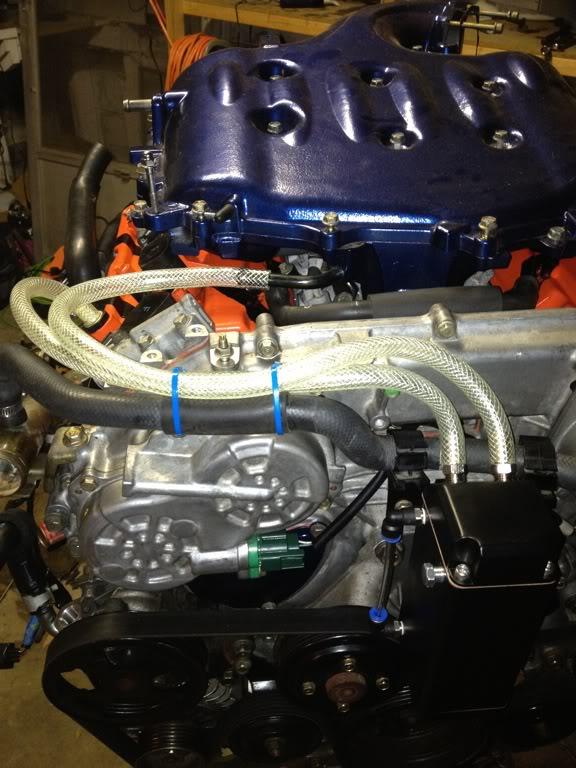
Got the plenum powder coated.
The lighting sucks in this vid, but im tired and not shooting another one tonight. maybe later this week.
http://api.viglink.com/api/click?for...13563151244047
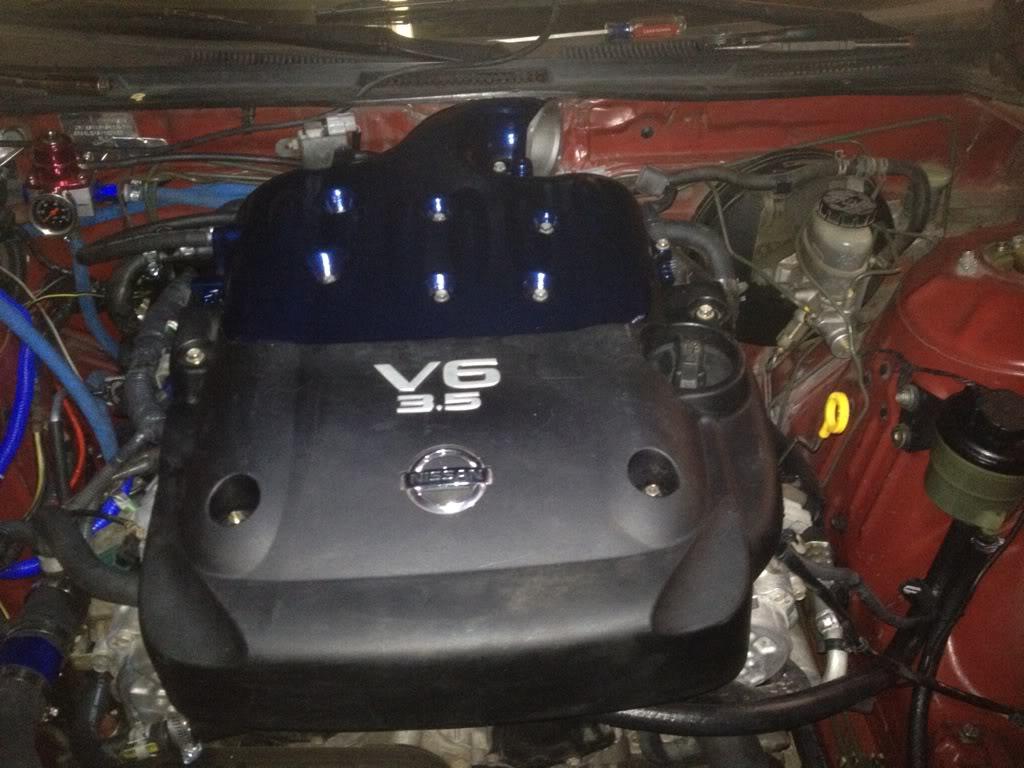
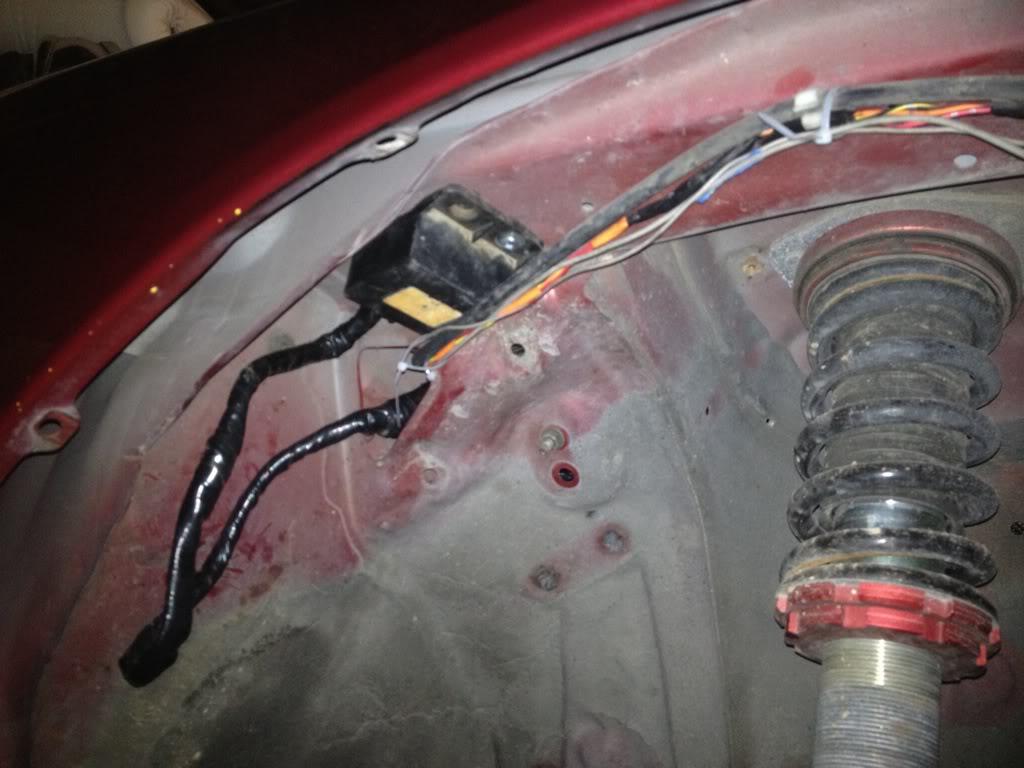
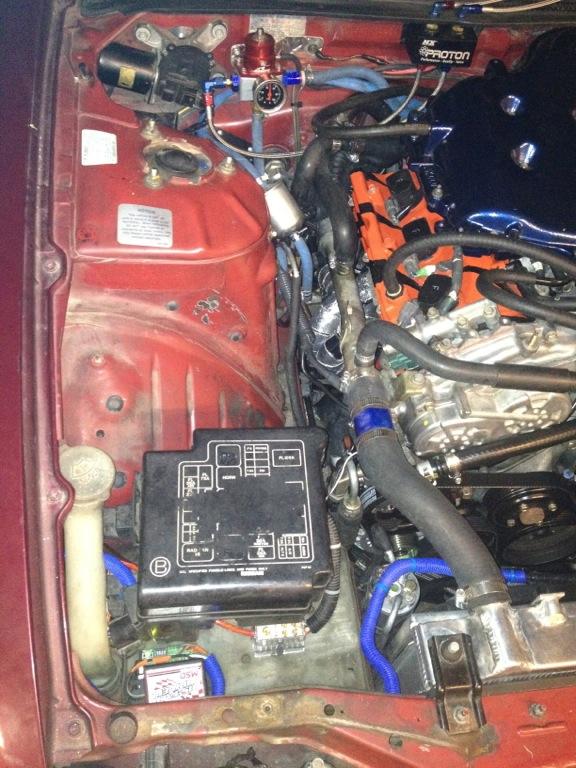
god i am looking at my engine bay pic.... Its a wiring nightmare on the left. I should clean that up some huh.
Oh and i will get a pic with the intake on too.
vid of engine running:
http://api.viglink.com/api/click?for...13563151593508
2/4/12
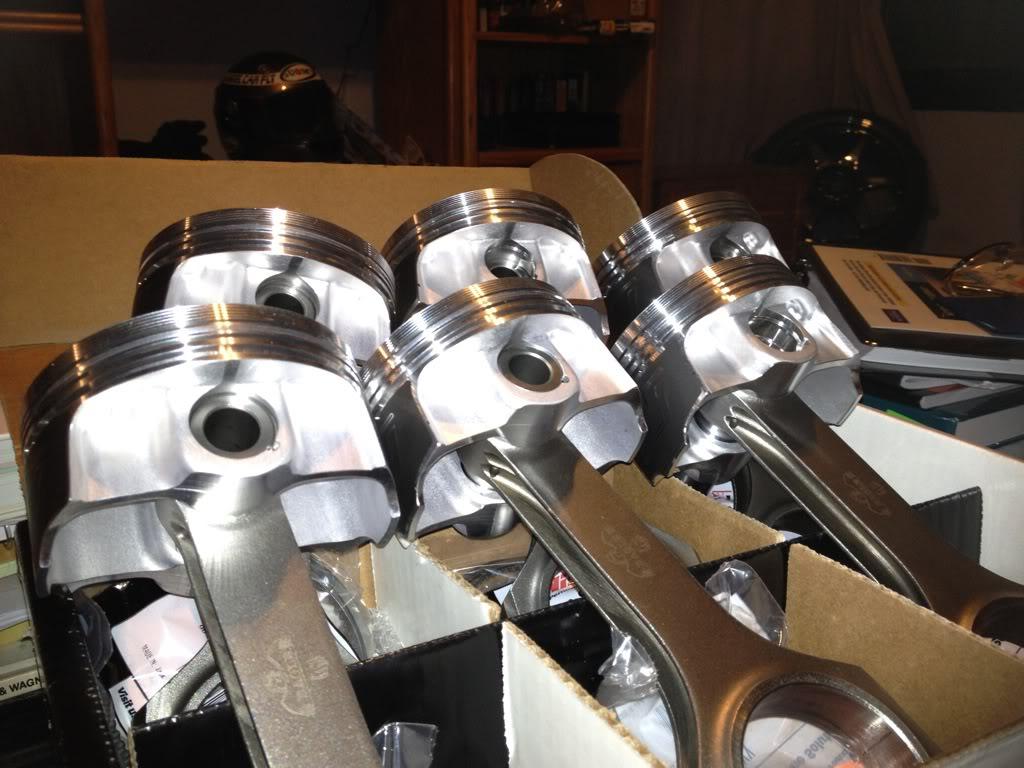
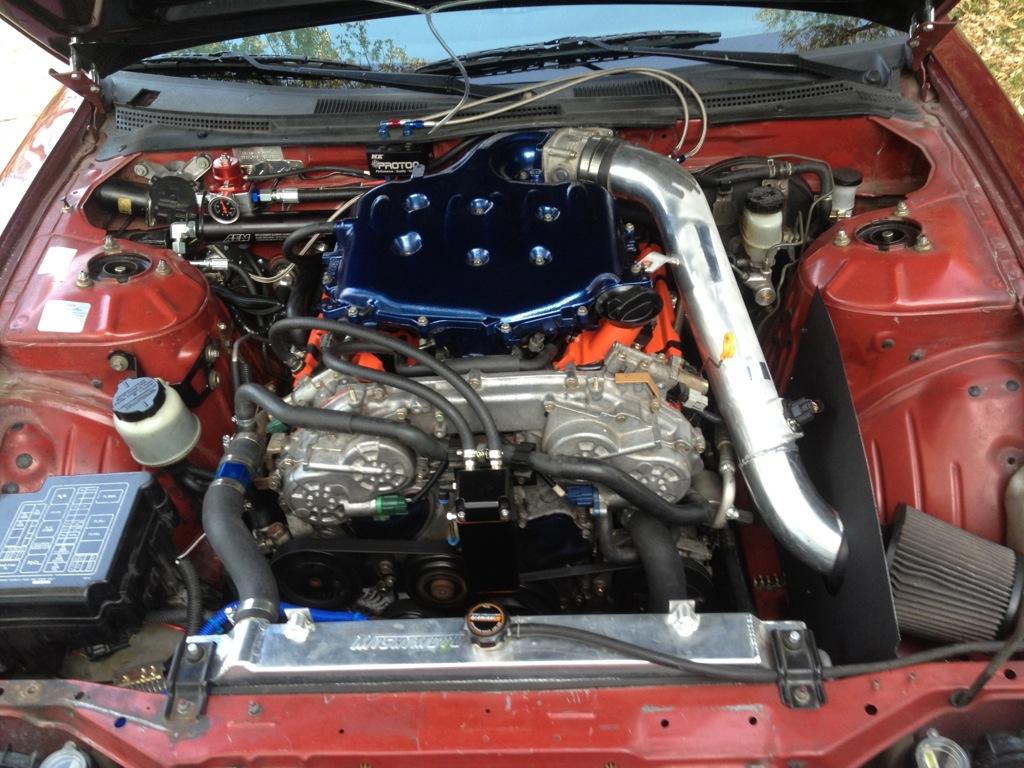
So I fell victim to the revups oil consumption. pulled the motor out. doing FULL build. 96mm sleeves, weisco pistons (11:1 comp ratio), eagle h beam rods. taking the rotating assembly to the machine shop tomorrow morning to get balanced. heads have a 5 angle valve job now, both block and heads machined for a half inch studs. afterwards, it will be all set to go for a 150 shot of juice, and maybe a supercharger in the future
3/14/12
FINALLY got some work done on the car. life can be distracting sometimes.
96 mm Darton sleeves!
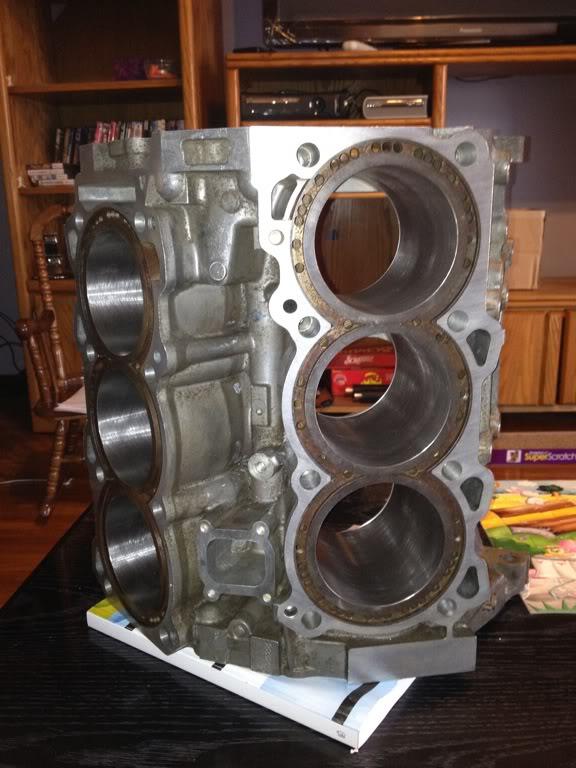
Wiseco pistons to match, and eagle rods to throw
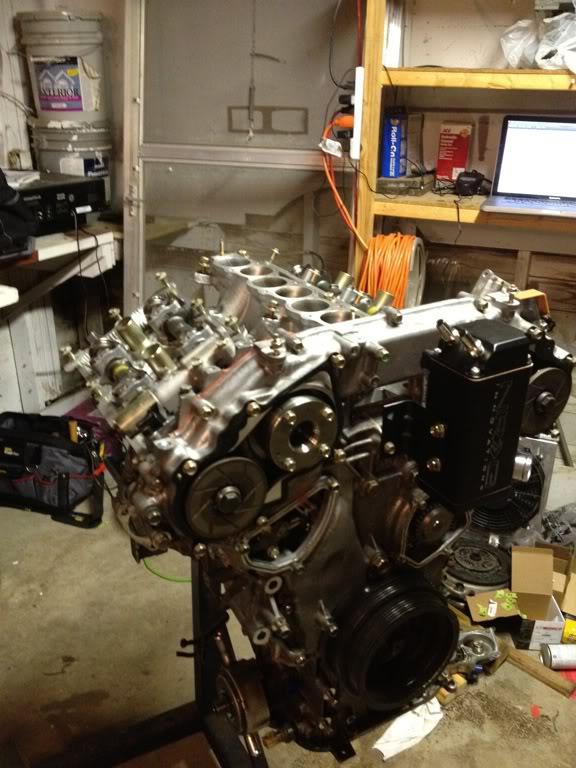
Over the past week, I got the block completely assembled.
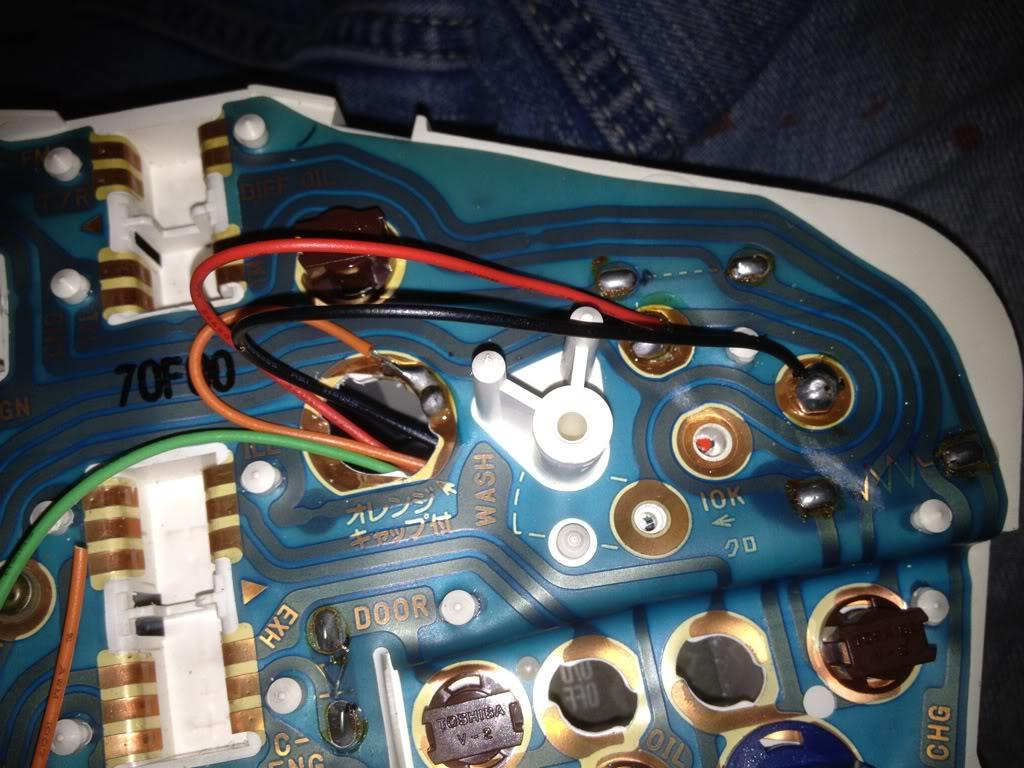
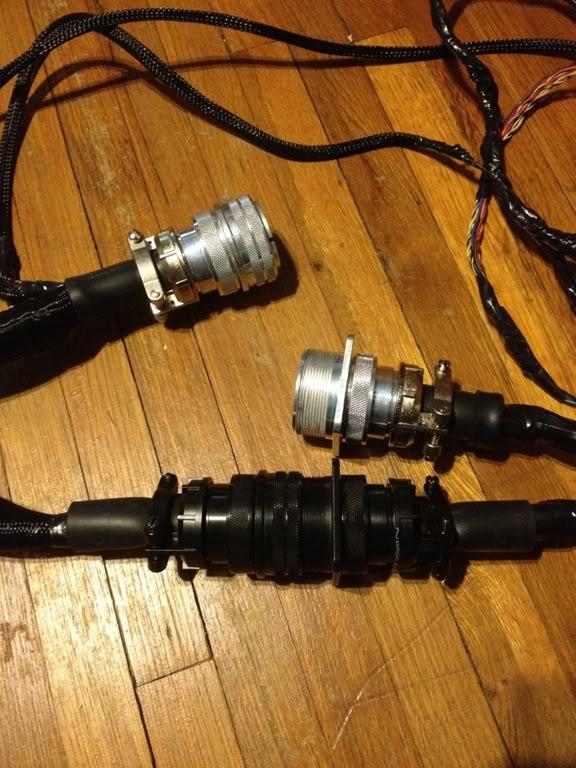
Bought some mil-spec plugs from Jordan Innovations to make wiring through the firewall a little cleaner and less painful.
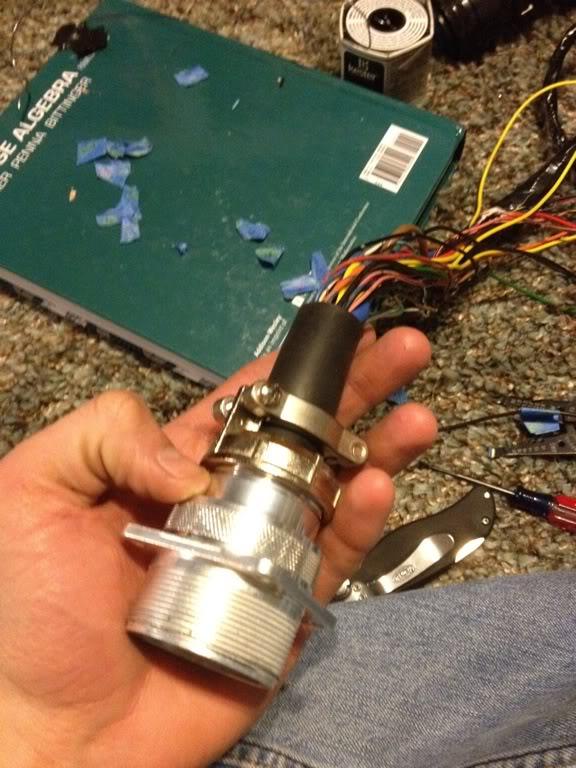
marked all wires
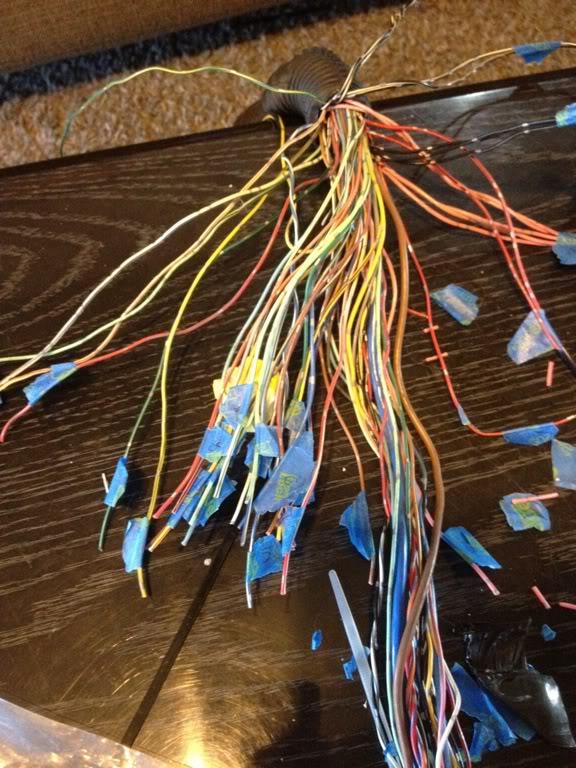
Begin soldering

aaand done
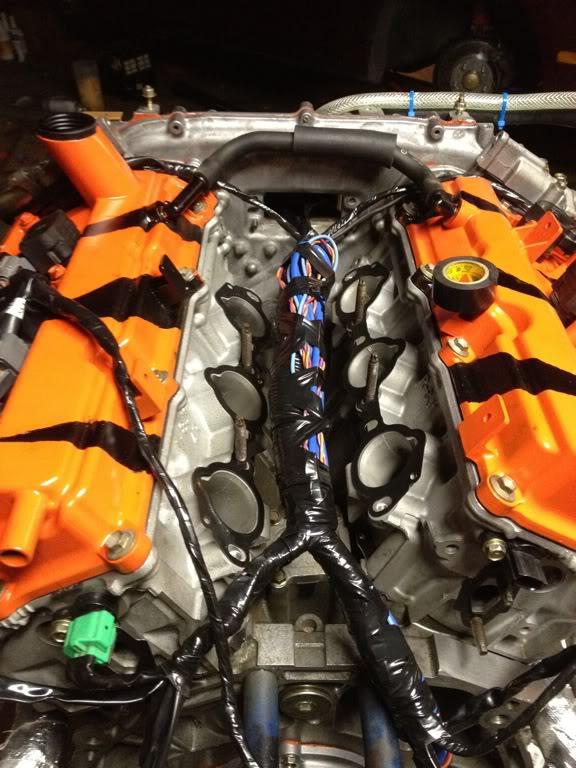
DIY wiring tuck, EASY MODE
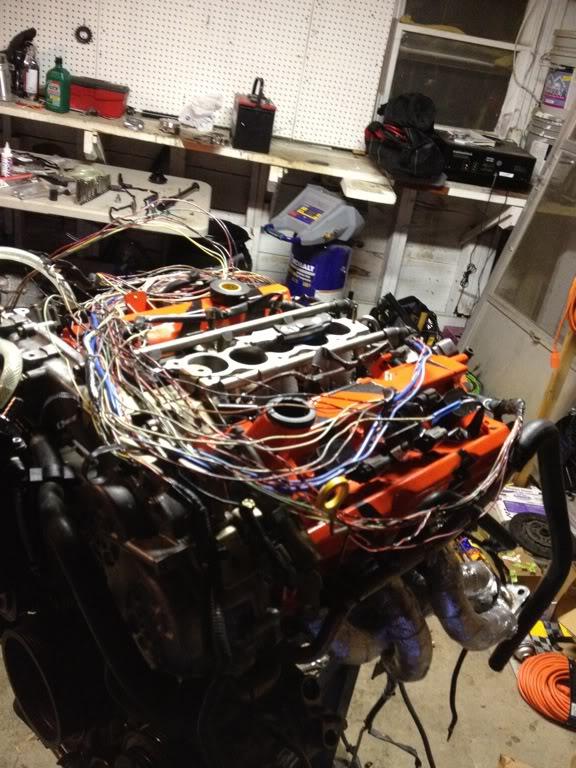
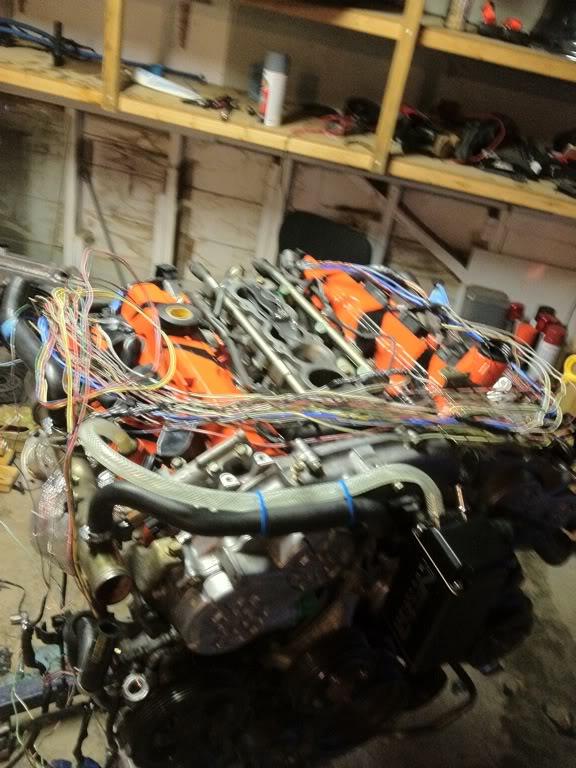
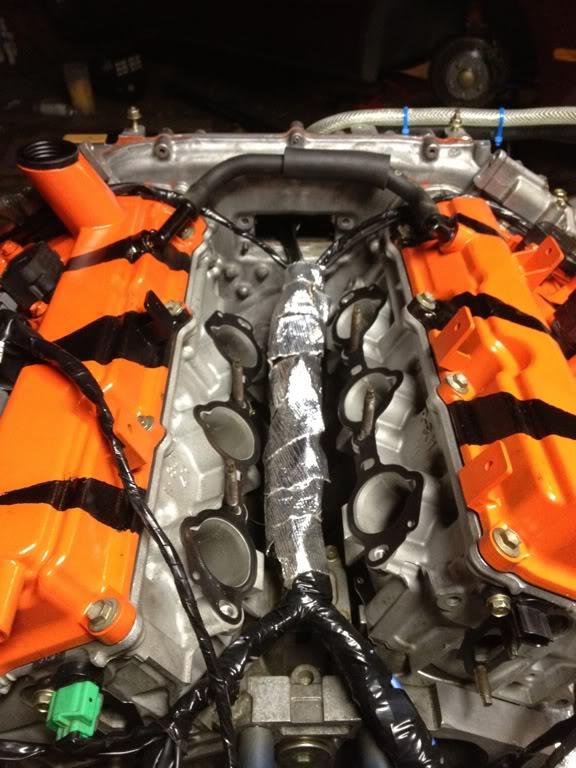
Ran it all under the intake mani. I doubled up all my extra long wires down here too to keep them out of the way
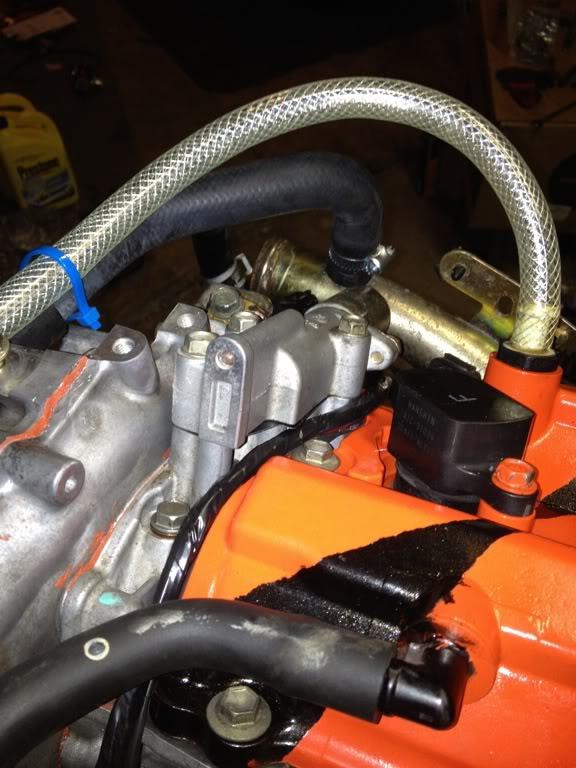
I dont know how hot it would get so I wrapped it in heat wrap.
picked up an oil catch can today
Going to work on it more tomorrow. Hope to have it done by this weekend.
3/16/12
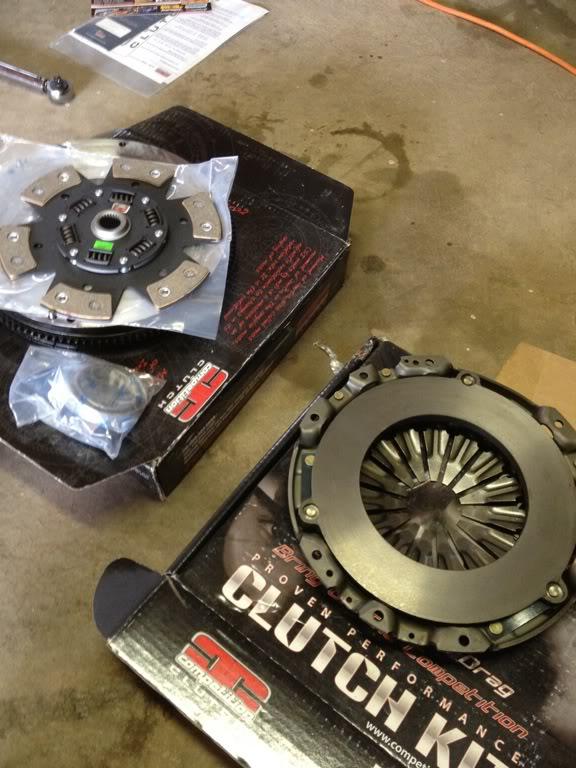
So I got the engine in there today. I started this morning by installing my LW flywheel and stage 4 Comp Clutch.
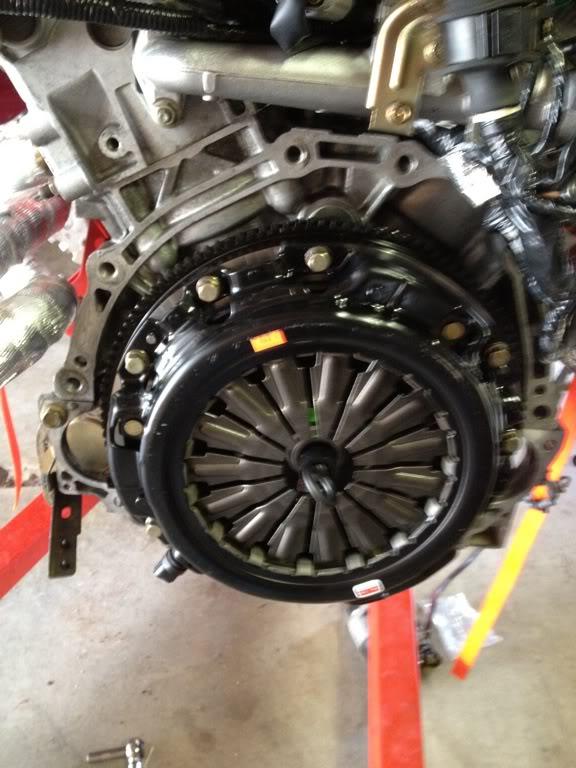
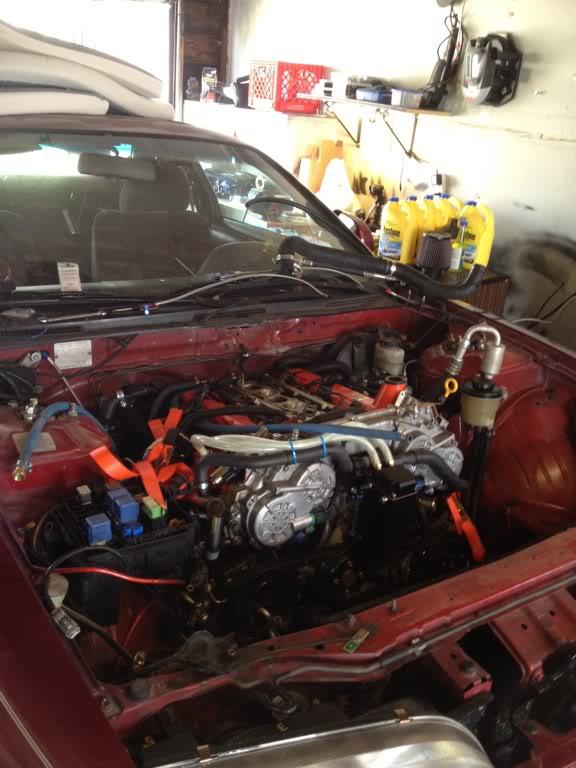
then dropped the motor in.
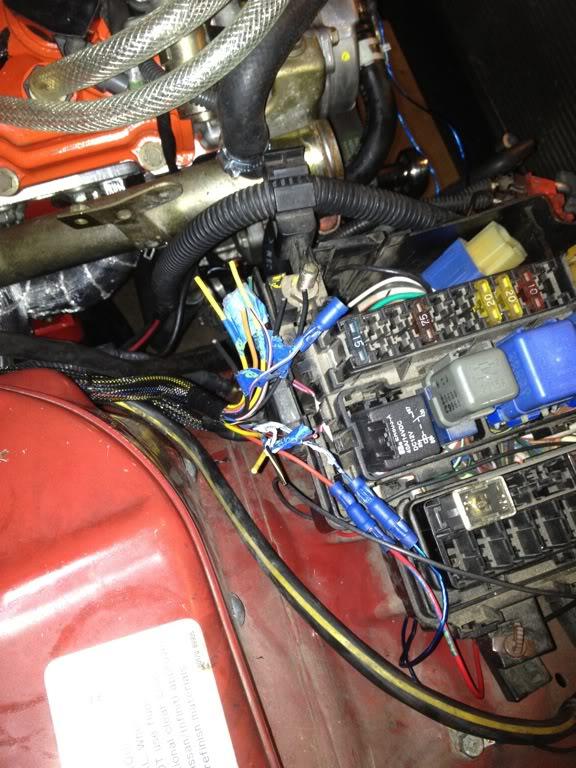
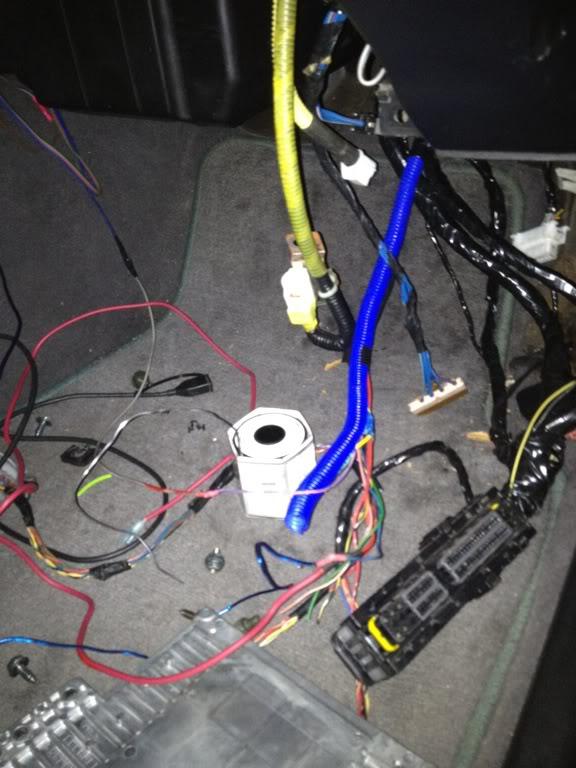
took my wire tuck a little further and I am running any wires destined for the fuse box through the fender well.
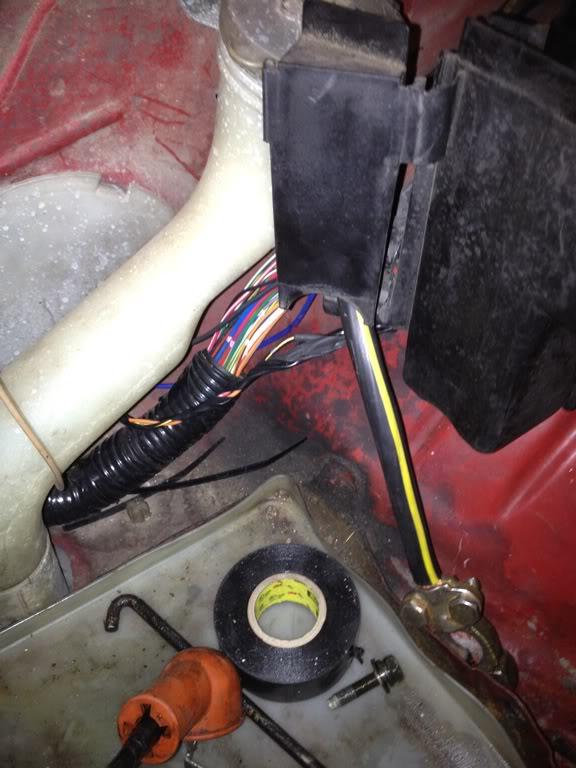
When I soldered my milspec harness connectors, I had a few spots left open. So I put random (yet color coded) wires on those spots so that I can run any sort of future sensor or whatever through the milspec plugs without having to take it apart. in this pic, you can see a bunch of them poking up by the fuse box, and below is me delegating those extra wires under the floor board.
I have a lot more wiring left to do tomorrow, then just hook everything else up and should be able to fire it up!
6/20/12
A little teaser vid:
http://api.viglink.com/api/click?for...13563155468147
8/21/12
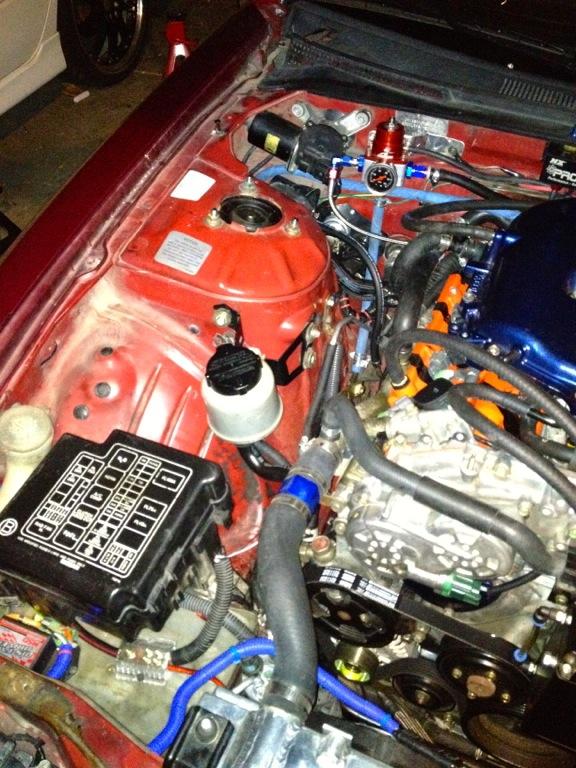
Sorry I kinda left this neglected! Life happened, but this past month I have been busy on the car again. She is fun to drive! haha. Tonight, I finished the wire tuck in the engine bay, located the battery to the trunk, and shifted the fuse box forward where the battery used to be. I moved it forward so that I could use the 350z power steering res that mounts to the passenger side rather than having 4 feet of power steering line dragged across my engine bay to reach the 240's PS res.
As far as the PS pressure switch, I used the one connected to the z's ecu. Not the 240's. Idk about the s13 steering rack, but the z's PS hard lines bolted right into my s14's rack, no problems at all!
Additionally, I am over half way done with the cruise control. Bought a bunch of resistors and a circuit board, and recreated the controls in the 350z's steering wheel. Next I have to wire the brake and clutch switches into the ecu and I should be good to go! I will post pictures of my work tomorrow if I have time.
10/20/12
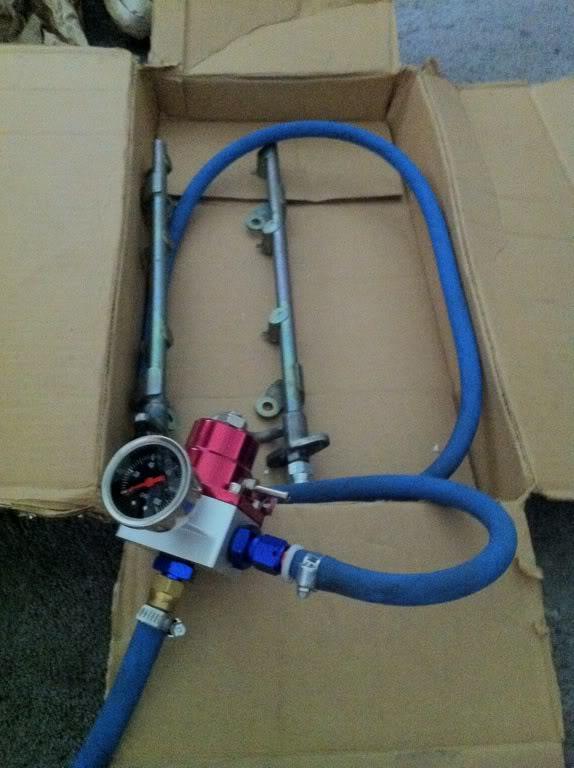
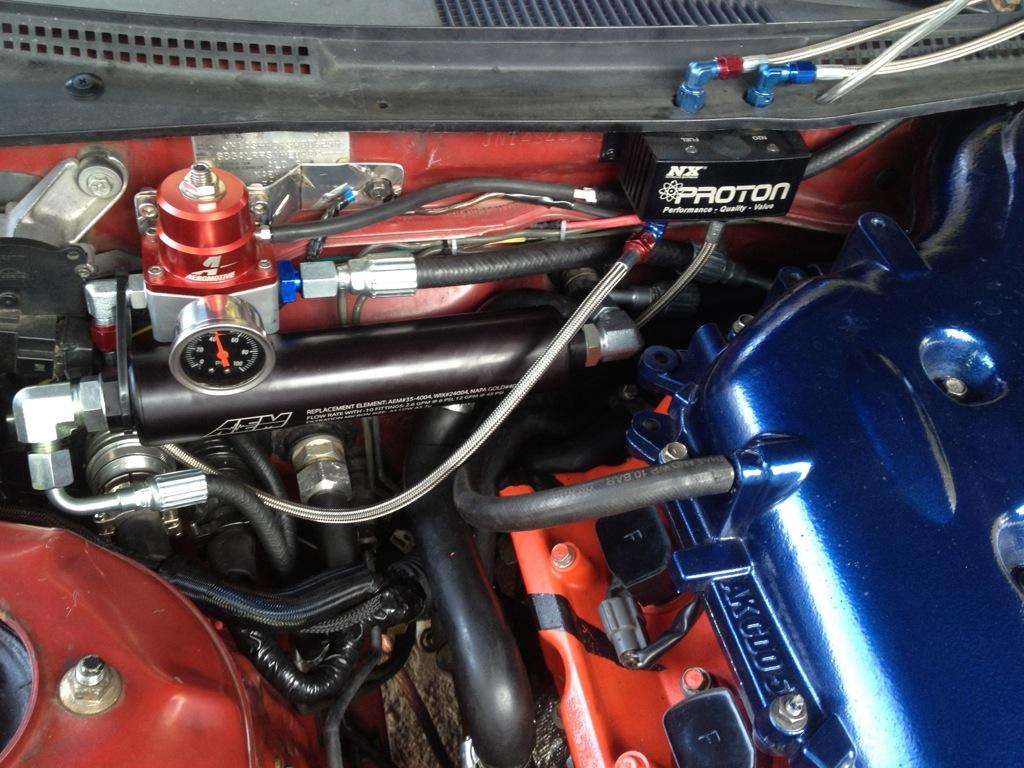
I replaced all the fuel lines in the engine bay. I was tired of all the rubber lines with hose clamps popping leaks. I think the lines were shitty quality. So I had lines made with -AN fittings and everything has been done up real nice. I'll post some pics later.
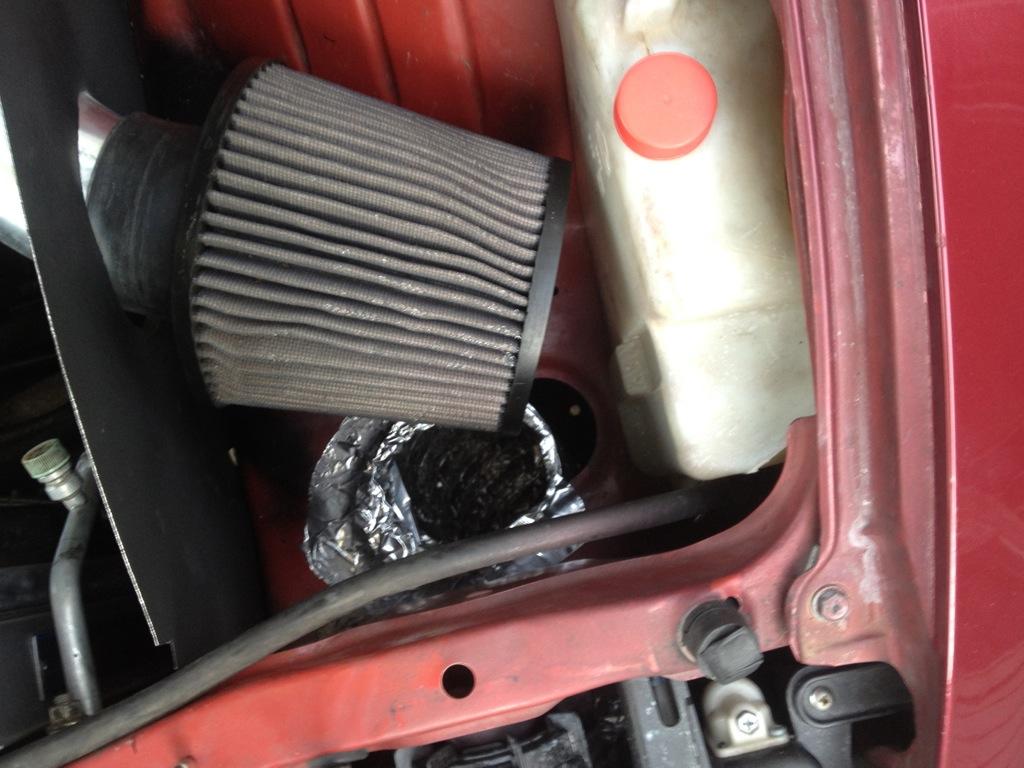
Also made my own air box. I didnt like how the air filter was sucking up all the hot air from the radiator so I bought some sheet metal and did some fabricating.
Relocated the battery to the back; slid the fuse box forward. Now I have room for the 350z PS res.

See! PS rez fits!
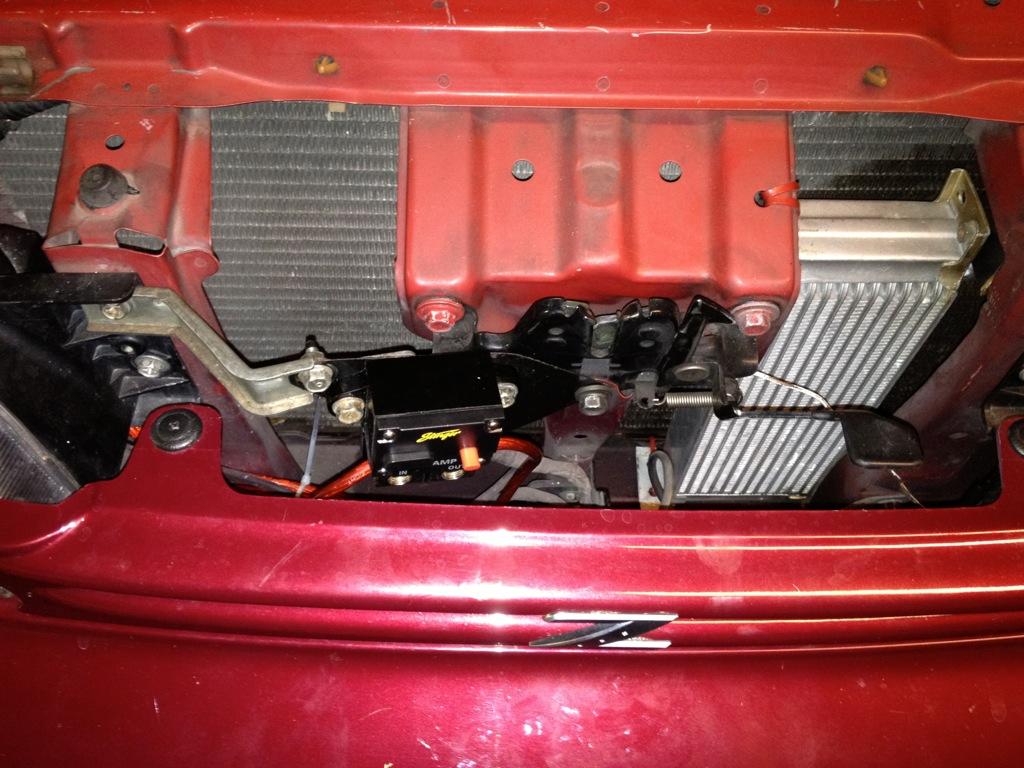
I put my breaker switch up here. When my center piece is removed, track officials have access to it. But when I replace the grill, a-hole friends cant come up and kill my car!! haha
Next up I fixed all my fuel lines and fab'ed my intake a little.
All -an fittings!
Some air box action
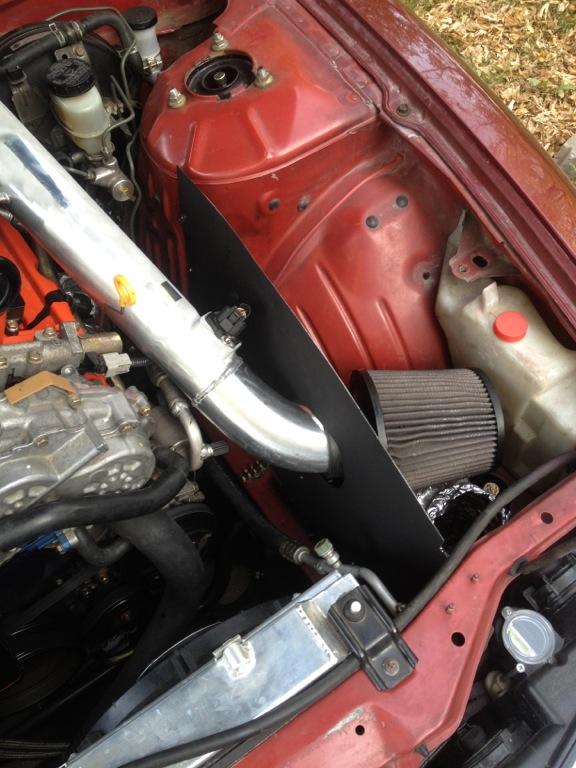
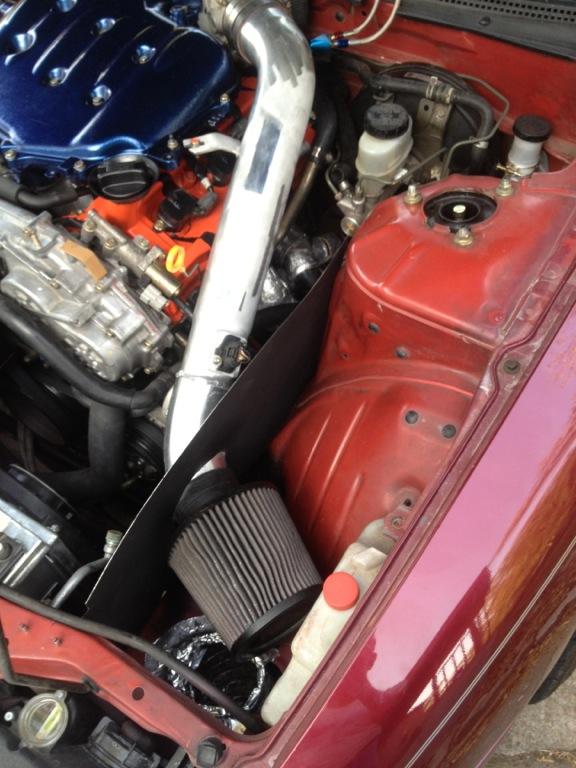
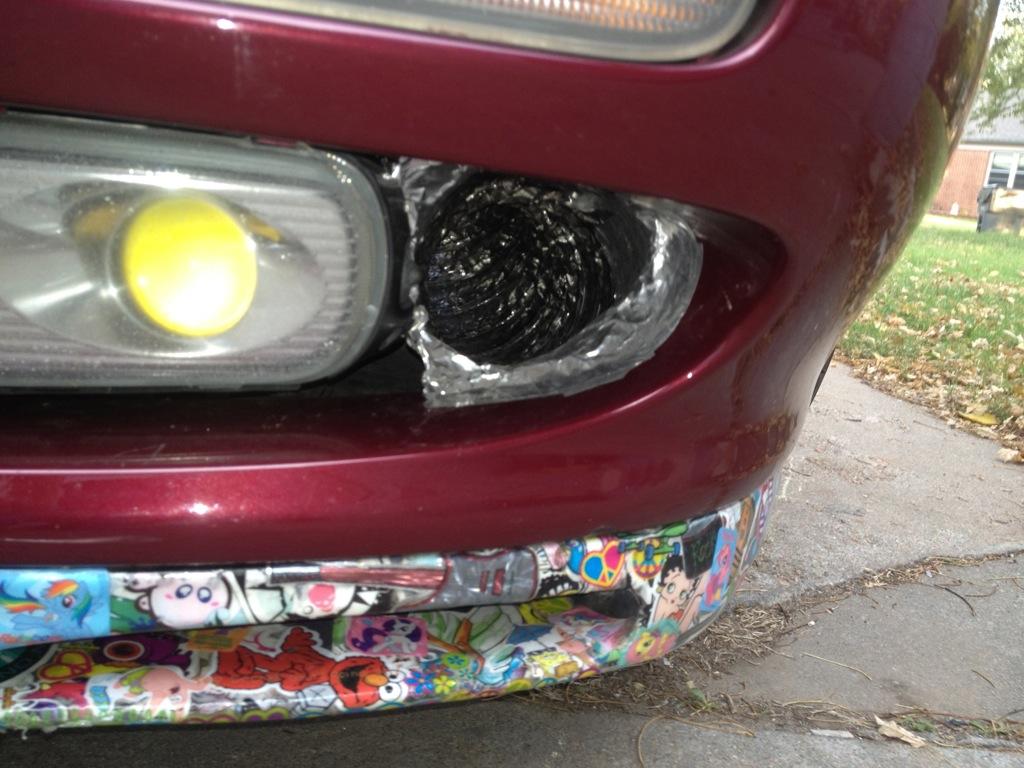
dryer duct directing cold air into the box
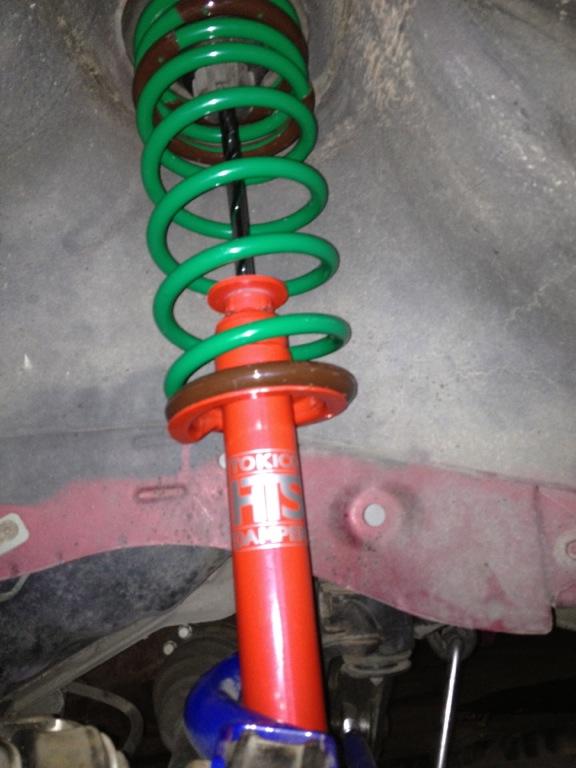
Since I ditched those agonizing coil overs I had to replace them with something worth while. Picked up tokiko d-specs for $300 and some tein springs for $150, all brand new.


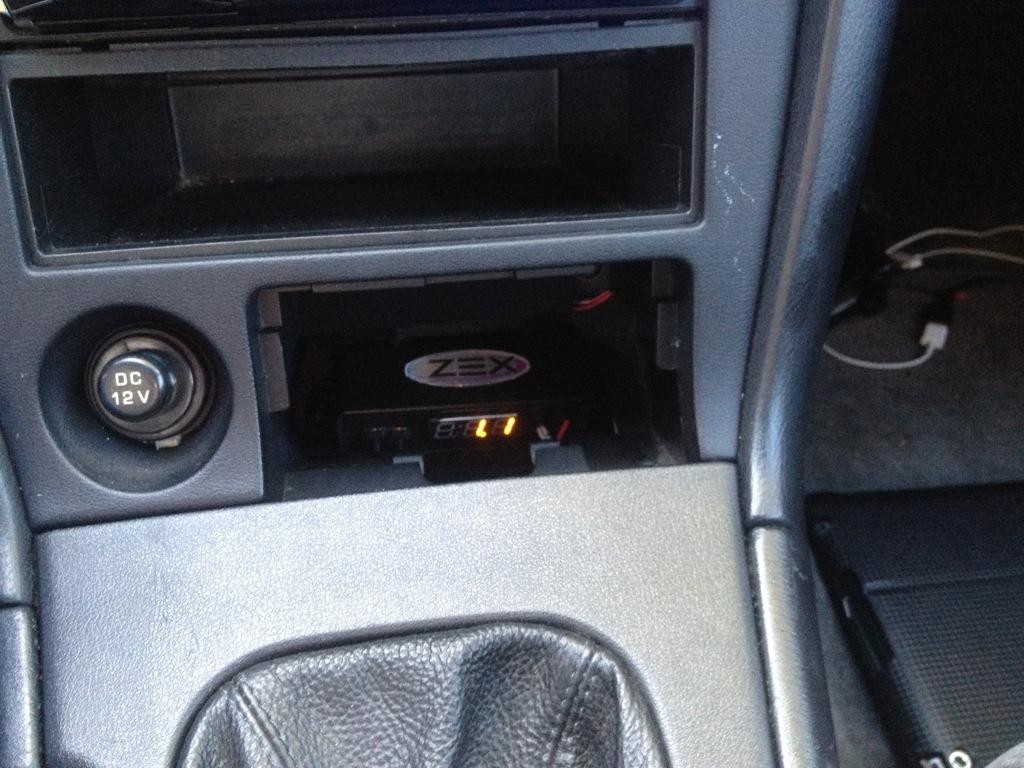
I installed and programmed my nitrous rpm window switch.
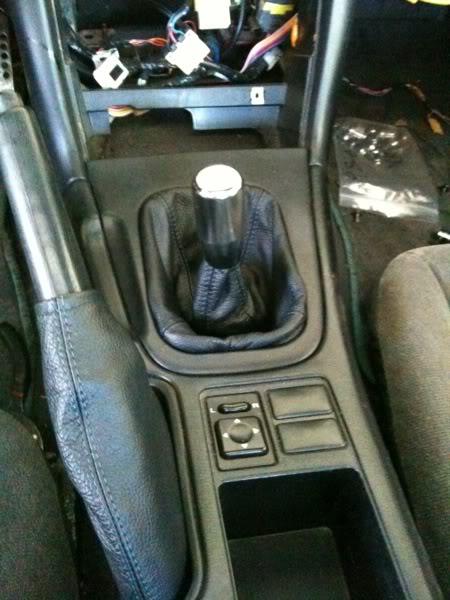
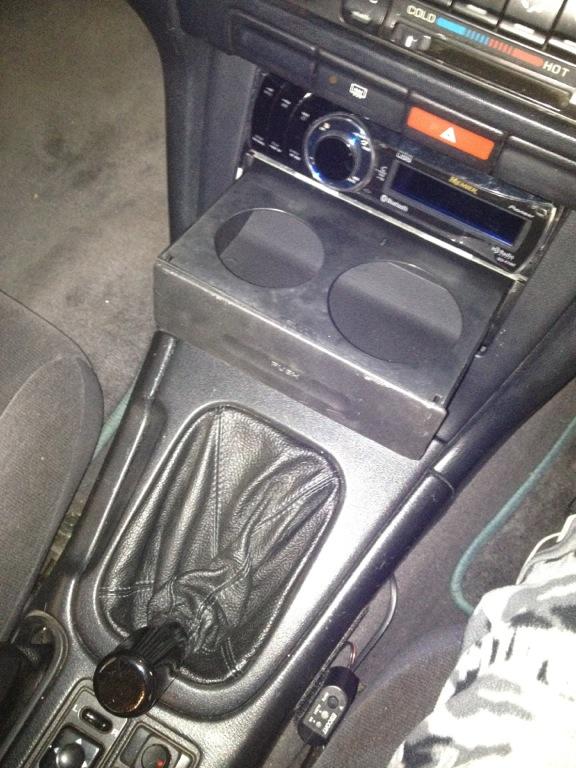
Also picked up a maxima cup holder
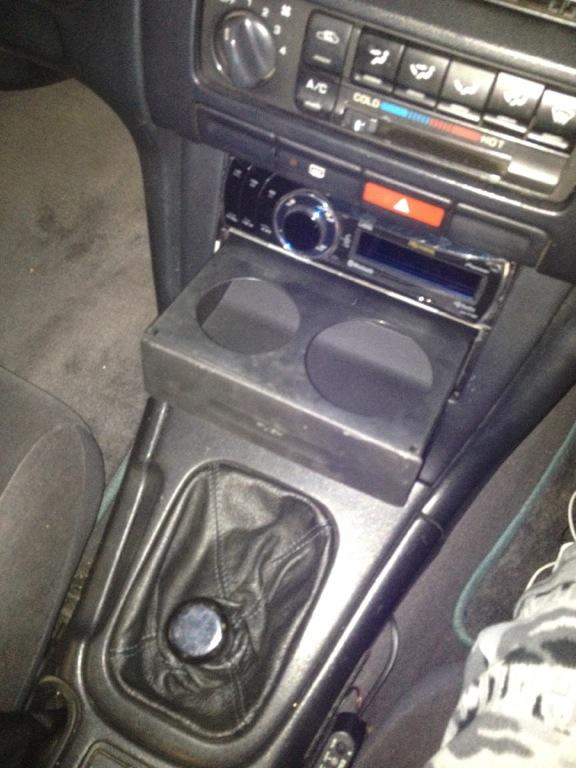
Since the vq shifter sits farther back than the stock location, I was able to mount the cup holders in the bottom bin with no problems. The pic above is of me in 3rd gear. The one below is in 4th gear.
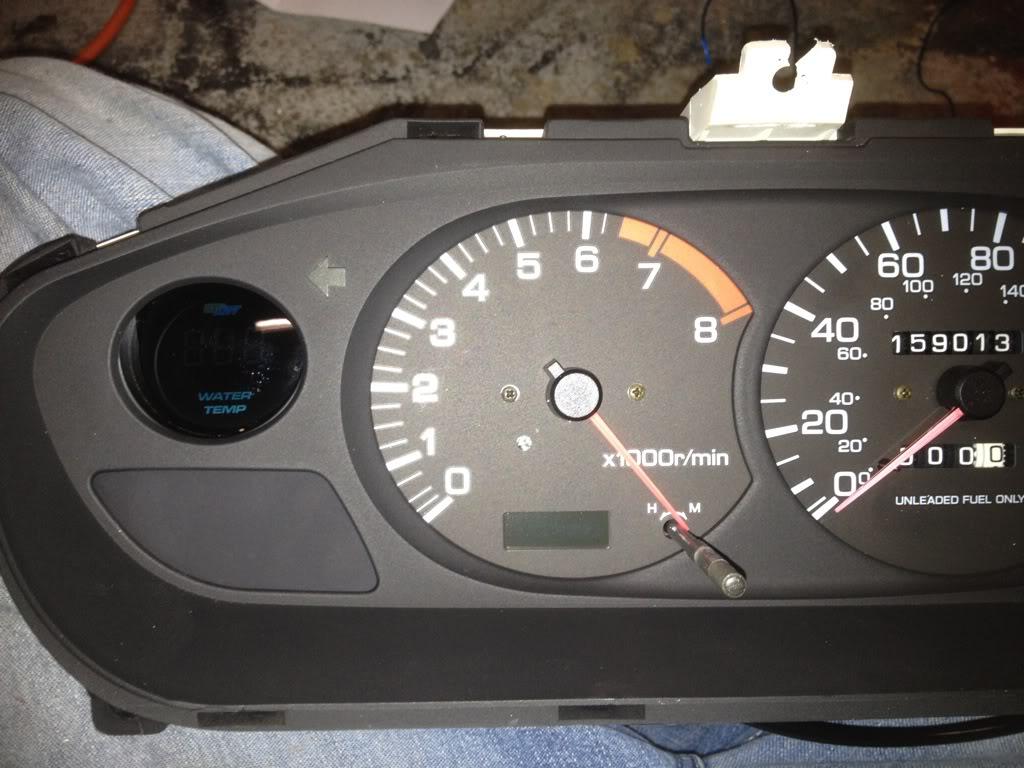
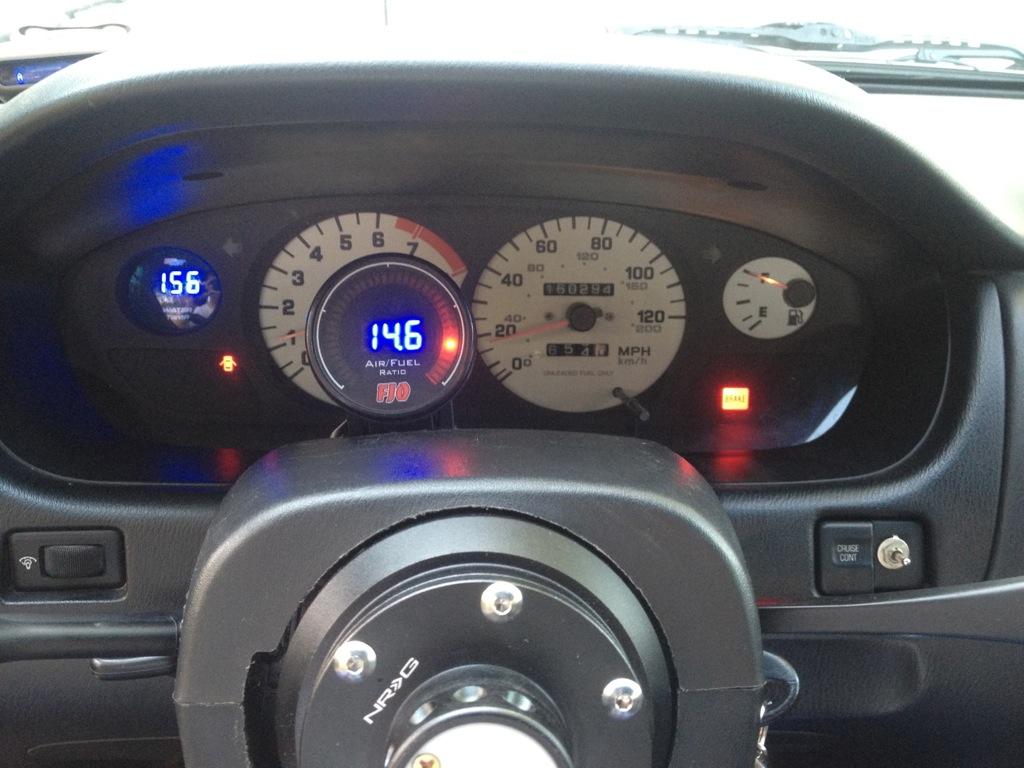
cluster shot, just because
I dont have any pics, but I ditched the high flow cat, and converted my exhaust to true dual exhaust. It sounds hella sexy