You must be logged in to rate content!
11 minute(s) of a 414 minute read
4-21-2010
My 1990 300zx Twin Turbo build
Compliments of megaDan @ vwvortex.com
I meant to do a lot (all) of this last year, but on the way home from visiting Wisconsin for my birthday last May the differential in my GTI decided it didn't want to work anymore all over the interstate in Indiana. The Z got converted to DD duty while I taught myself how to pull a transmission. To make a very long story short it took me three months and I got a Corrado transmission, TDI 5th gears, clutch, LW flywheel, etc, and a heck of a lot of experience.
Now, a year later, the GTI is running 'great' (Or as good as it can for you VW haters. I'm looking at you 91ser...) and I have some money and time. Scratch that, I have a little money and less time. I want this car drivable a week before Memorial Day so I can drive it back to Wisconsin in time for my 2nd marathon and the ultimate frisbee College Nationals in Madison. That gives me a hair over 4 weeks to learn as much as I can about this car and do a lot of work in the process.
Parts list:
-New Top Speed downpipes and testpipes
-Z1 13" front big brake kit + master cylinder brace
-Specialty Z stainless steel brake lines
-Stillen Quad tip exhaust (thats the plan at least)
-Driven Authority top feed fuel rail w/755cc injectors THEY FINALLY SHIPPED!!!
-6AN Stainless Steel fuel lines
-JWT Popcharger
-NGK BKR5E (or whatever the code is) spark plugs. Although now that I think about it I think I need to bump it up a few steps to a 7ish...so theres 60 bucks down the drain.
-Z1 motorsports ECU chip Unless anyone has a better suggestion. I haven't purchased this yet.
-Front bumper maybe
-Non-torn non-power leather seatsmaybe
-Innovative LC1 wideband
...I might be forgetting a few parts...
Job list:
-Clean garage CHECK
-Drop transmission
-Remove pre-cats (tried this once before. failed miserably)
-Pull plenum (scary)
-Test fit new rotors (get 12mm spacers if necessary)
-Do all the necessary deletes when plenum is removed
-Coolant lines
-EGR
-what else?
-Replace all vacuum lines with silicone and clean all connectors
...I'm sure I'll come up with more soon...
I think this build will be pushing the limits of my budget, time, and abilities, but I'm excited as hell to get it started. The only part I'm really worried about are the pre-cats. I tried removing them last fall with the transmission on. I got the easy nuts started, but wasn't able to fully remove anything and gave up after a few days of frustration.
I'm mostly doing this post for myself and the few gearhead friends I've got that wanna see. But you all seem to get a kick out of these kinda write ups so I figured I'd share and document my process.
If anyone has any pointers for anything I'm doing along the way, please feel free to chime in. More preventative maintenance? What do I need? Don't like the way I hold the wrench? Tell me. I'm drinking the wrong beer? Provide me with your favorite. 
Here goes:
Day 1
I was supposed to do this during the winter, but my laziness got the better of me and I didn't feel like doing any work in the cold. This coming from the guy who runs in shorts all winter. Eh.
I hadn't cleaned the garage since I replaced the transmission in the golf, replaced the wheel bearings, replaced the suspension, bushings, and brakes. Since I converted to an MSD coilpack ignition, did my timing chains, got rid of my second transmission, replaced the cooling system, etc. Throughout all of this I never really threw anything away. I accumulated lots of tools, but had no place to store them. All of this CRAP just kinda found its way to the side of my garage and I moved it aside every time it was in my way.
Started like this:
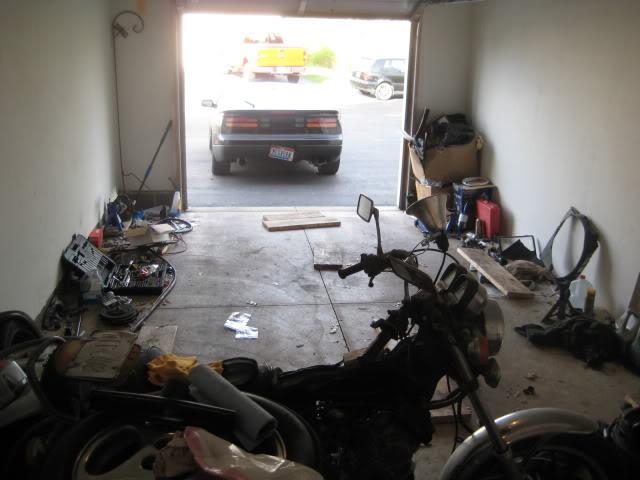
After 2 hours of moving and vacuuming it looked like this:
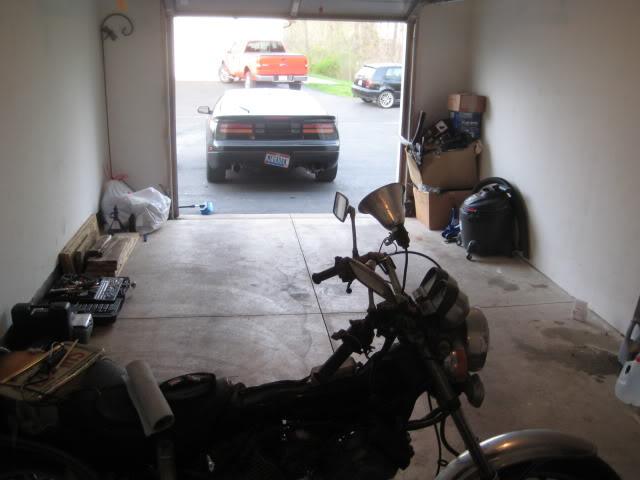
It may not look like much but trust me. There was 3" of leaves, tools, metal shards, screws, nuts, washers, ball joints, tires, beer bottles, tie rods and etc coating the floor of the garage.
And then it was time for dinner, so the only REAL work I got done with the Z today was driving it up on some 2x10's to make raising it up on jack stands a little easier. And I didn't take pictures of the boards, so you'll just have to imagine what wood looks like.
Buuut since this is the Z lounge I'll include the before pictures of my car.
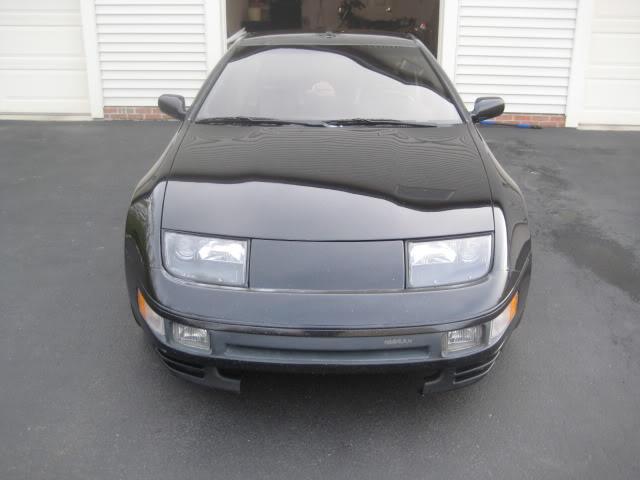
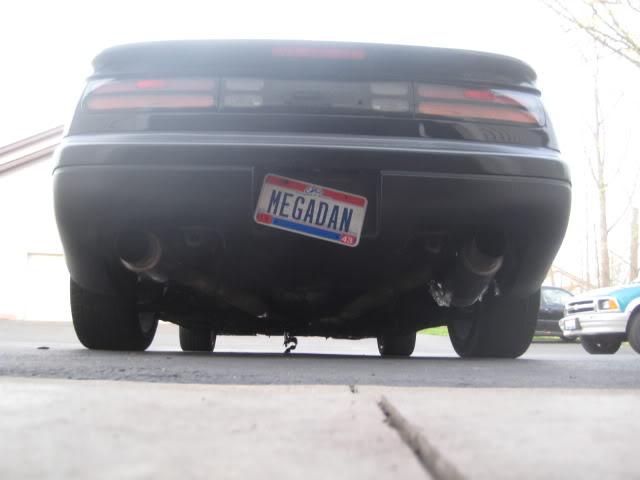
Notice the tape hanging from the exhaust just about everywhere. 3 weeks ago I passed emissions :-) Muffler tape is my hero.
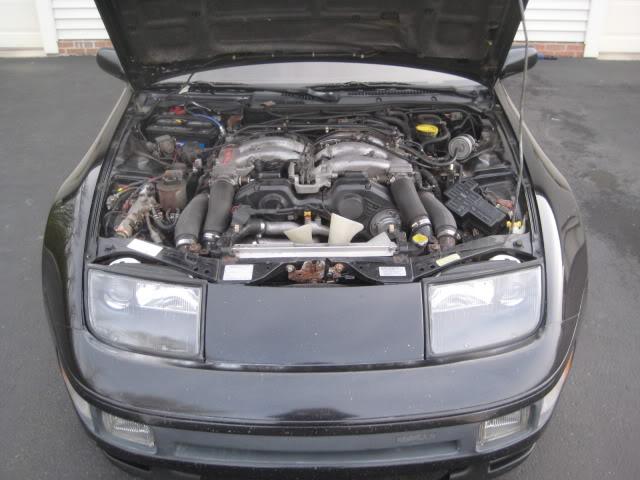
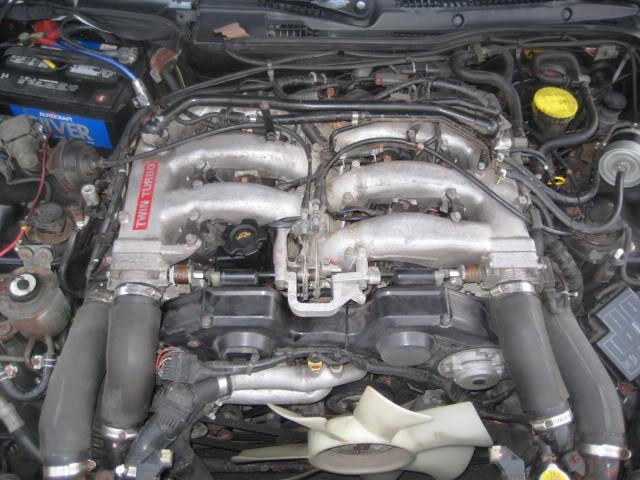
This is the mess I'll be staring at for the next 4 weeks.
Tune in tomorrow for hot Z jacking Spotted Cow drinking action! :burnout:
4/21/2010
Oh right. I typed that all up around midnight when I should have been in bed. I kinda forgot the important information and the reason why I'm doing all this stuff.
Last summer I had an intermittent safety boost (or just 7psi for whatever reason) issue. After ohming 4 injectors and finding 2 out of spec (18 and 22 ohms IIRC), I more or less assumed that was the issue. I had hoped to take care of this last year, but overhauling my GTI took care of my spare cash and free time so it got put on hold. I wasn't nearly brave enough to tackle a job like that on the Z when I had to use it every day.
As soon as I heard about the top feed rail I knew that was what I wanted to use. I originally planned on going with the Nismo 555 injectors because they're pretty common and reasonably priced, and didn't expect to ever need more fueling than that. But after much deliberation it made sense to go with the 755's because they were the same price and if I ever decide to upgrade I am covered. My far far far far far in the future plans wouldn't take me past 500hp, but for the whopping cost of $0 its kind of stupid not to build in that extra buffer.
I am not pulling the engine this time, although depending on how long these turbos last on 15psi, I might end up getting new turbos come winter. I'm looking at either the GT535R or GT600R, everything says go BB so those seem to be my choices.
I don't have the funds to build a full-on race car. I just want a somewhat reliable car that I can enjoy on the weekends and take the occasional 500mi road trip; all while making decent power. I have a lot of fun with the car even at stock HP levels, but if everything else I am adding to the car will set me up for more power I guess another 100-200hp couldn't hurt.
!!!!!!!!!!!!!!
4/22/2010
Todays goal was just to get the car in the air and get the wheels off as I was working with limited time. I got the car about 18" or so off the ground to make exhaust and transmission work easier but I might need to drop it later to make the back of the plenum more accessible. Raising the car took a lot less time than I expected but I realized I forgot to break the lug nuts loose. ****.
$30 Chicago Tools impact gun to the rescue!!! Best automotive purchase I have ever made (aside from my two cars haha), that cheap gun has gotten me out of countless jams. If anyone is debating whether or not its worth the $50 or so sale price....ABSOLUTELY.
I was kinda clueless as to how to tackle the brake lines. I've never done them before and wasn't sure how the stock rubber lines were attached. I've never really looked at them before. Turns out its pretty damn easy. Theres a nut at the end of each hard line. Turn that. Except mine were corroded pretty badly so after stripping the first one I hit them all with PB blaster and used the vice grips. Took about 20 minutes to get all the nuts off completely, except I broke the hard line on the passenger side caliper. It started to get dark so I didn't bother trying to pull the rubber lines out. They seem to be in there pretty good and it'll probably take some problem solving on my part to figure out how to remove them.
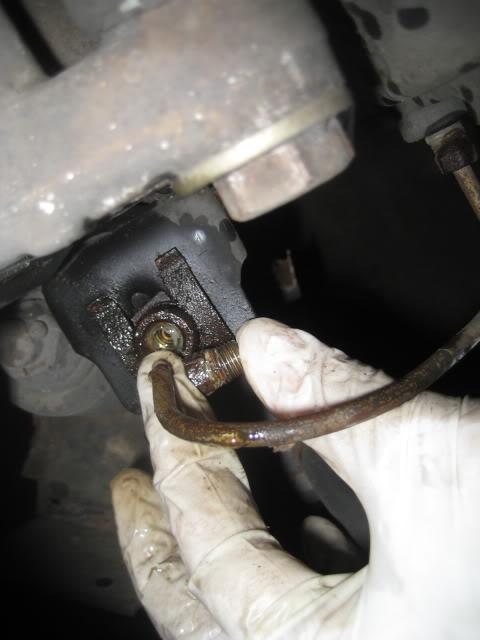
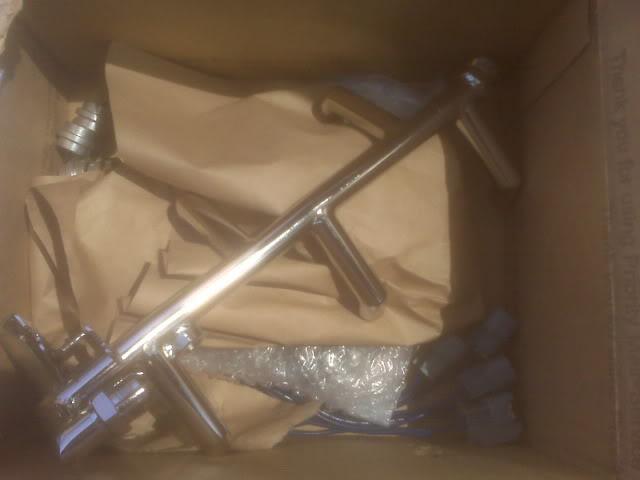
Does this require a new hard line? Or can I reuse that nut thingy if I get the old hose out? I'm pretty sure I'm hosed (witty pun intended), gotta find a new one. I took both calipers off and pulled my 13" brake kit out of storage for a test fit.
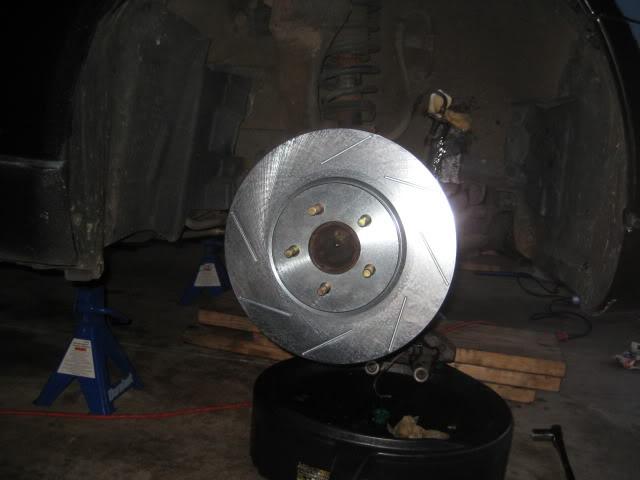
Hell yeah
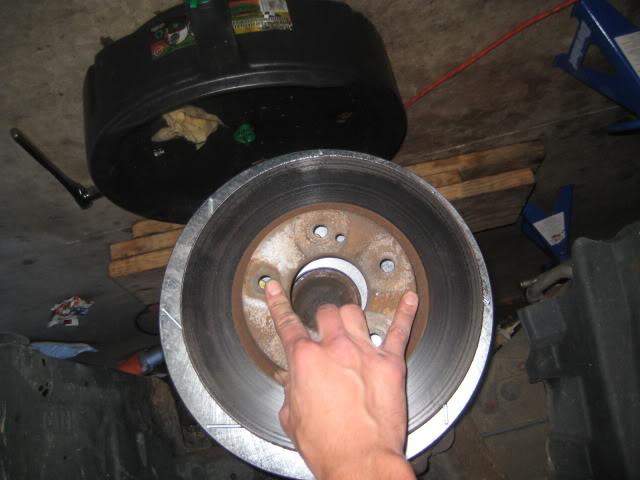
New compared to old. Can't wait!
I am going to have fitment issues with these rotors however. I needed 10mm spacers just to get my wheels to fit, and the caliper relocation bracket moves the caliper out 9mm. I'd rather not have to grind the Nissan off the face of the caliper, but if thats what it takes to get my wheels to fit instead of spending $60+ on custom 12mm spacers I'll do it.
Another very productive day :-) I gotta say, doing this kind of work is a hell of a lot easier when you have all the tools and parts you need before you start the job. Can't wait for tonight
4/22/2010
I wish I had a third hand. Two for the magazine one for...oh. Uhhh. I gotta say. Rear brake lines suck. People do not hype up the difficulty of this nearly enough.
I got the front rubber lines off within 5 minutes. The clips were rusted on pretty good, but my vice grips/channel locks whatever you wanna call them made short work of them.
So today was kind of boring...
I got the new lines on up front, except the collars in the middle that are supposed to get clipped onto the strut and steering knuckle don't seem to be adjustable...and they are in the wrong spot. So I could only get one clip on, and its in an awkward position.
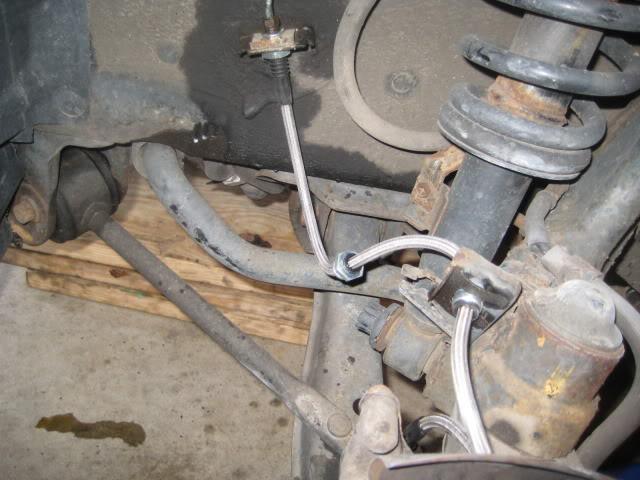
At least its on...I guess
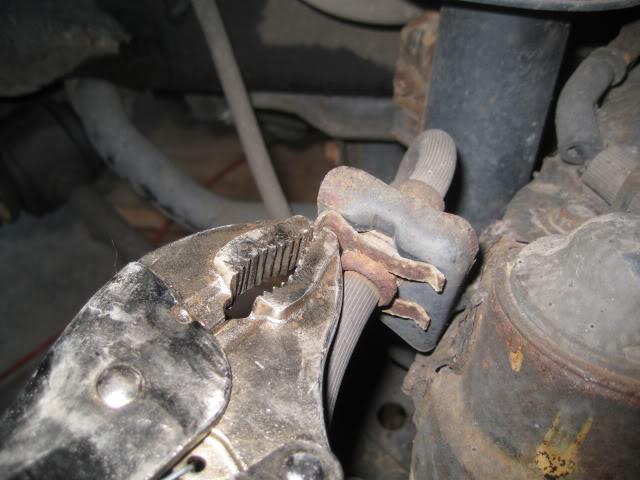
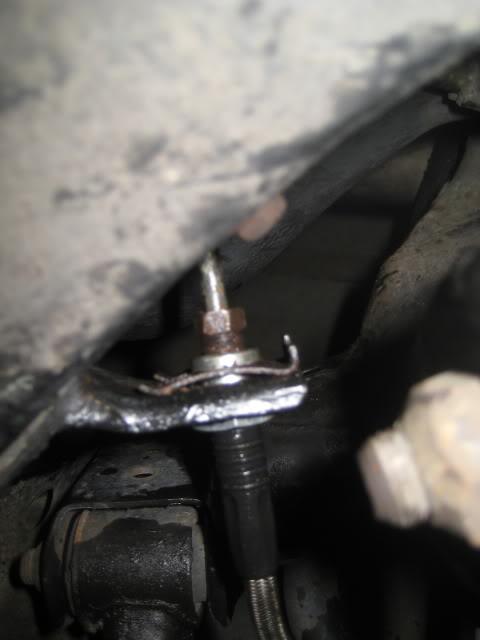
Then.....I made the mistake of trying to get the rear lines off/on. That upper nut is a major pain in the ass. Used my channel locks to break it free, but it took a good 5 minutes to unscrew it, 10 minutes to get the clip off, another 10 minutes to get the clip back on, and 15 minutes to screw it back in place. Not fun at all. Hopefully I learned a few things that will make the last line tomorrow night a little easier.
40 minutes later