You must be logged in to rate content!
10 minute(s) of a 731 minute read
1-2-2020
Minor update:
We visited the in-laws in NC for Thanksgiving and I took the opportunity in the days before to peruse car-part.com for useable (and hopefully rust-free) components for my vehicles in need. I found an AC condenser for the Z ~40 miles from their home, called the junkyard and confirmed they had the part. I scheduled a road trip for our first day down there and picked it up! I haven't had a chance to do anything with it yet, but it looks to be in serviceable shape.
All in all we put 1725 miles in the (old) Volvo during the week of Thanksgiving and managed 28mpg. Plenty of comfort for both us and the dogs.
This got me thinking about another road trip that somehow I skipped over which isn't really relevant to the Z, but in my mind is worth sharing. In fall of 2018, about 4 weeks before we took our adventurous road trip to NC with the Mini (and vette/porsche), my wife and I did an 8 day road trip with a campervan in Iceland. No more Z content in this post, so go ahead and stop reading now if Iceland doesn't interest you. I'll give the cliffs notes synopsis of the trip with pictures. Most are cell phone pictures because apparently Iceland and my cameras don't get along. I replaced the camera I lost after my last visit to Iceland with a Pentax K-5 which is weather resistant. On the second day of our trip an internal mechanism broke in my weather resistant lens and I lost most of my aperture control. Thank god for camera phones. Ugh.
We found a pretty good deal on flights, so we based our itinerary around the 8 days we would be in the country. We rented a 2 person van from Happy Campers which ended up being a 2016ish Ford Transit Connect with a manual transmission and small diesel engine. It wasn't speedy, but it was pretty easy to drive. The plan was for my wife to learn how to drive stick before we flew over, but of course that didn't happen so I was the sole pilot of our 1500km journey. The two captains chairs up front were pretty comfy, and the back provided a futon style convertible bench/mattress that covered 2/3 of the real estate, the rest of which was filled with a sink, fridge/cooler, and a few drawers for cookware/food. It was surprisingly roomy, even for myself at 6'5" and my wife of 5'10"ish. Supplementary heat was provided by a Webasto heater attached to a timer which would provide approximately 60 minutes of run-time before creating a potential low-voltage condition. The fact that it wasn't on its own circuit might be the only knock I could think of with the van. We were told not to run it longer than 60 minutes or risk not being able to re-start the van. We used it every night and never had any problems so its a pretty minor 'gripe' if you could call it that.
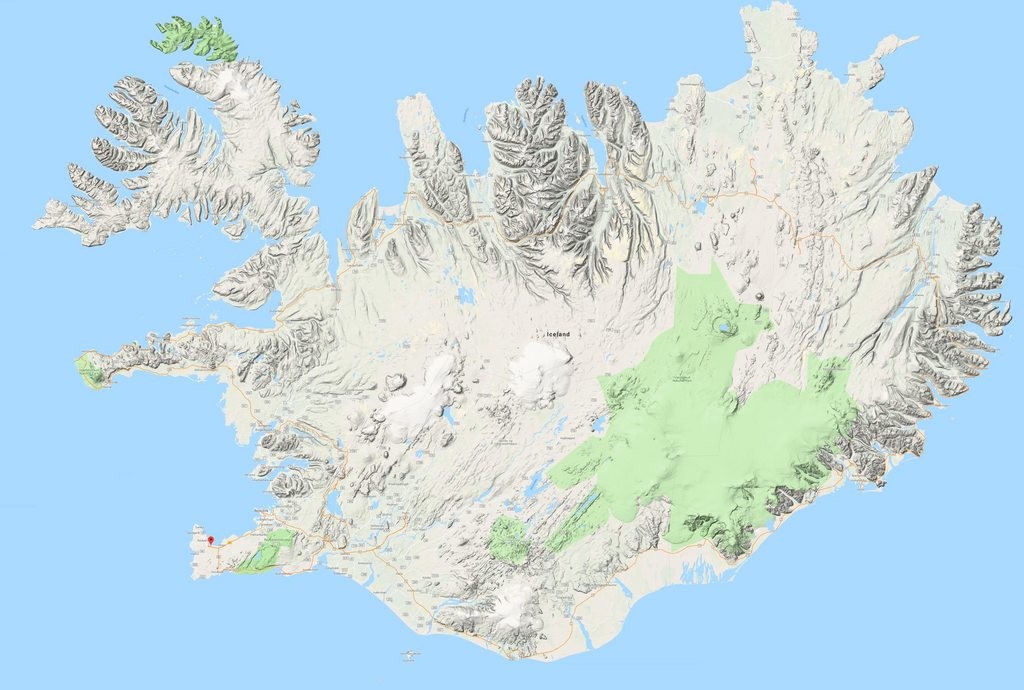
This was the GPS data exported from our drive. We traveled counter-clockwise. Click the image for full size resolution.
My wife did a ton of research regarding camping locations, and despite traveling at the start of the off-season there were still plenty of locations still open. Given the fact that the ring road is ~1300km in total, we did our best to find camp sites approximately 200 km apart. We planned on camping in Reykjavik the last night, this way if trouble was encountered we'd have a bit of wiggle room. For the most part we were able to do this, but driving along the east coast resulted in a day of more than 300km of driving (mostly because there wasn't anywhere to stop and we had a full itinerary at the north end of the country). The great thing about a road trip that involves almost exclusively outdoor activities is that we were able to be incredibly flexible with our schedule. If we saw something interesting we (for the most part) didn't have to worry about what time it was or what was coming up next; we hit the brakes, took the detour and continued our adventure. My wife and I both agreed that the most exciting and memorable parts of the journey were those that weren't planned. We did hours and hours of research for the 'must see stops'. While some of them were certainly worth the stop, it was the 'off the beaten path' adventures we had that we find ourselves reminiscing about the most.
On our first day, we happened upon a hike that took us to the burial site of the second settler of Iceland which provide beautiful views of the black sand beaches, rolling hills, and the arctic ocean.
On our third day we went for what was supposed to be a short walk at our campground before we got on with our journey. This turned into a 3 hour hike which culminated in a breathtaking visit to a glacier.
Near the end of our trip we saw what looked like an empty parking lot (gotta investigate, right?) with a staircase going over a fence which led us to the remnants of a lava field after 90 minutes or so of single-track trails.
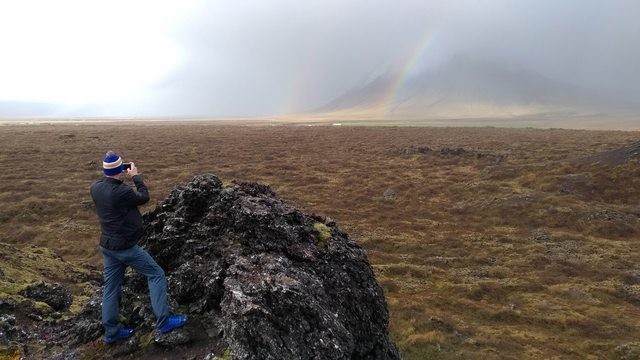
This was the turnaround point of our journey through the lava fields. Incredible
During the entire hike we were being chased by storm clouds, (it was raining most of the day) but the terrain offered essentially no shelter, until we hit an outcropping at the turnaround point. It was only a little hill with a 5' rock wall, but it provided some shelter from the wind. Almost as soon as we got to this spot the rain started so we hunkered down and enjoyed the view in relative comfort. After 10 minutes or so we started our return journey and stayed dry. The timing felt entirely serendipitous and was a truly memorable experience. At face value its pretty boring: we went on a hike and it rained. How it felt: we took shelter from a spontaneous rainstorm in the middle of a secluded hike through the Icelandic countryside.
More of the lava field hike.

Lava fields
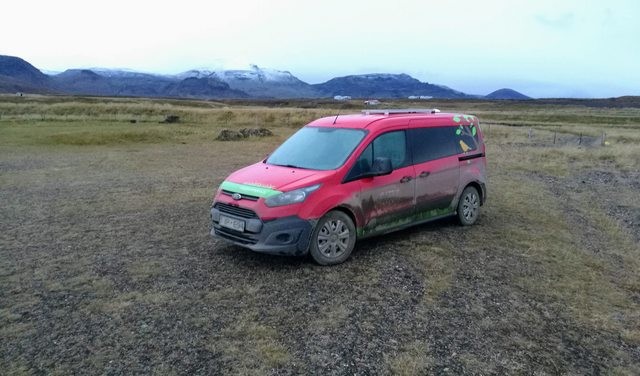
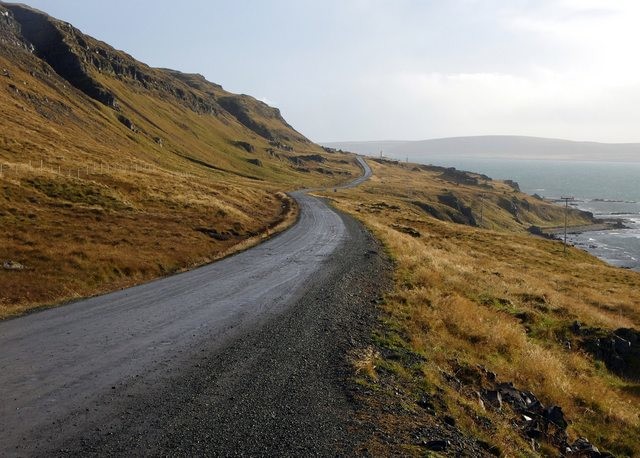
The FWD transit connect was surprisingly capable despite some incredibly rough gravel roads
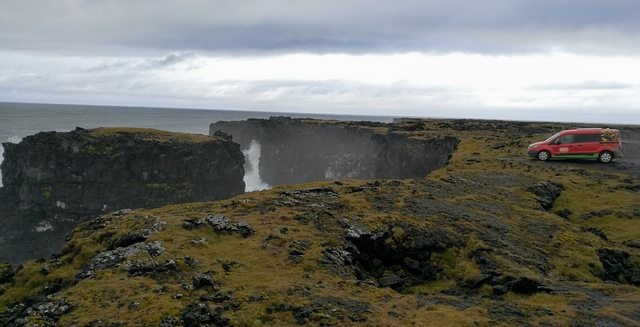
Our trusty steed. Yes, this was a gravel parking spot. We absolutely respected all forms of nature during our trip.
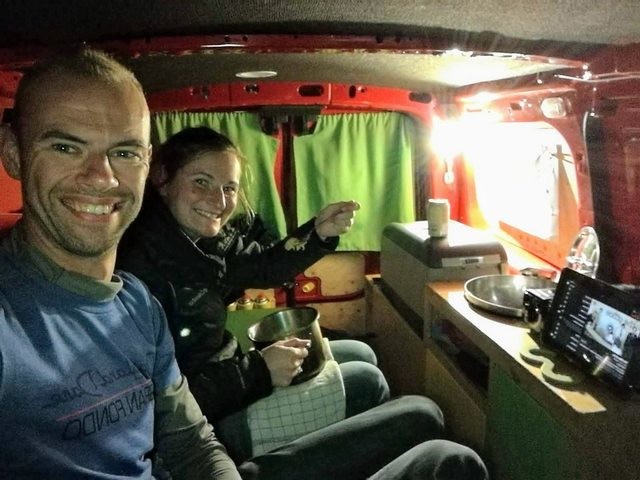
We managed to spend 8 days in a van and remain married. It was much easier than we expected.
Scenery unlike anything we'll ever see again
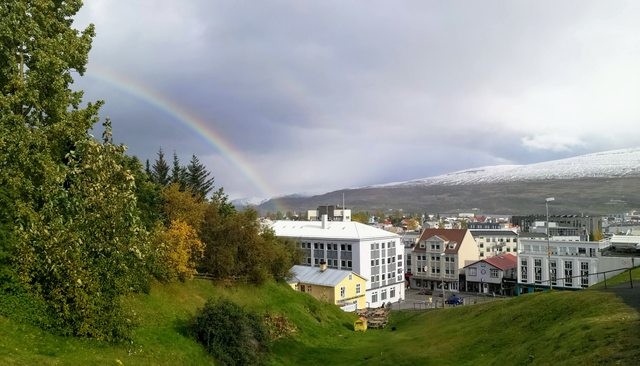
I've never seen so many rainbows. This was the capital of the north, Akureyri
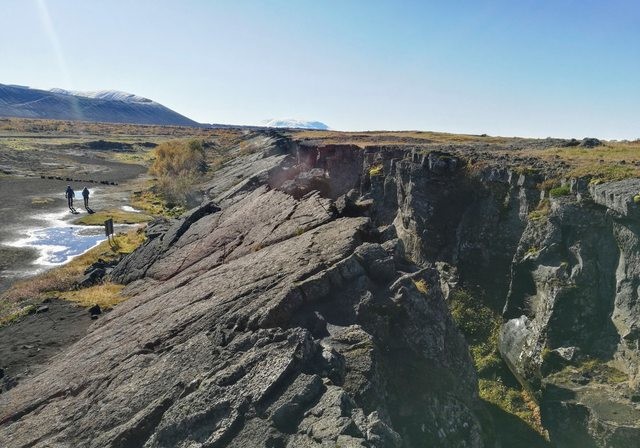
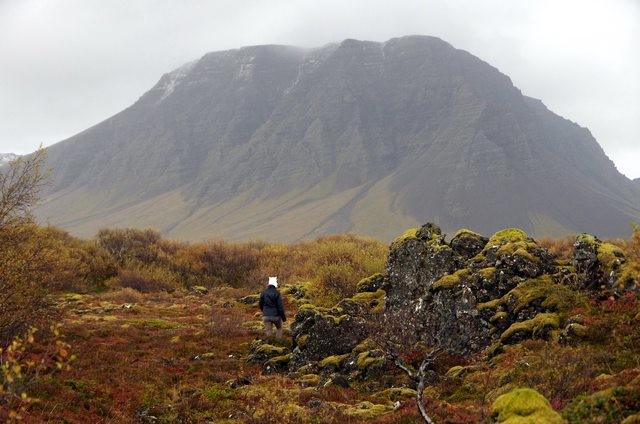
Hiking between tectonic plates. To give you an idea of scale, the hill to the left is a volcano about 400' high and a mile in diameter.
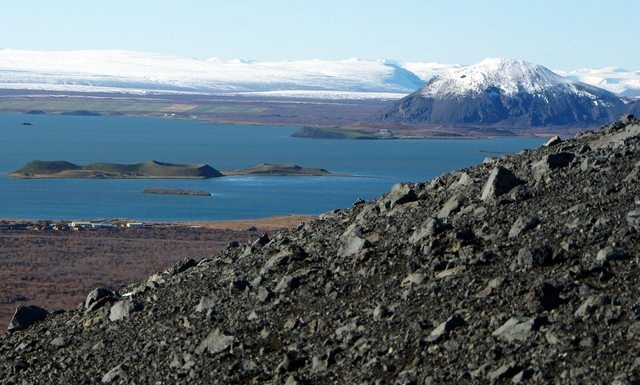
Taken on top of said volcano. Iceland has a very diverse landscape, if you haven't grasped that already.
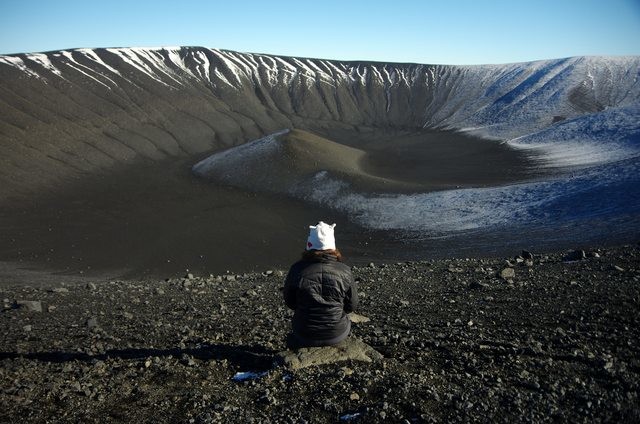
Same volcano. We spent a lot of time just taking everything in. There was a lot of contemplation on this trip.
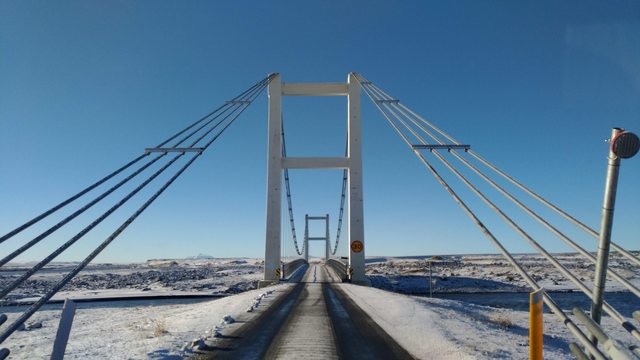
Beautiful suspension bridge in the middle of absolutely nowhere.
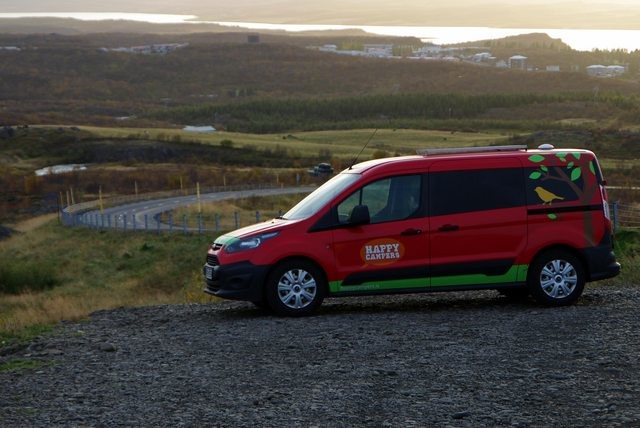
Obligatory pic for the van lounge
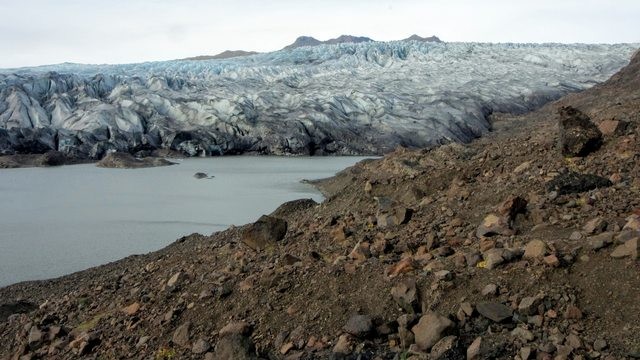
At this point the glacier was still approximately a mile away, the scale of these images is hard to grasp.
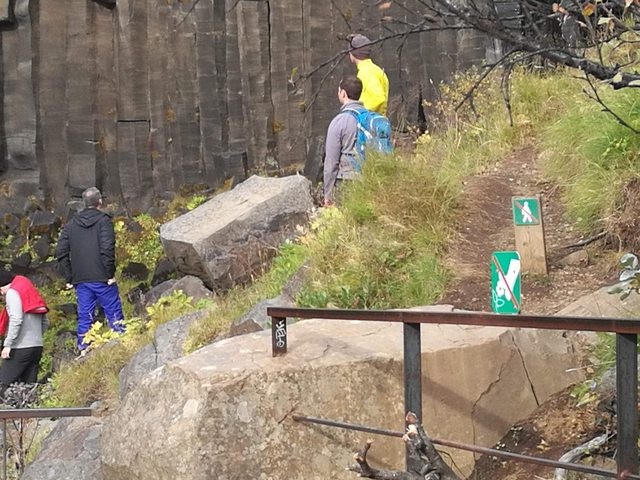
Notice the posted signs in the foreground. People suck.
Quick pause to sound like a curmudgeon. But this really irked me, and at times was impossible to ignore during our trip. PEOPLE SUCK. When you arrive in Iceland there are postings, PSAs, and other forms of literature asking you to leave nature as you found it, to stay on paths, and essentially leave no trace. At nearly every attraction there were people climbing over railings, driving off road, and having no respect for the others around them. It was really frustrating. The best piece of advice I can offer for anyone considering this journey is to get up early. If you visit something before 10am, chances are you'll have the place to yourself. After 10 is when the tour buses arrive and all bets are off. The best example of this was when we visited Dettifoss. This isn't part of the golden circle, its on the north side of the country which receives far less visitors than the area near the airport. We arrived to a mostly empty parking lot at 8:30am. Near the end of our visit (around 10AM) the lot was full (hundreds of cars) with buses lining up on the road to get in. I felt like a salmon swimming up-stream weaving through a mob of visitors that don't understand "walk right" on our way back to our car. All of this during the off-season. I can't imagine a visit during the summer.
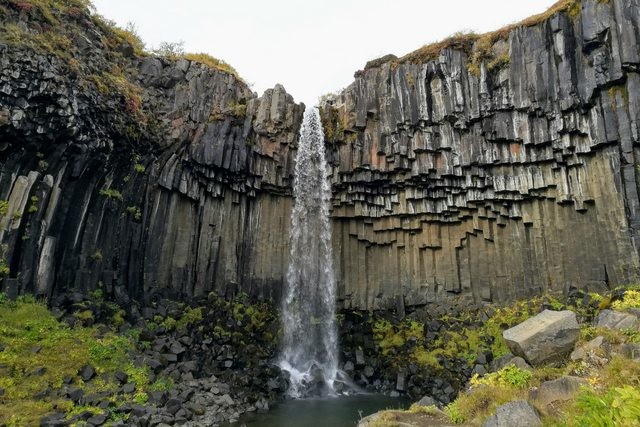
This is probably one of the most photographed waterfalls. For good reason obviously.

Same location.
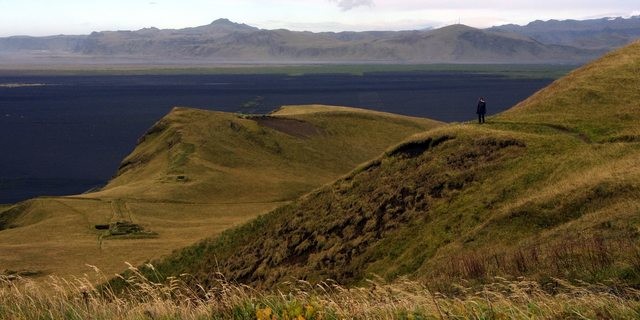
Return journey from the 2nd founder's burial site.
Iceland is an incredible place. If you're even remotely outdoorsy I cannot recommend a visit enough. We loved it so much we were pricing out flights for one last visit this fall before the baby arrived but ultimately we didn't go through with it.