You must be logged in to rate content!
4 minute read
Add mesh cargo pocket to 996 front area
Compliments of p0rsch3 @ www.6speedonline.com
I installed a mesh cargo pocket in my 330i and I really missed not having it in the pcar. This may not be your cup of tea, but I find that having the extra quick-access storage to be very handy.
This DIY can be done in literally 5 minutes and does not require any tools other than your hand.
The mesh cargo pocket is for a Z3 (or Z4, I forget), and is readily available from at your local BMW dealer. It is usually an order item and takes 2-3 days for them to get in from a regional parts distribution center.
Cost is (retail) $45 and less if you can get dealer cost.
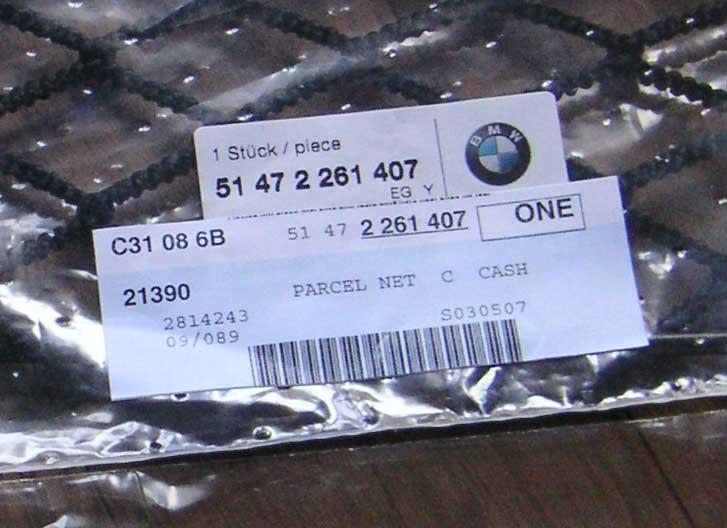
This is the part number that you need to ask for:
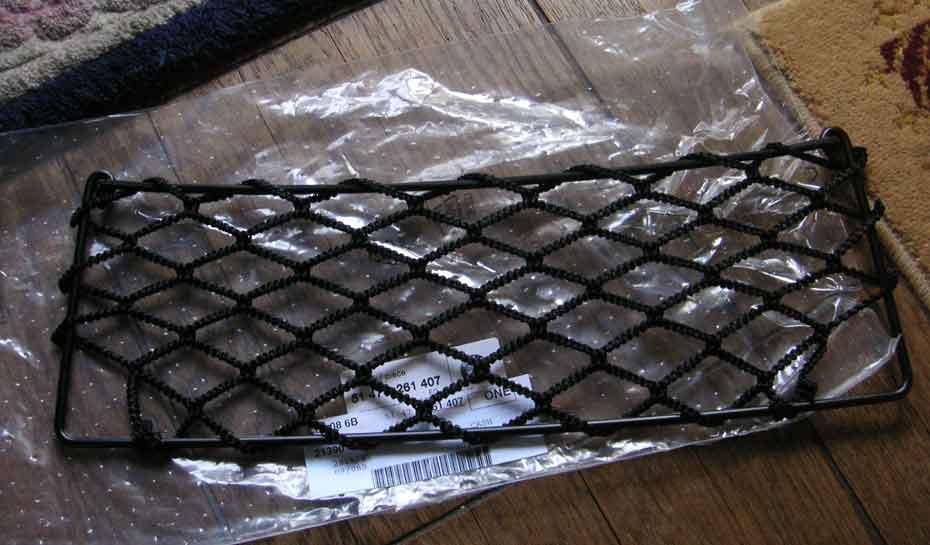
This is the mesh pocket-
The frame is easily bent to fit the countour of the 996 tunnel (or any other car, for that matter!
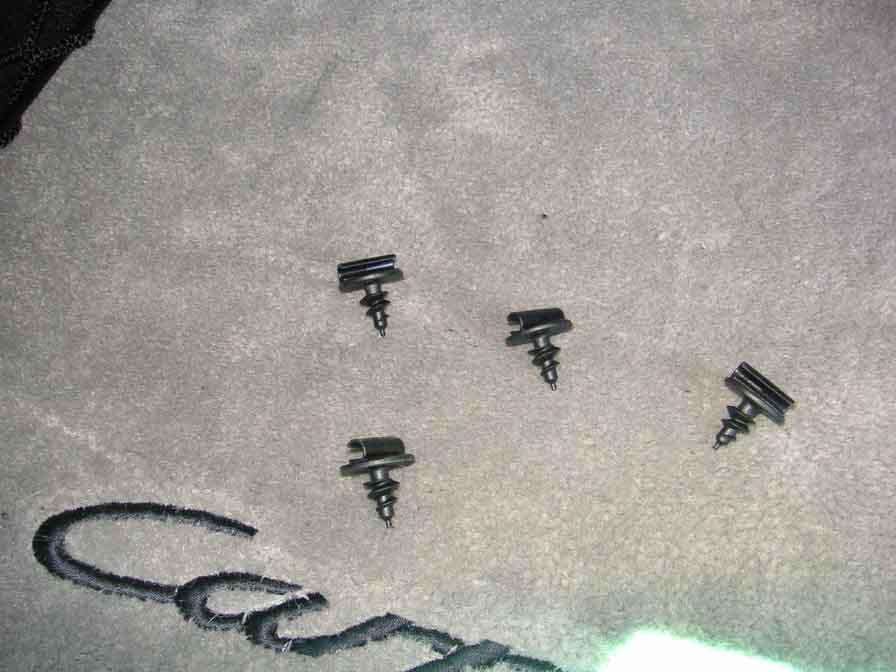
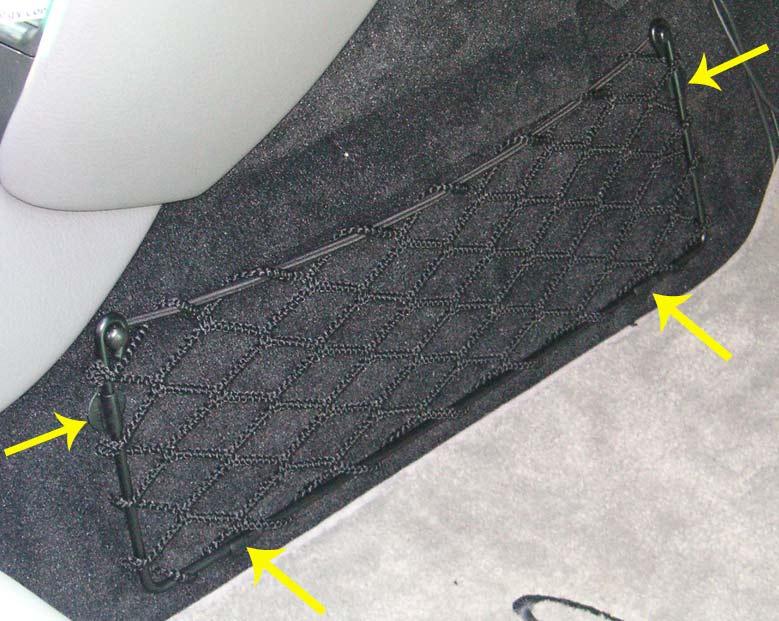
The securing screws are four carpet screws.
You push/wiggle them into the carpet until you feel it pop through, then screw in to tighten.
These should come with the pocket but don't assume! Be SURE to specify that they give you the four screws when you place the order for the mesh pocket (ask me how I know!).
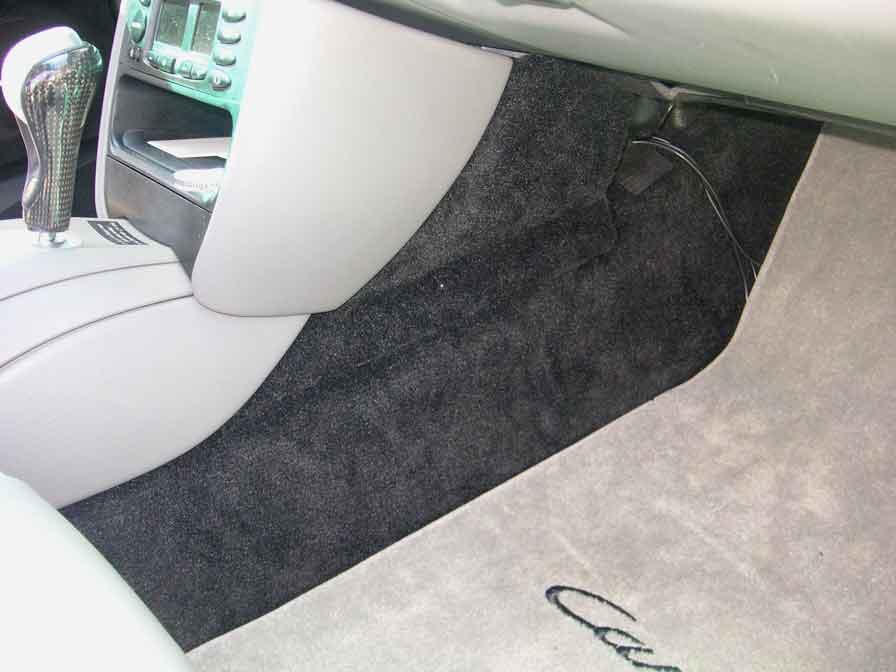
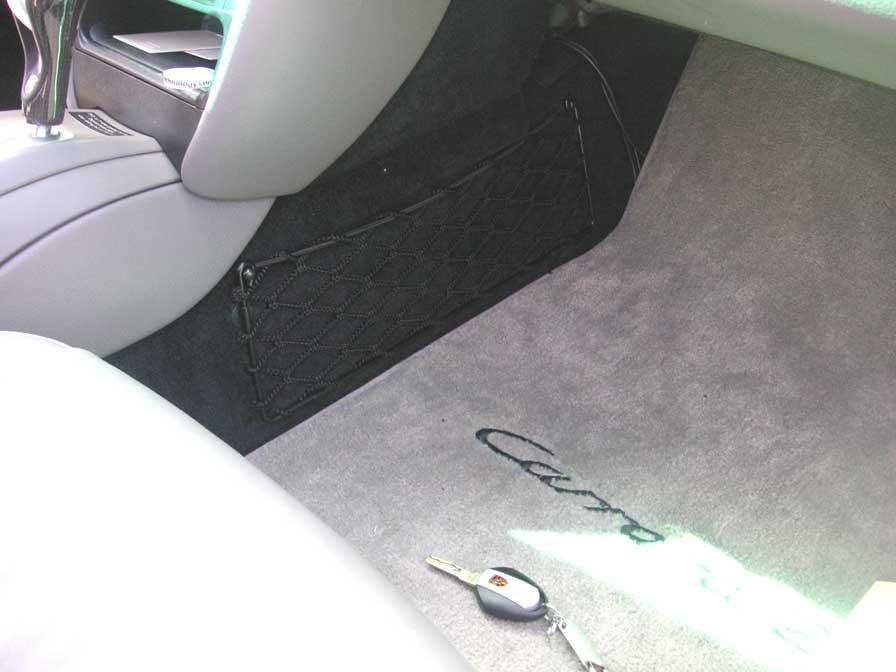
Now we need to review the spot where I will place the mesh pocket:
Hold up the pocket over the area and line up in the general area to your satisfaction. The 'front' of the pocket is the side with the top bungee head nuts facing towards you.
You will notice that the top right edge sits away from the countour of the tunnel. No biggie!
Take the frame and twist the left side bar towards you and push the right side bar away from you, until the right side bar is bent inwards enough to sit flush with the tunnel.
Then take one of the carpet screws (I usually start with the top left) and hold it against the carpet where you want to pop it through for the first securing point.
Put the mesh pocket down and push hard on the securing screw with a back-and-forth twisting motion until you feel it insert through the carpet backing. Then screw in clockwise until flush / tight, and the "C" clip opening is facing inwards.
Put mesh back up, clip into the "C" clip, line up the height and horizontal straightness (I usually use the edge of the floormat as an eyeball straight-edge), hold up the right side securing screw in the proper area. Remove the mesh pocket and put in the second screw.
Put the pocket in and clip to both L/R C clips.
Mark and insert two bottom securing screws, then clip in place on the pocket frame.
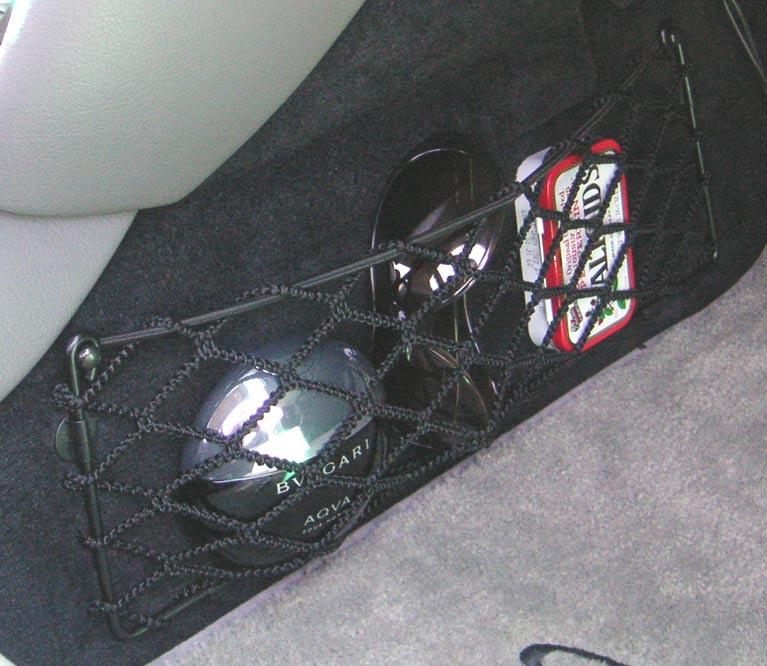
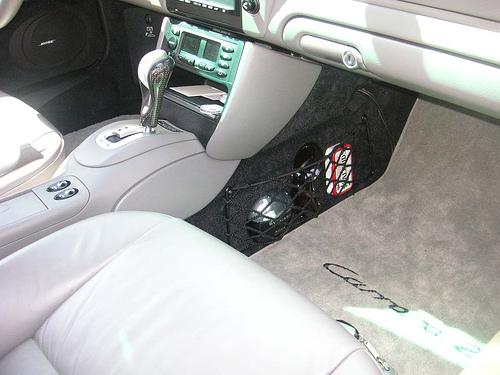
That's it!! Pack full of your favorite stuff. My External hard drive for the Kenwood DND/NAV unit will go here.
