You must be logged in to rate content!
7 minute read
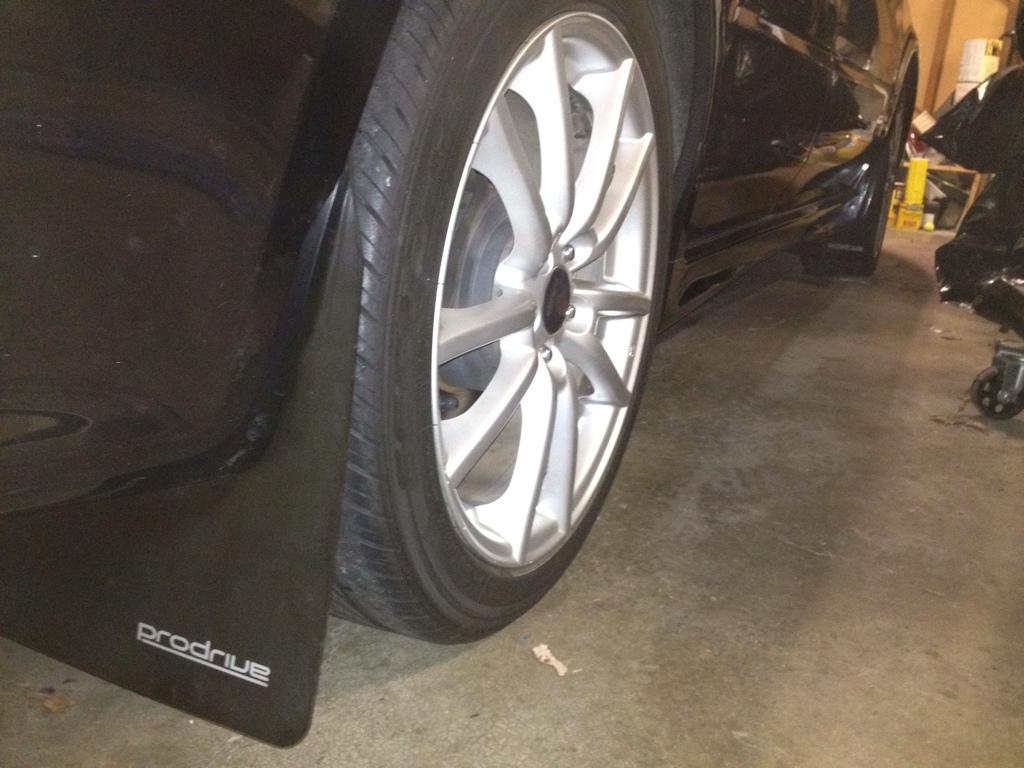
How to install Prodrive mudflaps on an 04-07 Impreza/WRX Wagon
Compliments of Bradrcr @ https://forums.nasioc.com
Vehicle: any Impeza based wagon
Years: 04-07
Completion time: 90 Minutes
In addition to the standard Prodrive install hardware, you will need the following tools and parts:
Hex keys to fit the hex head screws
2 M5 Nylock nuts & extra screws or similar size Srew/Lock nut combo
1/4' Drill
Pliers
Chalk
Plastic Packing Tape
Dremel
Jigsaw or Skillsaw with a metal cutting blade
Rubberized underbody coating
Black liquid rubber gasket
2 short flat-head screws that fit the lock nuts from the original harware
Note: These instructions will have your flaps secured by only 3 nuts in front and 2 in the rear. They do hold up fine for street driving, but should not be sufficient for off-road.
Front Mudflap Install:
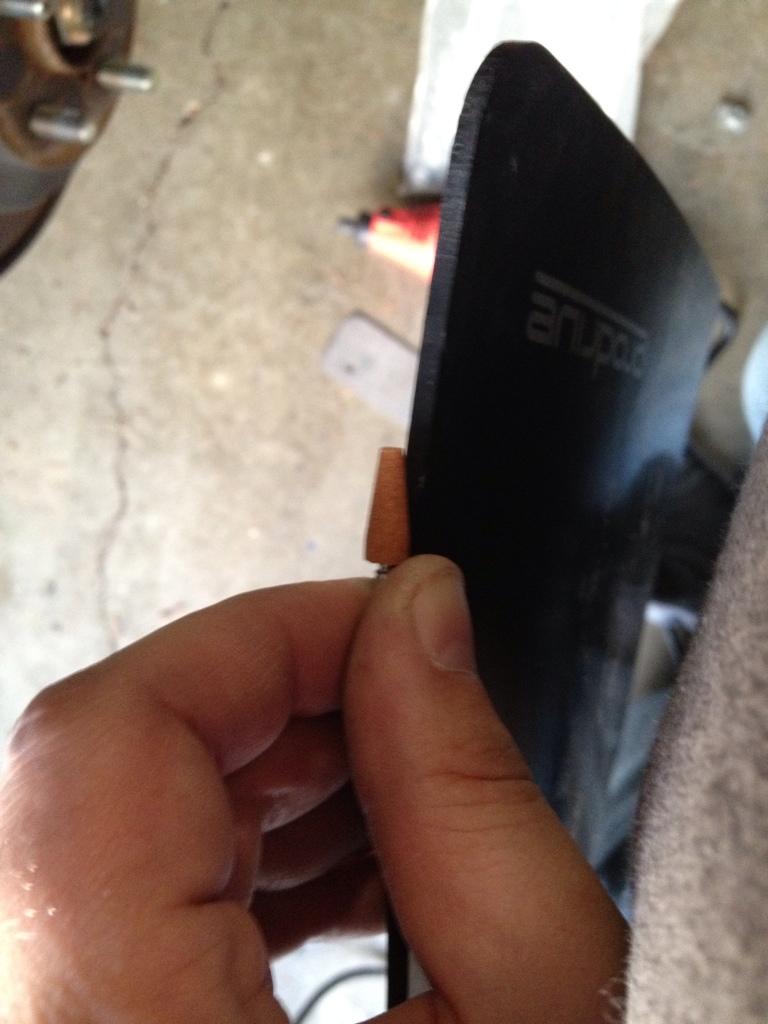
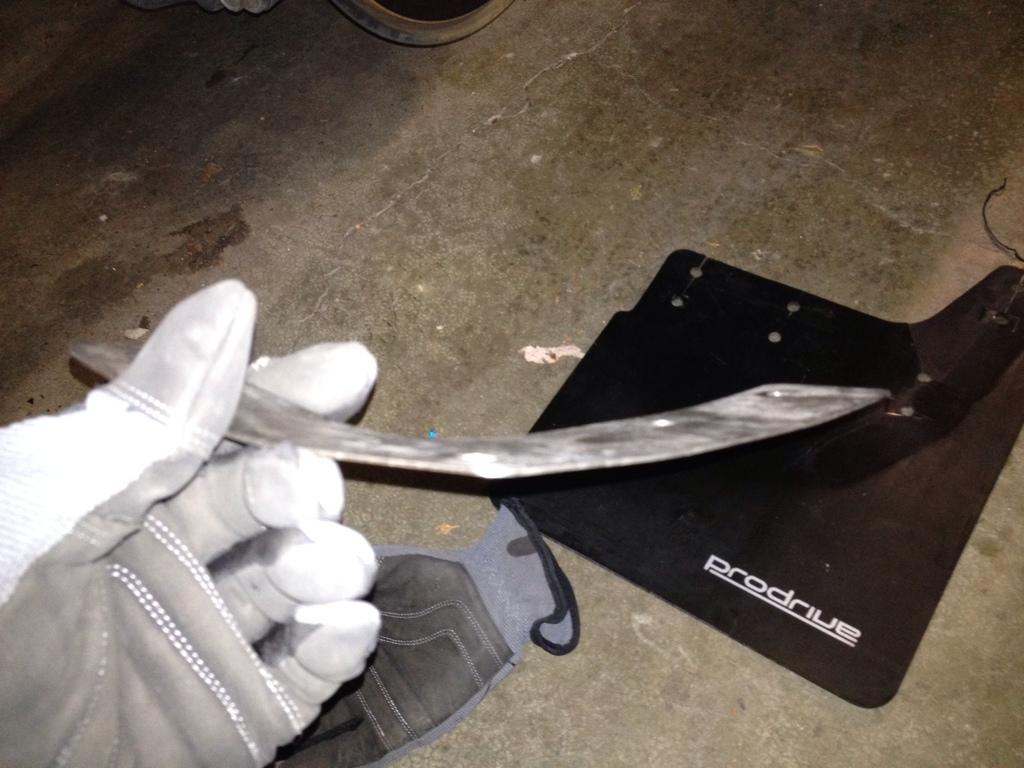
1. Use the Gasket material and fill in the top 2 holes of your front flaps:
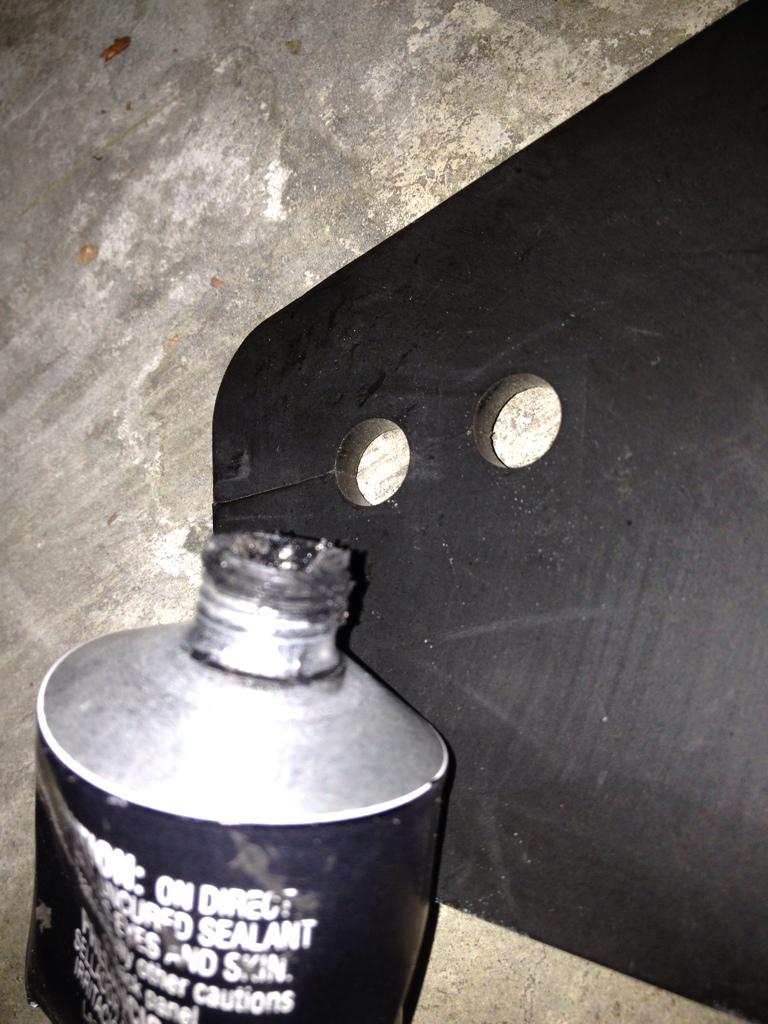
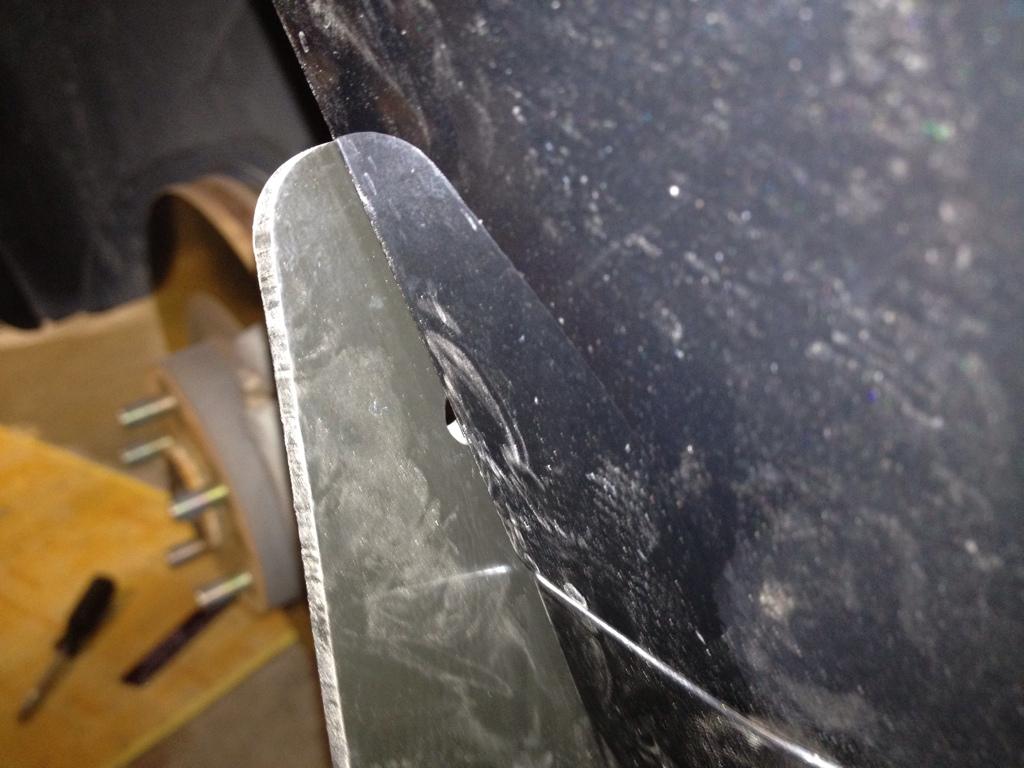
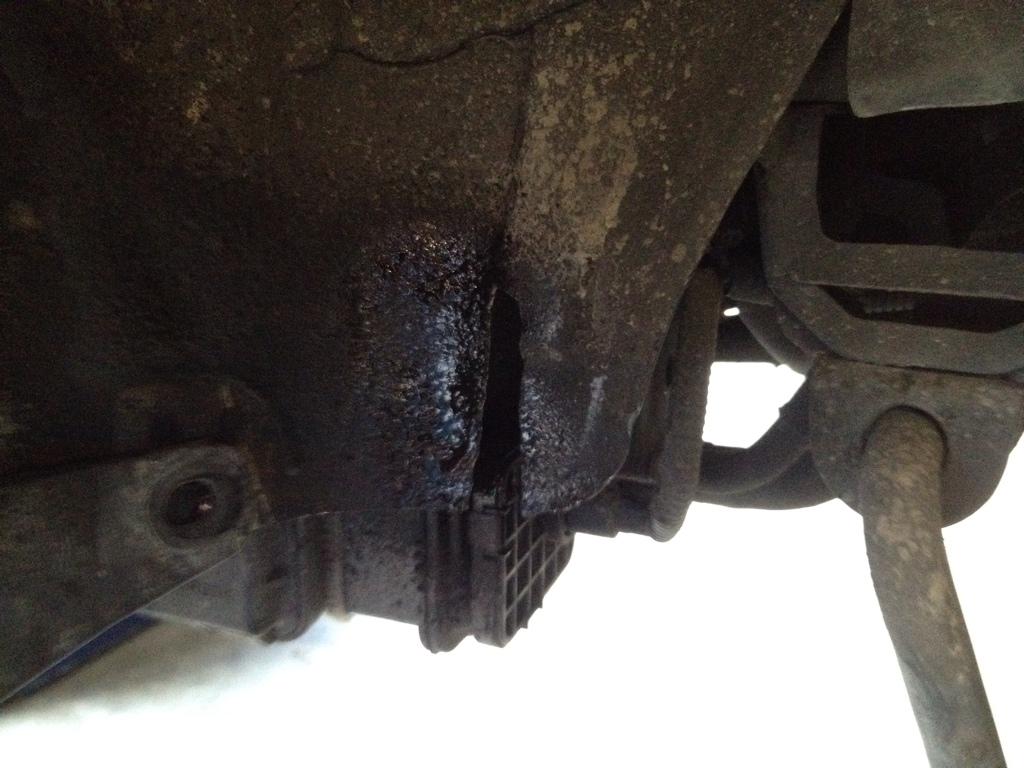
2. Otherwise you might end up with this:
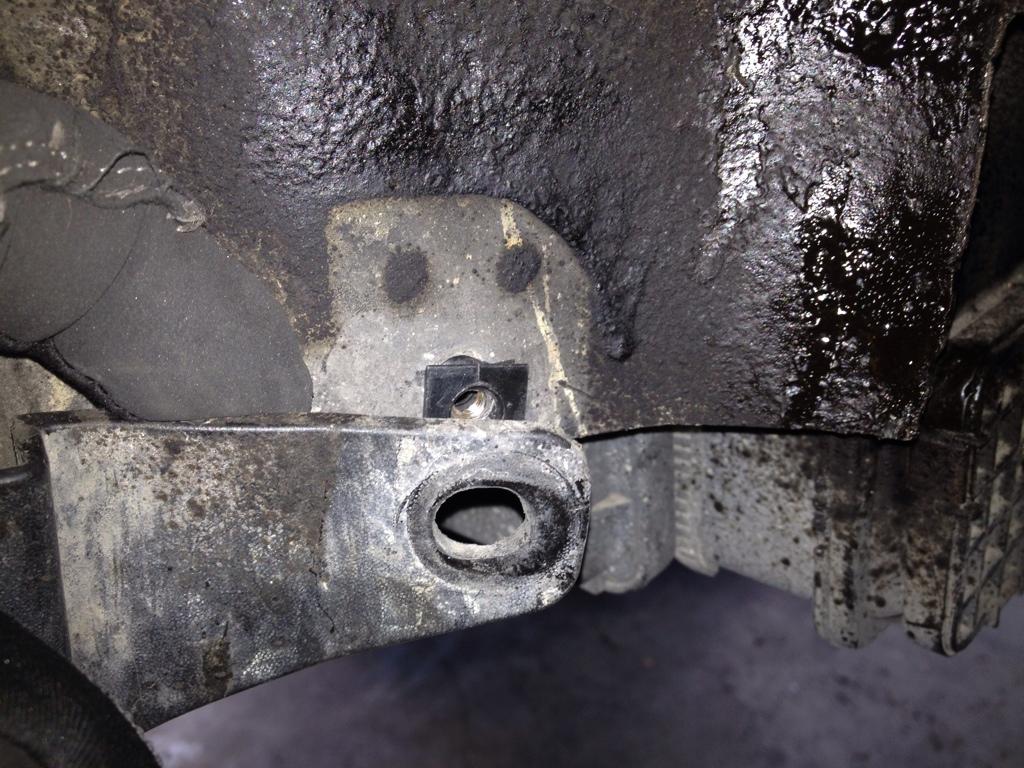
3. Jack up your car and remove the front wheels, then remove the front retaining pin of your side skirts:
4. Remove these 2 underside pins:
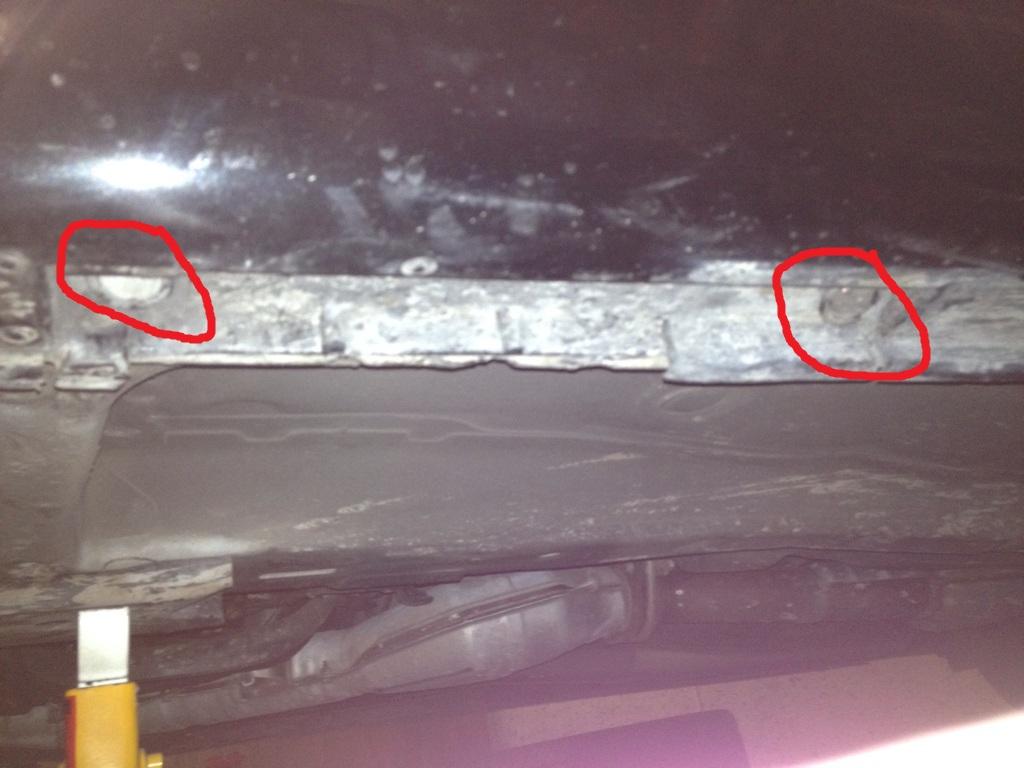
5. Pull back the front of the skirt and remove these 2 pins:
6. Use the chalk to mark and line up a hole on the front flaps the matches up to the removed clip and drill a 1/4" hole there:
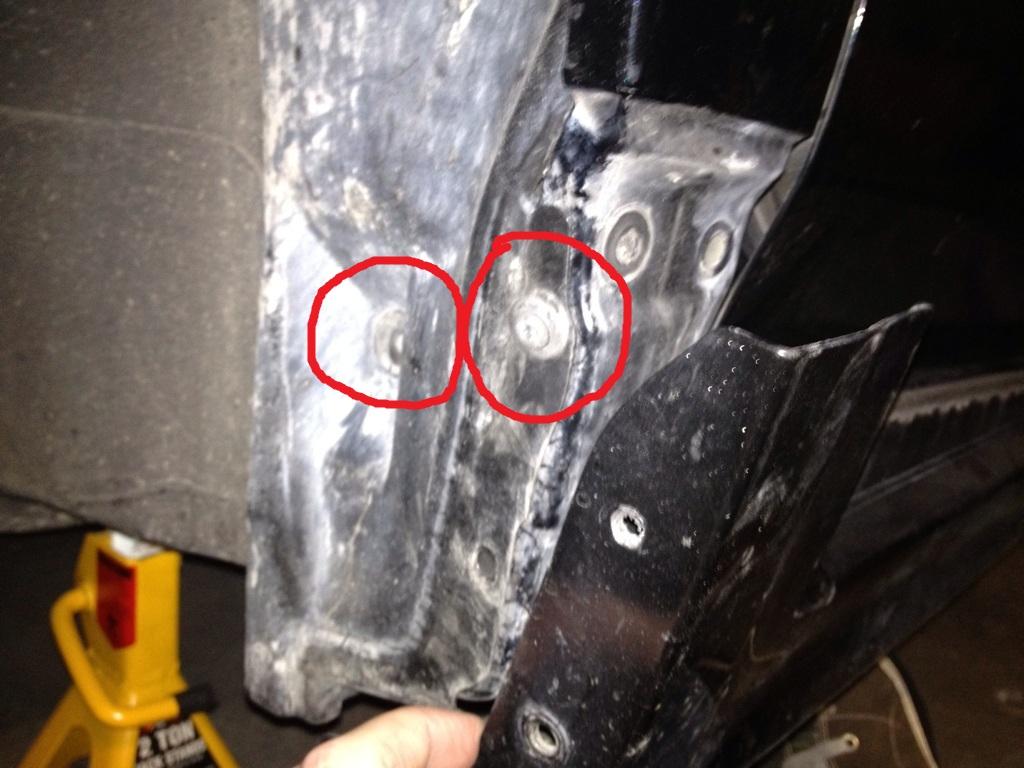
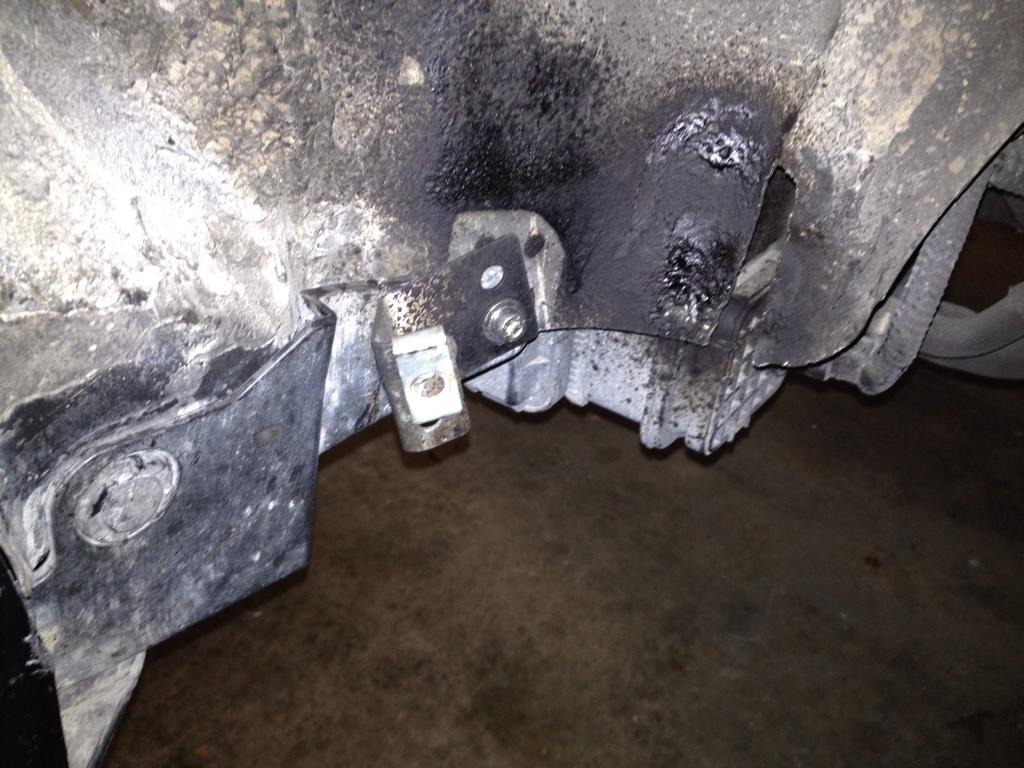
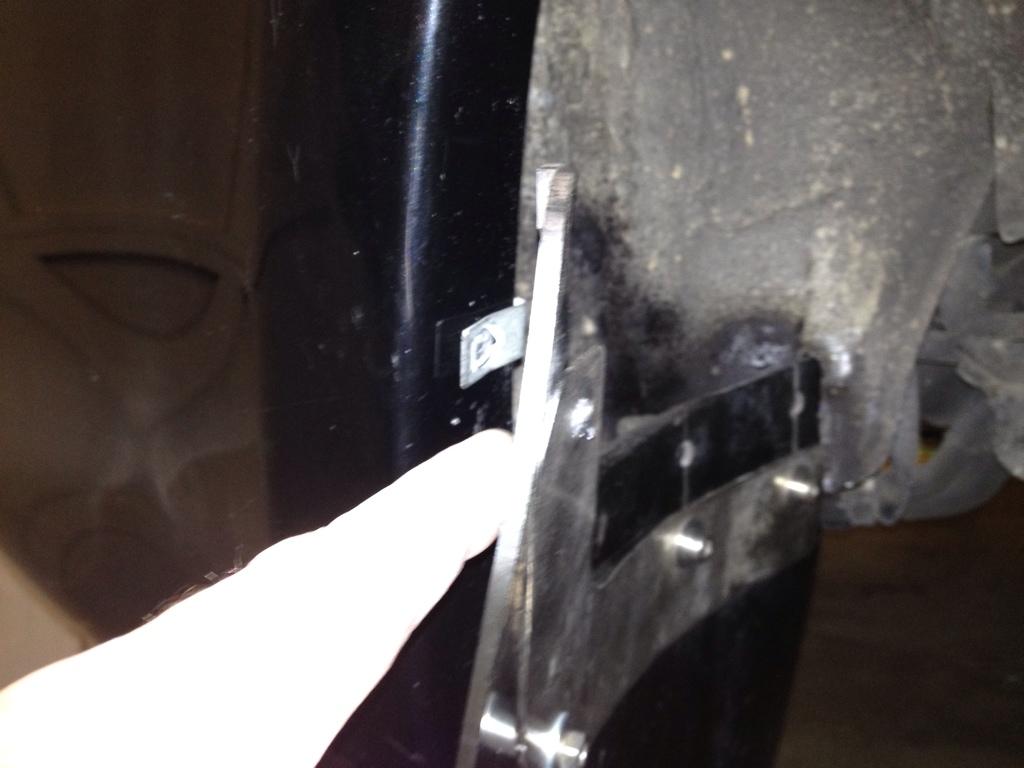
7. Pull back the Fender liner to expose the metal holes beneath:
8. Secure the plastic C' clips to these holes- you'll probably need to put some of the packing tape on the back of them, mine just fell out:

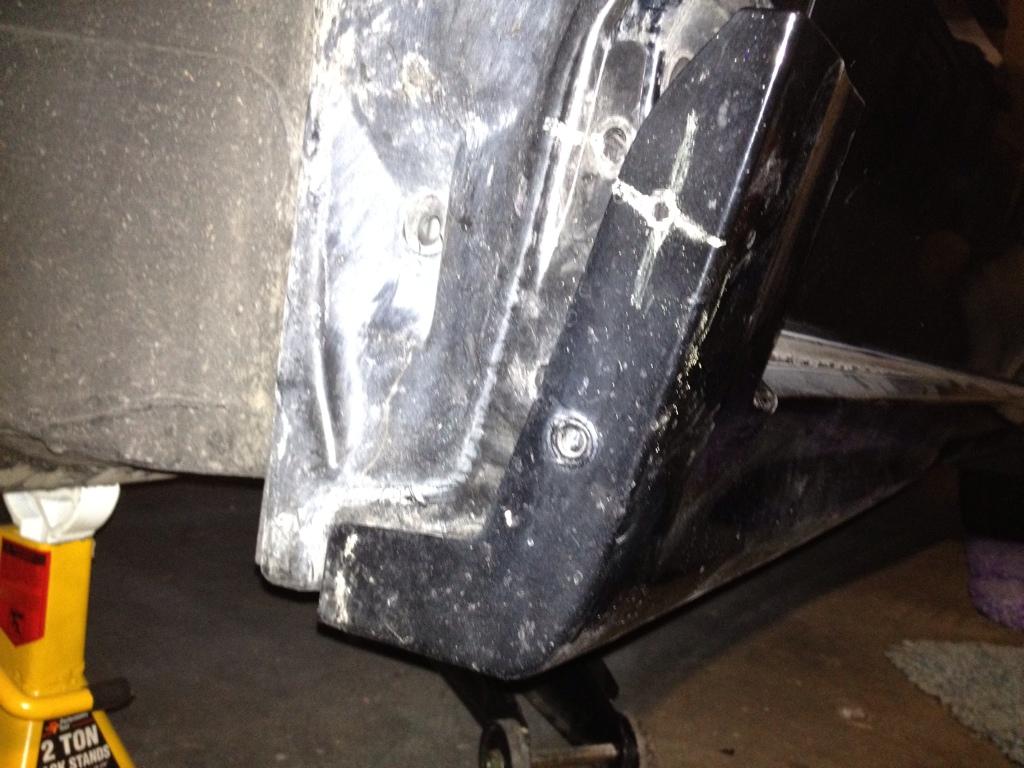
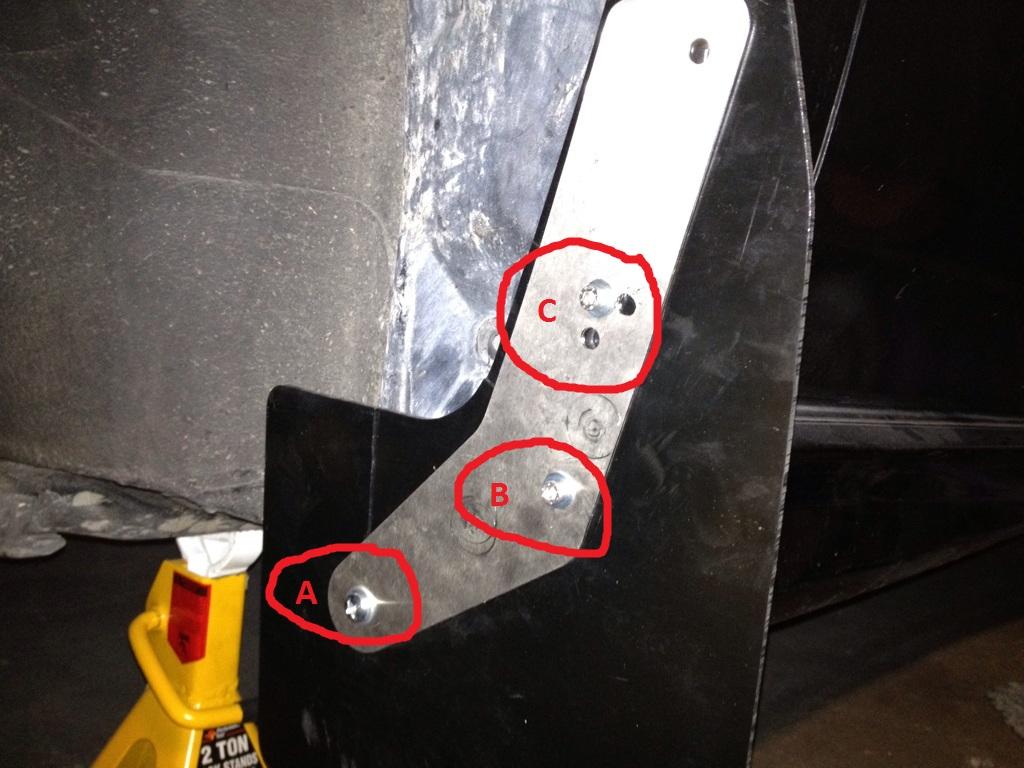
9. Line up the bracket and your mudflaps to figure out exactly where you will need to drill a hole into both to line up with the top C' clip. I suggest putting your flap in the 'high' position for best lineup with the rear flaps. Make sure to line up the flap and the bracket by itself. Once this is lined up, also drill a hole using the bracket as a guide into the lowest bracket hole and into the fender plastic:
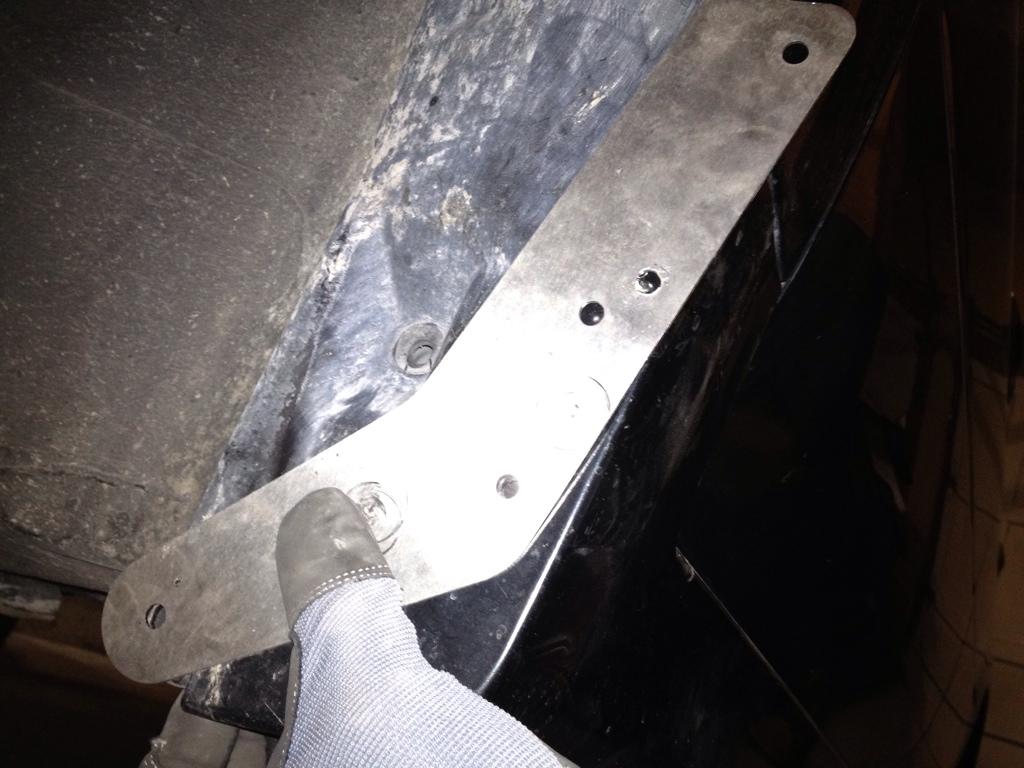
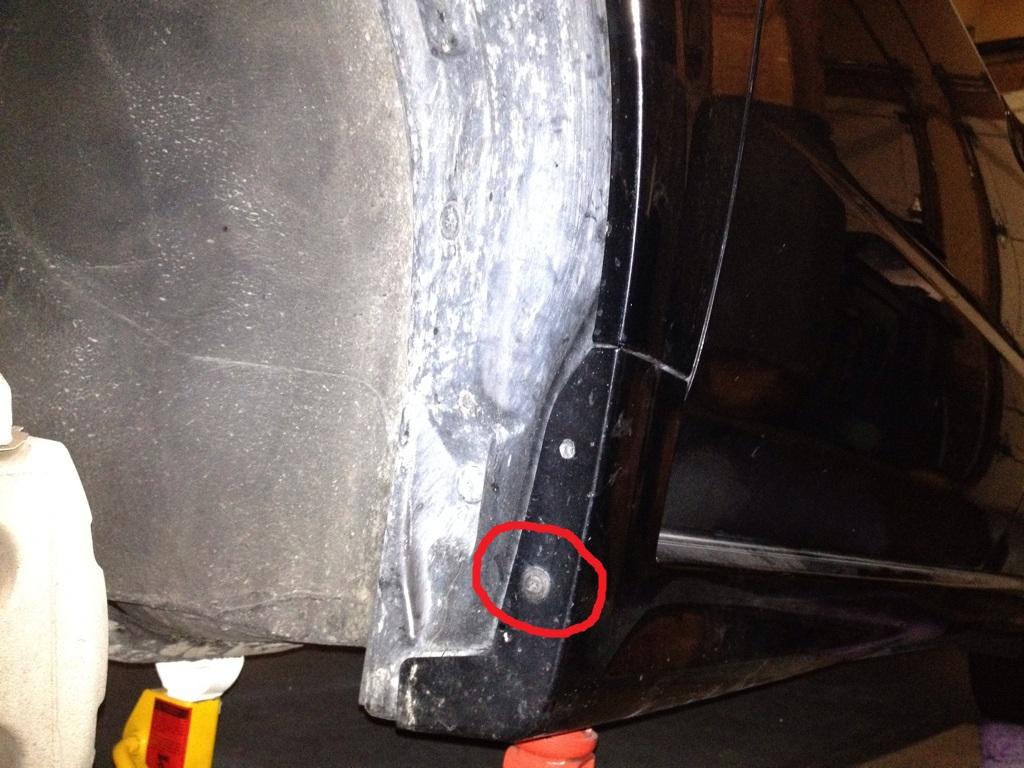
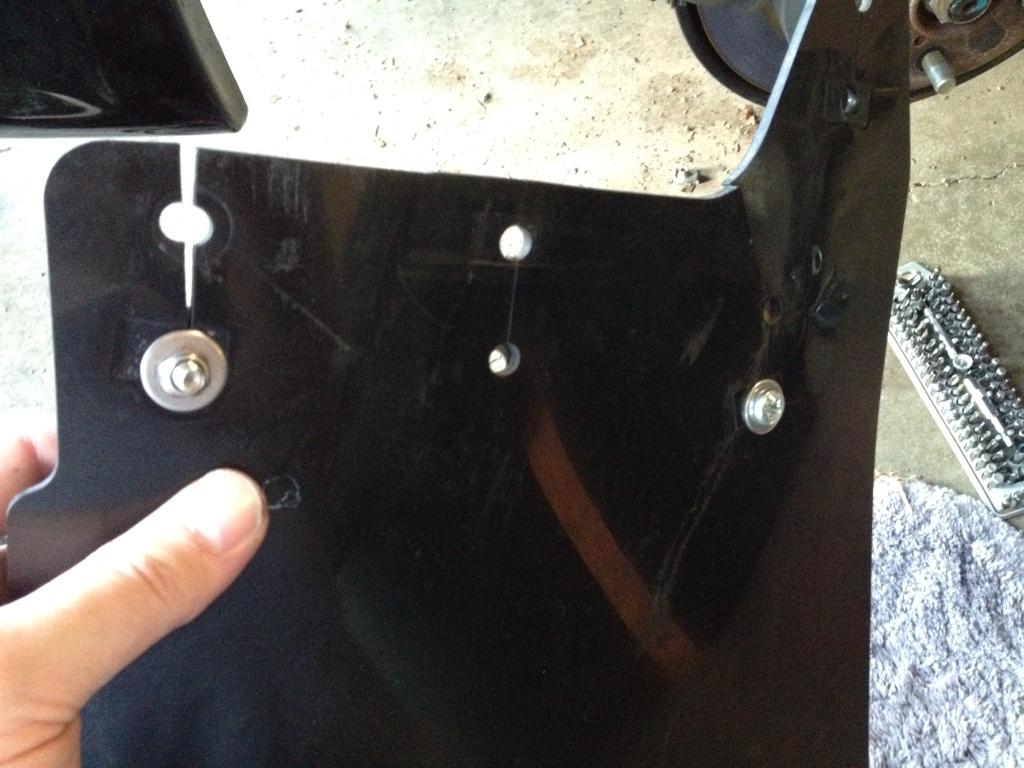
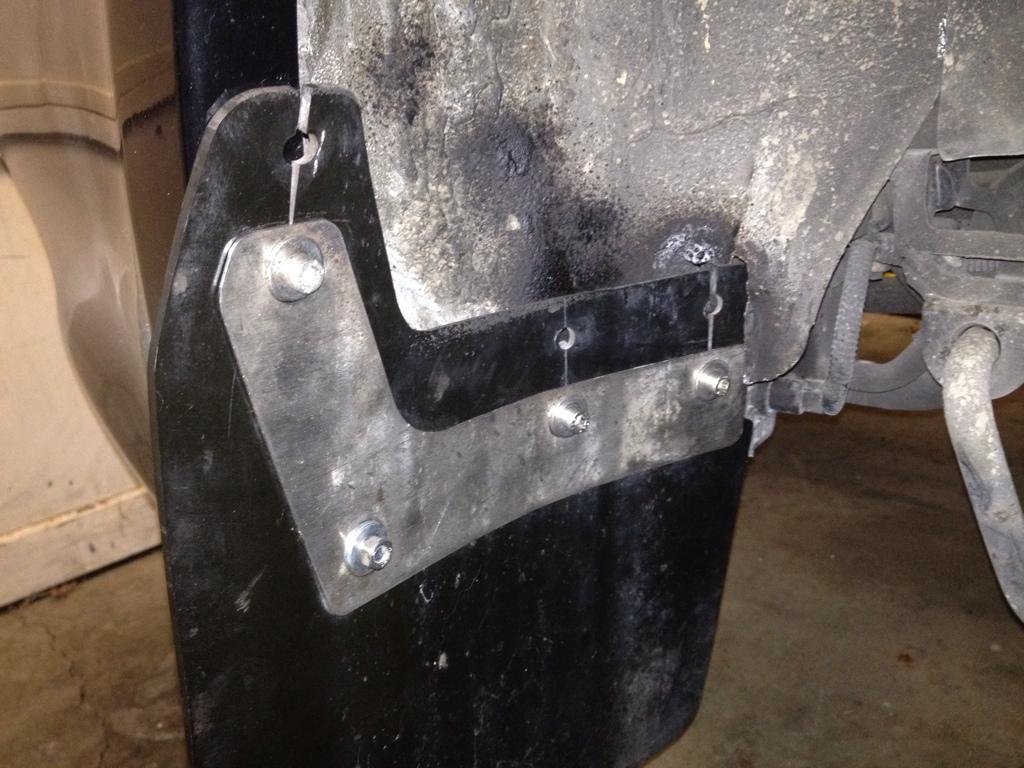
10. Now secure your bracket and flap to the fender using A. Your own screw/lock nut set B. An M5x20 Hex Head and C. An M5x25 Hex Head:
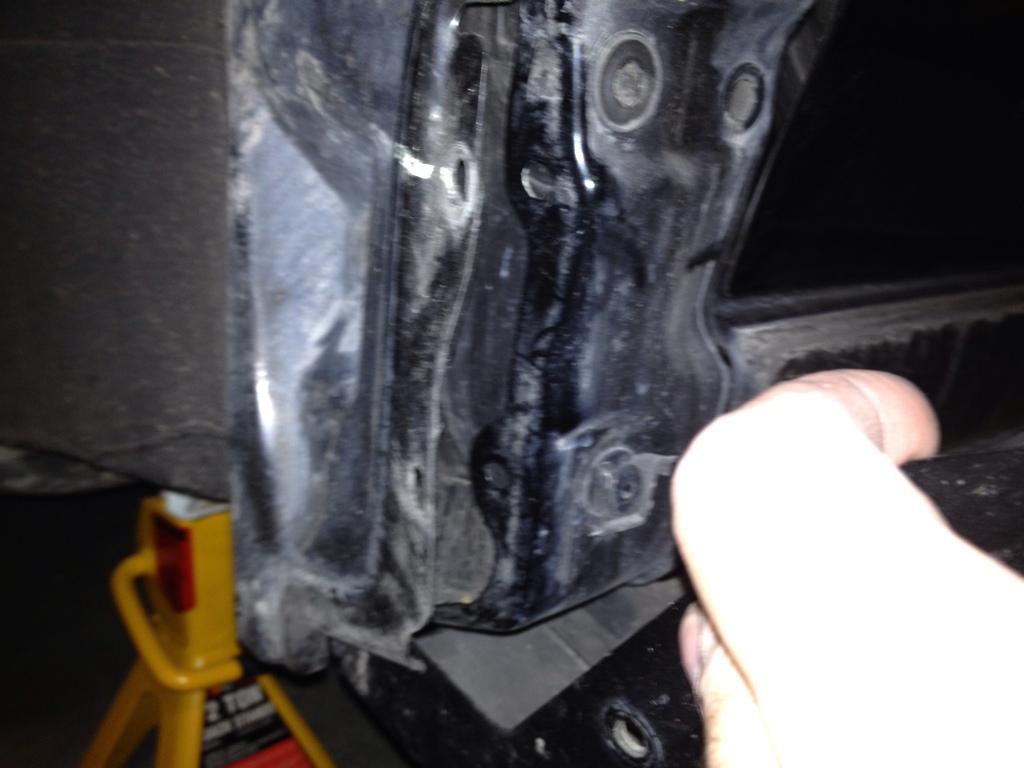
Make sure to reinstall all plastic clips you have removed in the installation that don't have mudflap hardware in their place.
Rear Mudflap Install:
Note: If you have secured the front mudflaps in the 'high' position as I recommended, securing the rears in the 'low' position will have them lined up at nearly the exact same height. However, on my 9-2X and probably on any other wagon, 3 adults in the back seat will make the rear flaps scrape, so I have put the rears in the high position as well in these instructions.
11. For your Dremel, you will want to use a thin grinding stone like the one shown here:
12. Jack up the rear of the car and remove the wheels. Than, using the skillsaw or jigsaw, you will need to cut a 1/2"x 2 1/2" piece out of the metal in front of the rear reservoir on the passenger side. You may be able to flex the metal on your bracket or the car itself to skip this step, but the setups I've seen have a very curved flap. There is no tank on the drivers side, but you will need to make the same cut. Use the dremel to grind the edges smooth and then spray with rubberized undercoating.
13. remove the trim retaining pin by the cut and insert a plastic C' clip into the back hole:
14. Use your pliers to flatten the U' shape bracket a little, so it's angles are closer 45 degrees than 90. Then secure the bracket to the C' clip using and M5x20 hex head bolt and put a lug nut on the opposite end. I had to put mine on at an angle in order to give the flap enough reach for securing to the outer fender:
15. Flex your monting bracket so it has a slight bow to it:
16. Secure the bracket to your flap using an M6X20 and nylock nut at the inner point and and the short flat-head screw and a nylock nut to the 3rd position. Make sure the flat head screw top is to the outside of the flap:
17. Secure the flap loosely to the U Bracket with an M6x16 hex head bolt and line it up with the front flap. Once set, tighten the screw all the way to the U bracket, then drill a 1/4" hole using the top hole of the bracket as a guide. Insert a lug nut over the hole in the fender:
18. Use an M6x20 bolt to secure the flap to the final lug nut:
19. Lower the car and check lineup with the front flaps. If adjustments need to be made, the U bracket is probably the easiest point: