You must be logged in to rate content!
3 minute read
Rear Subframe Lockdown Bolts for an 03 WRX
Compliments of chet.wrb @ www.nasioc.com
Ok, so this DIY is very simple, and not expensive. It makes a huge difference in how the car handles, and i haven't noticed any more road noise than before.
Parts List:
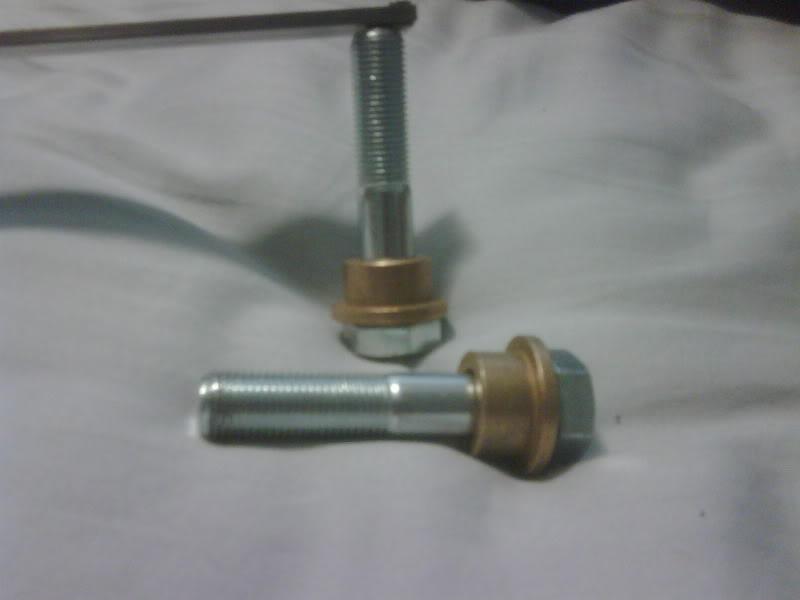
2 - M12x1.25 Bolts 50-60mm long (must be grade 8.8 or higher! I recomend 10.9 if you can find them.)
2 - 3/4" OD x 1/2" ID Bronze Flange Bearing
And here you have what your finished product should look like:
Now for the installment:
1: Make sure the threads in the capture nut are clean, if they have any rust on them, then you need to run an m12x1.25 tap through them to clean out any debris. ***(Skipping this step can cause huge headaches!!)*** Some people have also cleaned the threads with PB blaster and a small wire brush, or a pipe cleaning brush in a drill with PB blaster. WD-40 will also work a little bit, but PB blaster is 10x better. when the threads are clean, the bolt should thread in with almost no resistance.
2: Loosen all four subframe mounting bolts in order to let the bushings align correctly.
3: Apply anti seize to threads on the new subframe lock bolts. (a little dab should do it) Install one side bushing and bolt, but do not tighten up yet.
4: Install the other side and snug up the bolt. (To get the second one to line up, you might need to shift the subframe some. If the subframe is shifter to one side or the other, an alignment should be done following this install.)
5: Tighten all four of the original subrame mounting bolts.
6: Tighten up the two subframe lock bolts.
*More detailed instructions can be found on this post*
http://forums.nasioc.com/forums/show....php?t=1752267
And a couple pictures of them installed on my car:
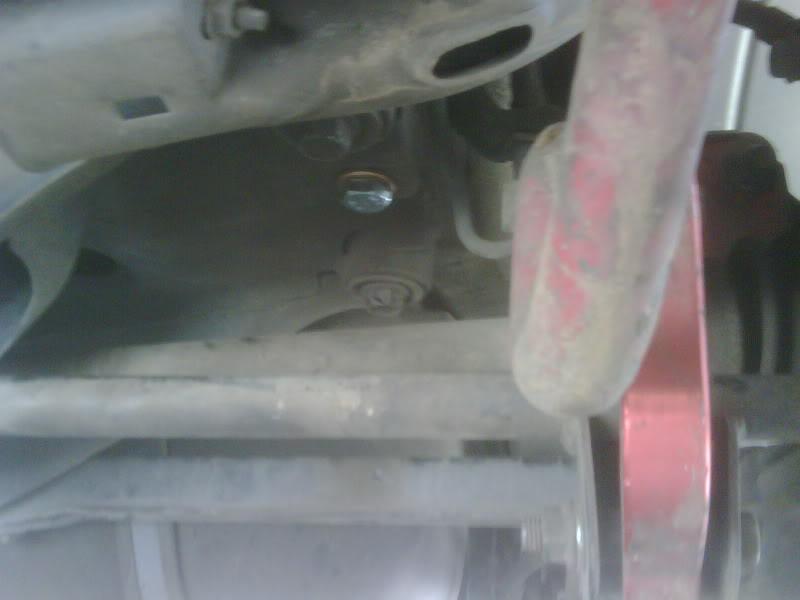
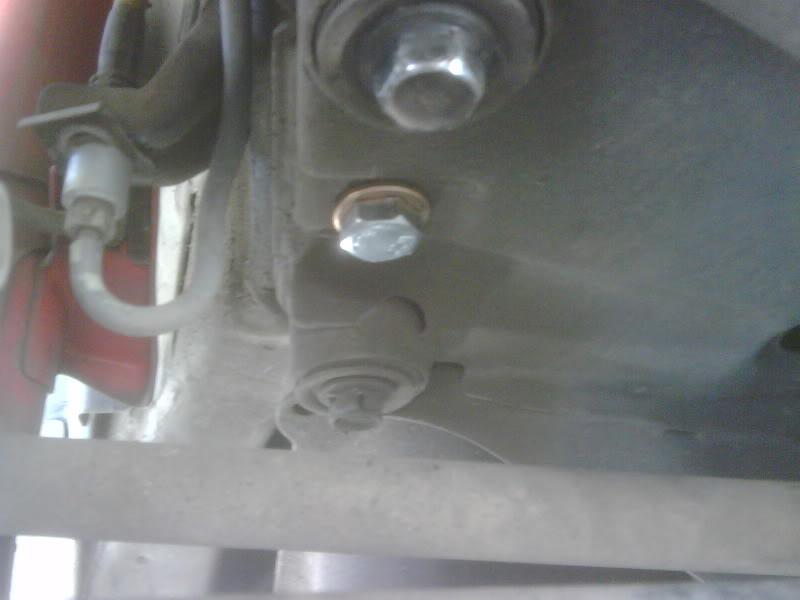
Everyone should be able to do this, and it takes only a few minutes.
total cost for me was $9 for the hardware.
I hope this helps some people out.