You must be logged in to rate content!
11 minute read
Home Depot Cargo tub for wagons
Compliments of Bradrcr @ http://forums.nasioc.com
Vehicle: Performed on an '05 Saab 9-2X Wagon, should work on any wagon
Completion time: 1 week (Lots of glue drying time needed)
I have been looking for a good interior cover for my work Scion and Subaru wagons to keep the seats laid down full time. Haven't found anything, so this is an $80-$100 DIY, everything available at Home Depot.*
I recommend reading through the entire thread first, as a lot of the fitment means you need to be conscious of the overall design of your tub and you need to keep in mind what comes next before gluing and cutting pieces. You will need a large area open for several days, as you will have a lot of drying sessions for glue. An ideal layout is a 2 car garage with one side for your wagon and the other for the tub.*
Do not be afraid to use a lot of glue, we aren't building models here and reinforcement is a must. Also, if you're removing the lower backseats to keep the cargo area flat, here's a link to my quick release DIY:
http://forums.nasioc.com/forums/show....php?t=2431817
Tools & Parts needed:
Tin snips
Box Cutter
Measuring Tape
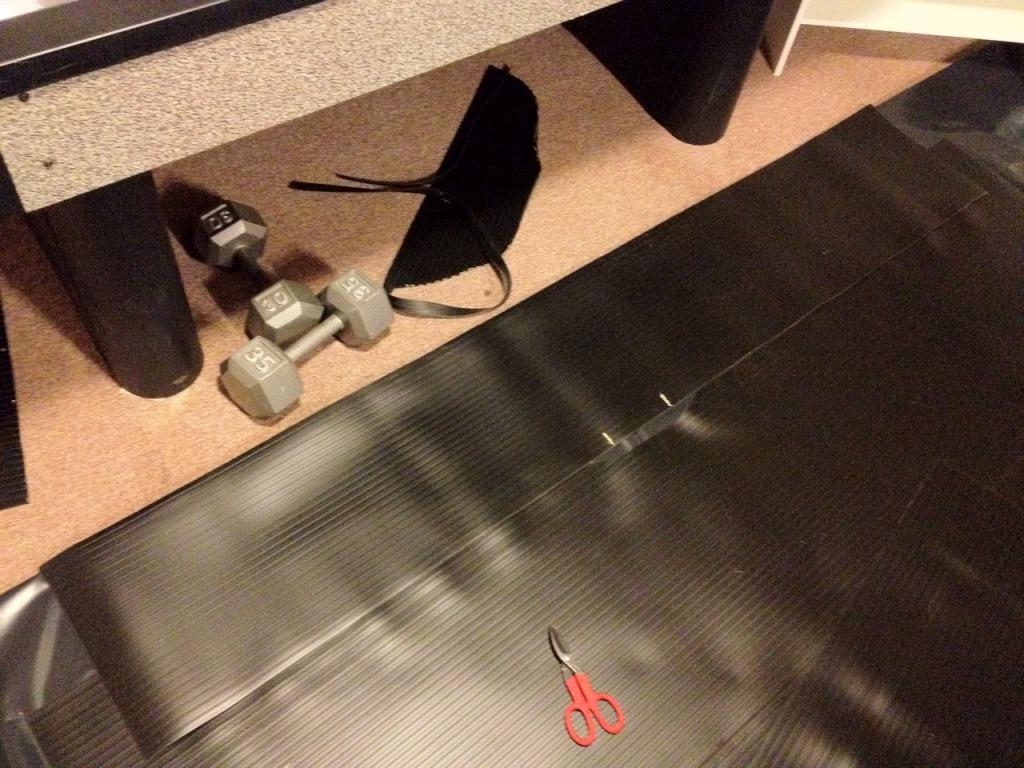
Varying weights or paving stones + flat pieces of wood
Contractors sheeting or some other type of floor protection you aren't worried about getting glue on
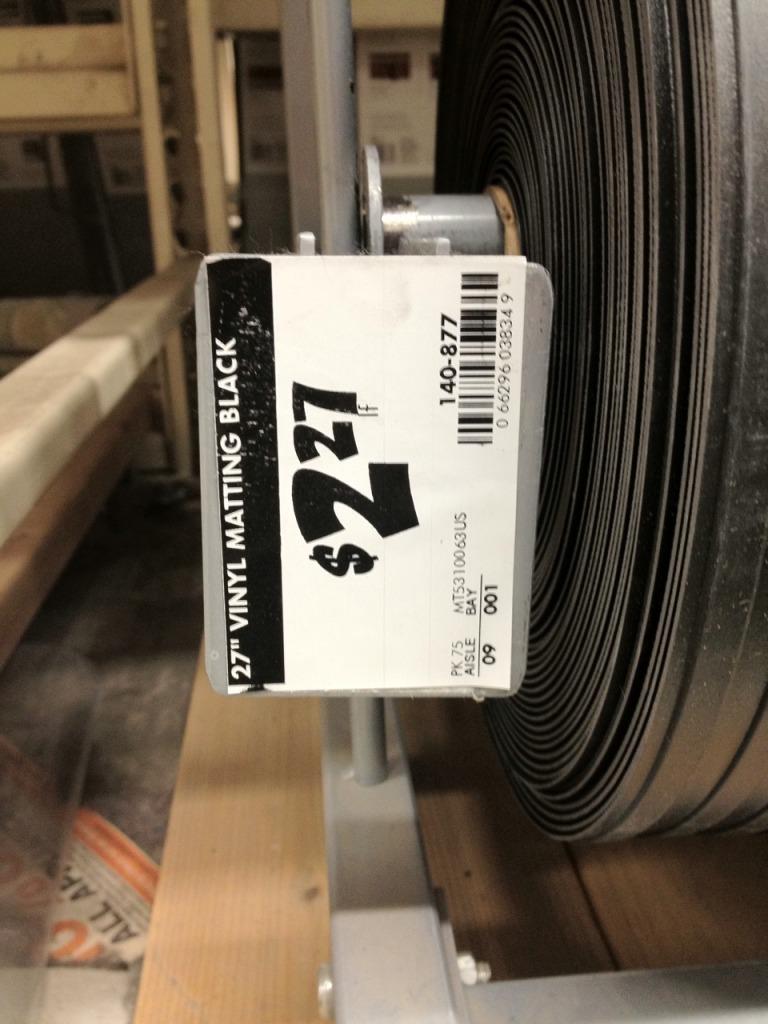
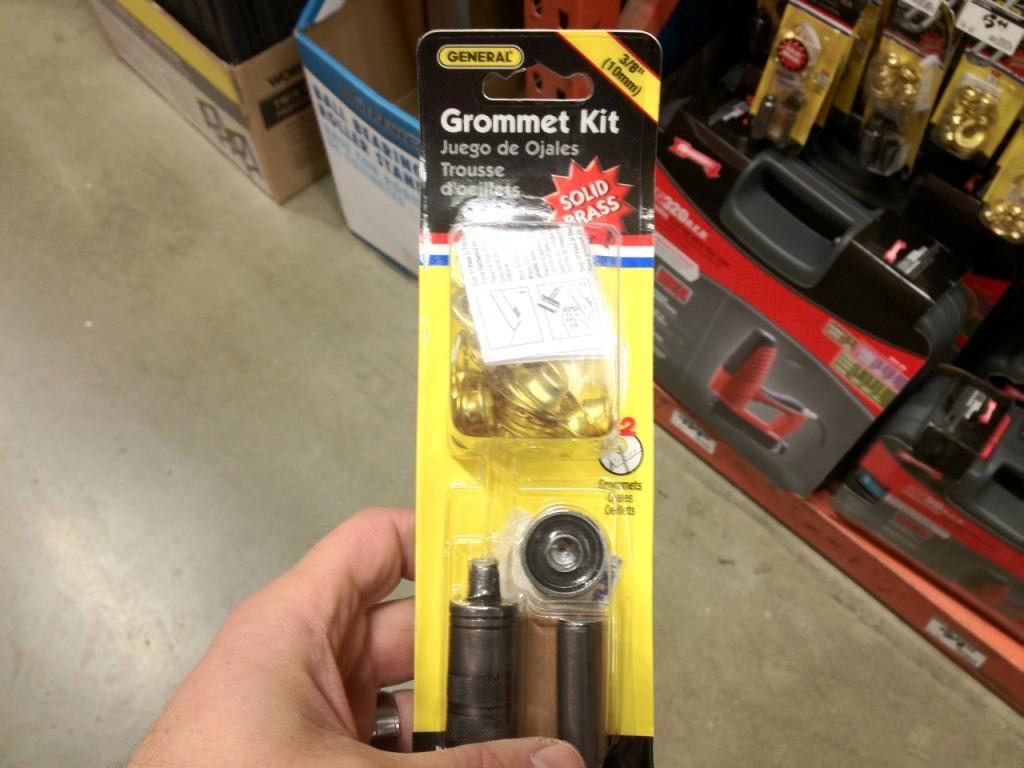
3/8" or 1/2" Metal Grommet kit (read ahead, size depends on setup)
26' of *27" Vinyl Matting for Impreza based wagons *(23" + scrap as needed)
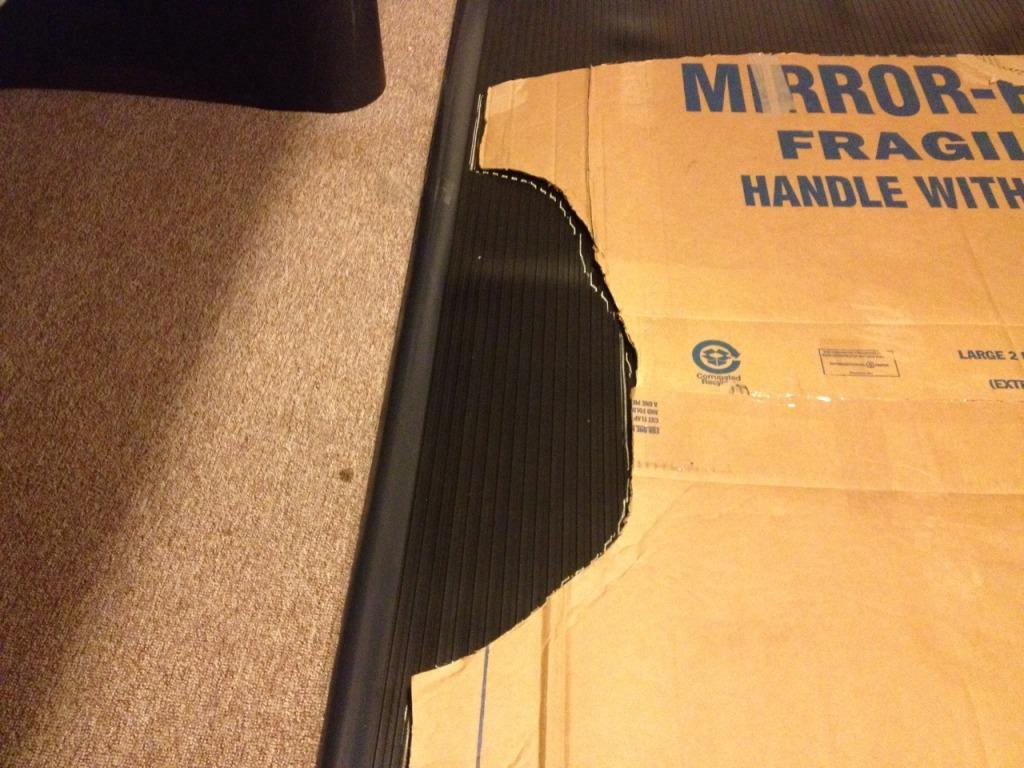
Large cardboard piece for template
2 Tubes of clear or black shoe goo
Mini bungee cords or similar attachment*
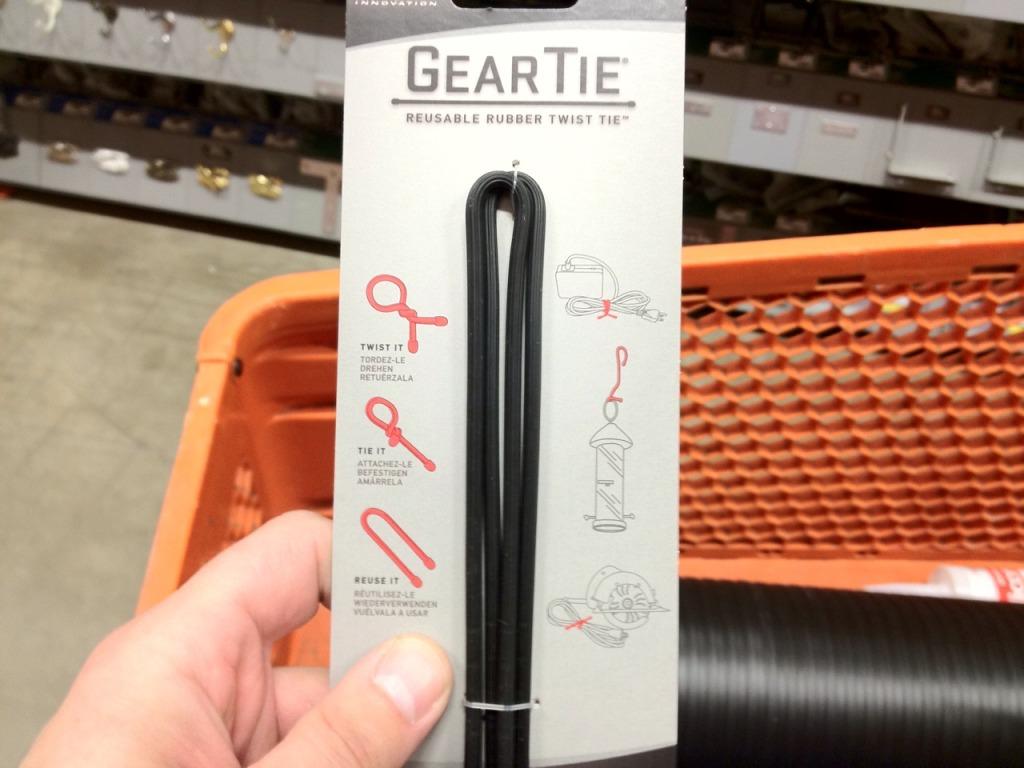
2-6 Gear ties (read ahead for your setup)
Chalk
Clear packing tape
Optional: 1/8" and 1/2" shrink tubing + heating element
Optional: Self-Adhesive hook sided Velcro*
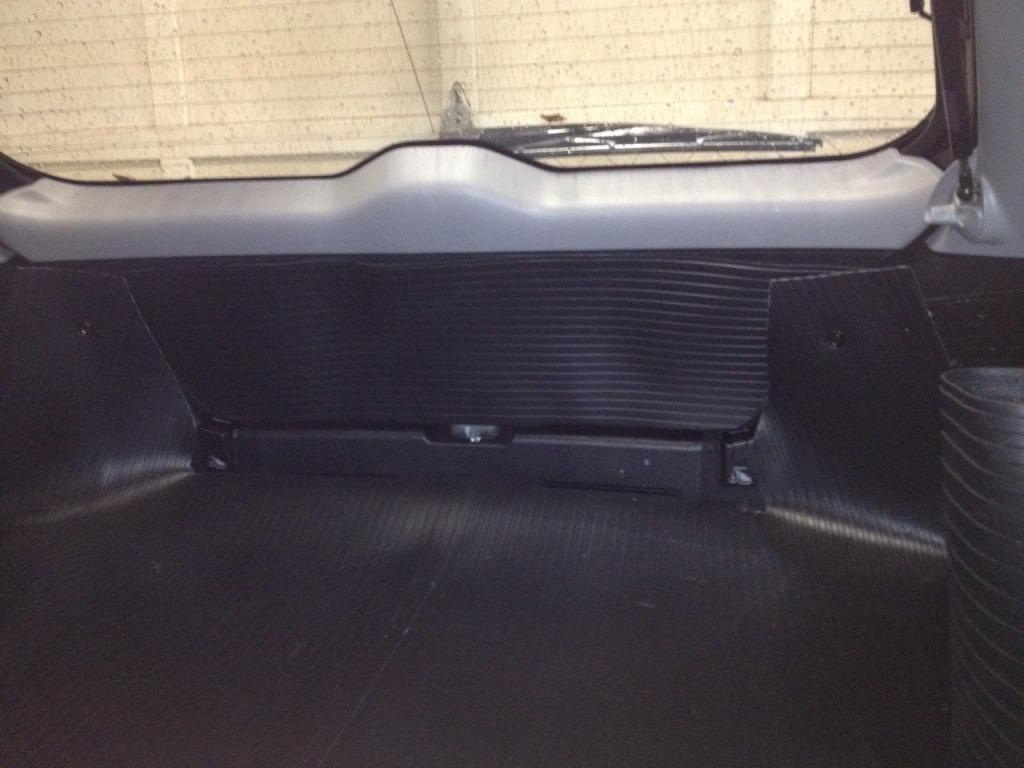
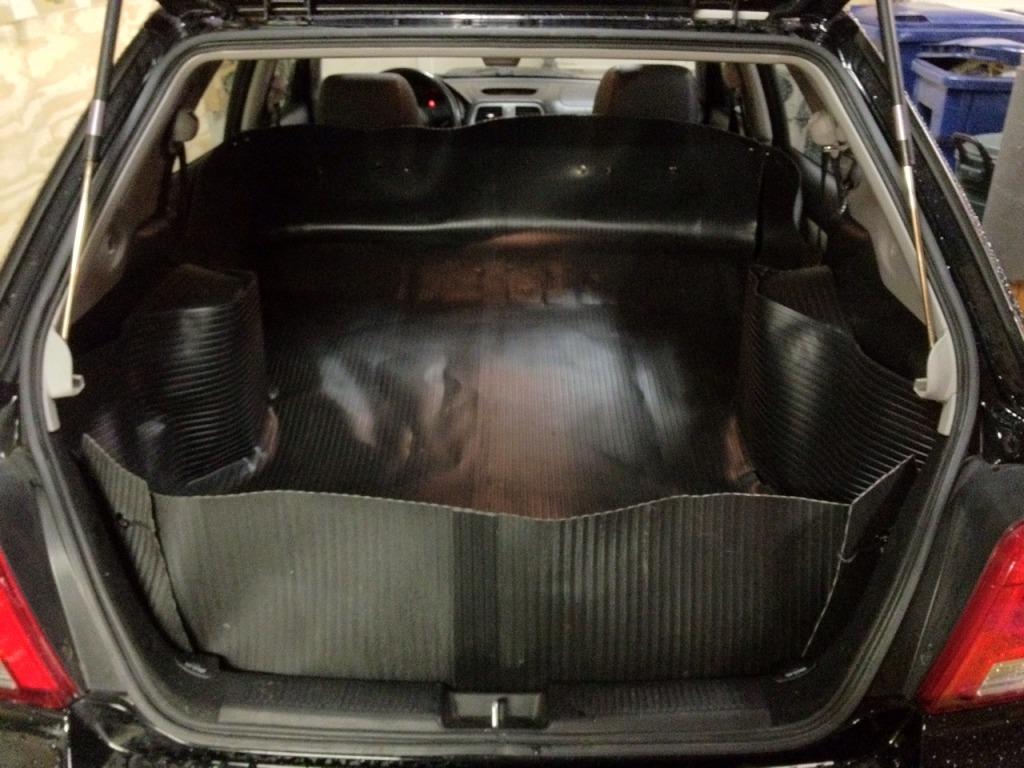
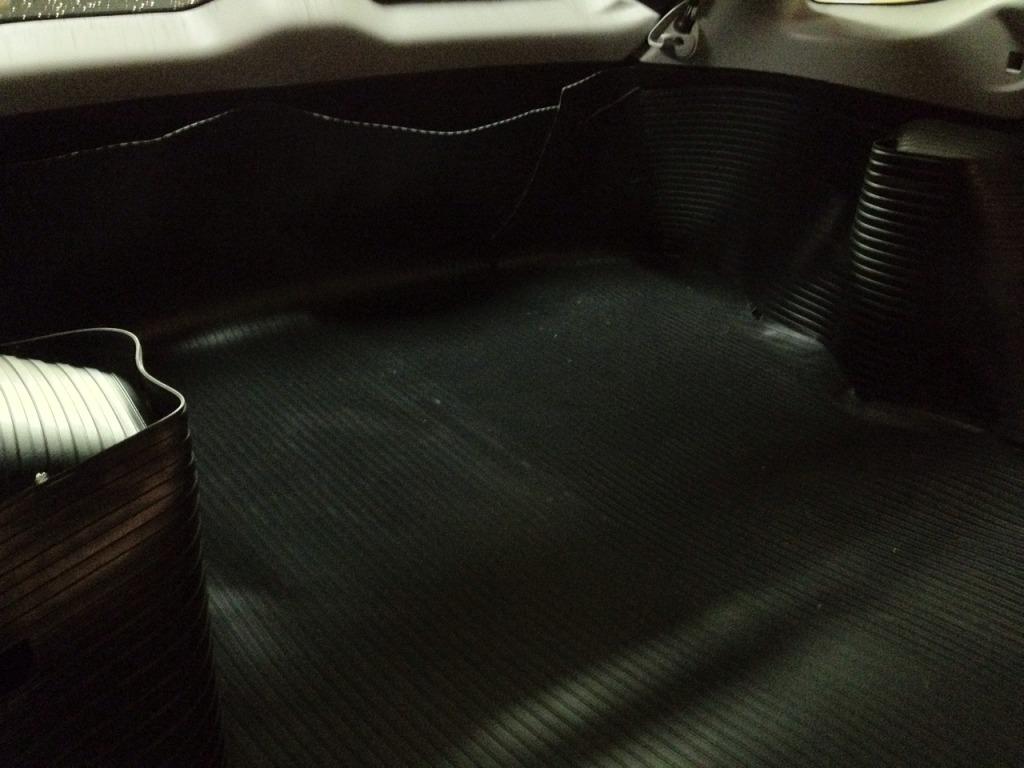
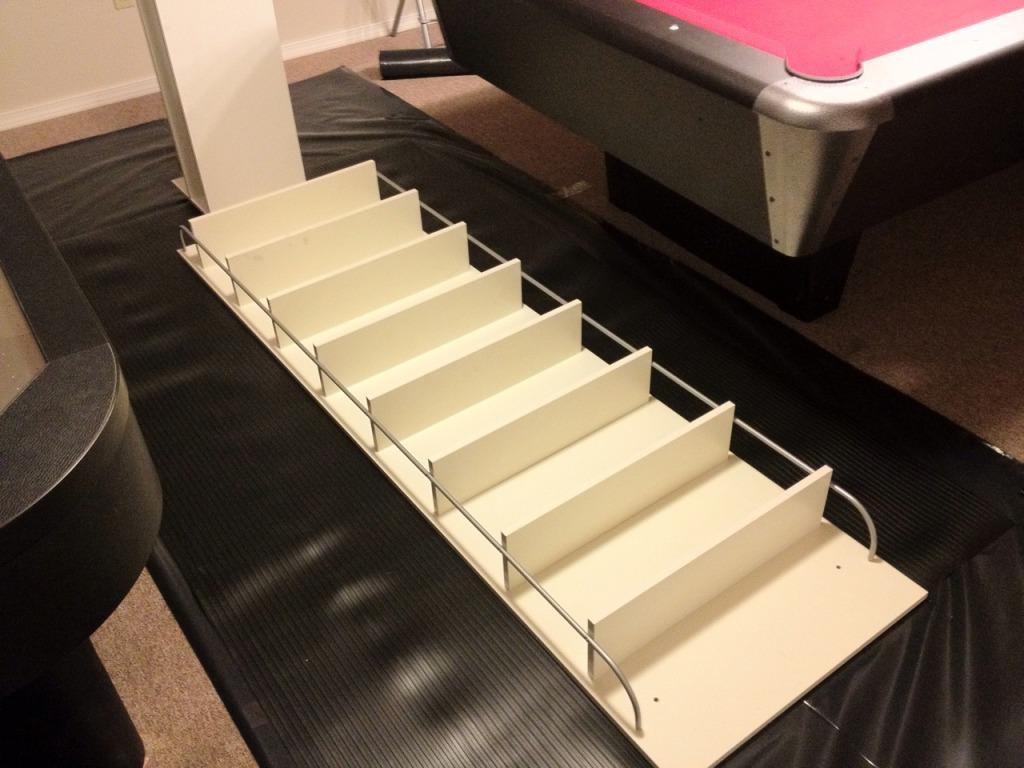
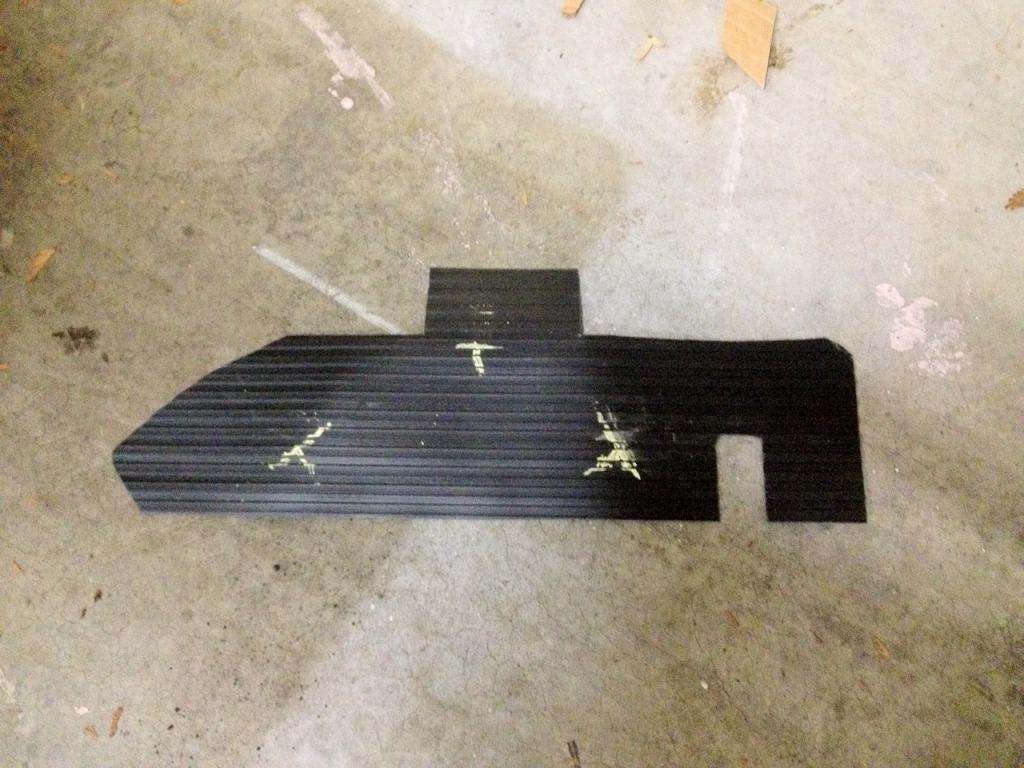
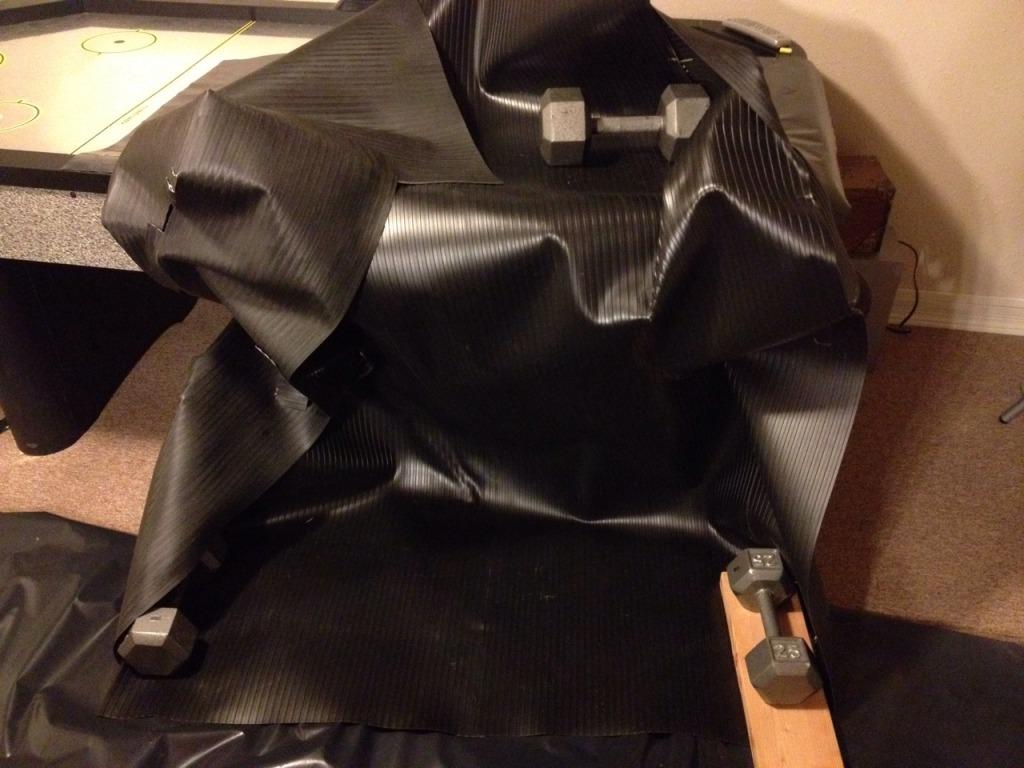
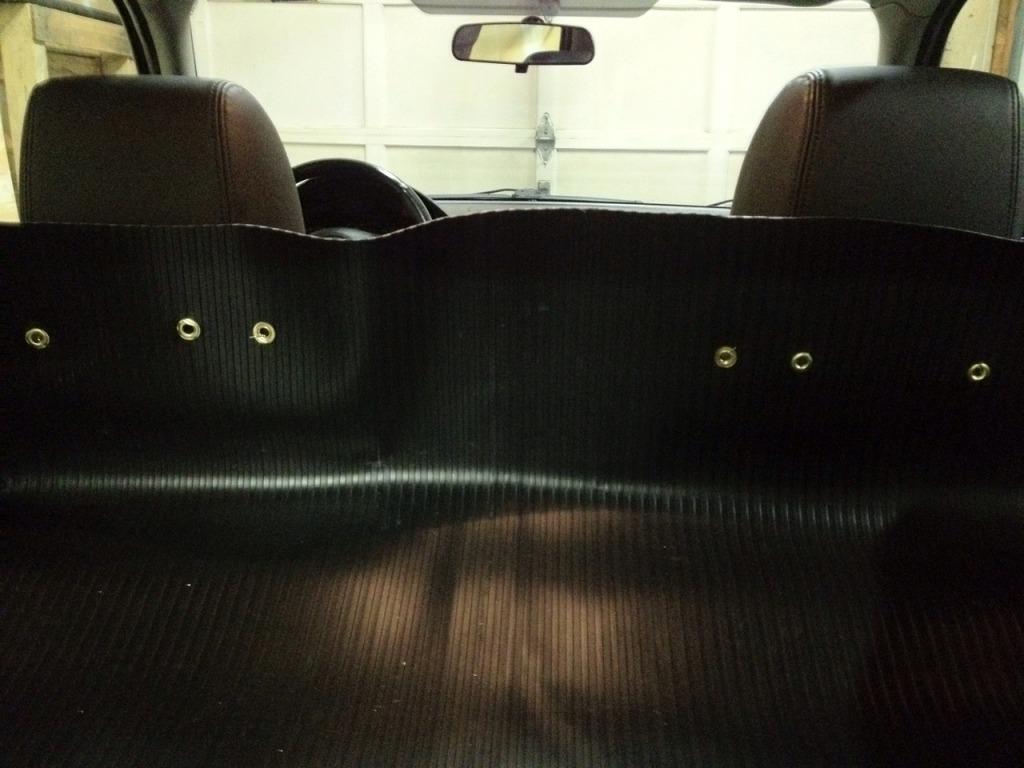
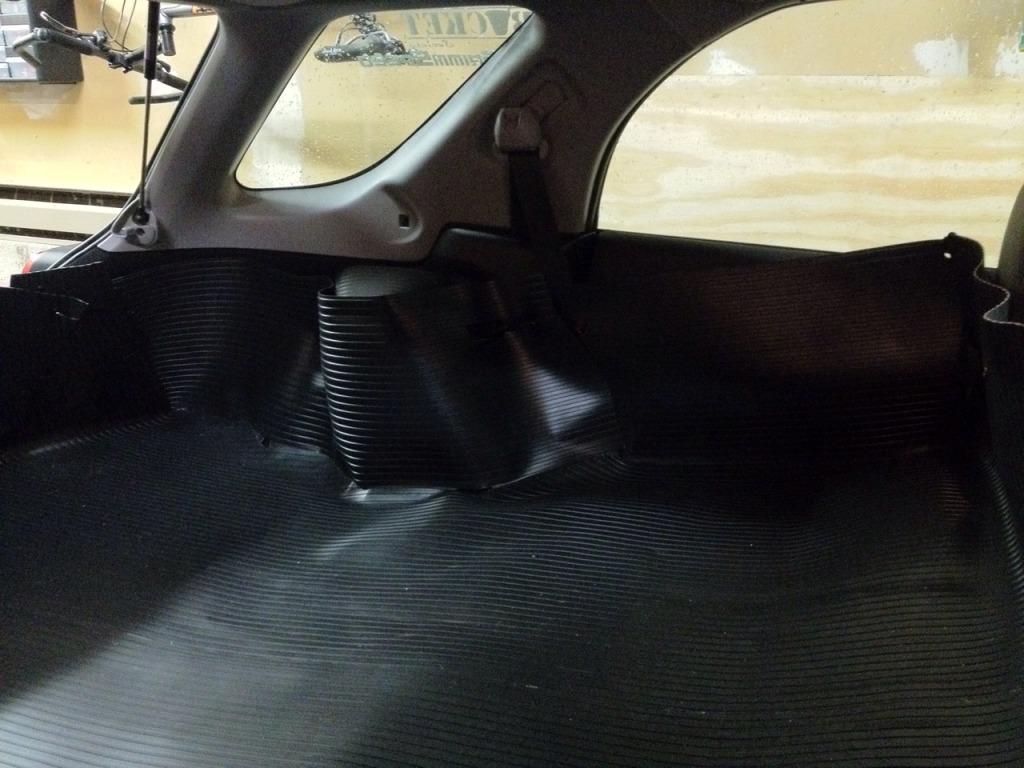
I hate reading all the way to the bottom to see what you're building, so here's a couple of finished product shots:
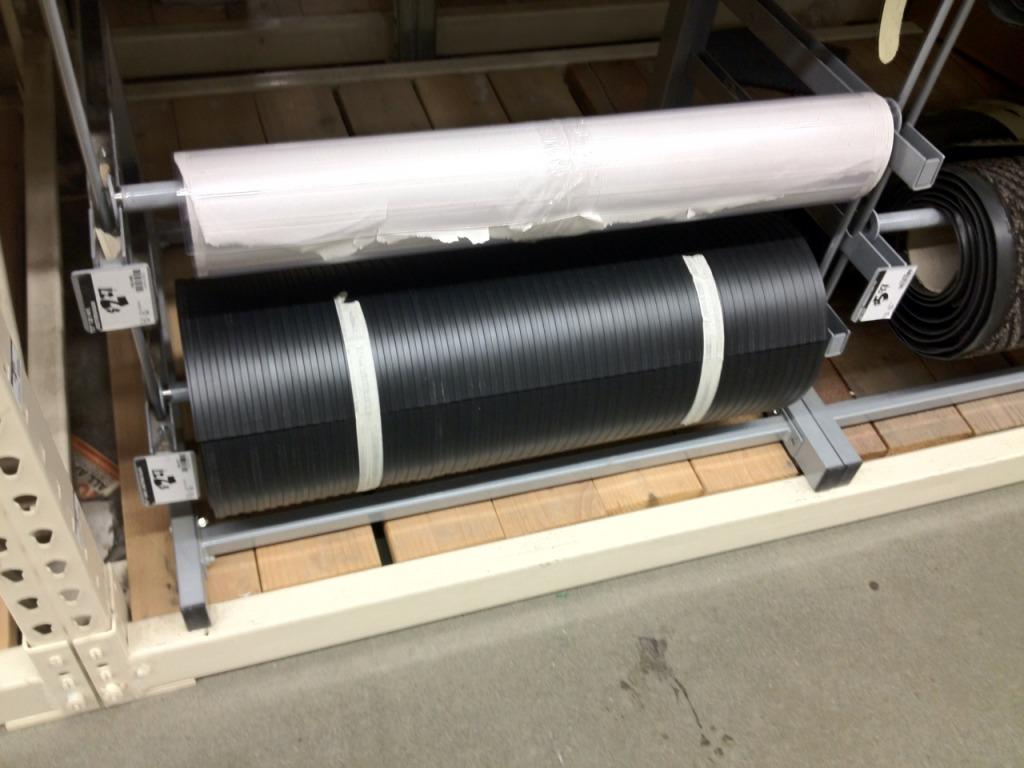
Here's pics of items you'll be looking for at Home Depot:
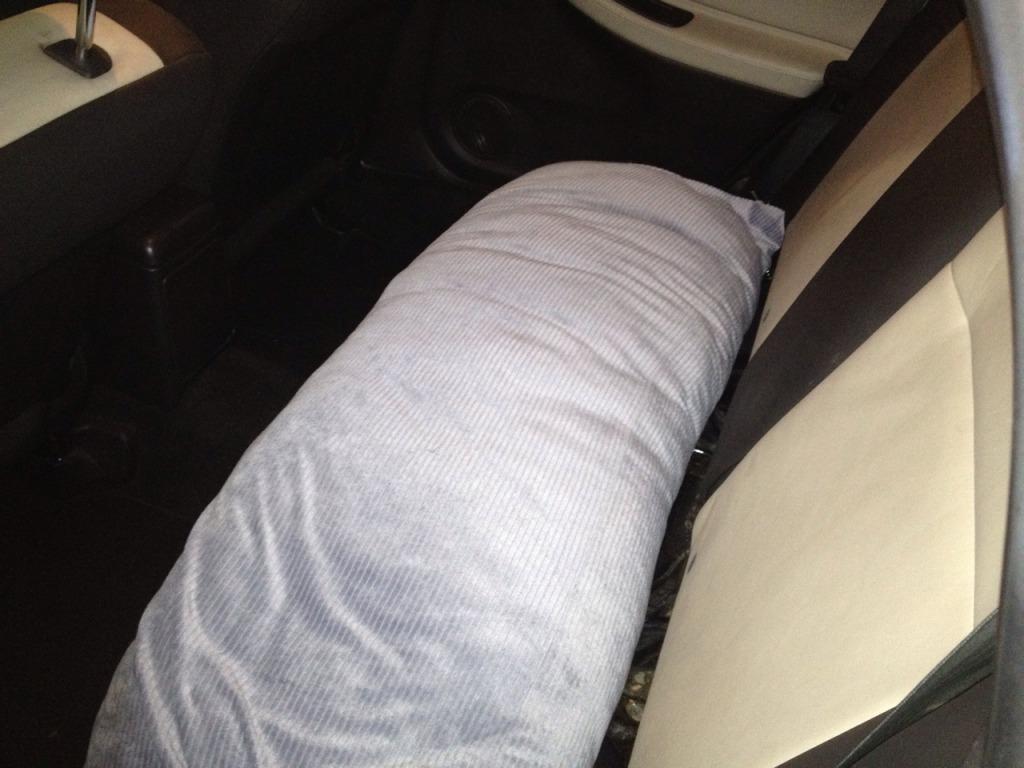
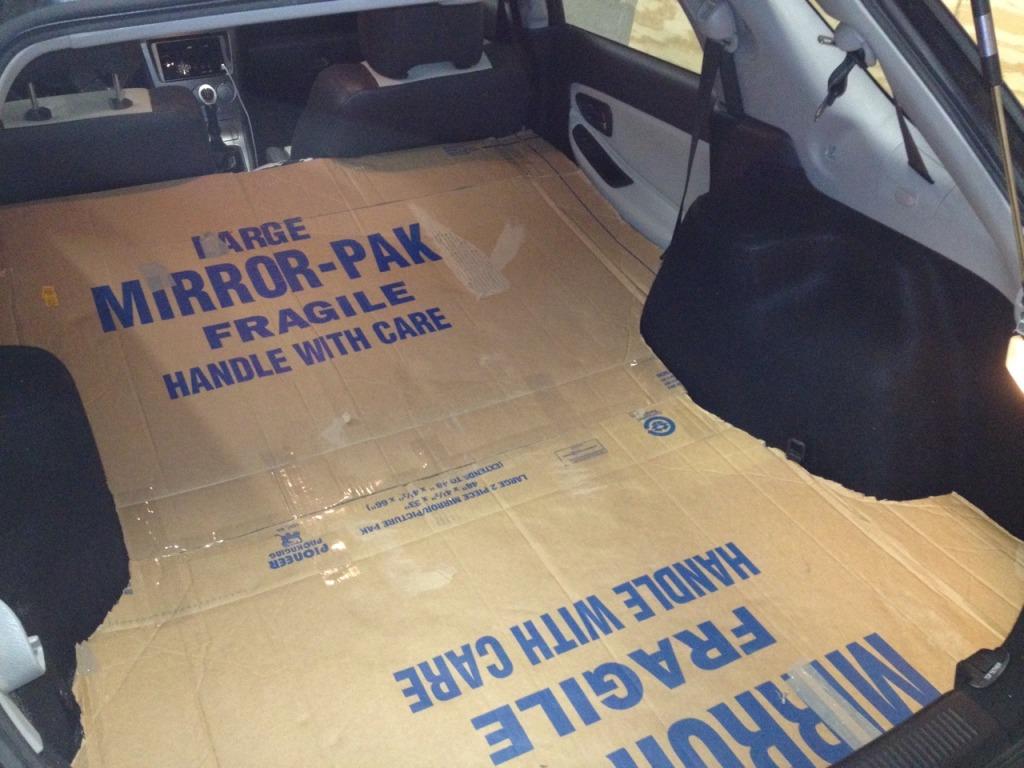
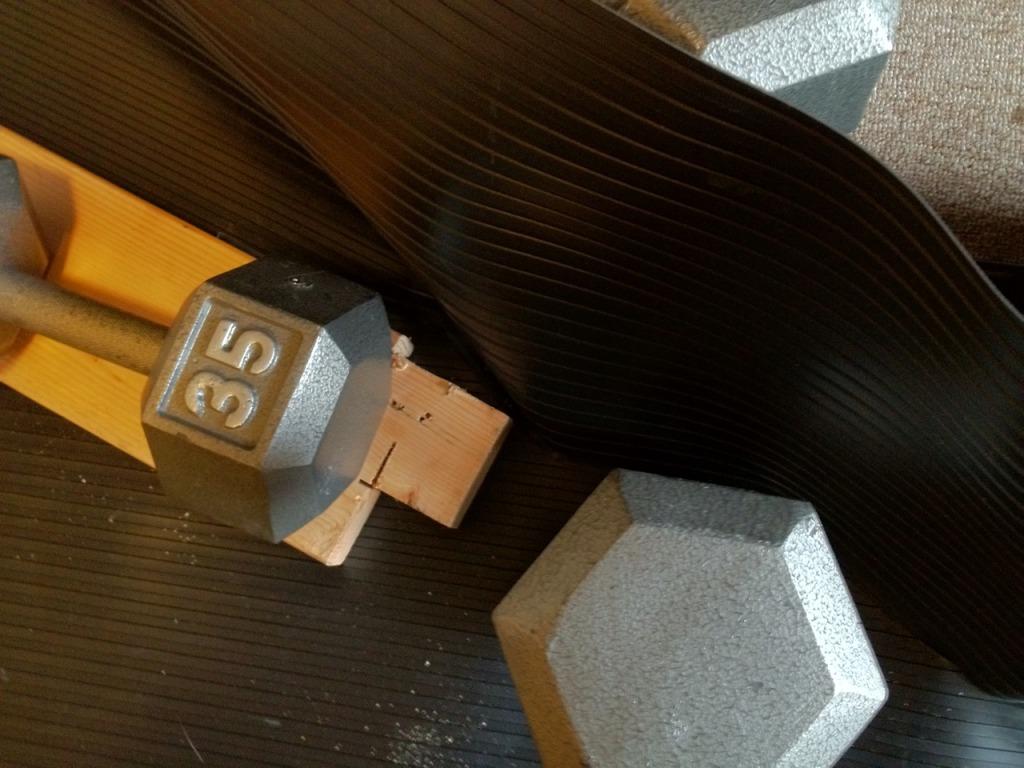
First, remove the lower back seat if you have a WRX or other wagon that the seats do not lay completely flat and lay down large pillows to protect the upper seat and reduce stress on its hinge:
Next you will need to make a template of the entire cargo area from the cardboard. You will need to leave a 1/2" gap for the side panels to fit. The tighter you keep it to the side, the more 'cupping' you will have, which may not be a negative if you're carrying something that can spill. Try to make the lines you cut as straight as possible, even on slightly curved areas, the tabs for the sides will need to fold on a straight line after all:
Lay down the plastic sheeting and cut off 2 7'4" pieces of Vinyl. For other wagons/hatches, you need 2 pieces the length of the cargo area plus 2 feet:
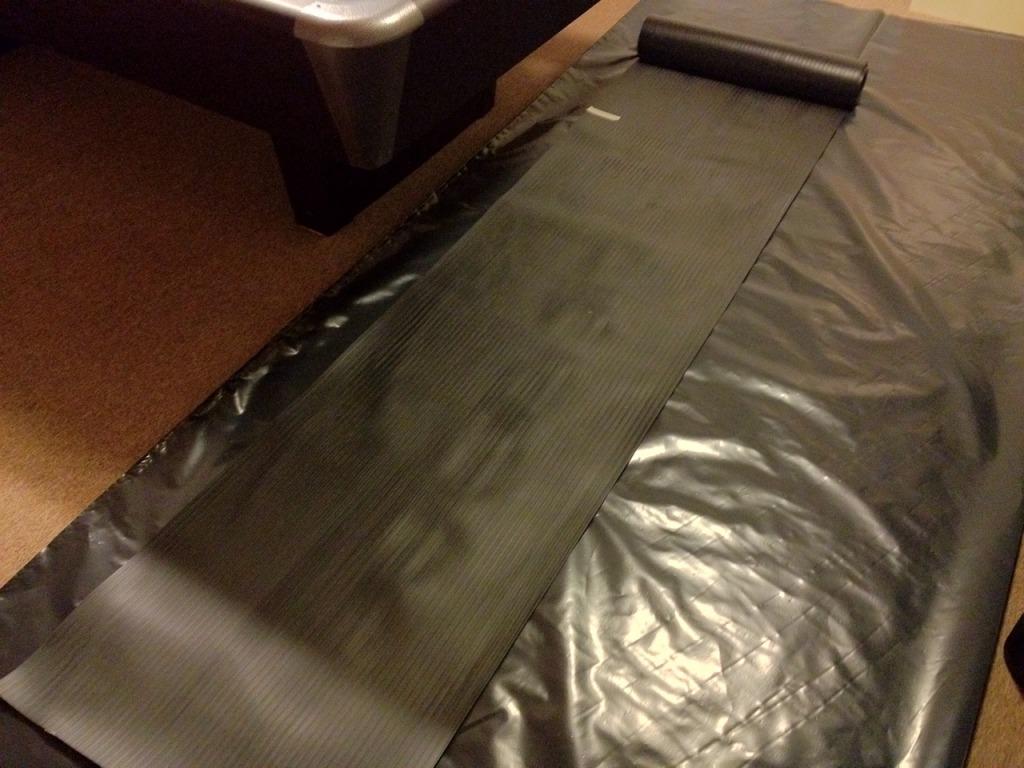
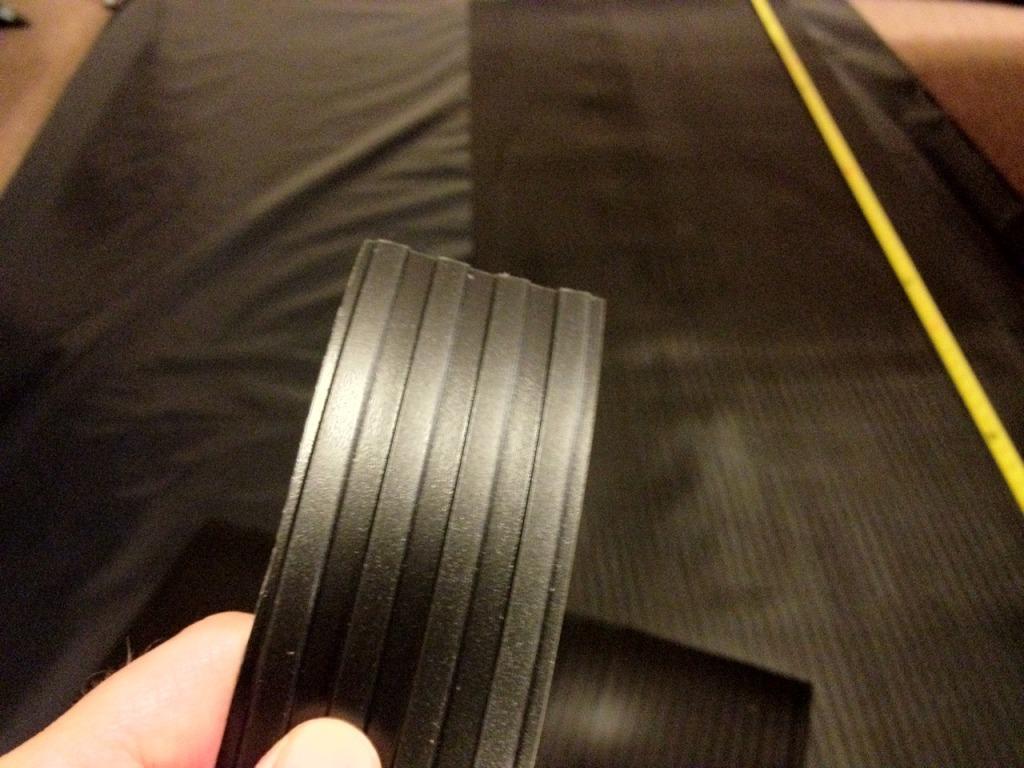
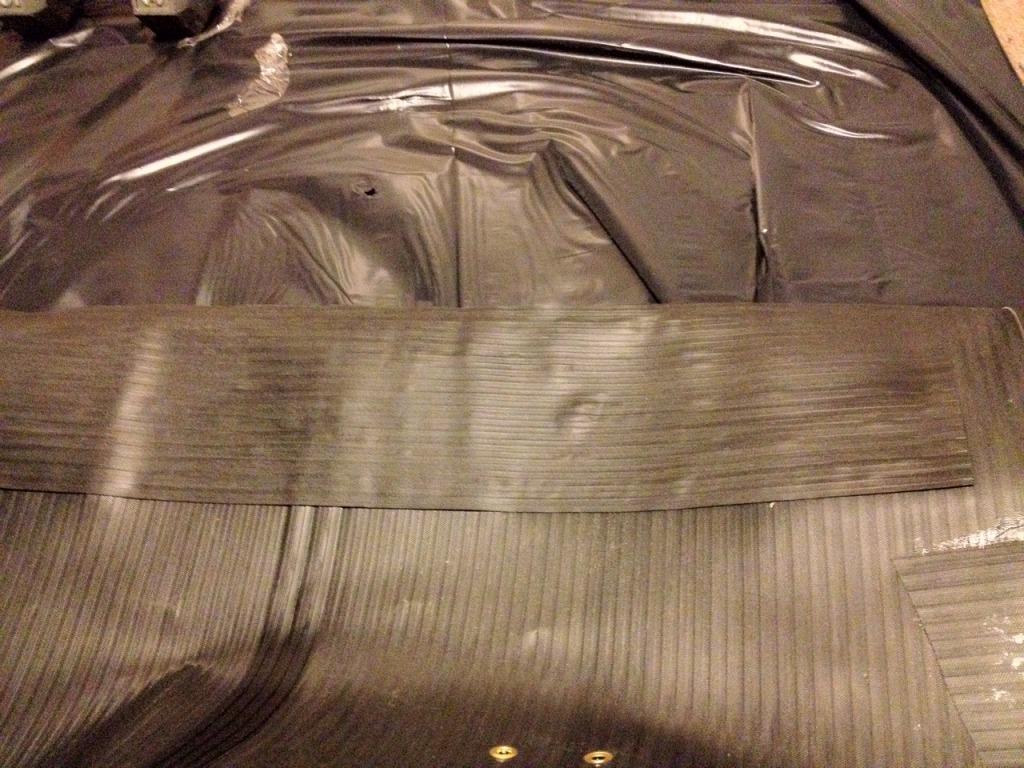
Cut a strip 4 'ribs' wide off of one of the pieces. If you're OCD and need your seam perfectly in the middle, you can cut several pieces of smaller length out of the main roll:
Lay down the strip and run a glue line down each side and join your floor pieces together:
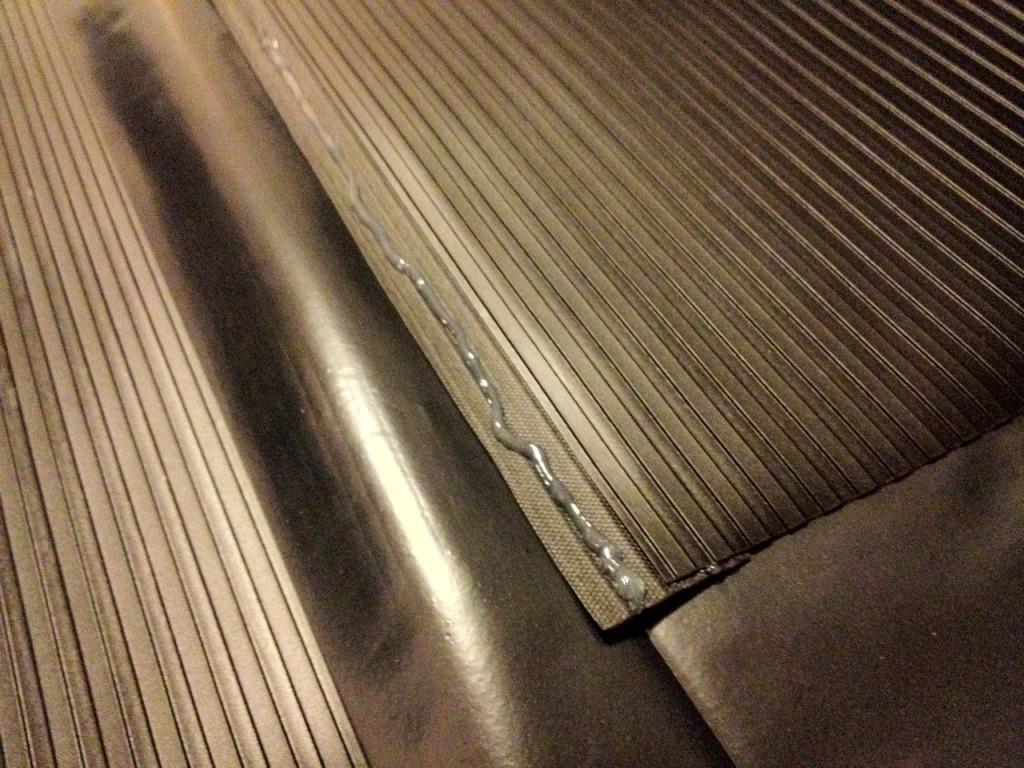
You will need to put a long board or boards with weights on top down the length of the seam an allow to dry overnight (I used a shelf). For this DIY, assume that all gluing needs to cure for a full day:
After drying, lay down the template and draw a chalk outline , leave equal amounts of extra material at each end. Cut out the vinyl when finished and make sure to save the pieces you cut out for your strut tower:
For the sides you need to cut a new piece of vinyl out of the roll approximately 8" shorter than the floor piece. Cut this piece right down the middle, which will be right on one of the vinyl ridges:
You now need to slowly bend this piece along the side of your cut floor template, marking and cutting out tabs to glue. The tabs should be 1 1/2 ridges deep:
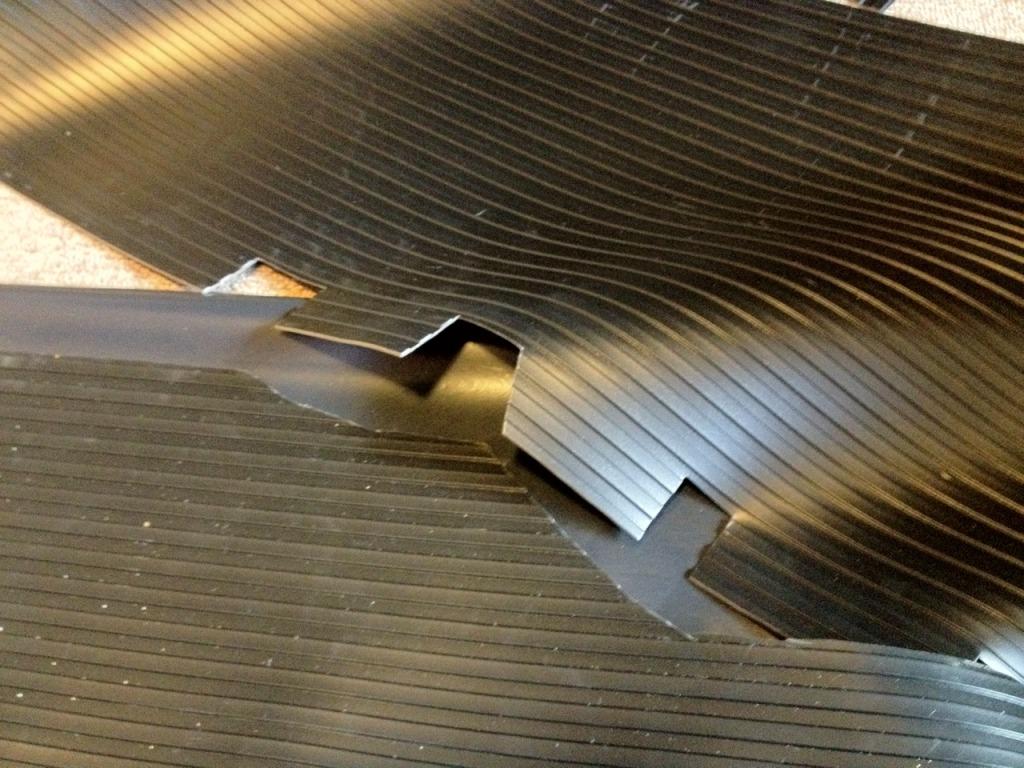
Start gluing at the tab in the middle of the strut towers and allow to dry overnight with weight on top:
Work your way out from there the next day, continually making sure that the sides can stand straight up with the folds. If you have enough weights and wood, you can glue 4 pieces at once and an odd shaped piece can even help with the 'stepped' part at the back of the driver's side strut tower:
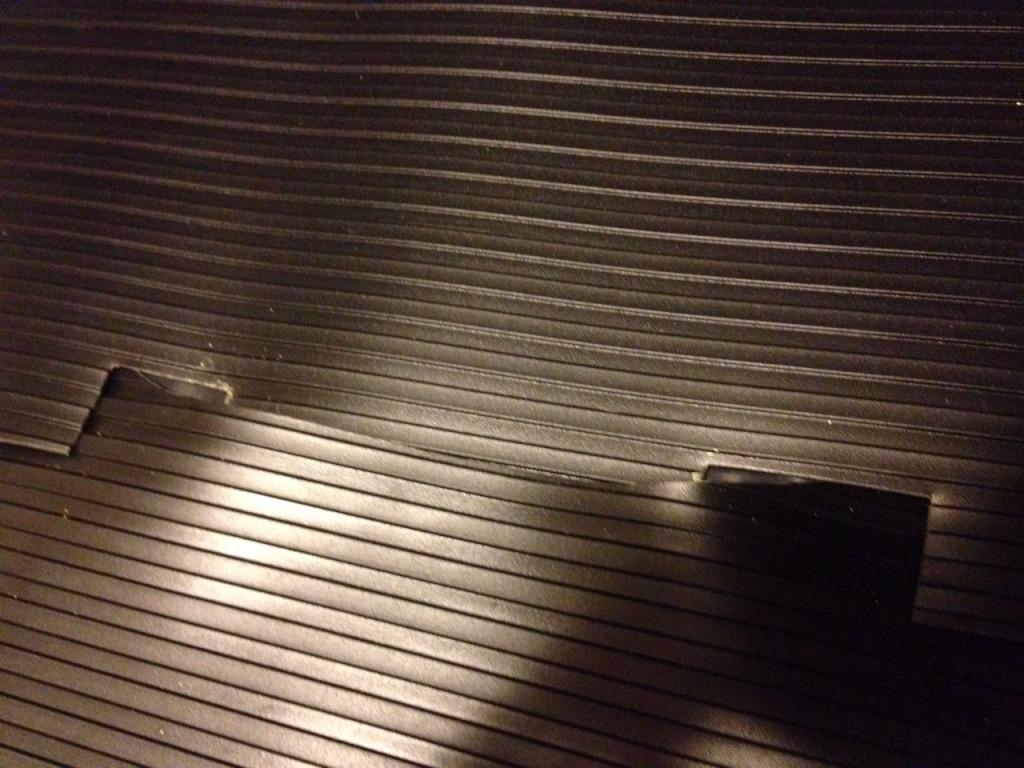
Take the strut tower scraps and cut out a 2 ridge tab right at the inside middle of each:

Put the tub back into the car then put the strut tower vinyl piece in and cut out a piece for the backseat retainer loop:

Next, push the tub against the towers as much as possible and cut a slot in it for the loop:

Start to shape the strut tower cover and sides to better fit the tower. Trim down the cover piece as needed so it doesn't make the sides stick out, then mark with chalk where the pieces should be joined for gluing:
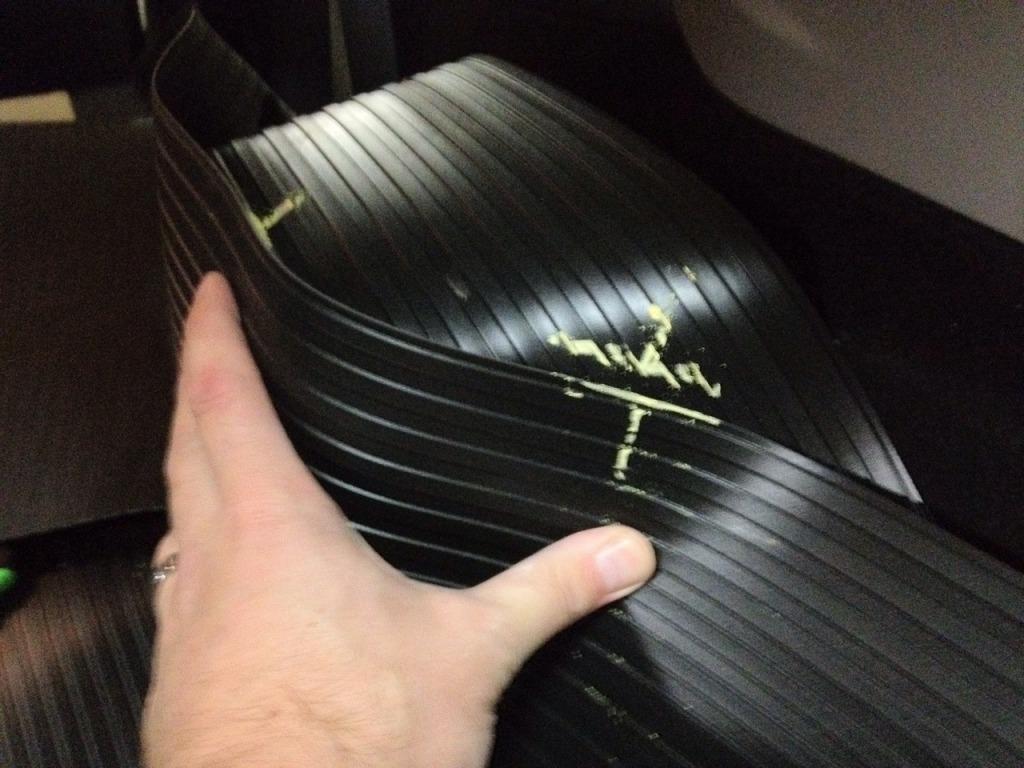
The finished cover piece should look something like this:
The gluing of this is pretty straightforward, but I recommend flipping the tub upside- down for most of it and gluing in 3 sessions.*
After that you will need to glue the ends of the sides to the base. Trim down the side ends as you see fit but leave the ends of the base long, trim those once back in the car. Unfortunately, this is the hardest part to glue, I wound up having to put one end up on a table so that I could lay the other end on the floor to put weights on the end:*
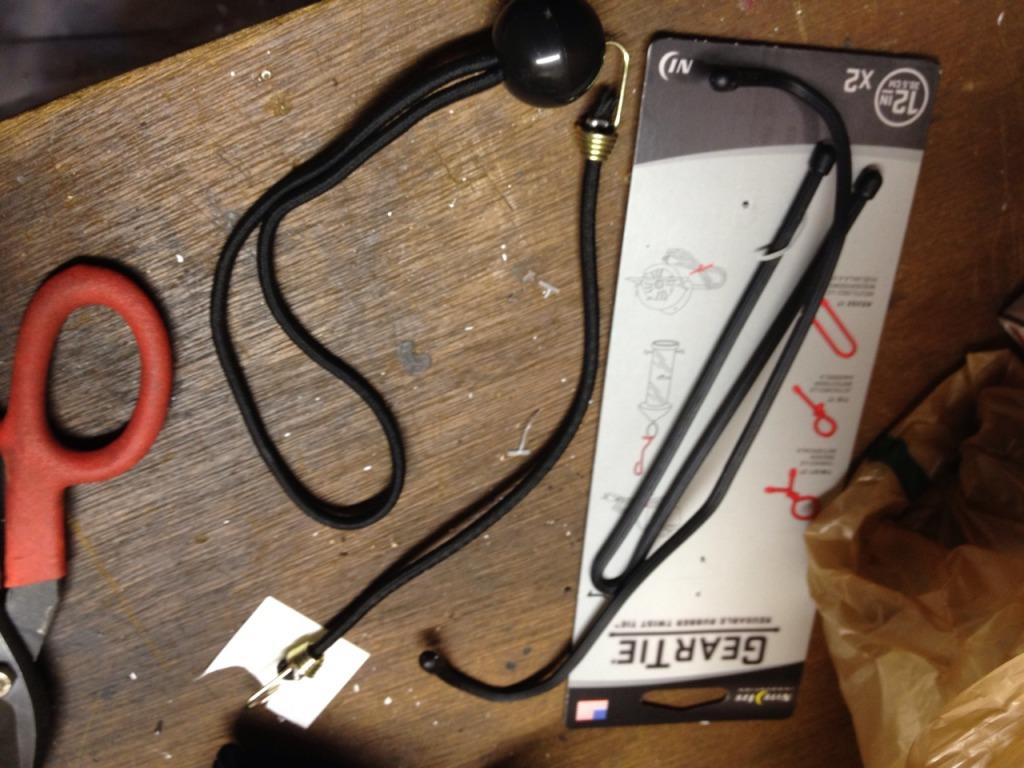
Next, here are a few types of retainers/straps I considered, any might work for you:*
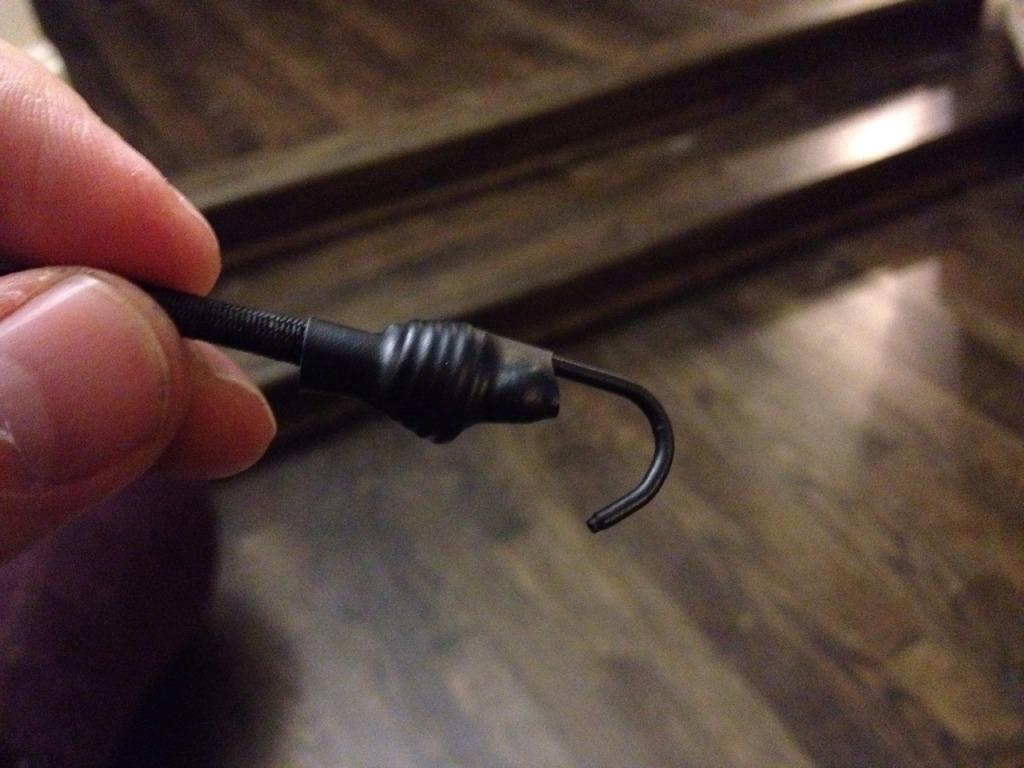
In the end I used the short bungee cords for securing to the headrests and the gear ties for securing flaps.*The flap design is really up to you, I cut flaps for the back of the hatch and both rear doors. The rear hatch door is the one that is truly necessary since the curve of the rear door makes the tub truly fit once you've cut out a flap, grommeted it and cinched it up. For getting the front of the tub to fit tight, I first shrink-tubed the *metal ends of the bungee cord:*
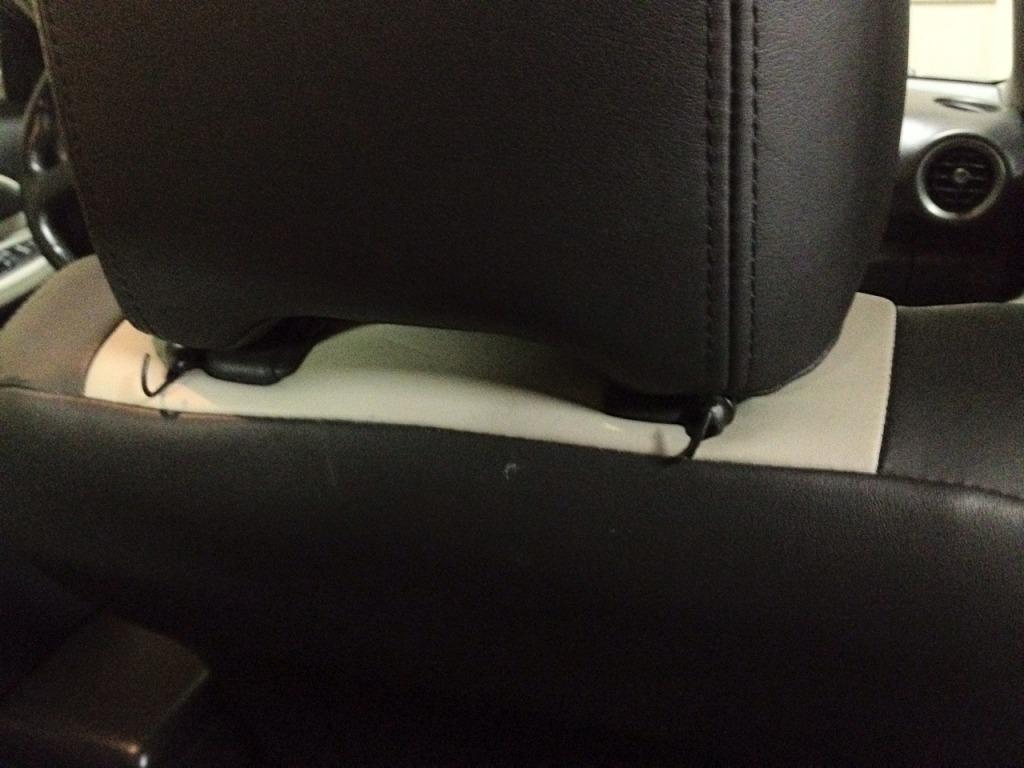
Next I simply clamped it down under the headrest, it stays here surprisingly well:*
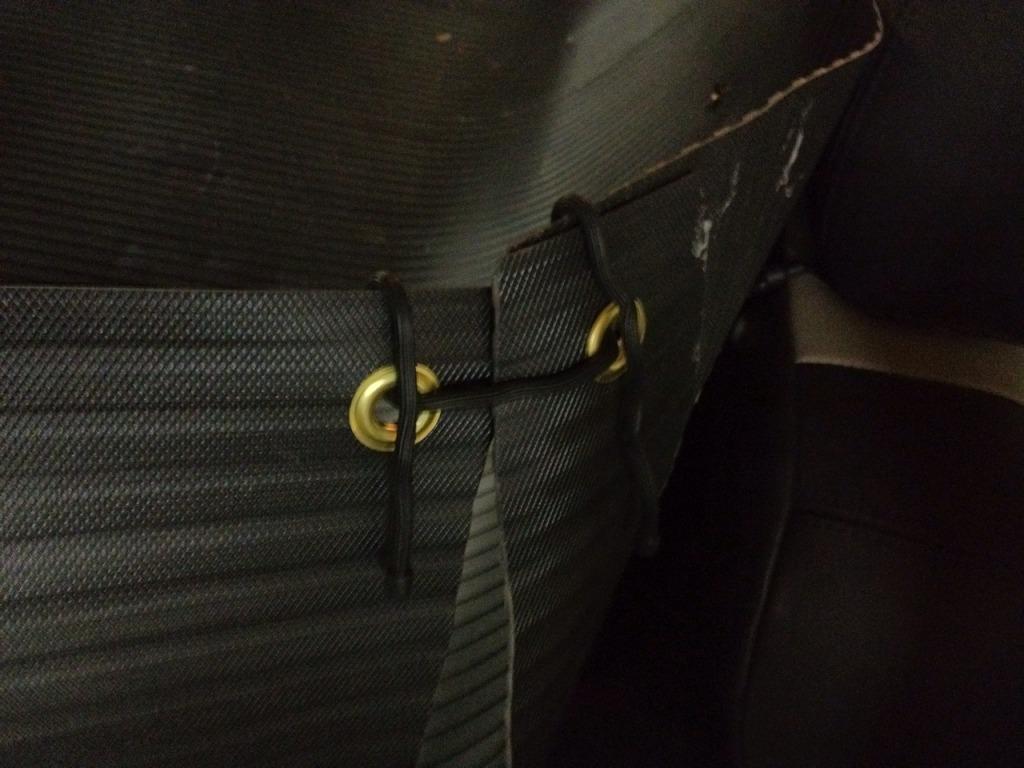
Clearly, only 4 grommets are needed, I wound up spacing mine too closely together. *Keep the inner grommets farther from the outer; the bungee cords will then keep the panel tight and flat:*
Here is the way I secured the flaps with gear ties; on the backs of the door flaps I also wound them around the seat retainer loops:*
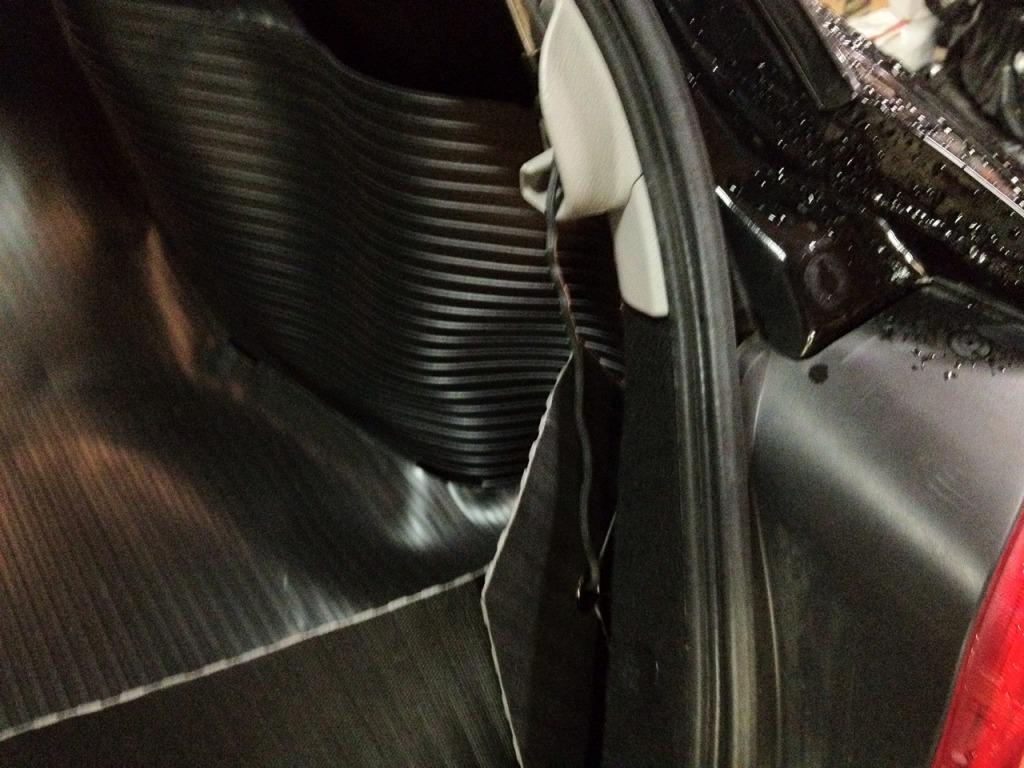
For the rear flap, I tried hooking up the ties to the pistons. This didn't work for me, but it may for you. In the end, I wound up backing this rear side area with velcro and stretching the flap as much as possible:*
For appearance, I colored all the grommets with a sharpie. Plasti-dip may work too, but the sharpie,is holding on surprisingly well. I also glued on a reinforcing piece of scrap where the tub hits the top of the back seat:*
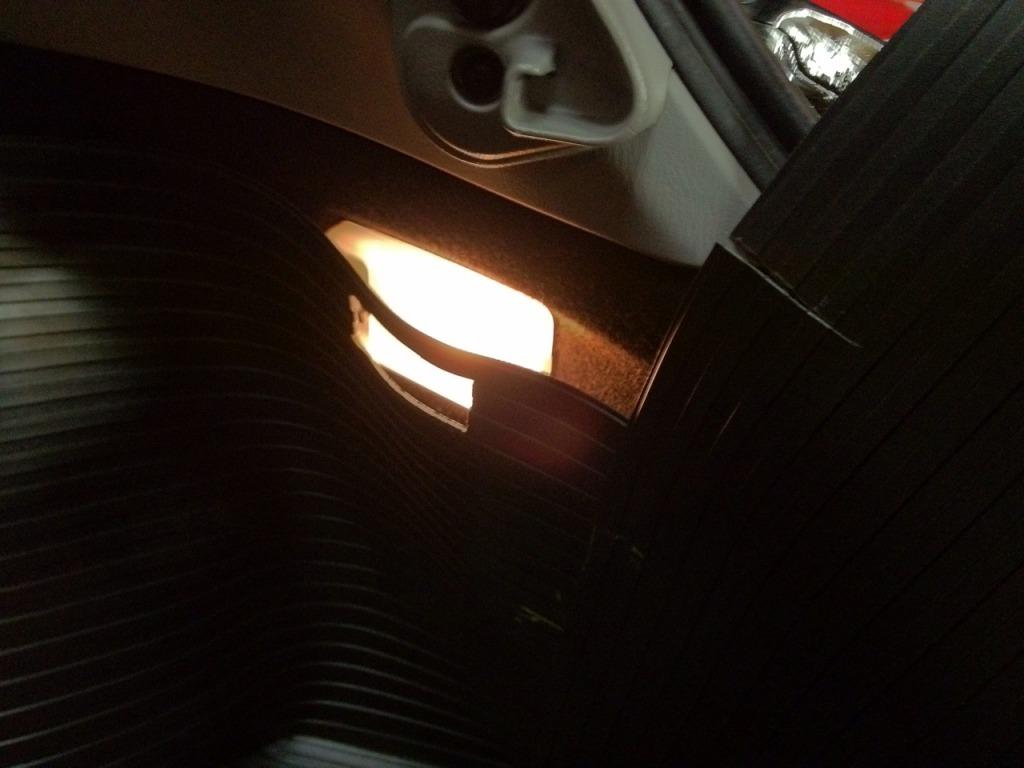
Cut an opening for the rear light and any anchor points you need and you're good to go:*
Alternate option:
You can remove the hatch flap altogether or tuck it in to keep a cupped edge to the floor. Use scrap to make a panel, then Velcro it directly to the hatch door: