You must be logged in to rate content!
10 minute read
Poor Man's Door Panels (made from scratch)
Compliments of Lowtekk @ www.club4ag.com
Club4AG,
After almost 30 years of abuse, a lot of our cars have tired looking door panels. The ones in my car were stained, half clipped, dilapidated pieces of **** with a couple pro-status speaker holes cut in them. Instead of paying a lot of cash for a clean set of original GTS black panels for a power windowed car, I decided to try my hand at making a reasonable alternative.
Be warned, I have zero experience in automotive upholstery. I couldn't sew my way out of a cardboard box.
Anyway, here goes...
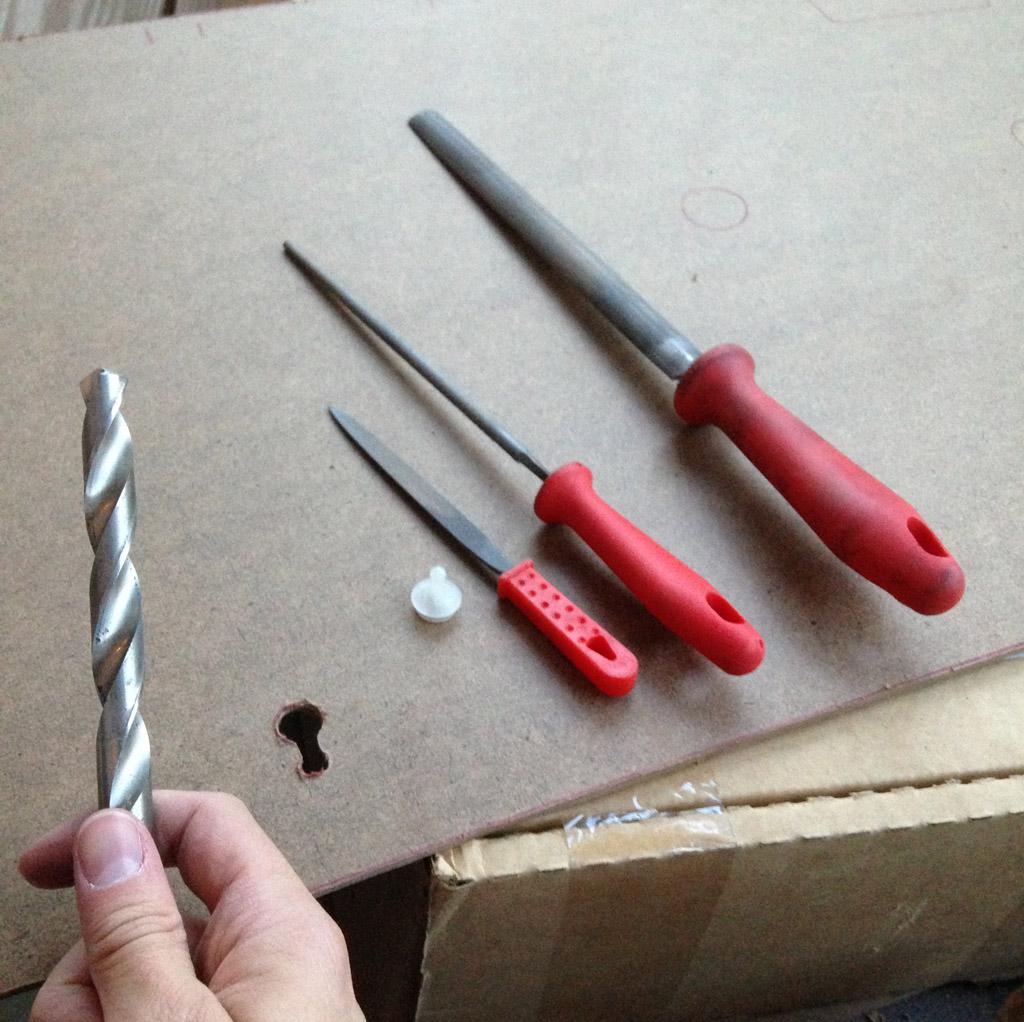
Tools I used:
-Jig saw
-Power drill w/ a bit set
-Wood files (a big flat one, a small flat one, and a small circular)
-Screwdrivers (philps + flat)
-Car interior trim tools
-Open ended hacksaw
-Scissors
-X-acto knife
-A sharpie marker
Materials:
-Your old door panels (which be be pretty much ruined after we use them for templates)
-Tagboard (I used two 1/4in thick 2x4ft pieces. Each door panel needs at least a 44.5" x 17.75" piece of tagboard)
-Vinyl (or any material you want to use)
-Padding (if you want it)
-Automotive upholstery glue (the spray stuff, I used Permatex Headliner & Carpet adhesive)
-New door panel clips if your old ones are ruined/missing (Cabetoyota on ebay sells new sets)
Things to consider:
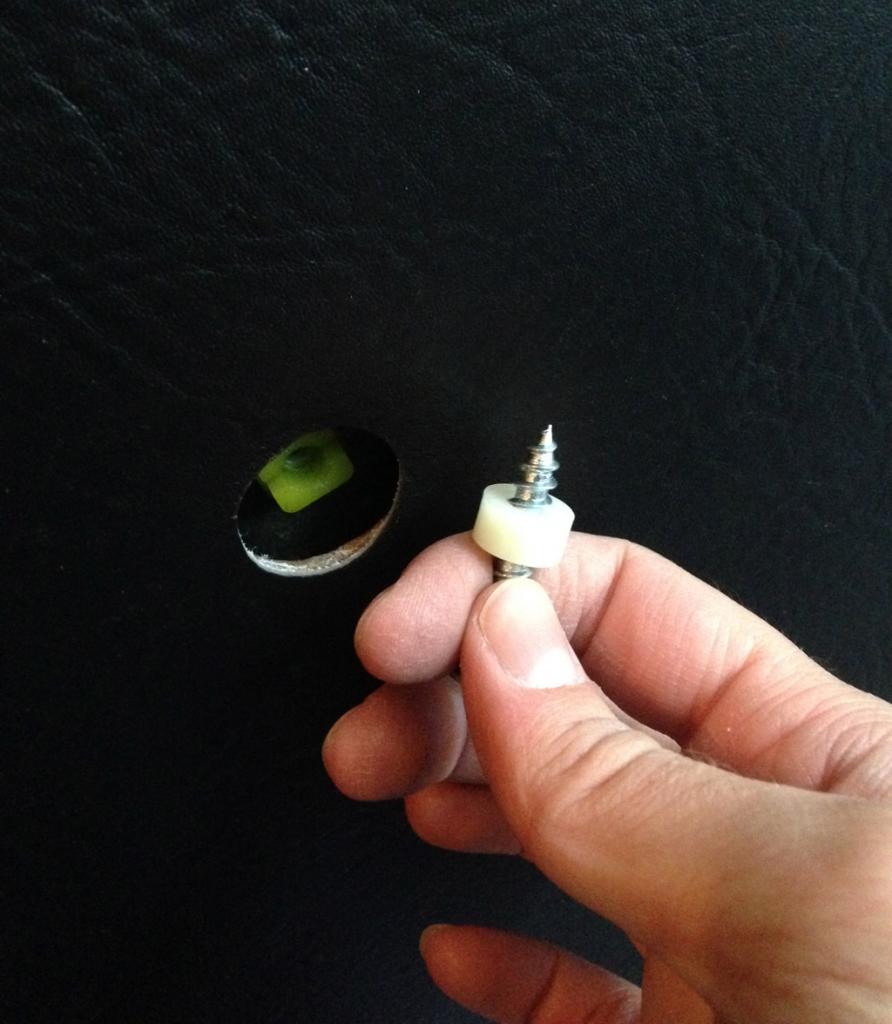
-The OEM door panels have a recessed section around the arm rests which is impossible (or a huge pain in the a**) to duplicate. This DIY gets around it by using some longer armrest screws and nylon spacers.
-Keep ALL of the factory clips + screws + big "staples", you can ditch the little fabric staples.
-Measure twice, cut once, etc.
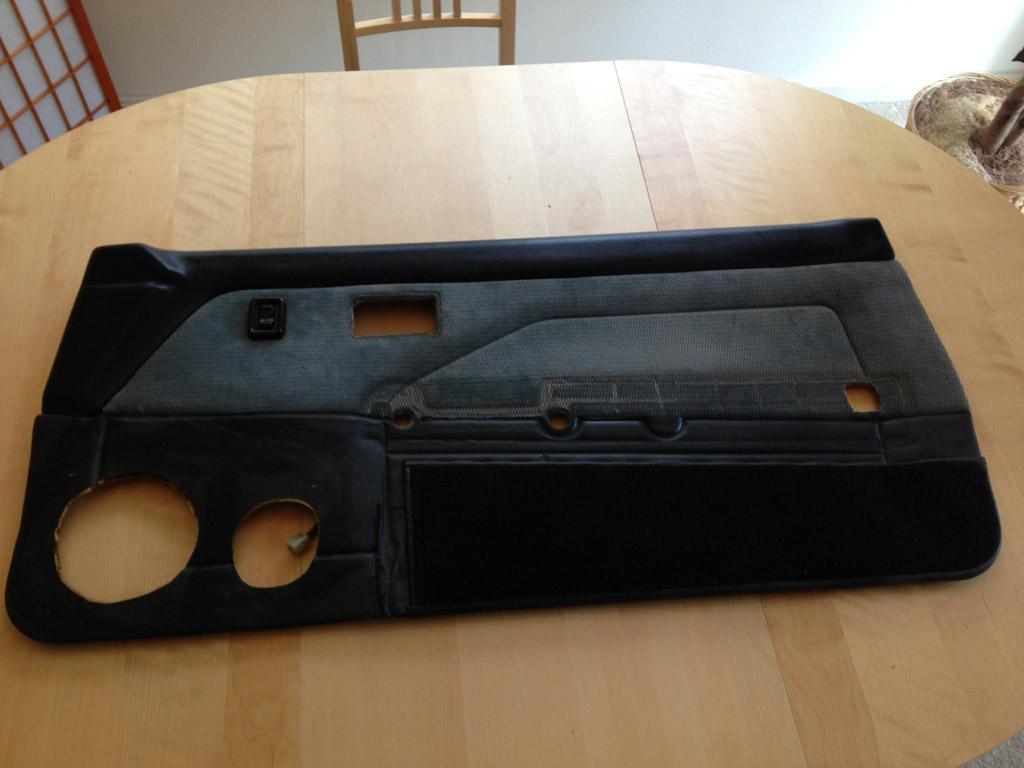
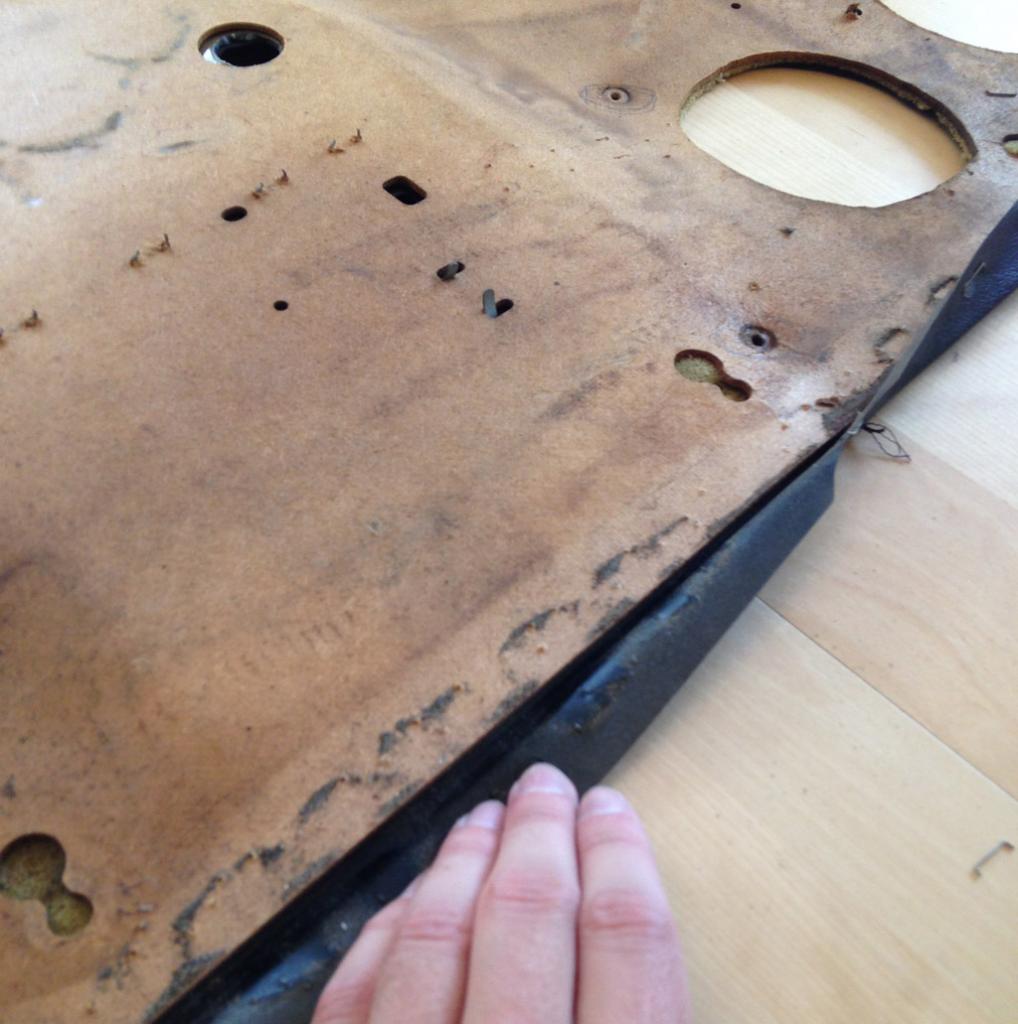
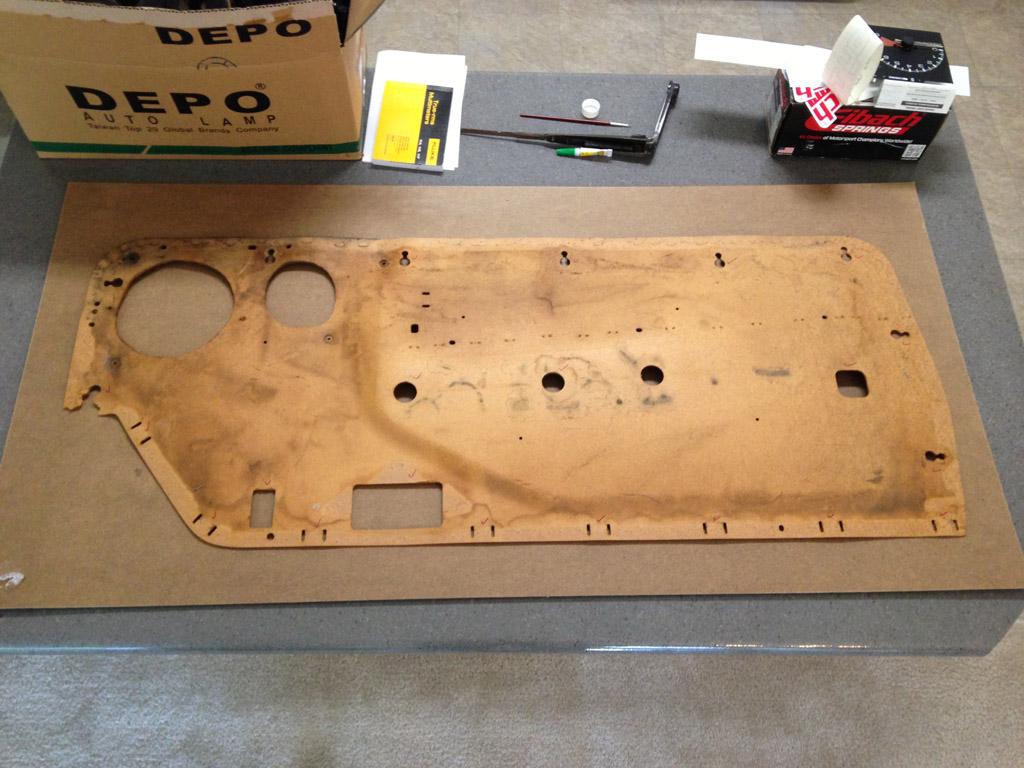
Here's my passenger side door panel, 5 minutes after it came of the car. A+ speaker install. Missing clip mounts, flappy/busted tagboard, generally shitty:
Step 1:
Remove the door panels from the car. Unscrew the arm rest and door handle surround. Use your automotive interior tool (or flat head screwdriver) to pry off the door panel at each clip. The upper part of door panel (that touches the window) hangs on the frame of the door while the rest of the (lower) door panel is held on by push clips that release with a little pressure. Star with the clips and lift off the panel when it's loose.
Step 2:
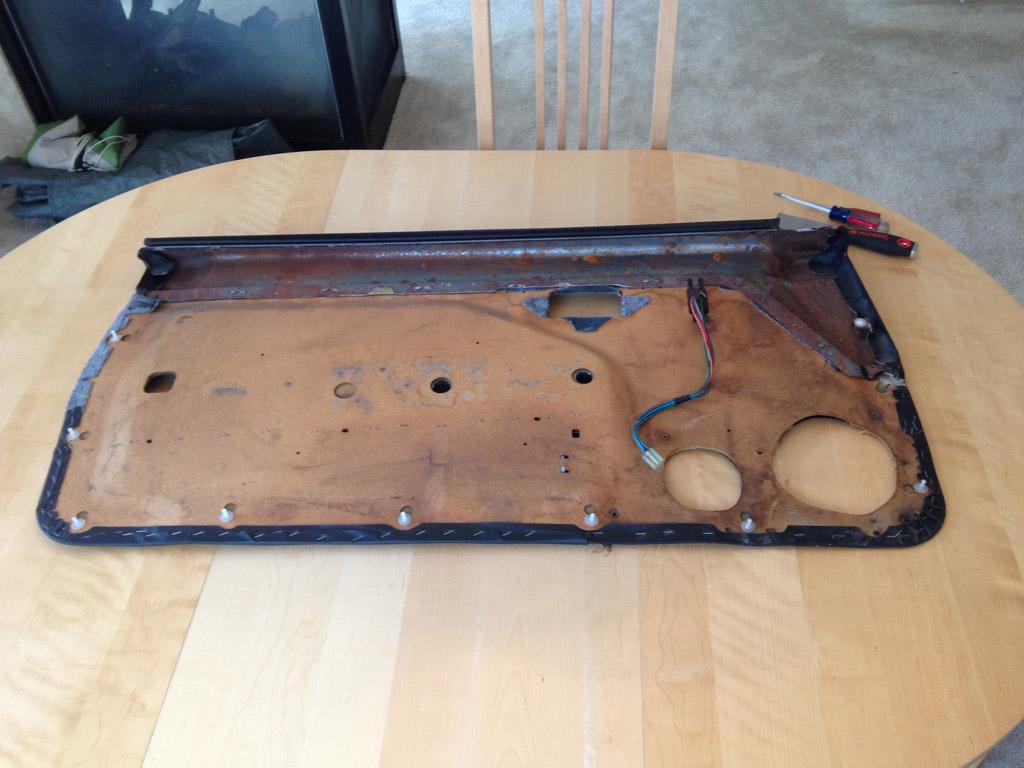
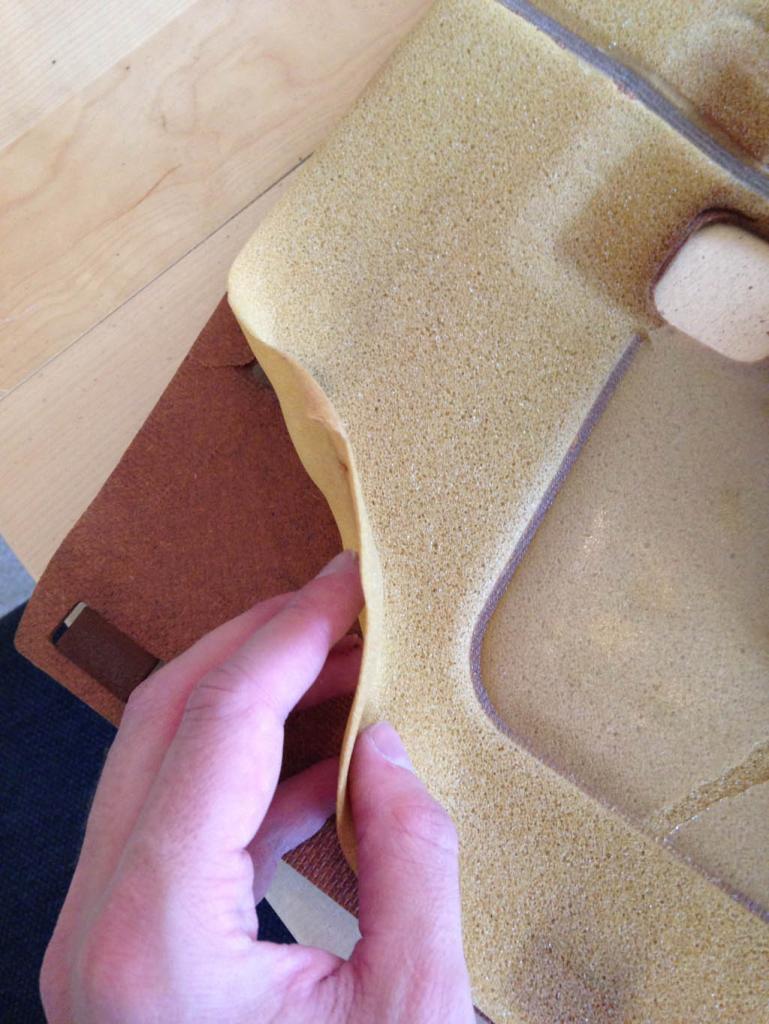
Gather your wits and start removing the material from the door panel.
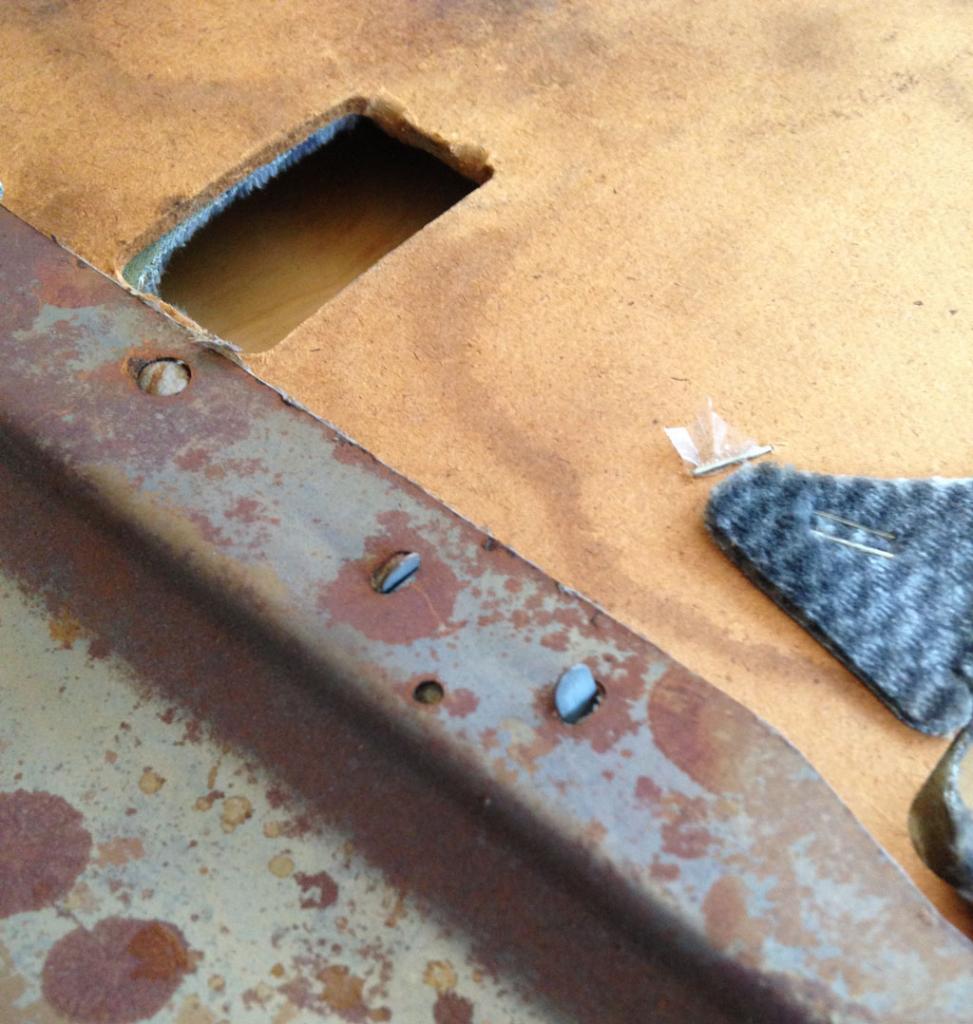
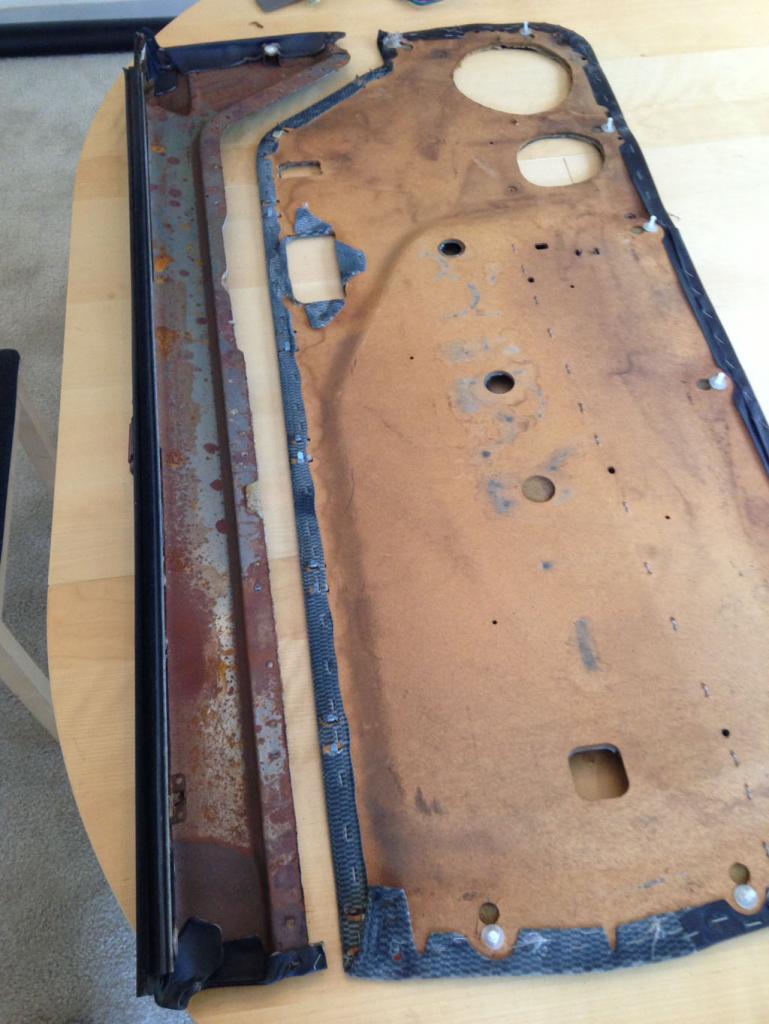
Start with separating the upper trim piece from the lower panel, via the "big staples". Pry them back and remove the upper portion. Careful when bending the big staples as we will be reusing them later.
You'll see about a hundred little upholstery staples holding the old vinyl to the panel. Pry them all up and remove.
The padding under the old vinyl was pretty much shot. I tore it off along with the old vinyl + carpet + door pocket.
Door panel destruction. I didn't feel too bad, as these panels were absolutely finished.

Step 3:
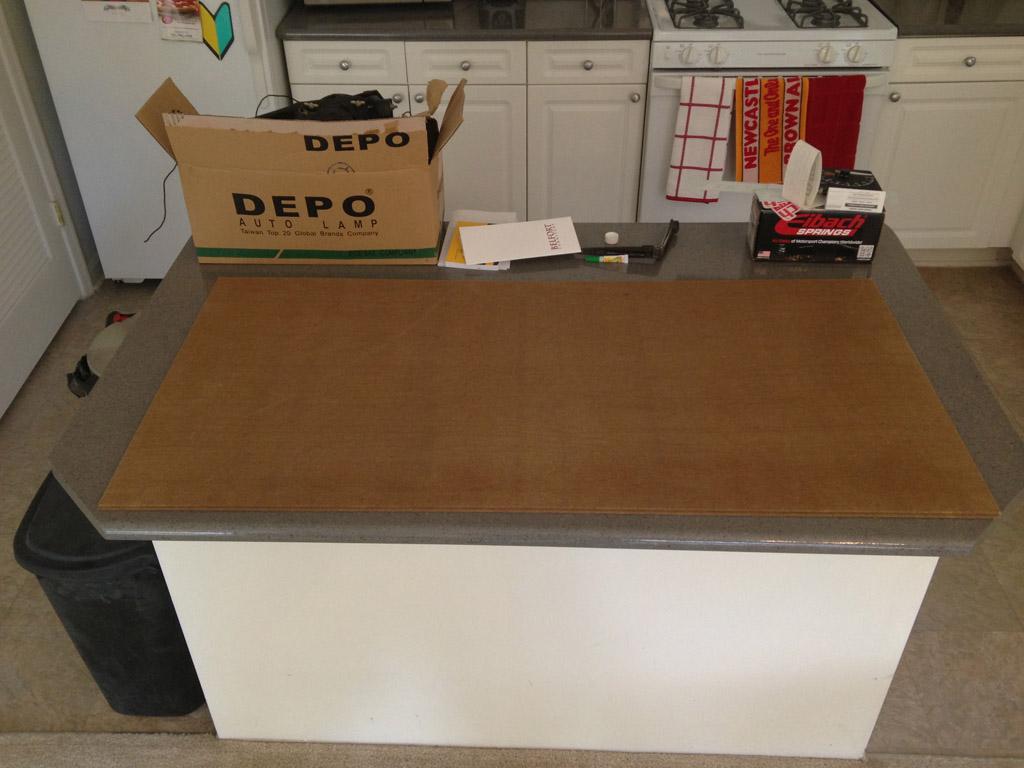
Gather your materials. Any hardware store should have the tag board. Any fabric store should have vinyl and padding.
Step 4:
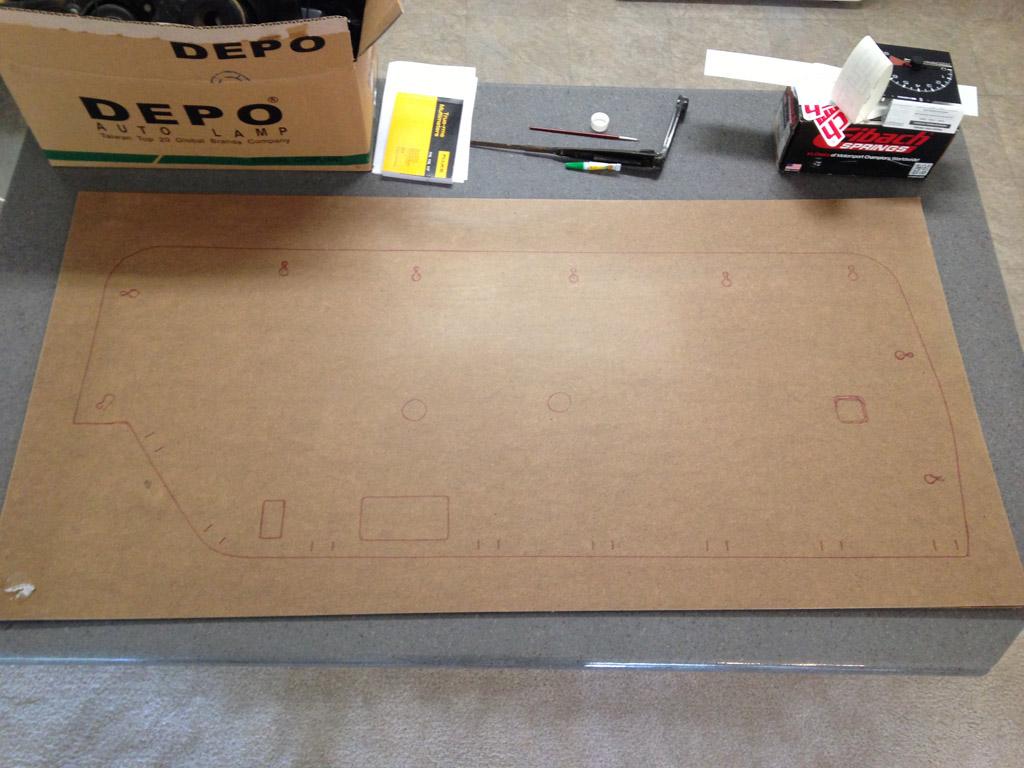
Trace out your old door panel upon a new sheet of tag board. Be as careful as possible to get a good line, including all the window control and mounting holes. The better your lines are, the less finishing/fitting work you'll have to do later.
Step 5:
Get out your scroll saw
I found it helped to have something to prop up the tag board before cutting. I don't have a proper workbench.
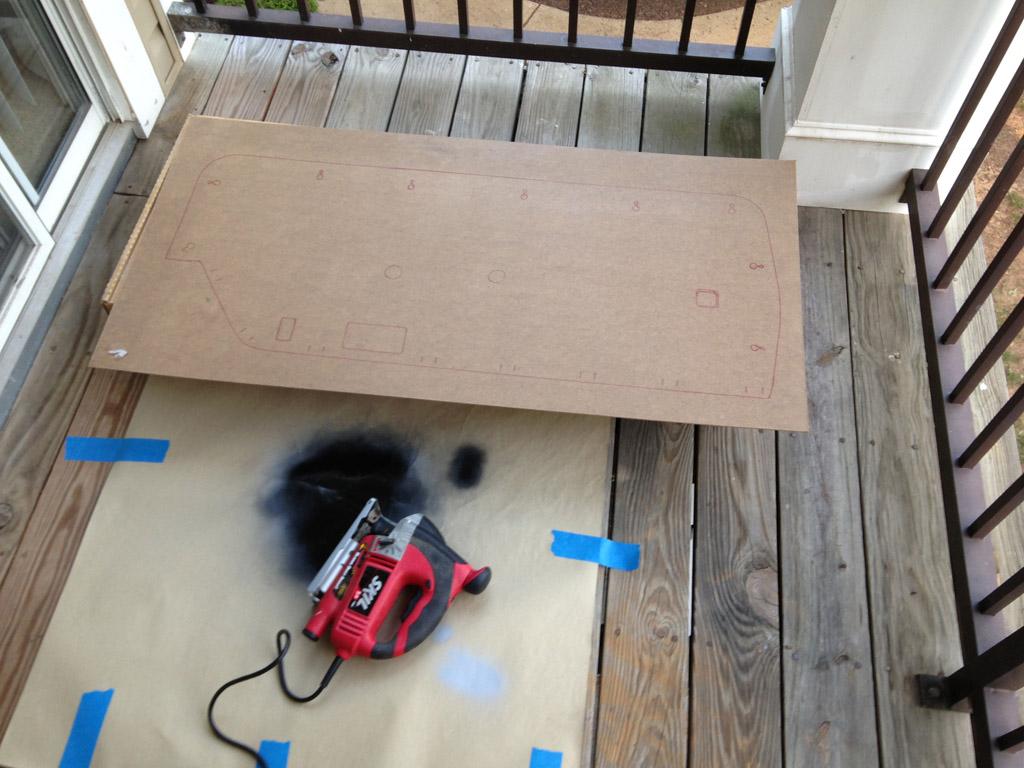
First pass:
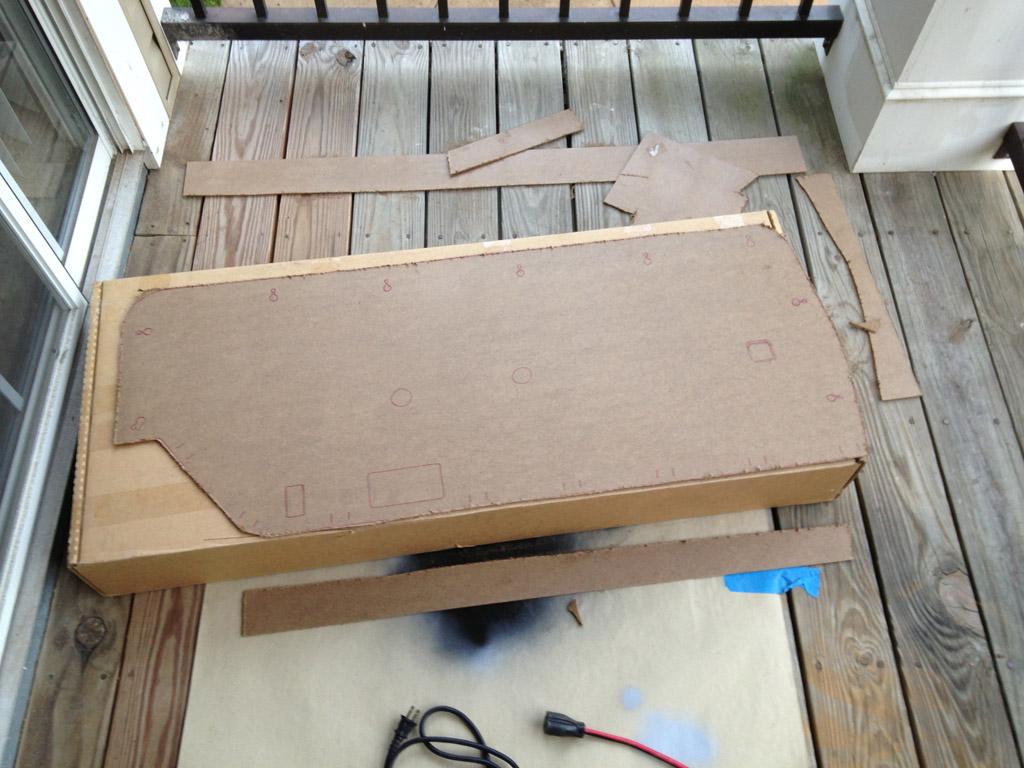
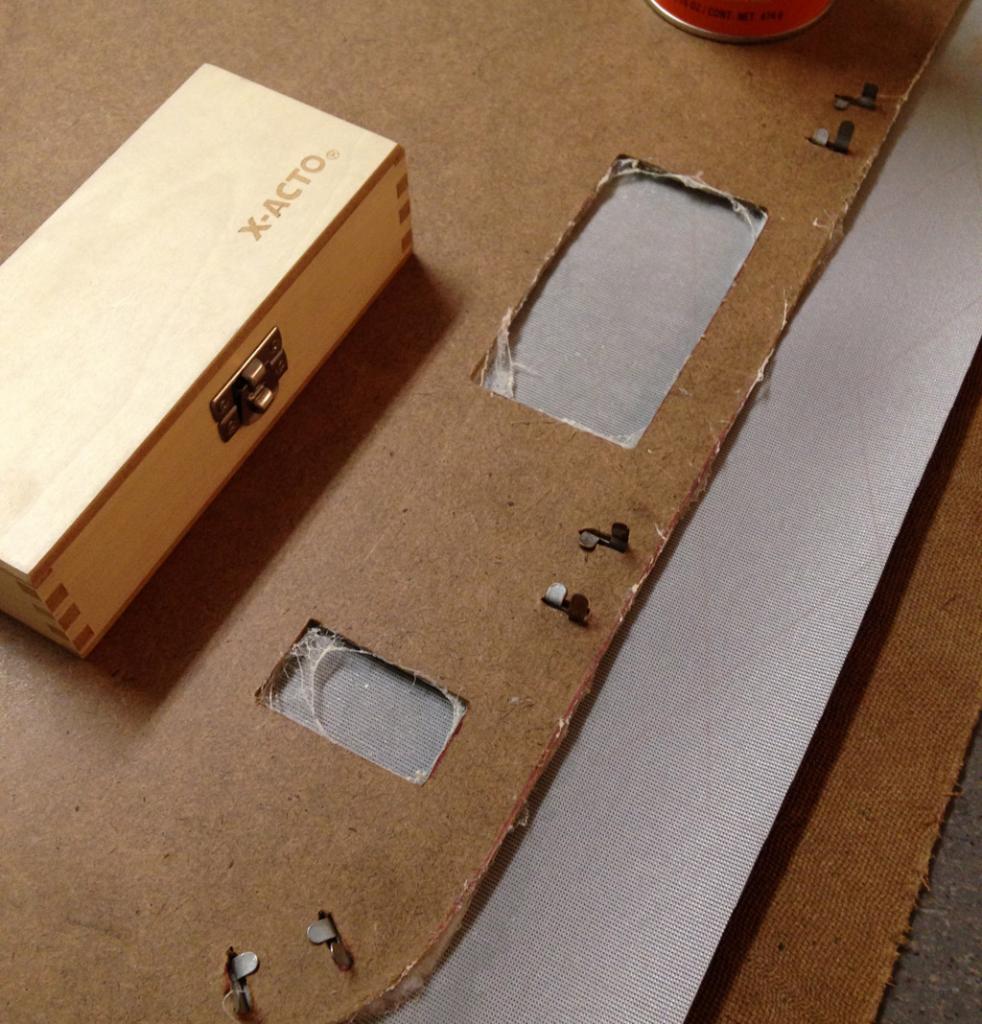
Cutting out the clip holes is a pain in the a** but very doable. Pick two drill bits that fit into both sides of the old door panel's clip holes. Drill out a big and small hole and file out the material in between. File out each hole and test fit a clip.
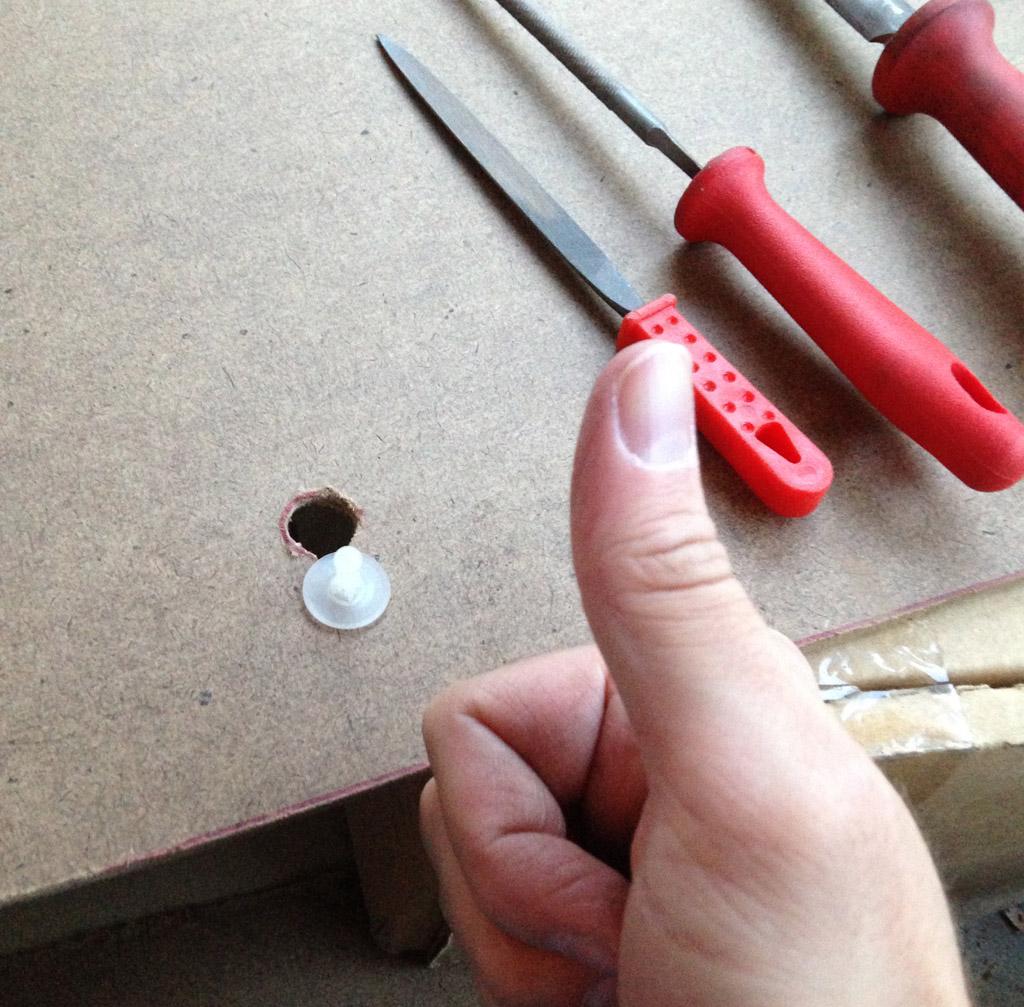
Cutting out the "big staple" holes can be accomplished by finding a drill bit as wide as the original "big staple" mounting holes on the old panels. I drilled three small holes in a line and joined them by filing the material off.
Cut out the rest of the door handle, window, and armrest holes and file them until they're smooth around the edges.
Step 6:
Testing for fit and finish the base panel.
Insert all of the circular pop clips into the new door panel. Test fit your new panel to the door of your car and make sure none of the new panel's edges stick out too far. Close the door a few times to make sure everything clears. I had to do this 2 or 3 times before everything fit like it should.
Step 7:
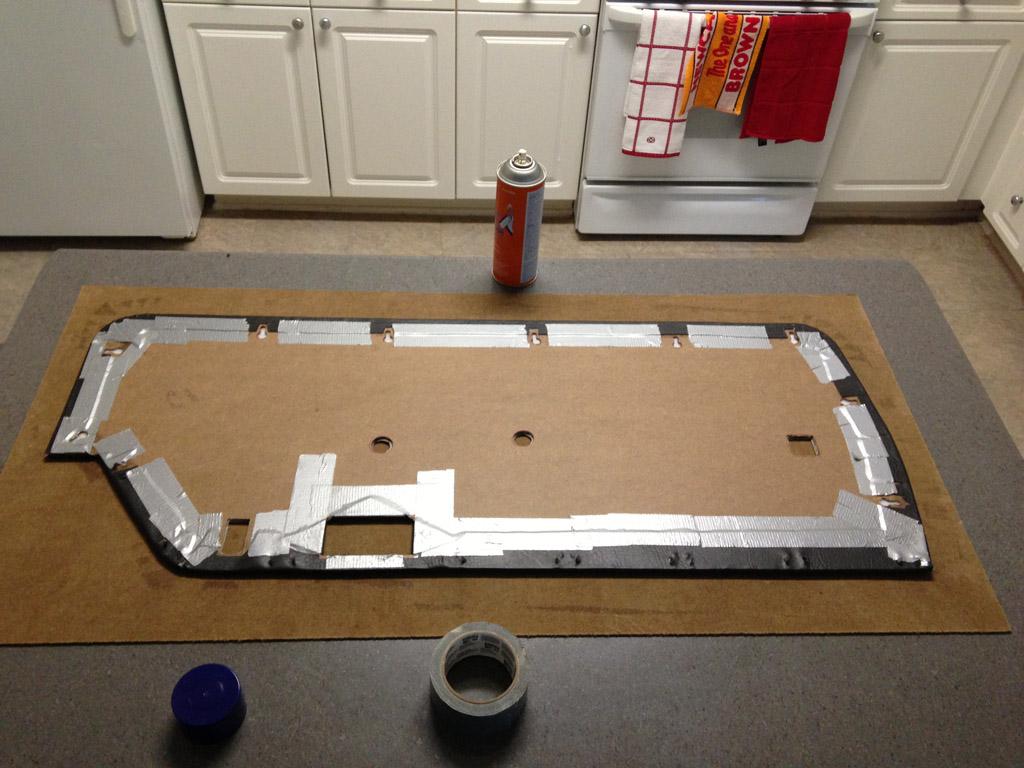
Cut an attach the padding and top layers.
***The "big staples" need to be inserted and clipped down to the base panel BEFORE you start gluing padding or covering to the panel. Once you glue your padding/covering on, the big staples won't be removable. ***
Trace out and cut both a padding layer and a top covering layer. In my case, I used some cotton padding cut to a loose shape.
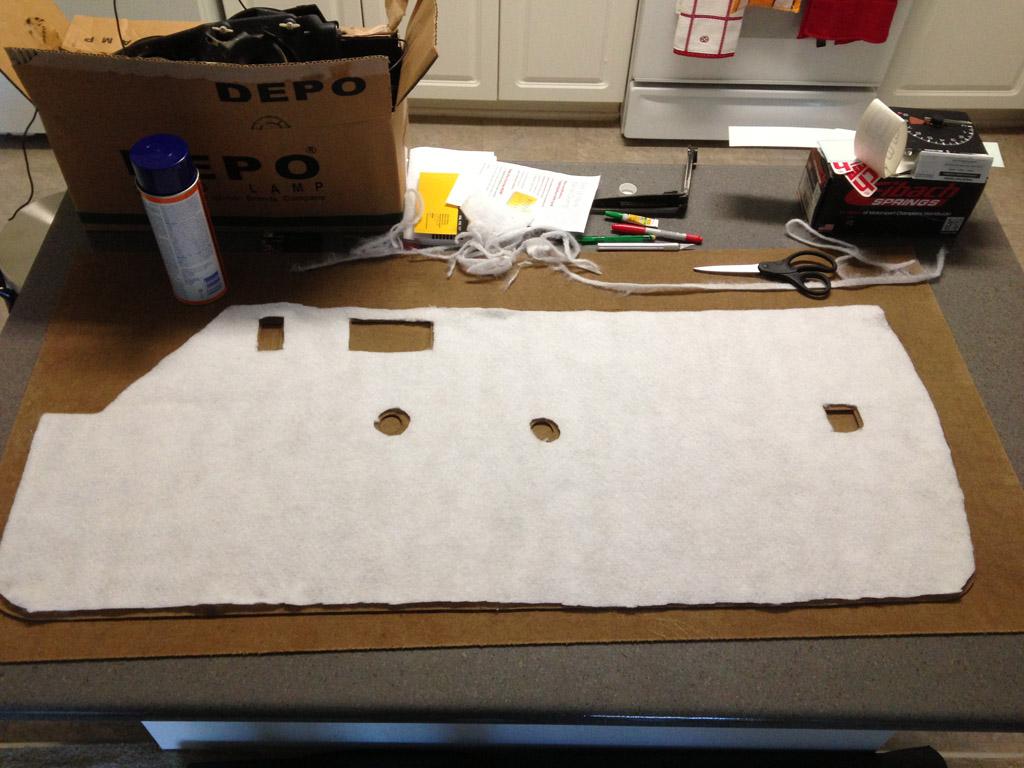
Cut your top layer with an inch or two of buffer around the edges of your base panel.
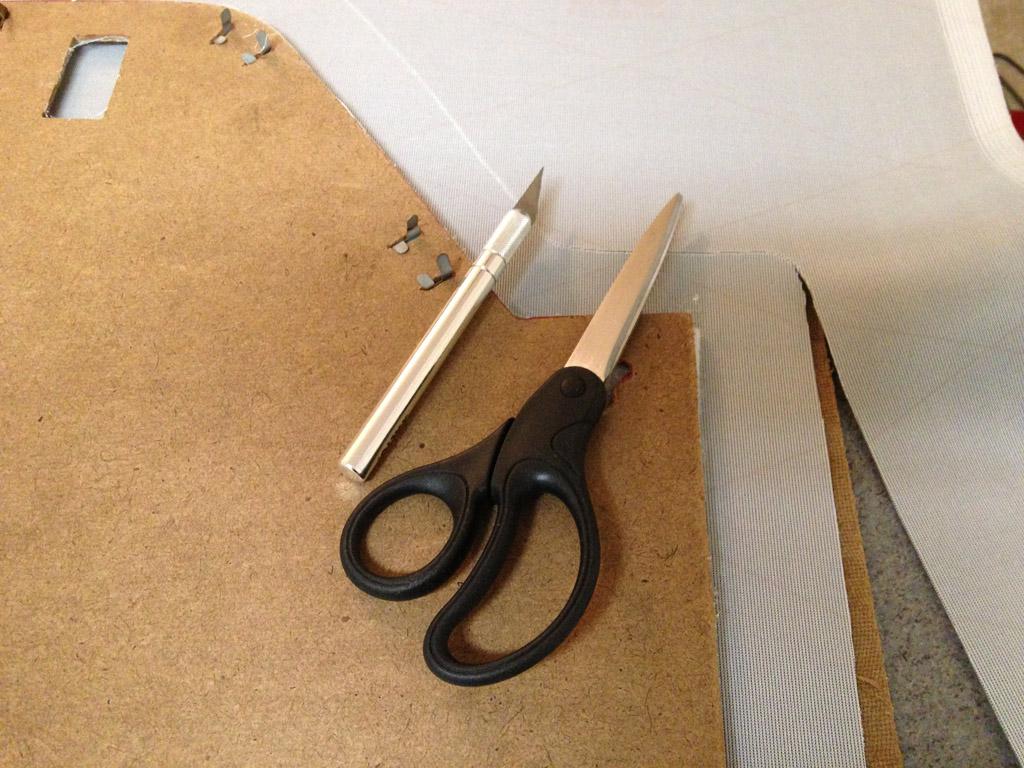
In order to get the top material to sit flush around the curved edges of the door panel, you have to cut it into strips.
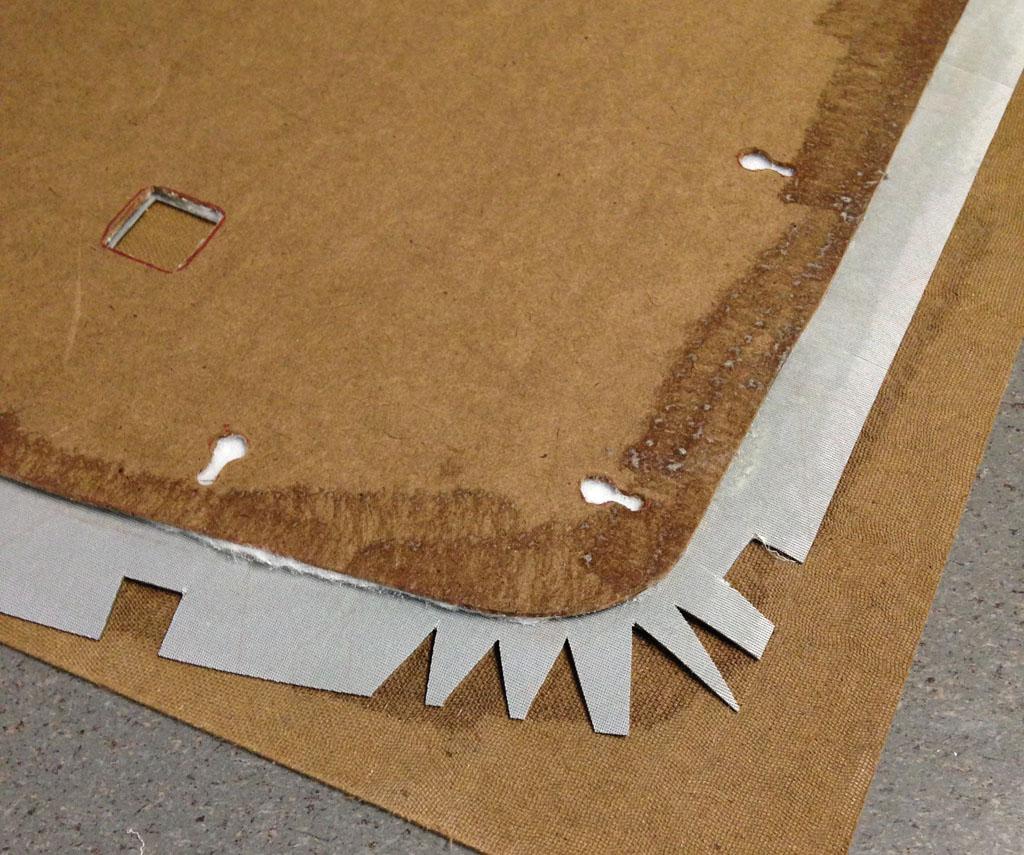
Notice how the "big staples" are installed under the padding and top layer of vinyl.
Make any necessary cuts in the top layer to account for holes in the base panel. Not every hole needs the top material peeled back (the only hole on the OEM panel that had the flaps pulled back was the door handle). The rest of the holes can just have the top covering material cut cleanly at its edges.

As far as gluing in concerned, I sprayed the tagboard AND the padding a few times prior to affixing them together. Once it had dried and set, I repeated the same process with the vinyl. The glue is surprisingly strong, and I was able to pull over the edges of the vinyl and glue them without issue. The duct tape is a poor man's replacement for a hundred or so upholstery staples. It's your call, but the glue + tape have been good to go thus far.
Step 8:
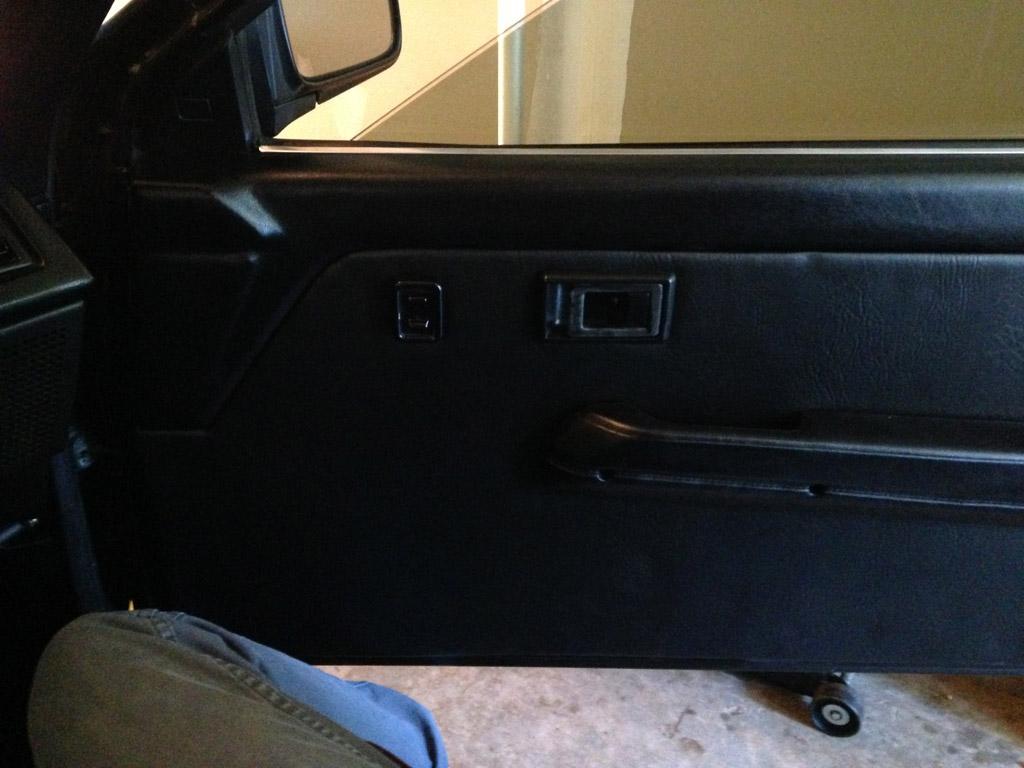
You should be pretty close to finished at this point. My passenger side door panel came out pretty good. It's a simple look, but a huge improvement over the ratty panels that came with the car.
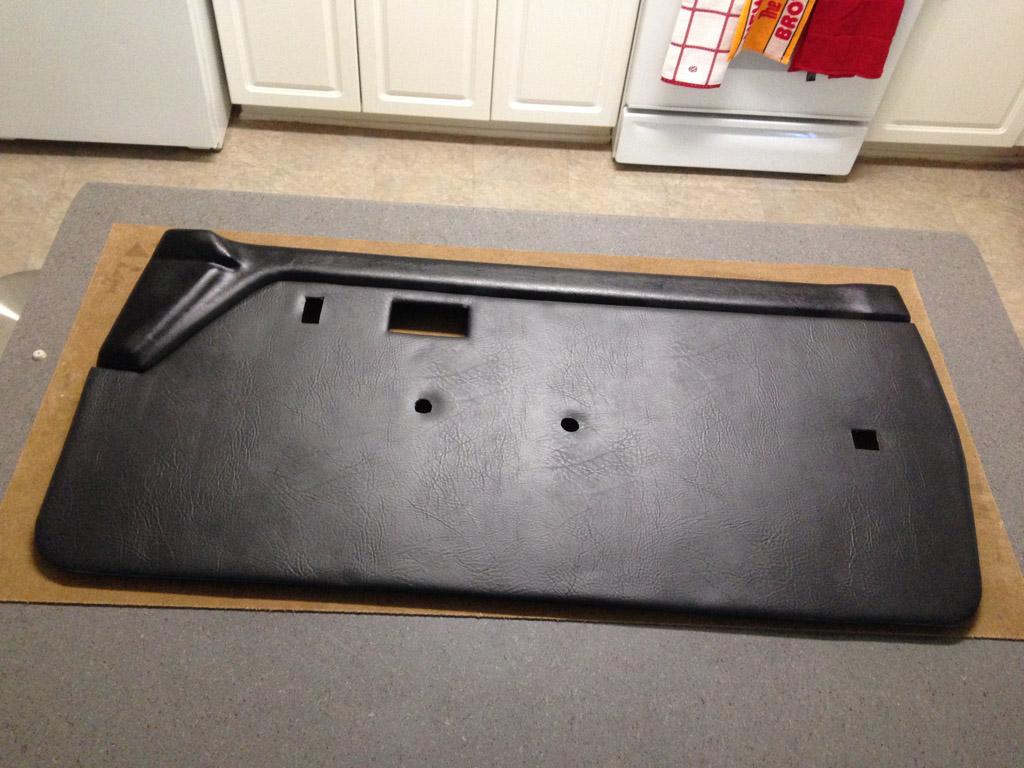
In order to deal with the lack of an "indent" in the door panel for the arm rests, I grabbed some longer screws and some nylon spacers. The spacers keep the door panel from pulling inward when the arm rest is installed.
Here's the new panel installed in my car. My apologies for the shi**y picture, I'll pull the car out of the garage later.
I'm sure there's a lot of stuff I'm forgetting, but I'll be repeating this same process over again with the driver's side panel.
You can get as creative or ridiculous as you want when making new door panels. You can use any base material (aluminum, plastic, wood) and cover it in anything you can think off. You can save even more money by just painting the panel after it's been test fitted.
Good luck!!! 
-Lowtekk