You must be logged in to rate content!
10 minute read
Countering Bump Steer
Compliments of cuttyman9 @ http://5thgencelica.com
1-7-2015
Bump steer
So if you've lowered a car you may think you've reached a point of good handling and what not, but in most cases it turns out that lowering a car can actually hurt the handling characteristics.
Why you might ask?
well bump steer and the suspension geometry is why.
Most OE's spend millions of hours studying suspension to create a good balance within their design.
So what can you do if you do want a lowered vehicle? Well lower it and fix the geometry.
how most go about doing this is by adding roll center adjusters and a tie rod flip kit. These consist of some sort of ball joint extension that moves the pivot of the ball joint downward and in most cars taking the tie rod from the top of the spindle to the bottom of it does the trick making the geometry back to stock.
Roll center is a point that is the product of the suspension geometry that can be related to the center of gravity which will show the characteristics of the handling.
When lowering a car usually the geometry is changed negatively which ruins the benefit of a lower center of gravity by moving the roll center farther from the center of gravity creating more body roll in turns.
So with that background on bump steer after lowering my car (1992 Celica GT 5 speed) with the coilovers and switching to the smaller Lexus wheel I've found my little Celica has real mean bump steer.
since that is highly undesirable and annoying I've been hunting around for a solution.
I then came across Techno Toy Tuning (T3) out in Cameron Park, CA.
they do a lot of stuff with AE86's and from looking at their stuff they do a good job at both designing and producing parts
through some cross referencing I found that MR2's ran a similar outer tie rod, T3 made a setup that is supposed to be unbreakable so I gave it a shot. The kit came with a tie rod and a drill bit for $130 to drill the taper out of the spindle (I've tried to avoid this but I cant find a simpler solution and this one sounds like it will be good as long as I'm alive)
After researching the mr2 stuff and fiddling around in the junkyard it seems that stock Celica inner tie rods will not work with the MR2 stuff because they are too long so my plan is to switch inner tie rods with an MR2 and it should be good to go which is rather simple
So to recap on this part of the mod, you need T3 outer tie rods for an SW20 MR2, inner tie rods from a power steering rack SW20 MR2. Ive found that Ebay has really good prices for a complete inner tie rod kit, it looks to be 60 shipped for both sides with new boots.
The only real mod is drilling the spindle for the new tie rod, the drill bit is supplied so the guesswork is not involved.
The next step is the roll center adjuster which nothing exists on the market except for a super, super expensive kit ($885) I'm working with T3 at building a bolt on mod to lower the pivot of the ball joint fixing all the roll center problems.
As soon as that goes into production I will link the parts so all can enjoy good handling at an affordable price so stay tuned.
T3 is interested in building more parts for the ST184 and st185 chassis (the front stuff of each are very similar if not identical)
I'm hoping to have rear control arms for my car and some other bits and pieces which should be produced for others to enjoy the benefit of.
Thank you for reading.
Any questions, feel free to ask em.
So far what I've realized;
-cast iron is super, super easy to drill.
-1990-1995 (later in other countries) MR2 manual steering rack inner tie rod ends are needed.
-4/5/6G Celicas have this problem more than some cars because rally cars dont usually get lowered and even the fwd cars are heavily based on their rally bred counterparts
They need to be manual steering rack ends otherwise they will not work (sounds funny but they used different thread sizes on the inner part that screws into the rack between manual and power steering racks on SW20 MR2's)
Thus far I've found that one of the Ebay dealers has the cheapest set of inner tie rods, they are $60 for two tie rods, boots, and all the ties and clamps to keep the boots in place. If you type in inner tie rod ends 1994 MR2 they will pop up, they have a picture of all the parts laid out horizontally.
I should be checking this to make sure they bolt right up to the rack but I'm about 80 percent sure we have a match.
This should be pretty straight forward for most, it really only requires basic tools and a drill (the drill needs to be able to grab a reasonably sized bit). T3 supplies the bit to drill out the spindle, the hardware comes in the kit and the inner tie rods come with everything if bought off ebay.
the only addition may be needing new lock washers for the tie rod inners, but if you're careful you may be able to reuse them.
When all is said and done I'll have a shade under $200 into it. ($130 for the flip kit from T3 and $60 for the tie rods)
considering this will be infinitely stronger than the stock stuff, that piecing the tie rod flip together yourself would probably cost more and finally the only other thing close to this on the market is 4 times more expensive it should be pretty slick.
Just a word of warning, don't drill or modify anything prior to checking things first, once you drill the spindle you cant go back to stock stuff unless you weld and machine a new taper, or get a new spindle.
Here is my update! I know everyone is excited-
I installed the MR2 inners and the T3 MR2 outers and have it working smoothly (outside of my alignment because les schwab is terrible and I refuse to ever go there again) the T3 kit comes with the drill bit needed to drill the spindle so its not needed to hunt that down
The parts needed:
- 1993-1999 SW20 MR2 manual steering inner tie rods (available on ebay or though any typical part store) (need 14x1.5 on both ends, if its 12x1.5 then you have the power steering variant for the MR2) http://www.ebay.com/itm/281047058797?ru=http%3A%2F%2Fwww.ebay.com%2Fsch%2Fi.html%3F_sacat%3D0%26_from%3DR40%26_nkw%3D281047058797%26_rdc%3D1
if you ask them you may have them put 1990-1993 celica boots in the kit.
-Optional- 1990-1993 Celica lock washers (Toyota pn 90214-14009)
-Optional- 1990-1993 Celica rack boots (napa pn MRC 15113-D)
- T3 outer tie rod kit for 1993-1999 SW20 MR2 https://technotoytuning.com/toyota/sw20/outer-tie-rods-sw20-mr2
From start to finish It requires removing the boots from the rack, then sliding them toward the outside of the car allowing the lock tabs to become visible
I used a long punch/screwdriver to bend the tabs(toward the inside of the car) allowing me to get full access of the flat spot on the inner tie rod.
Once you break em loose just unscrew them and they are out.
It was tricky getting the inner tire rods out but after some advice from my dads coworkers (at Toyota in Davis) using a crows foot (30mm) trimmed down to about a half inch width it was a cake walk.
Then when installing the new ones I used the same tool and some red loctite to keep everything attached.
I replaced the flat lock tabs just as a precautionary measure its not 100 percent necessary but I figured why not, it won't hurt.
once its tight, use a punch or screwdriver to flatten the ends of the lock washer dealie.
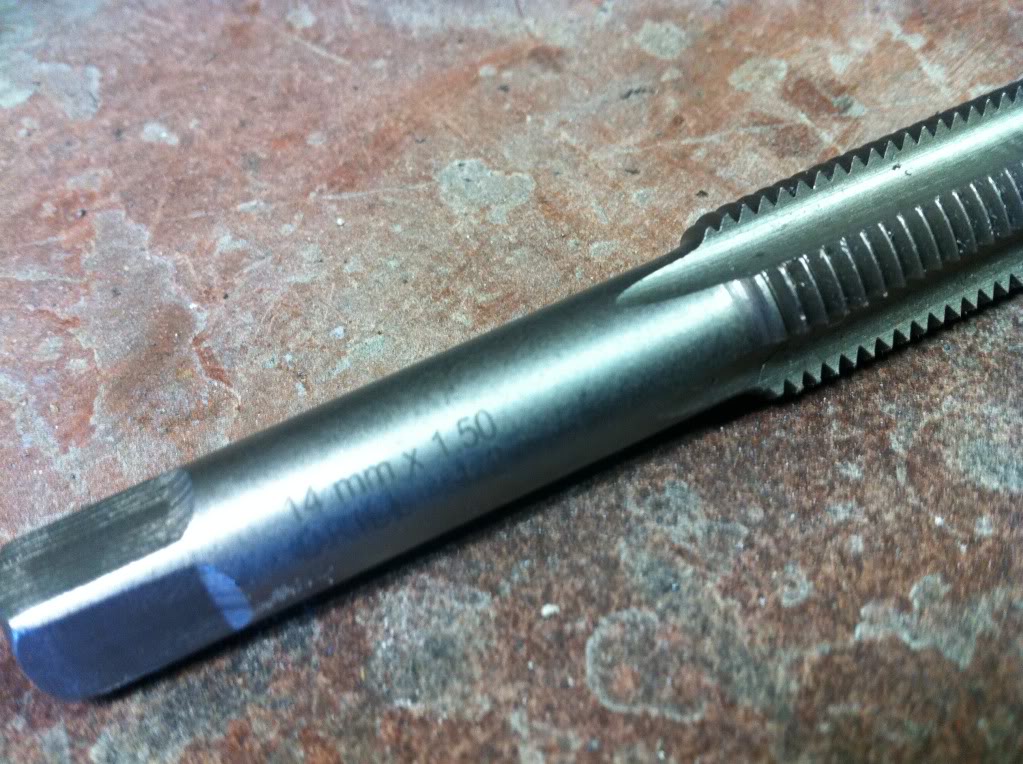
Then once the inner tie rods are on it is necessary to get a M14X1.5 tap, file and a hack saw. It helps to have a vice but probably can be done without one.
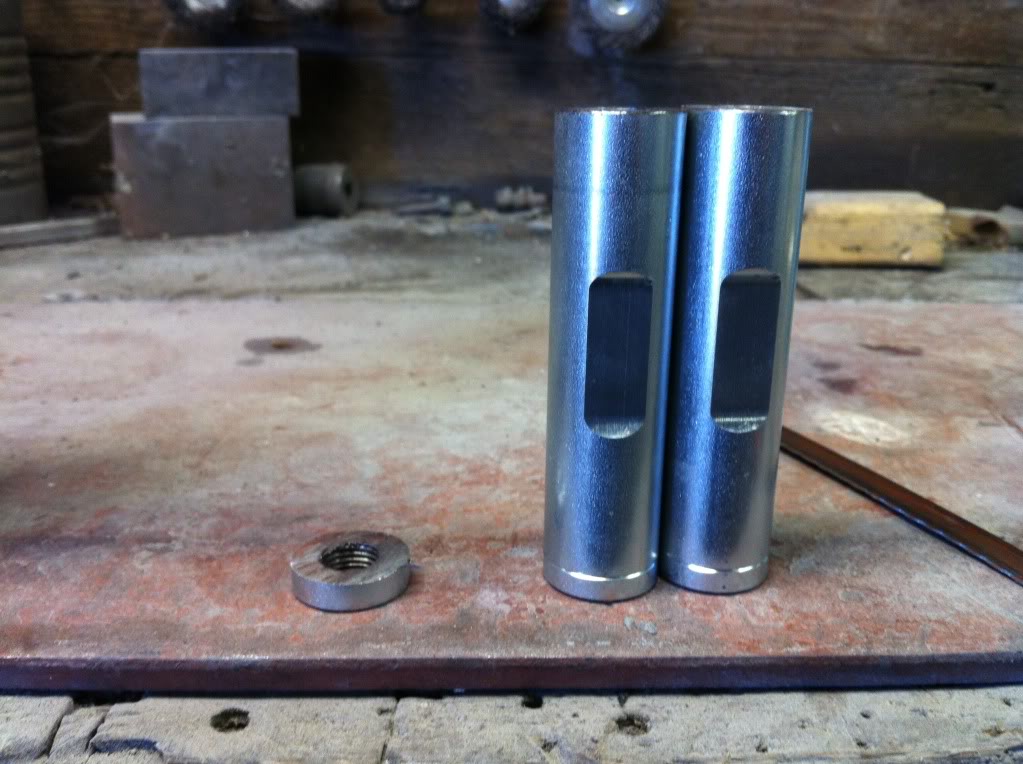
Approximately 5/16 inch needs to be cut off the end of the tie rod sleeve on the end which is threaded for the inner tie rod.
Then with the tap run it through so that the rest of the inner portion is threaded fully.
^these mods are the few I used to make it work, I'm hoping to make this already completed through T3 so that you buy the whole thing ready to go.
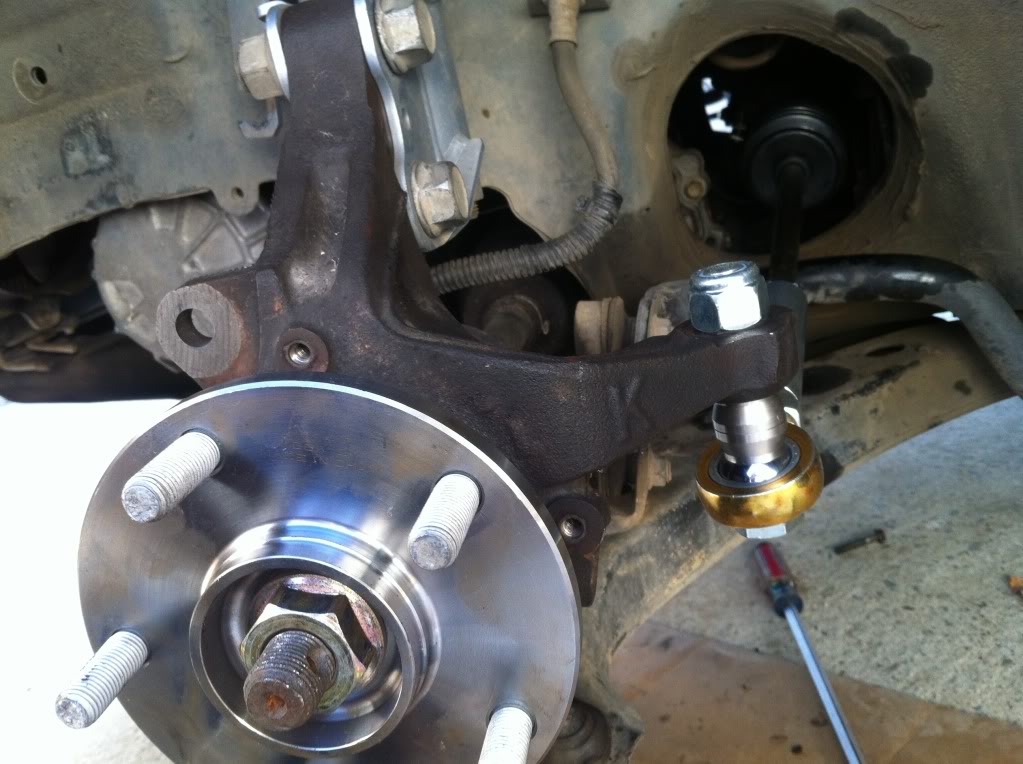
Then with your drill bit that came with the kit its required to drill the spindle to remove the factory taper. this is the only downside to the kit, once this is complete it cannot be undone.
Then thread the T3 sleeve onto the tie rod inner and the heim joint in the opposite end.
Once its all tightened down off you go.
I had a bit of trouble, when you put the tie rod underneath the spindle (at its lowest position) and don't change the position of the lower control arm you get super aggressive bump steer.
That contributes to why this is part one of the kit. Once again I'm hoping to get T3 to build the lower ball joint extension to allow us to buy all of this kit off the shelf. If it brings more aftermarket support to the 5th and possibly also the 6th gen Celicas and Camrys that would be awesome.
Enjoyable part of the kit is that it can be put on top or on bottom and moved from mid to high so you can convert between stock position and modified.
here are some pics
^tap
^30mm "crows foot" ratchet attachment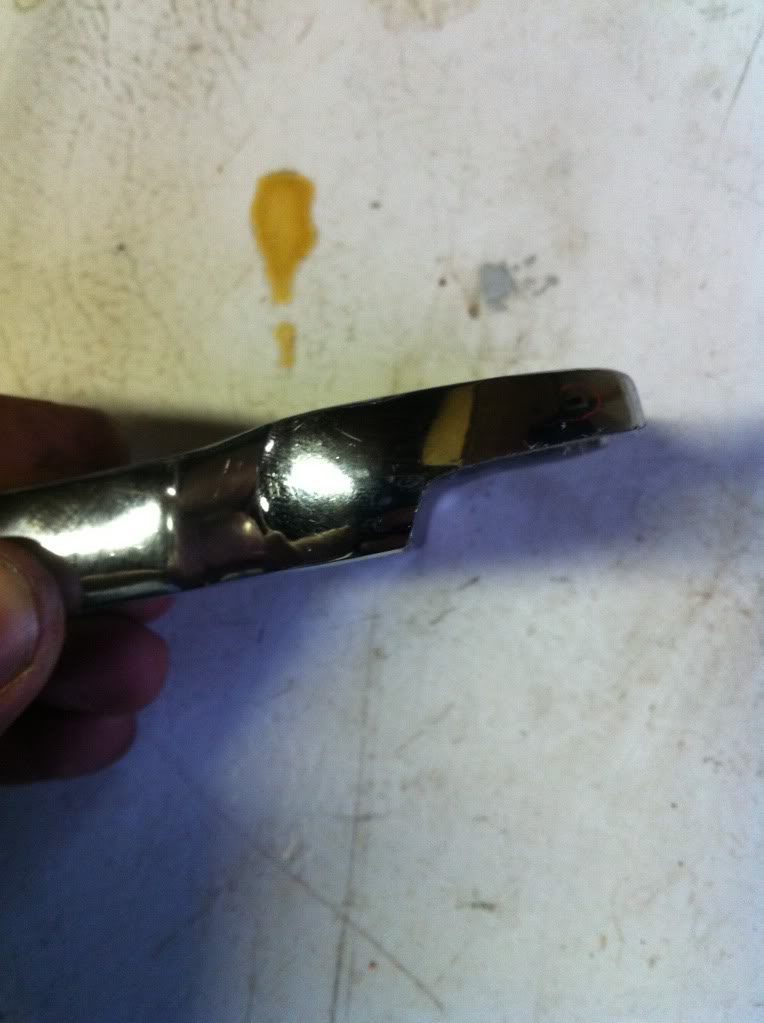
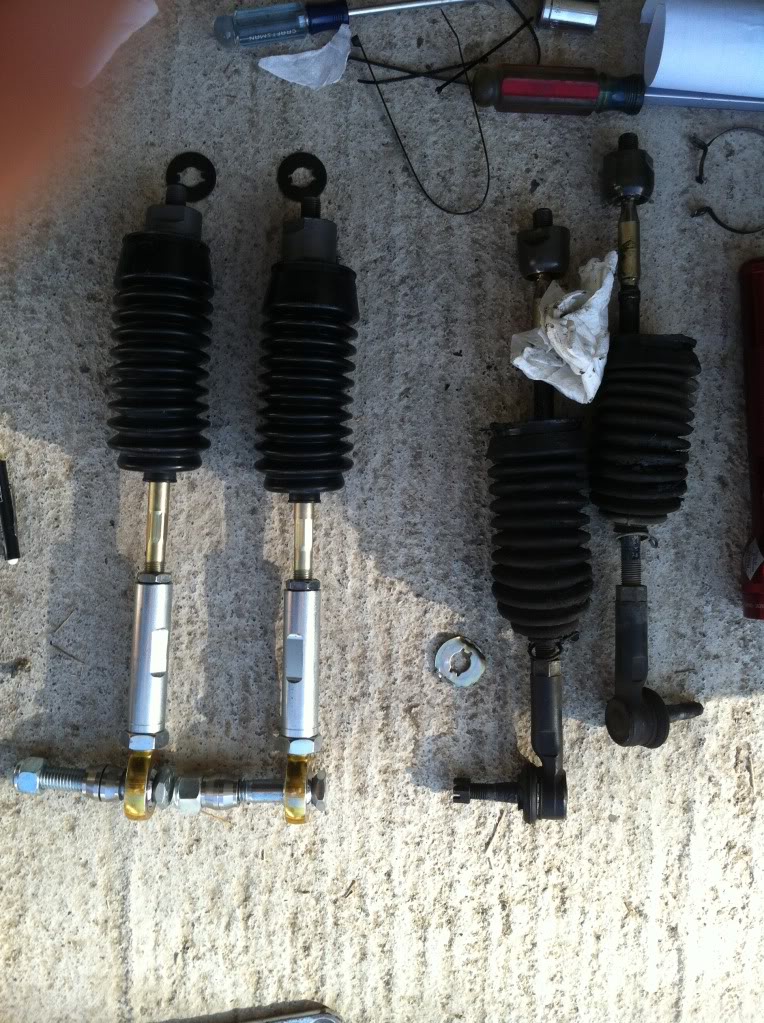
^Comparison of the two parts, the inner mr2 tie rods are stronger looking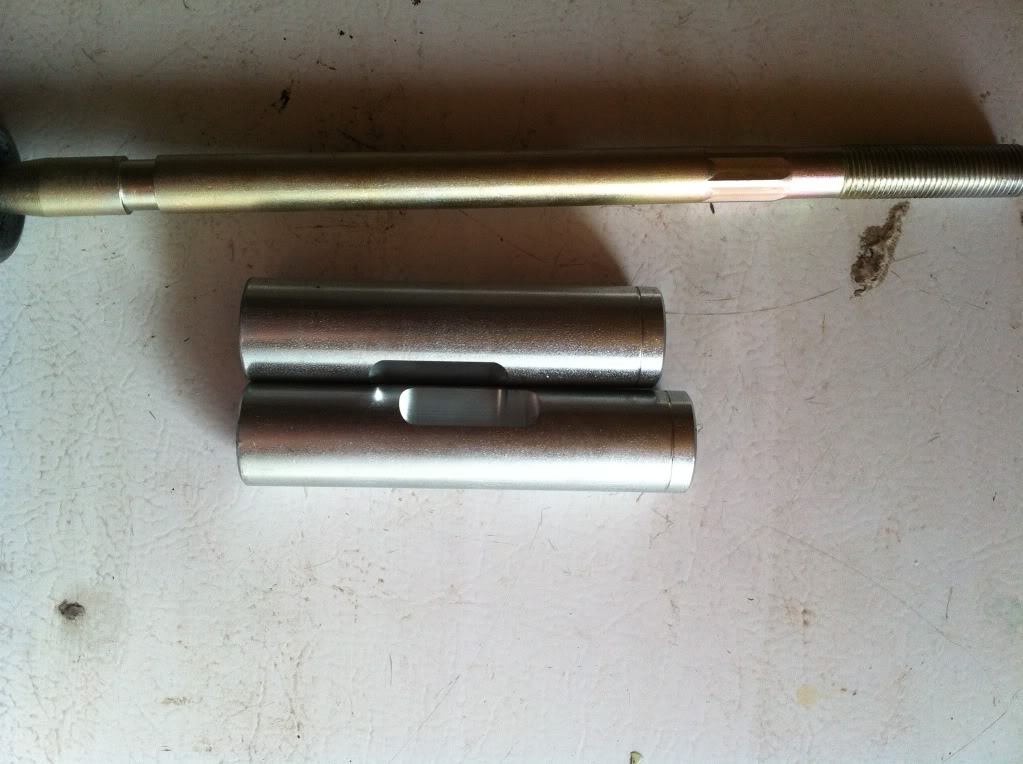
^the part cut from the sleeves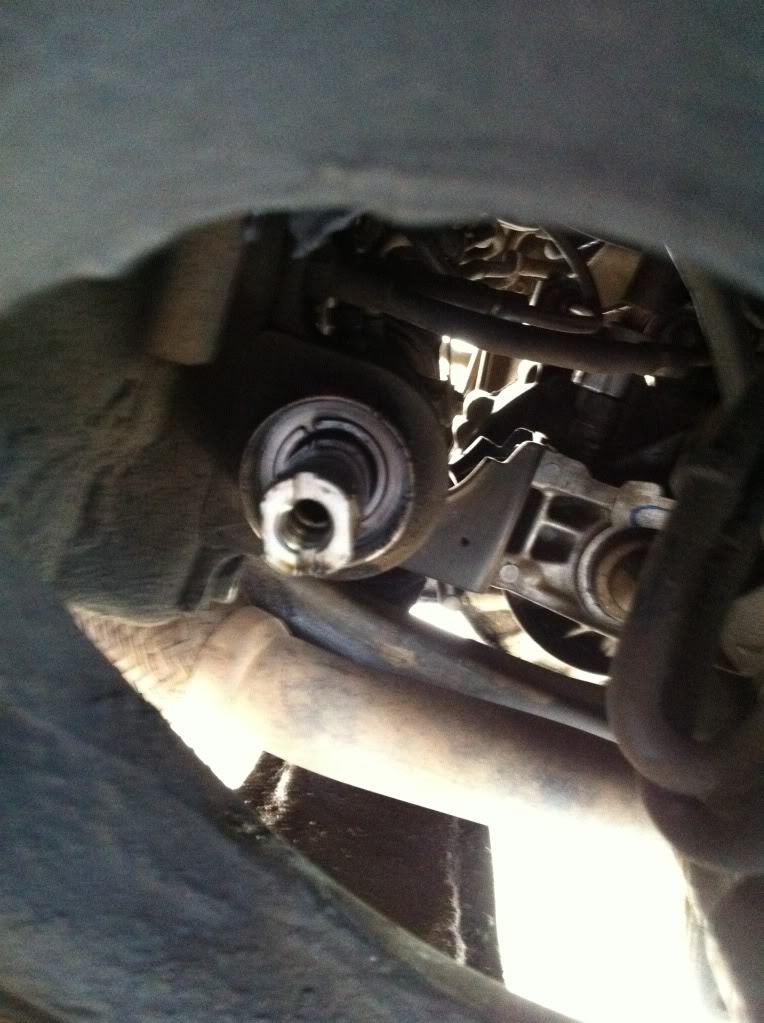
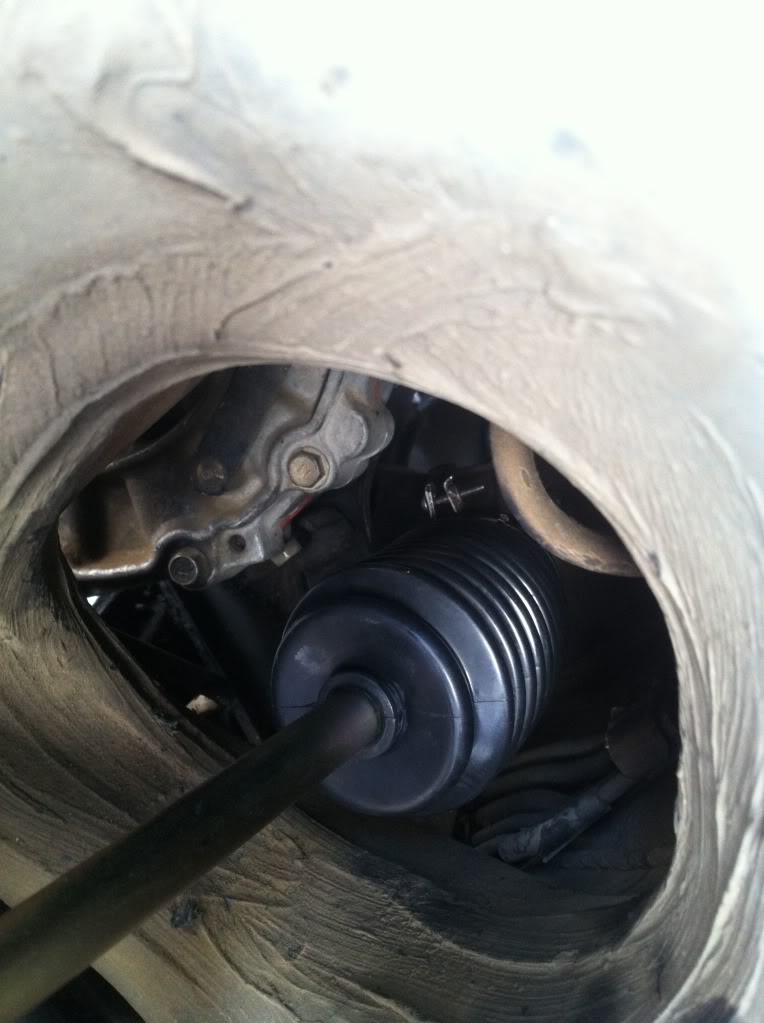
^everything installed but at the high position

