You must be logged in to rate content!
7 minute read
Inexpensive Rear Strut Brace DIY
Compliments of cuttyman9 @ http://5thgencelica.com
1-7-2015
So for all those out there who liked the cheap front strut bar, here is a complimentary build.
As y'all probably know just about everything that I've posted is 5th gen celica related, so this is a mod for one of those, note that I have a hatchback.
I've devised a plan to build a cheap rear strut bar.
I've spent a few days trotting through various junkyards measuring some bits and pieces and I think I've found a winner!
So it turns out the front of a focus is very similar to the rear of 5th gen Celica's (and possibly 4th and 6th)
I measured the front of the focus and its within an inch of the width of the rear on the Celica, the bolt circle is within a half inch as well.
So I ordered one for the large sum of $40.52 (Cali sales tax, out of state is $37 shipped) which can be found on Ebay under 1998-2005 ford focus strut tower brace or use the link below.
http://www.ebay.com/itm/330772828246?ru=http%3A%2F%2Fwww.ebay.com%2Fsch%2Fi.html%3F_from%3DR40%26_sacat%3D0%26_nkw%3D330772828246%26_rdc%3D1
^above is the link for those who don't want to search.
As of late I'm waiting for it to arrive, hopefully I find time this weekend to see what it takes to make it work, hoping for a quick bolt pattern re-drill (which can be done by the DIY'er) and be done with it.
The front bar tightened up my front end so by the same notion this should tighten the rear end (no pun intended)
If this succeeds then the 5gc enthusiast can get both the front and rear brace for less than any company sells just a front brace.
Sure these aren't solid braces and sure they don't have the prestige of the big brands, but they work and for a daily driver and/or a street car who cares??
I'll post more as I get down to business.
Thank you for reading.
So now my rear strut brace is installed and it works quite well.
This one requires a few more tools and a bit more skill than the front brace but is still pretty damn easy and highly rewarding.
I started off with the 40 buck focus front strut brace.
I ended up removing 3/4" from each side of the bar itself and a half inch off the threaded sections (easily achievable with a hack saw, a file and a vice)
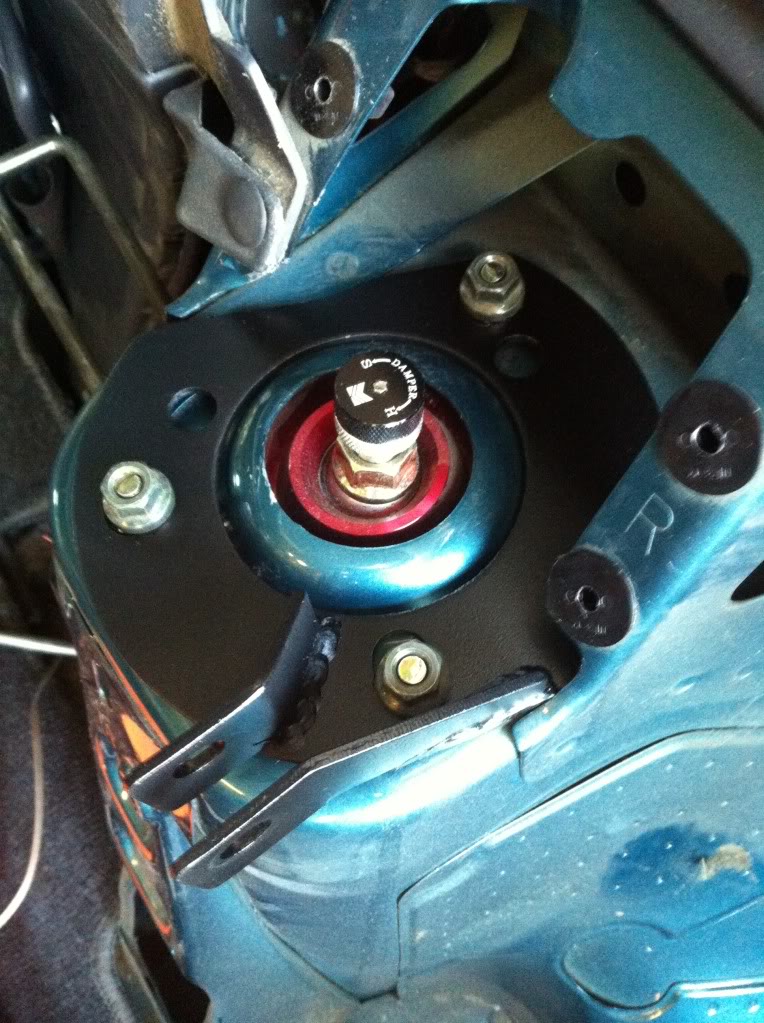
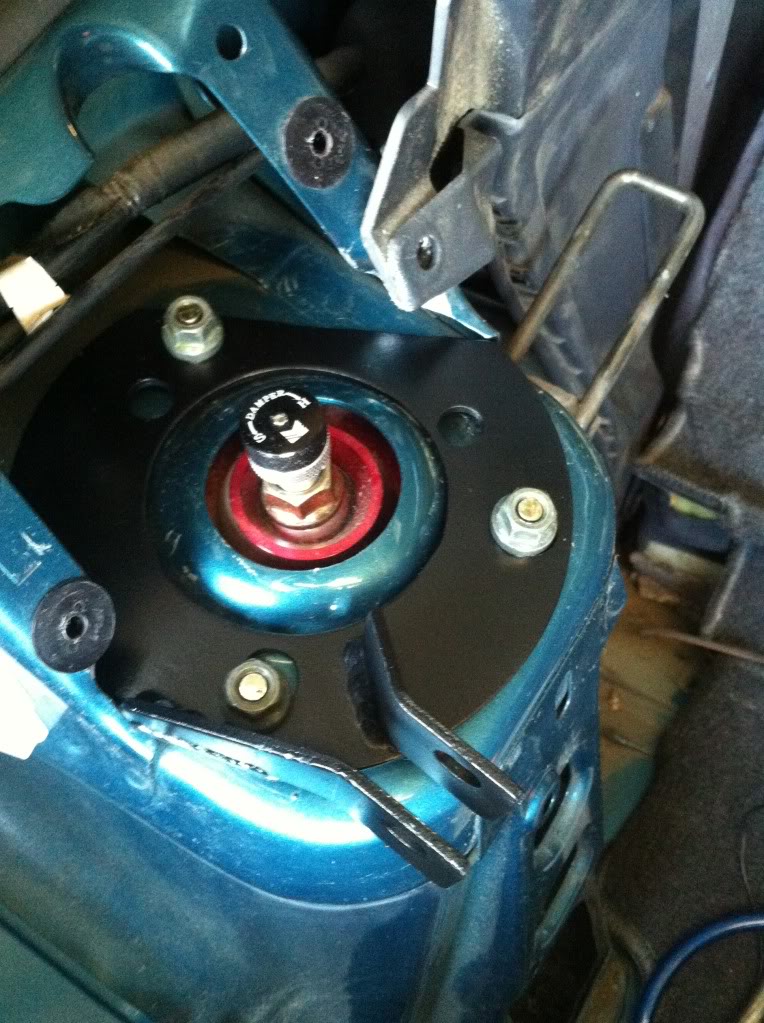
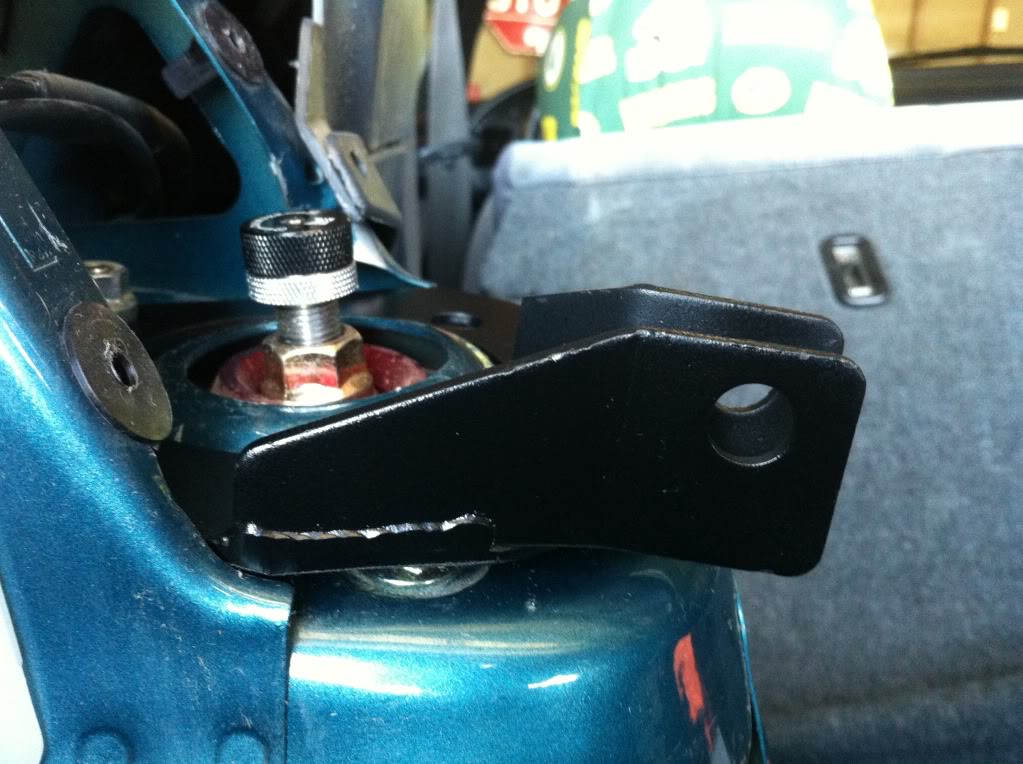
The end plates required some tweaking as well, I had to grind down the edge next to the tabs to clear the bit of metal in the way on the body, I also needed to tweak the flat side a bit as well.
The one hole nearest the tabs(actually in between them) needs to be elongated toward the rearward facing(in relation to the car) tab. two other holes need to be drilled.
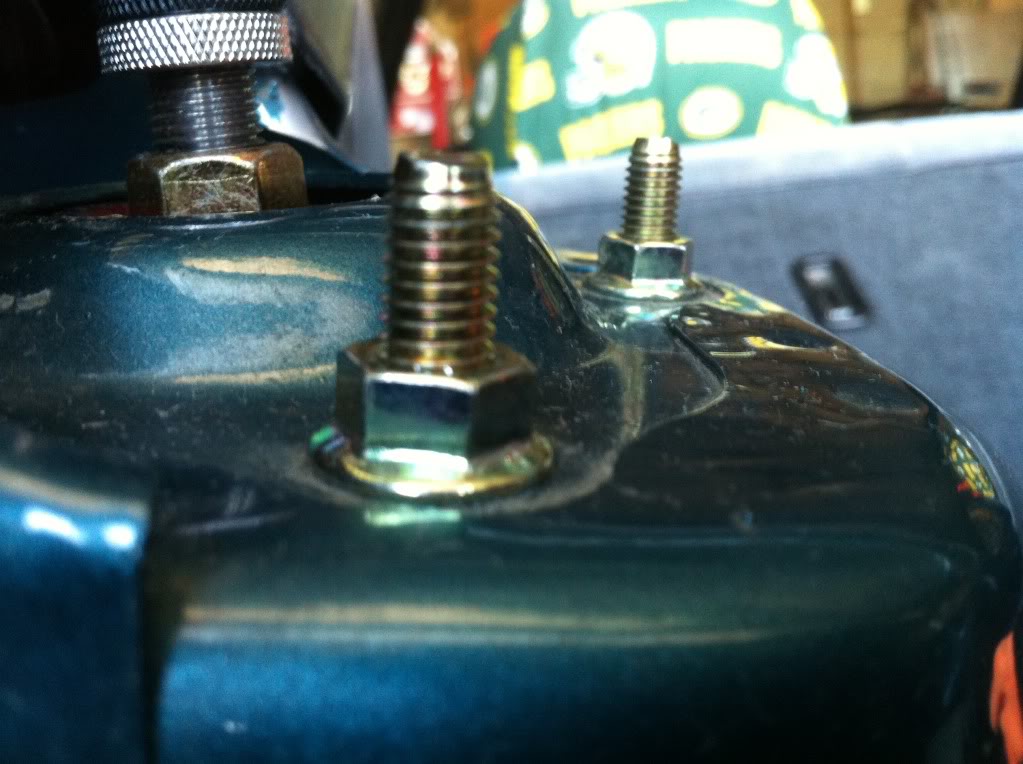
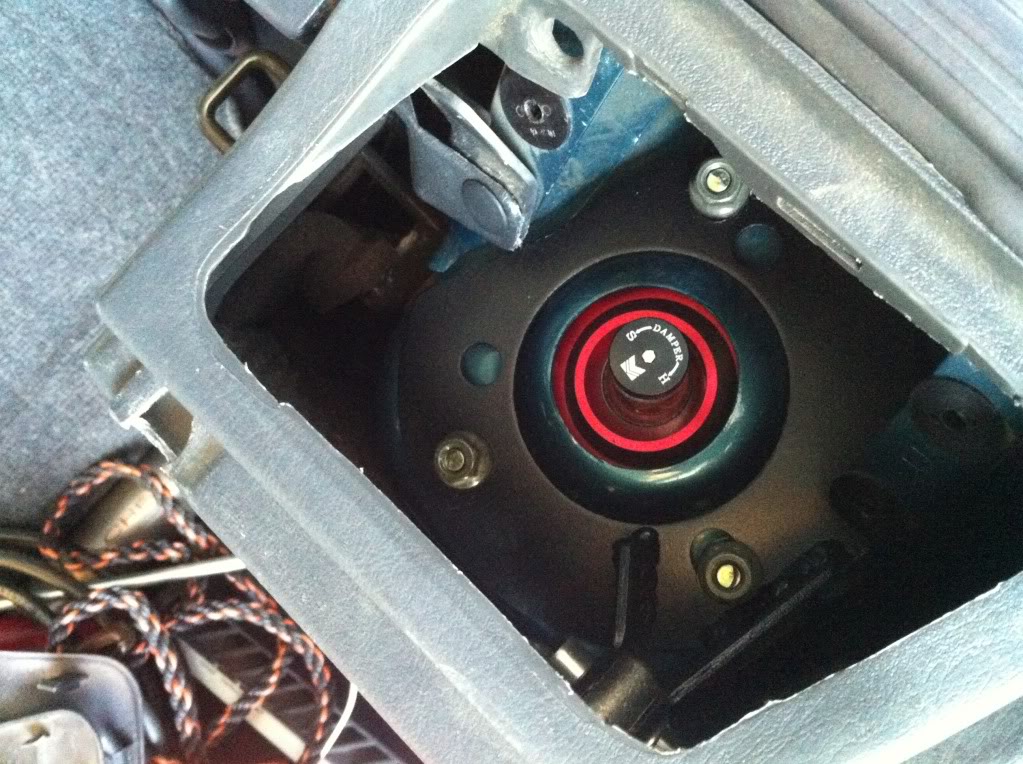
Now in my case I have coilovers which have extended threads on the top so I bolted mine down to the top of the nuts beneath them(so it's technically a nut to hold the coilover to the car and a nut to hold the brace to the coilover) if on the stock stuff the studs aren't long enough try washers or changing the studs in the struts.
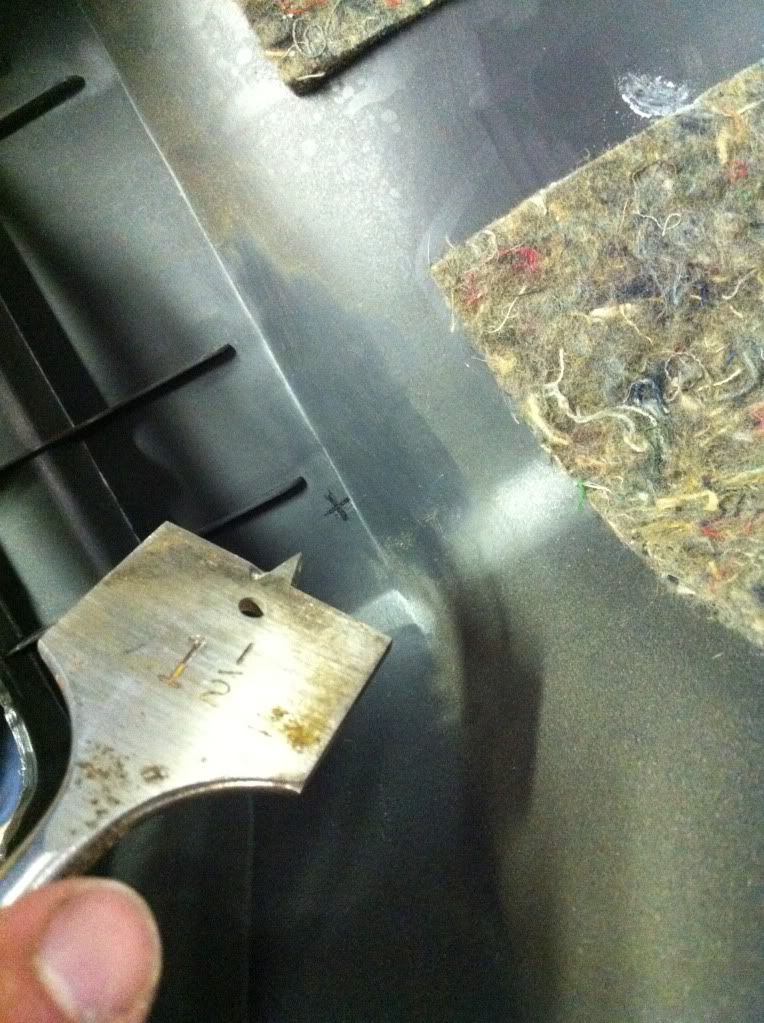
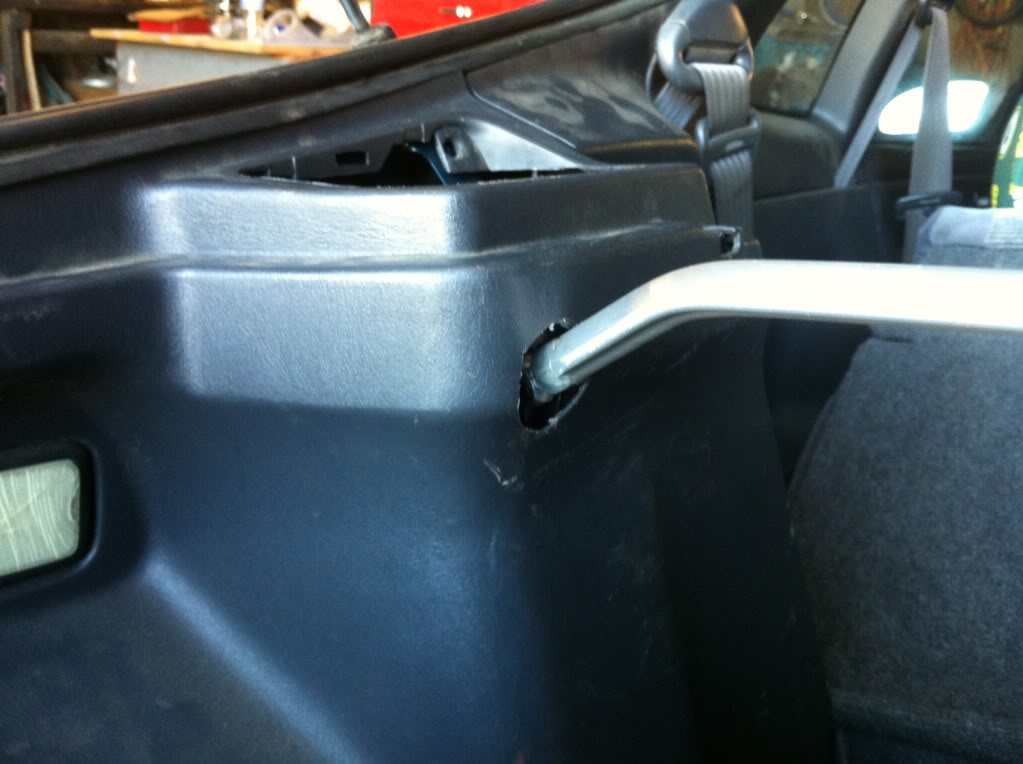
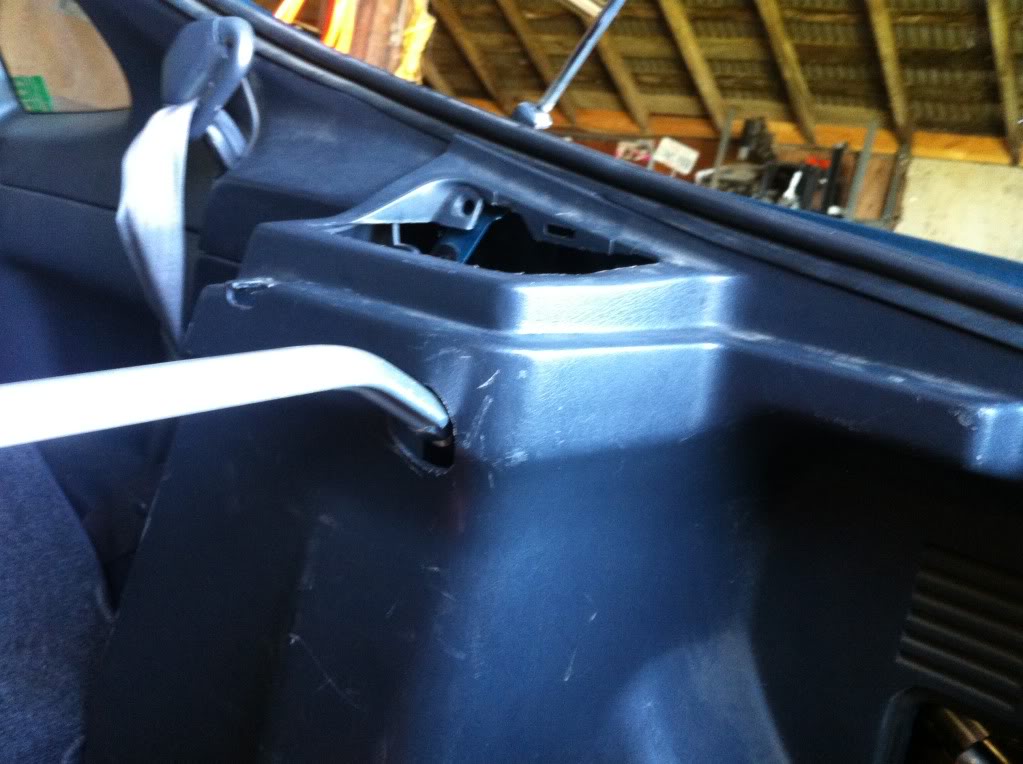
Lastly there are holes to be drilled in the plastic (dun dun dunnnnnn), I installed the plastic, marked the spot and used a wood bit that was flat and 1.5" in diameter.
the hole ended up being on the crease if you need a reference.
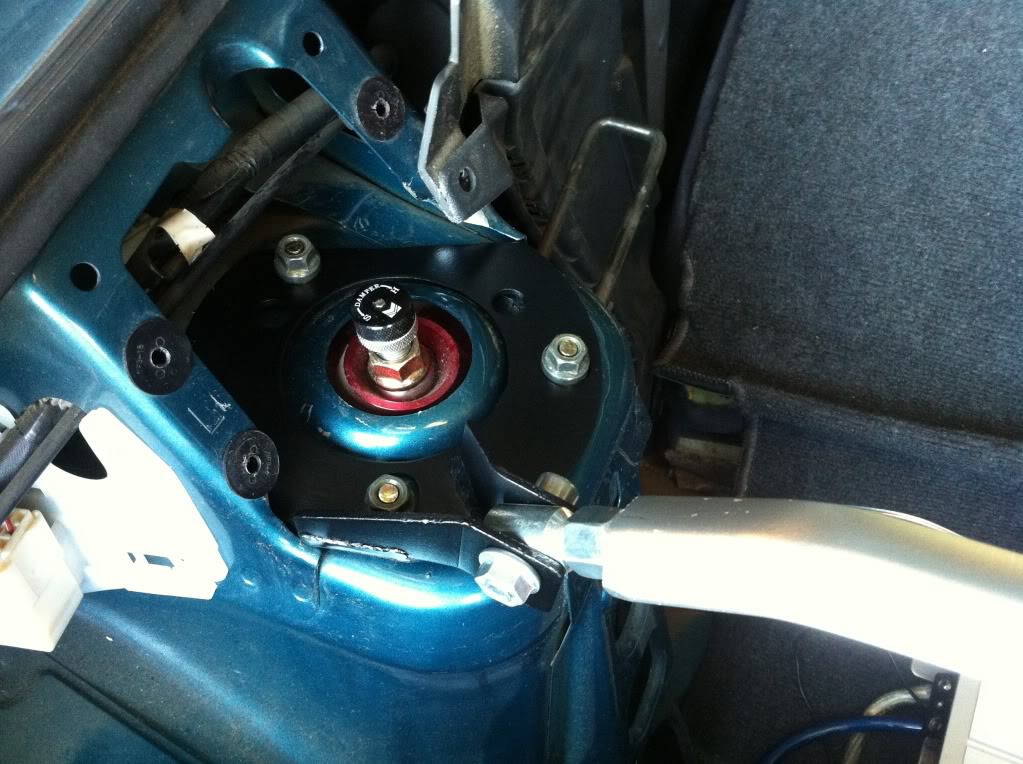
Then its time to toss the threaded bits on, put the bolts in the bar (which should need a bit of wrestling to get in but it's better that way) and tighten the nuts on the top of the strut and you are done!
The changes aren't like turbocharging the car where it is incredibly obvious something is different, but they certainly do tighten up these cars. Our strut towers are tall so the appear to be subject to a lot of flex.
Also note it does improve cornering a reasonable amount because the back is more rigid and definitely compliments the front bar.
so now you have a pair of strut tower braces for less than half (65 USD) of what one brace typically costs (139 USD) the Celica crowd and you can also be proud that you did these yourself.
If you pull this off do post your results so others can use it as a reference, especially if you pioneer this to other body styles/generations. Do note that I've seen a few all-tracs and the top of the rears do appear different, correct me if I'm wrong.
Thank you for reading.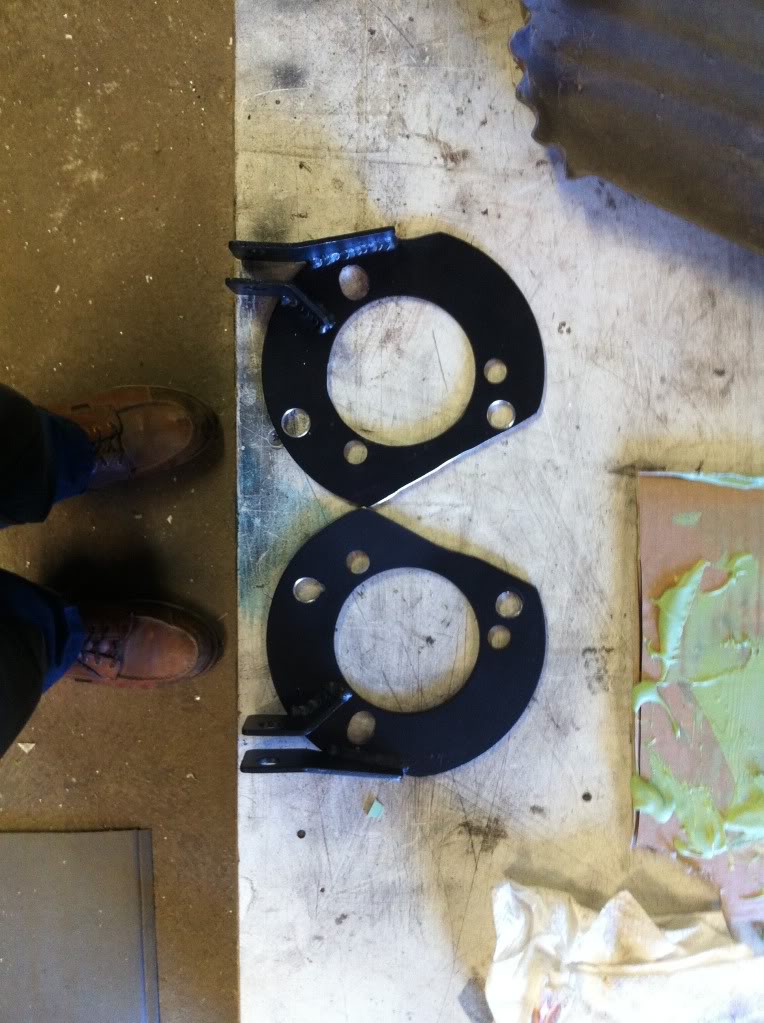
^ what I ended up with after tweaking them.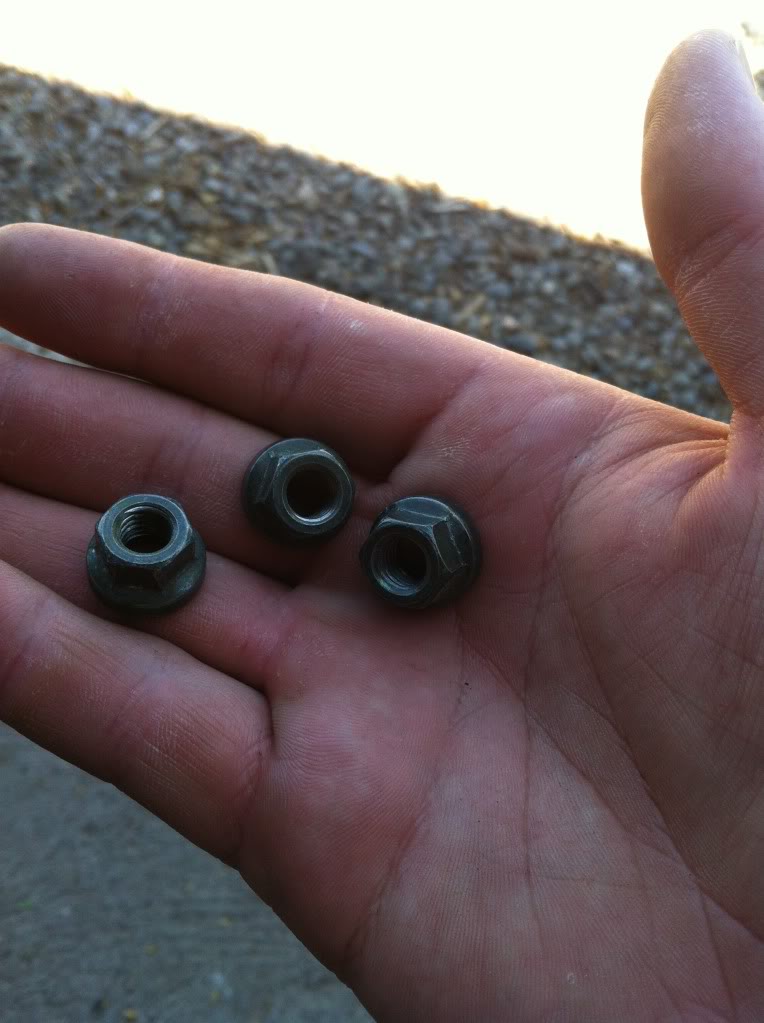
^stock shock top nuts that I used on top of the ones supplied with the coilovers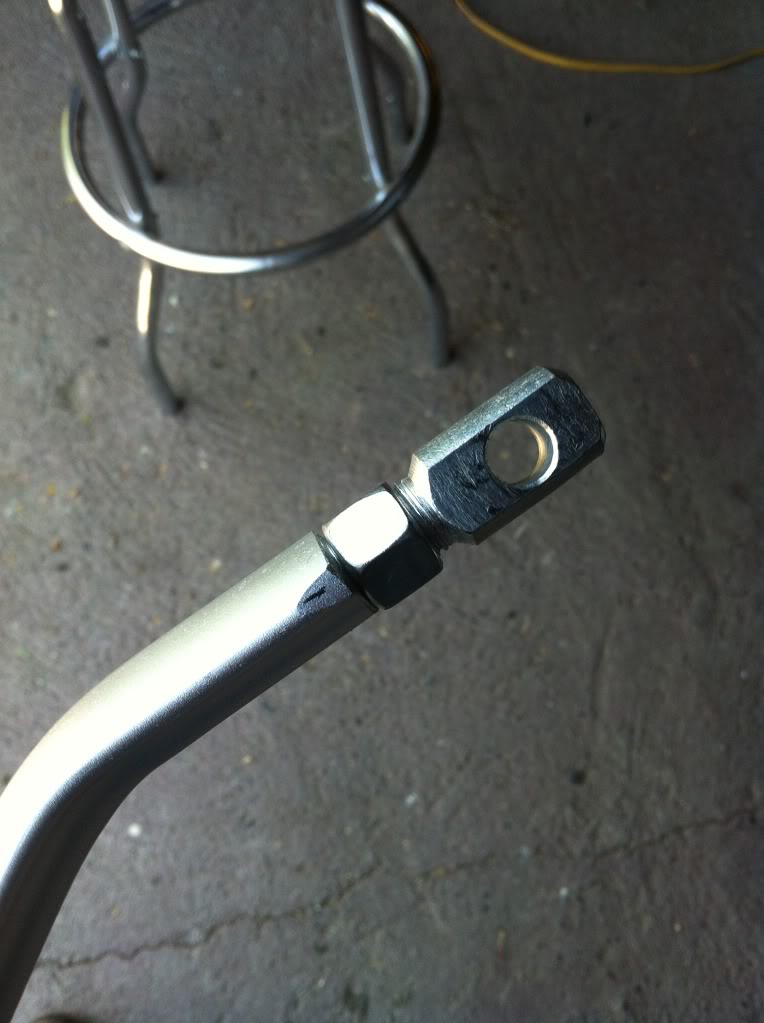
^ finished end that I smoothed out with a file and deburred.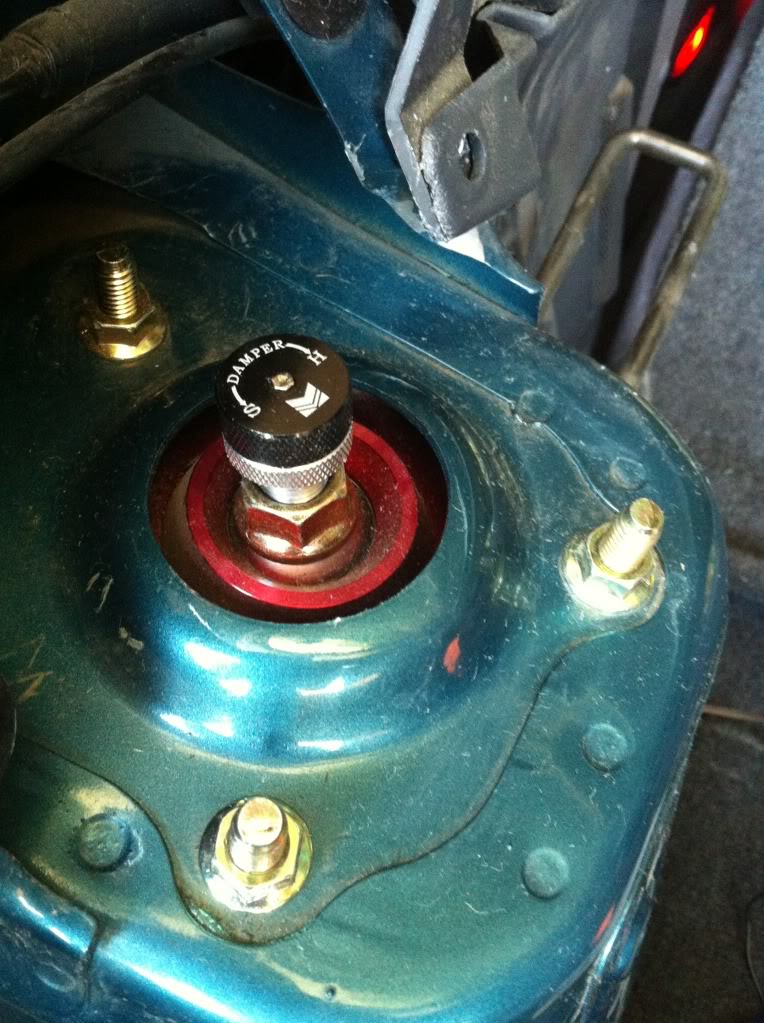
^after grinding down the weld a bit and notching right after the tab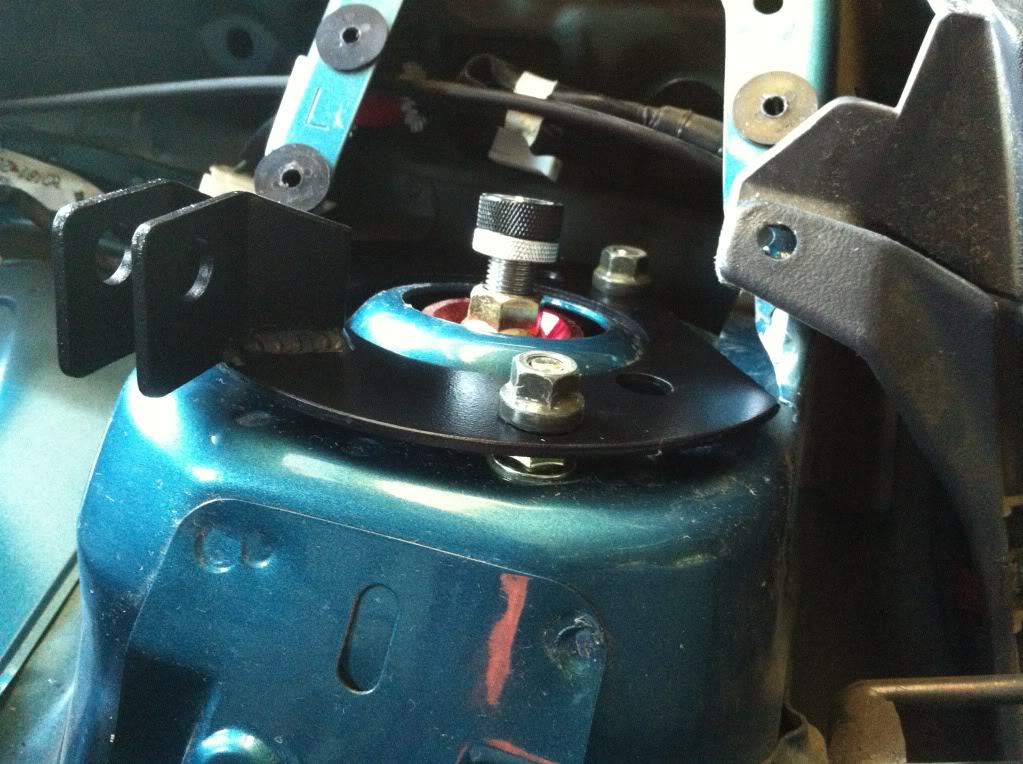
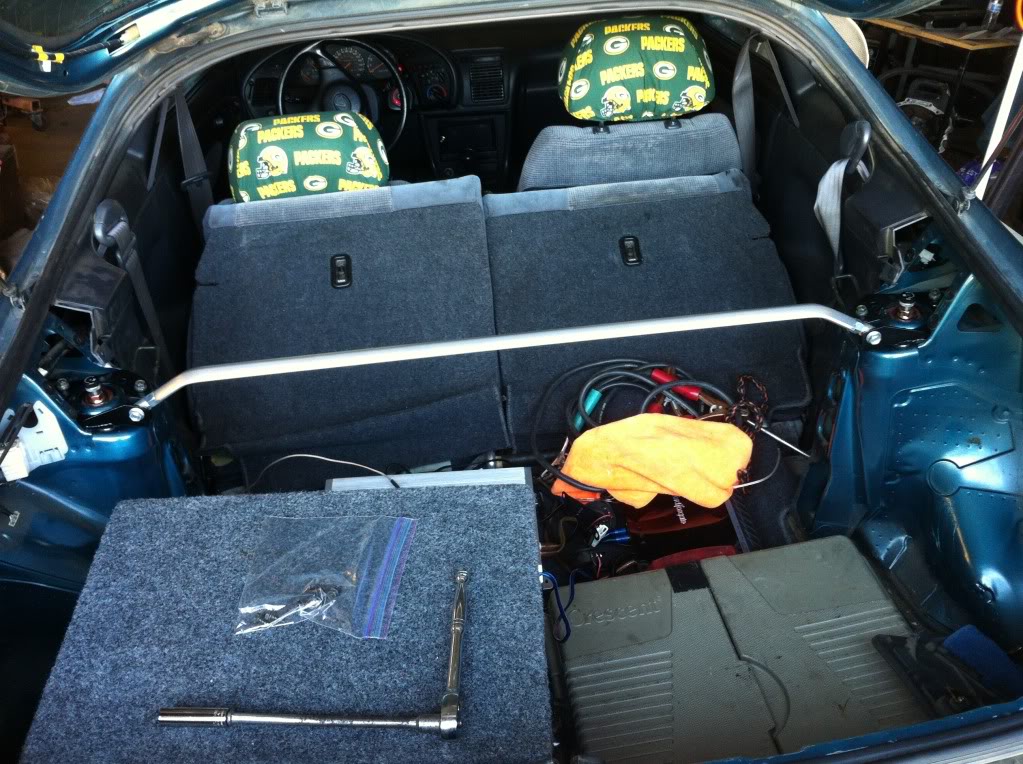
^excuse the mess, this is after it was all bolted down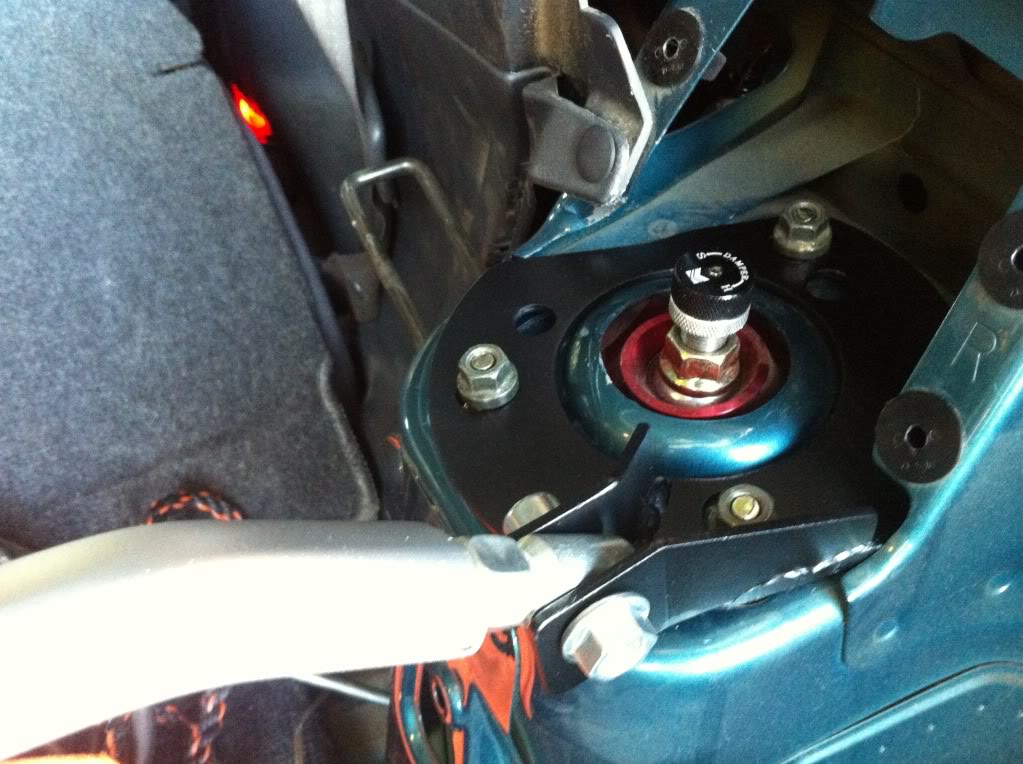
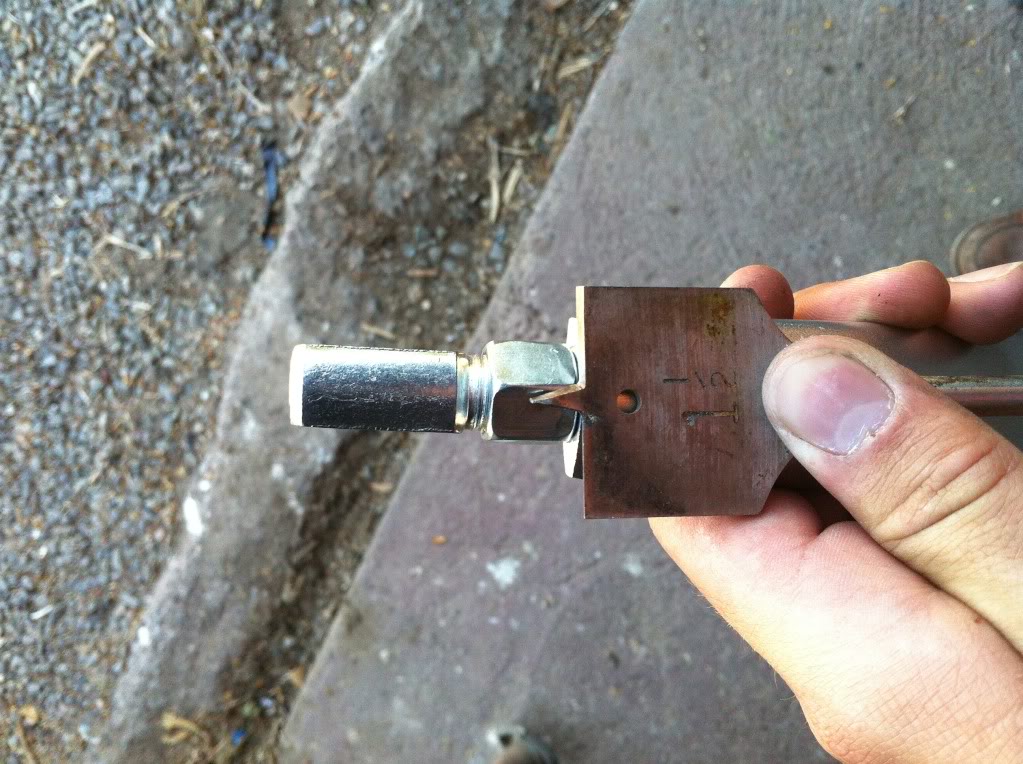
^drill bit used to make holes in the plastic, you could probably do smaller but fitting the bar with these on will be harder.
^location of the hole to be drilled, this style drill bit works really well.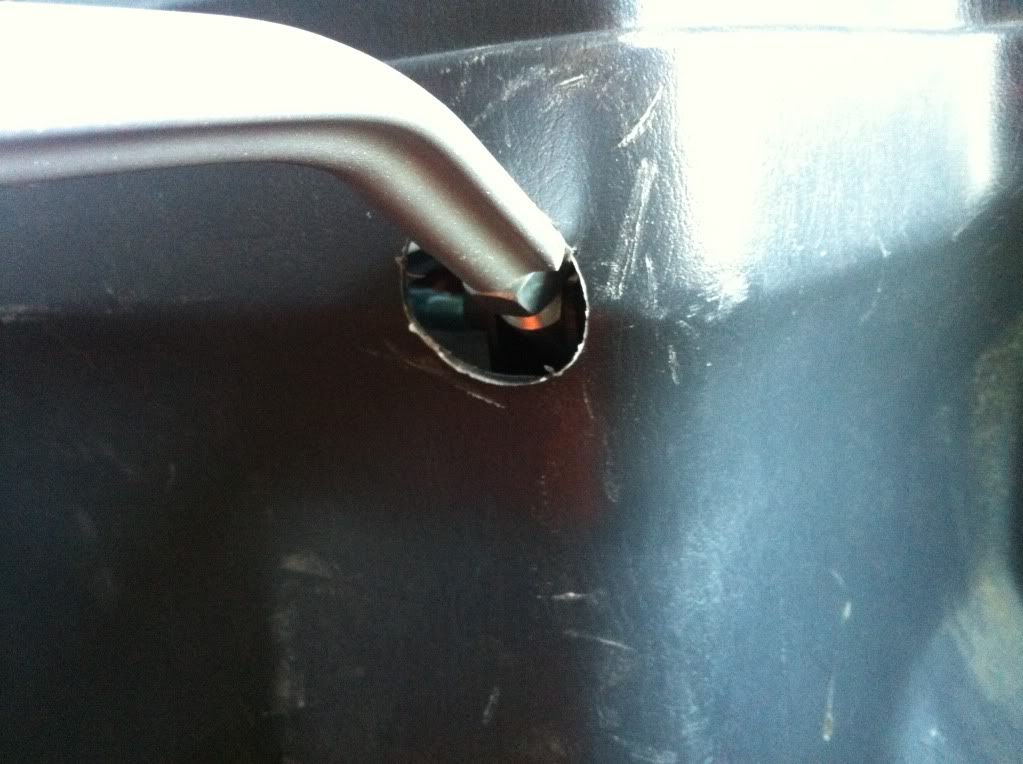
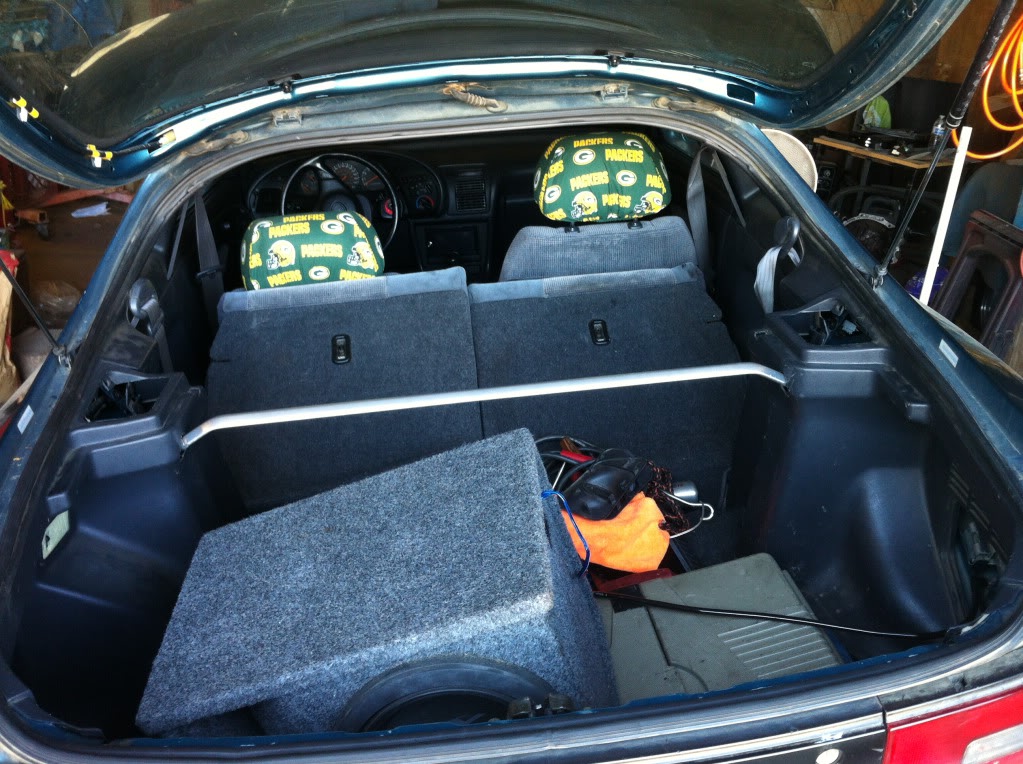
^clears all suspension bits and the factory system ten tweeters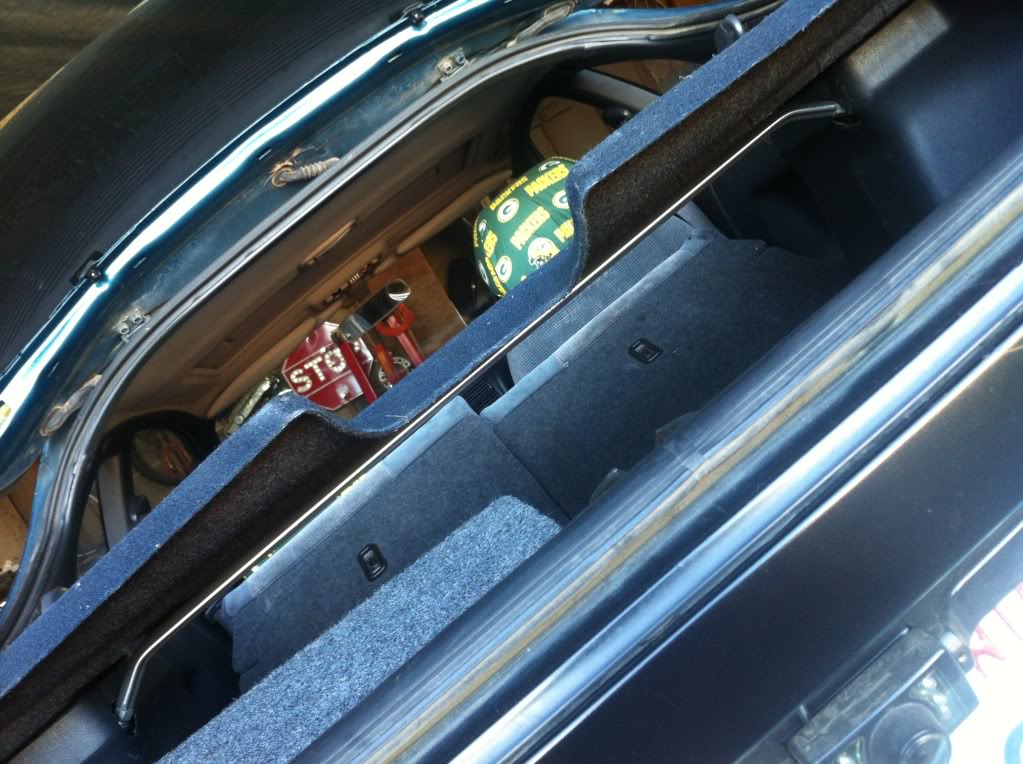
^also clears the stock cargo cover and actually supports it so that it can be used as a shelf

