You must be logged in to rate content!
36 minute read
Giant heater core DIY
Compliments of DubbinChris @ http://forums.vwvortex.com
So some of you have seen the thread I made when I got my new wagon. I got it super cheap b/c it needed a heater core. Well I started on it tonight and I decided to take a boat load of pictures and do an absurdly sized DIY. THere are going to be a ton of pictures and I might even be doing some unnecessary steps b/c this is the first Fox dash I've pulled out. MKII's I've done so bear with me. Also this is an 88 with no A/C so if you have the newer dash or you have A/C things will likely be different.
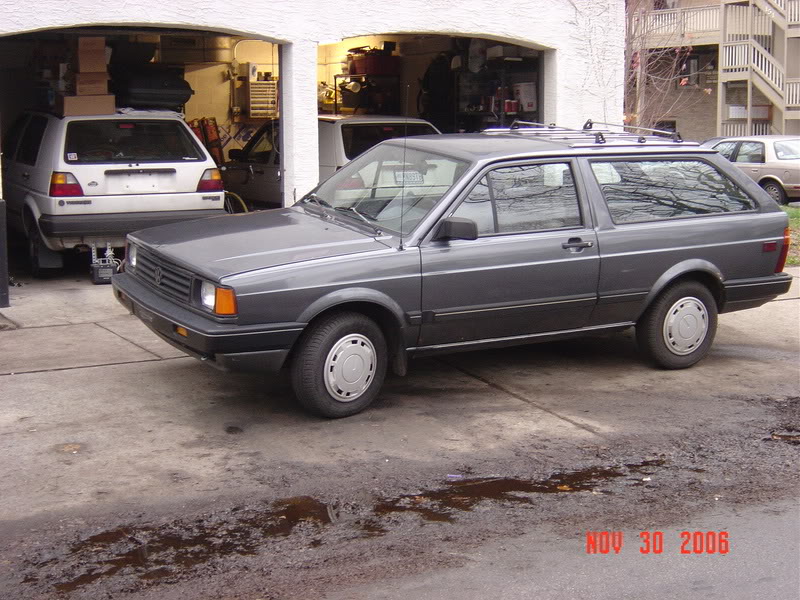
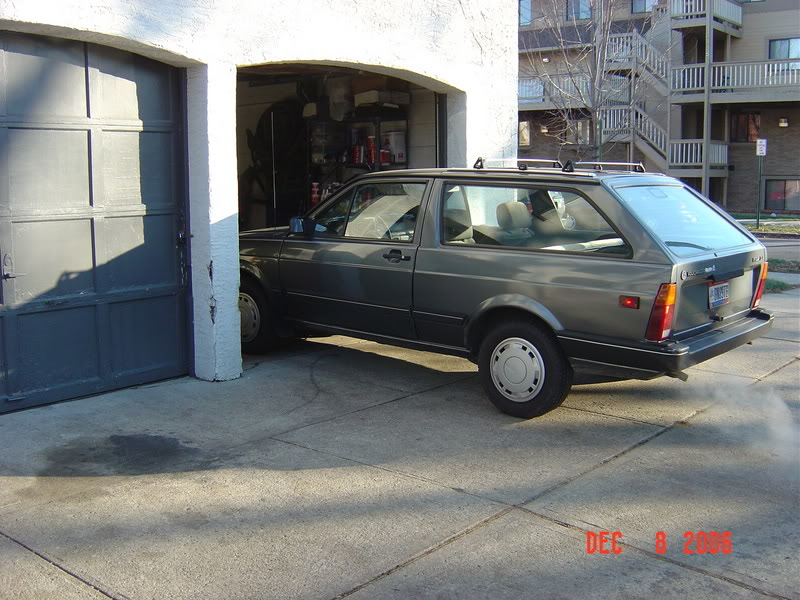
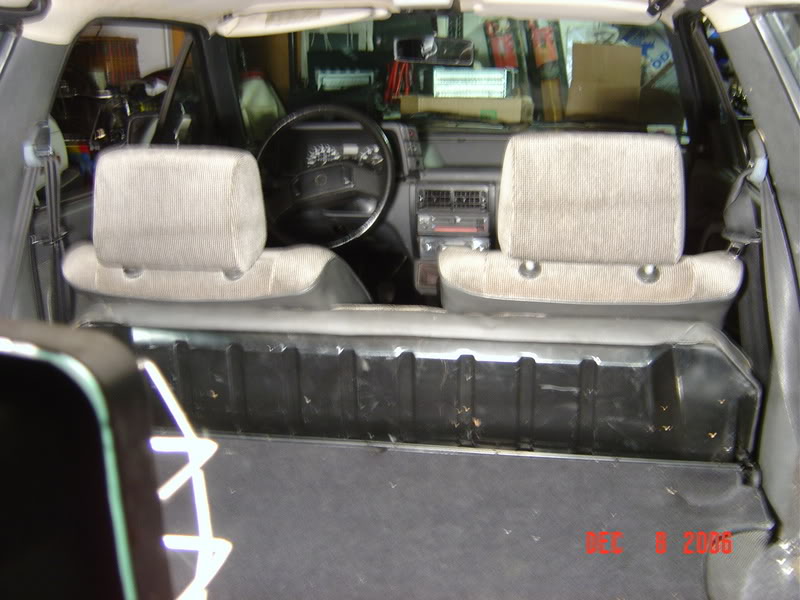
So here we go....the car in question.
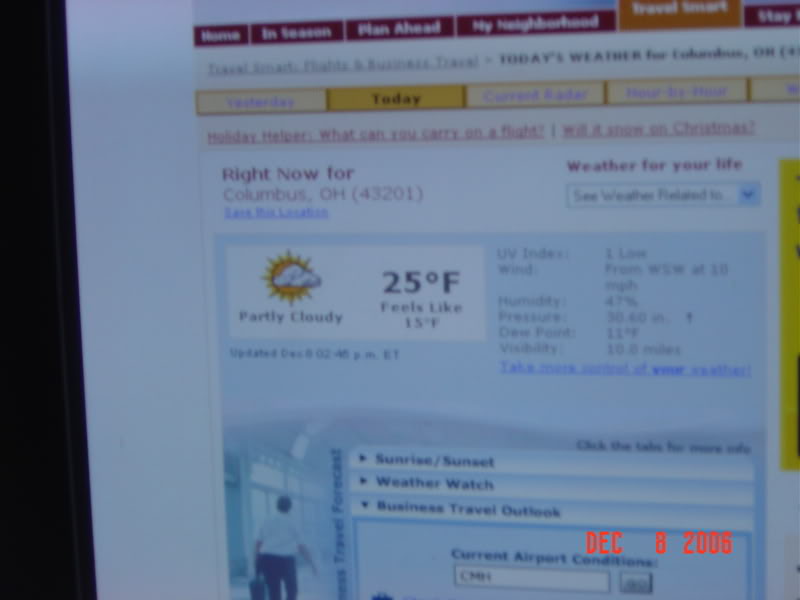
First since it was like this outside.
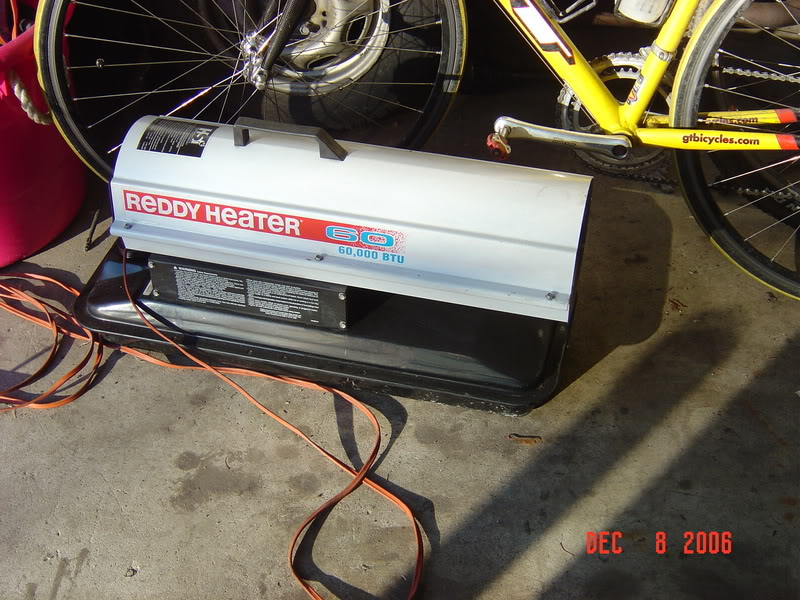
You need one of these.
And of course one of these
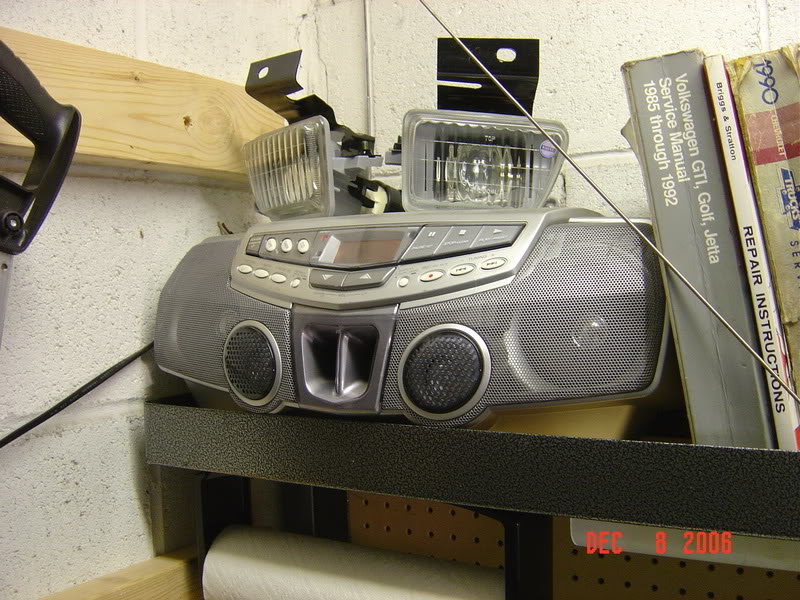
Make sure you've got some music too.
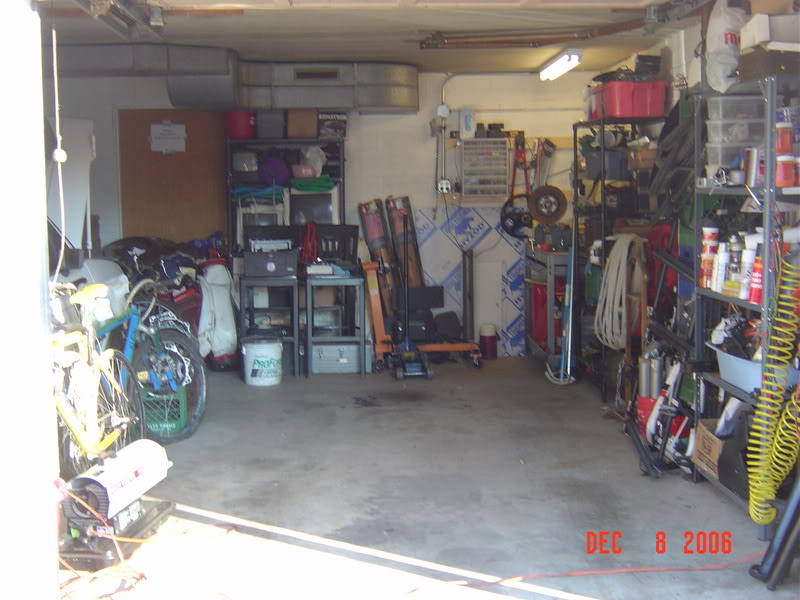
Open it up....
Pull the car in....
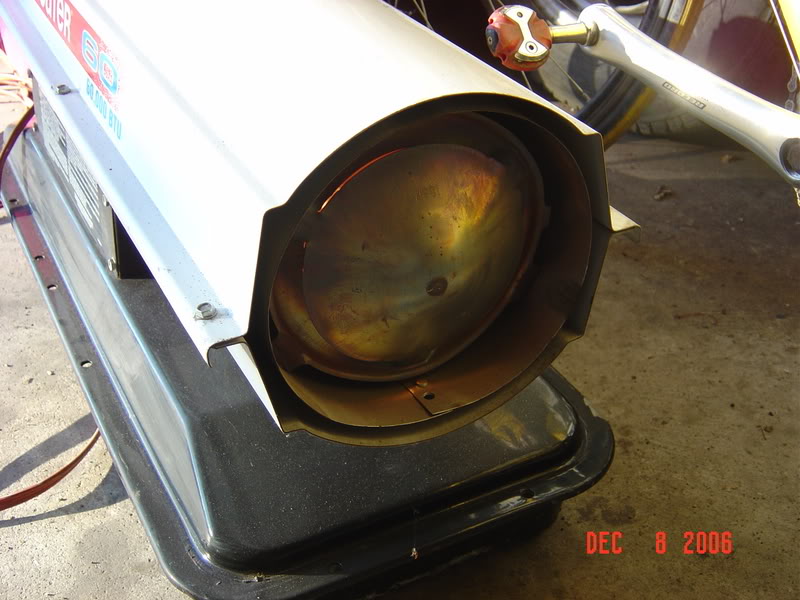
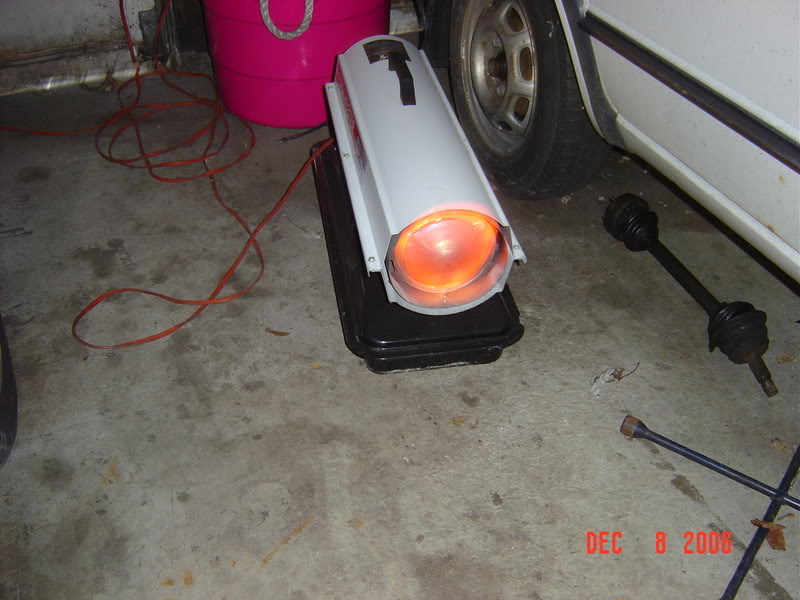
And fire the jet engine up.
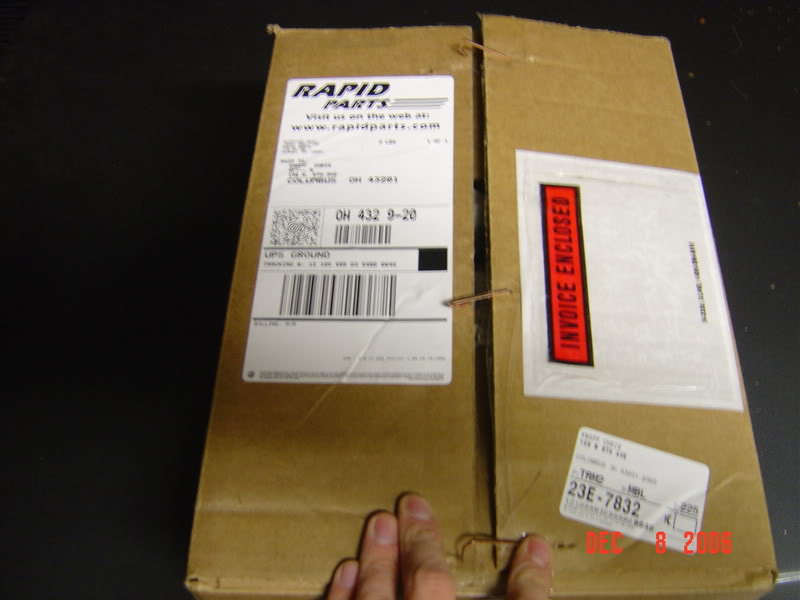
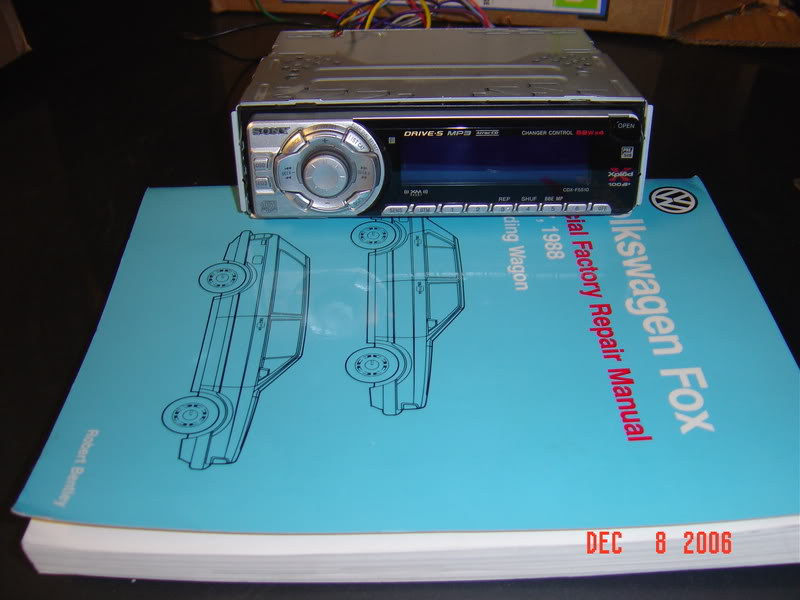
You should have ordered this already.
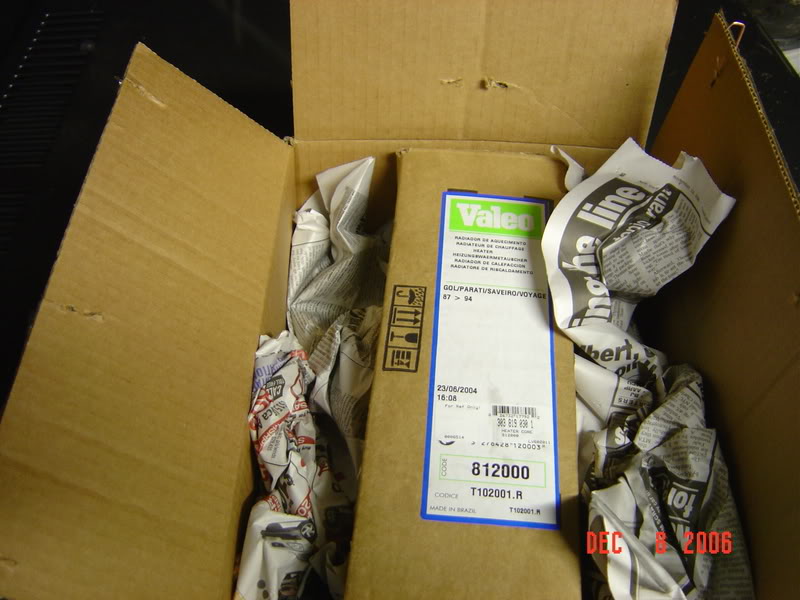
While I'm at it.....I'm going to put this in too...
First make your work area well lit.
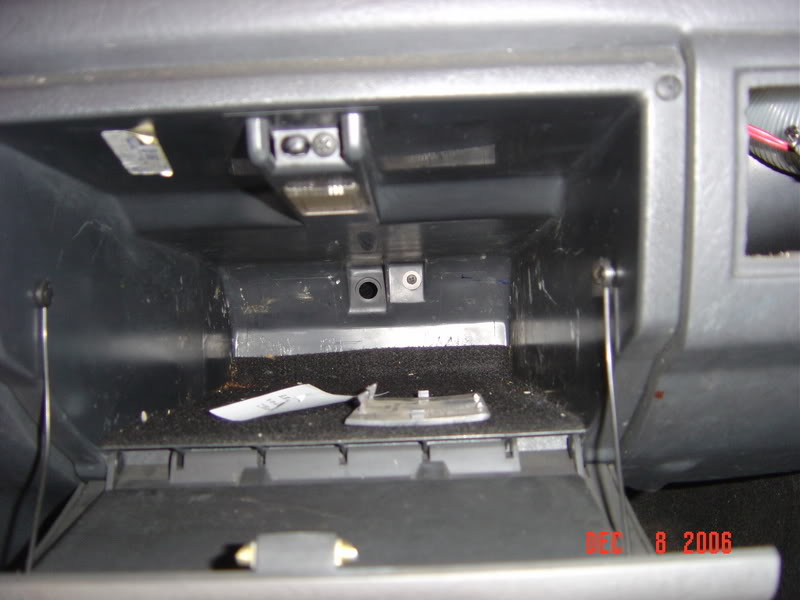
Ok we're going to start here....center console area.
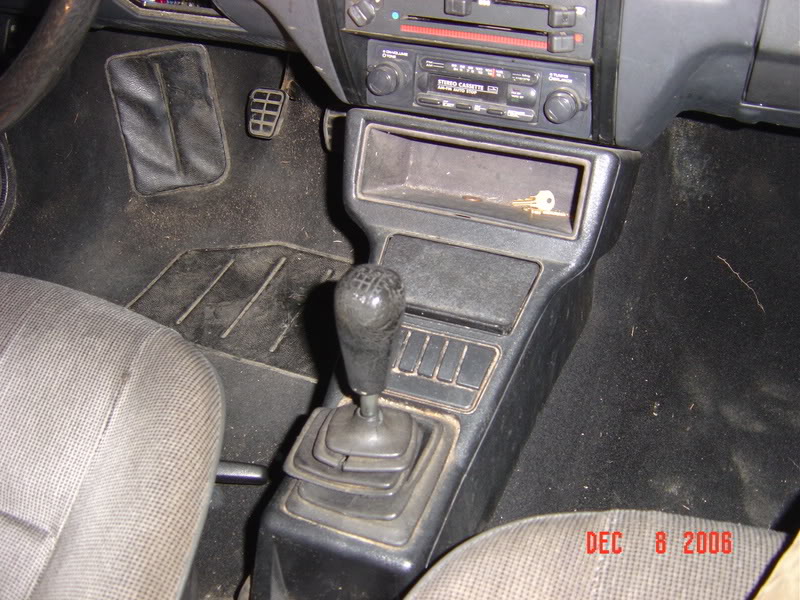
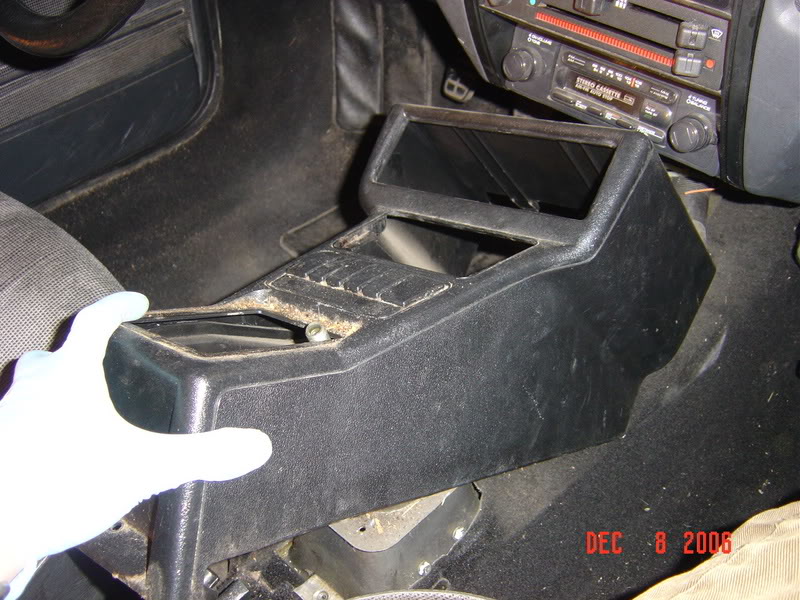
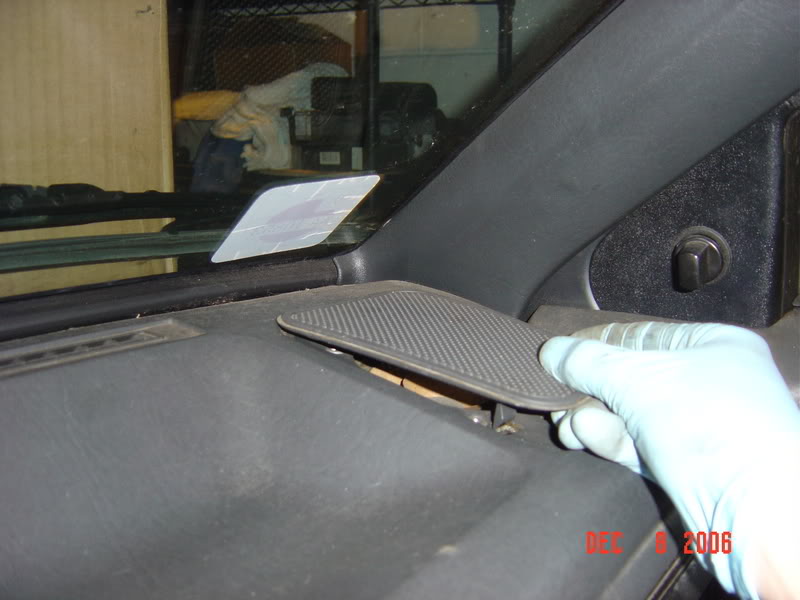
First I pulled out the "cubby hole"

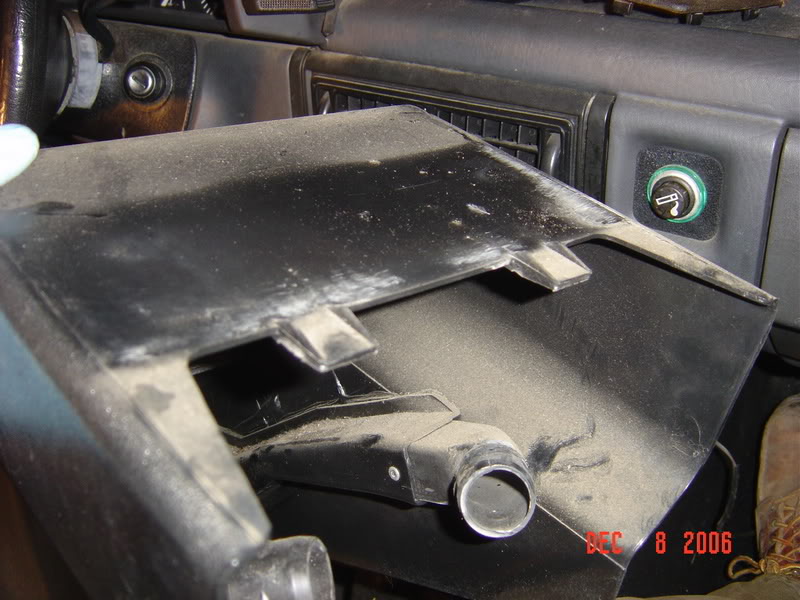
Then I pulled out the ash tray....took me a second to figure it out.
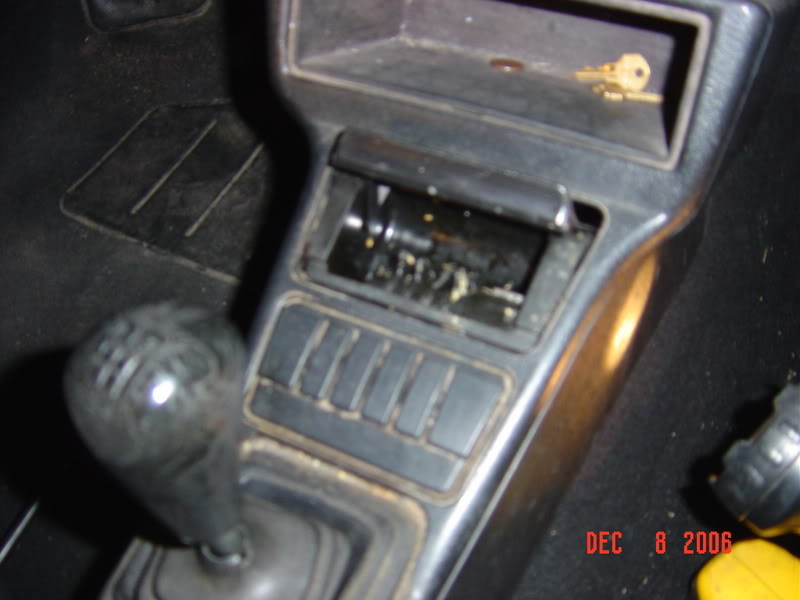
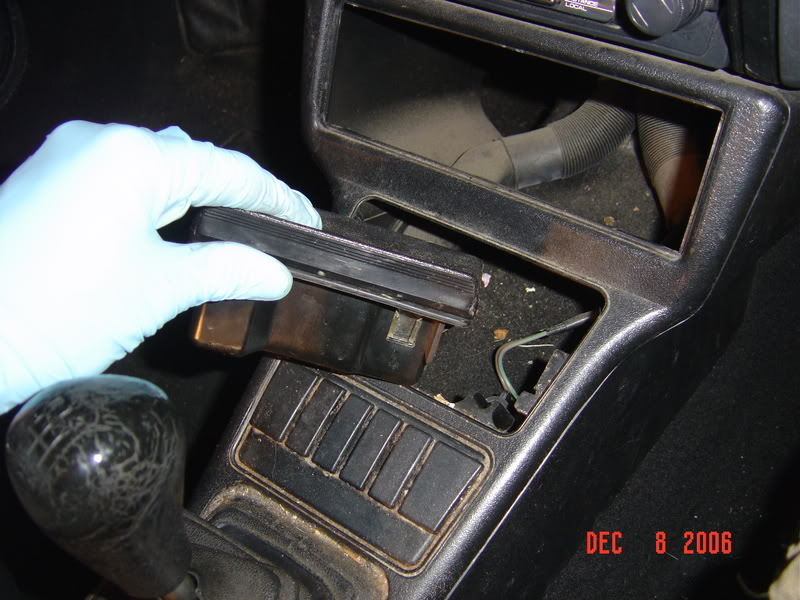
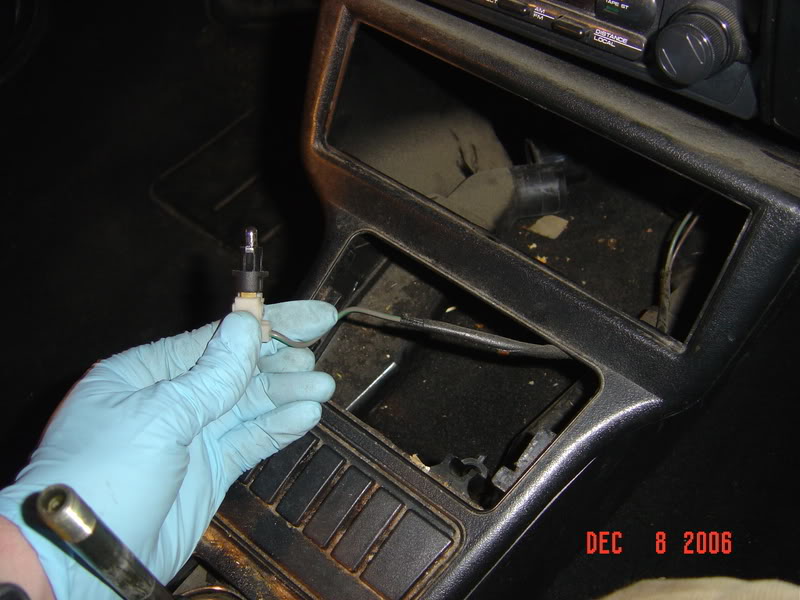
There's a light down in there...
Pull it out of it's holder...
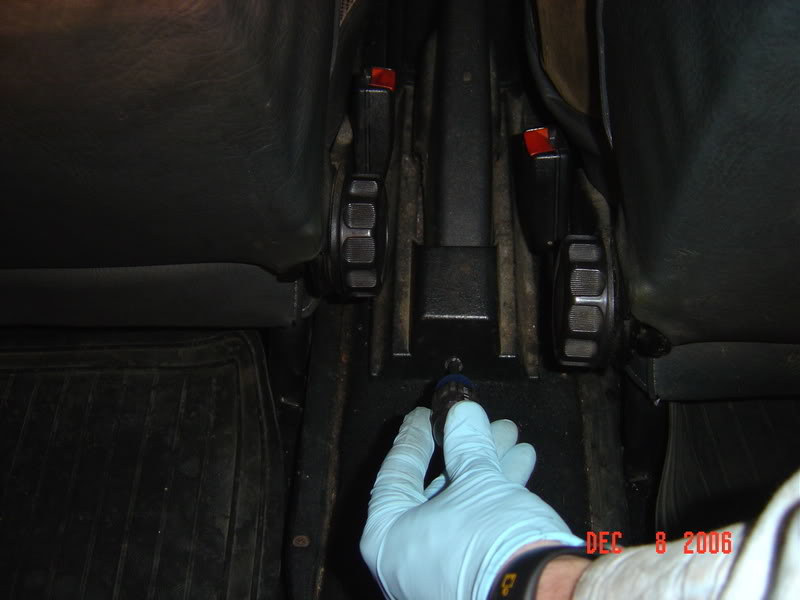
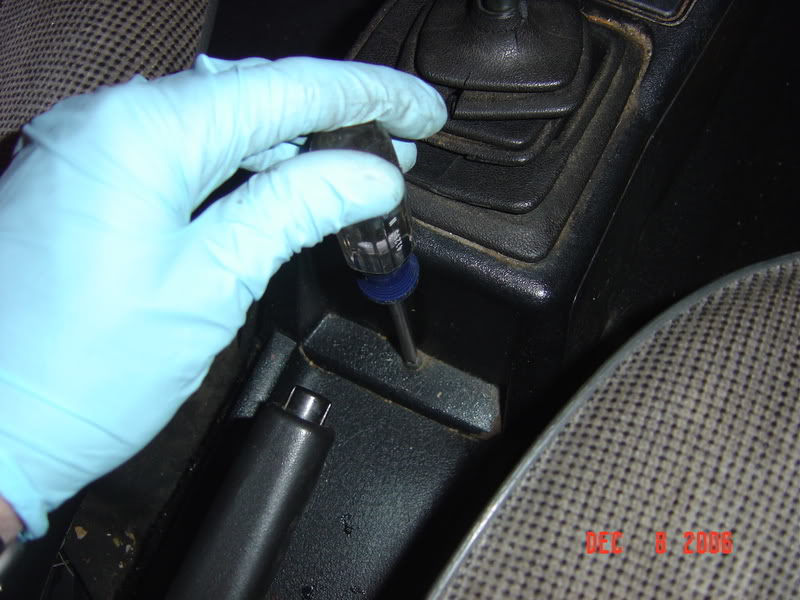
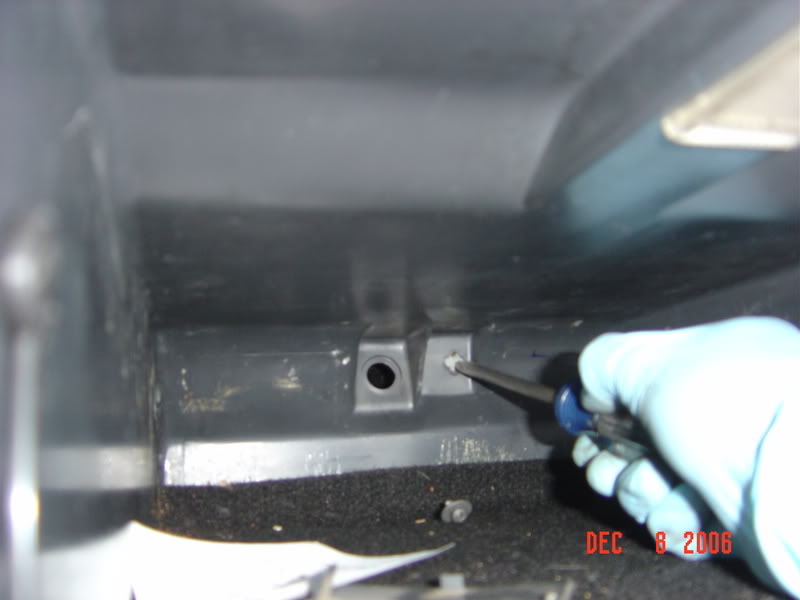
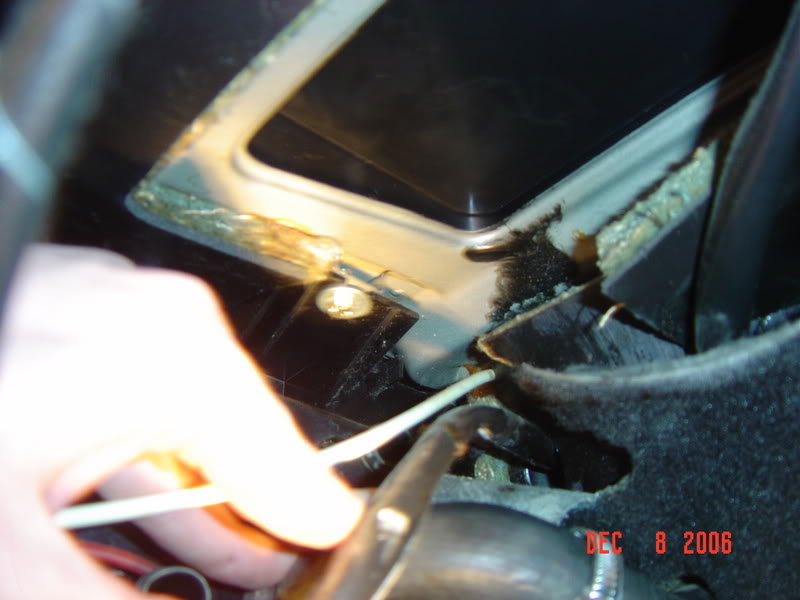
Take out this screw behind the p-brake...you will only need to slide that piece it holds down back a little. You don't necc have to remove it.
Then you want to take out this screw...
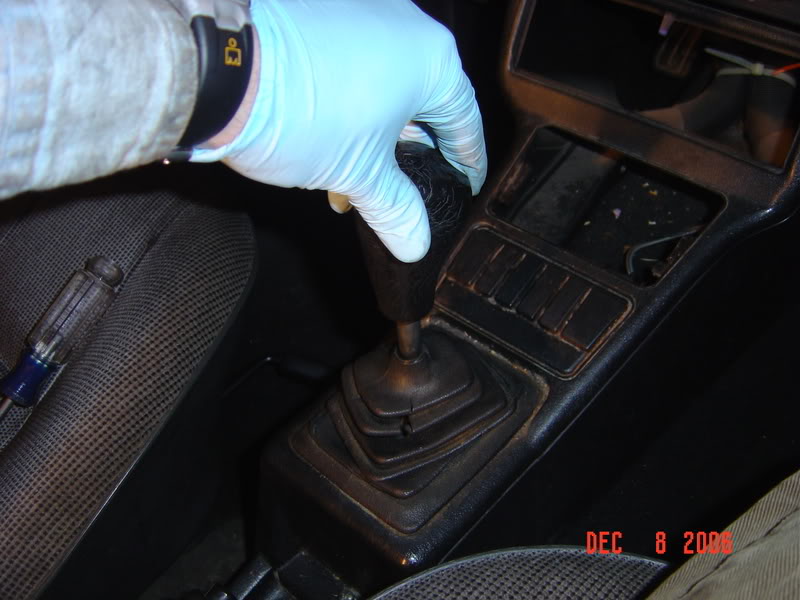
Unscrew the shift knob and remove it.....
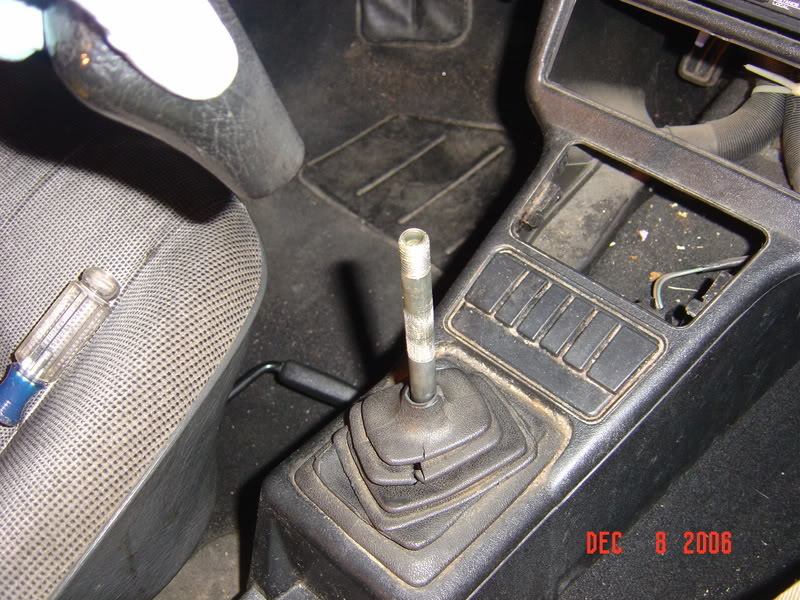
Now take the shift boot off (or what's left of it).
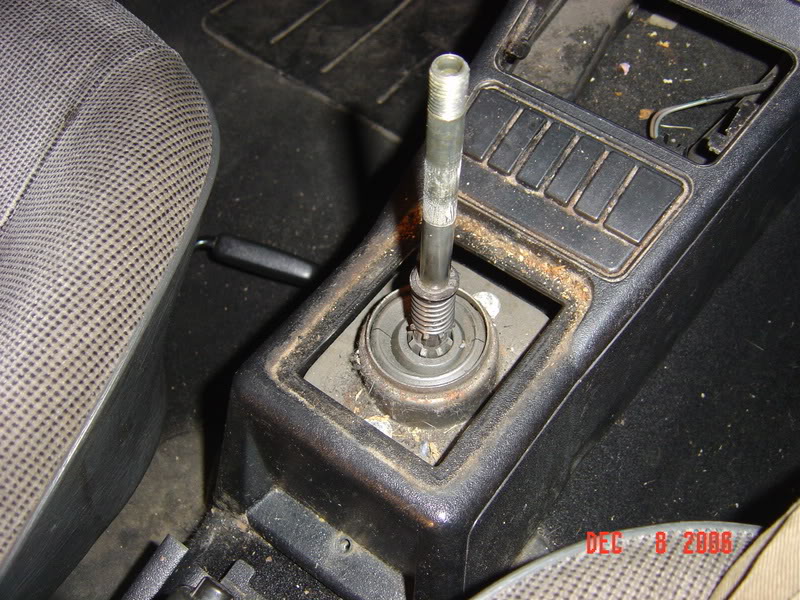
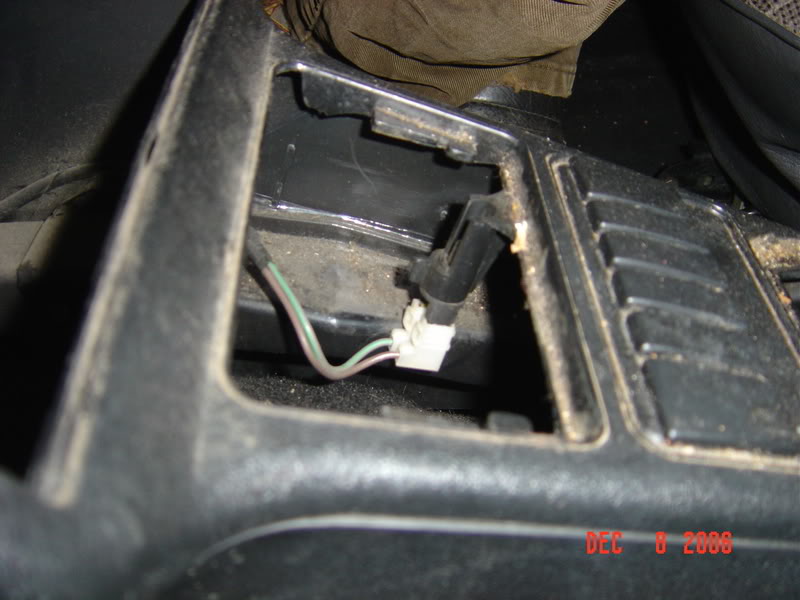
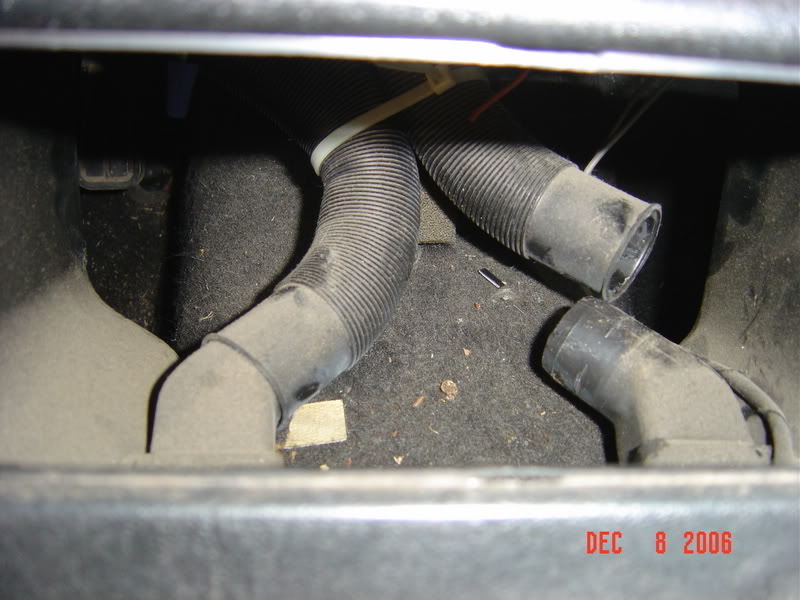
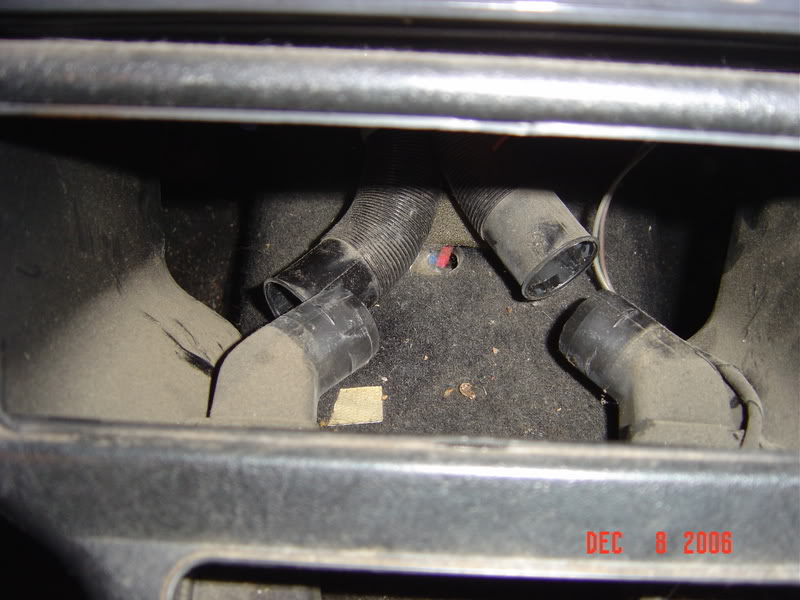
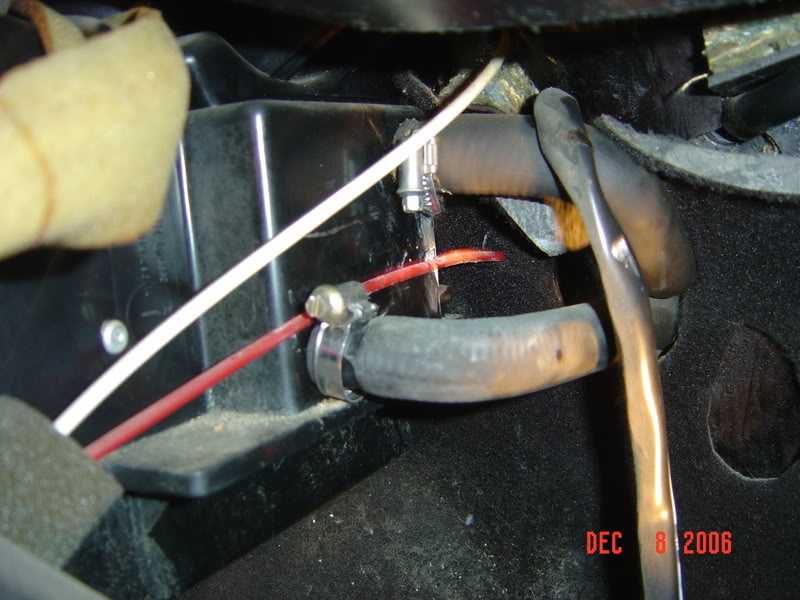
Now behind where the cubby hole disconnect these two hoses...
You should be able to pull the console out at this point. You may have to release the p-brake and move the shifter around a little but you'll get it.
It was tough to show before it was pulled but on the back of the center console are these two tabs. You need to depress them to release the console...
Here's what it looks like once it's removed...
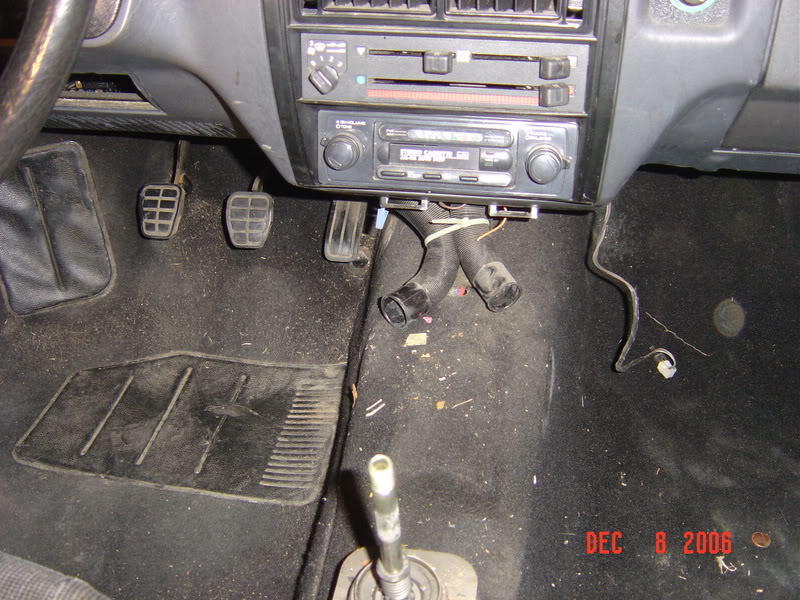
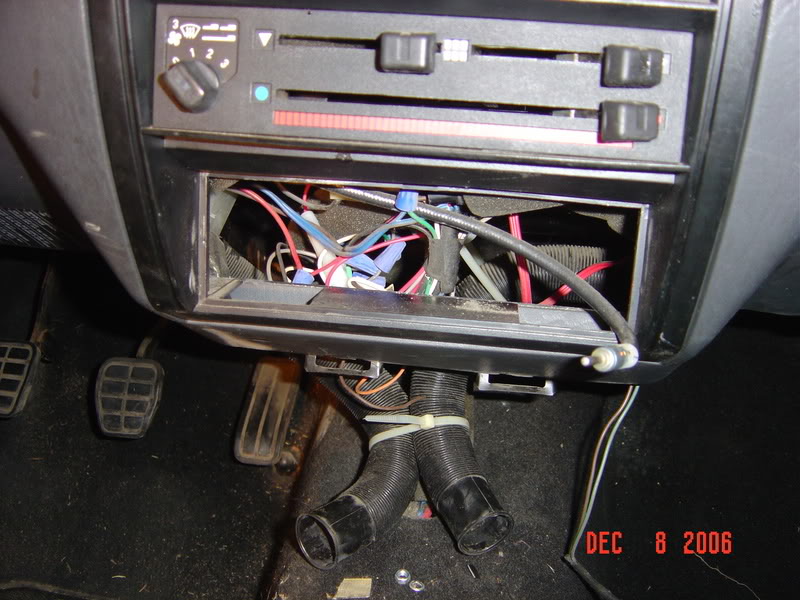
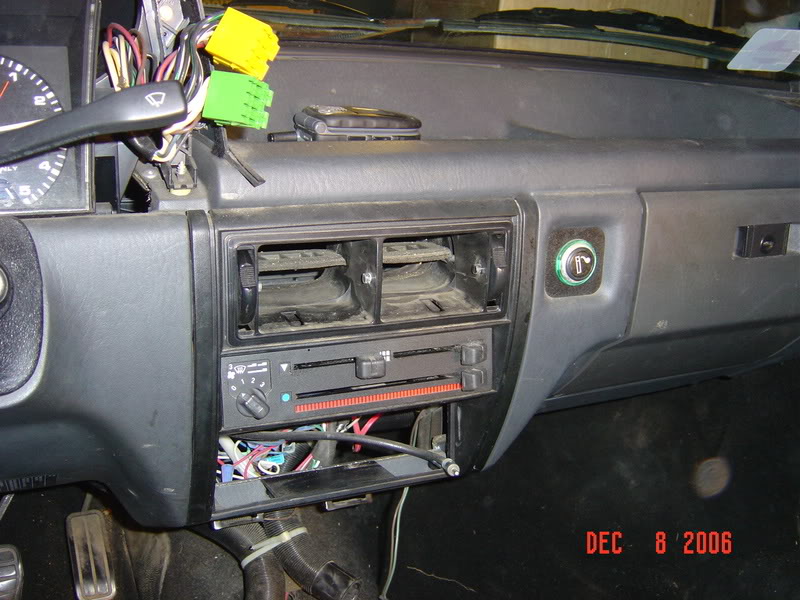
Now it's on to this crap stereo that the car came with...
Pull the knobs off...
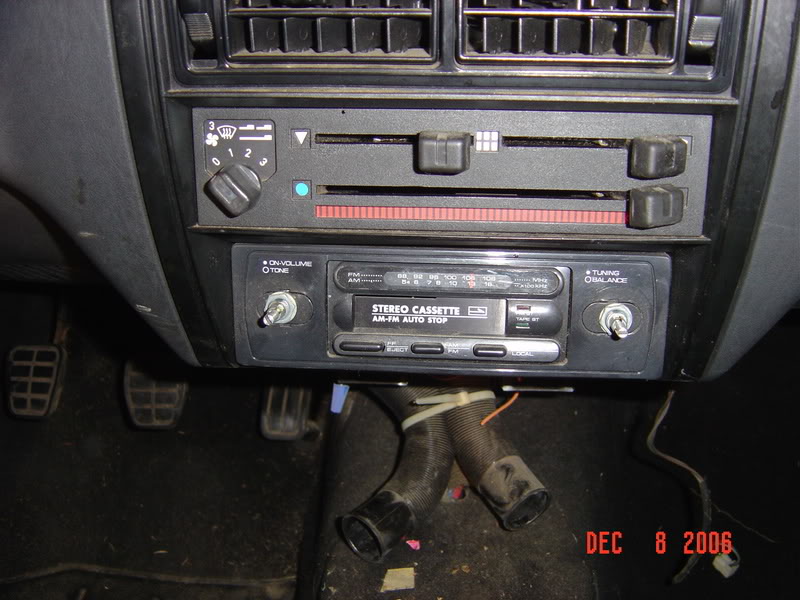
Then the face plate thingy....

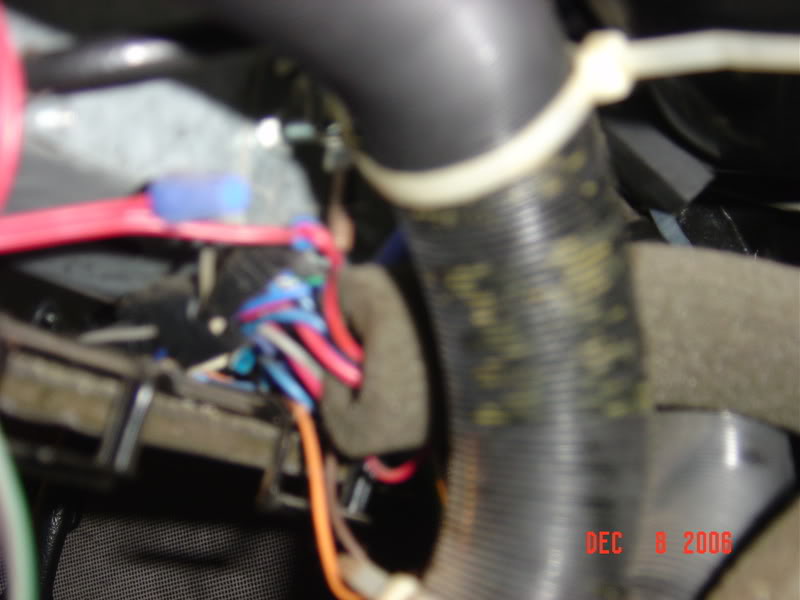
Bad picture but this one was strapped in and I had to undo a screw in the back to get it out.
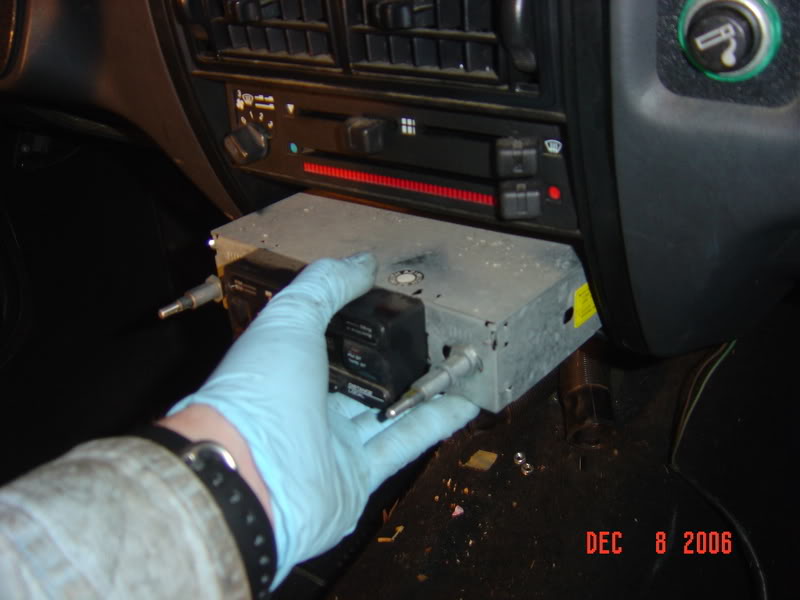
Then pull that POS out...
Empty hole..... 
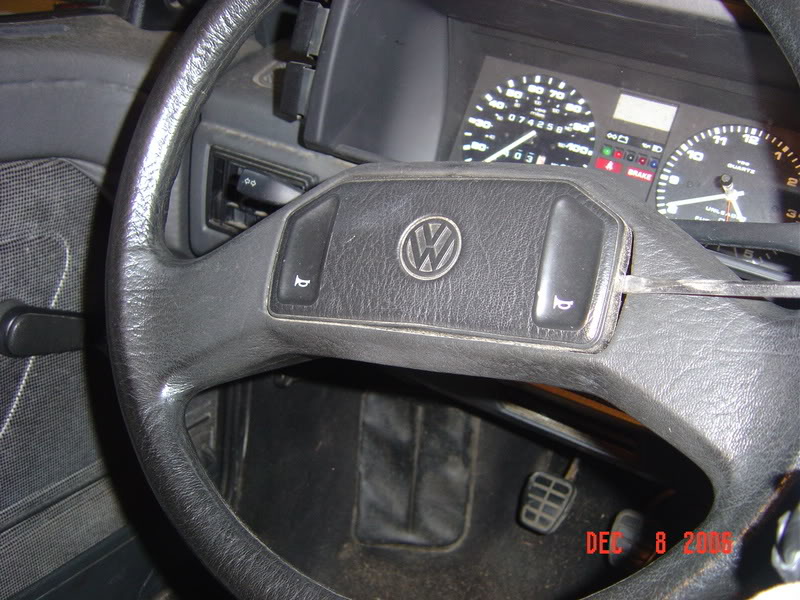
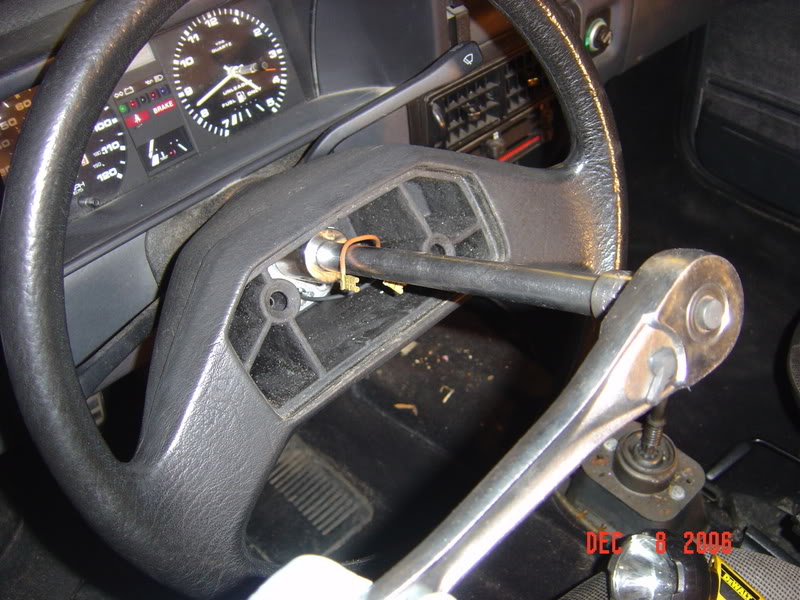
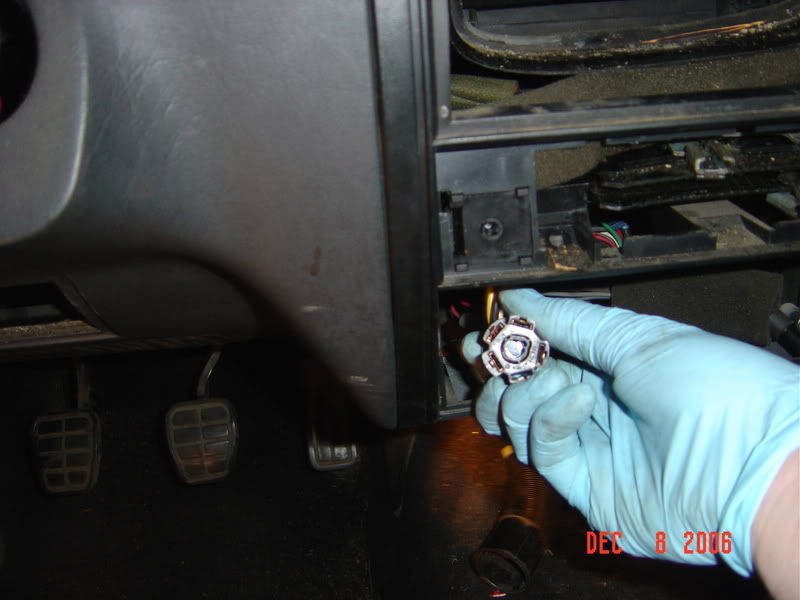
Now it's on to the steering wheel first pry out the center/horn...
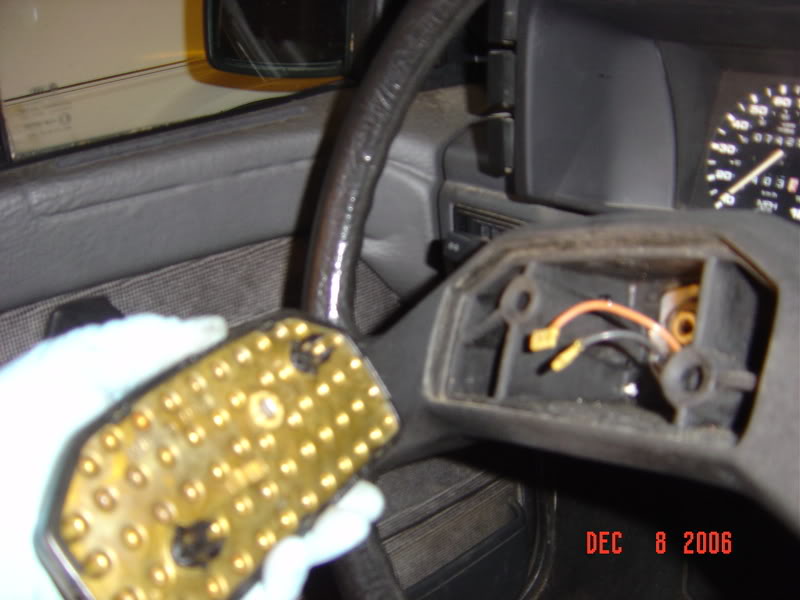
You'll find some wires in the back...
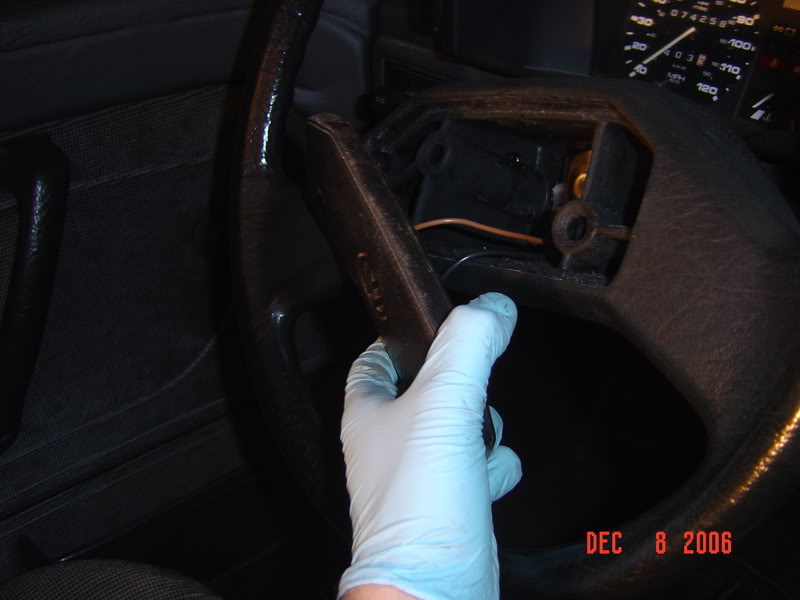
Now unhook them...
Find a socket to fit the big nut holding it on. I think it was 24mm IIRC..
Once the nut is off....just grab it and pull...
Off it comes...
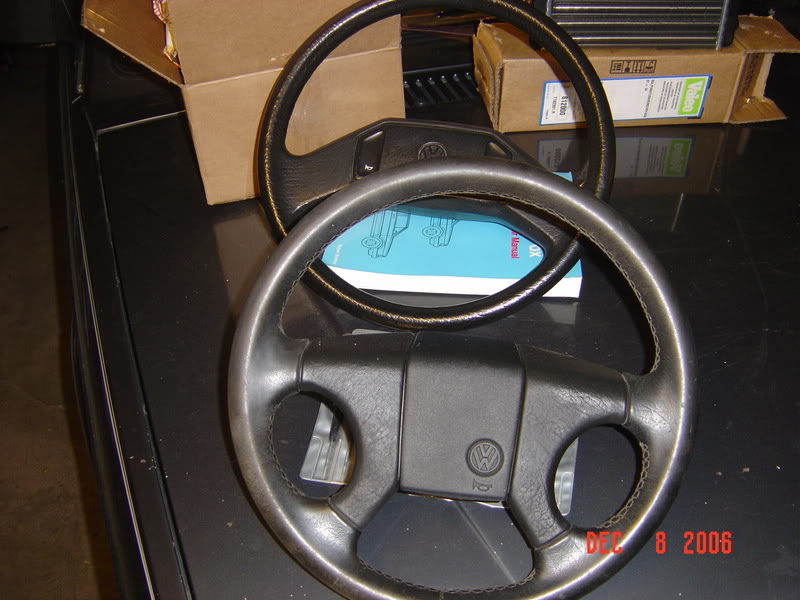
Old wheel in the back, and the new one that will replace it....
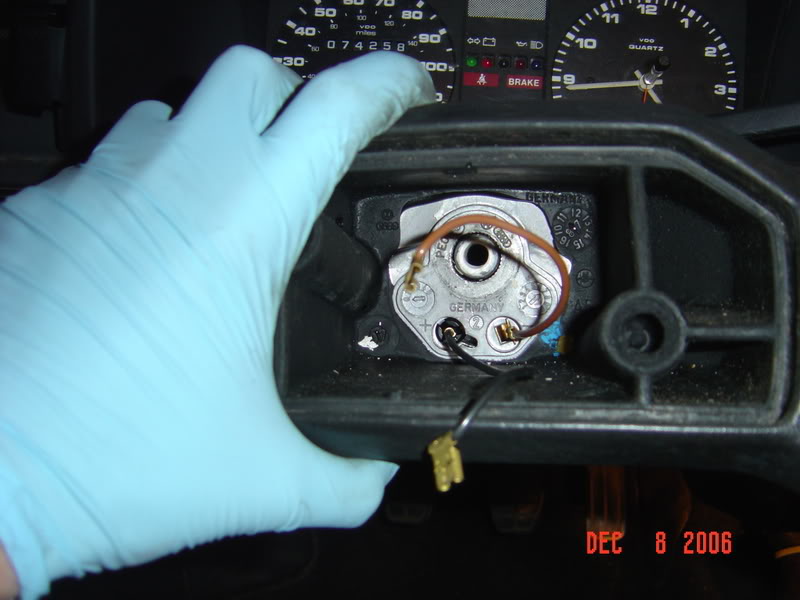
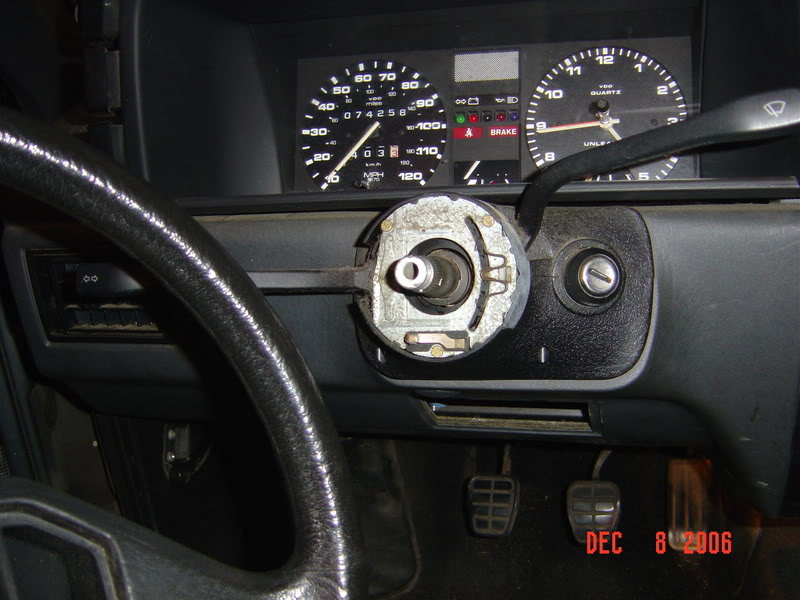
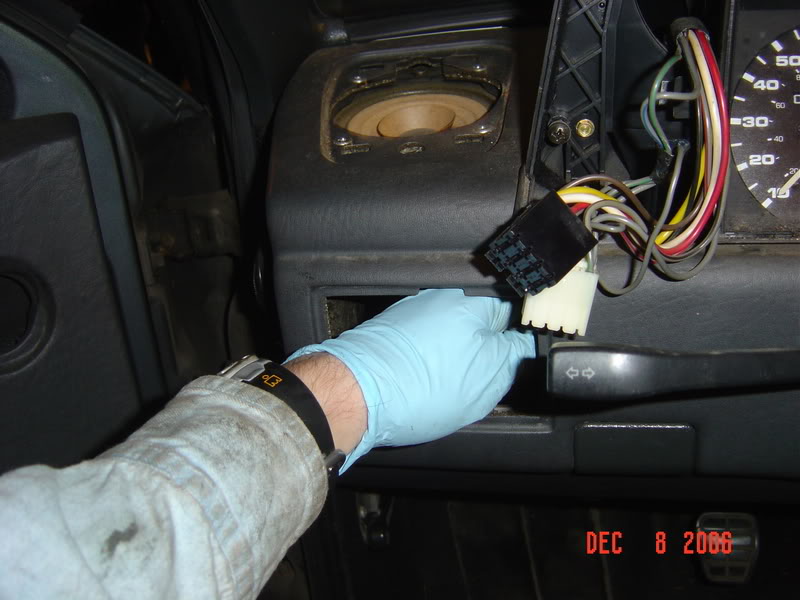
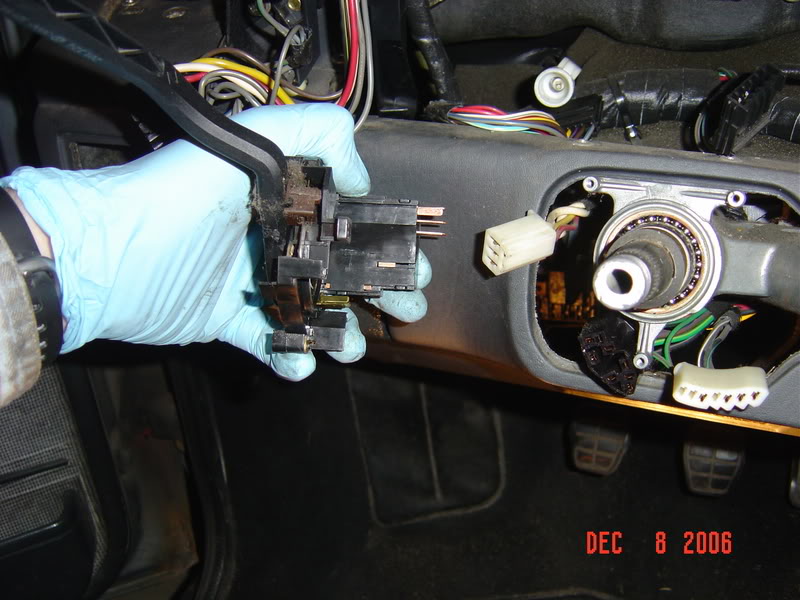
Now pull the switches out from both sides of the cluster and unplug them...
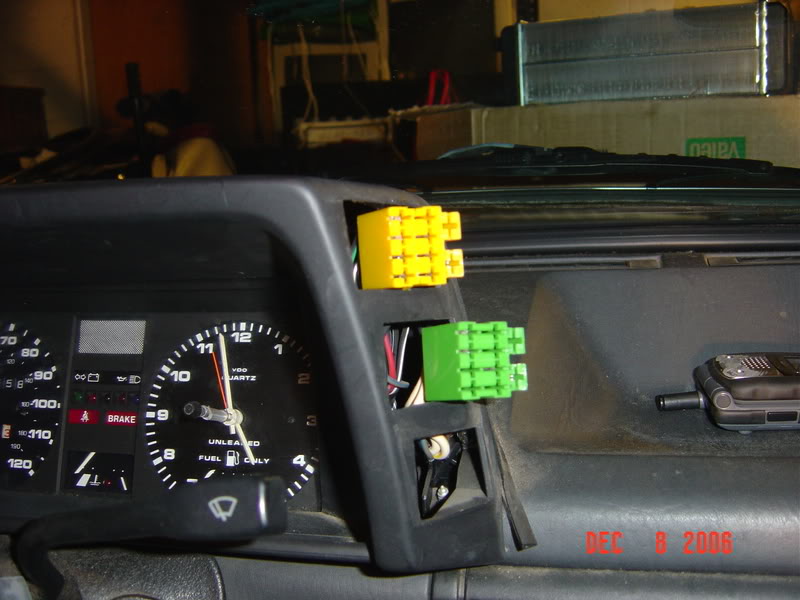
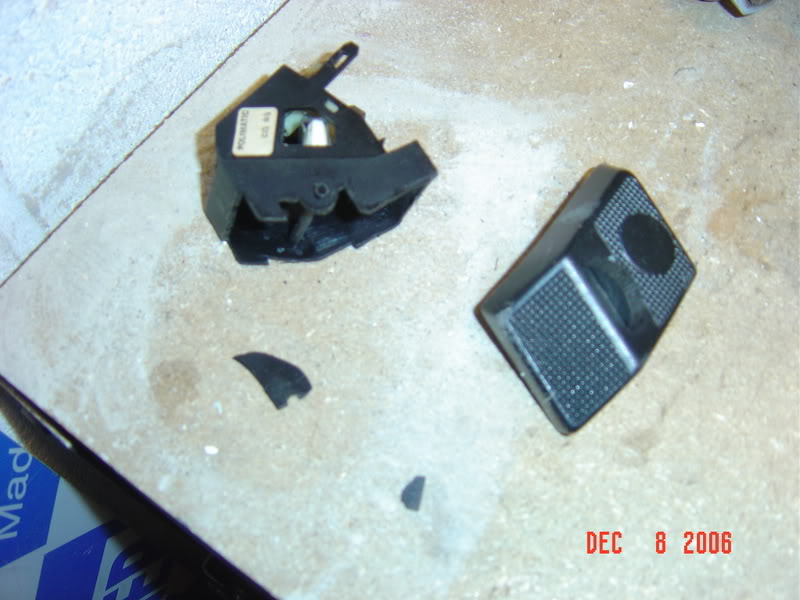
I broke the dimmer switch in the process. Anyone have another one they wanna sell me cheap...LMK....
Now behind the holes there will be four screws. Bentley says to use a magnetic screwdriver to get them. It's not a bad idea as the screws are easy to drop, esp if you have big fingers. Pics of the four locations.
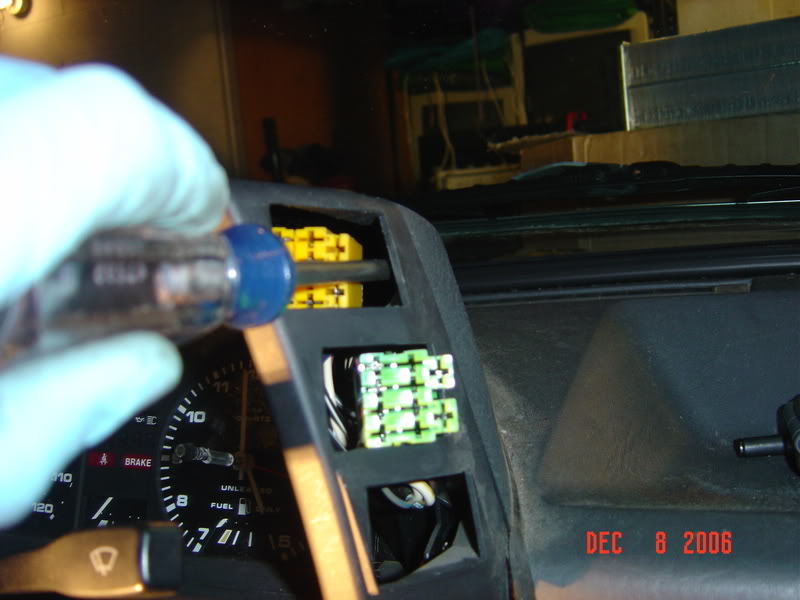

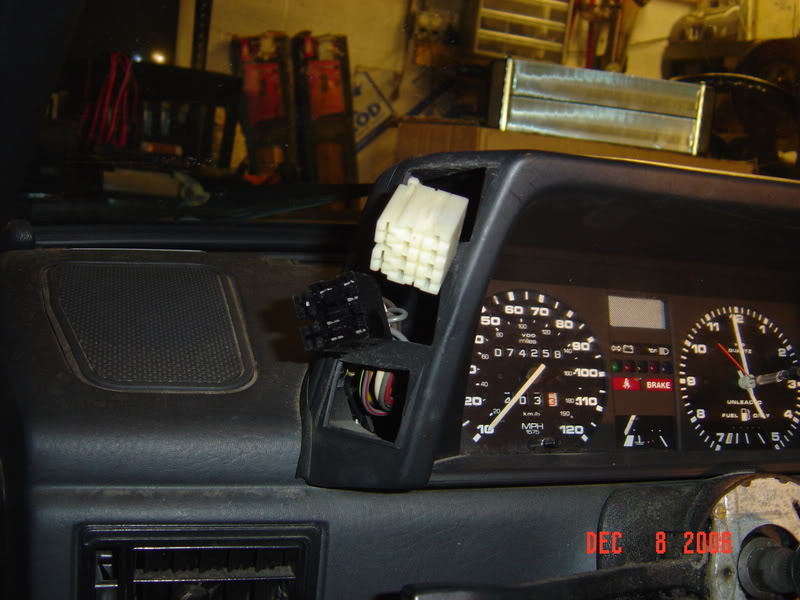
Tuck the plugs through the holes and the trim piece around the cluster should come right off. I put the screws back into the holes to make sure that I don't loose them and so I know where they came from.
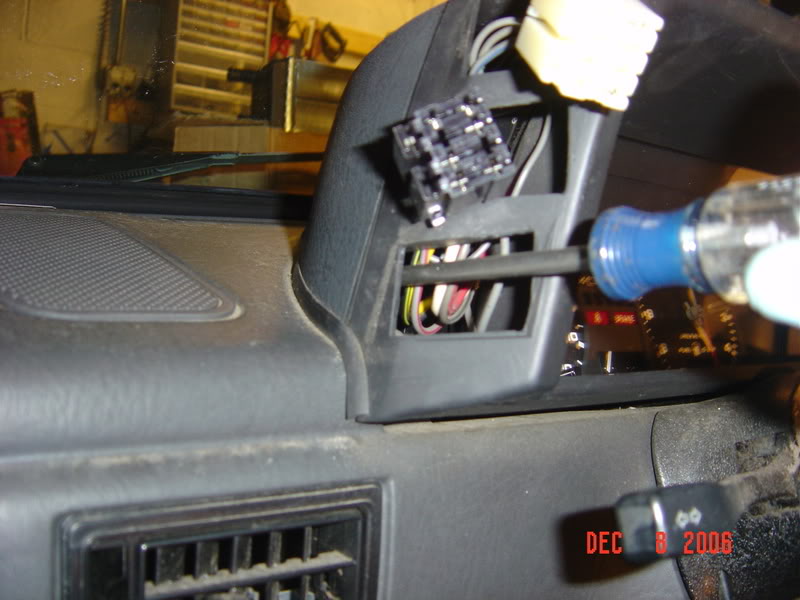
Here's what it looks like once it's off...
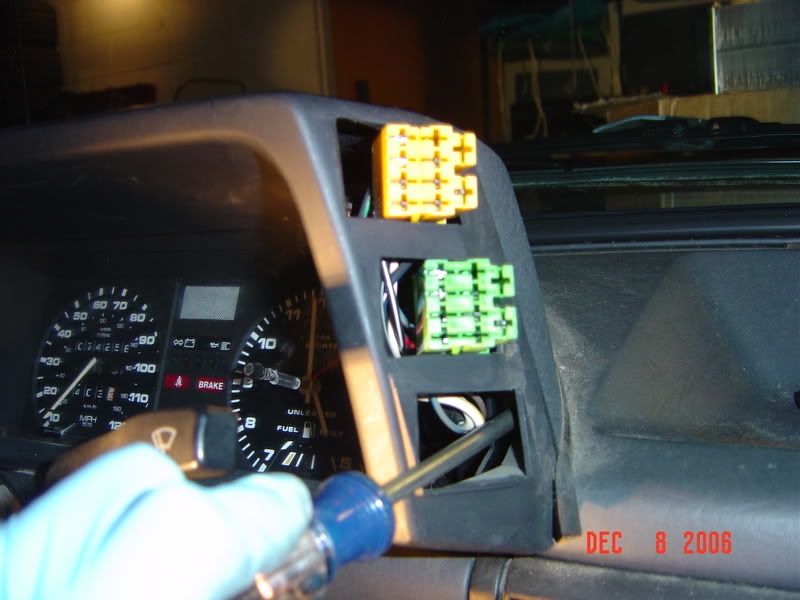
Now take the two screws out that hold the cluster in. There is one on each side...
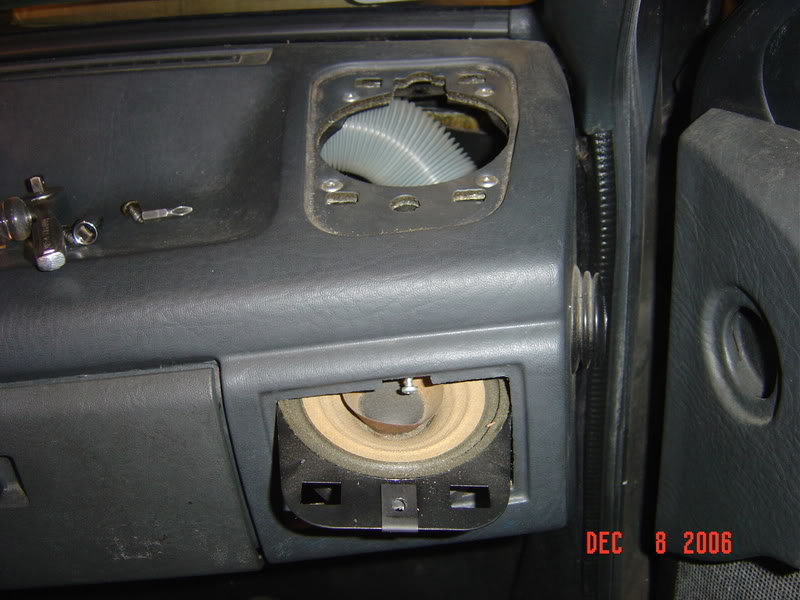
Now take both of the speaker grills off. You may need a screw driver to get them started.
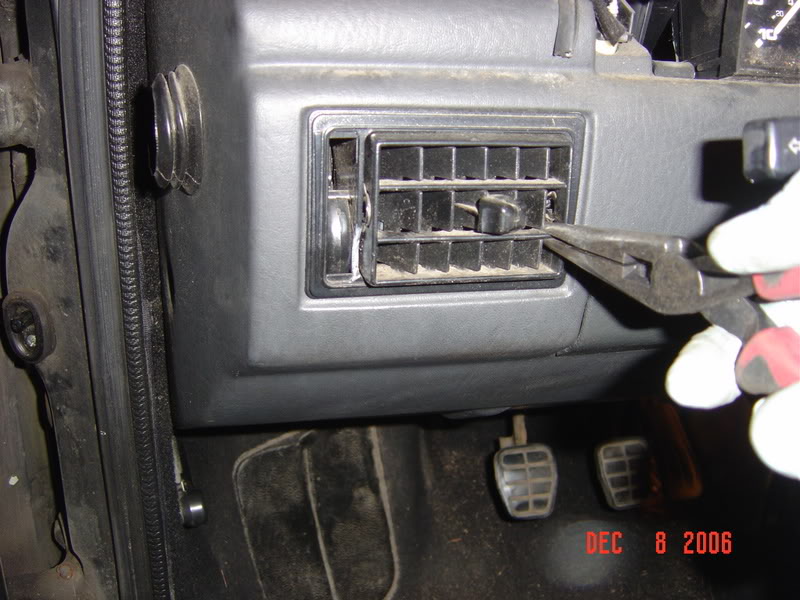
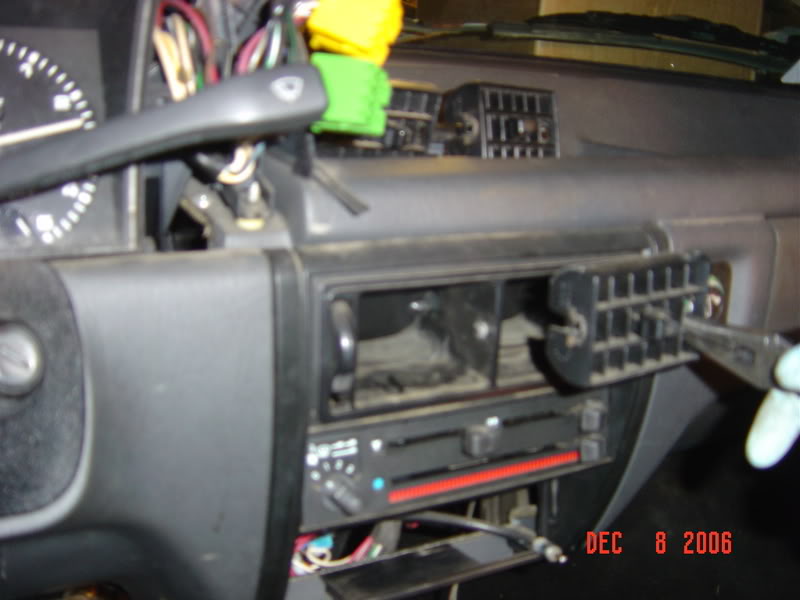
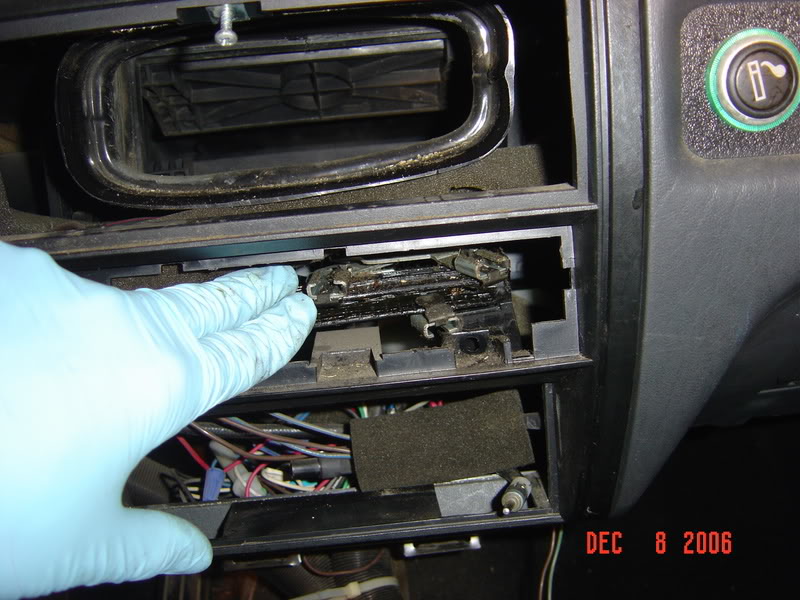
Don't worry we'll get back to the cluster in a minute. But first take out the vents. A gentle pull on each side with some needle nose pliers seems to do the trick.
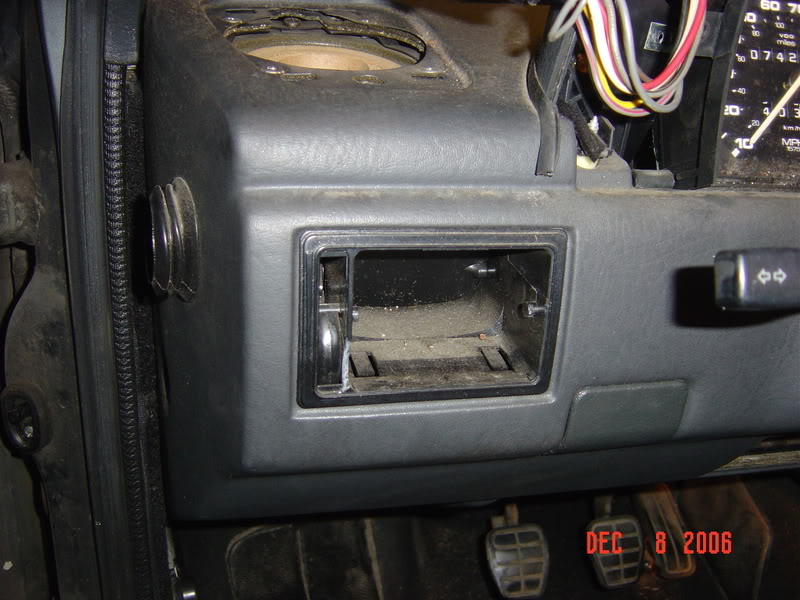
Now in the top of each duct there is a screw. Take them out as well.
Now it's time to pull the ducts out. You'll need to gently pry up on the tab(s) at the bottom while you pull on them. The center ones should disconnect from the tubing right behind the vent..
Pry the tabs on the drivers side one as well...
Reach up under the dash to diconnect the drivers vent about 10 inches back. The duct work has a rivet in it right near the vent. Passenger side vent should come out the same..
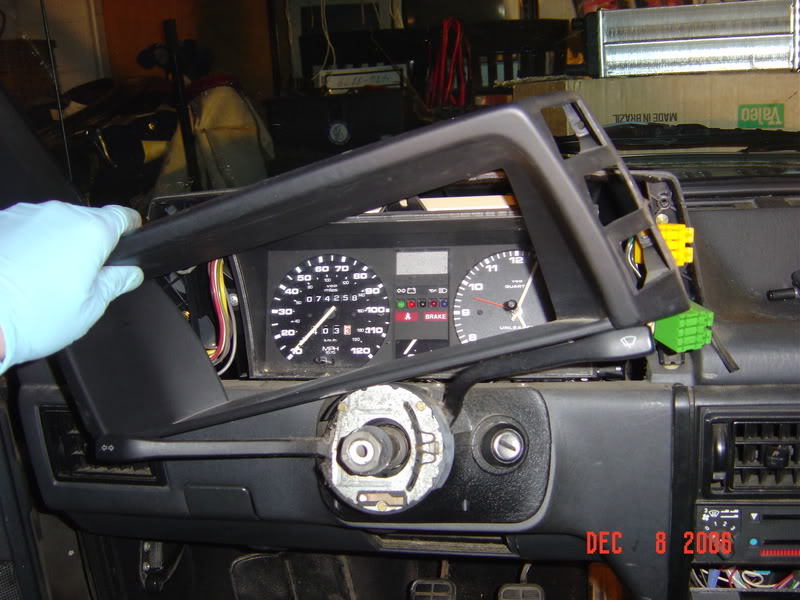
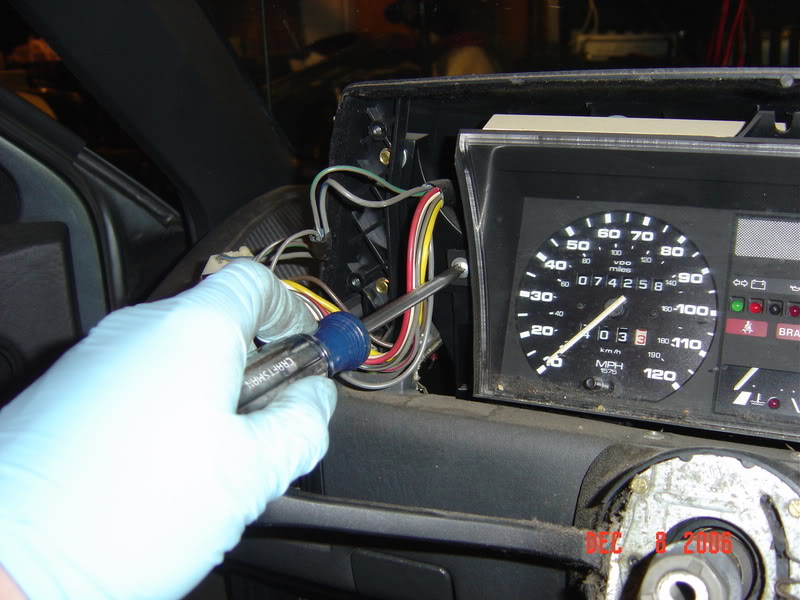
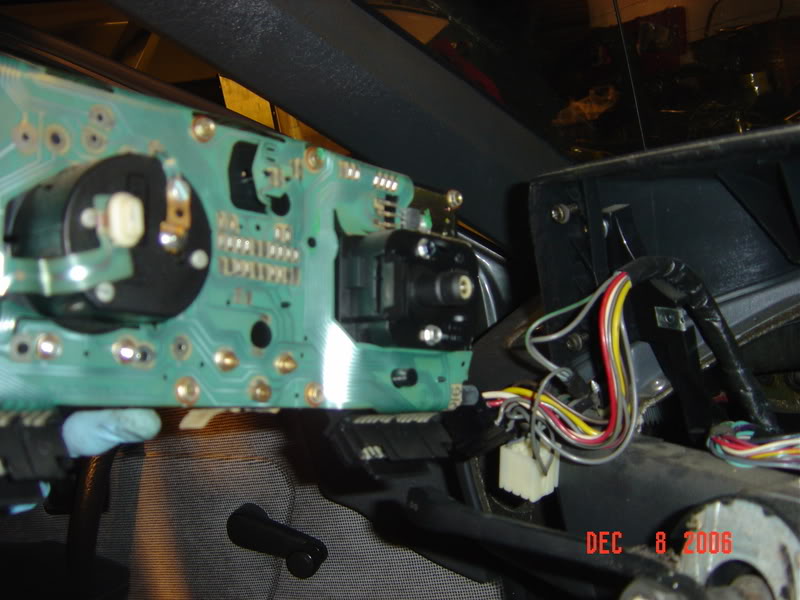
Now reach through the hole that's left on the drivers side and depress the tabs that hold the speedometer cable onto the back of the cluster and disconnect it.
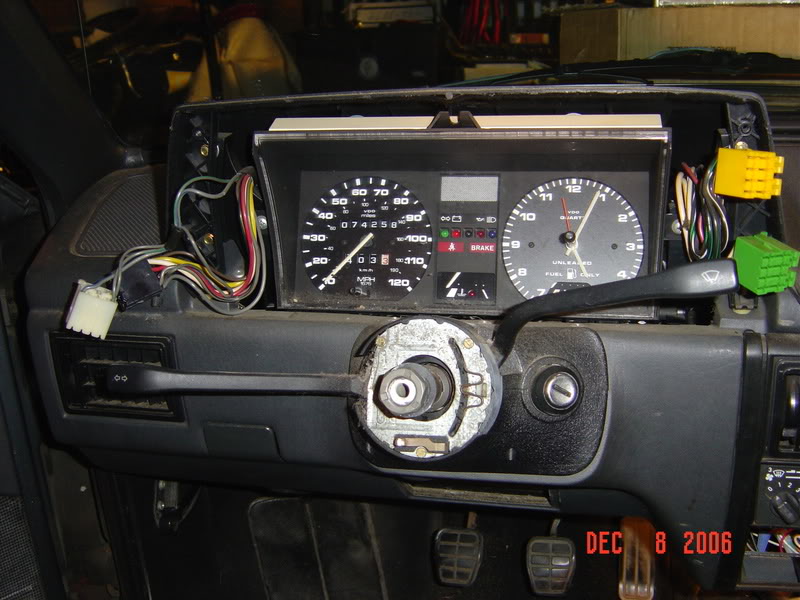
The cluster should now come out....
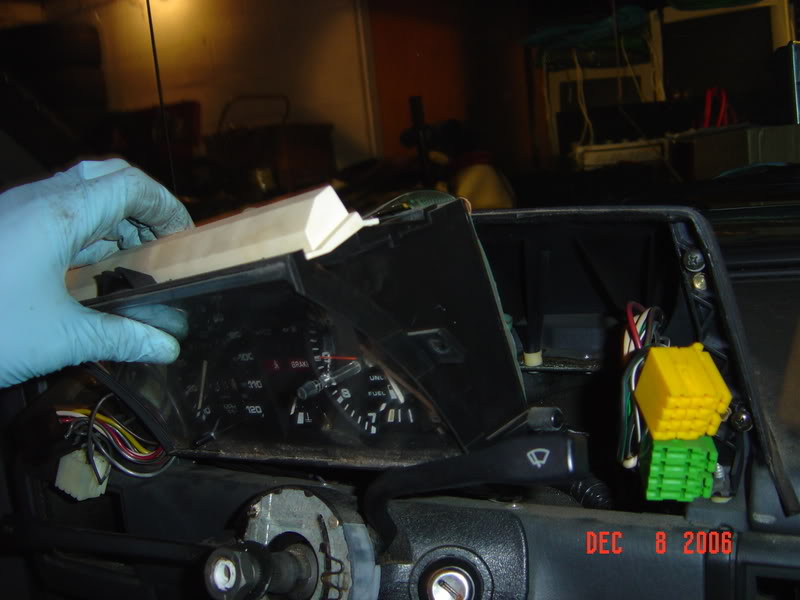
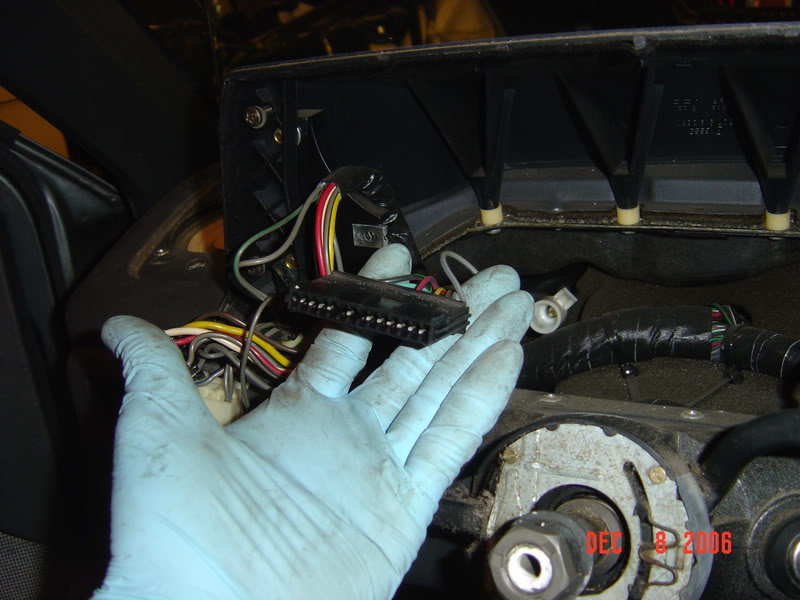
Disconnect the two plugs that go into the back of it...
Lets move on to the speakers. They don't come out like normal ones you'll find. You need a real stubby screwdriver to get the screws that's close to the window or do what I've done here. There are two screws that hold in each front speaker...


Now the speaker should come out through the hole where the vent was. It's a squeeze but they will come out. Be sure to unhook the plug while you're taking them out.
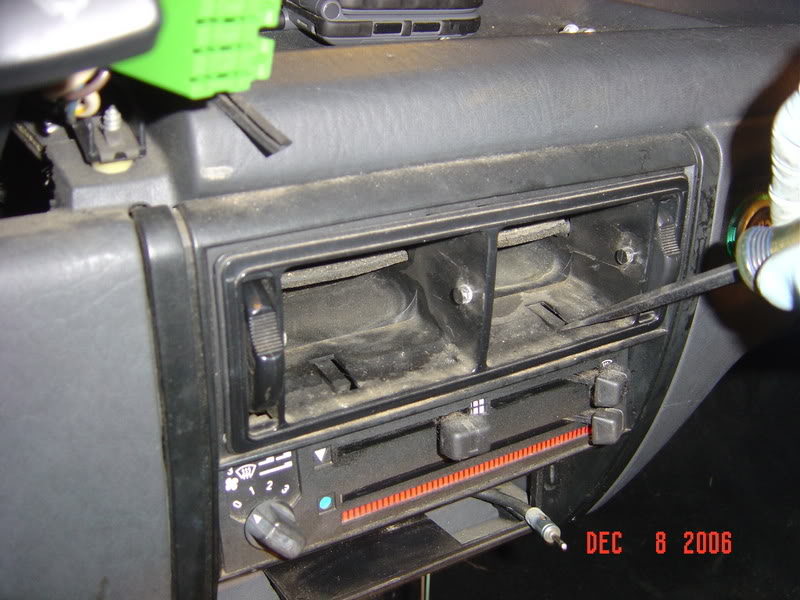
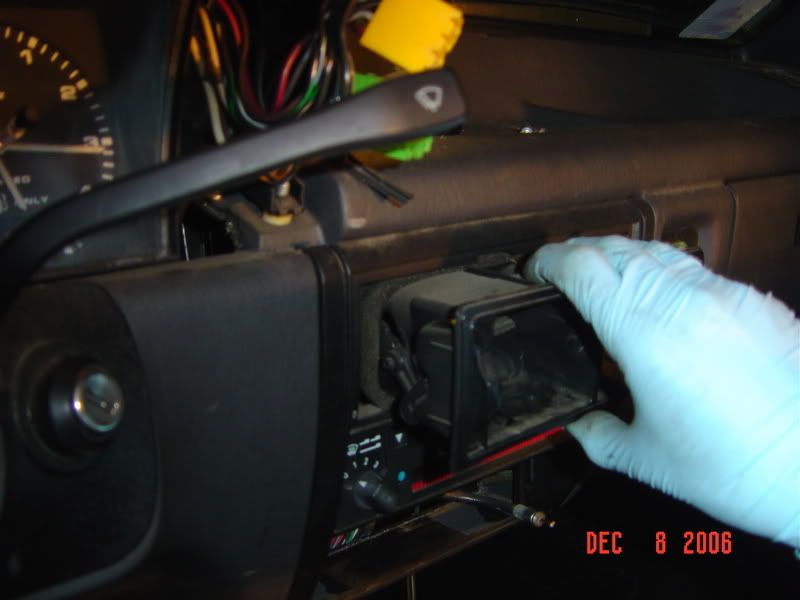
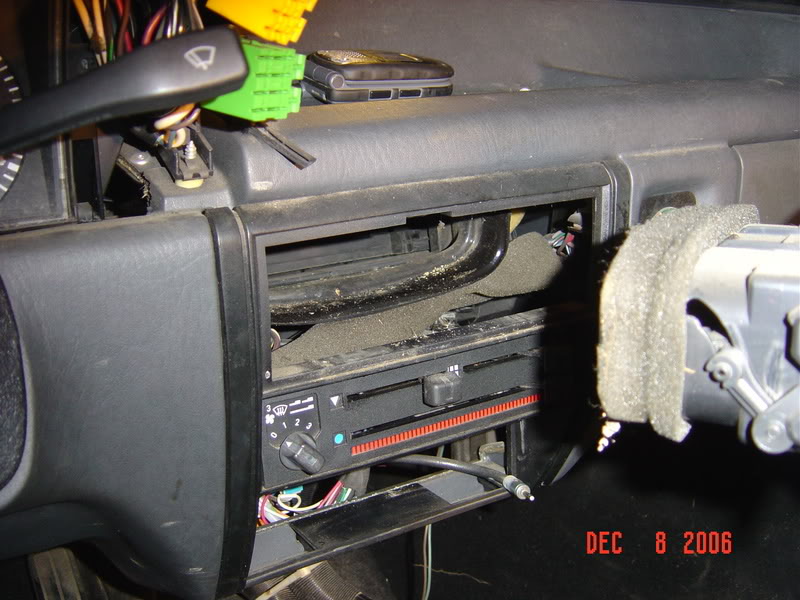
Now pull off the knobs to the climate control.
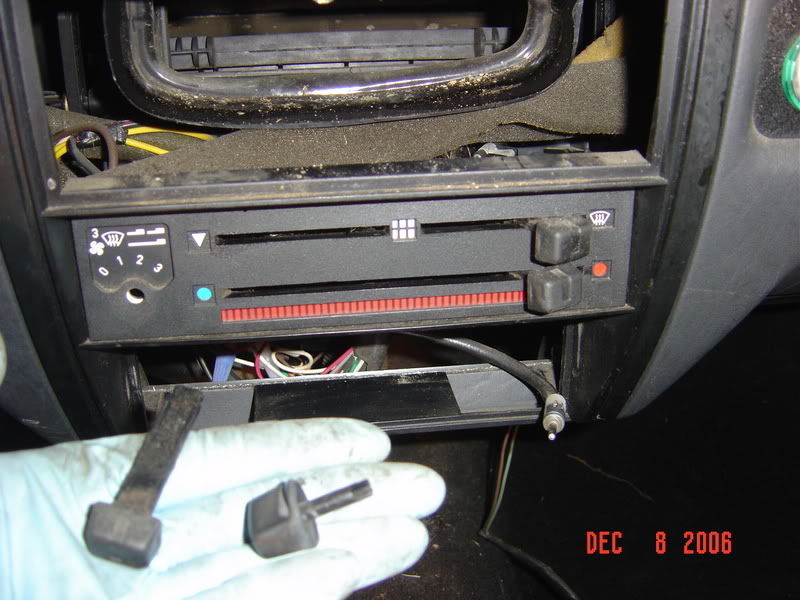
After they're off and gentle pry with a screwdriver should get the panel to come off.
Don't pull too far...there is a light attached...
Pull it out....
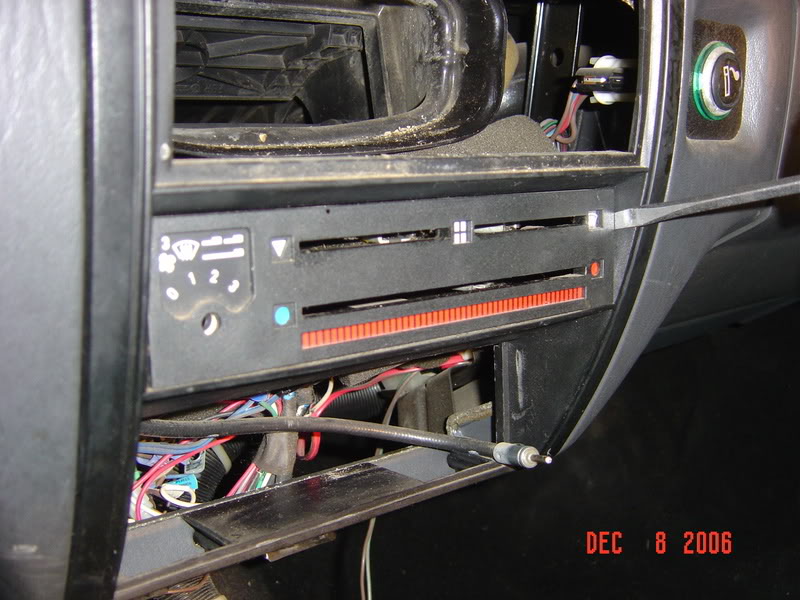
There are two screws that hold in the climate control mechanism...
Behind the fan switch that's left is a plug....
You just need to unplug it and push it out of the way....
Now just push the controls back into the dash a little. When the dash is finally pulled it will stay put...
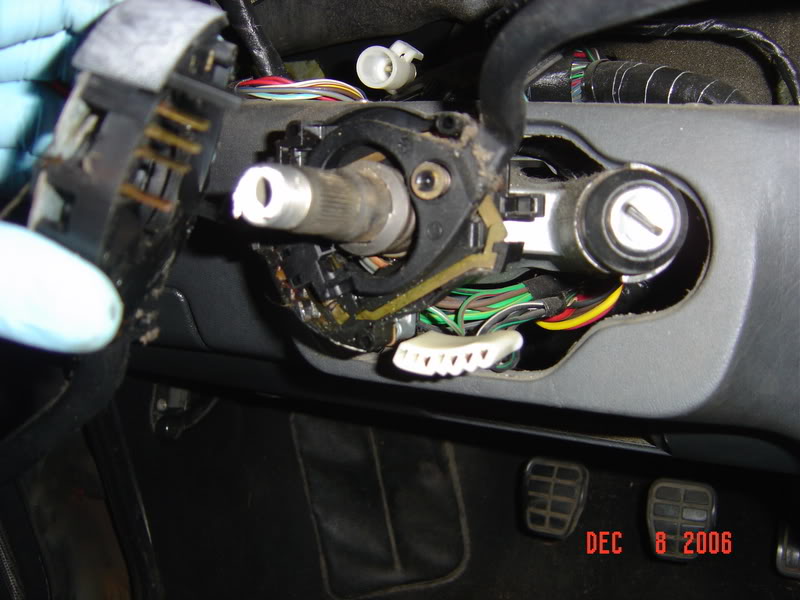
Now on to the trim piece. There are two screws that holds on the trim piece around the steering column. You'll need a pretty small phillips to get at them both.
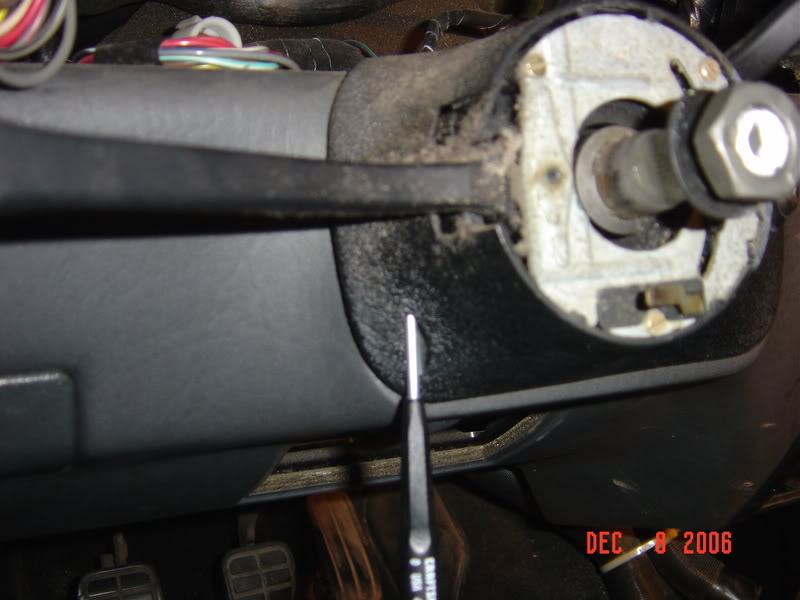
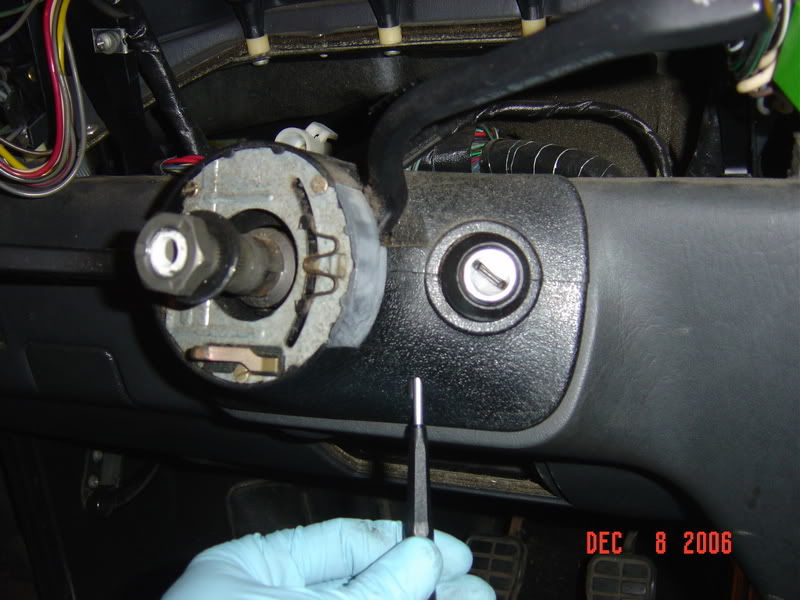
The trim should just split in two, and you can remove it.
Now there are three small and long flat head machine screws that hold on the column controls. Pull out all three of them.
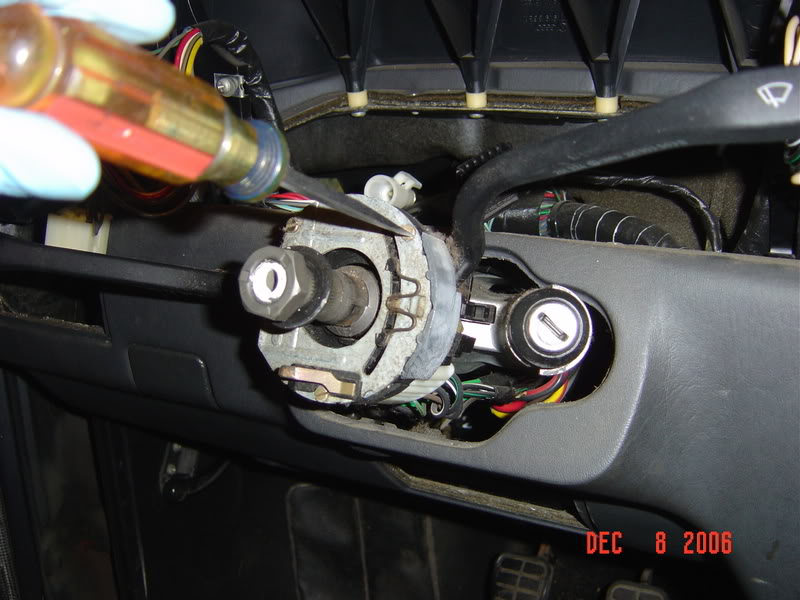
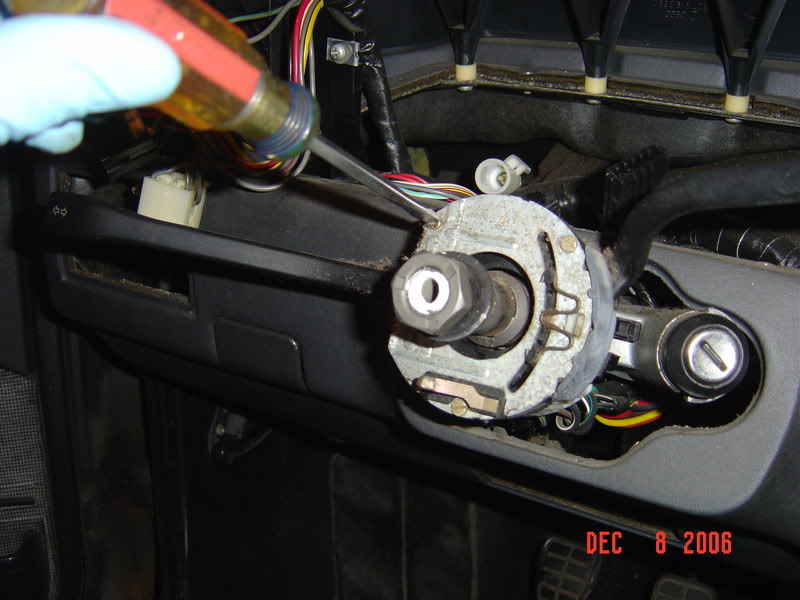

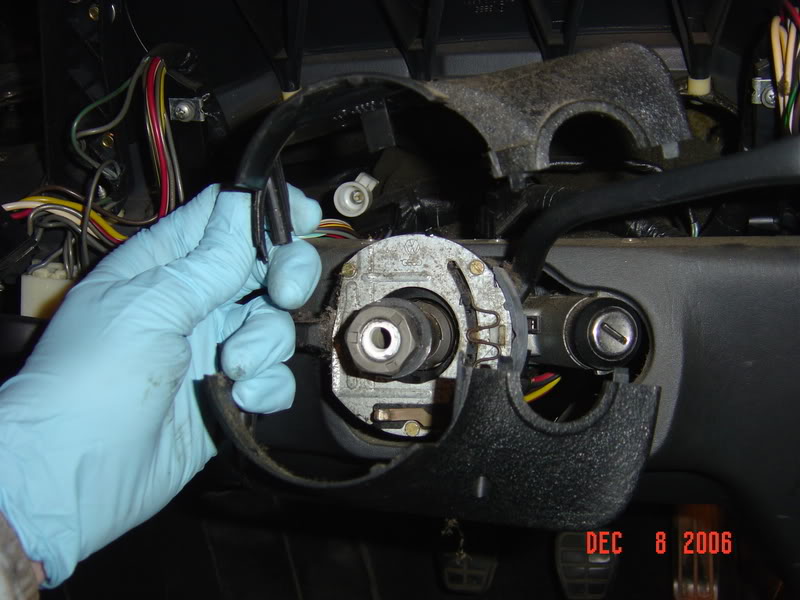
Slide off the trun signal stalk/control module and unlug that white plug in the process.
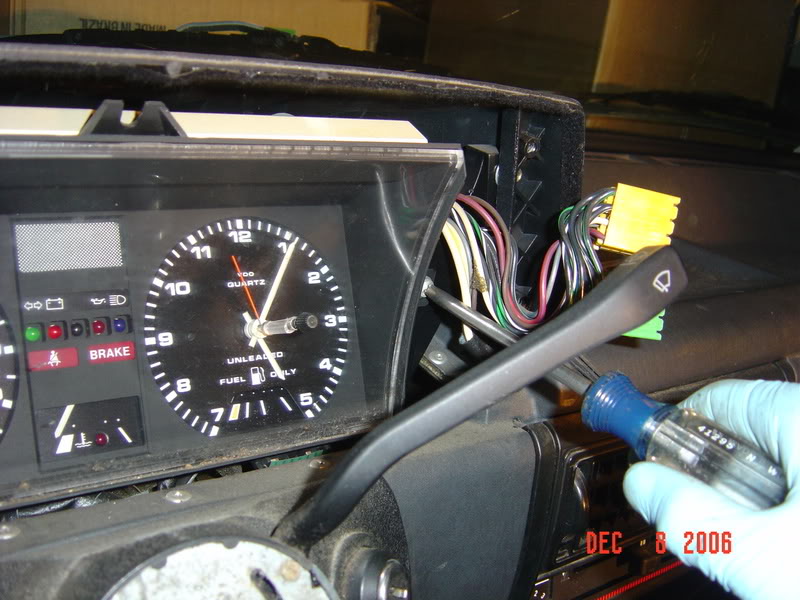
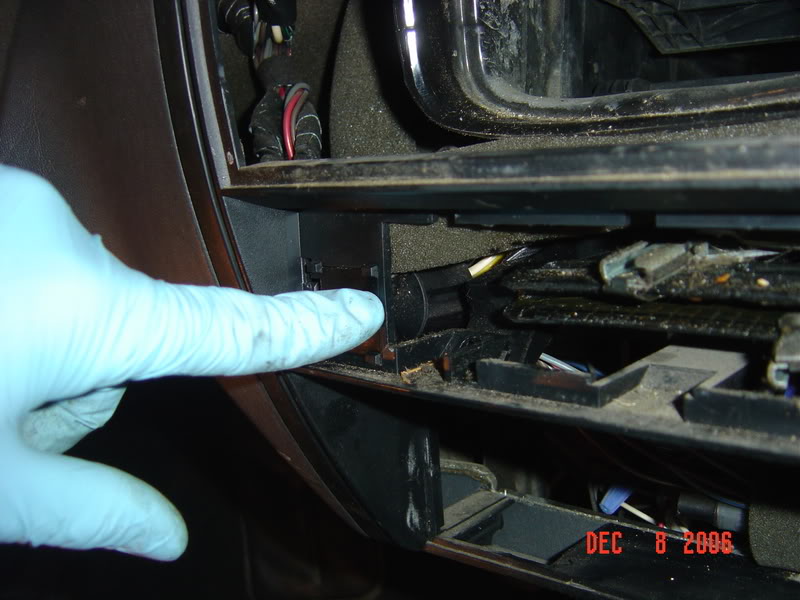
The next thing to slide off is the high beam/wiper control. There are two plugs to disconnect while you're taking that one off. One here.....
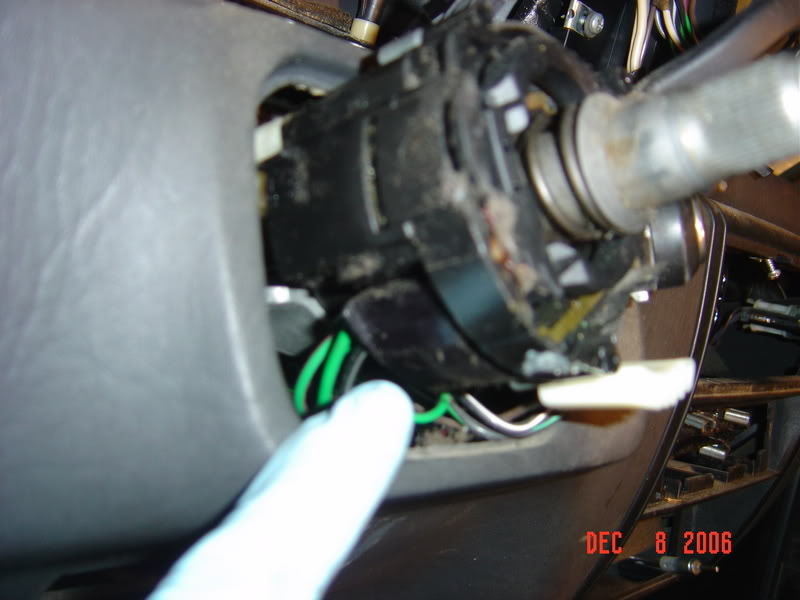
And one behind where my finger is pointing...
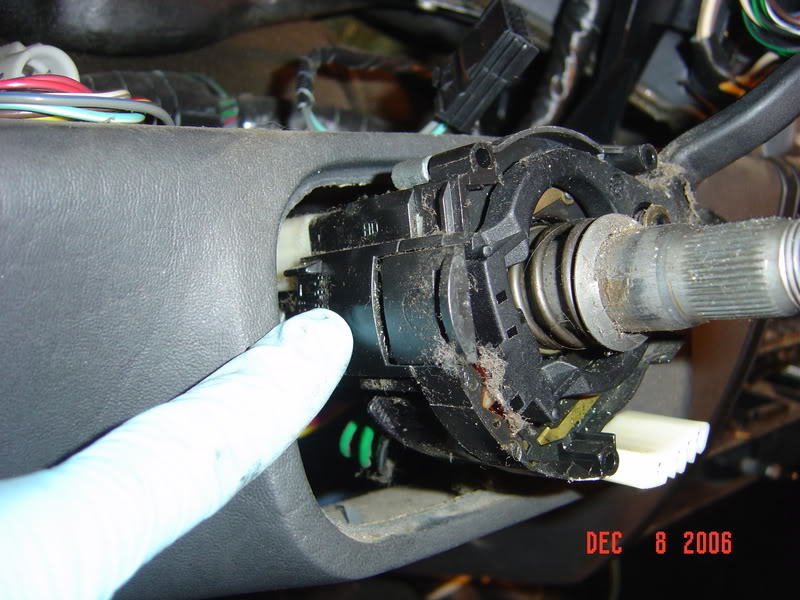
You can see it here with the control off, it's white....
Here it is unplugged...
Well this is how far I've gotten so far....
Actually I've gotten further, but just haven't uploaded the pics yet. I will post more tomorrow night. I hope it's helpful so far. I know it's a lot of pics. Hopefully that's a good thing. LMK what you think so far.
To be continued....
Ok like I said not everything is in the best order so bear with this write up. I've taken a zillion pics so it's tough to sort through them all sometimes.
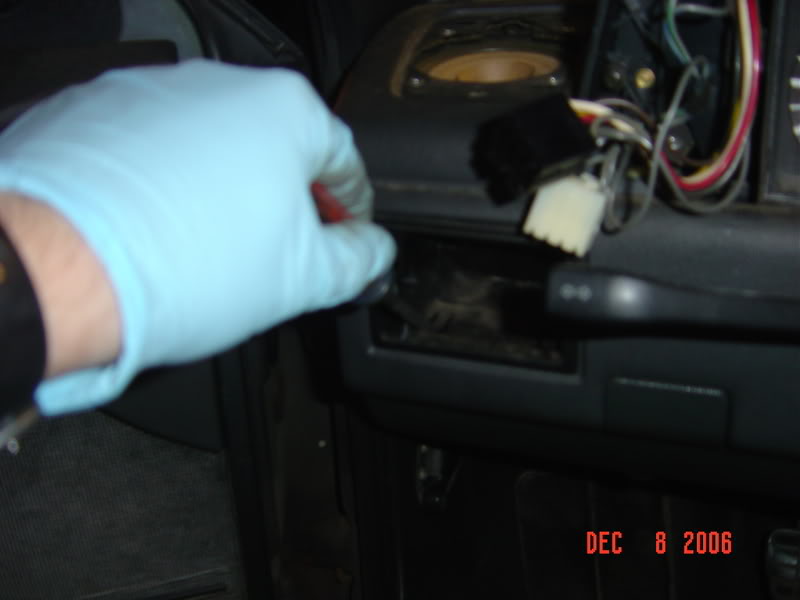
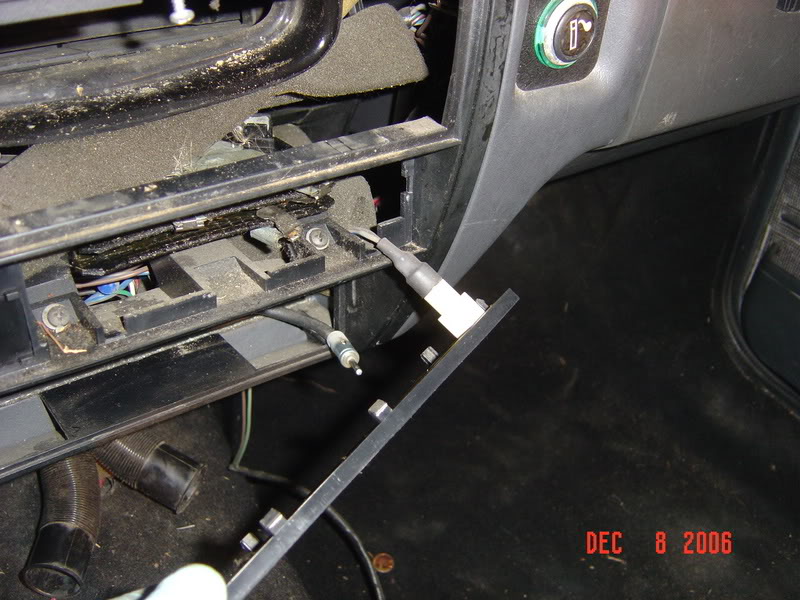
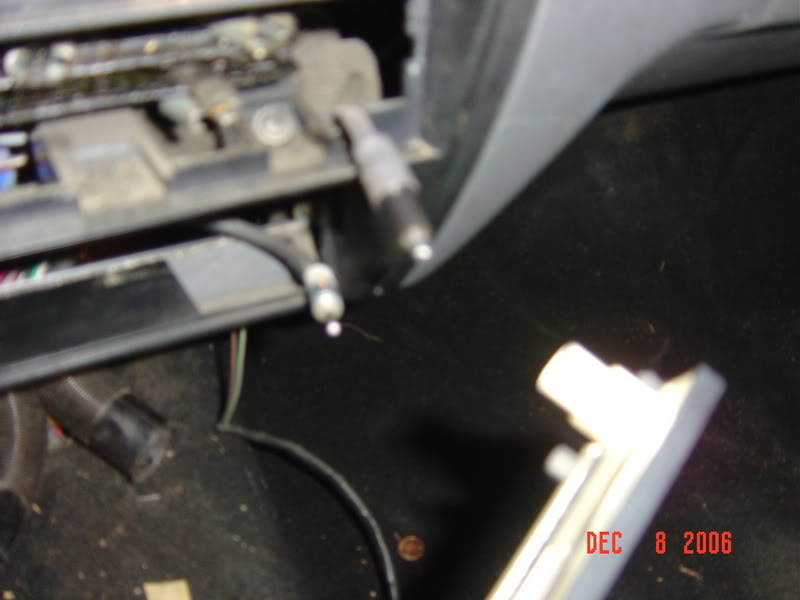
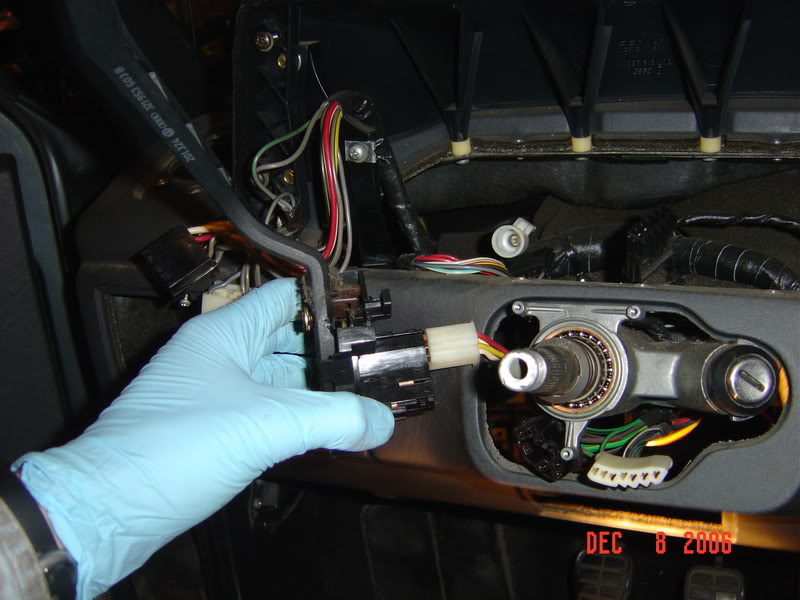
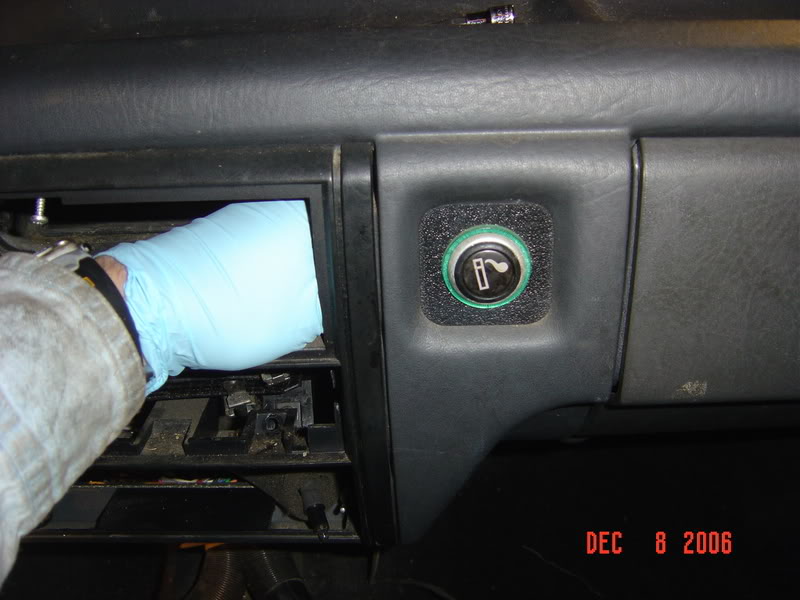
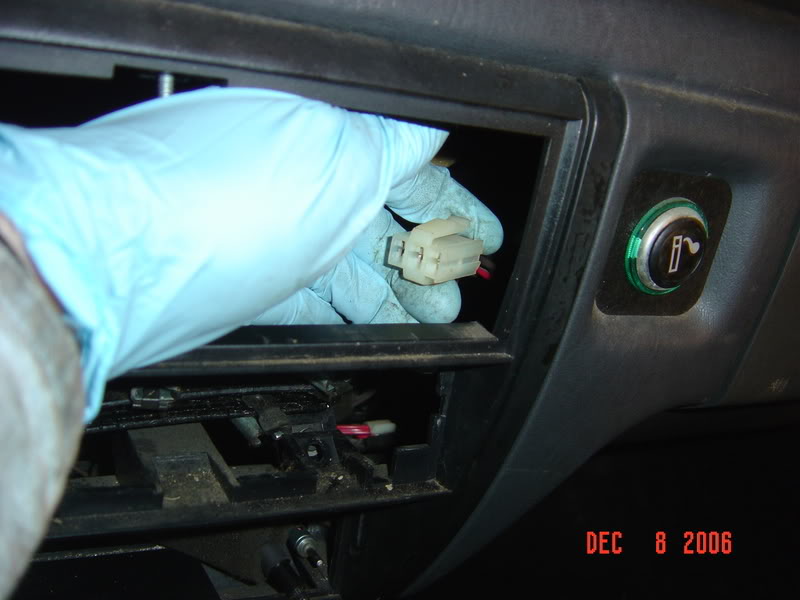
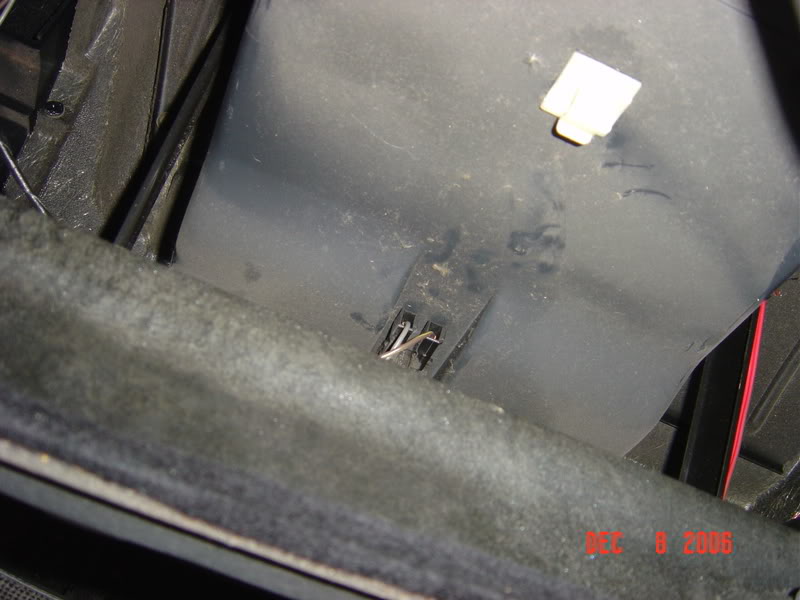
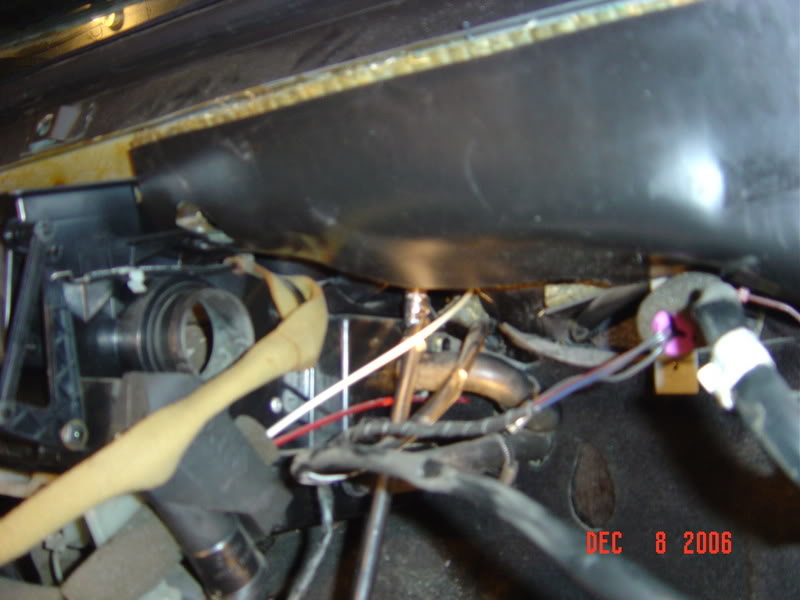
Here's a plug I forgot to mention. Reach through the vent hole to get to the lighter plug.
Just unplug it and let it dangle. Here's what it looks like once it's unplugged.
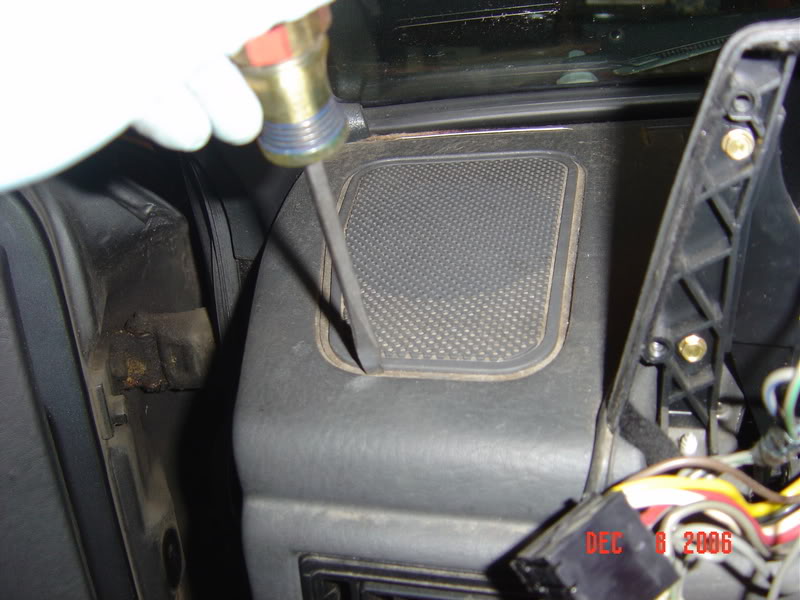
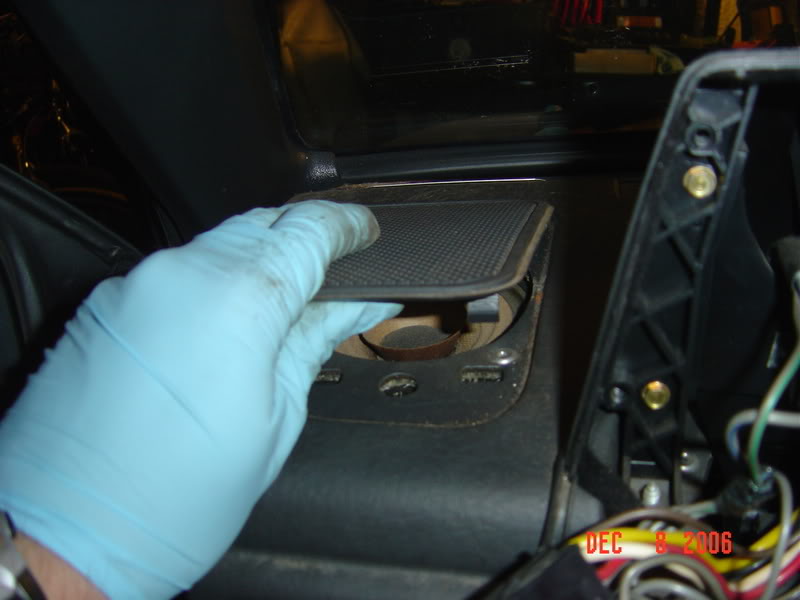
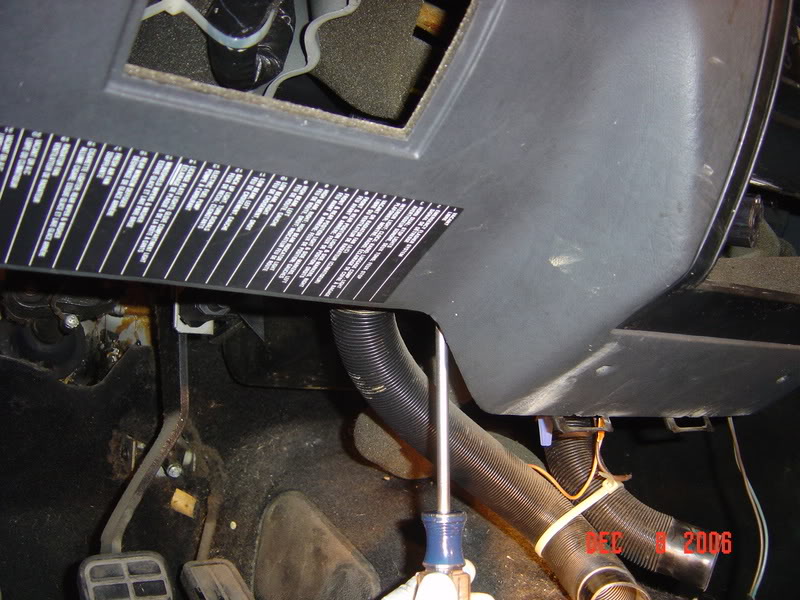
Ok now were going to start taking out the screws that hold that actual dashboard in. There is one in the back of the glove box.
There are two that are kind of under the dash on either side of where the radio used to be. One here.....
And one here....
Here is a view of the pasenger side one from behind the dash.
Now you want to open the hood to get two more of them. You will need a 10mm socket likely with a universal on it with and extension. Chances of seeing are slim unluss you have a bright light and a tiny head. 
There is one here on the drivers side...

And one in this area on the passenger side...
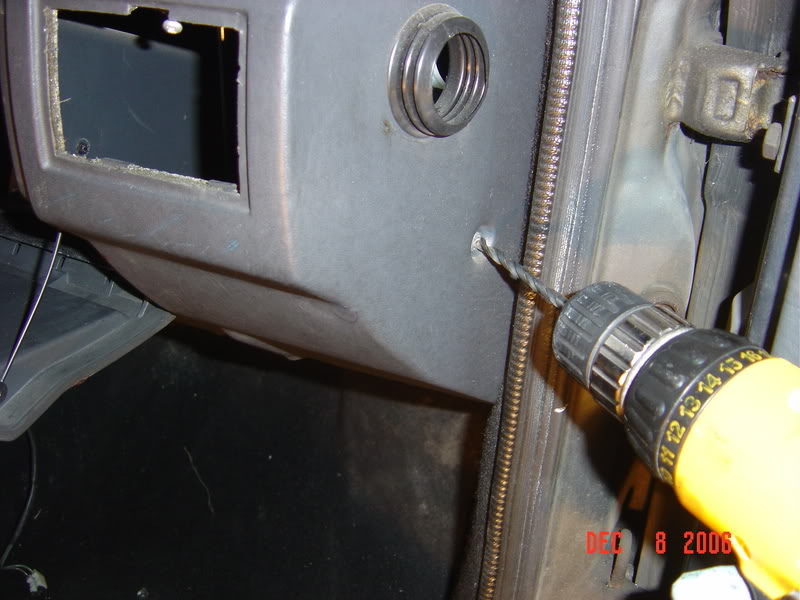
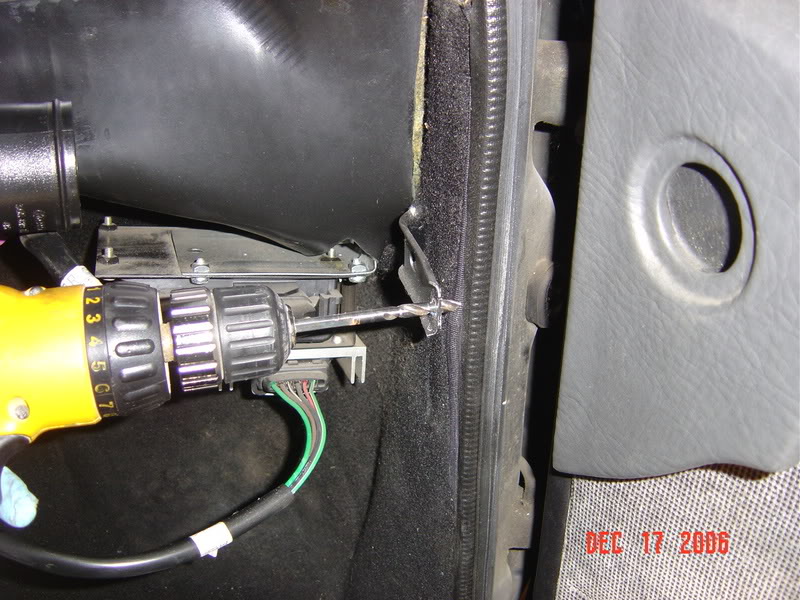
Ok now here's the sucky part. This was a really crappy idea and I'm going to assume it's this way b/c this silly thing is Brazilian made. I wasn't happy to see these rivets. There is one on each side of the dash and you need to drill them out. The Bentely recommends a drill with a 90 deg head on it and a stubby drill bit. That would be ideal. I'm lucky to have one nice drill much less another one with a 90 deg head on it and a selection of stubby drill bits. Here is a picture of the passenger side. I didn't get one of the drivers side b/c I had to back the car out of the garage to get the doors to open far enough to get the drill in and it was very cold out. I just wanted to get them drilled and get the car back into the garage.
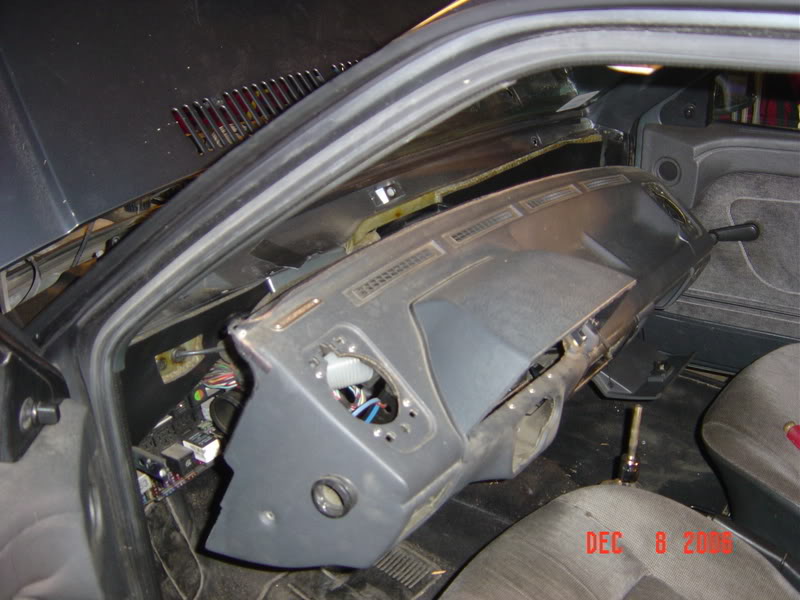
Well at this point the dash should be able to come out. Here are a few pictures of it coming out. It takes a little work. If you're reading this then you've prob not taken yours out before so it will have been in there for almost 20 years. Pull up and out. Be sure the rivets that you've drilled are really out. That hung me up on one side.

After I got it out I realized that the glove box light and door switch were still both attached. Here is a vague picture of the the back of the glove box. I tried to get a picture of the wires that I forgot to disconnect.
Now the only thing left are the speaker wires. They are red and blue in this next picture. Since I'm going to rewire the stereo I just cut them for now.
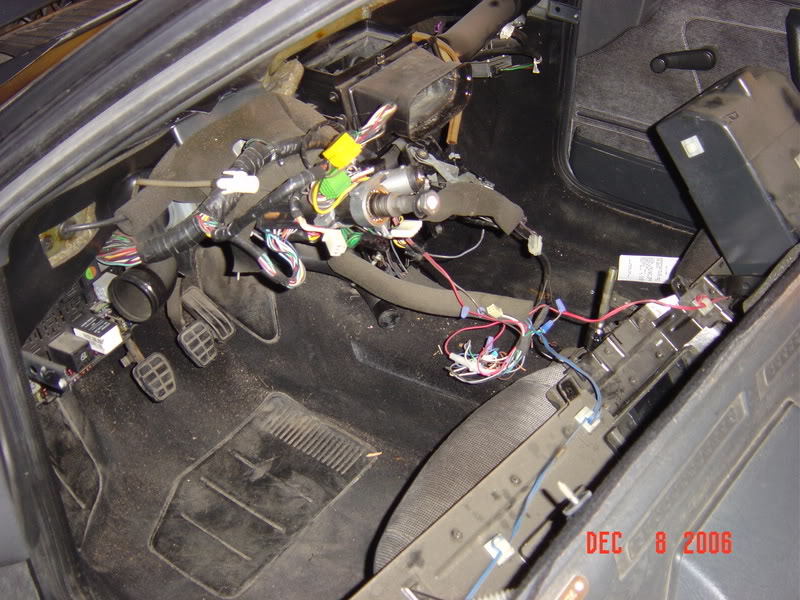
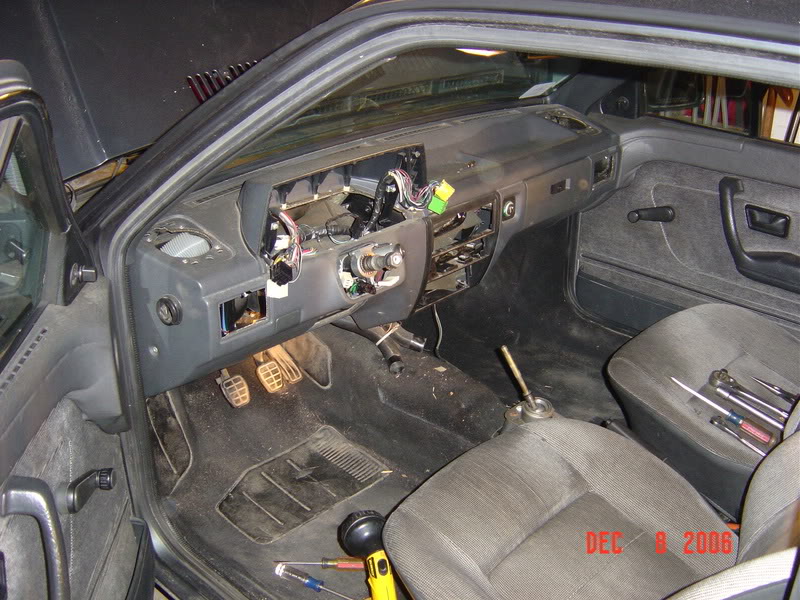
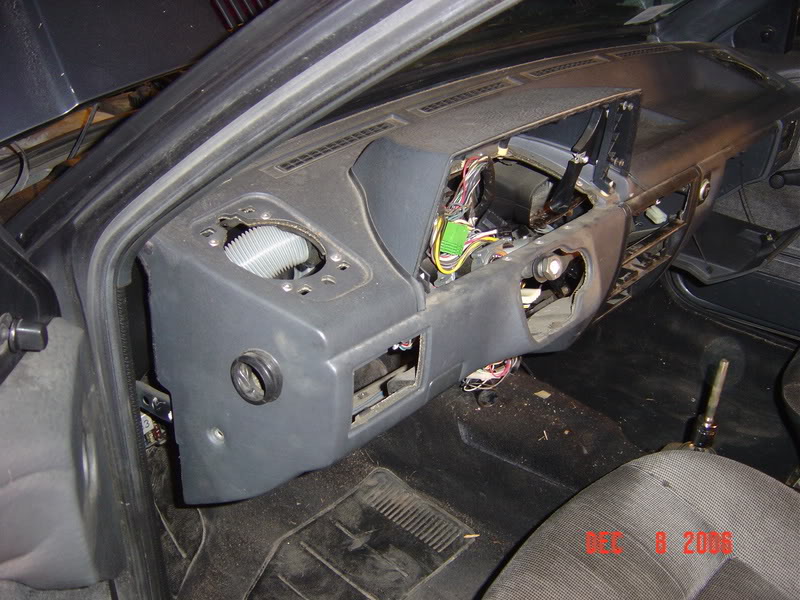
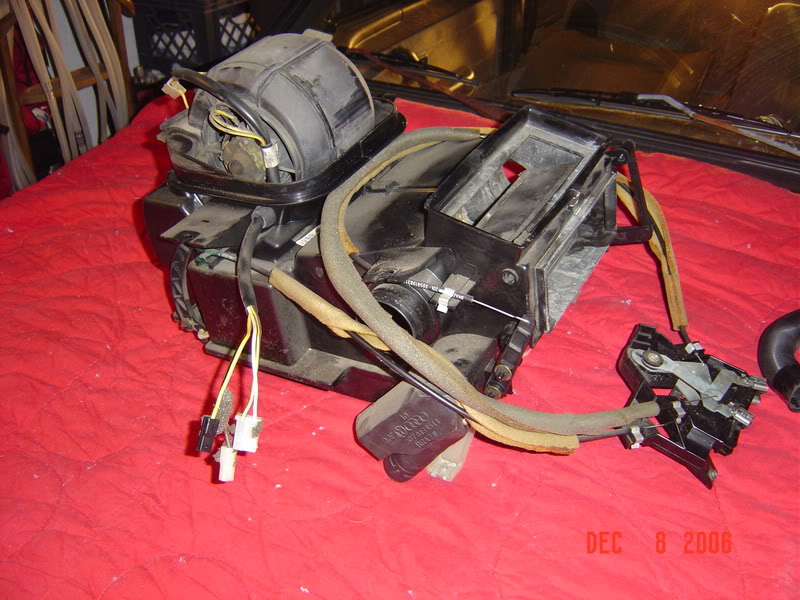
Ok well here it is dash out of the car. 1/2 the battle is done.
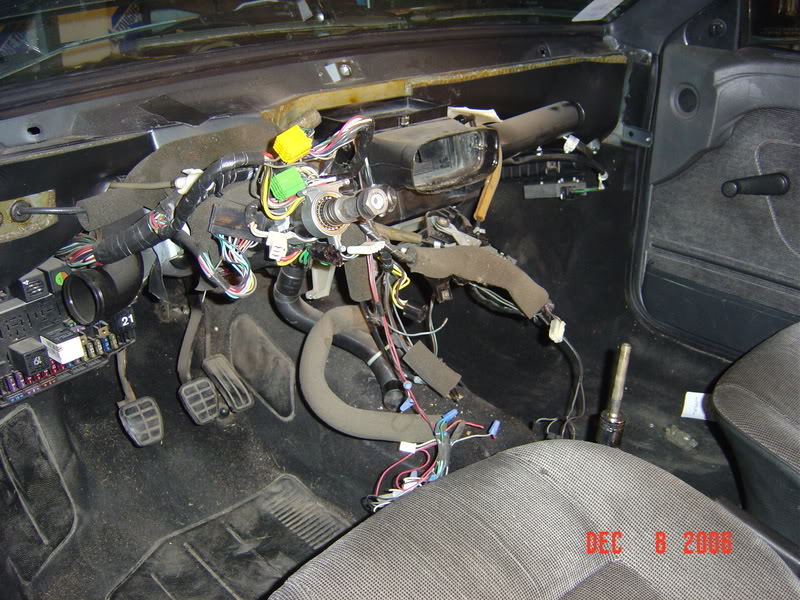
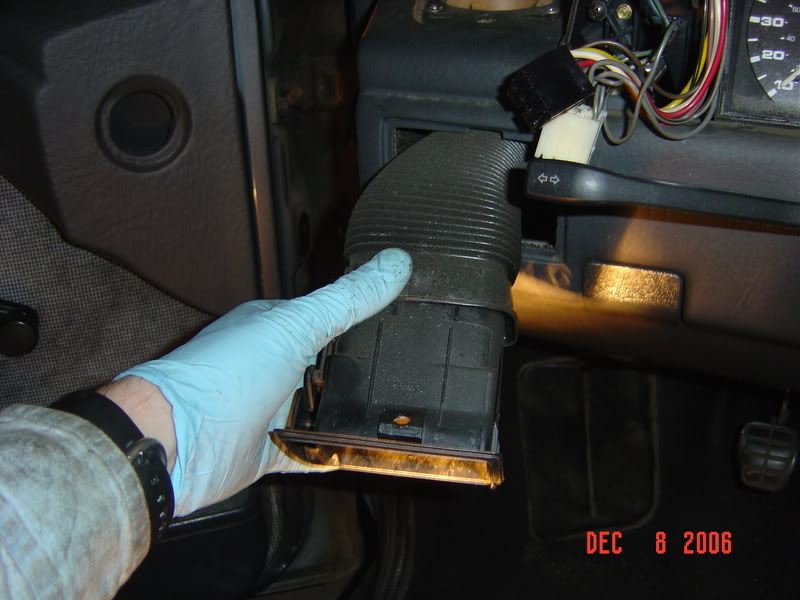
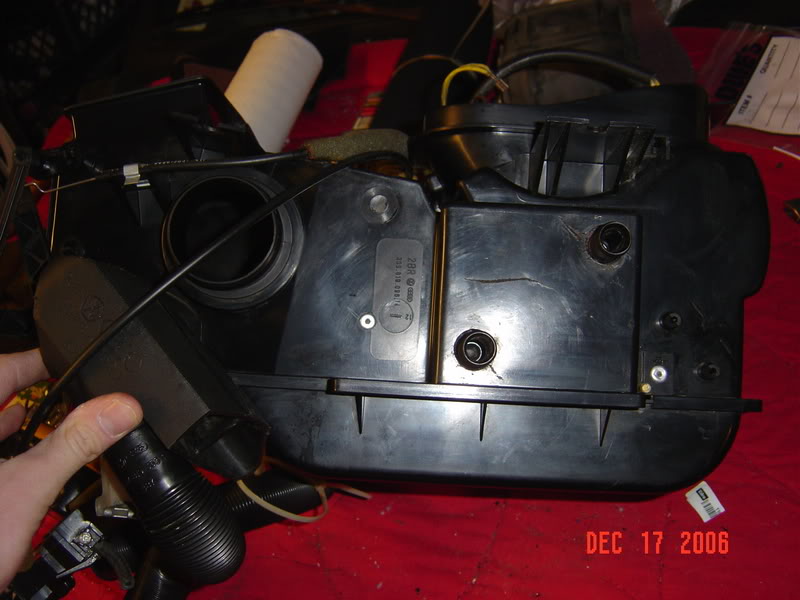
Now it's time to work on getting that heater box out. We first need to disconnect the two heater hoses that go into the box. You'll prob want somthing to catch the coolant that comes out. The PO had the core bypassed months ago so I was sure there prob wasn't going to be any coolant pourint out of mine.
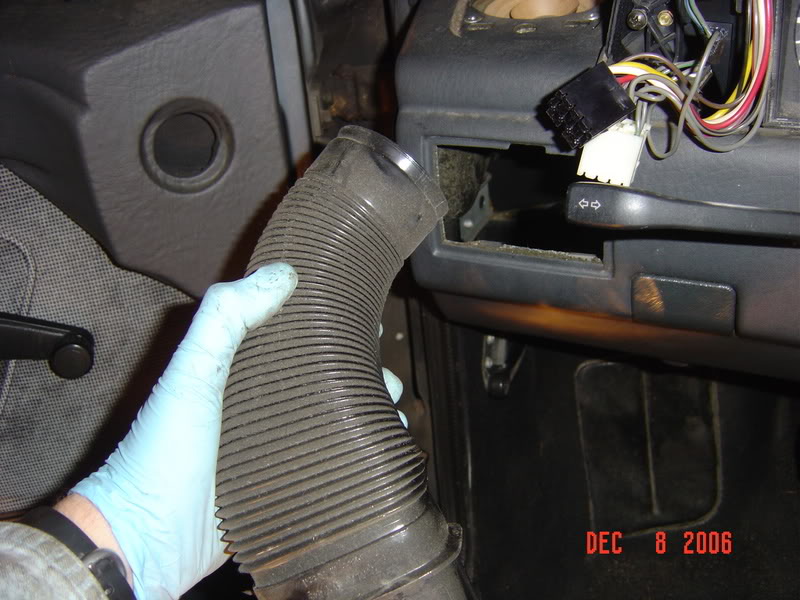
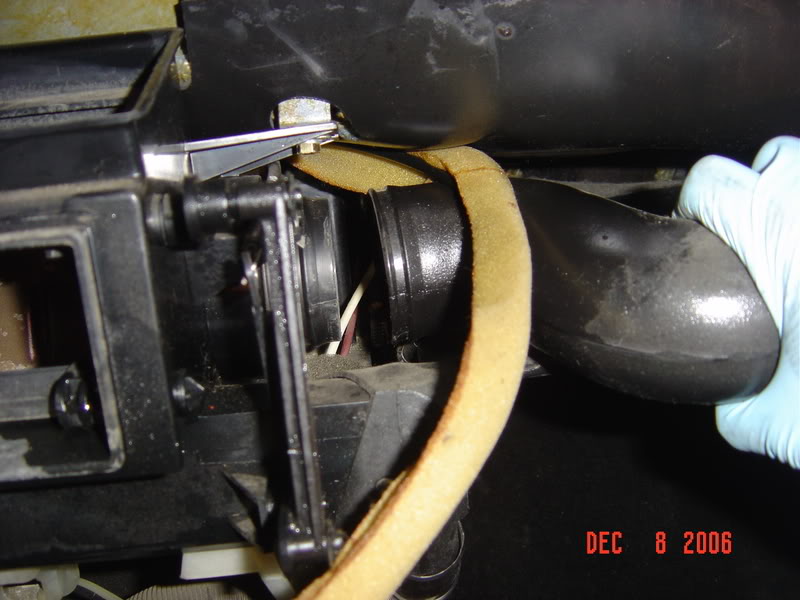
The next thing is to disconnect the vent hoses going into the heater box. I only have a picture of the one on the passenger side being disconnected.
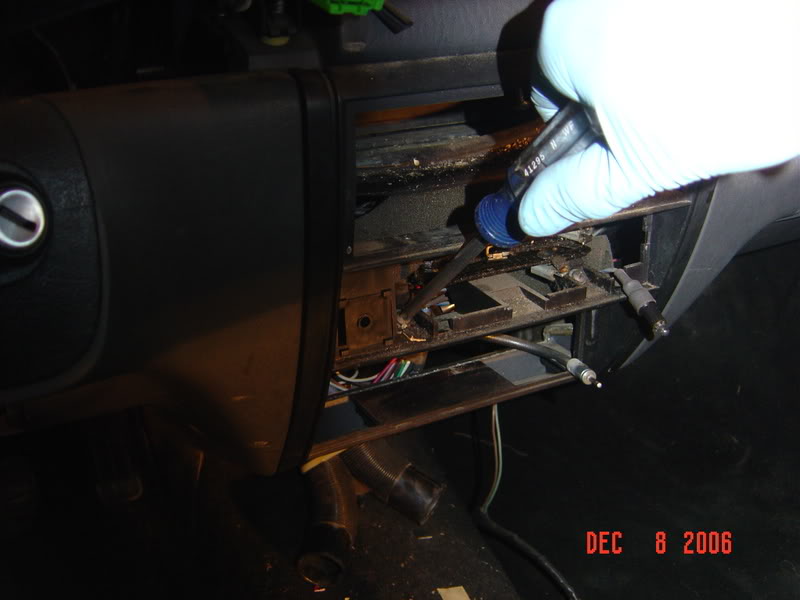
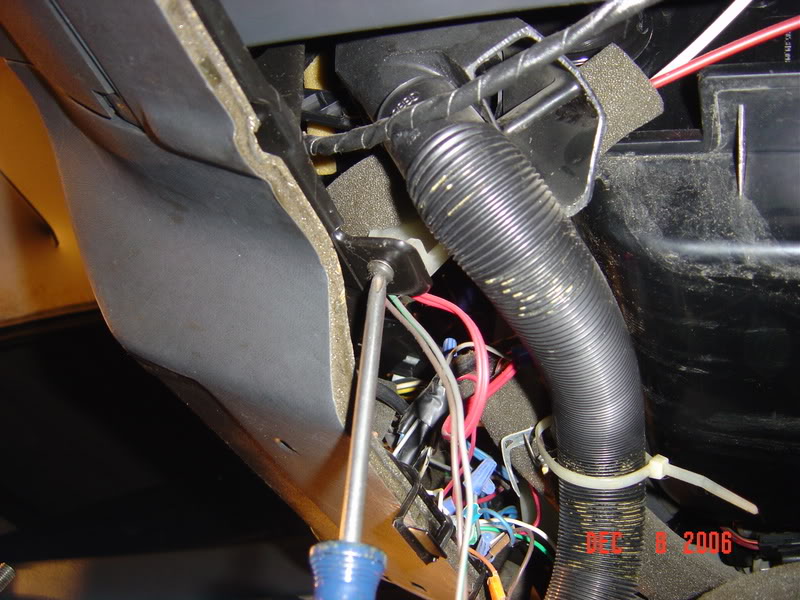
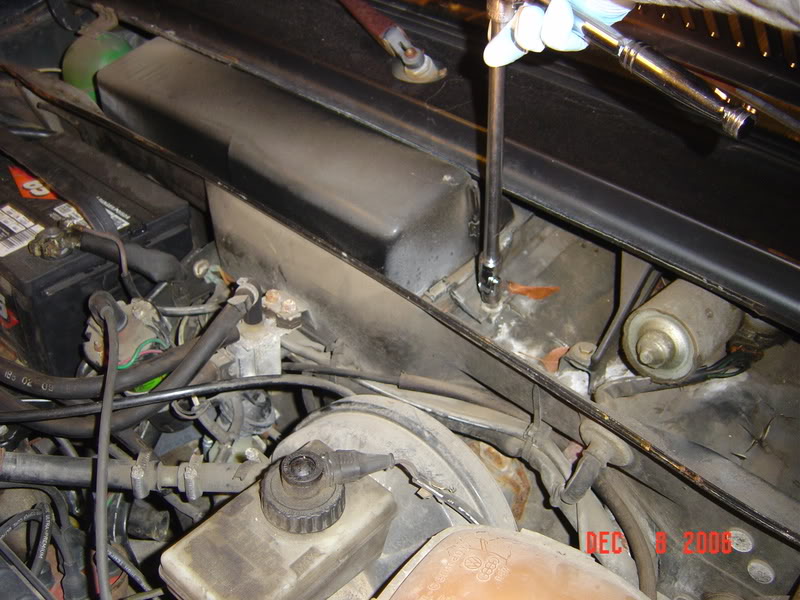
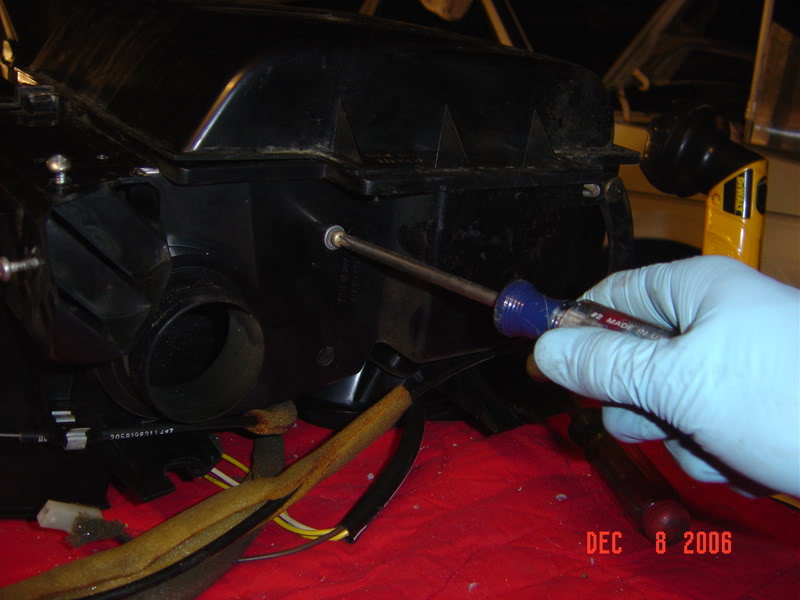
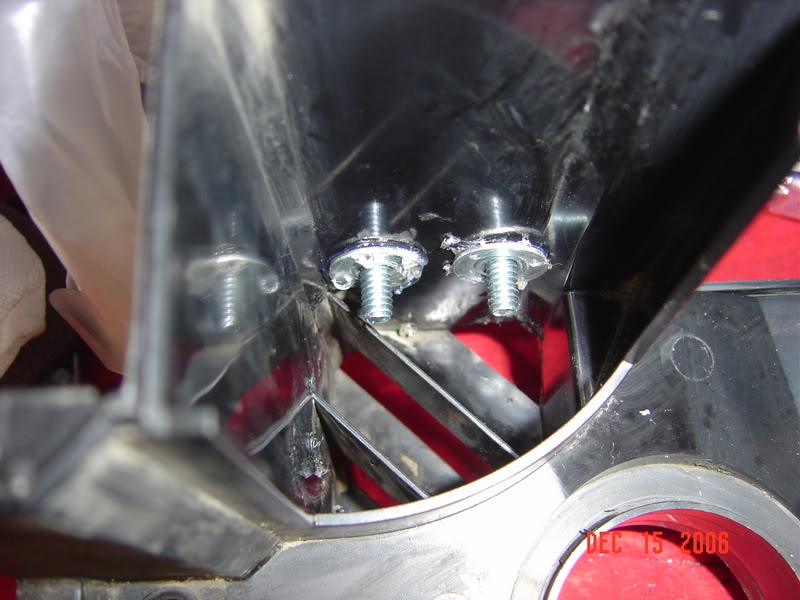
Now there are four screws that hold the heater box in. They are each near the top. Two near the front are easy to get to, but the two closer to the firewall are a PITA. Here is the one of the right. I have an 8mm wrench on it....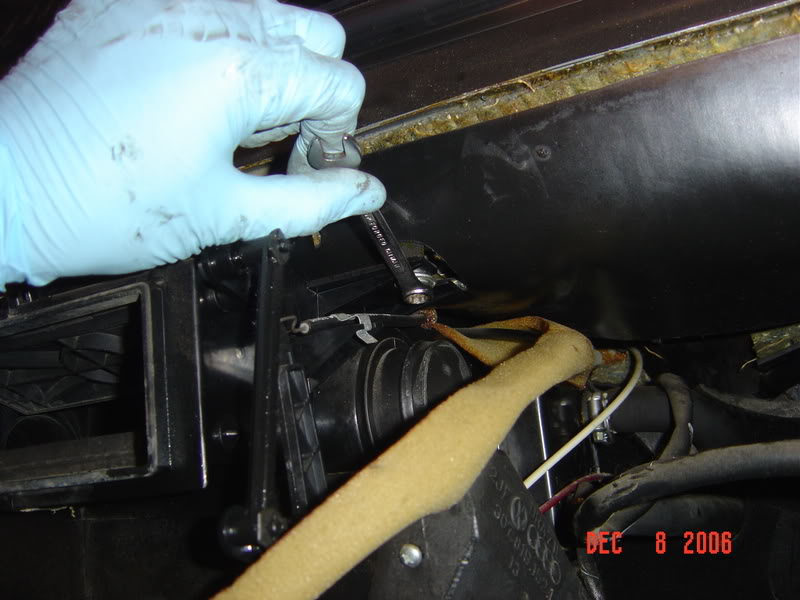
And here is the one on the left. I have a wrench it this one too but due to the angle it's hard to see.
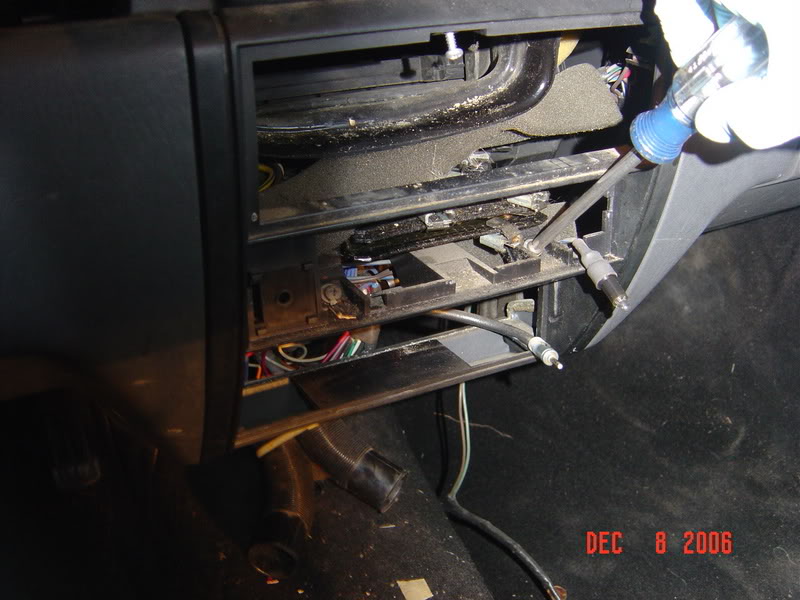
The one on the right in the back is hard to take a picture of, but it should look just like the two in the front. You should see it here just above my finger. Looks gold. Sorry it's blurry.
Here is another picture for reference. Although it's blurry as well you can still see my socket extension with a universal on the end of it. 8mm BTW.
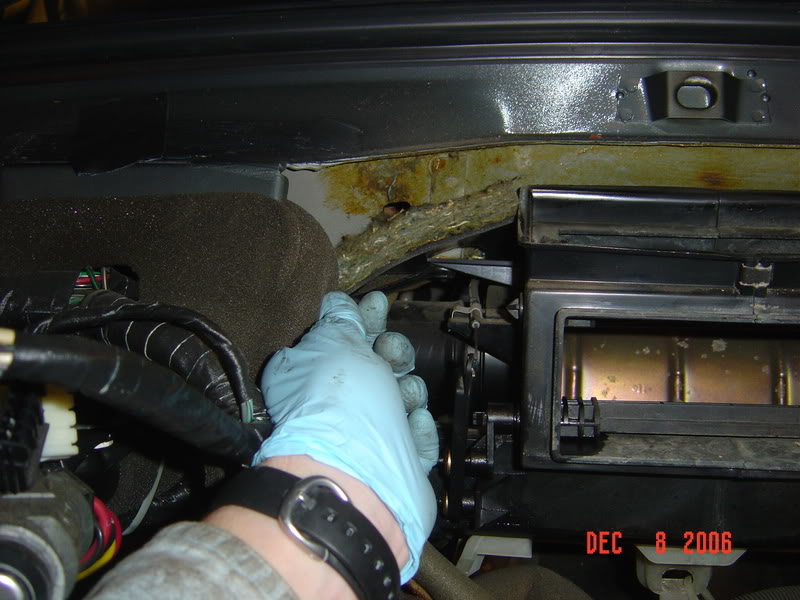
The one on the drivers side is impossible to take a picture of. You'll need to pretty much lay on your back on the drivers floor and use a bright light to see it. Get that extension way up there.
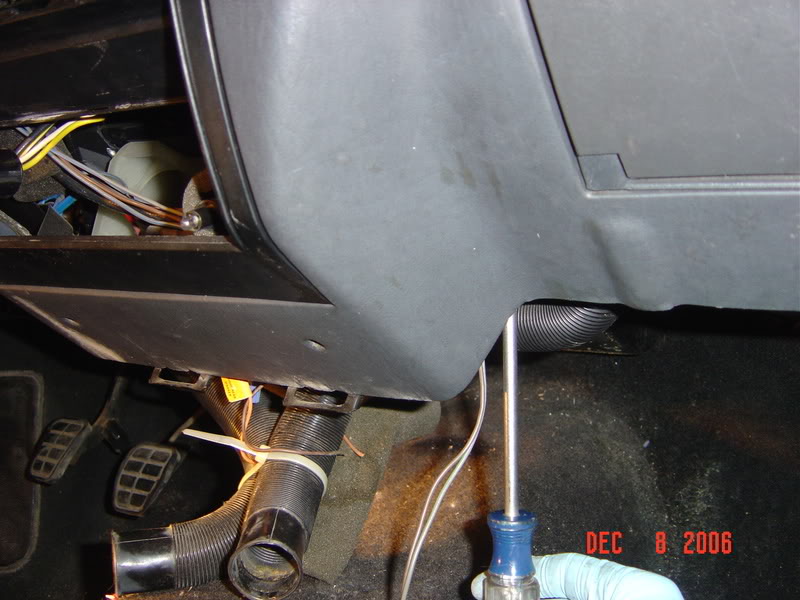
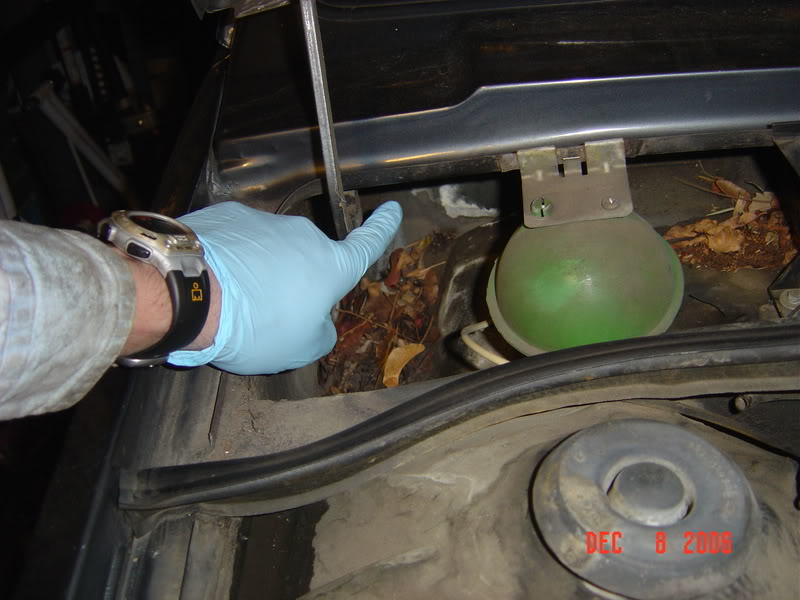
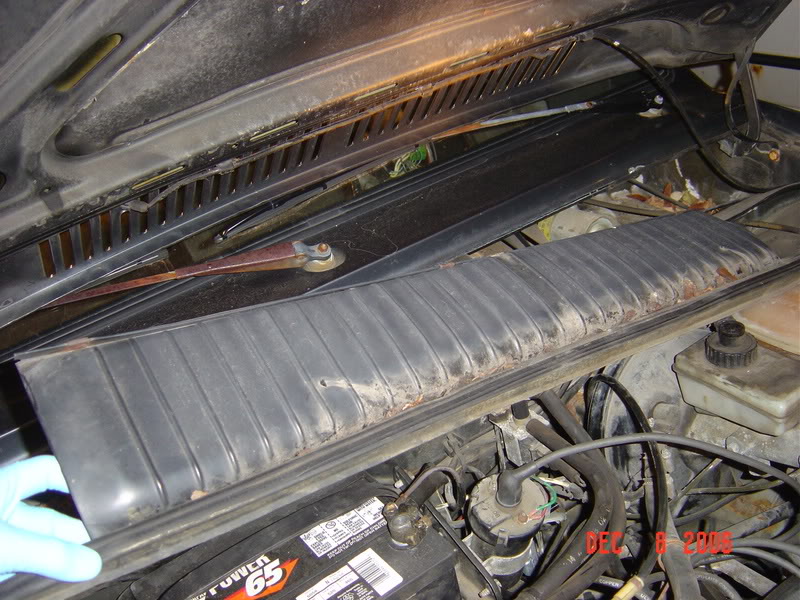
The heater box should be pretty much free except for the wiring for the blower. To get to it you'll need to go under the hood and pull the cheapo plastic cowl covering and weather strip.
Now underneath there is another plastic cover that is over the blower motor. There is a bolt on either end that holds it down. Remove them.
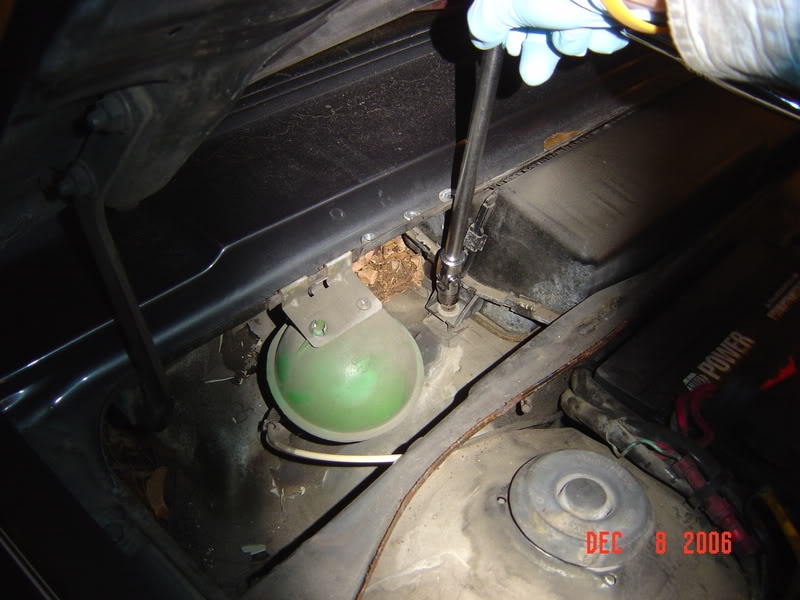
Can't remember exactly what this bolt was for. But I took it out anyway.
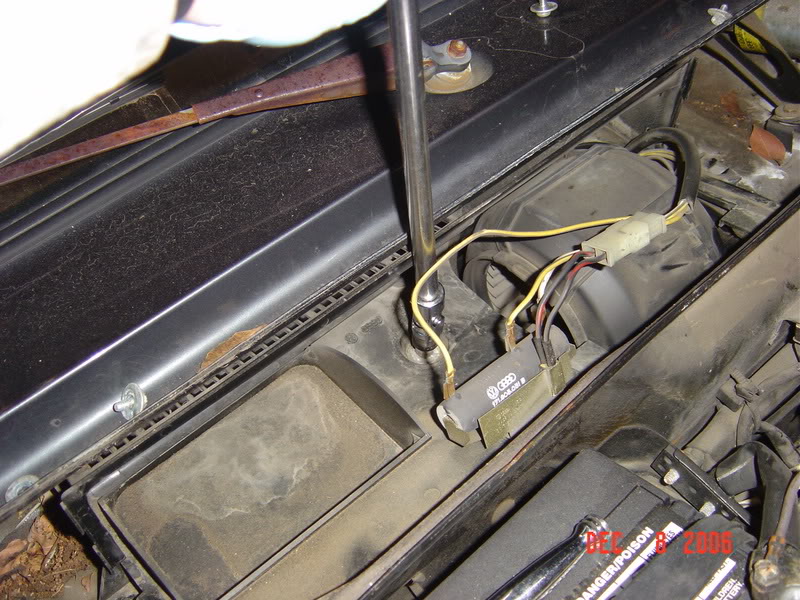
Now you've got the resistor pack. I at first tried to unplug the connectors but realized they are sort of welded on instead of plugged in. Kind of makes it hard to replace at some point. At first I though that plug would do the trick but even with it unplugged there were still wires going directly to the resistor. It doesn't make any sense. I broke off a few of them and am not sure how I'm going to reattach them. I've also looked online everywhere for a replacement resistor since I made some of it crumble while I was messing with it.

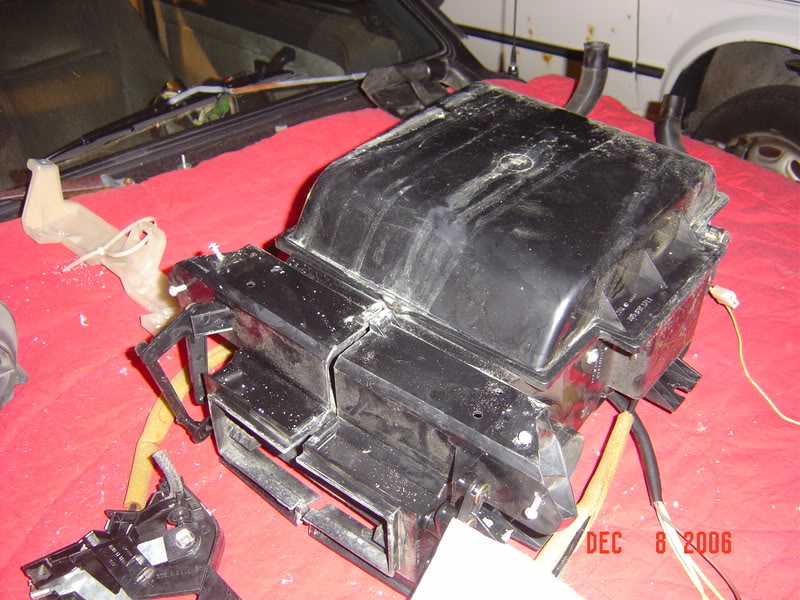
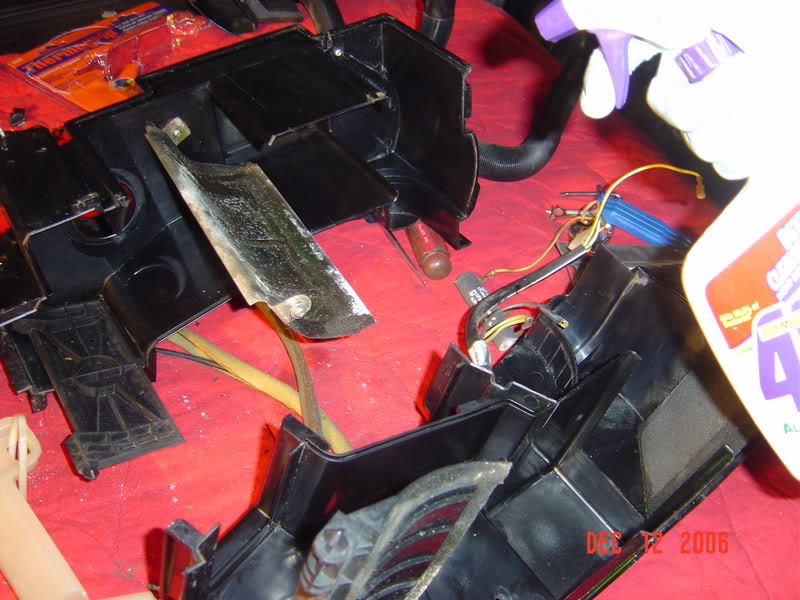
After all this the heater box should just some out with some wiggling. The solution to the resistor was to unsnap it from it's metal holder and let it stay attached to the motor. Here is what it looks like pulled out.
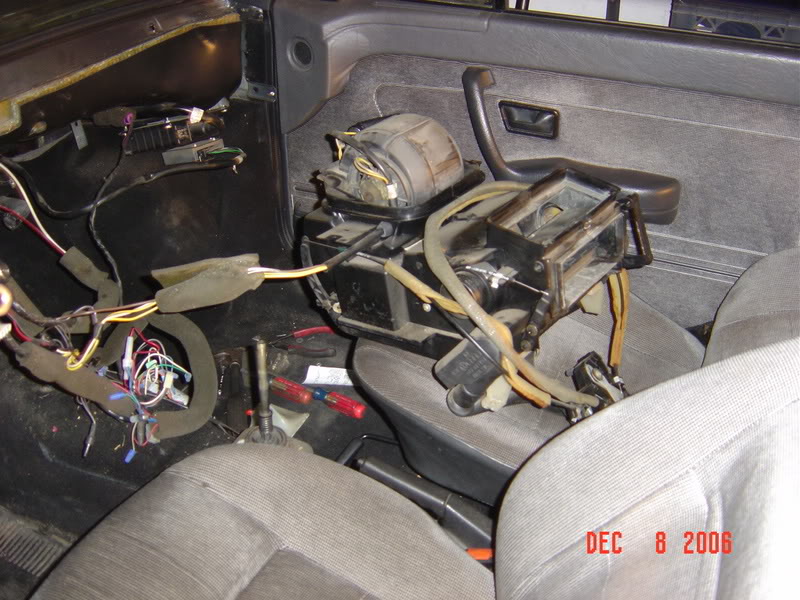
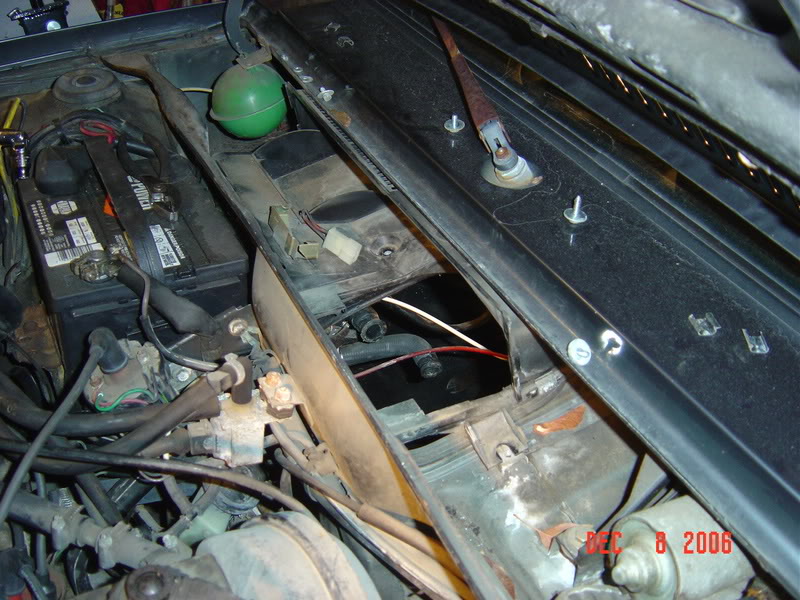
Here is what it looks like from under the hood once the heater box is out. Note the gold colored item next to the remaining plug. That's what was holding the resistor. It's tough to see in any of the other pictures I took.
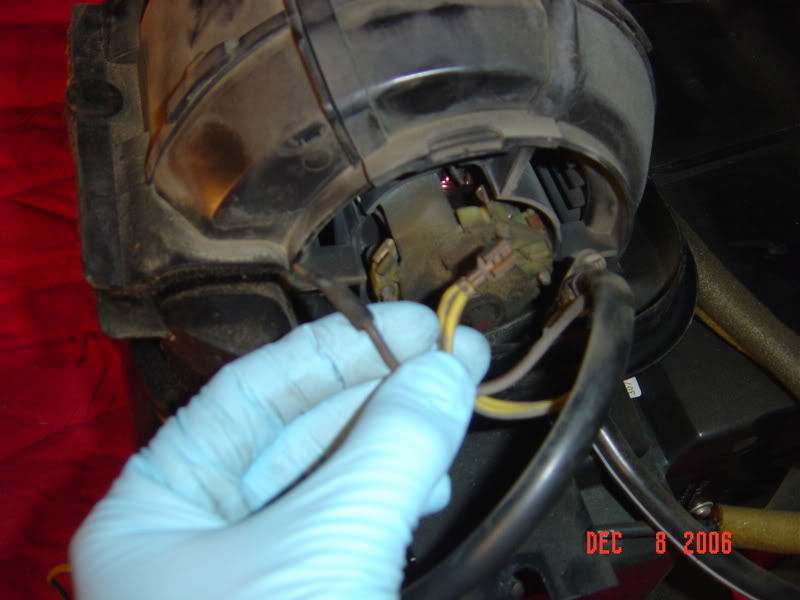
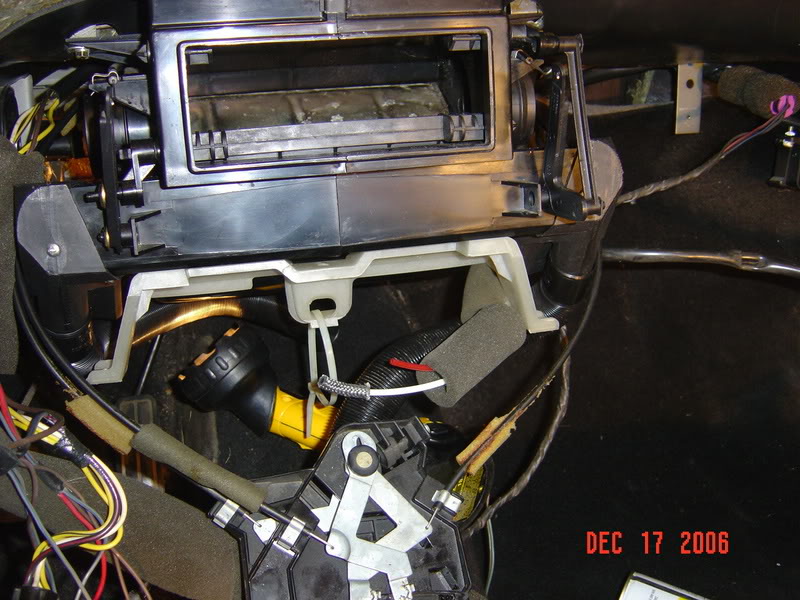
Now the only thing holding the heater box in the car yet are these wires.

Unwrap the foam and unplug it.

Okay so here's what we've got. I put an old blanket on the hood to have a place to work on the heater box.
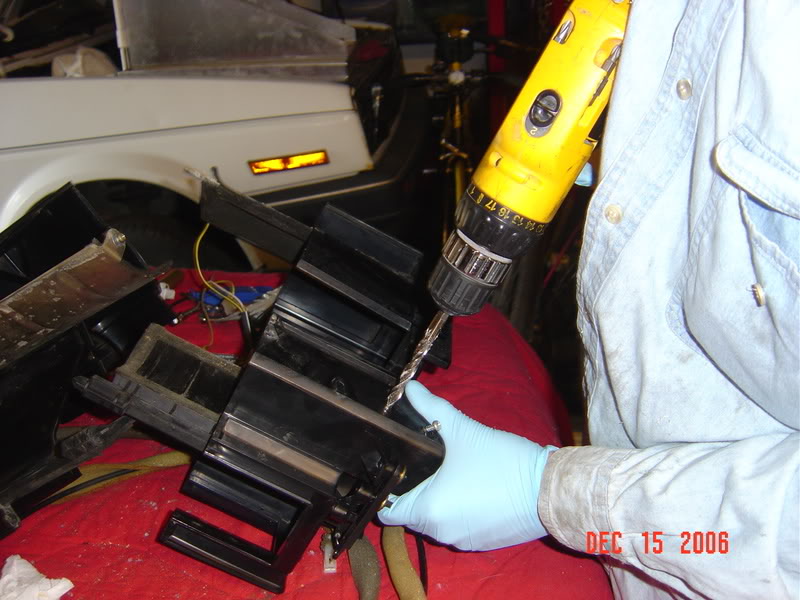
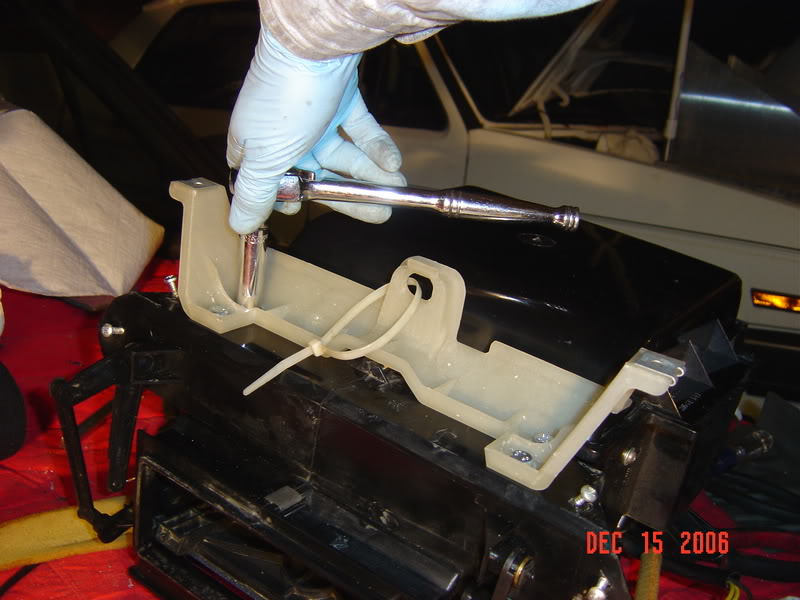
First unplug the motor. Then there is a screw that I took out earlier that was in the grommet in the next photo. You should see it in the top left part of the photo. The screw was there and it hold the motor in.
Now there's a whole bunch of these little clips all the way around the heater box. Pry them all off. Take note that there are a few that are small than the rest and need to go back in their previous locations when it come time to reassemble.
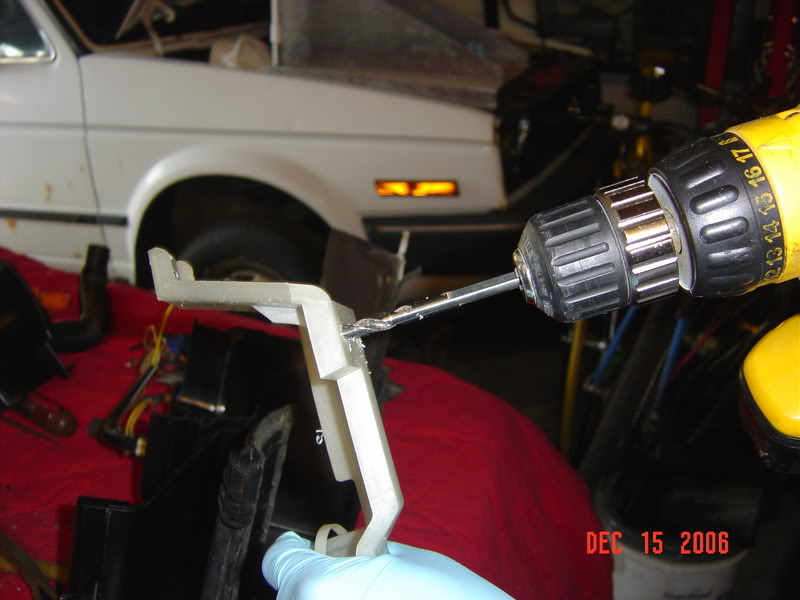
Now here is another piece that has me a little pissed off. This plastic support spans both halves of the heater box, but is freakin riveted in. Why the hell did they do that?

After staring at it for ten minutes I decided the only way to get around it is to drill them out. I'll figure out how to reattach the support later.
One of the flappers on the inside is held in with a rivet on one side and a screw on the other. Take that screw out. I didn't at first and couldn't figure out how to get the box apart.
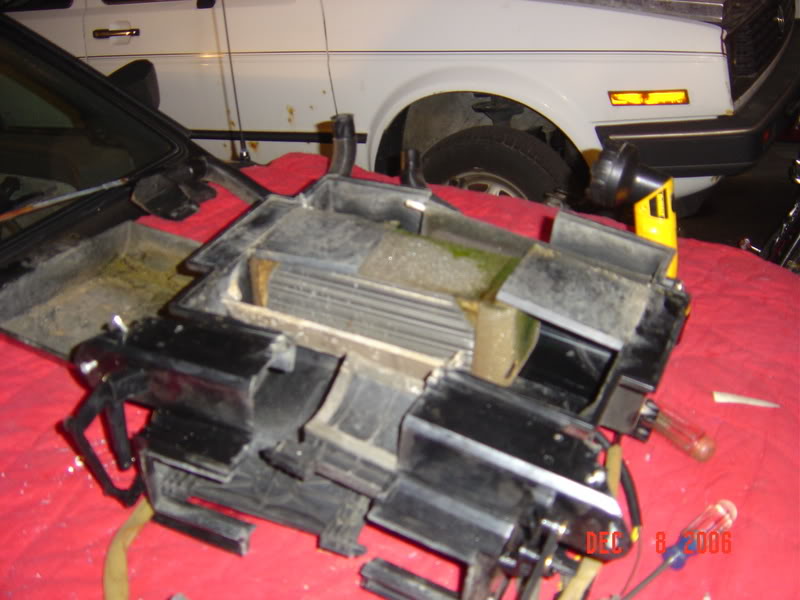
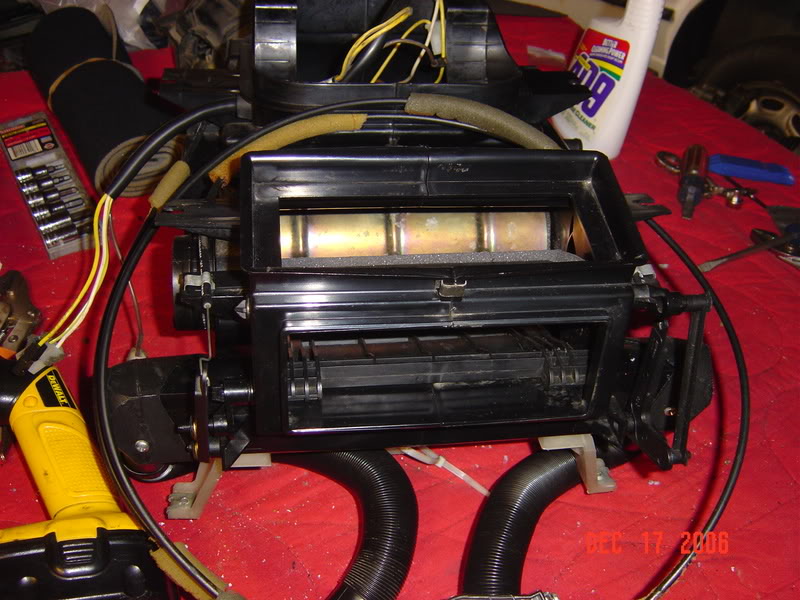
Here's a picture of the box after I've separaed the two halves slighty. You'll notice that the bottom pan in a single piece.
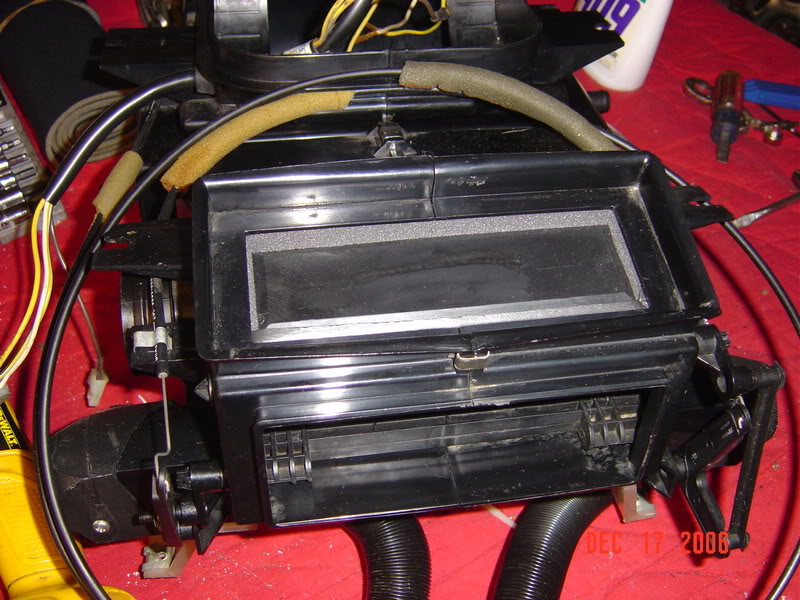
Separate it some more and pull the bottom pan off.
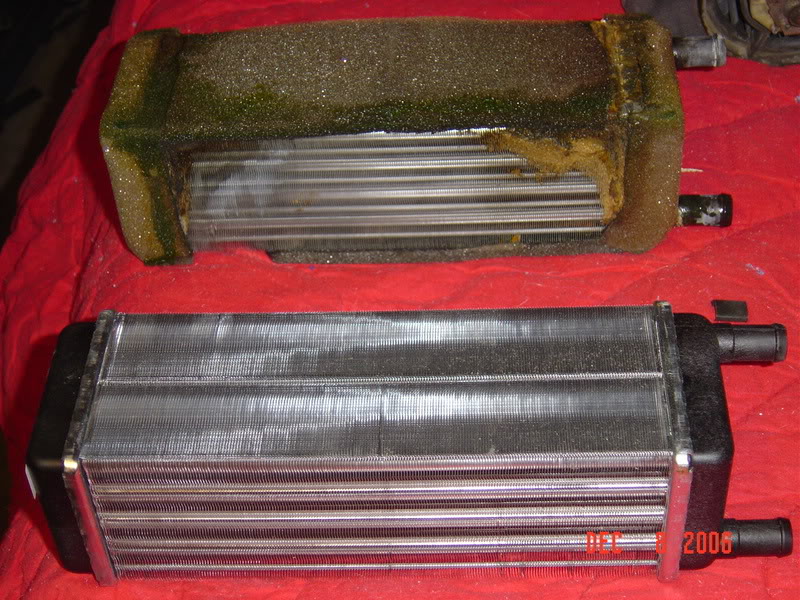
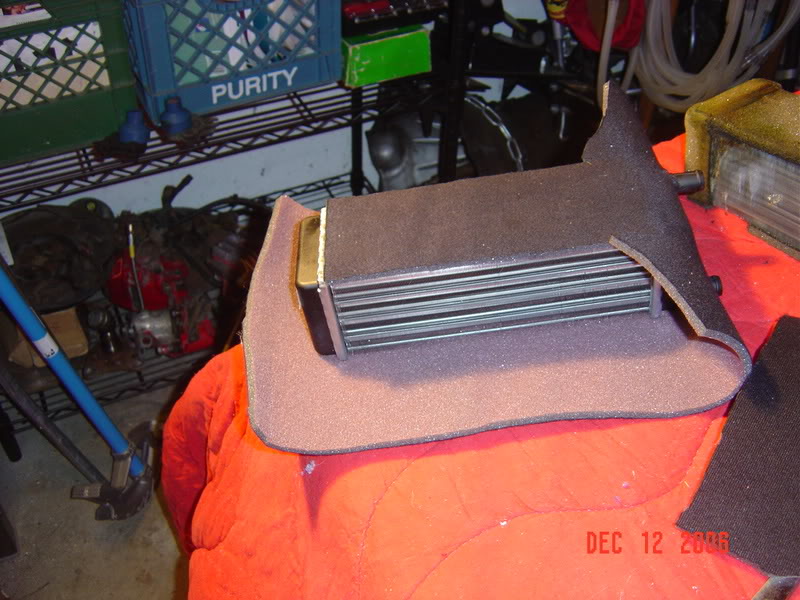
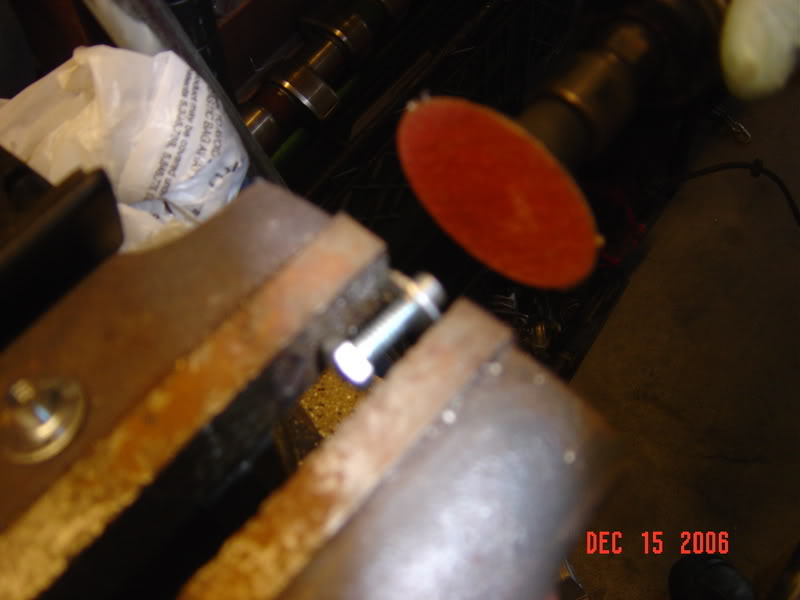
Now pull out the culprit.

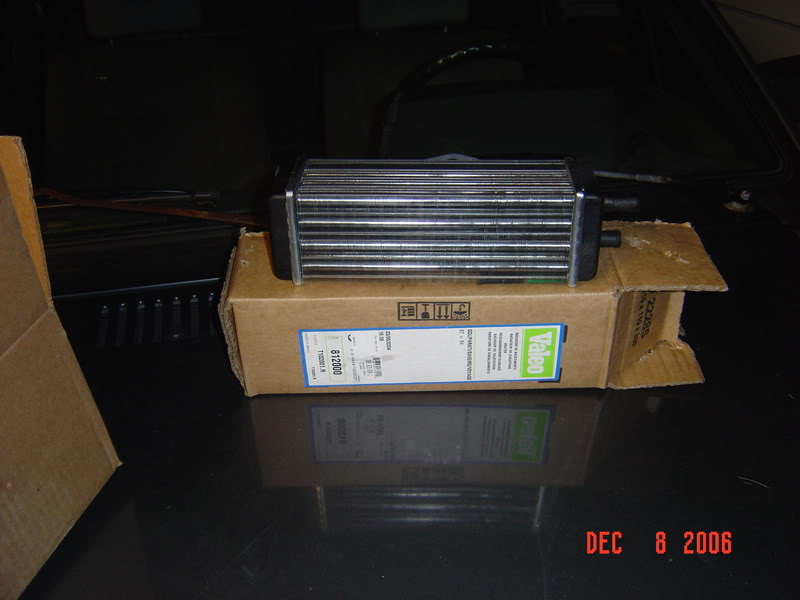
Old one compared to the new one. Like someone posted below I wish it had come with new foam. I make take the suggestion and use some headliner. I do have some left over from a Golf headliner re-do.
Well that's all I've gotten done for now. Tomorrow I plan to do a little more, but should finish it during the week. I'll let you know what solution I decide for the missing foam and of course how to replace the rivets holding that support on. Please make any comments you like.
My job requires me to work 12 hour shift for several days in a row so progress is a little slow now. Here's what I did today. Since I have the heater box apart I thought I would work on cleaning out some of the 18 years of crud. 409 works great for this....
Got tired of cleaning so I'll do more tomorrow.
Ok well it continues. I think I've pretty much got this absurdly detailed DIY on the home stretch. Here's a few more pictures of me finishing up covering the heater core. I think my GF is in one of the pics. She's finally realized that if she want's to spend time with me it has to be in the garage...lol.
My next step was to pull out the two plastic doors inside the heater box and redo the foam trim. Just squeeze the ends of the hinge with some needle nose pliers and they pop right out. Make sure you pay close attention to their operation and how they came out so you can get them back in properly. There's a little bit of silly linkage on the side of the box that could be easy to twist around.
Here is a door out and I'm getting the major foam off with a screwdriver....
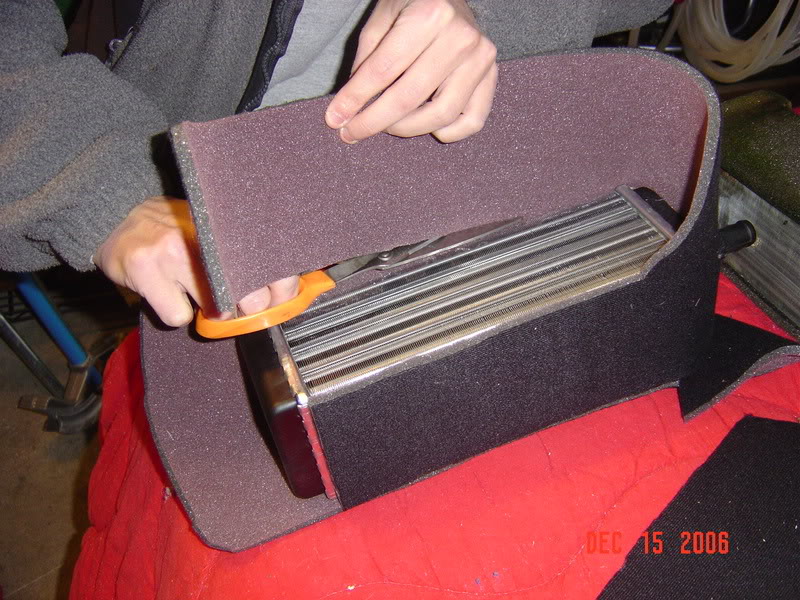
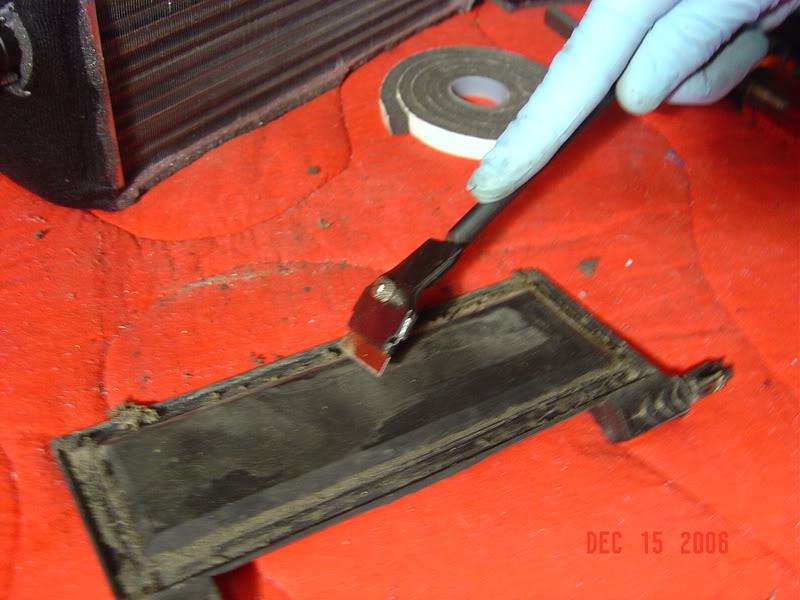
Now I'm getting more off with a razor blade scraper. Keep it almost parallel to the plastic so you don't dig in.
Now I used a bunch of goo-b-gone type stuff to get rid of all the adhesive. An old toothbrush works well. Be patient it takes a little time to get it all off. Not too much elbow grease but just time time for the glue to all break down. I then used some 409 to clean all the solvent off. This is what you get.
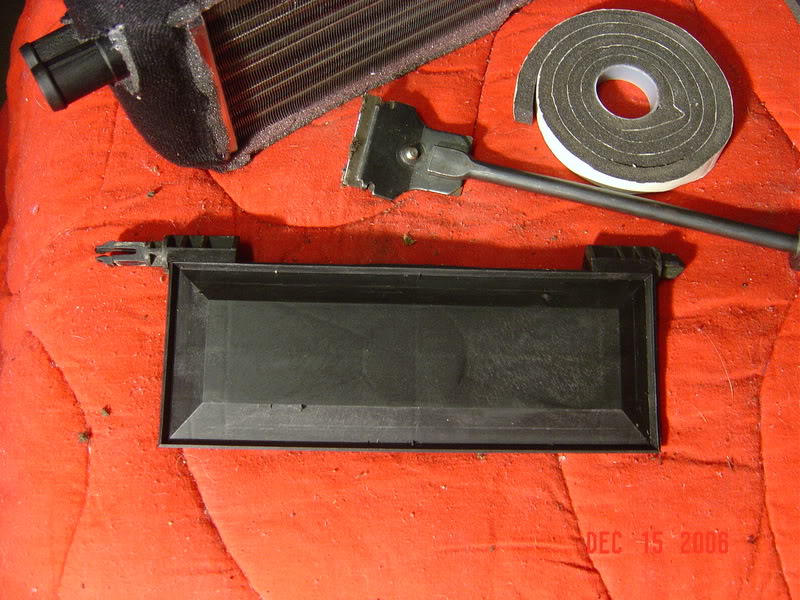
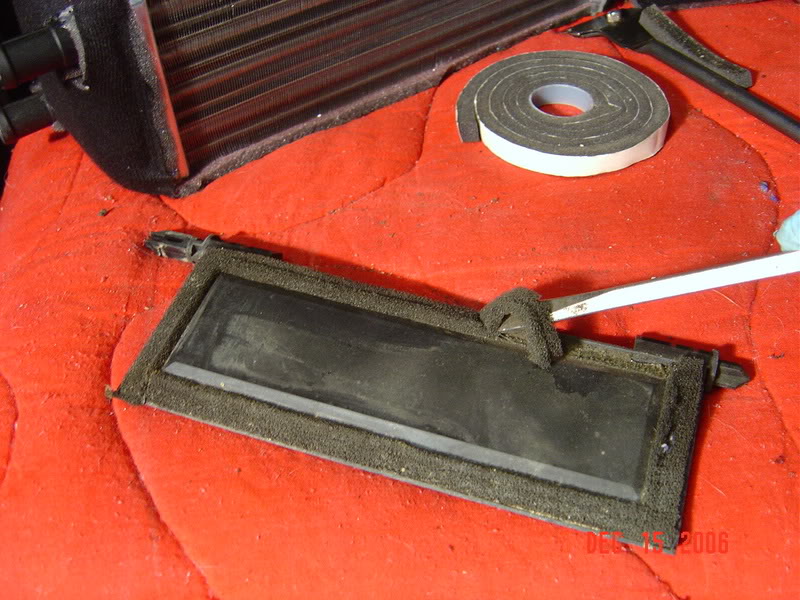
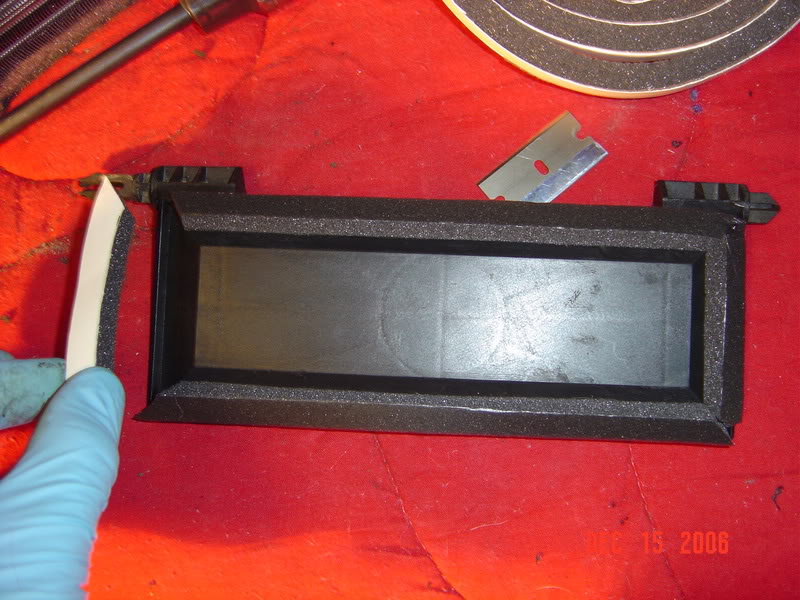
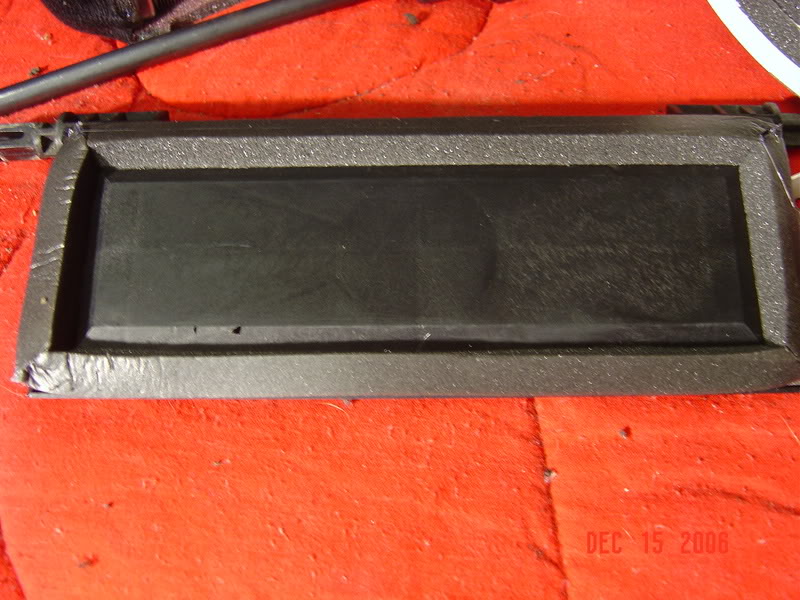
I went out and got some weather stripping to replace the foam. Here's a few pics of putting it on.
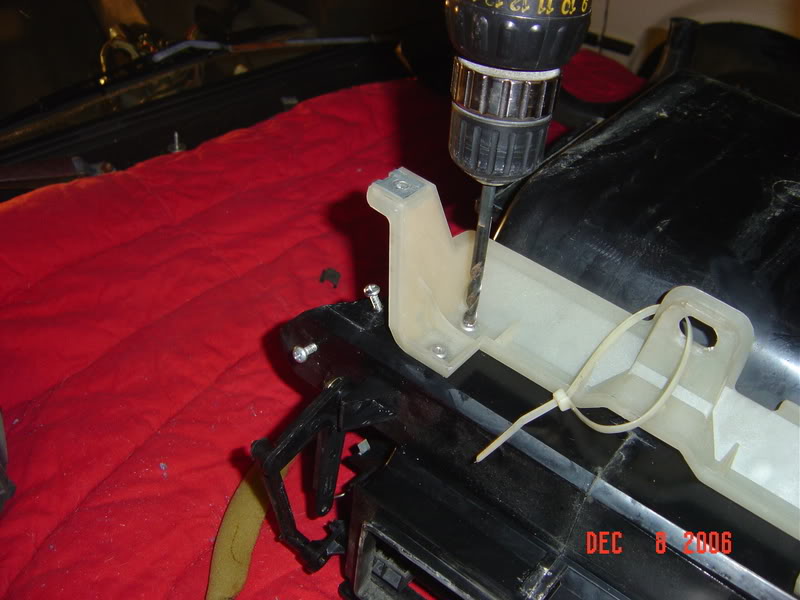
Ok so remember those rivets I drilled out a while ago to get the heater box apart?

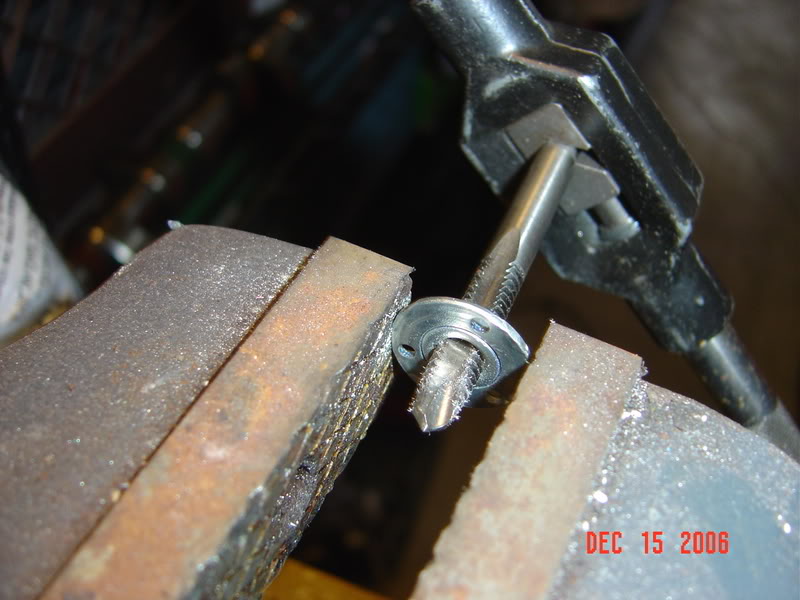
Well they were pretty large and I didn't think replacing them with new rivets was smart.  Plus while drilling them I ended up making a few of the holes in the underlying plastic bigger than they were originally. After wandering the isles of Lowes for a bit I decided these would work the best. Make sure you get the brad secured type of t-nuts.


First I drilled out the plastic to fit the diameter of the t-nuts. Drill all four holes in the support.
And all four holes in the heater box, just large enough so the t-nuts fit in snugly.
Now through some trial an error I determined that the t-nuts were too long and really wouldn't end up securing the support on the heater box properly so I had to grind them down a little.
Grind them down to about 1/3 their original height. So they look a little like this...

The grinding can sometimes booger up some of the threads and you want them nice and smooth so they don't spin while you're trying to tighten them, soooo chase them with a 1/4-20 tap.
Now I put a litte hot glue on for good measure...
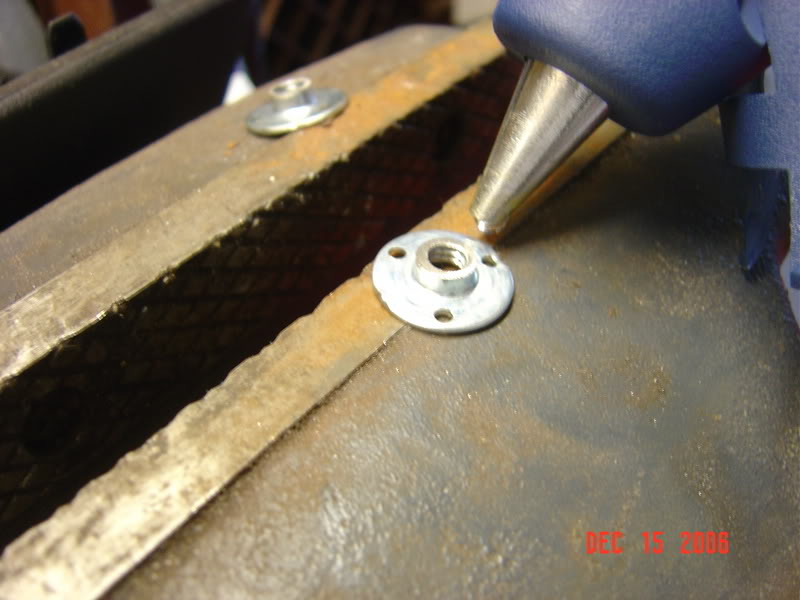
And pushed them through from the inside of the heater box..
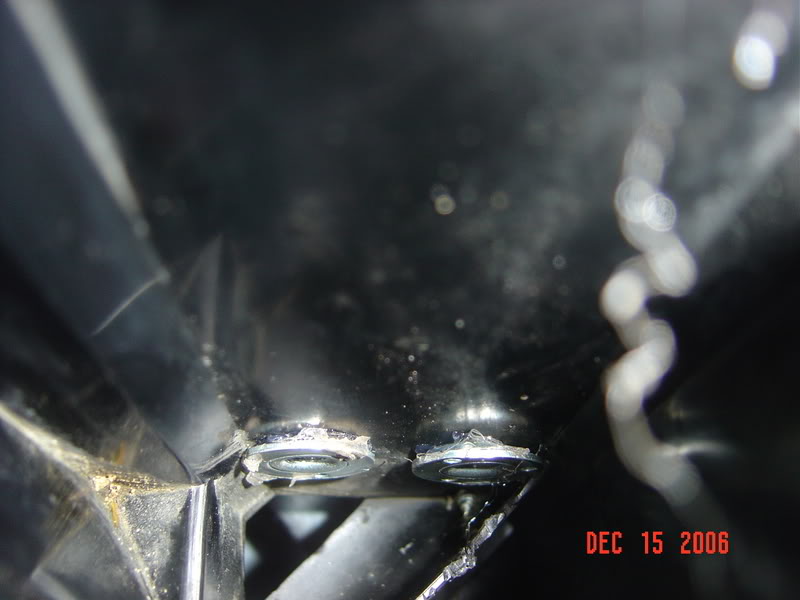
Here is what they would look like with the screws in them.
Well after I put new foam on both the doors and cleaned the inside of the heater box as much as possible I put the heater core back in and slid the two halves back togeher. Go slowly to get everything lined back up. Put all those clips back on that you took off earlier...

Now install and tighten those new bolts into the t-nuts.
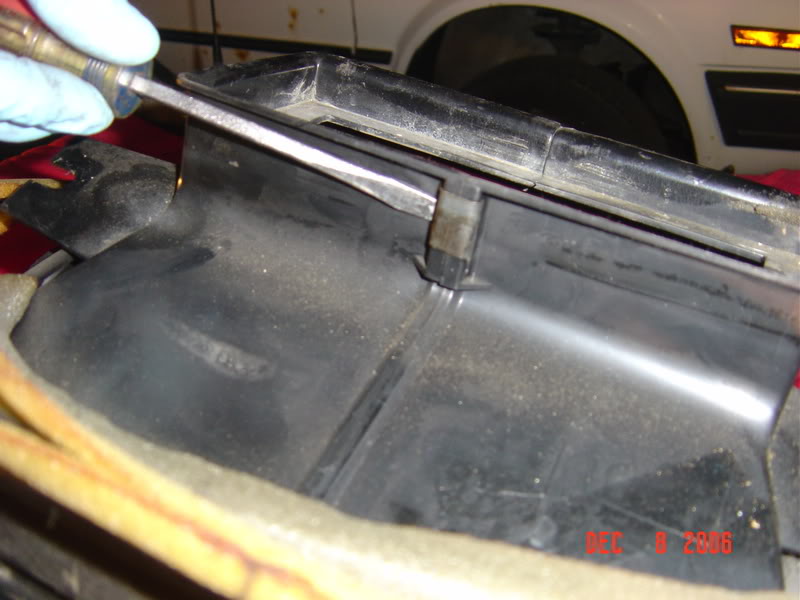
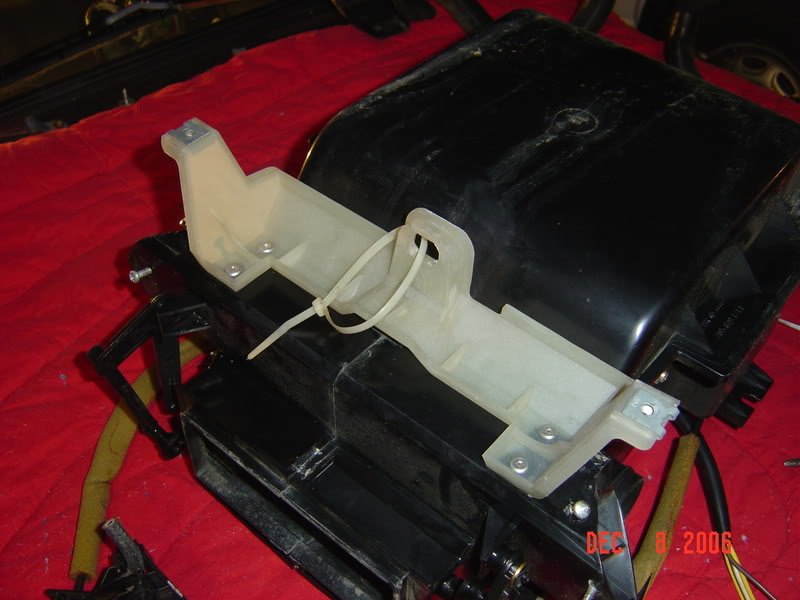
Now here's a few pictures of the heater box reassembled.
Defroster door open..
Defroster door closed...
A picture of the side with the new heater core poking through. Merry x-mas to me 
Well I'm not going to be nearly as detailed upon reassembly, you can just go back through and read in reverse I suppose. If you're new to this kind of stuff hopefully you labeled everything or put things in baggies so you know where they came from. Here I've shoved the heater box back into the car and put the four bolts that hold it in. Dont forget to hook up those white and red vacuum lines....
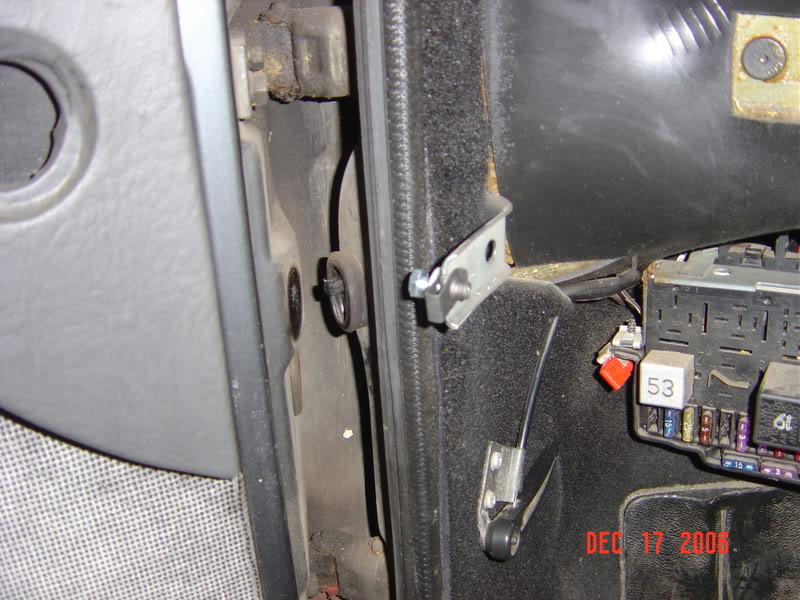
Now if you remember waayyy back like a hundred pictures ago I had to drill out two other rivets just to get the dash out. Well let's enlarge those holes they came out of...
We're making room for these replacements. It's pretty much automotive standard.
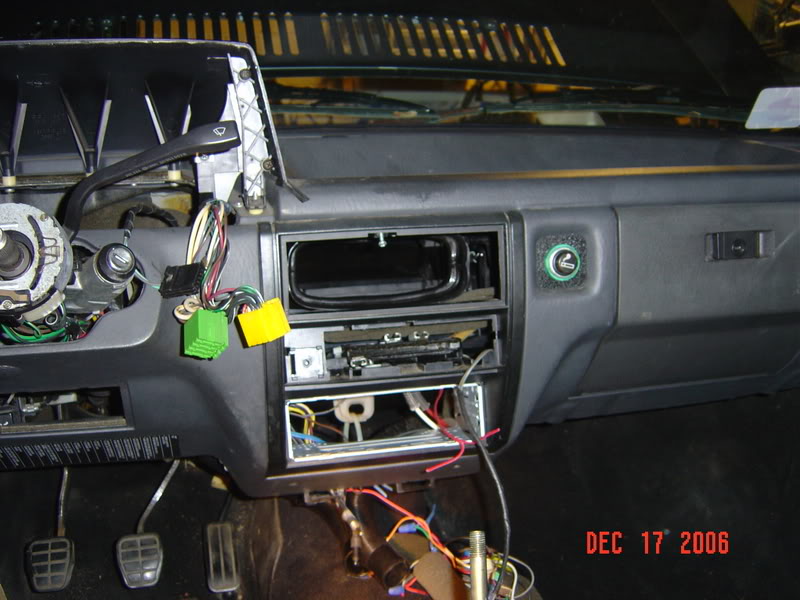
Well here's the dash back in. Notice the cage I put in for the new stereo.
Well I think that's about all I'm going to do here. Well I'll of course finish up the project, but I'm done taking pictures and writing. Installation at this point should be the reverse as removal. I'm going to rewire the stereo of course as the old wiring is a mess. Someone else can do a stereo DIY. Let me know if anyone has any questions or ways that I can edit this a little to make it even more useful. Thanks for all the positive comments that I've gotten during the write up.
Nice DIY!
Posted by Diggymart on 4/21/20 @ 5:06:18 PM