You must be logged in to rate content!
4 minute read
Shaving Sidemarkers
Compliments of 1broknrado @ www.vwvortex.com
OK boys and girls since the archives are all freaky deaky, i've decided to make a DIY to shaving your sidemarkers using the plastic welding with a soldering iron method!
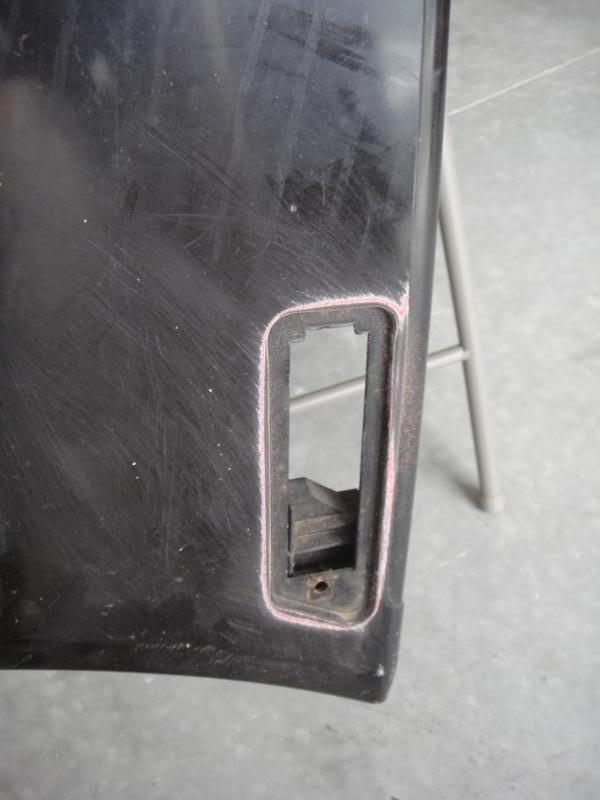
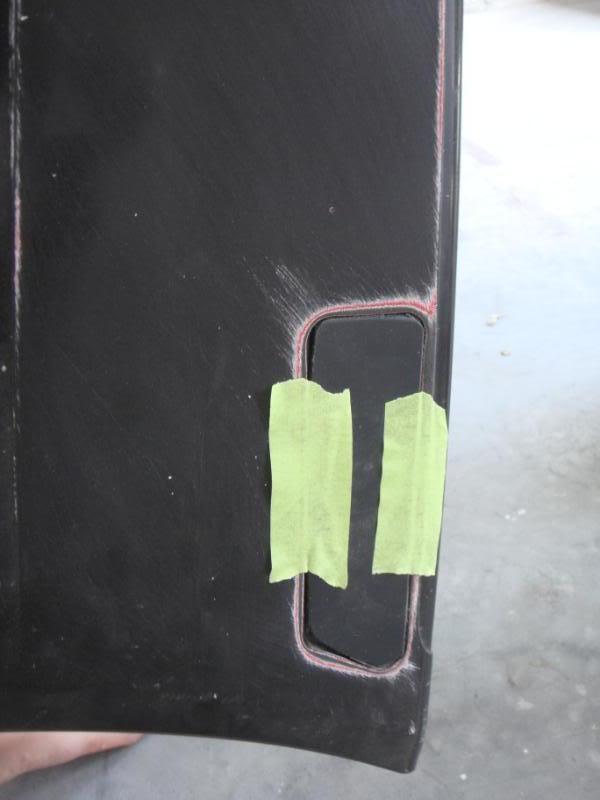
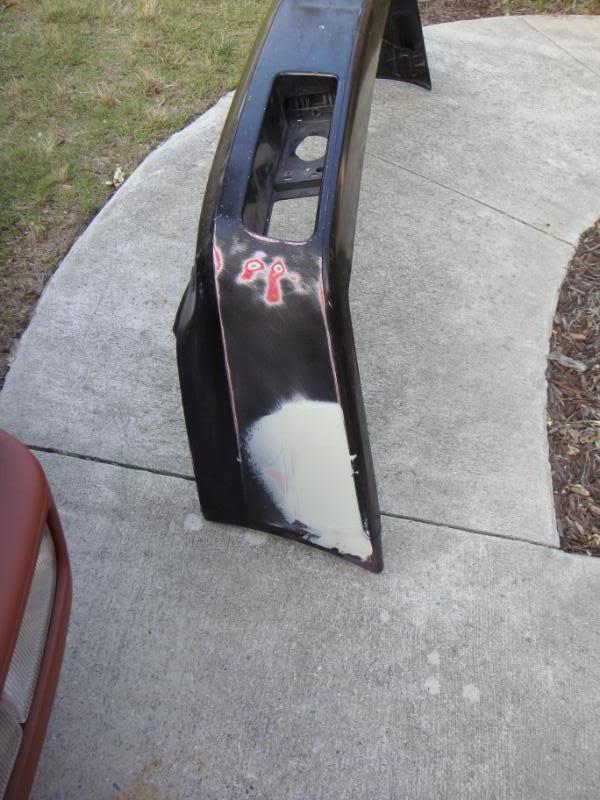
Ok so first you want to get cut out pieces that fit flush and as BEST as possible to fit into your sidemarker position. Sand down the area with 80grit sandpaper and then tape your pieces into place.
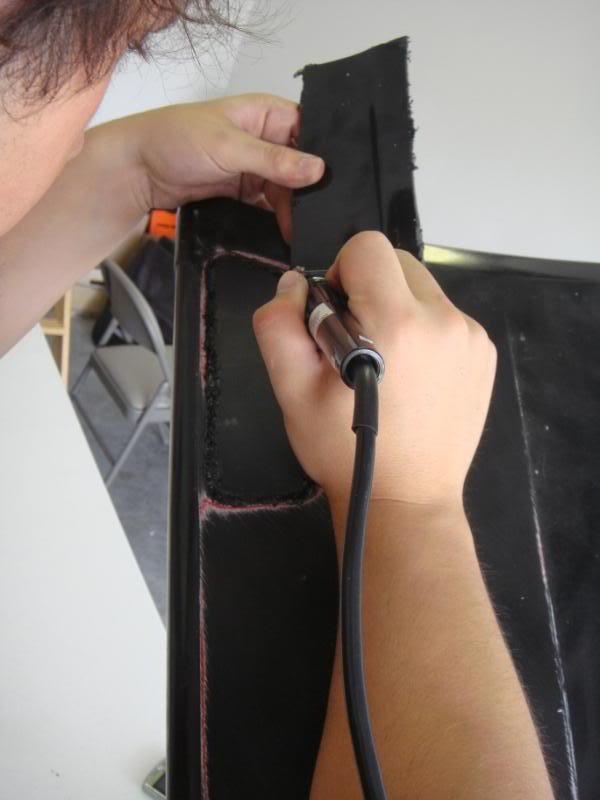
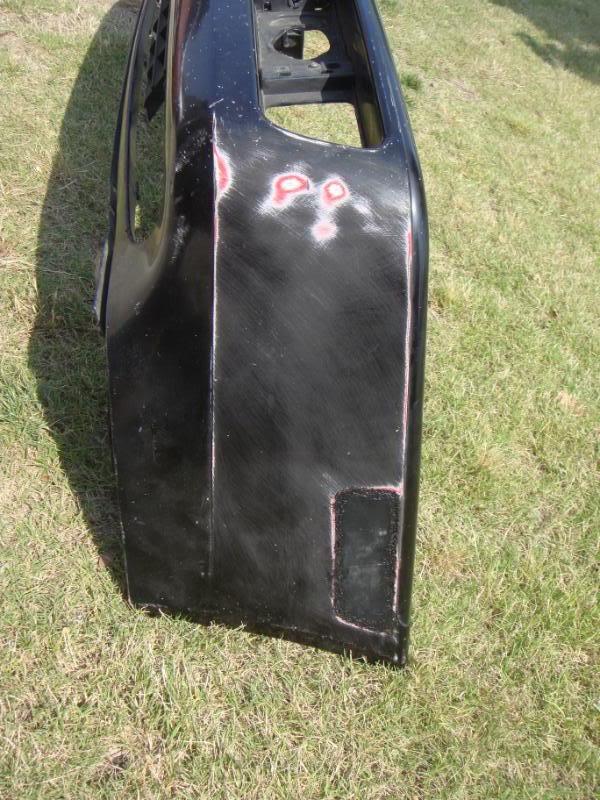
Ok, now that you're ready to tack weld these plastic pieces into place you want to make sure your soldering iron (i bought a cheap 30watt one from autozone for 6$) is not and HOT. The technique you want to use here is to melt both the actual bumper and the cutout piece at the same time by sticking the soldering iron tip between both pieces. This will make them melt simultaneously and will give you a "roll" of melted plastic around the edges. Do this in about 1/2 to 1inch sections at a time. What you want to do with the "roll" of melted plastic that accumulates on the edges is to take it and mush the 2 together in the gap you now have.

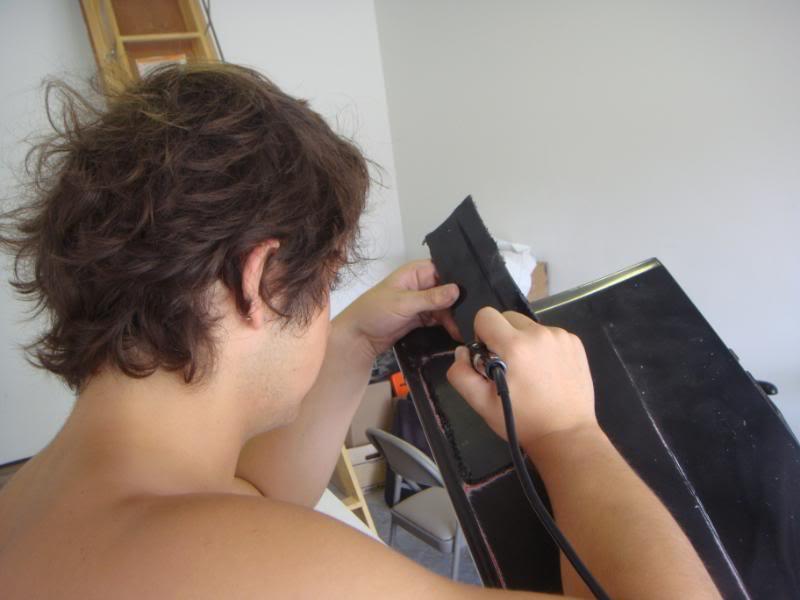
OK! Now that you have gone all the way around and done the entire piece, you will have the above picture. What you now want to do is grab a spare piece of plastic (the same type as the bumper obviously) and melt the edges down to be able to push them into the gap to make it as flush as possible with the bumper. Remember, the key to bodywork in general is to use the LEAST amount of filler possible!! So you want to take the piece of plastic and melt the edges to push into the gap:
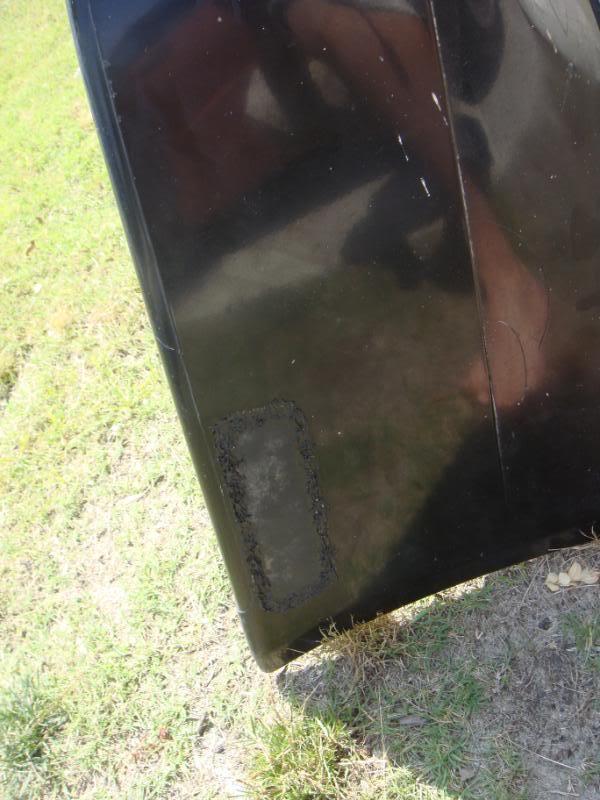
Then, after i had filled in all the gaps and dips and what not, it still wasnt a very even surface, so i took the soldering iron on its side and just kind of rubbed the entire area to melt the high points and make it as flush as possible to get rid of as many pits as i could.
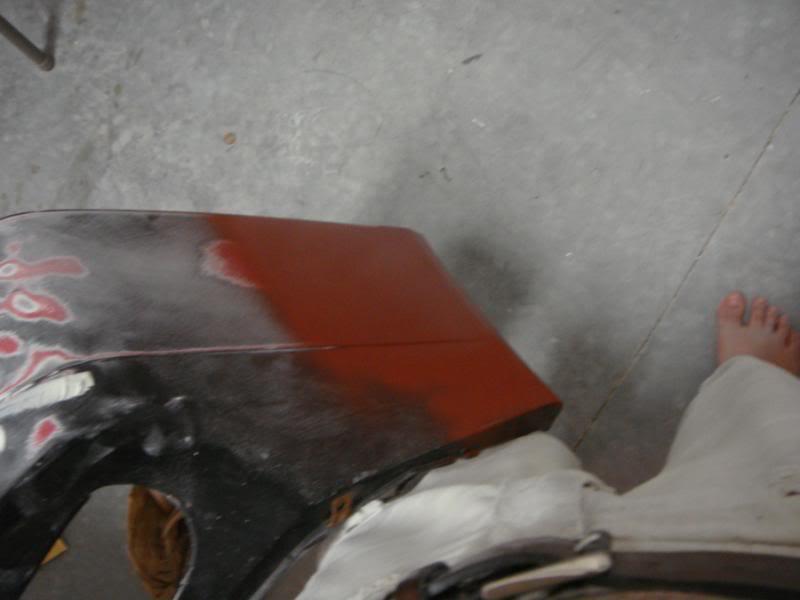
This whole process took me about an hour (it was my first time too) and this is the end product after the plastic welding is complete....i will update this thread with more pics as i go over it with polyflex filler later today.
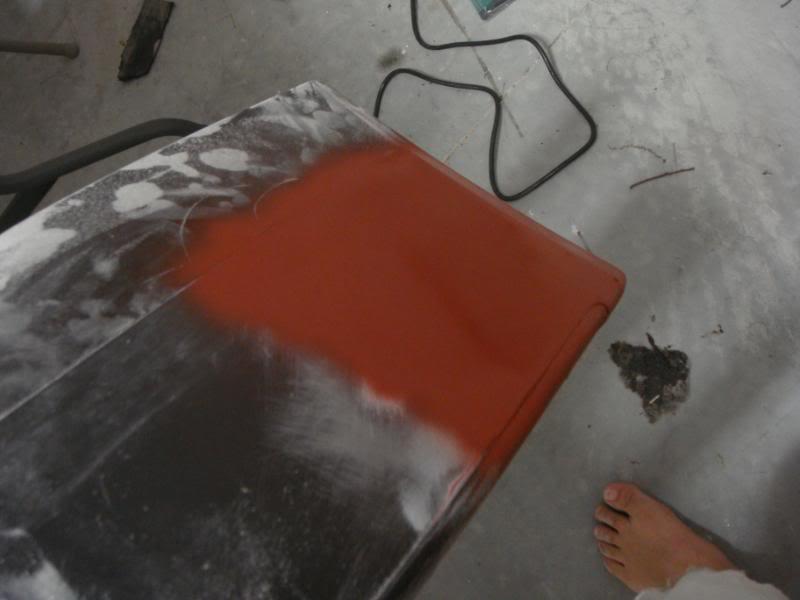
Once everything is sanded down smooth, apply first layer of Polyflex glaze filler
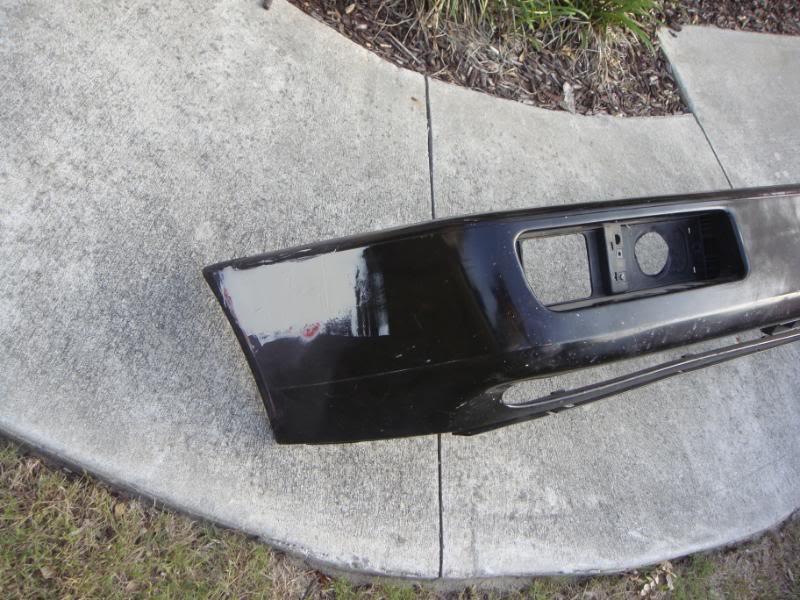
Sand down until there are no low spots and is smooth and this is your finished product
Enjoy!