You must be logged in to rate content!
8 minute read

’65 Beetle Headlight Assembly / Disassembly / Removal
Compliments of ninjapants @ www.vwvortex.com
To Begin: I decided to make this DIY after finding a lack of resources on complete and proper assembly/disassembly of the headlight buckets ob my gfs 65 Beetle. As a reference of the basic idea I used a DIY on the samba found here. My headlights were of a different style so here is a reference for those with this style of lights. . For disassembly and removal from the car just reverse the steps. As with all DIYs, I am not responsible for destruction of yours parts, personal injury, or any mishap resulting from your own stupidity
Tools:
Small pliers
Phillips/Flathead screwdrivers
Safety Glasses
Process:
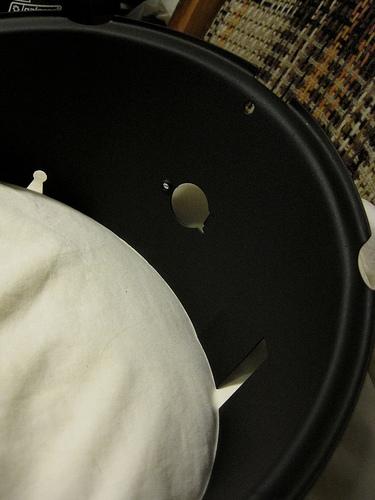
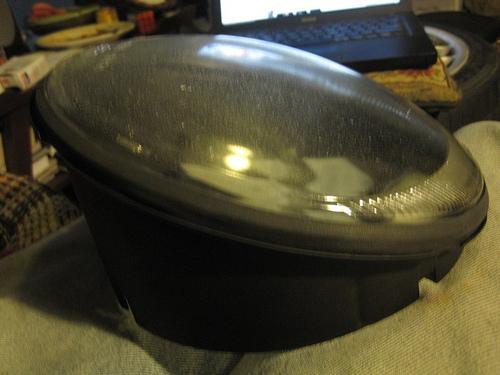
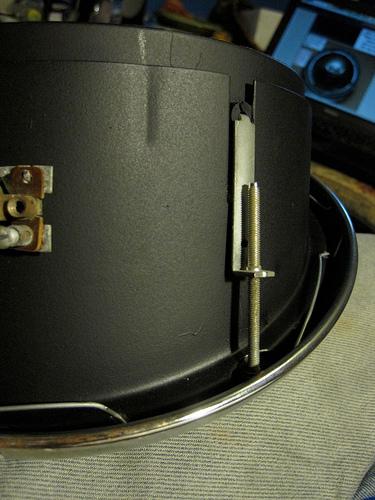
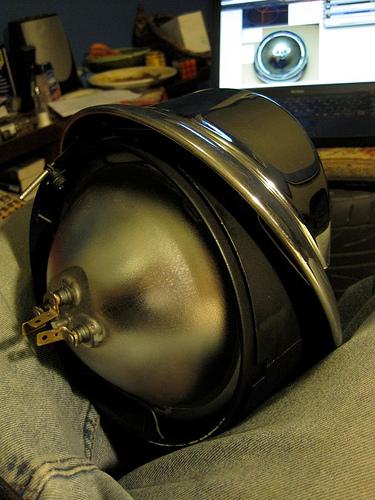
Step 1: Start with the main housing. You need to reattach the base for the running light. From the bottom of the headlight housing slide the end of the base opposite the screws in to the hook on the housing. Then screw the one main screw in that secures the light base to the housing.
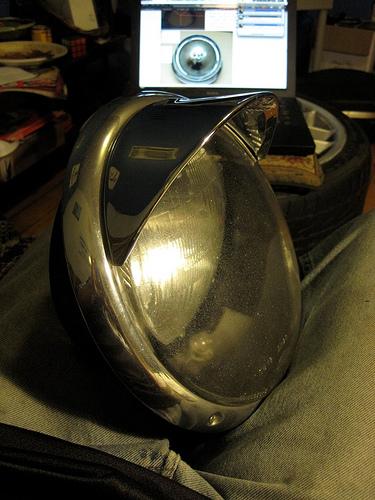
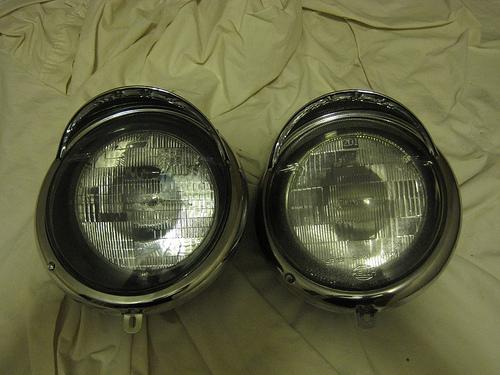
Step 2: Grab the lens and the seal with the recess in the center. Stretch the seal around the lens with the recessed section fitting over the lip of the lens.

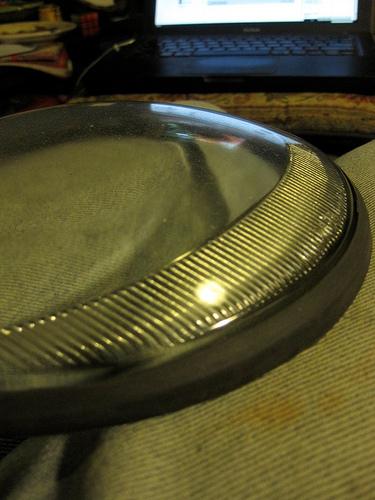
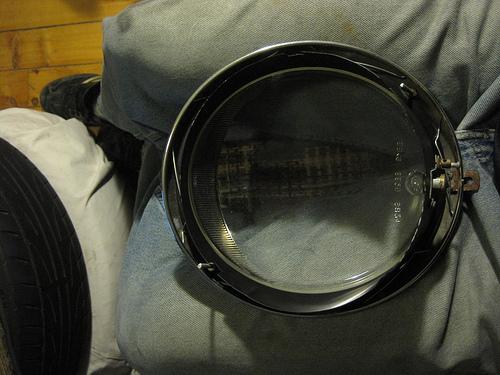
Step 3: I suggest making use of you lap for this next process to protect the lens as you secure it to the housing and chrome trim ring. Start by placing the trim ring in your lap face down. Next place the lens on the housing with the fluted side of the lens at the skinny end of the housing (top). Next flip this section down on to the trim ring with the bottom of the housing (the thicker section) at the bottom of the trip ring (side with mounting tab). If you are installing eyebrows sandwich them between the trim ring and lens/housing. I had to modify mine a bit to prevent them from rubbing against one of the adjustment screws so they could sit flat.
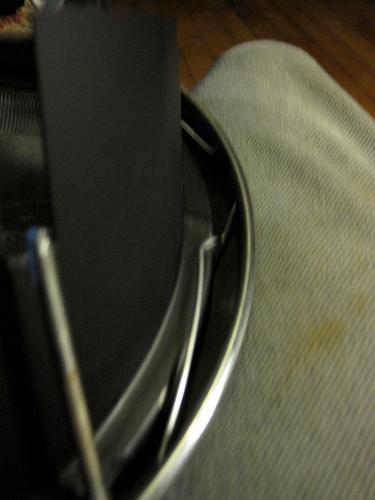
Next comes the fun part. Put on your safety glasses. You are going install spring clips to hold the housing against the lens and trim ring and securely seal it. The spring clips can hold a lot of tension and it only takes a minor slip to send them shooting like a rocket ship past your face so make use of those safety glasses. You should have 2 types of spring clips, one should have an extra kink in them and you should have more of these guys, they are the ones you want to use for this part. Starting at one end of the housing place the kinked end under the lip of the ring, the kind should sit over the housing and then using your fingers or pliers press the other end down and up under the lip of the trim ring. Repeat this process 180 degrees around the housing from the last one. Then place 4 more along the housing spaced evenly. I used 6 clips per headlight for this part though so people say 7. I felt 6 was fine and I didnt have to cram another in, its your choice. Make sure everything is straight and lined up with the lens, housing, and trim ring before proceeding and make any adjustments if need be.
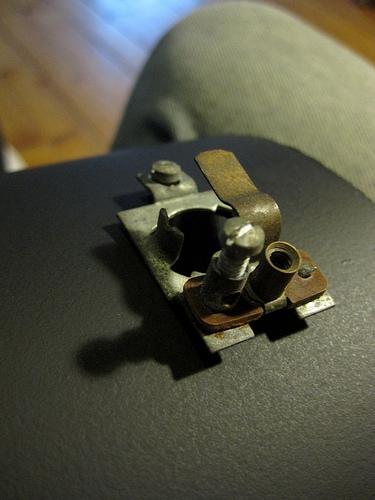
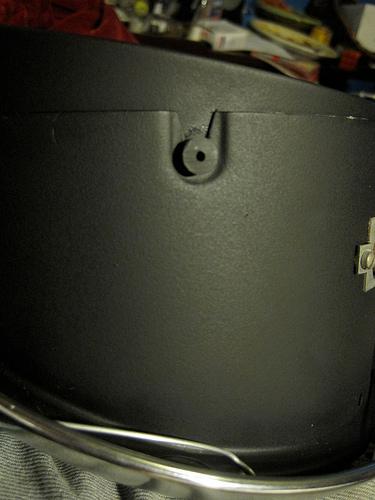
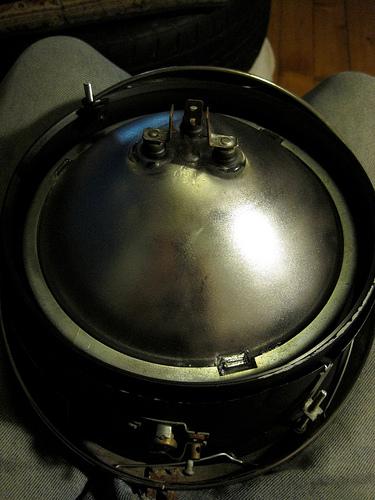
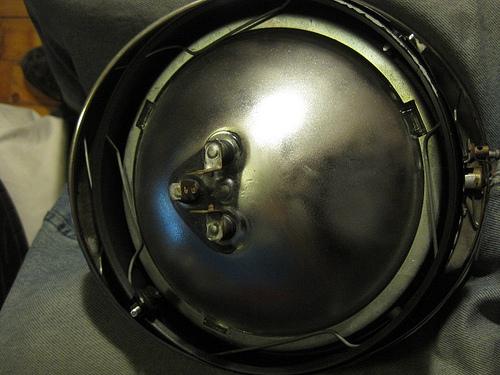
Step 4: Now we are going to install the smaller pivoting housing section that holds the main headlight bulb. Start by lining up the smaller housing with the larger one. One black plug holds an adjustment post, some are short and other reach longer down to the screw, I have the longer version. The other black plus is the pivot. There should also be another screw post that slide in a smaller recess of the main housing when the 2 parts are attached. Once lined up push the small housing in to the main housing so the black plug that acts as the pivot clips in to its spot on the main housing. Now screw the 2 adjustment screws in to their posts until the inner housing sticks out of the back evenly on all sides. As you turn the screws you will see how one controls the vertical pivoting of the inner housing and one controls more left to right movement. Using these 2 screws you will adjust the angle of our headlights once finished.

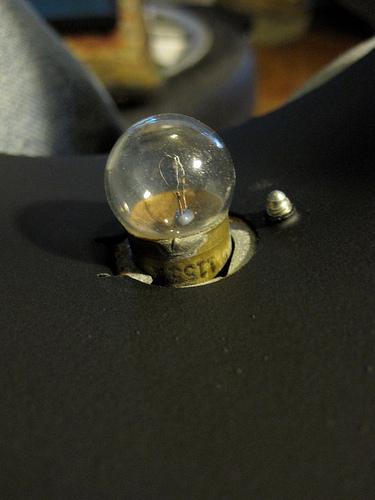
Step 5: This is the last step in assembling the headlights before they are installed on the car. Placing the housing back in your lap for this step is a good idea. Take the headlight bulb and place it in the inner housing so the prongs of the back are at 9, 12, and 3 oclock assuming the bottom (side with mounting tab) of your headlight assembly is closest to you. Then grab the retaining ring. There are 3 indents in the ring that correspond to bumps on the back of the bulb. This ring can only fit properly on the bulb one way. Corresponding with these indents are prongs that slide in to holes on the inner housing, that again, can only fit one way. Once you have everything lined up and snug its time to get out the safety glasses again. You are going to install more spring clips, but of the second type without the extra bend. Like the process for the first type slide the end with the larger bend under the lip of the inner housing, press the clip down over the retaining ring, and then hook the second under up under the inner housing. You should use 4 of these clips for each assembly. Once you have completed this, your headlight is ready to be installed on the vehicle. Just repeat the process for the other headlight and you have completed the headlight assemblies.
Step 6: This final step covers installing your assembled buckets on to the vehicle. I unfortunately dont have pictures of doing this process but its plenty easy. Start by placing the headlight to fender seal around the opening for the headlights with the ridged side facing out. Then slide the 2 wires for the running lights in to their posts and tighten the screws. It does not matter which wire goes to what post. Then slide the 3 prongs of the headlight in to their wire harness. You can now check to make sure all the lights and functions are working properly before proceeding. Next place the top of the chrome ring over the lip on the top of the recess in the fender. Lastly screw the tab at the bottom of the headlight assembly to the fender until the headlight is snug and sealed against the fender. Repeat for the other side and you now have finished your task. Grab a  and celebrate your hard work.


Nice!
Posted by Diggymart on 5/2/20 @ 6:38:23 PM