You must be logged in to rate content!
10 minute(s) of a 219 minute read
11-2-2010
So the drama I spoke of earlier involved the firewall. Once the r32 firewall was retrofitted into the rabbit I didnt like the look. Ive always liked the grooves and lines that added character to the bay. Too much I never liked, but too little I dislike more. There are only a handful of extreme shaved bays I liked and I dont think my project could pull it off so here is where the drama lied… Mike didnt have the appropriate machinery to do what I want so the firewall was left the way it was. After I exressed my great dislike Mike put his mind to work and made up a metal forming die. Good stuff Mike! 
The best part is Doug, has no clue what Mike has done and I wish I could be there to see his face because he didn’t like my idea of extending the vertical lines…. Hell get over it…
On with the pics
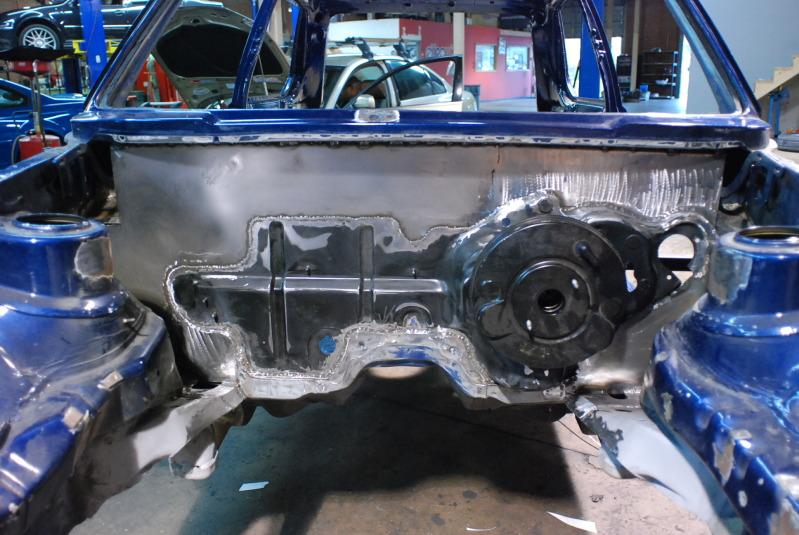
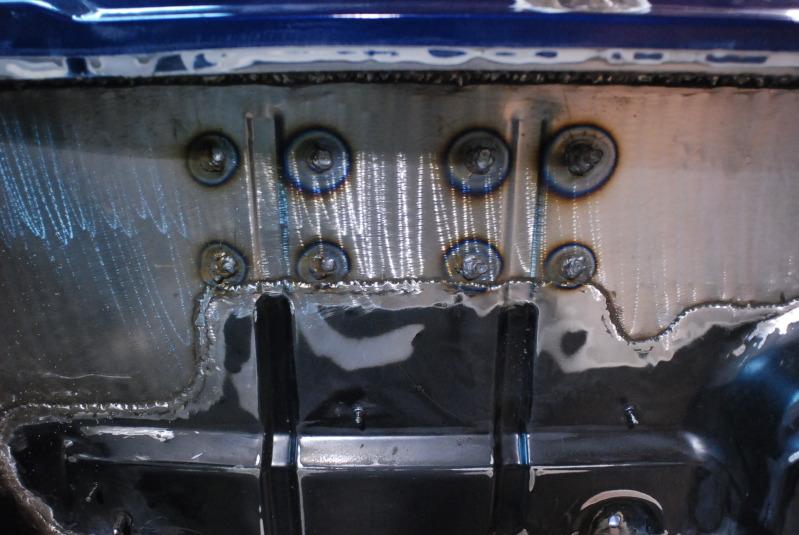
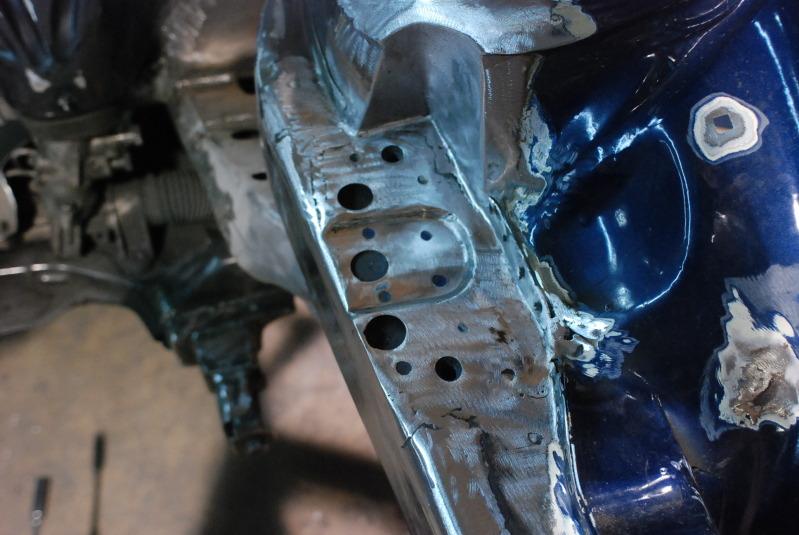
The firewall: The end pieces by up top by the hood latches aren’t complete but will be soon so please excuse the mess…. Anyhow, notice the two vertical lines that go up and just end. Now, the pics make the welded empty spaces look huge and they’re nowhere as big as it looks in the pics, but the little void kept bother me…
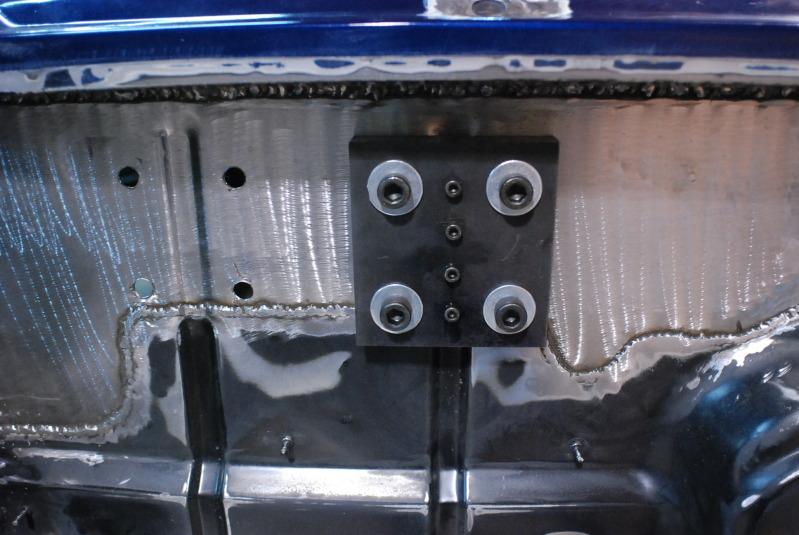
Mike’s metal forming die and how it works:
The overall size and weight is an amazing 25lbs and was designed to have the inserts removable and can be interchanged with other shapes to make different forms. He’s asian like that… 
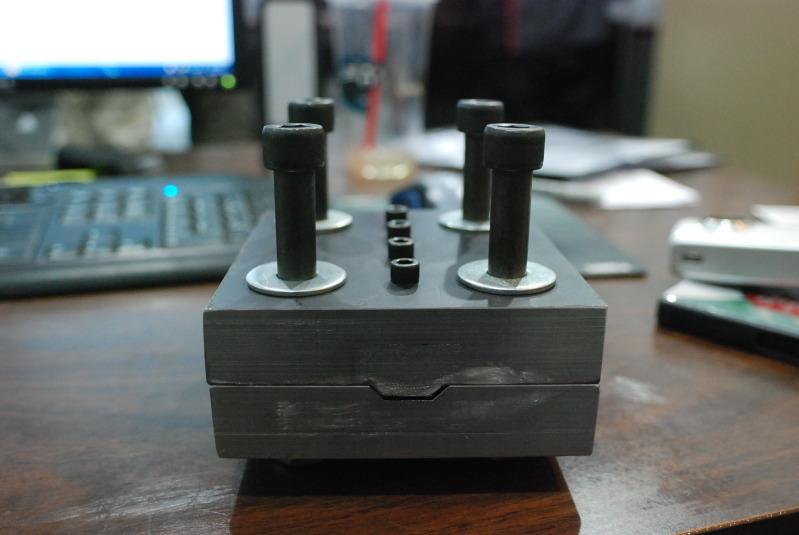
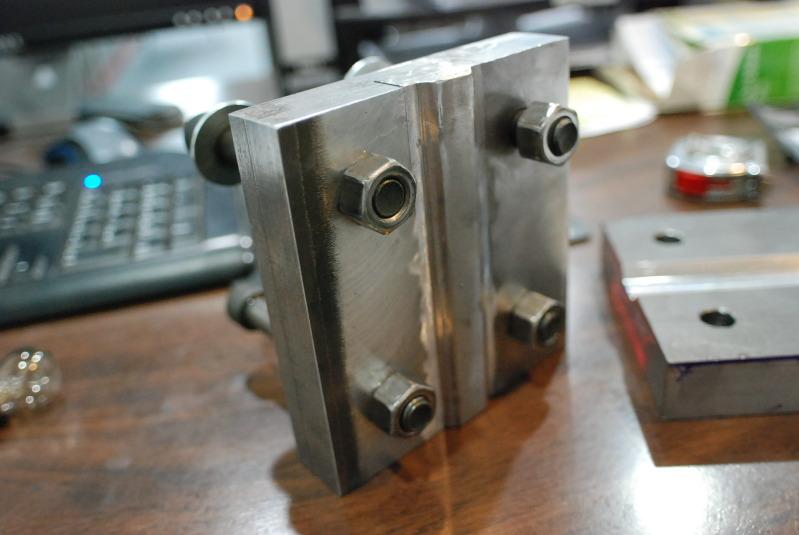
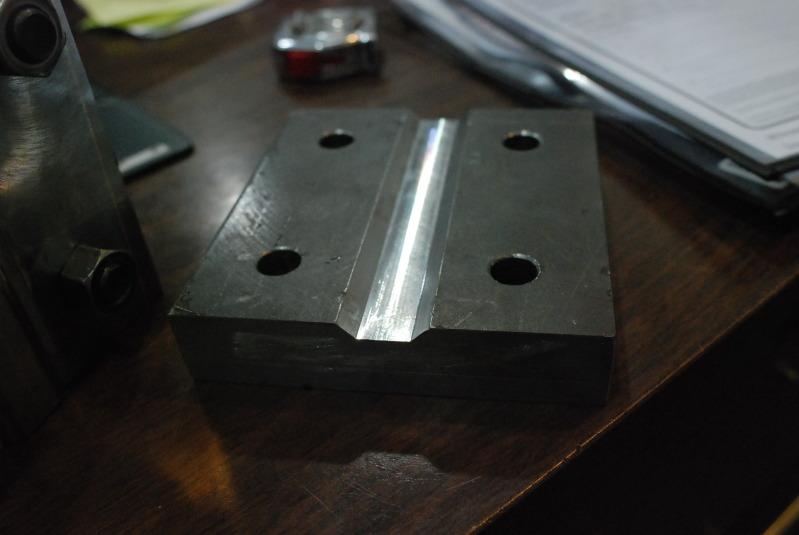
It easily stamped the 16 gauge sheet metal . Directions are as follows: Position tool and drill holes. Attach die and crank down on the bolts till both ends come together. Remove tool and weld holes shut, smooth welds and bam….
I know its a lot of work for such a minor detail, but I’m funny that way and Mike has been more than willing to provide what I’ve asked of him and his crew. Thanks homie, can't wait to give you that massage and buy you some Outback Steakhouse goodness Saturday... 
11/2/2010
Engine mounts are finally set
So as many of you that have owned a vr6 knows the oil pan sits way too low especially for the ride height we have all come to fine pleasing to the eyes…. Having said that, Mike knew I didn’t want to compromise ride height nor practicality so the resolution was simple…… Keeping in line with the OEM + theme we have more eurowise goodness.
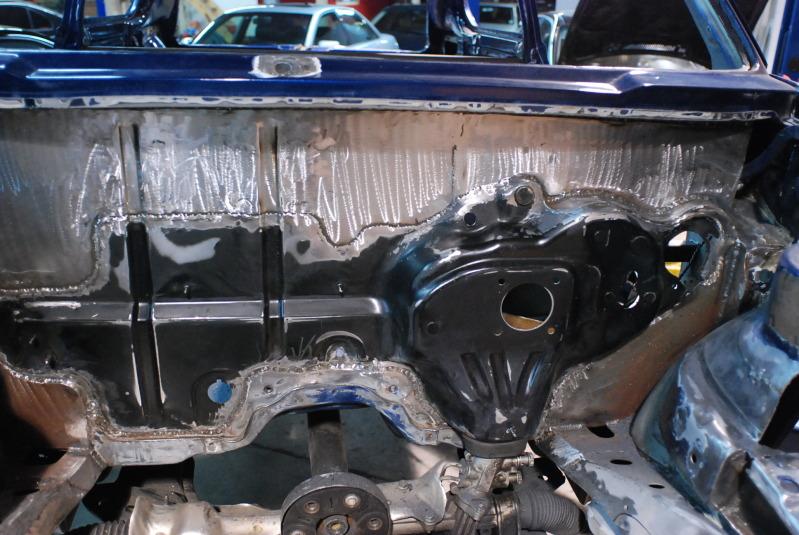
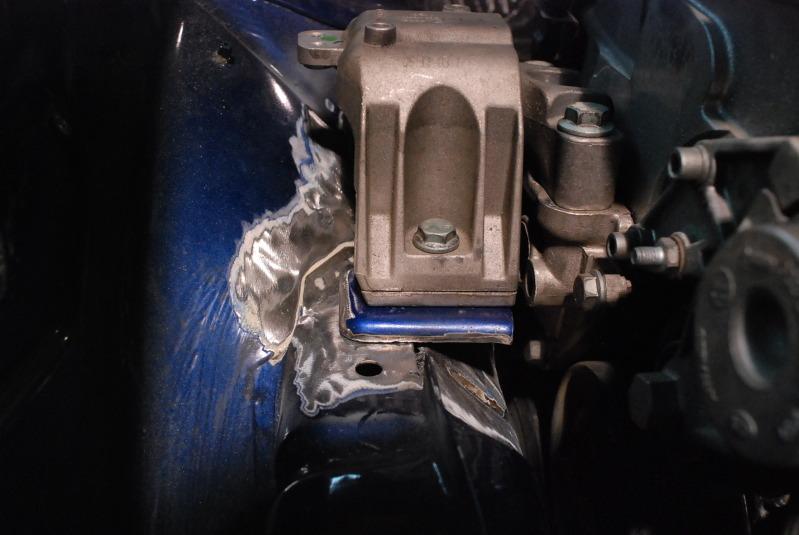
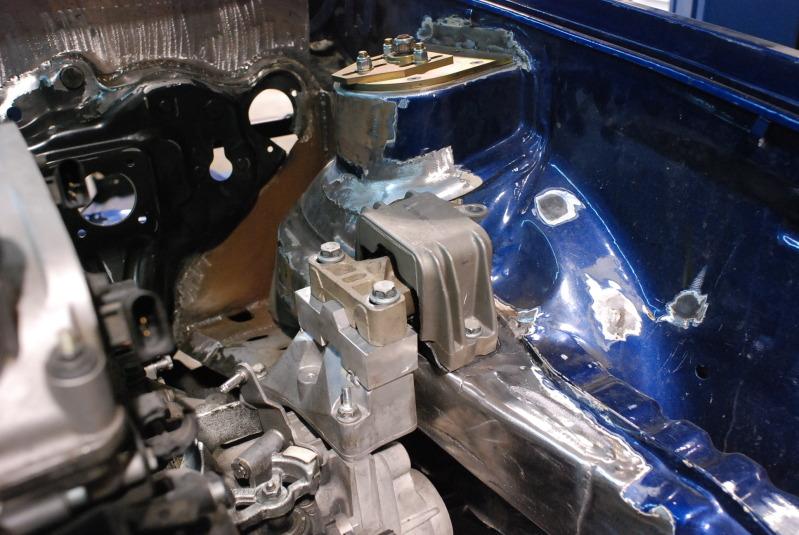
Driver side.
They machined a spacer to raise the height of the engine mounting point on the driver side so the mount meets the frame rail at the same point as the passenger side. Along with the pan sitting higher, think it flows better inside the bay in regards to engine symmetry…

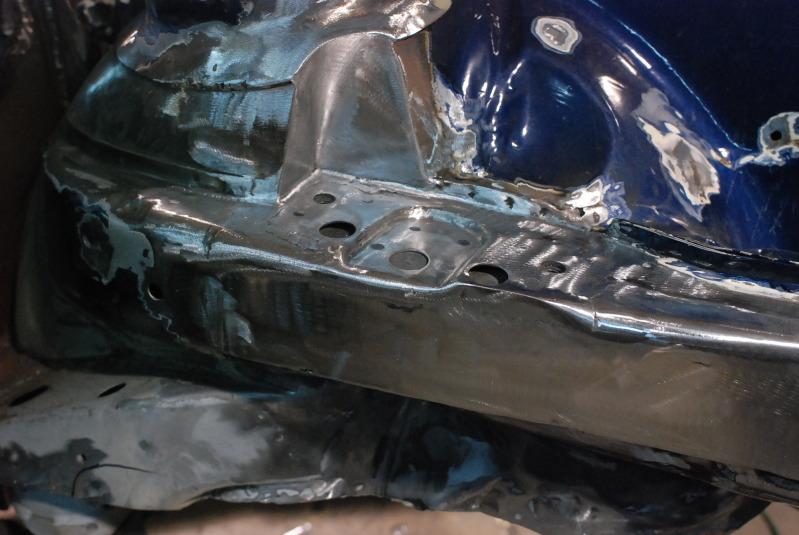
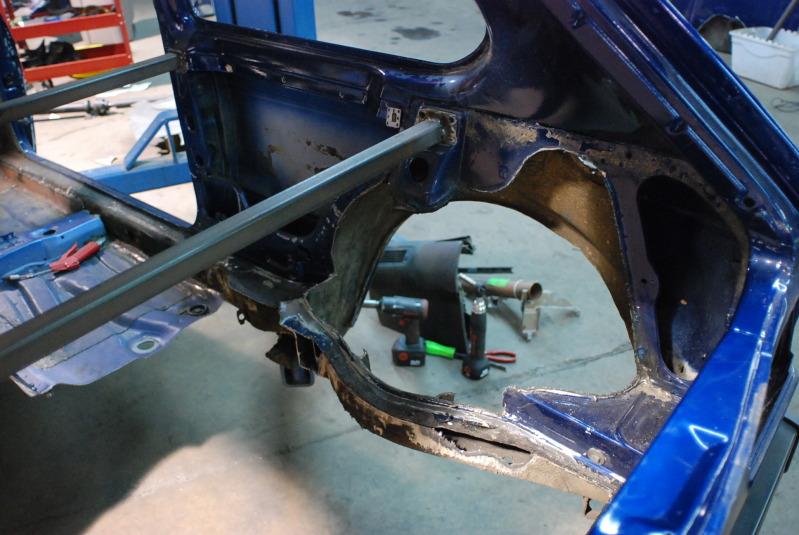
They cut into the rabbit frame rail and tower.
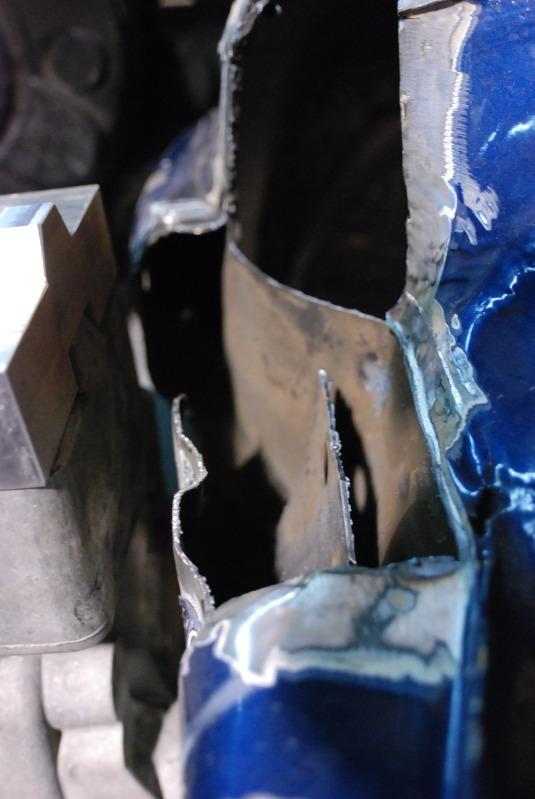
Then superglue’d everything back together…
And another angle of the driver’s side frame rail.
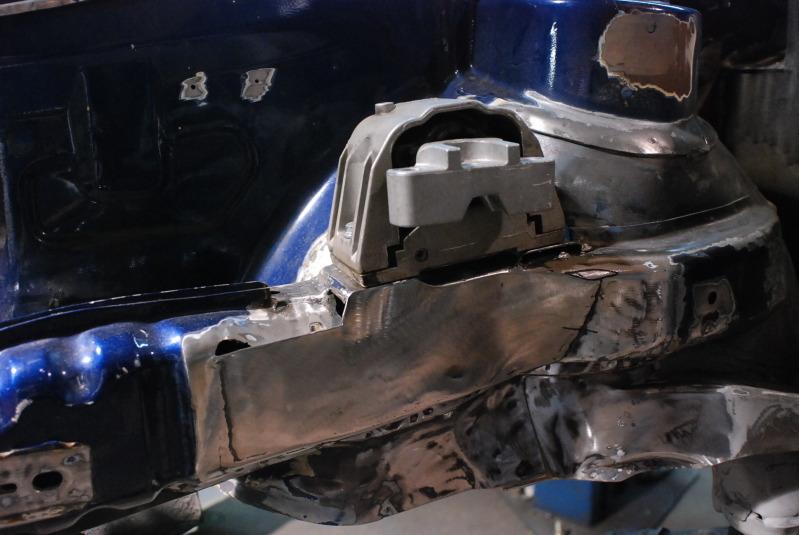
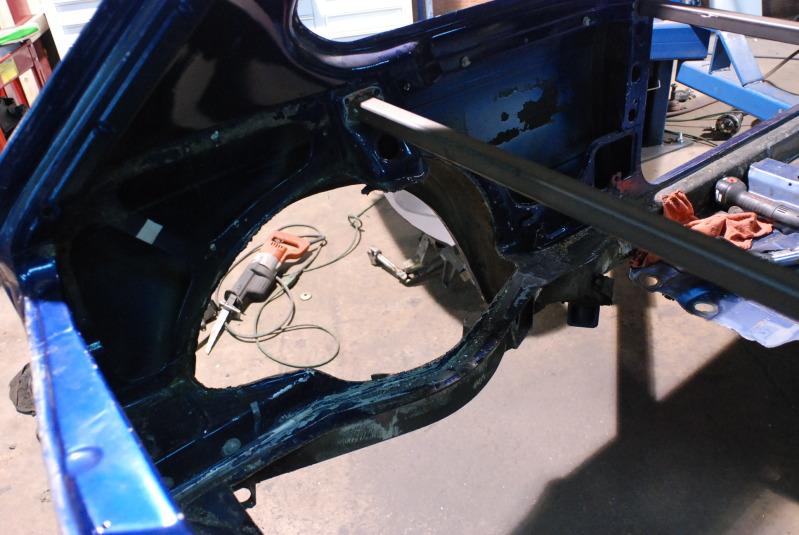
Passenger side…
A pic of the mounting point tacked in place to locate the engine. They also used\retrofitted the OEM R32 mounting bracket onto the rabbit frame rail.
And a pic of it reinforced and cleaned up a bit… Again, please keep the OEM + theme in mind.
11/8/2010
So it’s starting to look like an engine bay again…. It’s getting closer to permanent, even though everything you see might not be permanent….
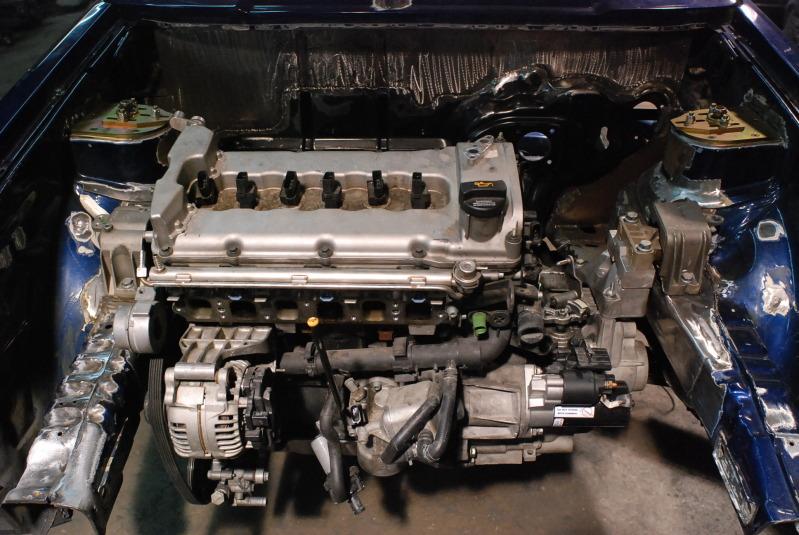
90% of the Driver side mount is done…. The spacer will be machined down to a more aesthetically pleasing pieces along with a few more things on that side of the bay…
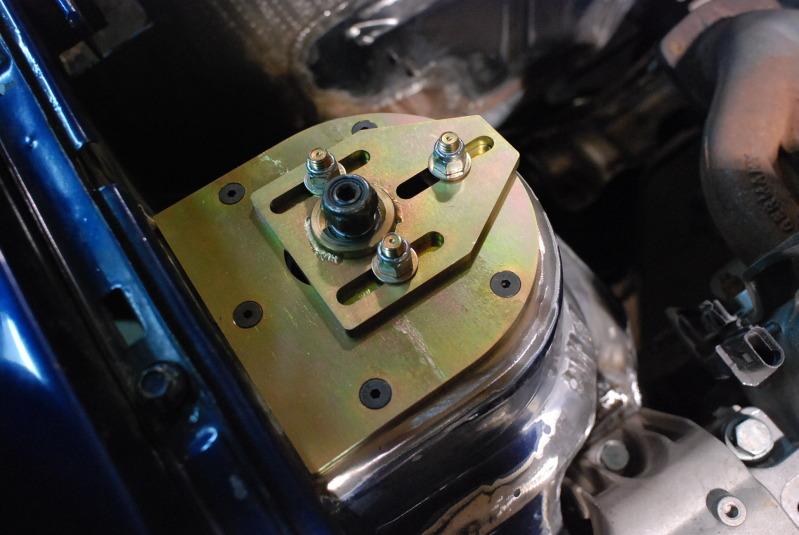
Strut tower plates are in.
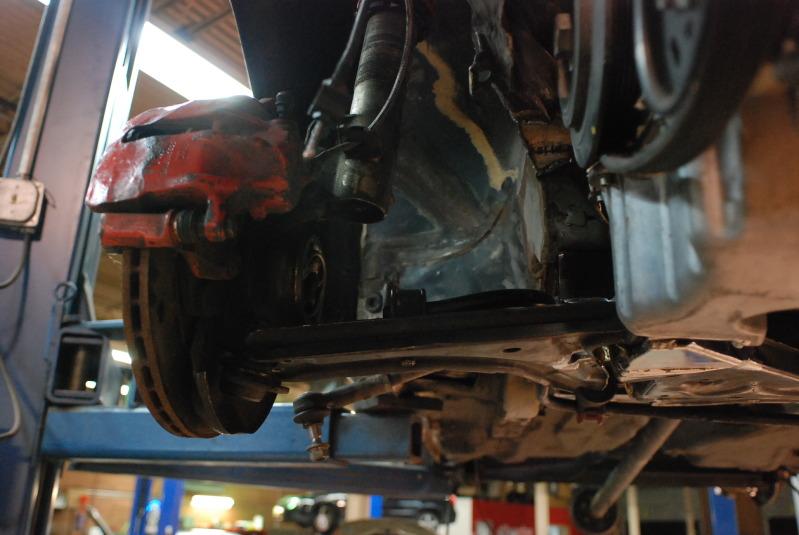
They got the r32 subframe with OEM intergrated a1 control arm mount and a1 sway bar mount installed
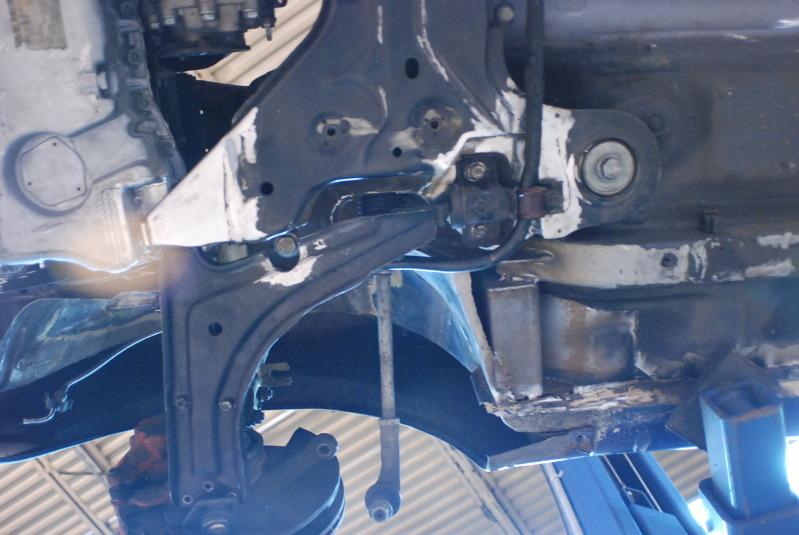
They got the spindle mocked up. The A1 setup you see in the pic will NOT be used…. After machining the hub with a bearing that gave way one weekend on the track, I think I proved the a1 spindles are bunk for any weekend-event intense driving…
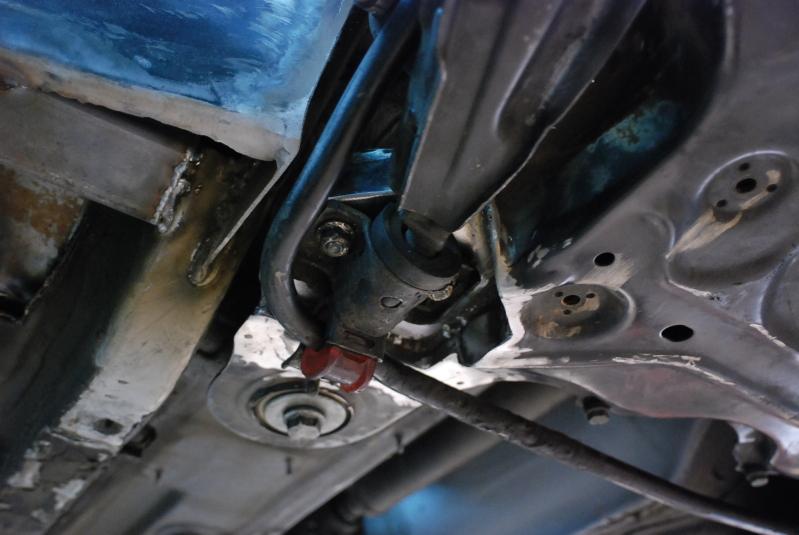
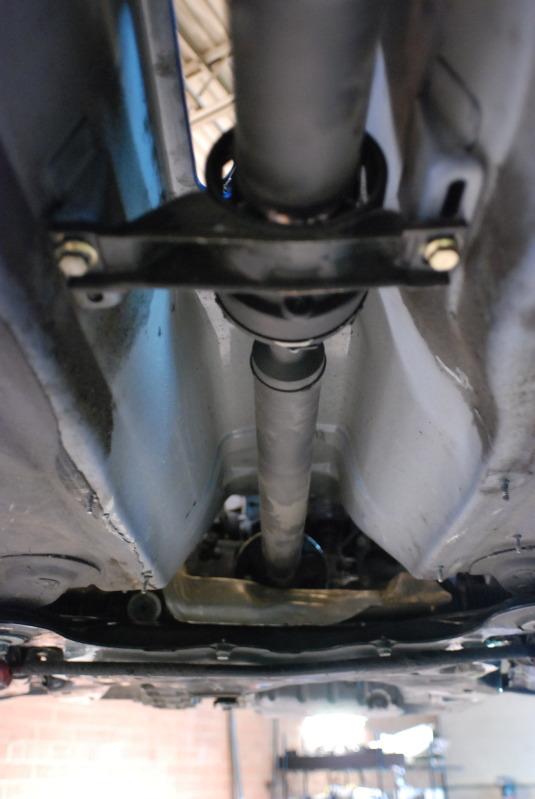
And finally the driveshaft bolted up to the stock OEM r32 location.
11/10/2010
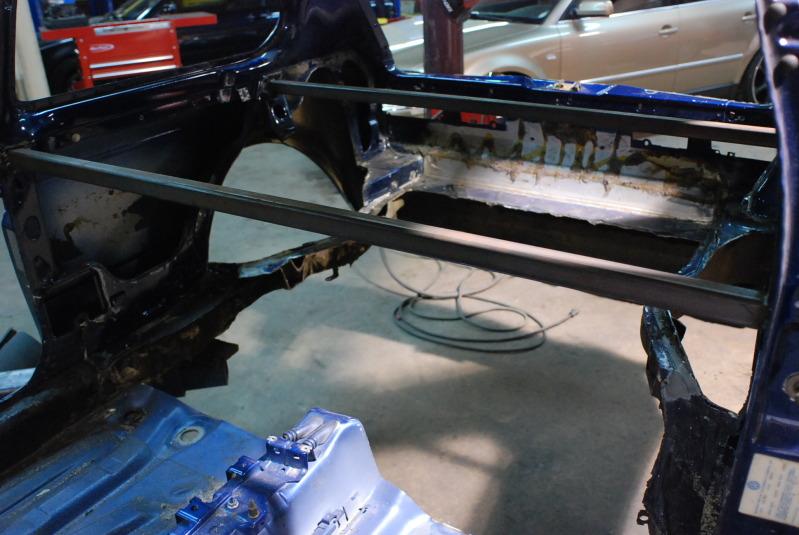
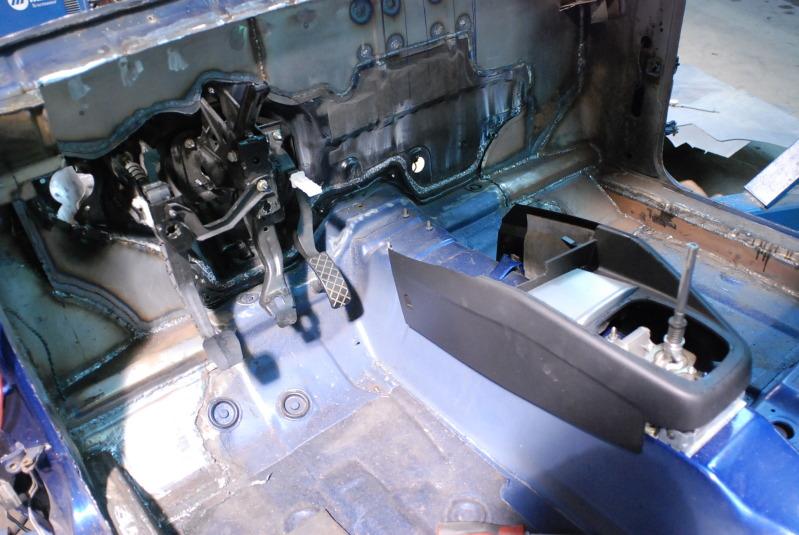
The ass is gone finally....
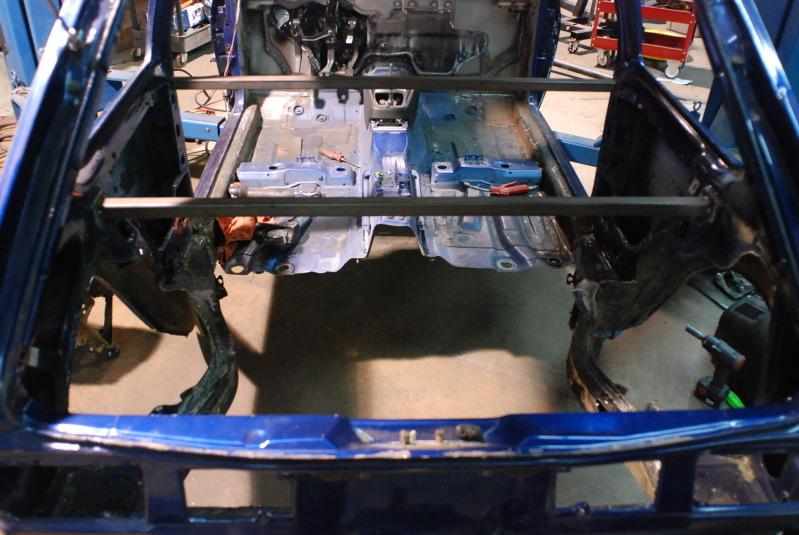
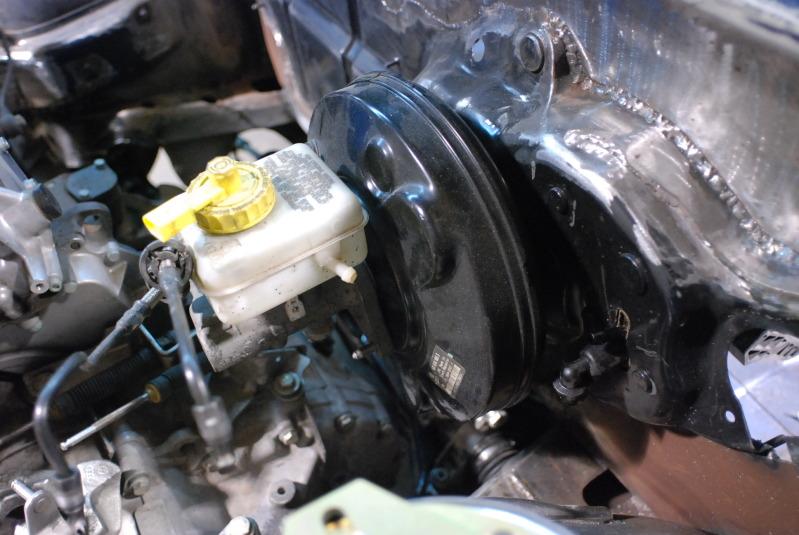
The brake booster bolted up.
Pedal cluster is in. Complete r32 setup...

And finally, getting everything in place so the cupholders can be mocked up.... YES, you heard it here first.... MKAY4 cupholders in a rabbit..... 
11/11/2010
More booty talk...
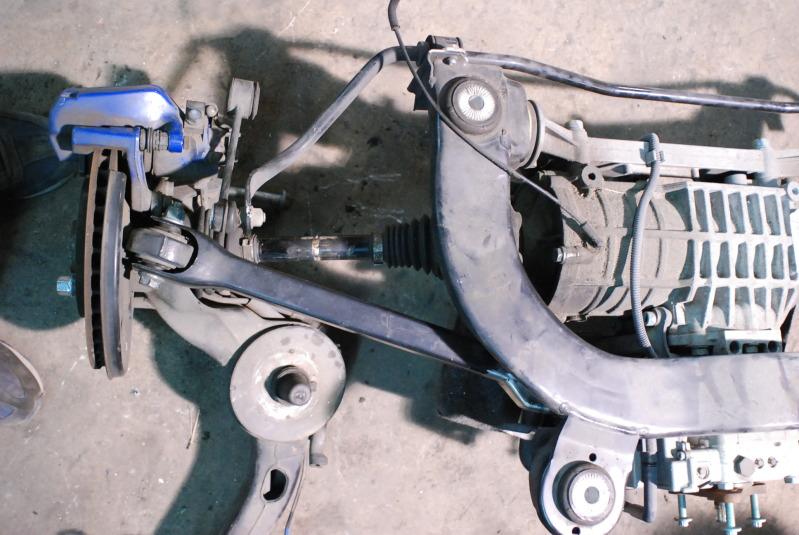
Measuring from hub to hub the r32 is 2.5 inches wider than the rabbit suspension.
So the plan was as follows... shorten the control arms, the axles, and narrow the r32 floor pan so everything will bolt up and fit just like an oem r32 suspension. even the rear spring seats will fit in the OEM pockets.
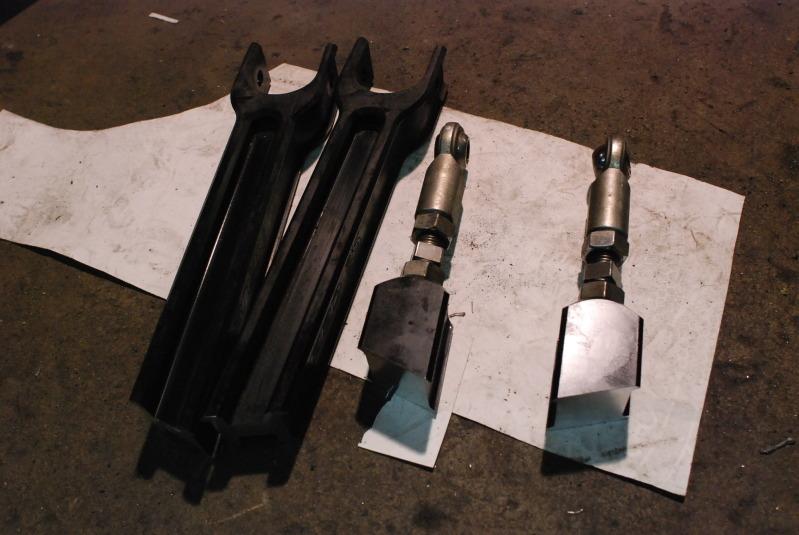
shot of the rear upper control arm before modification
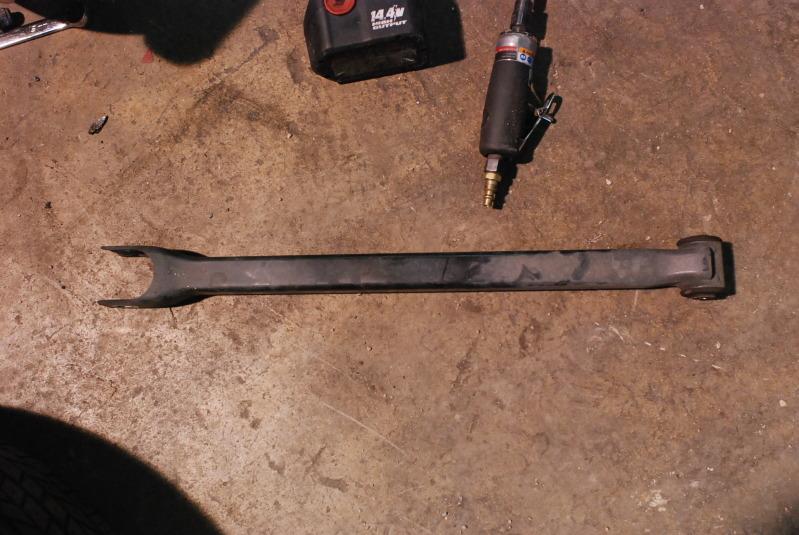
shot after shortening to show how much will be removed from each side
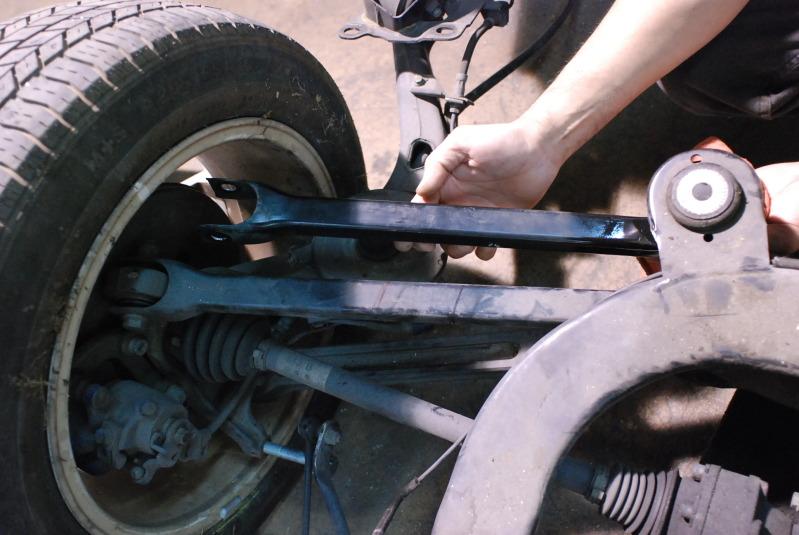
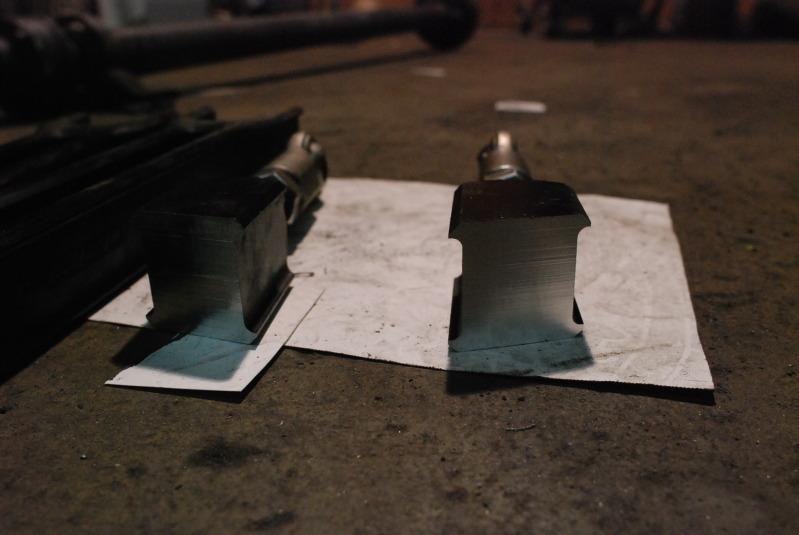
the inner control arm was cut offset, so tto get the caster back to spec
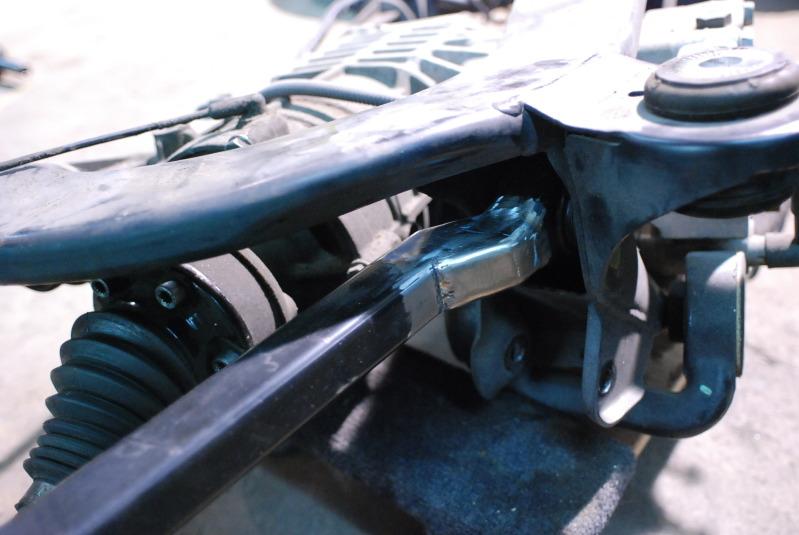
top angle showing the control arm installed with the offset modified. notice the axle sits straight now
shot of the adjustable lower control arm
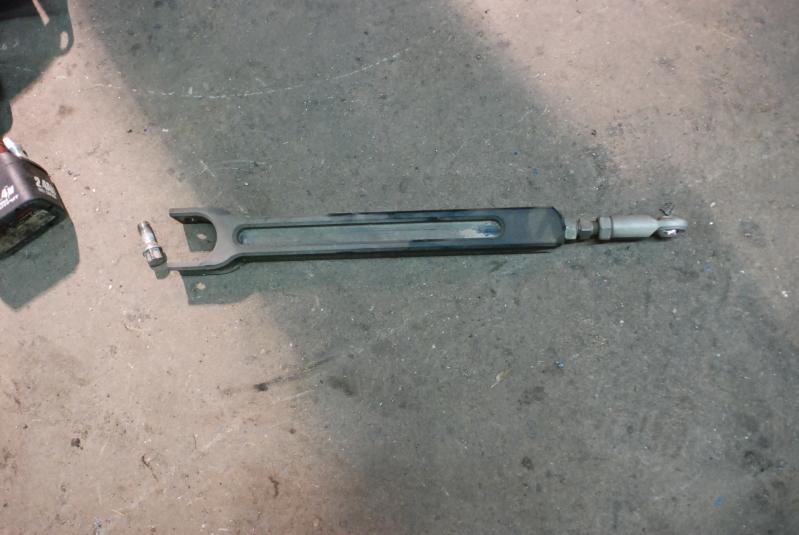
They machined and sectioned it 2.5" shorter and then they will either super glue or tig weld it back together.
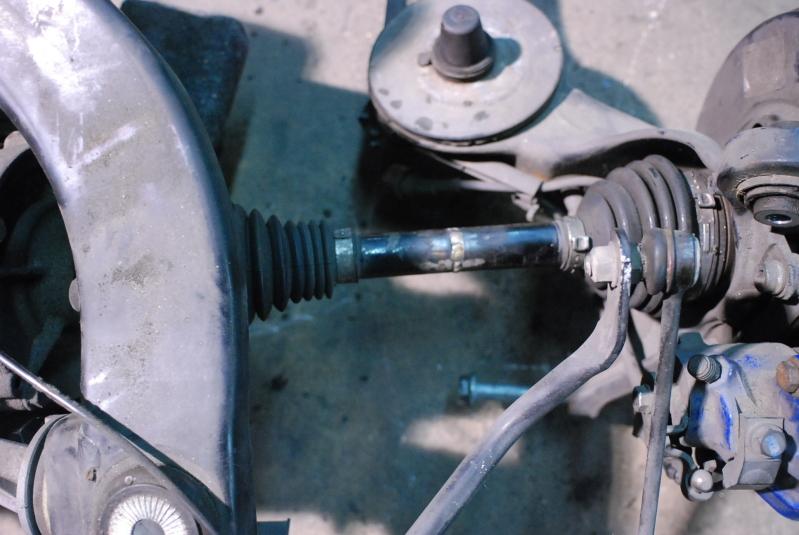
For mockup they modified the factory axles until proper length was achieved and all had smiley faces. Then they'll send off to have custom axles built to withstand the horsepower goals..... (goals directly porportional to how many years of ramon noodles i'll have to eat....  )
)
passenger side axle shortened.
Good one!
Posted by Diggymart on 7/6/20 @ 3:16:11 PM