You must be logged in to rate content!
5 minute read
02a Hydraulic Clutch setup
Compliments of vdubspeed @ http://forums.vwvortex.com
So I rocked the Honda/euro van setup for about 1 month and honestly...it's a leg workout. Not that it didn't work...but when I jumped in my 16vT with a Spec Stage 3 clutch setup and it was WAY easier to operate...I knew I wanted something different.
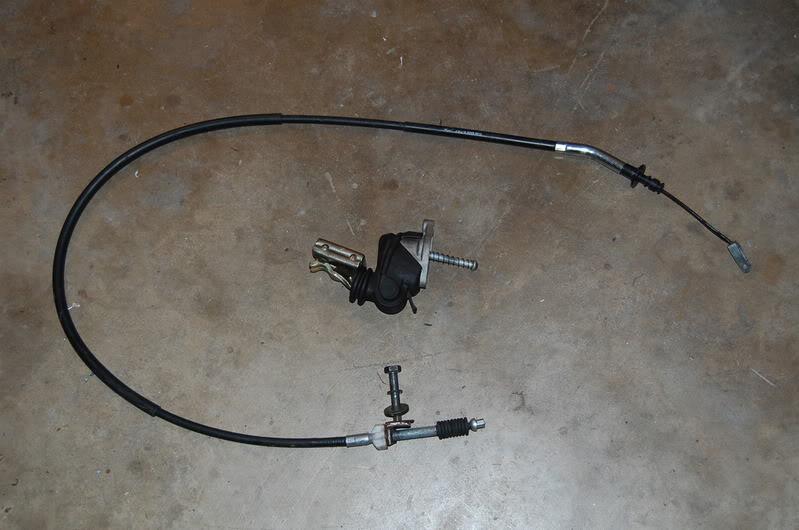
That said, my donor car was the same Corrado that my transmission came from. I use all 1991 G60 parts.
When I made mysetup I wanted to do it a little differently than funksoulkitty and eurospeed though. Both of their designs bolt the clutch master cylinder to the firewall and I really didn't want to do that(strength being the reason)
I also wanted something somewhat factory...you know...like a bracket. Here's what I came up with.
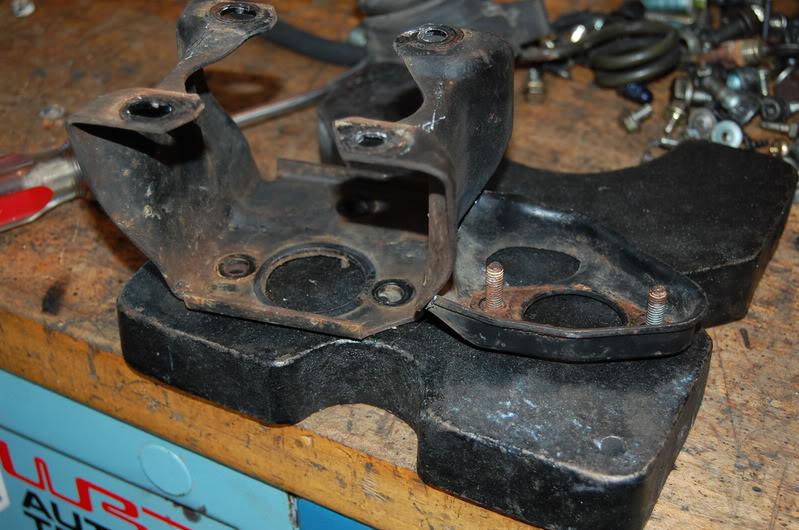
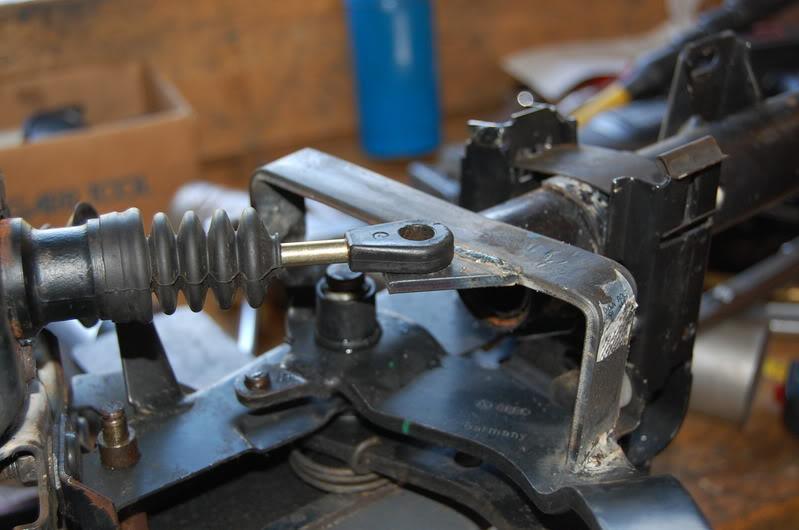
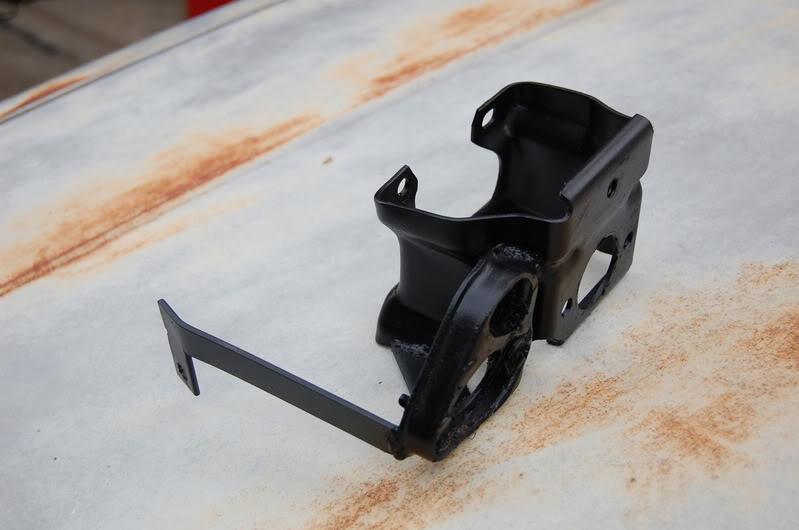
I took the Corrado bracket that would have mounted to the firewall and sawzalled off the part that held the clutch master cylinder.

Then I grinded it down to match a mk1 brake booster bracket and like so:
Note - there is a VERY important measurement here. The distance from the master cylinder hole to the other large hole is very critical. It plays a part in the future. If it's to close, when you made the clutch pedal you will hit the steering knucke. The distance from the left master cylinder stud is 1.5 inches to the right bolt hole on the rabbit bracket(center to center). If I did this again I would have made it two inches because I hit a little snag with my steering knuckle later down the line.
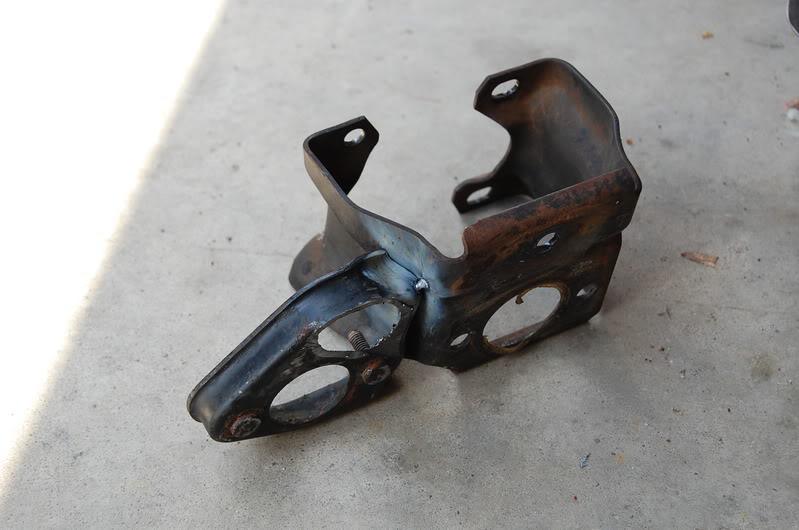
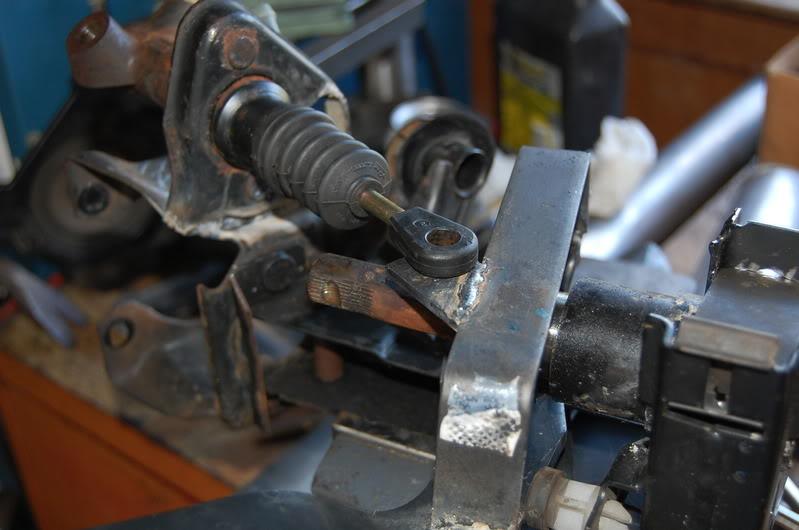
Tack it up:
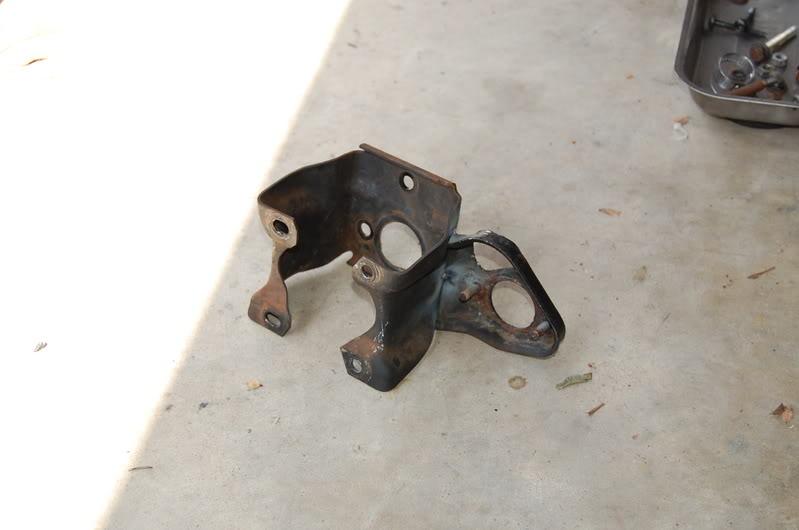
Here's the behind pic. You can see here that I had to cut off a stud from the factory Corrado bracket so it would sit flush with the rabbit firewall:
To make the pedal I blatantly copied funksoulkitty and eurospeed. Just a quick trip to Lowe's Motorsports for some mild steel and bam...you got this:
I went on to drill a 3/8 inch hold install a stud and weld it up.
For a little more strength I tossed in this piece of steel and welded it up. Hit with some cheapo rustoleum and got this:
Now it was time for the install. Tossed EVERYTHING back in(fail there...should have waited). Had the wife help me bleed the system and ran out of fluid. Piss. Got some more fluid and continued the bleeding. Damn...Houston...we have a problem. because of the geometry I was not getting enough pedal action to fully disengage the clutch. Funksoulkitty ran into this exact same problem. Again...using her idea. I went back to the drawing board and angled the master cylinder down. You cannot simply lower the mounting point on the clutch pedal or you will bind!
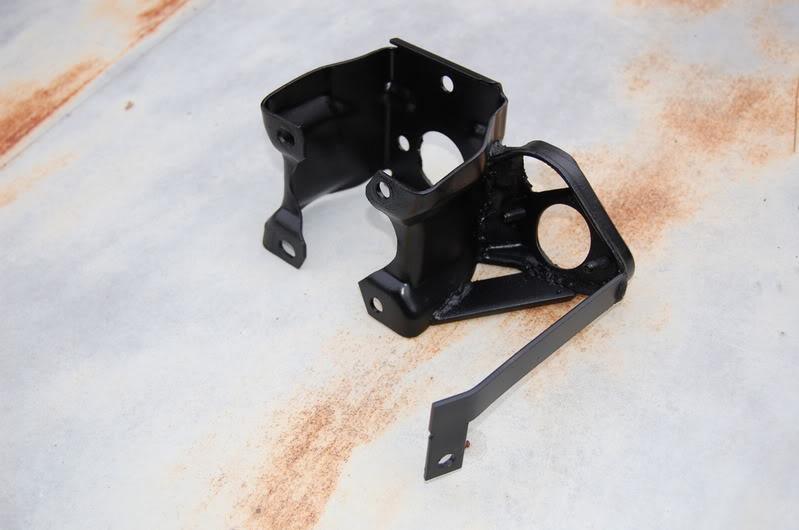
While it was installed on Round 1 I also noticed VERY serious firewall flexing when my wife was pushing the clutch pedal in. Again I copied eurospeed's idea but running a little outrigger and bolting up to the factory framerail.
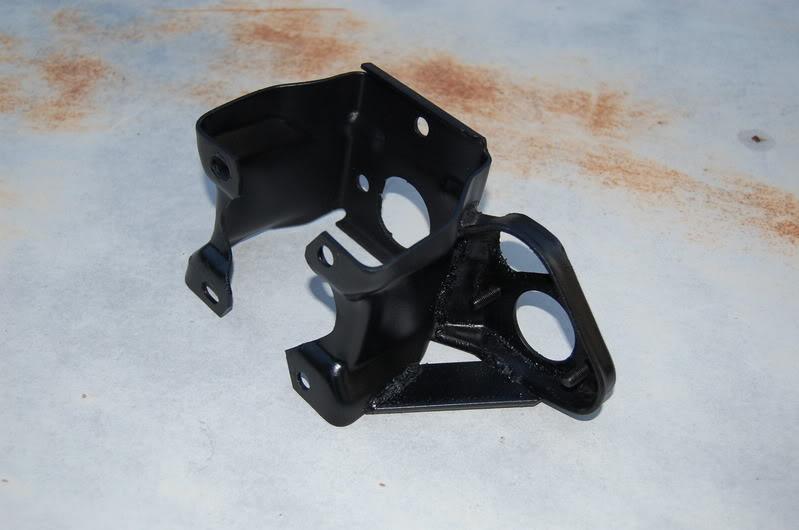
To angle the master cylinder all I did was cut around where it was except for the top and bent the piece in. Once it looked somewhat straight I welded it up. After a little paint the finished product looked like this:
After reangling the mastercylinder I had to redo my clutch pedal but it was really nothing special to look at. Just remember to space out your clutch master cylinder enough so you don't bind up on the knuckle.
Once everything looked good I bolted it all up and snapped this beauty:
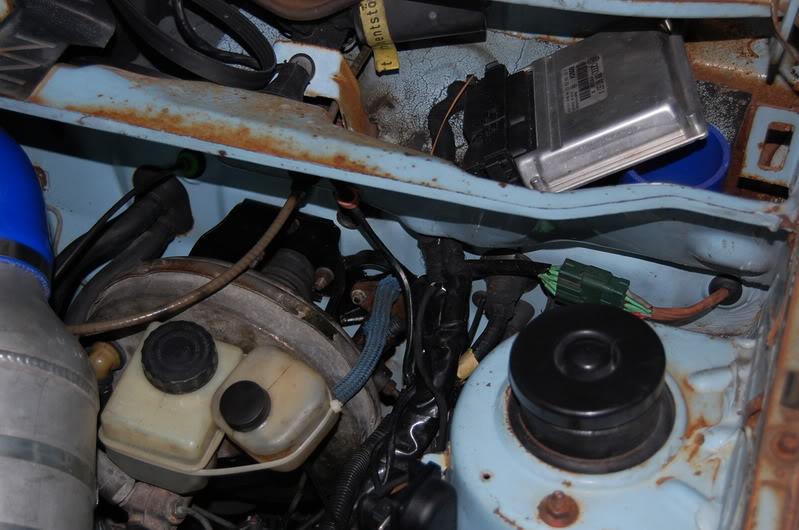
Oh yeah..dig the resevoir which is some VW beetle brake resevoir from an unknown year. One day when I hit baller status I'll get a brake resevoir which will have a line dedicated to the clutch master cylinder. Until this..zipties will do
Initial test drive was AWESOME. I love the way it feels and how fast I can actuate the clutch from full disenage to engage. Even the wife approved.
Anyone wanna buy my old setup now?
Thanks for viewing,
Jason