You must be logged in to rate content!
11 minute read
2.0 Front wheel bearings/hub, without press
Compliments of dumpedmk3 @ www.vwvortex.com
Well, I had to do my bearings this morning, so figured I would document the process.
I had no access to a press, and no transmission in my truck. 
FYI, you will need an alignment doing it this way, and use safety glasses.
Parts
Wheel bearings ($70 @ MJM with free shipping)
Wheel bearing kit (circlips, bolts)(Included in the $70 above)
Hub ($45 @ MJM with free shipping.)(Have hub rings, but an impact screwdriver makes quick work of them)
Tools
Impact gun/Breaker Bar
Impact screwdriver
LARGE Vice grips
Hammer
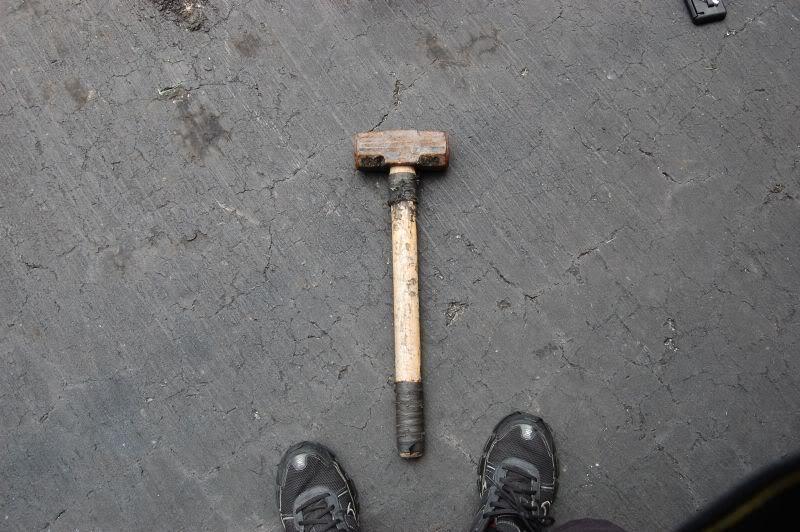
BFH (Big ****in hammer)
3/8" or 1/2" rachet
32mm (or bigger) IMPACT socket (Must be impact)
30mm socket
24mm IMPACT socket
19mm socket/wrench (You will need two 19mm items)
17mm socket/wrench
5/8 or 15mm wrench
13mm socket/wrench
8mm socket/wrench
Small tipped needle nose/circlip pliers
A few 2x4's (~10" long)
Paint pen
Clothes hanger
Freezer
Wheel bearing grease
Brake caliper grease
Beer
Procedure
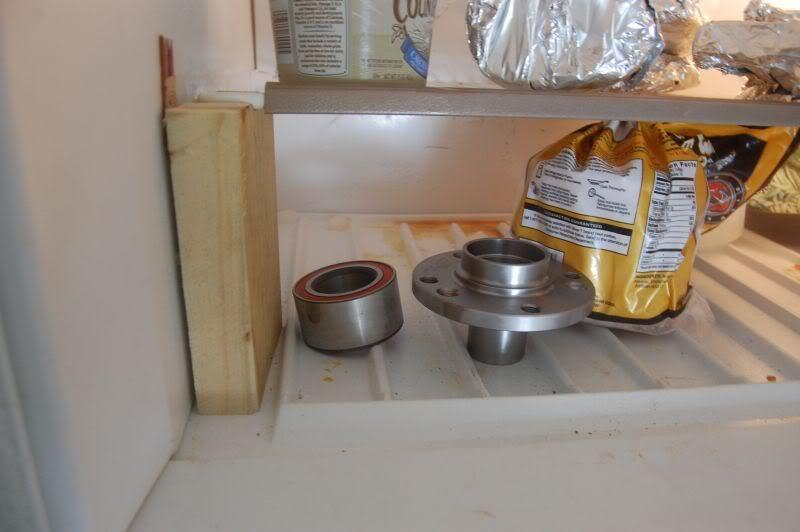
1. Start off by jacking up the front end, placing jackstands, removing front wheels, and placing your new wheel bearing/hub, in the freezer.

2a. Once the wheels are off, grab the impact screwdriver, and remove the one set screw for the rotor. (PITA without impact screwdriver) Then access the two 13mm caliper bolts. Remove.
2b. You may need to use a 15mm wrench to keep the inside nut from spinning
3. Remove caliper. Suspend from coil spring, using the metal clothes hanger, to keep from kinking/breaking the brake hose. Remove brake pads.
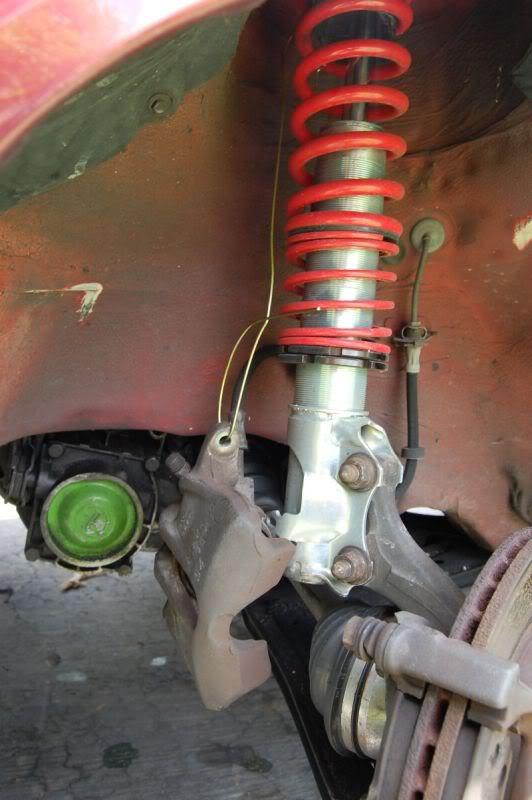
4a. Now find the two 17mm caliper carrier bolts. They may be on very tight, a breaker bar may come in handy here. Remove the bolts, and place the carrier to the side.
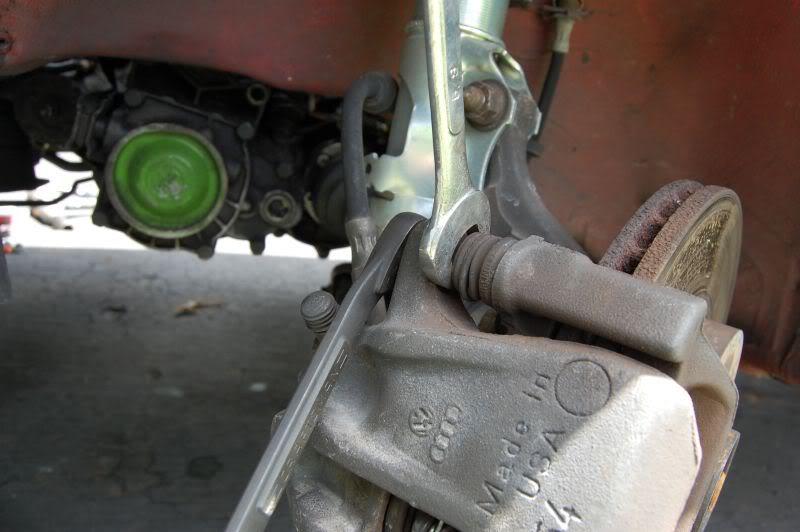
4b. Now, just for good measure I like to grease the caliper pins inside the caliper, since I have them off anyway. Brake grease/brush comes in here.
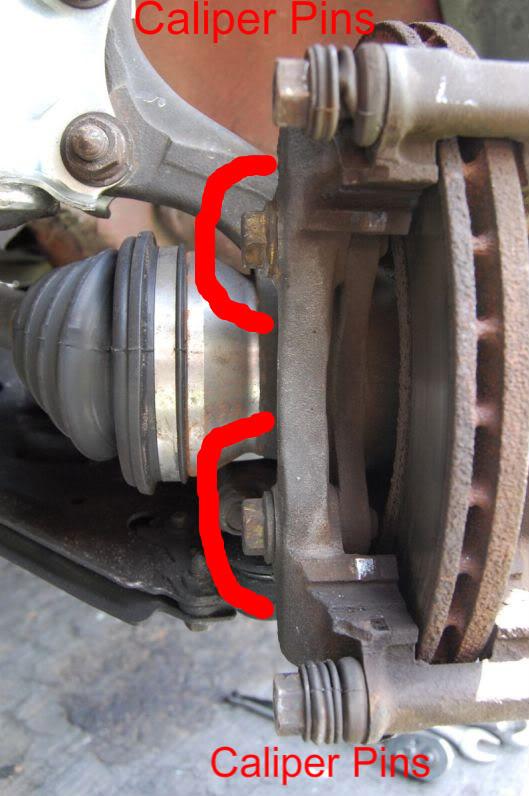
4c. This is what you should be left with.
5. The two little 8mm bolts holding on the metal guard have to go, along with the guard.
6. Using the impact gun, or breaker bar, remove the 30mm axle nut. This will be on there tight.
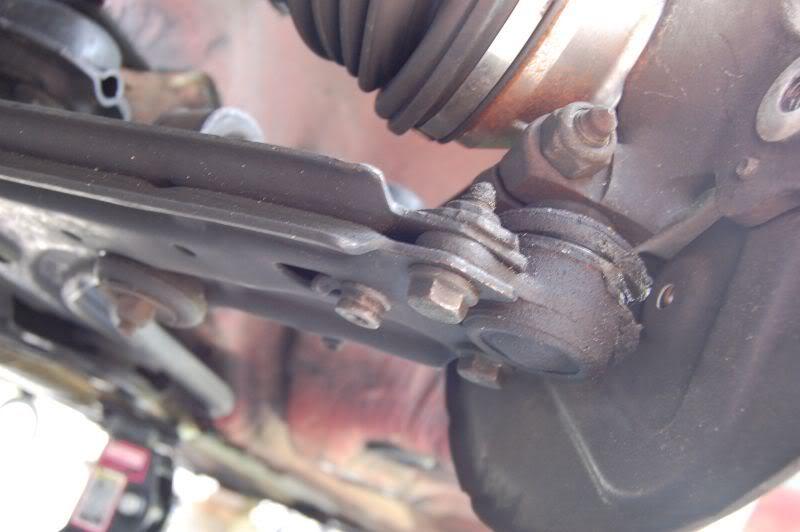
7. Remove the three 13mm lower ball joint bolts. (Ignore the hex one I had, it was an "emergency" I just put a new one in. lol) I like to place one of the ball joint bolts, back into a hole, from the top, for good measure to hold the ball joint in. (Dont worry about the ball joint-knuckle bolt, you dont have to remove that one)
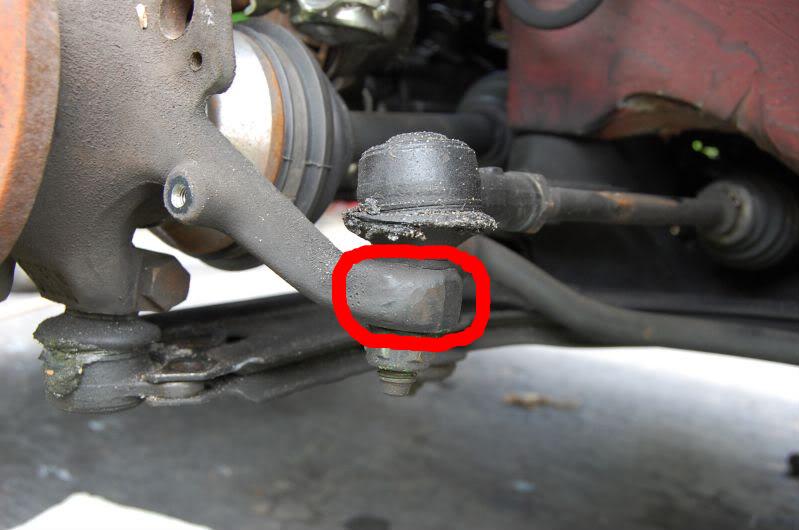
8a. Next, tie rod. One 19mm bolt.
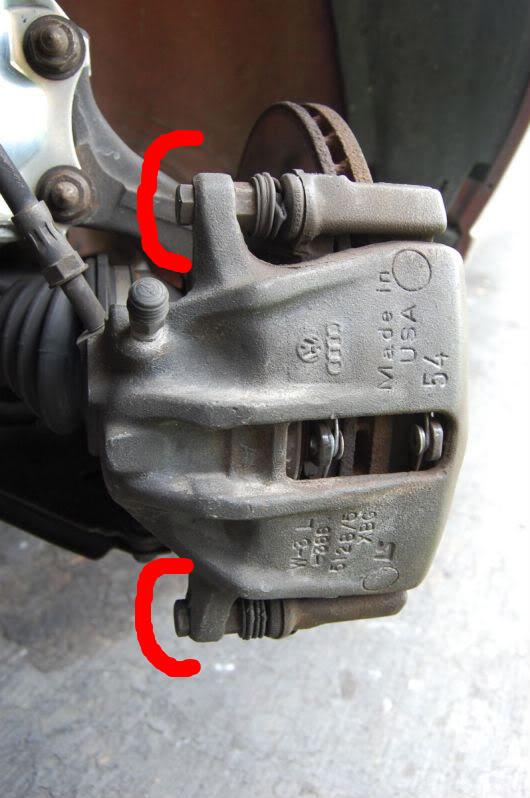
8b. Now, the tie rod usually won't want to leave its little steering knuckle home. So you will have to force it. Wack the circled area with the hammer, until you see the tie rod pop up, and out.
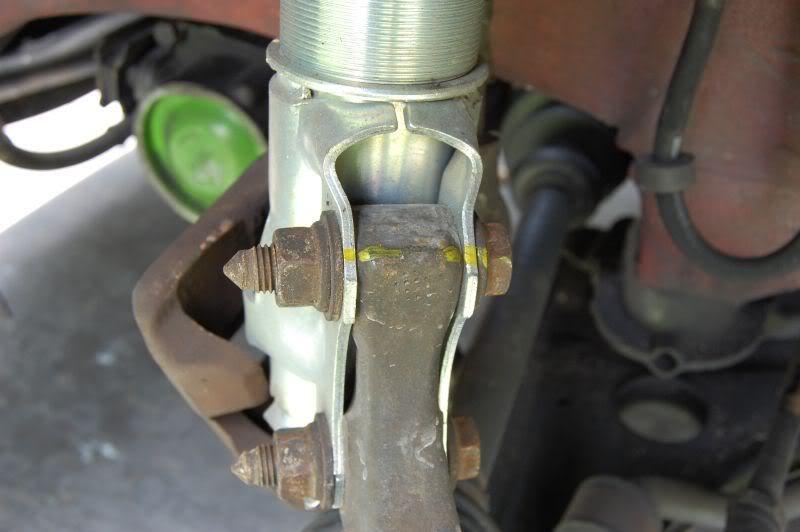
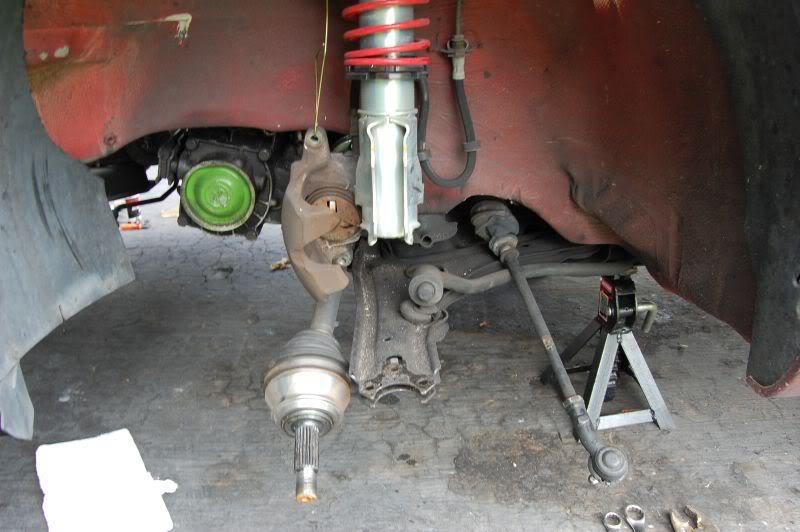
9a. Mark off the strut bolts, and the strut, to try and keep your camber somewhat where it was. You will DEFINITELY need an alignment though.
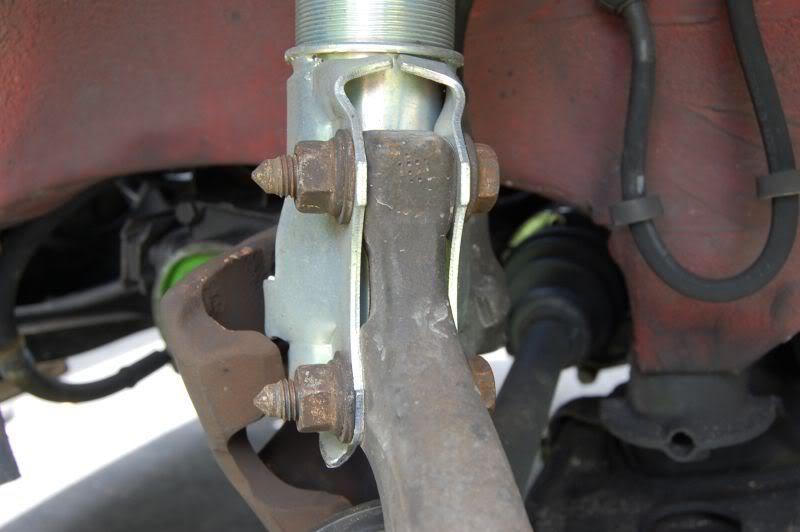
9b. Strut bolts. They suck. Grab both of your 19mm tools. Keep one bolt in, to hold strut in place. (See a pattern?)
10a. Ok, remove all of those "security" bolts you put in there. Grab the top of the knuckle, pull down, and to the right. Grab the inner CV boot, and force the CV out of the hub.
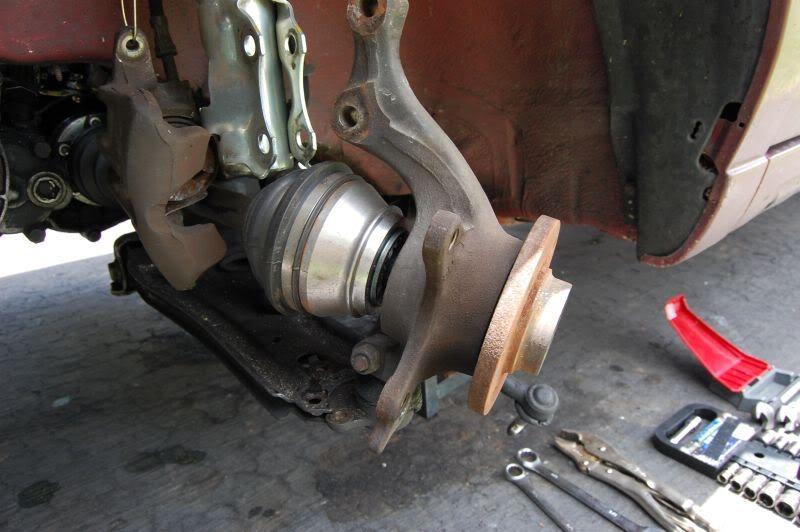
10b. You may have to soak the axle splines with PB blaster, or put the nut back on 3-5 threads, and wack with a hammer. (make sure to have a new nut, and make sure to only wack the axle with the nut on there, or else you will "mushroom" the end, and you will be SKREWD.
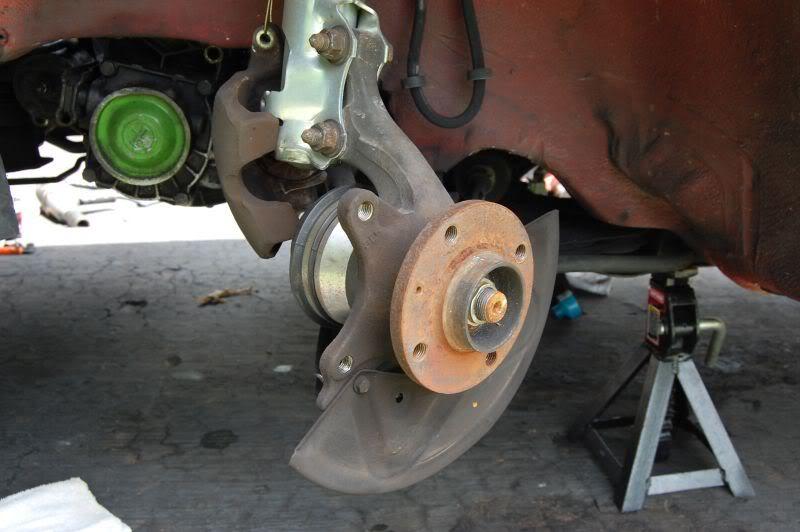
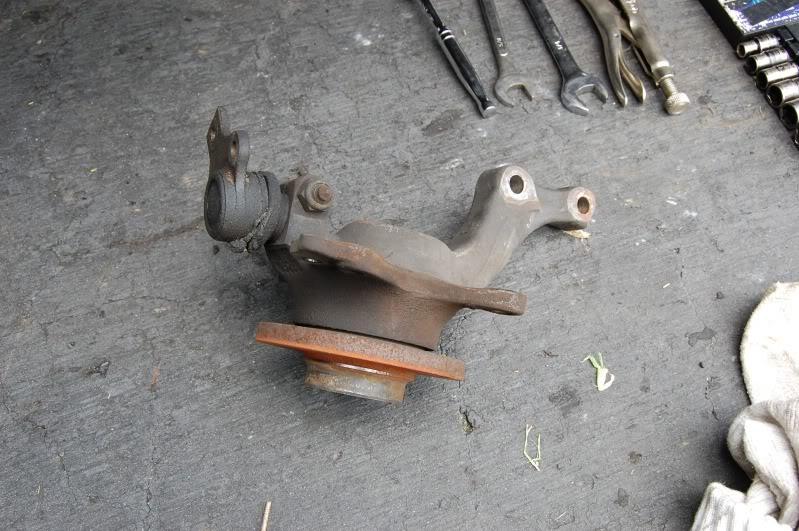
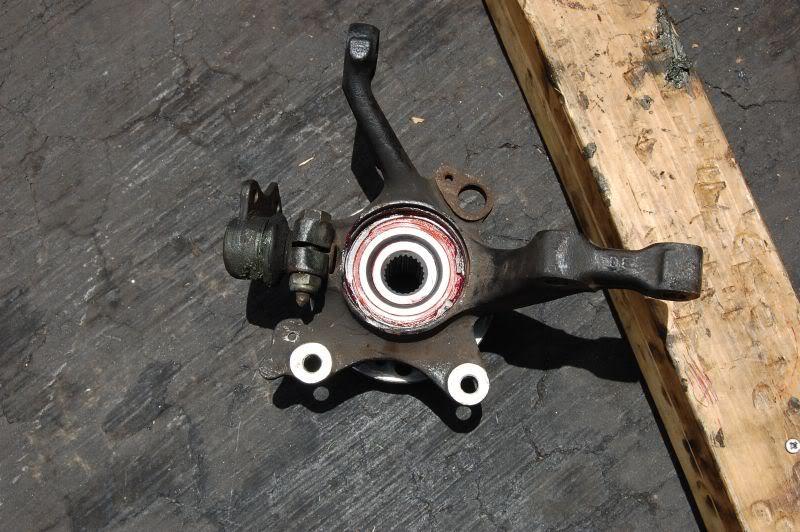
11a. This is what you should be left with.
11b.
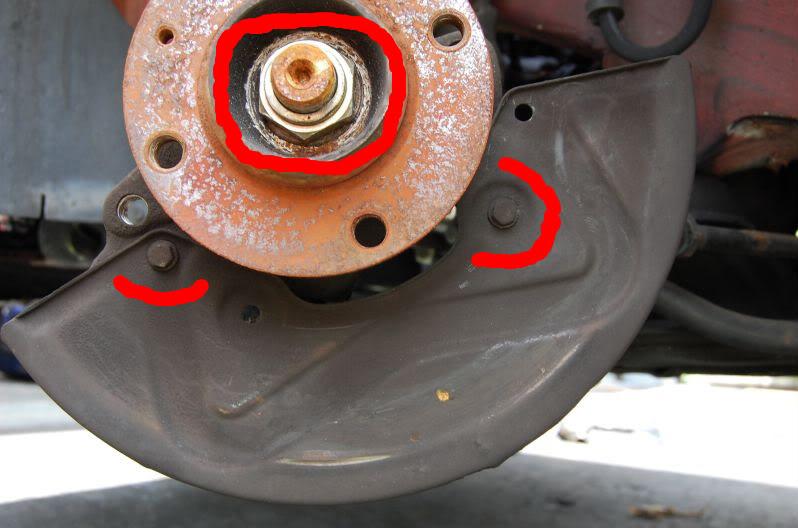
12a. Now, on the back of the knuckle, you will see this sight. See that little circlip? Use the needle nose/circlip pliers, and remove it.
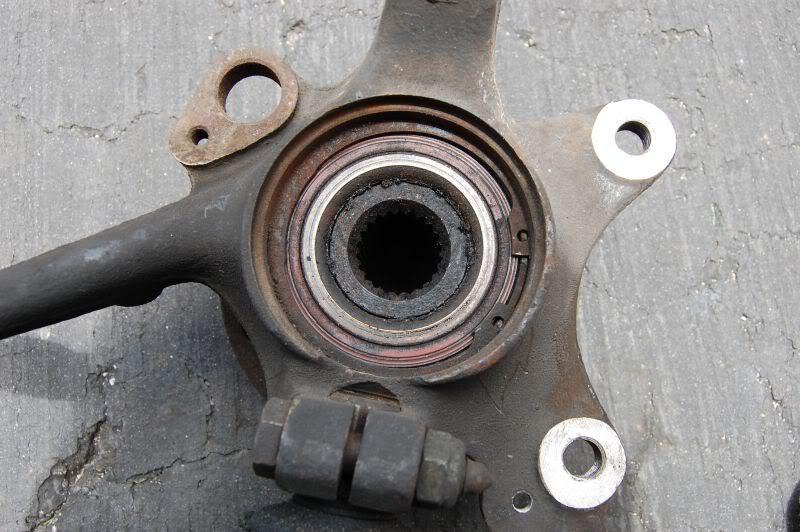
12b. Flip the knuckle, find the circlip up front, and remove that one as well.
13. Flip the knuckle back over, place on the 2x4s, so the hub is not touching the floor, nor the 2x4's.
14a. Get that 24mm IMPACT socket. Place on the back of the hub.
14b. Wack with the hammer until the hub pops out.
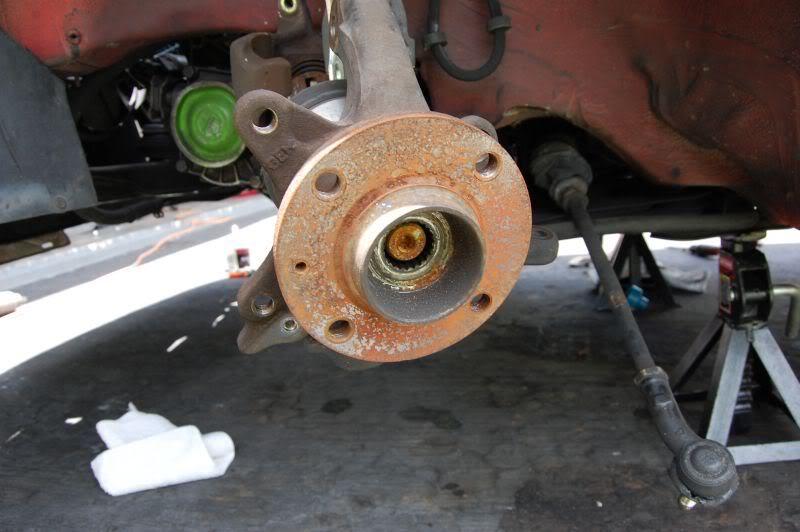
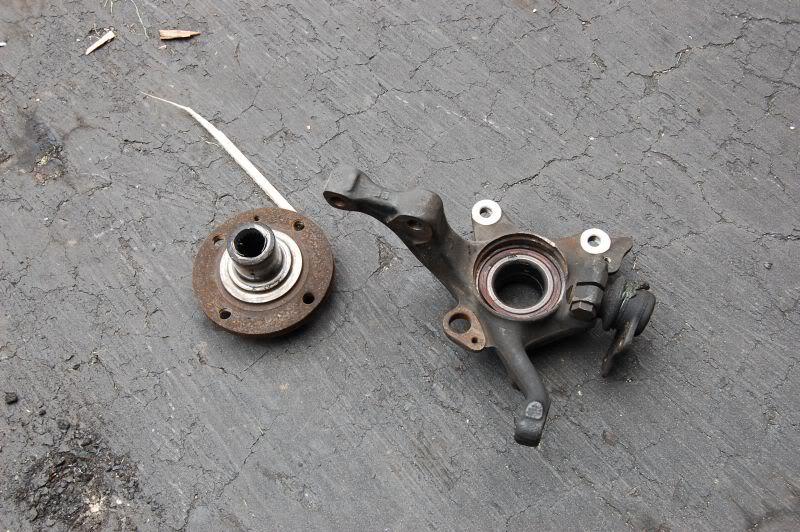
15. This is what you should see.
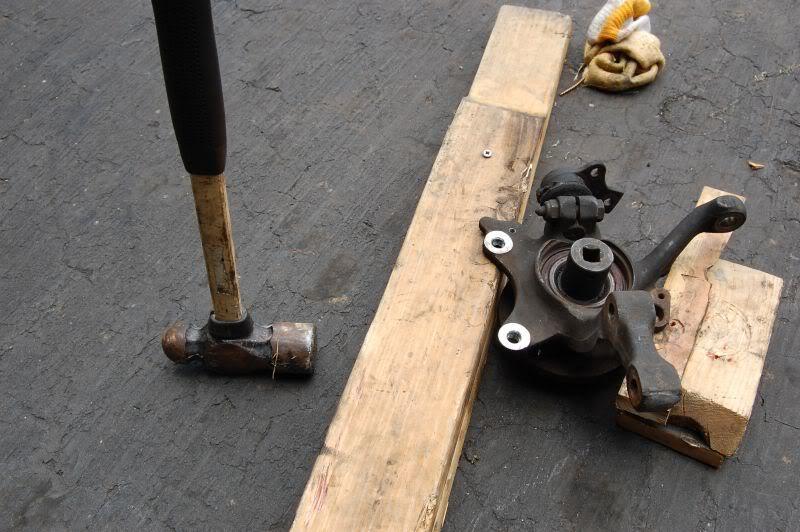
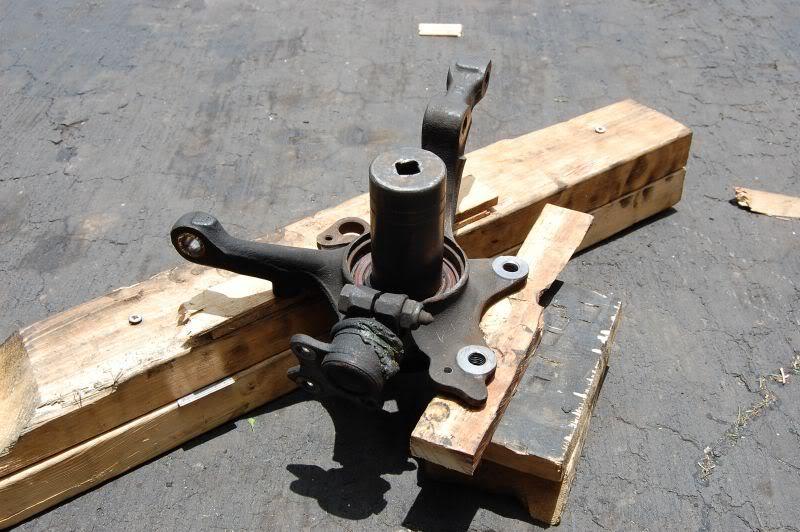
16a. Nows the fun part. Place the knuckle back on the 2x4 setup. Grab the 32mm (or larger) IMPACT socket. Grab the BFH.
16b. Hit that bitch. Its gonna take a few hits. (3 total for me, with an 8LB sledge)
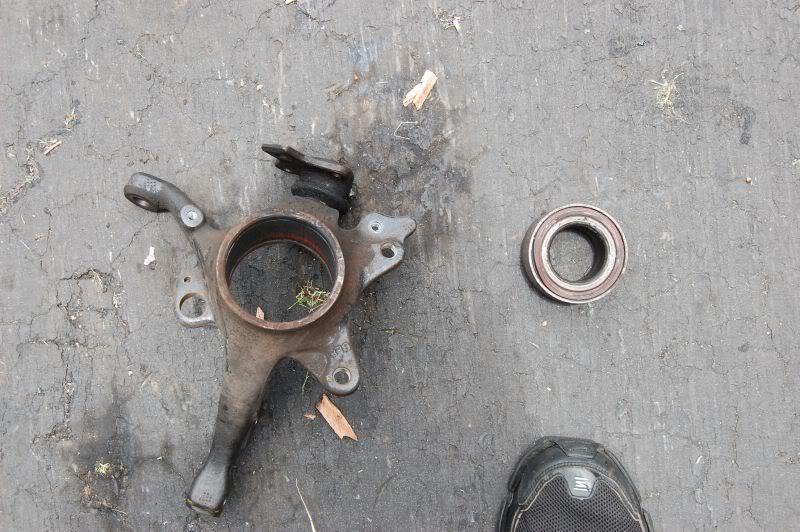
17. Bearing out. Make sure to clean the inside of the knuckle well. I used purple power and a rag.
18. Grab your now frozen bearing.
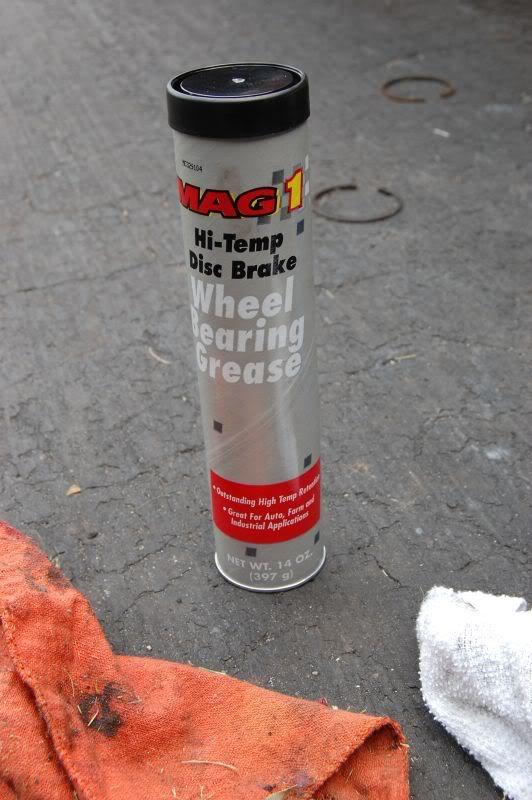
19a. Grease the inside of the knuckle. Be generous, as all extra will be pushed out anyway.
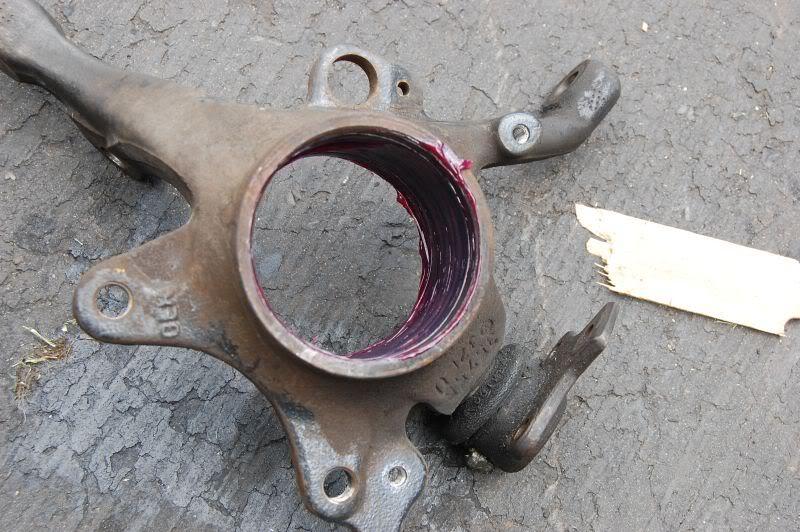
19b. This is the grease I used, and have used prior with great success. $3 at pepboys.
20. Ok. Set the knuckle up, this time, we want the knuckle facing up. Place bearing in opening of knuckle. Beat the bearing in with the block of wood (by hand, not hammer) to try and start it. Get it as straight as possible.
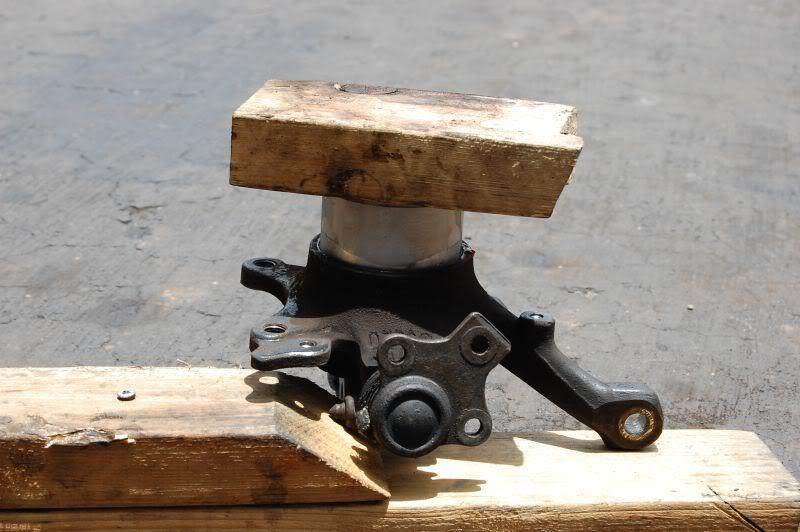
21. Once the bearing is set and ready to be "pressed" Grab the BFH, and wack. Once the bearing is alittle more then halfway in, get your new circlip, and install it in the back. This will keep the bearing from going to far when you beat it.
22. Place new circlip in the front, once bearing is fully in.

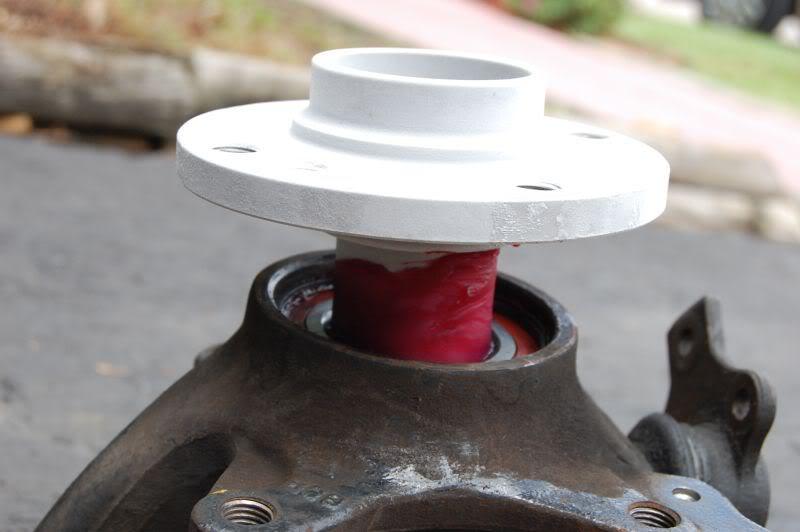
23. Grab the new hub. Grease the inside of the new bearing, and the hub. Beat it in by hand with the wood block. Use the BFH, and beat. This one took one hit to go fully in. (Notice the hub is white? Thats how frozen it was.  )
)
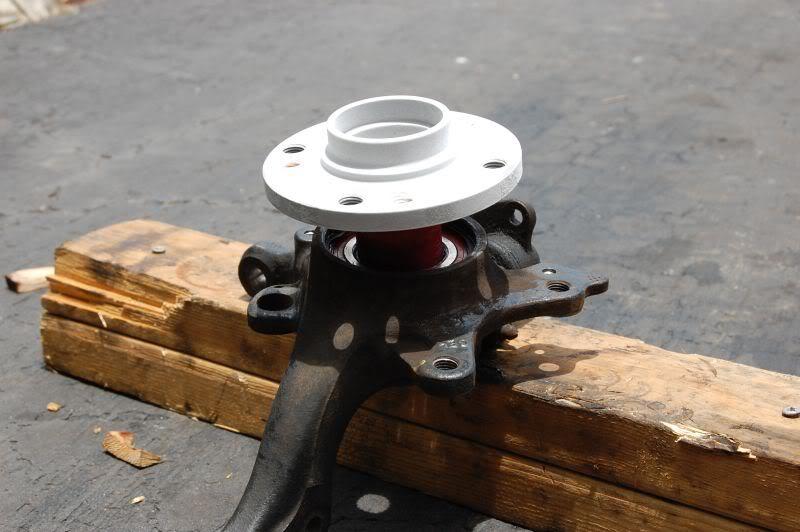
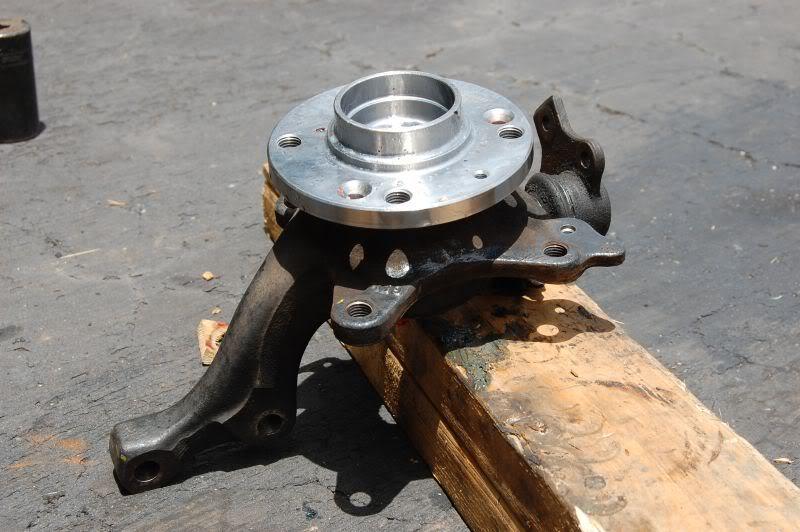
24.Bearing/Hub In.
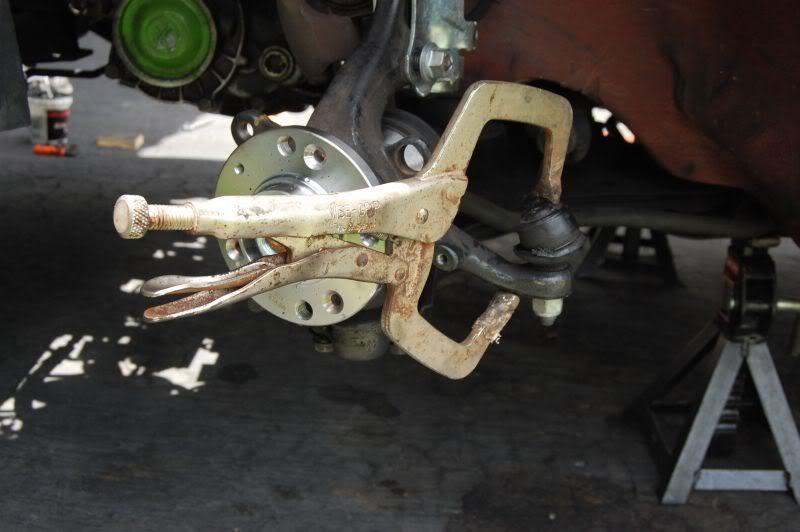
25. Install onto the car, is the same as disassembly. One note, you may run into some issues with the tie rod spinning while you are trying to tighten it. This is where you would grab the large vice grips. Attach like the photo. The compression from the vice grips will stop the tie rod from moving.
Bearings should be nice and quiet now!
oh, drink your beer aswell.