You must be logged in to rate content!
6 minute read
VR6 02A Shifter Rebuild
Compliments of violentaesthete @ www.vwvortex.com
For a Mk3 Golf or Jetta
Alright. My shifter was pretty sticky and sloppy in my project car, and after searching for a diy, I noticed there was not one for the 02A transmission gear selector. I found some information on vortex and expanded that by dissembling my shifter and figuring out which bushings etc to replace. I sourced all of my parts from 1stvwparts.com, it took a week and a half to get here but its cheaper than the dealer and it was the weekend of the 4th.
Parts and corresponding part numbers needed for this project with illustration
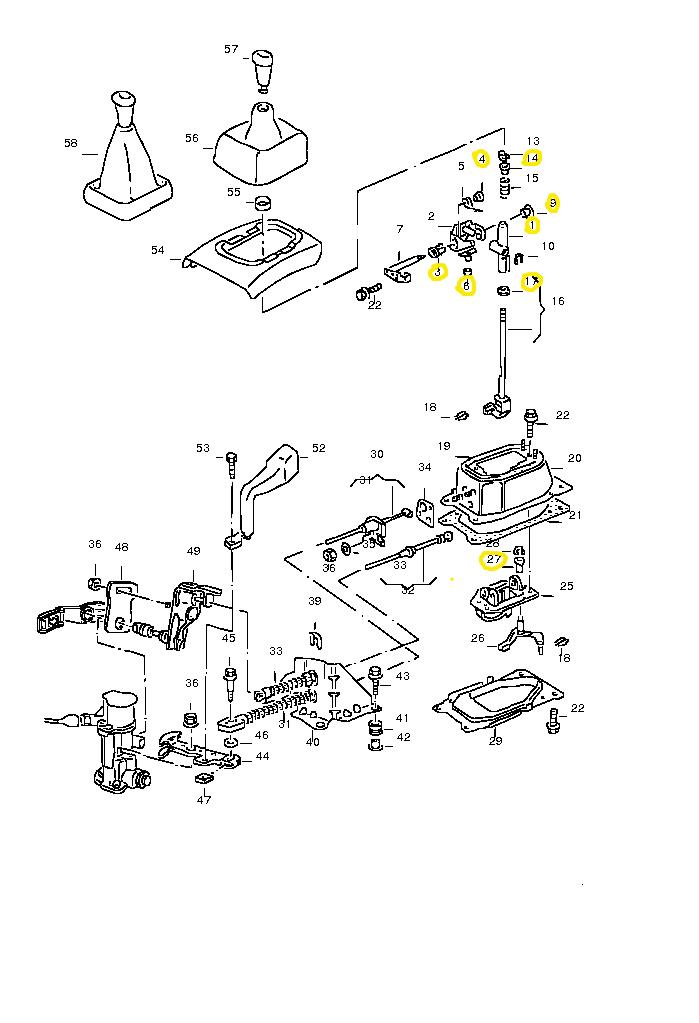
#1- Selector Guide: 357711055D
#3- bushing: 357711590B
#4- bushing: 357711124A
#6- cap (ball end): 357711164
#9- bearing bush: 357711590C
#14- bushing: 357711217
#17- damper: 357711901A
#27- bearing bush: 357711166A
I also purchased the Verdict Motorsport Shifter bracket bushings, it is supposed to help the feel of the shift, to make it more "notchy" i guess.
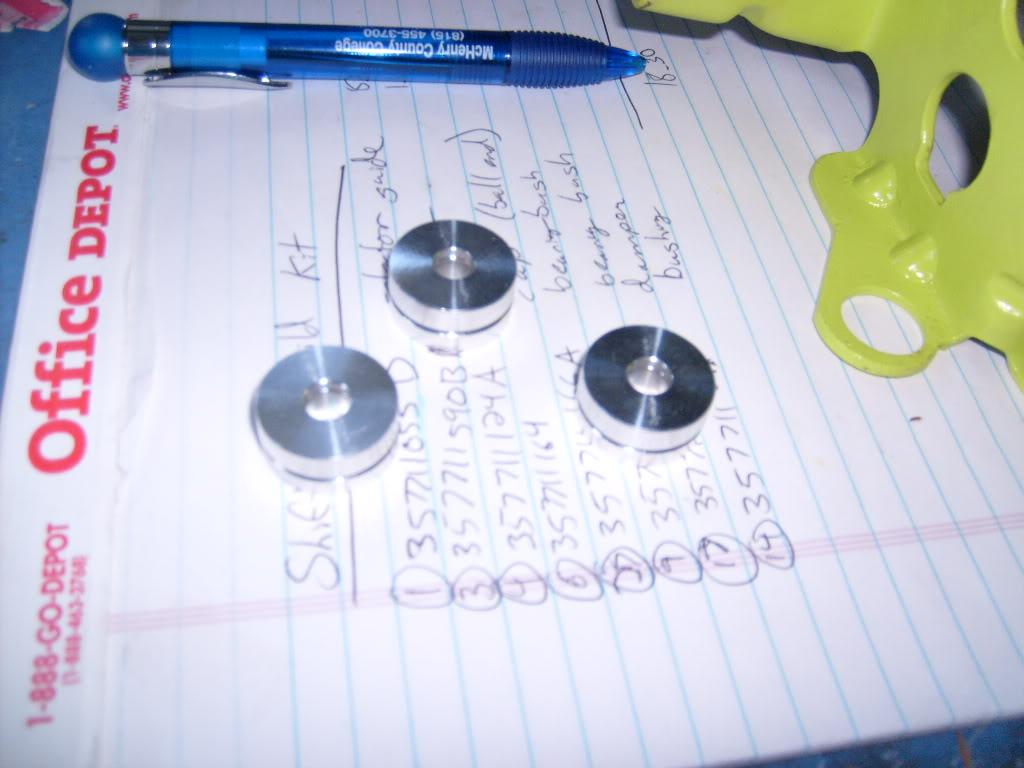
The rebuild parts cost me $18.30 plus shipping and the Bracket bushings cost me $20 plus shipping. This is much cheaper than buying a new box.
DIY as follows:
1. Drop down your exhaust and remove the heatshields and shifter box/cable assembly.
2. Split shifter by bending the 9 or so tabs back and prying it apart with a screwdriver. There is some adhesive or silicone in there but don't worry, it will be replaced.
3. Unbolt the cables from the front of the box via two bolts and remove the two cotter pins from where the cables connect to the shifter.

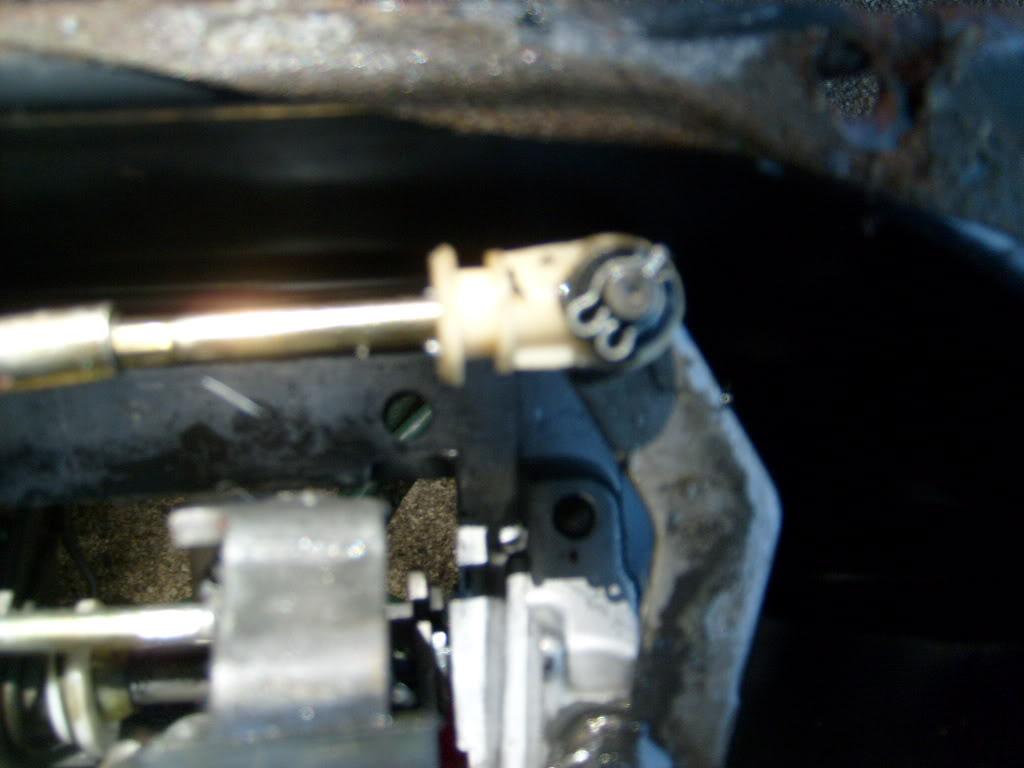
4. Unbolt the unit from the box
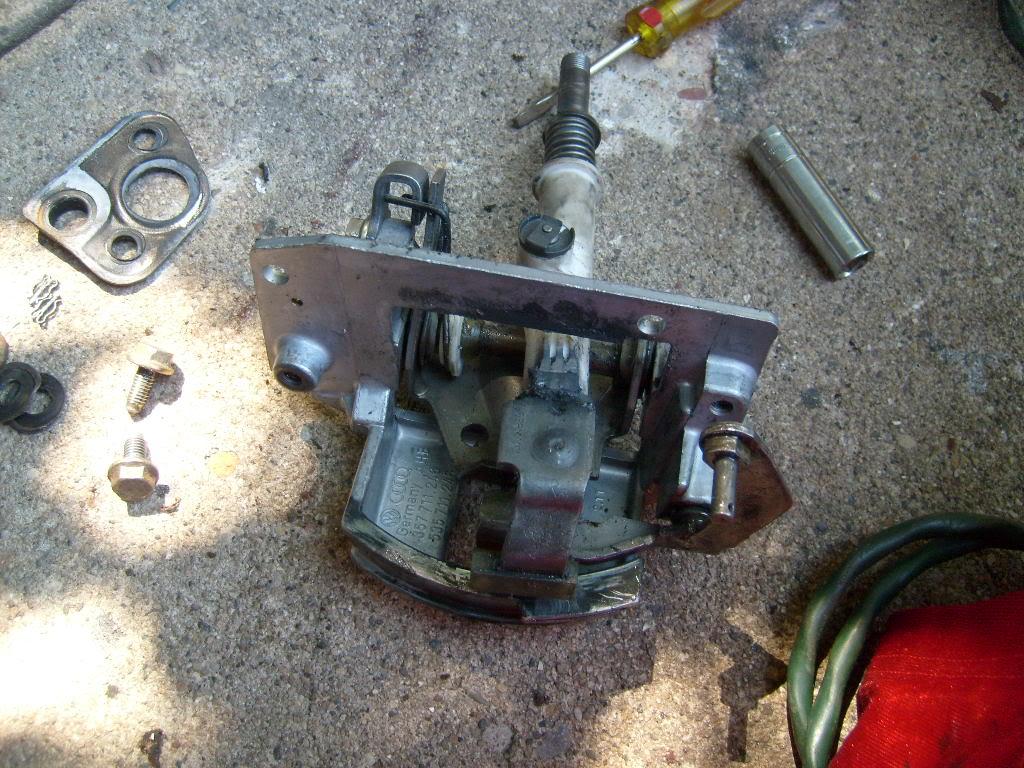
5. Remove the bolt used for adjustment, the retaining clips, the side-to-side spring and all bushings. You should be left with a pile like this:
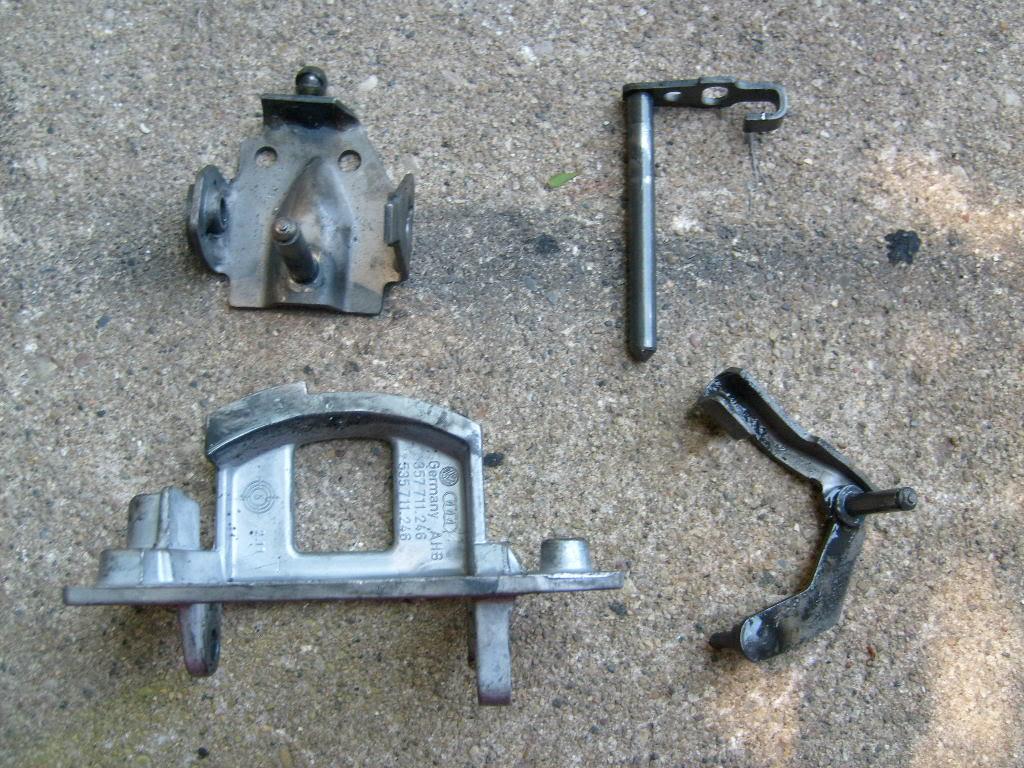
and one like this:

6. Push reverse spring down and remove the retaining clip, spring and selector.
7. Clean all metal parts in simple green or other degreaser, which will leave you with a pile like this:
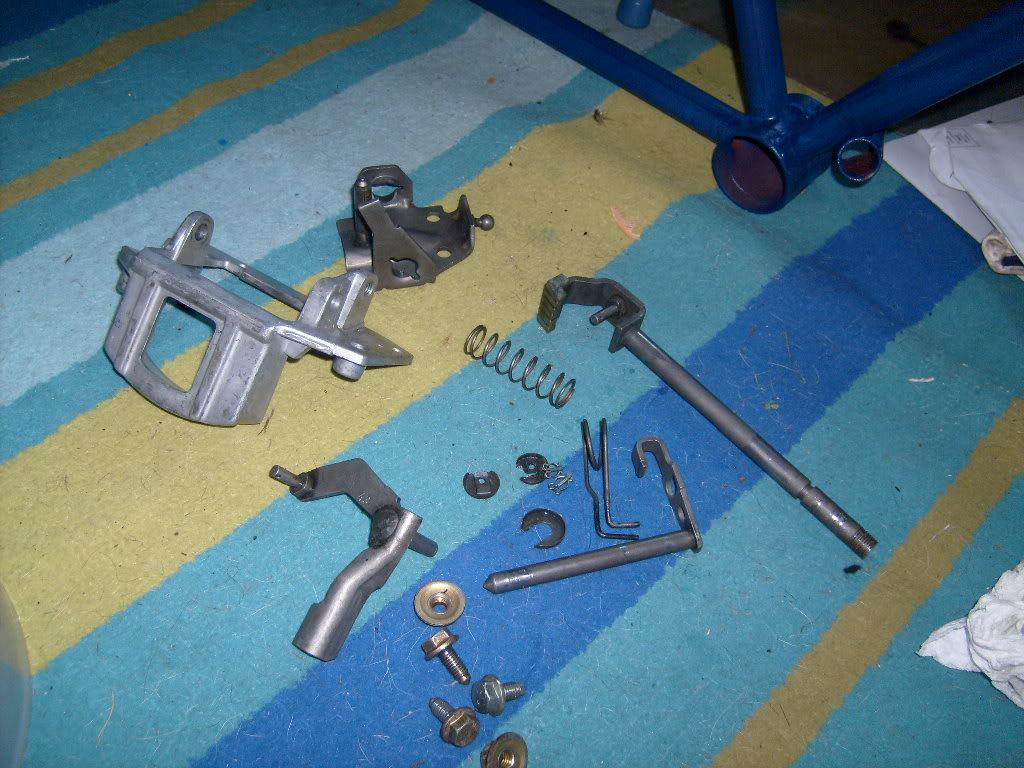
New parts in front, old behind them. You can see the wear on the parts.

8. Reassemble shifter in the reverse order, using the new bushings and a liberal application of general purpose grease. For me, everything went back together easily except for the ball end cap, which i had to use pliers to stretch it out in order to put it on the ball.
9. Rebolt the shifter in the box and reattach the shifter cables via the bolts and the cotter pins. Grease the cable ends and anything that touches something else in the shifter box.
10. Run a bead of silicone (I used ultra black cause I had it in my toolbox) around the edge of the bottom piece. Press the piece to the box and fold the tabs you had previously bent back into their original place.
11. Reinstall shifter box, bracket, heatshields, exhaust, and align shifter linkage (via diy on the tex somewhere)
12. Have a beer and then clean up.