You must be logged in to rate content!
5 minute read
APR 27mm rear sway bar install
Compliments of 71sbeetle @ www.vwvortex.com
Well, I finally received my APR rear sway bar that I ordered a couple of month ago during the sale (I ordered right after they went out of stock  )
)
Anyway, installed it as soon as I got home, took about 25 mins (30 if you need to look for some tools lol)
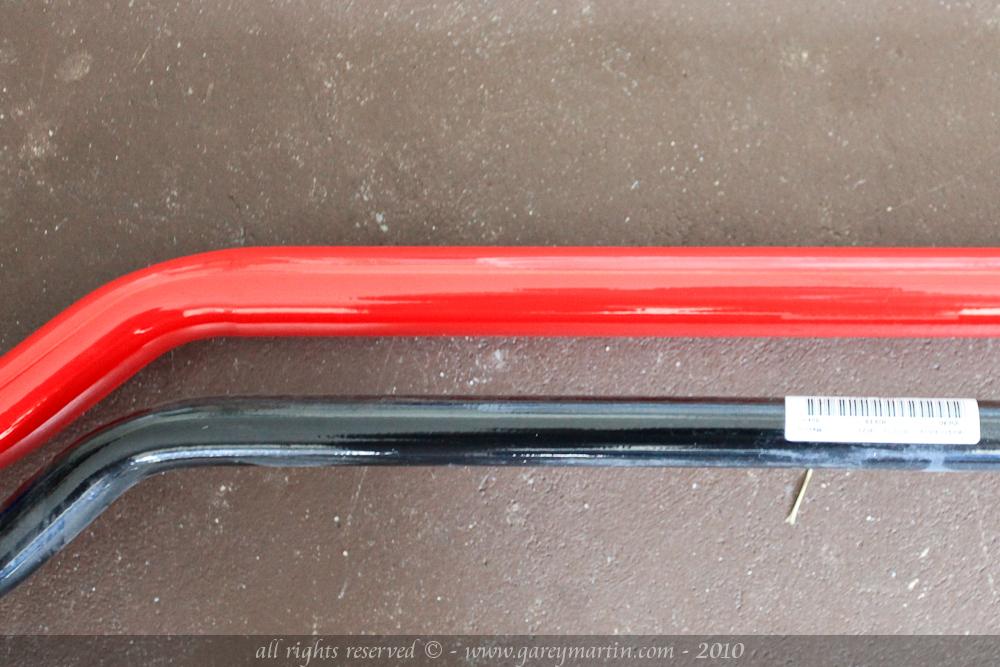
Now, everybody knows these are made by Hotchkis for APR, I had the Hotchkis bars on my Passat Wagon and that was a must do mod on my Golf. The only difference is that the APR bar is red and the Hotchkis is black, everything else is the same.
I wish my APR bar came with an APR sticker of some sort on it. A newbie could confuse it for a Neuspeed bar lol. Oh well ....
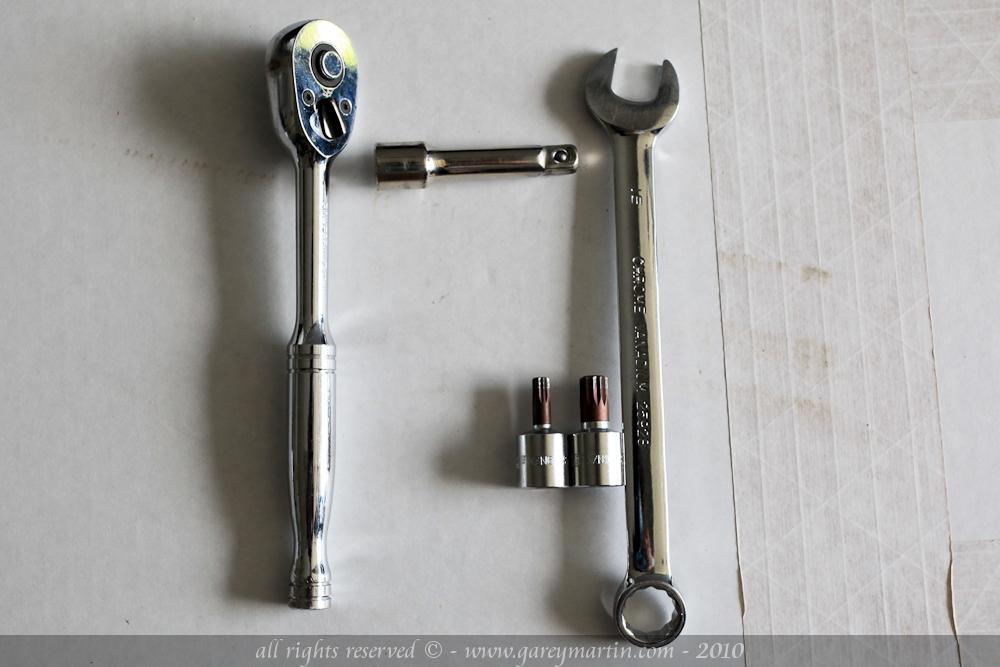
For this install you will only need a few tools:
6mm triple square socket
10mm triple square socket
Ratchet with extension
16mm wrench:
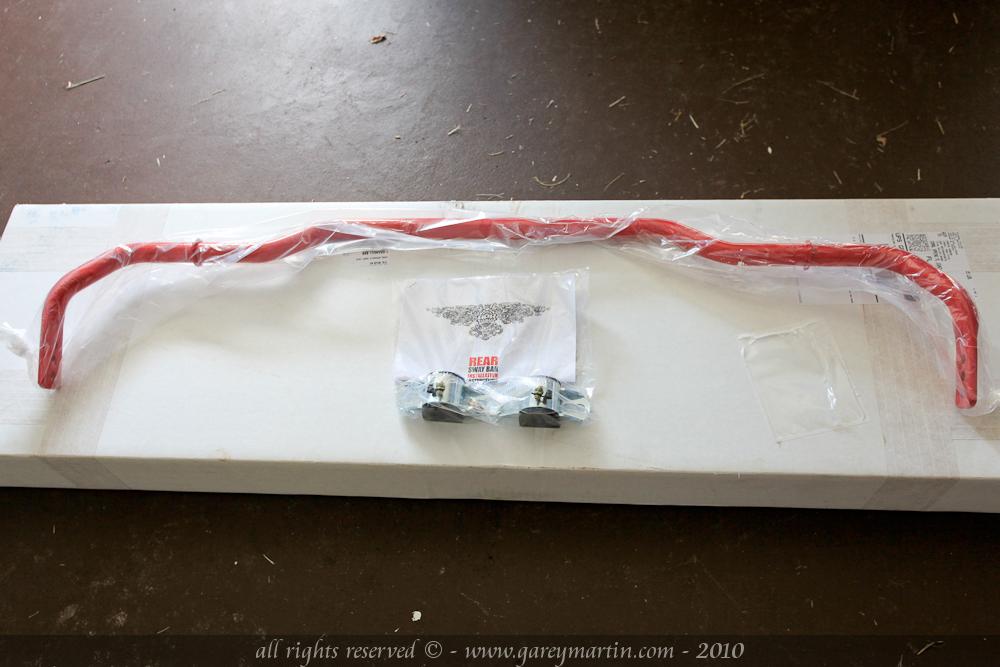
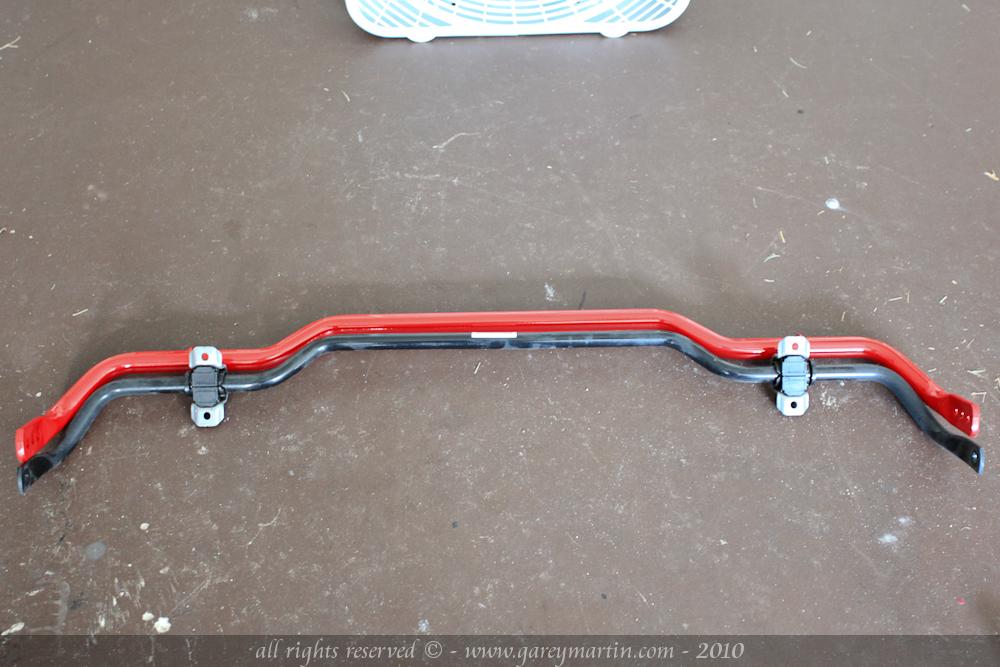
Here is what we are installing:
Start by backing up the car on some Rhino ramps or similar, or on an alignment rack. I put mine on Rhino ramps, and chock those front wheels !
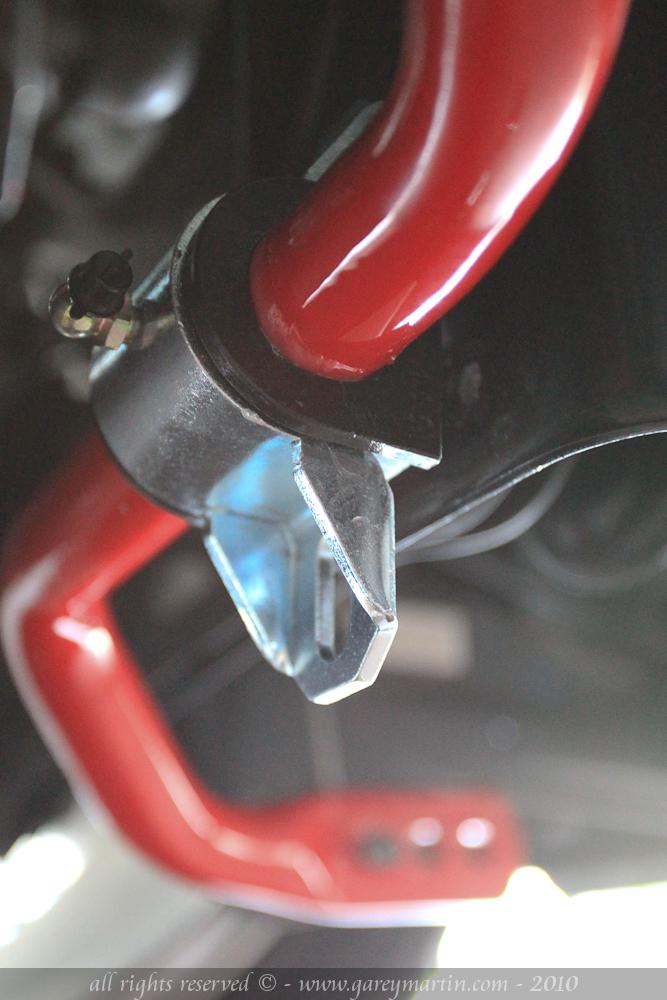
Now get under the car with the 16mm wrench and the ratchet with 6mm triple square socket on it, and remove the end link on each side of the stock rear sway:
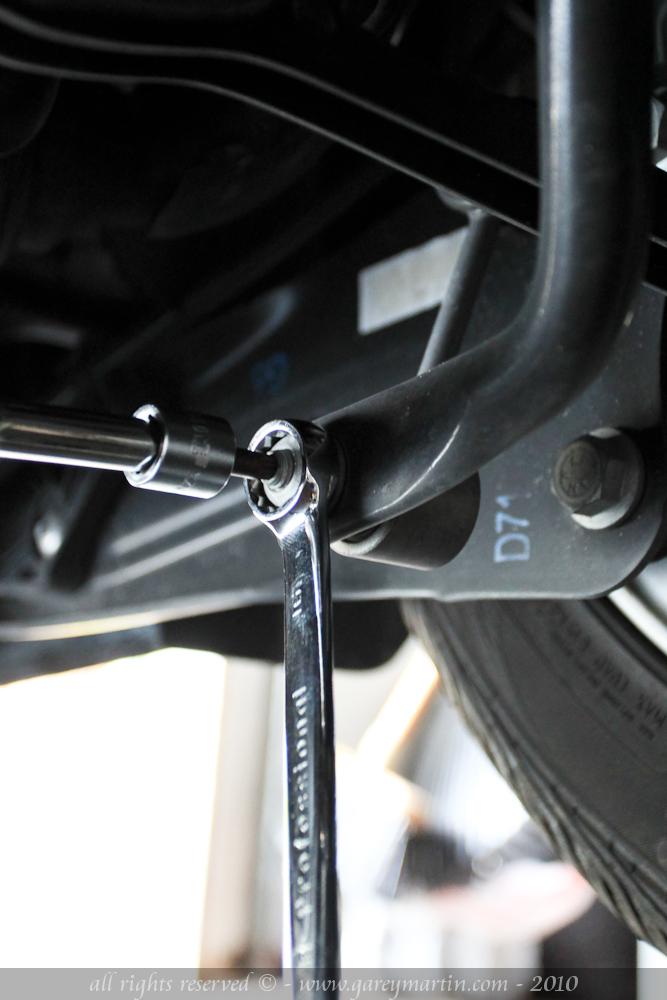
Just slide the bolt out:

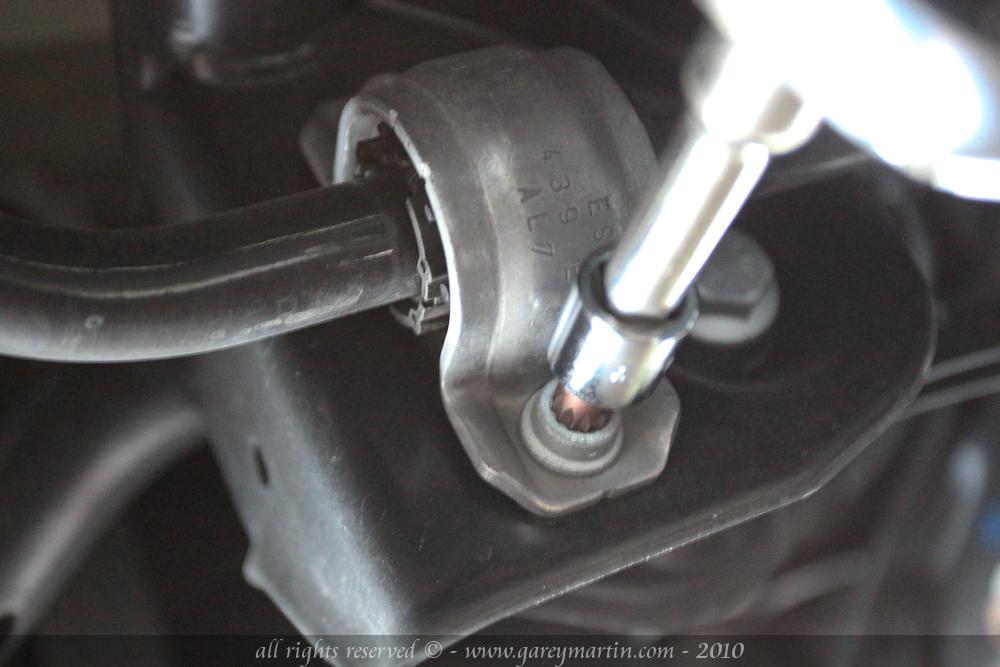
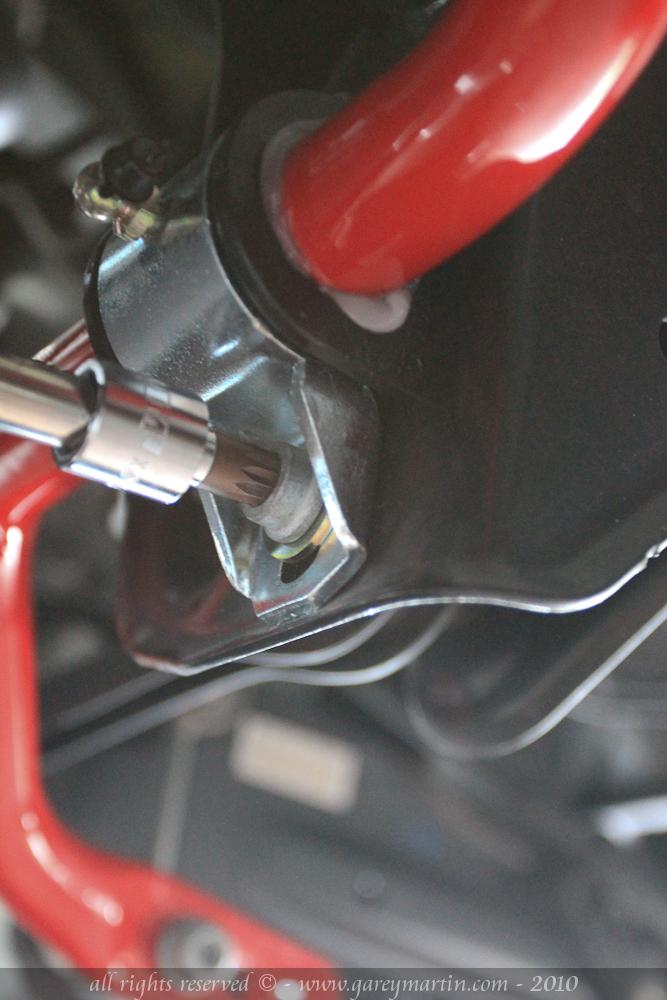
Now put the 10mm triple square socket on and remove the 4 bolts (2 on each side) holding the bushing brackets:
Now slide the bar out. Mine came out pretty easily on the driver's side.
Comparison shots between the stock Golf TDI and the APR 27mm rear sway bars (note that the metal bushing stops line up perfectly, unlike another bar out there that some people have been having problems with):
Now slide the new bar into position.
Look at the bushings, make sure the holes that will line up with the grease nipples are drilled all the way thru. These were nice and clean drill but my Hotchkis ones I had gotten last year were not.
Next, using the supplied lube, lube up the inside of the bushing really good, they provide more then plenty lube in the kit:
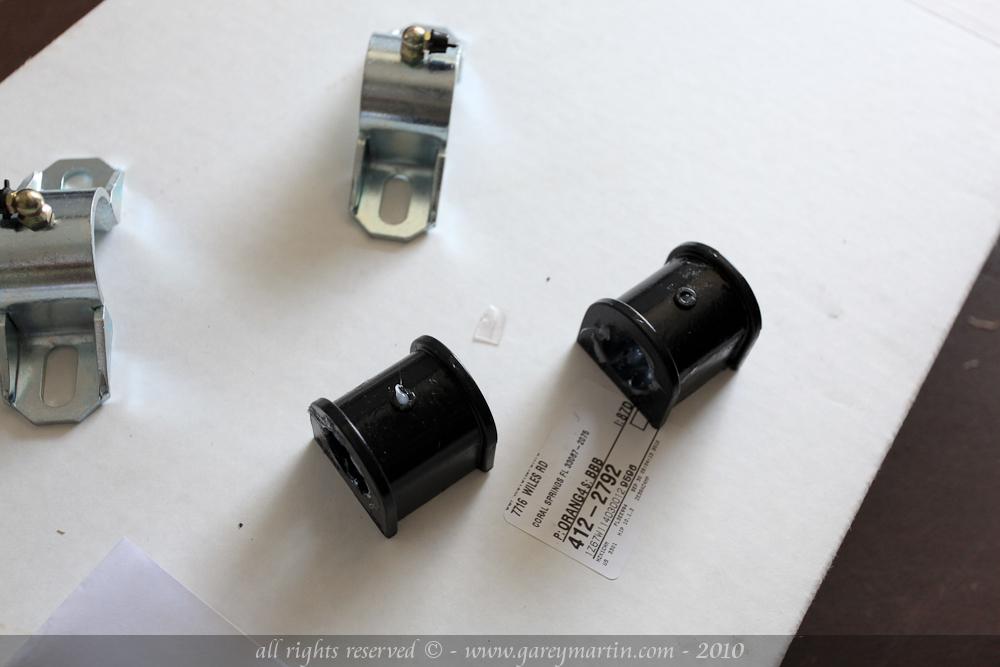
Now slide the bushing on (they have a slit in them so you can open them up and clamp them over), they go on the inside of the metal bushing stop:
Now place the bushing bracket/clamp over them, grease nipple pointing inwards:
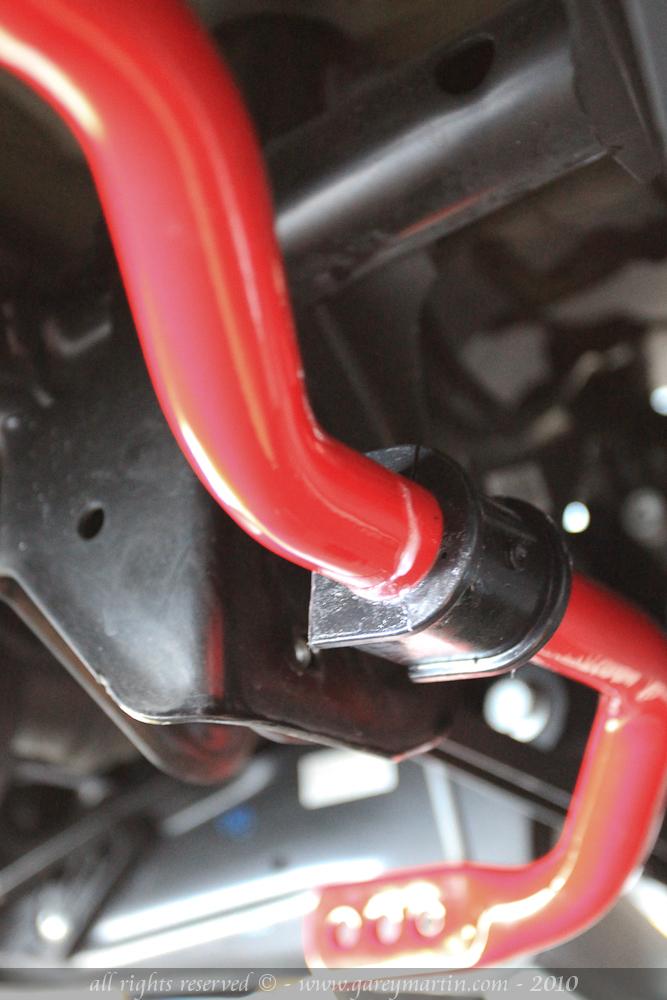
And bolt them back down using the stock bolts and the supplied washers, make sure that the bar clears everything before making it all the way tight (the included clamps have oblong holes to let you adjust them up or down a little bit for that):
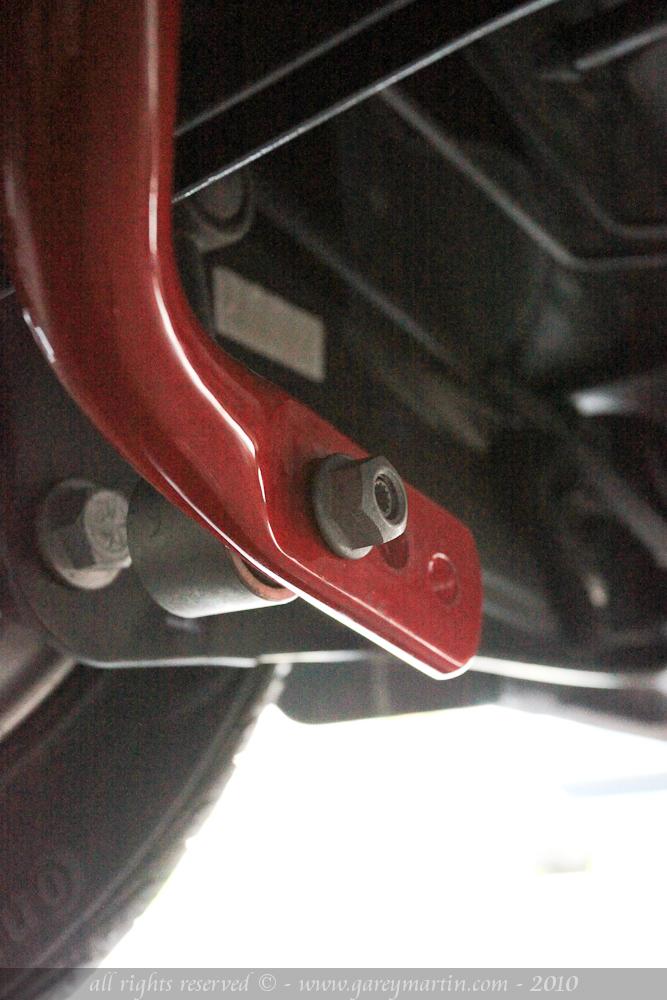
Now simply bolt down the endlinks at your favorite setting (I used full stiff, 200% stiffer than stock) and you're done:
I took it for a test drive and was surprise by how smooth it was on straight normal driving, I was almost thinking it would be barely noticeable, until I took my first turn which is a turn I can usually take around 32 MAYBE 33mph, any more than that and you're off the road, well I just took that turn at 50 with no problem ! yikes ! noticeable difference !!!
I would definitely recommend this to anyone looking for increased handling without breaking the bank too much. I paid $251.38 after tax during the sale period. Well worth it.
Remember, I am not responsible for anything you do when you work on a car, do it at your own risk !