You must be logged in to rate content!
6 minute read
European dash cubby install
Compliments of 71sbeetle @ www.vwvortex.com
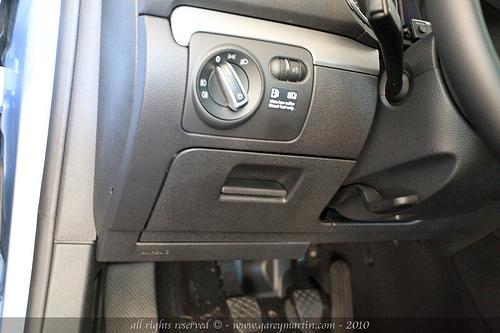
This is my DIY for the install of the European dash cubby, below the headlight switch.
I bought my kit from TMTuning
Tools needed:
Torx 20 driver
10mm wrench
10mm socket with ratchet
VAG COM to reset codes if you don't disconnect the battery
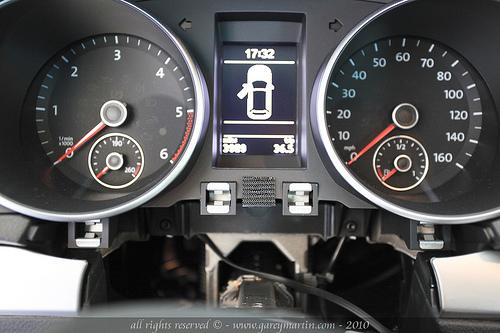
First, we will take the instrument cluster out as it will make it easier to reach the top Torx 20 screws, but you may bypass that if you can twist your Torx driver enough.
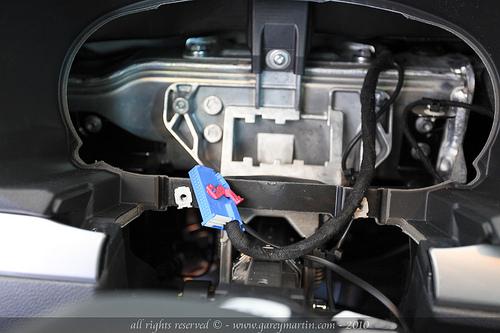
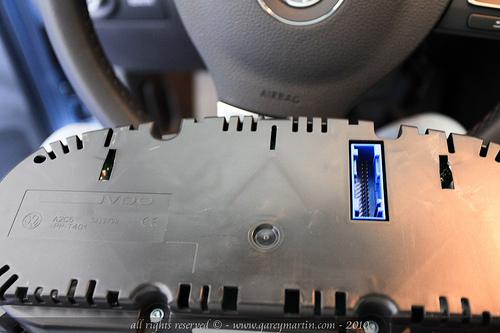
Start by lowering the steering column and pull the steering wheel as far out, then remove the lower cluster trim, and remove the two Torx 20 screws below the cluster, then simply swing the cluster out and disconnect the single harness plug (Blue), just press the little tab and swing the pink locking mechanism, the plug will come right out. Now just remove the cluster and put it aside somewhere safe.
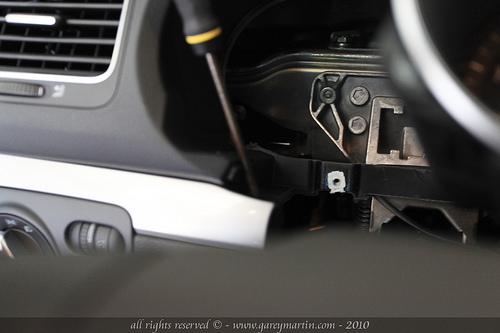
Now remove the Torx screws on either side of the cluster area, just behind the trim pieces:
Next, remove the trim pieces, simply pull on the are of the trim close to the cluster and slide it out, make sure you do not loose the little clips in case they came off:
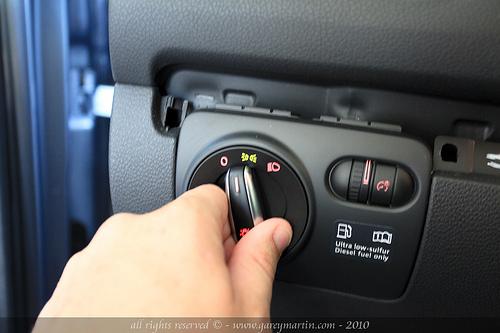
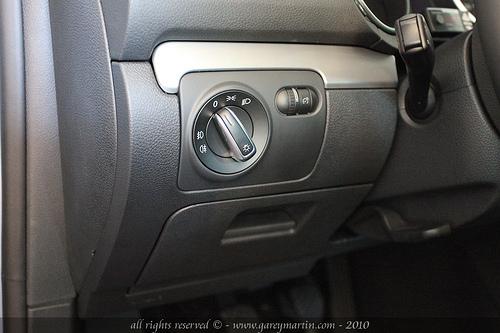
Now remove the headlight switch and disconnect it:
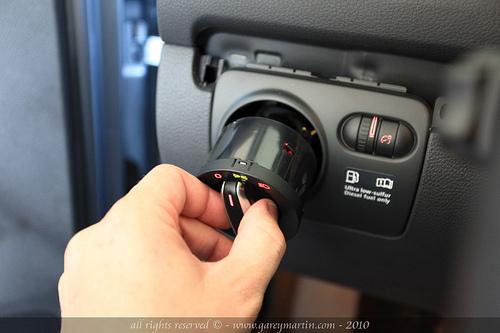
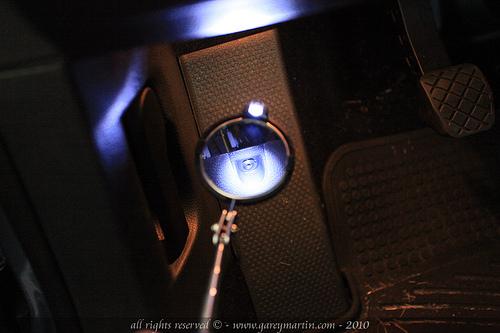
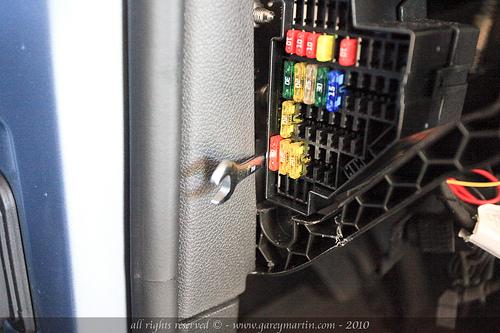
Remove the Torx screw behind the headlight switch:

Remove the fuse box door:
Remove all 4 Torx screws along the bottom of the dash pieces, 2 on the left piece and 2 on the right piece. There will only be 1 screw visible on the right piece until you get the left trim all the way off:
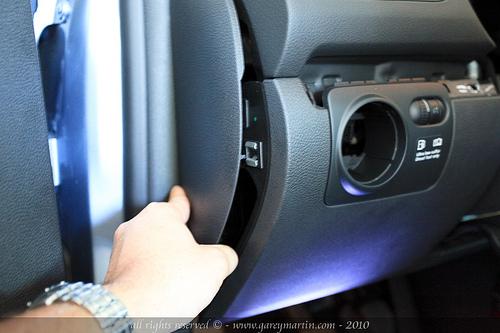
Simply pull the left trim off (and now you will see the 4th Torx screw you need to remove) and disconnect the dash light dimmer switch from the harness. Now is a good time to take that switch out and install it in the new trim piece:
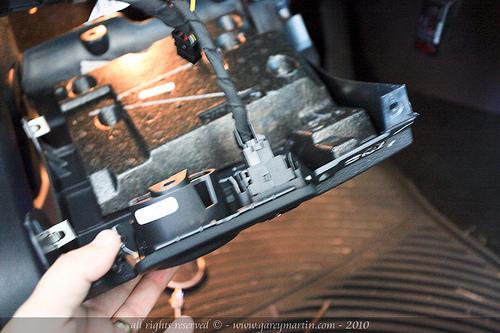
Next you will need to remove 3 metal pieces, there will be the main piece which has six 10mm bolts (if I remember right there are 6):
This is what that piece looks like:
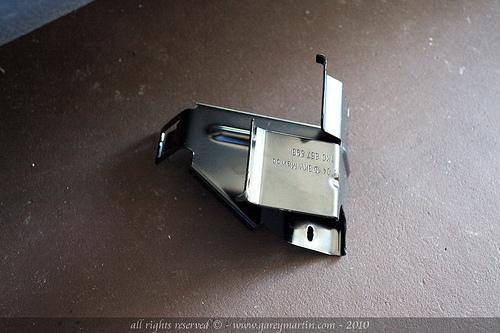
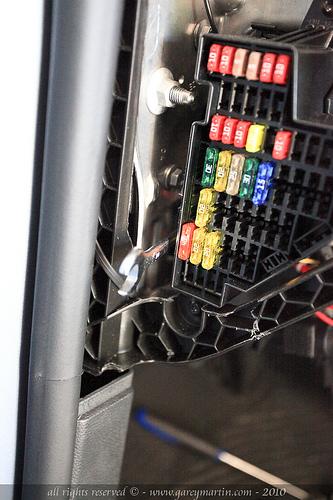
Next piece is small, and just behind the fuse box, I put my 10mm wrench between the fuse box and the pillar, it was a little tight:
So I just pulled that little pillar trim off and it was much more accessible:
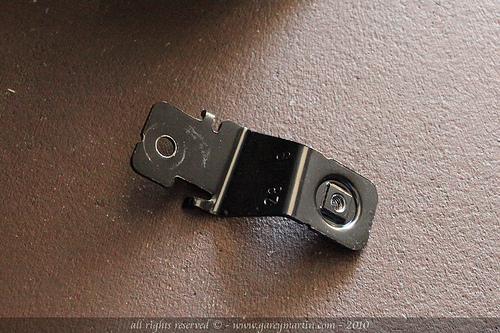
here is what the piece looks like:
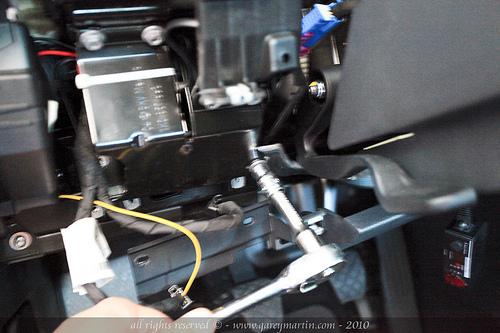
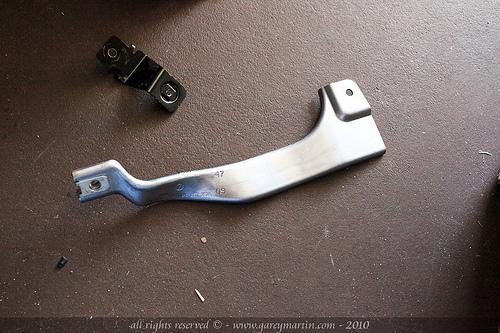
Now pull the right side trim some and remove the single 10mm bolt that holds the last piece in, it runs along the bottom and mine was silver in color:
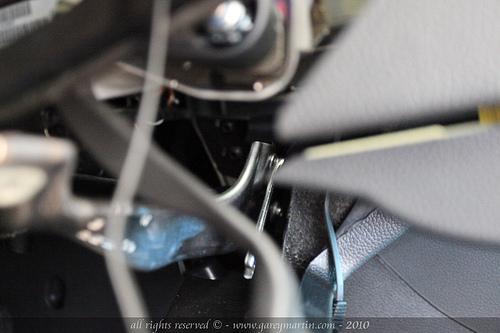
here is what it looks like:
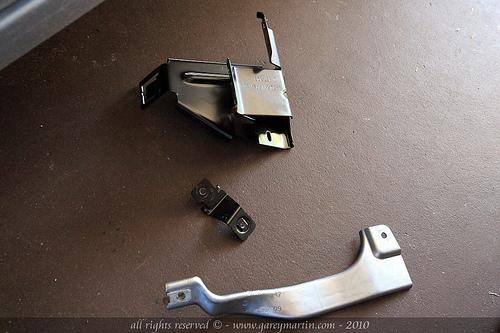
All 3 pieces together:
Once that is done, clip the right trim back in place (you don't need to remove it all the way but you will need to unclip it a little), re-install the top Torx screw as well as the two lower Torx screws on the right side trim.
Then install the new left side trim (first remove the cubby by pulling it all the way down and out, and also connect the harness for the dimmer switch back). Clip it in, and then install the Torx 25 behind the headlight switch and the top Torx 25 in the cluster area, next you will see where to place two Torx 25 screws at the bottom of the cutout for the cubby (use the screws that used to be along the bottom of the trim as those will no longer be used) and last, there should have been one extra Torx screw that goes on the top part of the cubby opening, install that too.
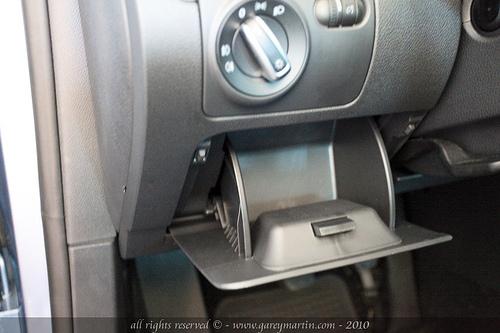
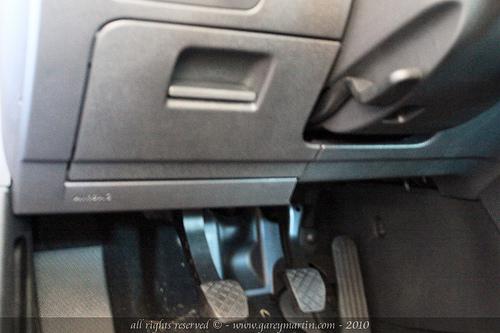
Now just clip the cubby back in:
Make sure the cubby opens and closes correctly:
Now re-install the cluster and cluster trim, re-adjust your steering wheel and enjoy your new dash cubby !
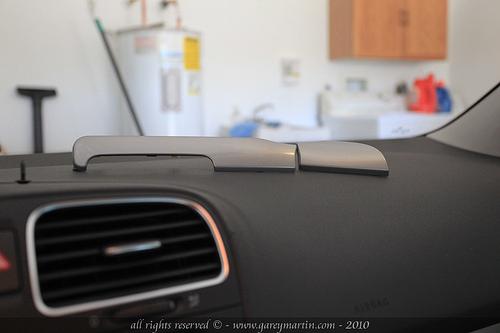
Note: I did notice that the new cubby frame/trim says airbag at the bottom, and that it hangs lower than the stock trim piece, I will email TMTuning to see if there is a possibility to get the non airbag version.
Remember, I am not responsible for anything that happens while you are doing this DIY, do it at your own risk.