You must be logged in to rate content!
6 minute read
Eurovan Door Handle Repair
Compliments of Riderx56 @ www.vwvortex.com
I'm not sure how common this failure is, but I've read that at least two other Eurovan owners have had door handles fail the same way mine did. My driver's side handle went out this past week. So after getting tired of going in through the passenger door every morning I decided to take a look at what happened and see what I could do before I tried to order a new handle.
So this DIY fix is for all of you who don't have the $100 to throw at a new door handle when the internal metal L-bracket pivot shears off. This will require some drilling (and maybe a tap) - but at this point why not try - otherwise the old door handle is just an expensive paper weight.
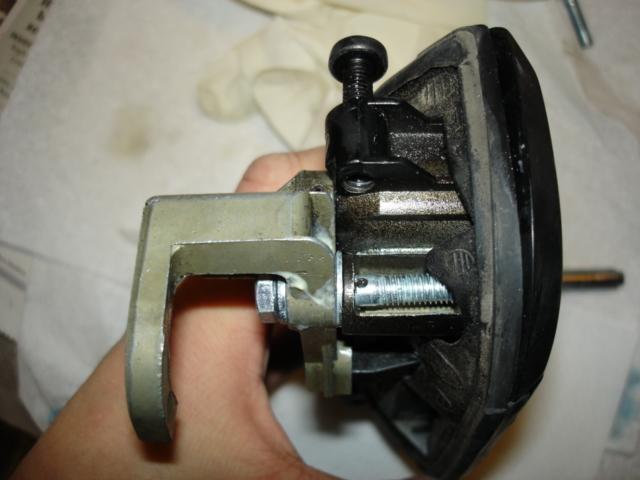
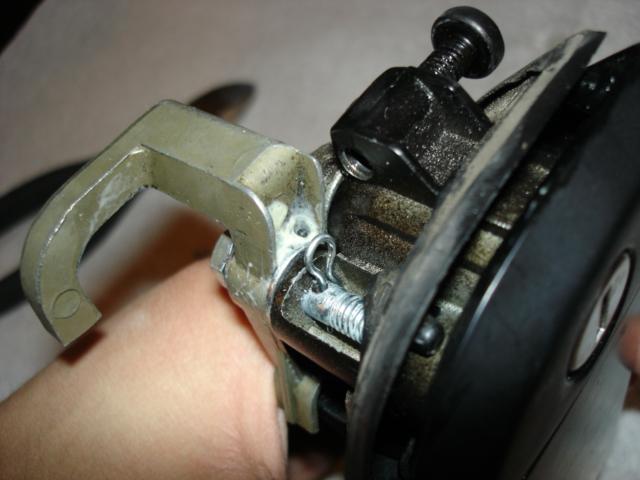
1. Take out the door handle by removing the two screws just on the inside of the door. Remove the rubber gasket surrounding the back of the entire handle and hopefully the broken parts (L-bracket) are still there.
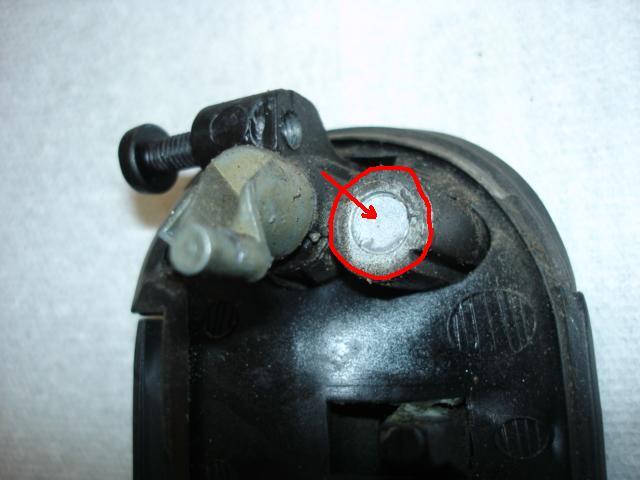
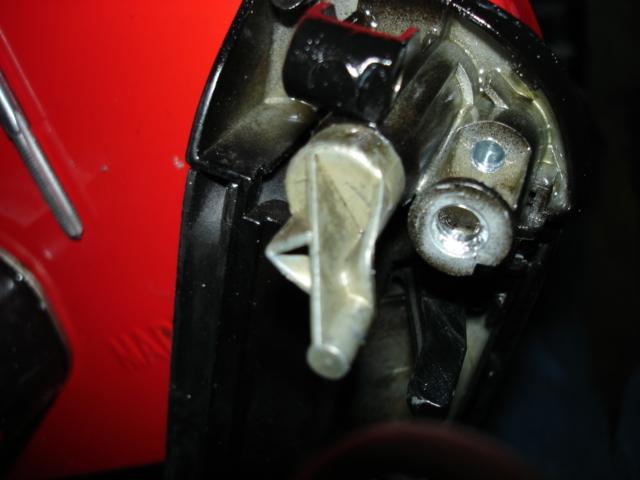
You can see the area where the metal pivot used to be and how it sheared straight across.
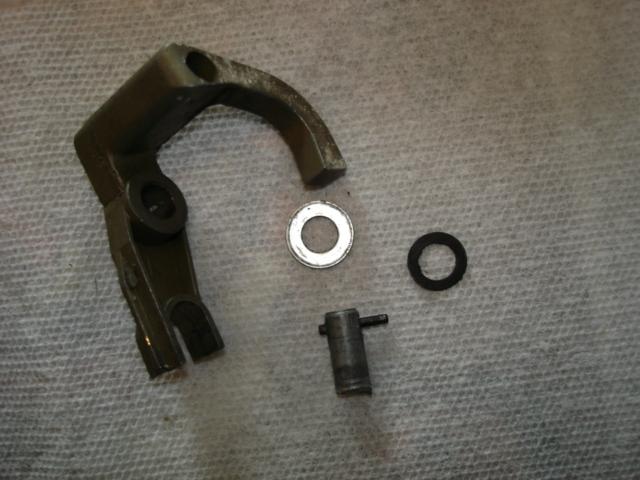
So here's the L shaped striker, the two washers and what's left of the metal pivot.
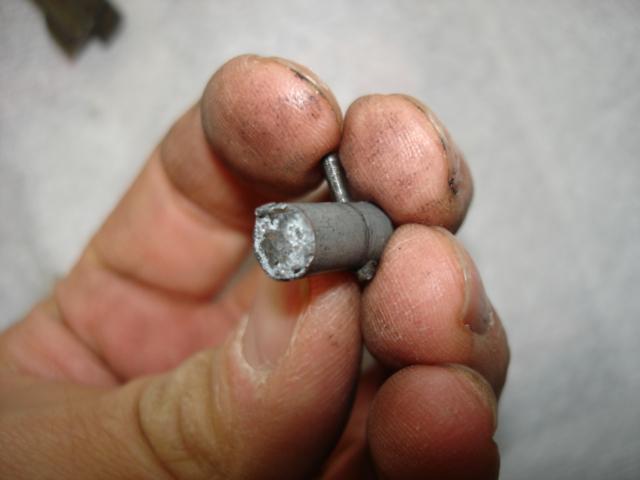
Not exactly the best casting metal used by VW.
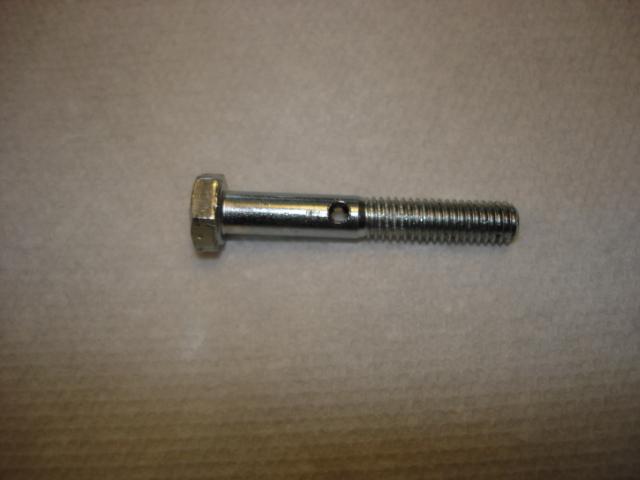
2. So now we have to replace the pivot and I just happened to have some metric M6 bolts lying around the garage. I grabbed an M6x40 bolt and new washer and decided to make this my new pivot.

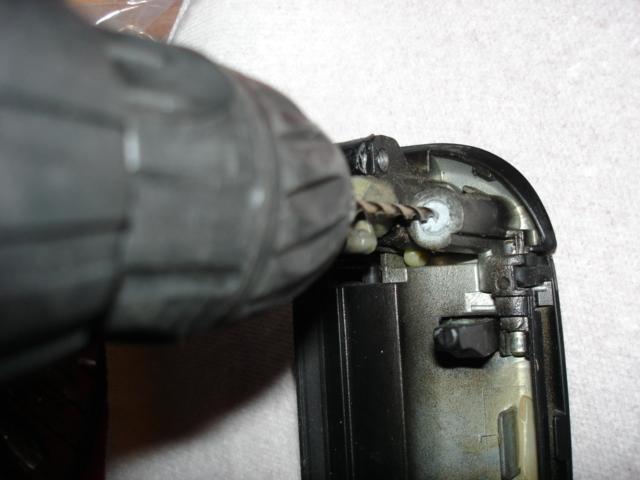
I used a 13/64 drill bit and drilled past the shear point and into the metal behind the cavity about a 1/4 of an inch. (Check with your new bolt to see how far you need to drill.) Use some drilling oil to keep your drill bit cool and keep your drill straight!
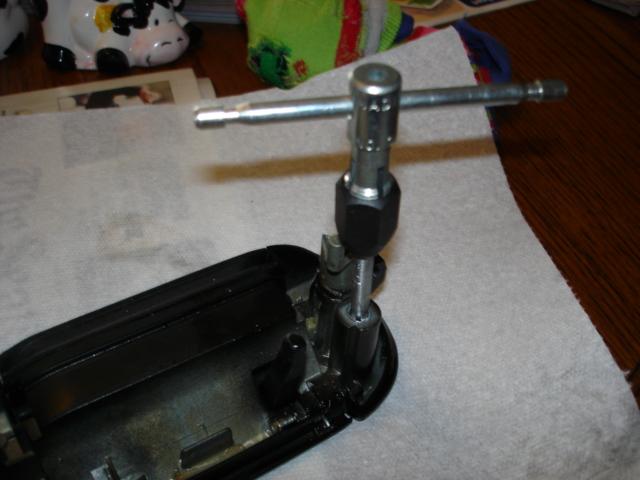
3. My plan was to put my metric tap set to use and create threads in the metal behind the cavity to anchor the new bolt. So using an 6mmx1.00 tap I threaded the metal. Make sure to really clean the drill and tap shavings so they don't just end up fouling the other mechanisms in the door handle.
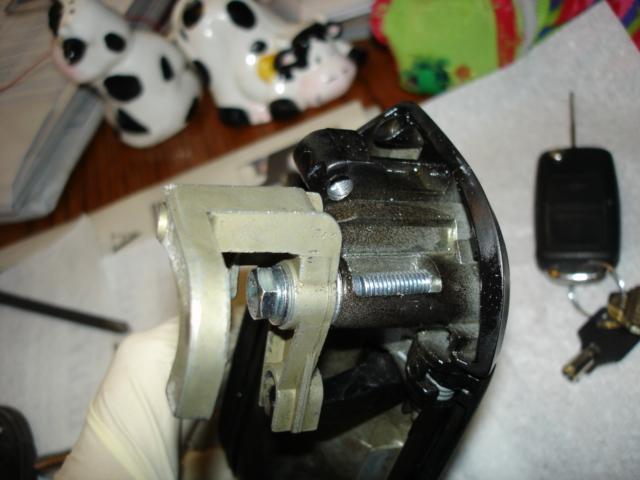
4. I test fitted the bolt with the L-bracket and the two washers and everything fit perfectly. The bolt head still allowed the key mechanism to rotate behind it with about an 1/8 of an inch clearance.
My original plan was to Loctite the bolt and call it good. But now I got paranoid. What if the bolt started to back out over time? Did I want to take that chance of having parts rattling in my door? Not really.
5. So I marked on the shank of the bolt where it passed through the first entry hole. This way I could drill a hole in the bolt shaft for a cotter pin to keep the bolt from backing out.
Some might ask, well why even drill into the metal behind the cavity if you could just use a short bolt and a cotter pin? Well, because I didn't trust that thin piece of metal which was left from the original pivot shearing off. I figured that could fatigue over time as well and I really liked the sturdiness of the threaded hole setup. But I'm sure just a bolt and cotter pin would work fine for those that don't have a tap set, but I'd still anchor the bolt partially (without threading) to keep it from rotating about the shear point axis.
6. Put the the rubber gasket back into place. I used some white lithium grease to lubricate the washers and L-bracket and bolted the pieces back together. DON'T FORGET THE RUBBER GASKET before you reassemble the entire assembly (I did the first time). Also, make sure of two things - 1) the bolt isn't so tight that the door handle mechanism doesn't open and close smoothly and 2) that the shank hole in the bolt is facing upwards.
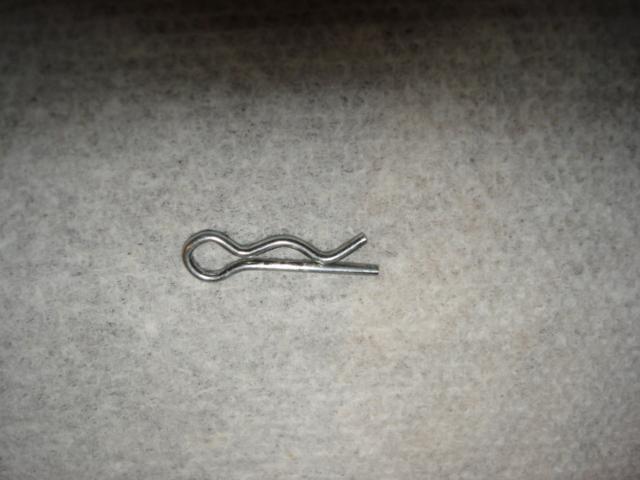
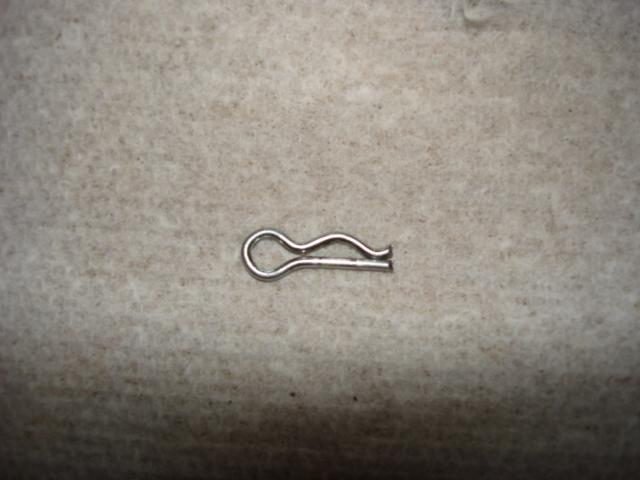
7. Next, I found a small cotter pin from an old HPI RC car body and cutoff the last third of it so it would fit in the cavity around the bolt.
8. Slide the cotter pin into the bolt shank hole and you should be all set
9. Test the assembly a few times for smooth operation and then reinstall the handle with the two original screws just inside the door (being careful not to strip the threads).
Hopefully, this fix lasts a little longer than your original door handle did.