You must be logged in to rate content!
6 minute read
Sunroof Gasket Rebuild
Compliments of JonnyPhenomenon @ www.vwvortex.com
anyone who has a sunroof probably wants to check this out, as the gaskets wear out and soggy roccos are no fun.forgive me for being wordy, but here is some background:
I recently rebuilt and repainted my 88 rocco, and spent a ton of money on materials, and didnt leave myself a whole lot extra for parts. when the subject of the sunroof seal came up, I found the price to be quite prohibitive. 110$ for a sunroof gasket is BS. but the bastard companies know they have you over a barrel, and they charge whatever they want and snicker about it behind our backs.
well not anymore!
I decided I would just rebuild my gasket. there is no reason why it couldn't be repaired with a little time and energy. turns out it was pretty easy, and if I had to do it again I could do it in about a quarter of the time.
(EDIT: Ive done these three times now, and I get better at it each time )
here is how I did it:
first I took the sunroof itself off. not the whole mechanics of it, just the lid. follow timbos guide to get it apart.
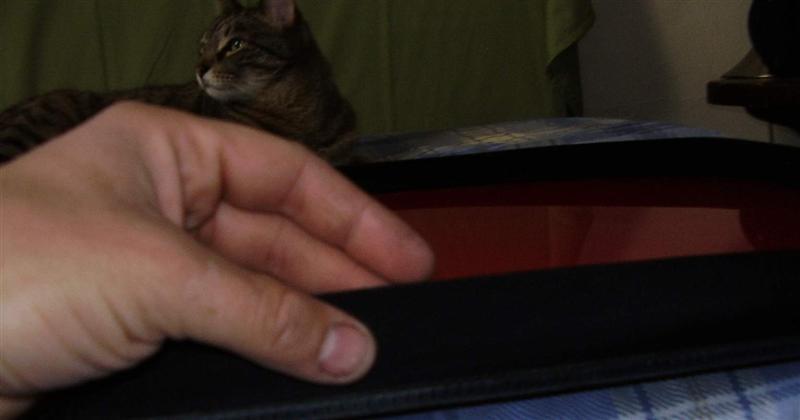
bring the sunroof inside and place it on your couch/bed whatever.
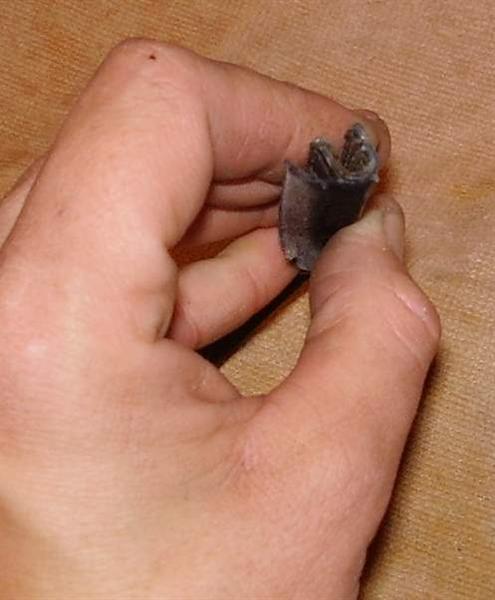
on my 88 rocco my sunroof had these two plastic trim bits that would keep me from removing the seal so I pulled those off.
I pulled off the seal and examined it. not a whole lot too it. its really just a peice of "U channel" plastic with some felt wrapped around it. and a rubber strip inside to pad it out and make it squishy.
a trip to the fabric store with a 10$ roll of quarters (yes I am that broke).
I knew what I was after and went right to the ribbon section.
they had the exact material in stock, and it was even in black 
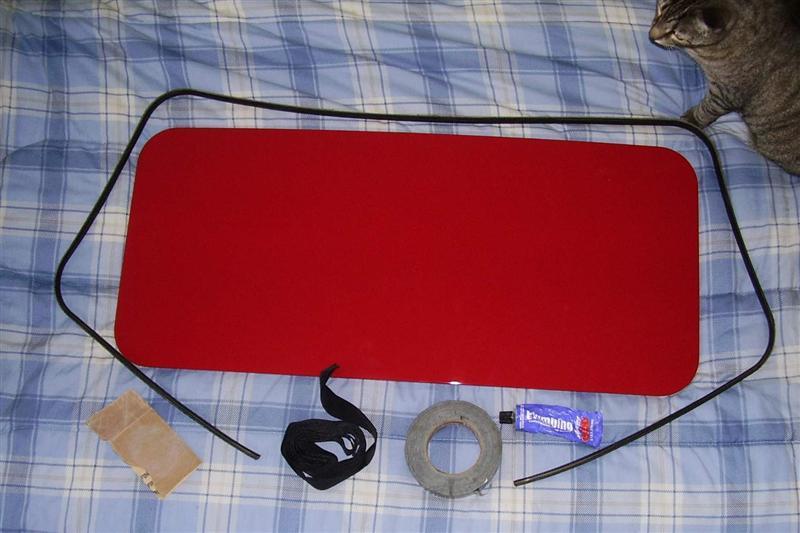
basically, you are looking for a black felt ribbon. it will have felt on one side and regular old fabric on the other. get 3 yards of 1" wide ribbon. anything smaller will not work.
IMPORTANT, make SURE you get THREE YARDS of it. I considered only getting 2 yards, but three yards was just barely enough. I ended up trimming only 8 inches off when I was done.
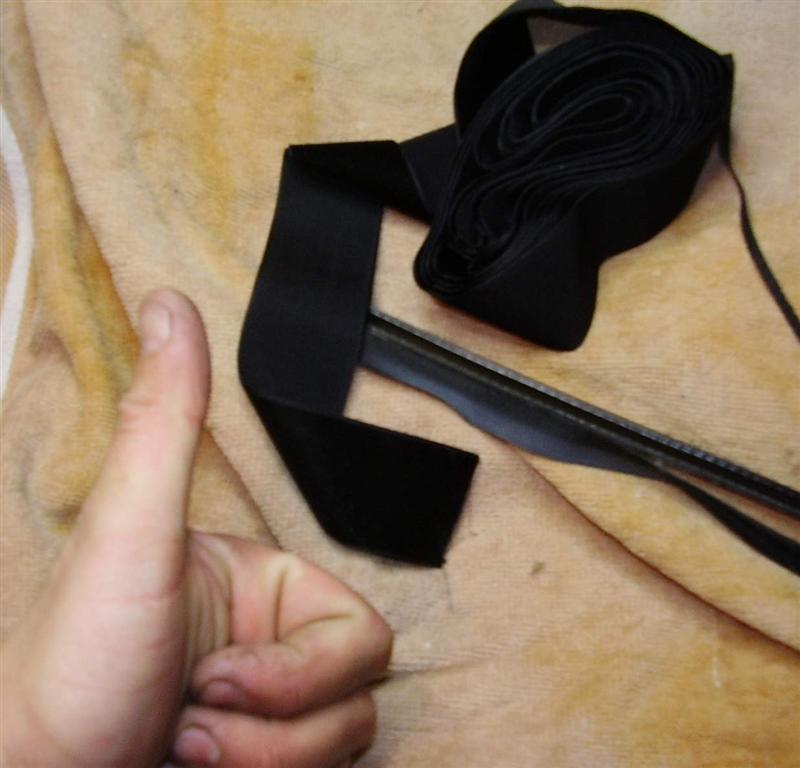
I took all of the old crap fabric off the gasket and cleaned it up with a bit of sand paper. I didnt go over board here, just cleaned up a little.
next, I tucked the edge of the ribbon into the groove of the gasket strip and put the gasket on the sunroof with the ribbon sticking up out of it. (felt side out)
Trim the length as needed and wrap the rubber cushion strip around the gasket.
(NOTE: I dont have any pics of that, because the first time I did this, I didnt have a rubber thing at all (it was lost). and I am editing this DIY to correct for the newly added rubber strip. )
then I appllied a bead of glue along the top edge of it and another thin layer of glue where the other edge of the ribbon would stick to the gasket.
this is hard to describe, so I drew a picture to make it easier to understand.
"Cliffnotes Version"
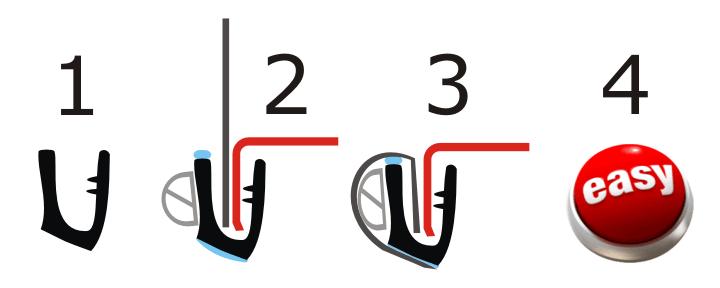
the blue is where I put some glue. red is the edge of the sunroof. black is the gasket, grey is the ribbon. light grey is the rubber squishy bit, get it?
fold the ribbon over the rubber. Pull it nice and tight. keep in mind, the sunroof gasket is not water proof at all, it is merely a water deflector. so keep it uniform.
I used regular old GOOP silicone glue to attach it. it works really well. just a thin layer is all you need. you will want to work on one section at a time while doing this.
the pics were taken the first time I did this and you see that I ducttaped it down. the ductape was totally unnneccessary, and ended up leaving goo all over my nice felt ribbon. now I do it without using any tape at all and it works perfectly.
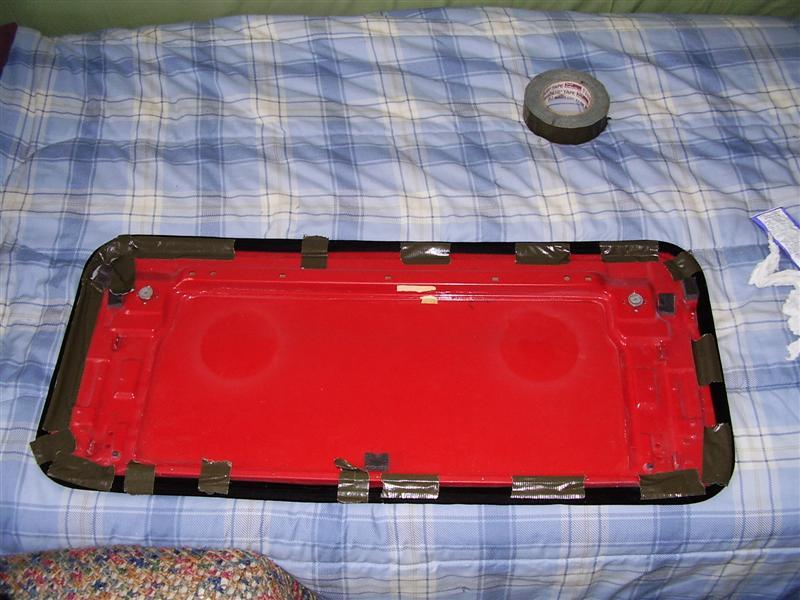
in these pics i used a 1.5" ribbon and it was far too wide. I had quite a bit of extra ribbon overlapping the edge, I just trimmed that off with a razorblade and called it good. now that I use 1" ribbon, I have had a nice clean edge and I am a lot happier.
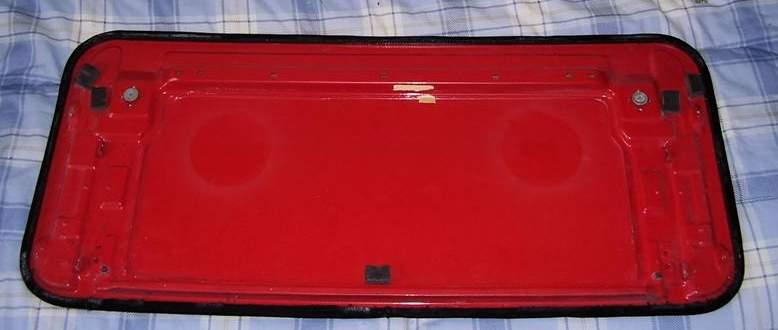
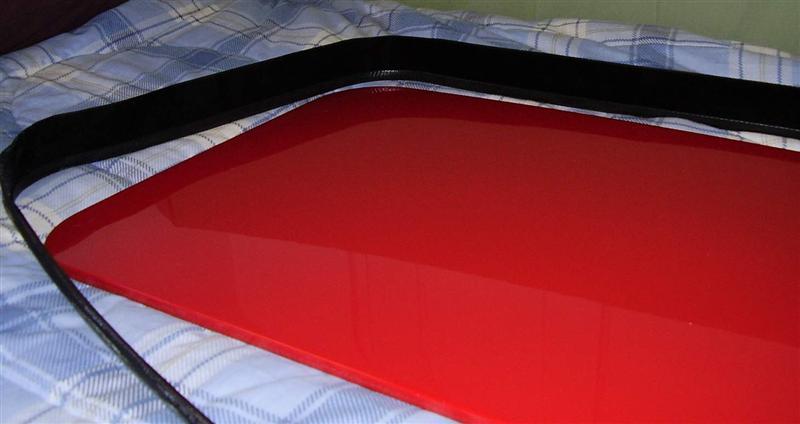
once the glue had time to set up, I brought the whole assembly out to the car,
it works!
got a good fit with no gaps around the edge, and it is even nice and tight around the corners!
So that is how you save yourself 100$ in 2 hours or less.
any questions?