You must be logged in to rate content!
6 minute read
NAVTV's AllGIG-USB HS Install
Compliments of 71sbeetle @ www.vwvortex.com
The one thing that bothered me most on my RER radio was the fact that you cannot enter an address in the GPS while in motion ! Although I do not recommend the driver doing it, I don't see why a front passenger couldn't do it.
There are 2 companies out there that offer a product to correct that, and more.
Coastaletech's Lockpick 2.0 (www.coastaletech.com)
NAVTV's AllGIG-USB HS (www.navtv.com)
I chose the AllGIG USB over the Lockpick for a few reasons:
* It's firmware is USB upgradable (Lockpick 2.0 is not user upgradable)
* The options are selected with a computer via supplied USB cable (manual with dip switches on Lockpick)
* They are local to me, and I was able to pick up the unit directly from them. I also met the owner (didn't know he was the owner till later when I got his card, real cool down to earth guy) and he showed me around the place, what I liked most about the place is the "family" atmosphere for their employees, no BS involved.
Anyway, so I went in, got my AllGIG-USB HS (high speed CAN Bus) and drove home to install it. The whole install from start (walking into my garage) to finish (walking back into the house) took me less than 10 minutes, and I must have spend 2-3 minutes looking for a flashlight (which I ended up not using) and I was taking a few pics (which are not the best I know, point and shoot).
Anyway, enough with the talking, here is the How To:
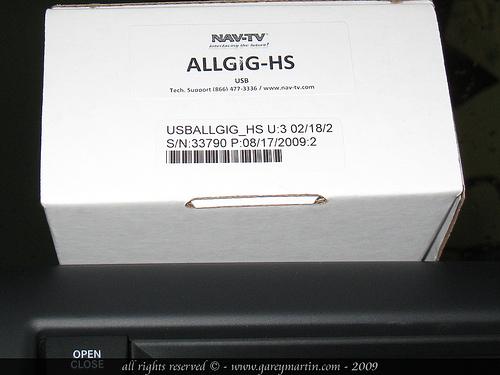
Here is the box the unit comes in, nice and simple:
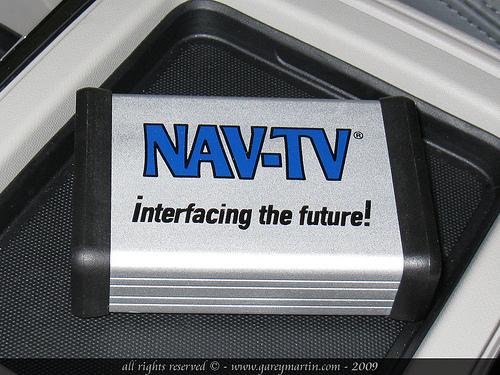
A shot of the unit itself, notice how small it is:
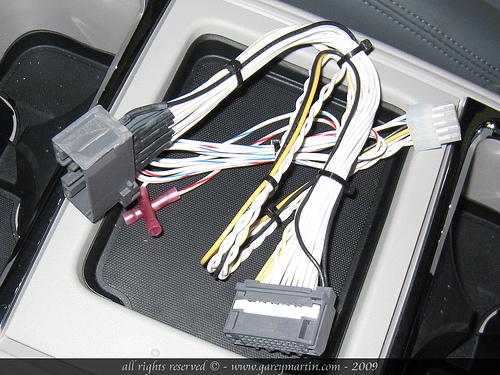
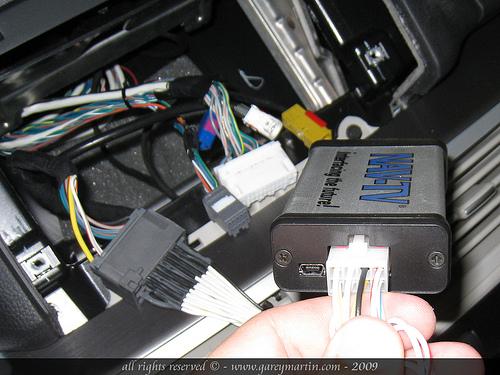
And a shot of the plug and play adapter:
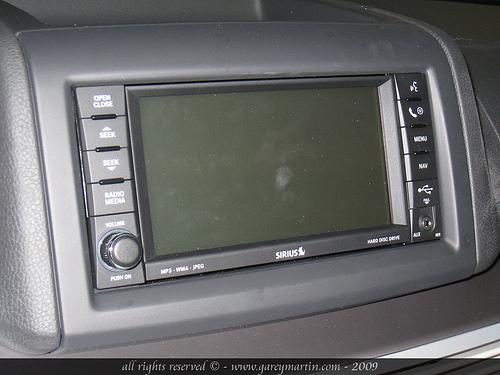
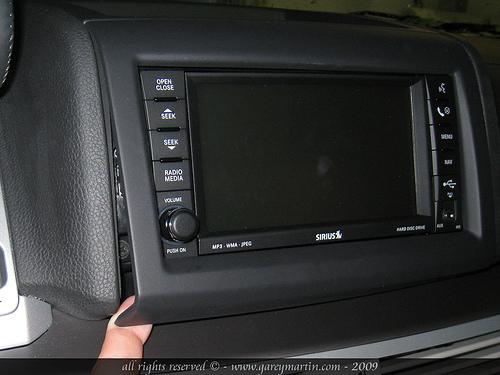
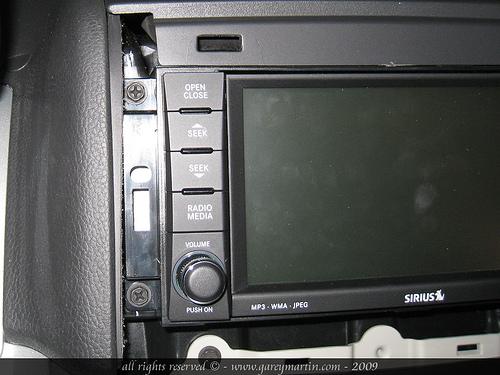
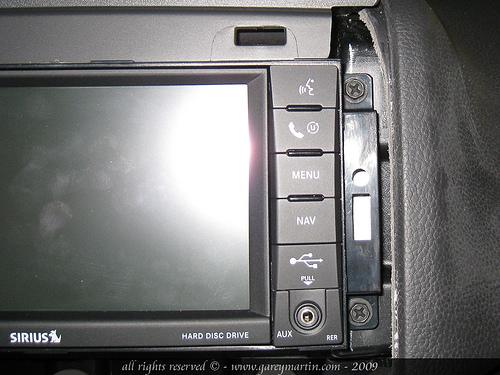
Here is the radio you will be working with, mine is an RER, Touchscreen Navigation:
What you need to do is remove the radio surrounding trim, it is quite easy, only 4 metal tbs are holding it in, you can start from the bottom (as shown) or from the top:
Get it loose all around and pull it off:
Here it is with the trim off, easy wasn't it ?
Here is a shot of the back of the trim so that you can see the 4 locking tabs, one on each side and two on the top:
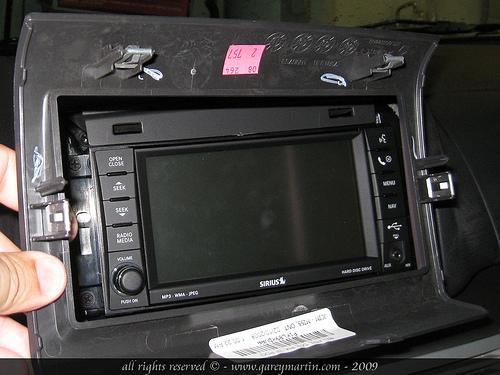
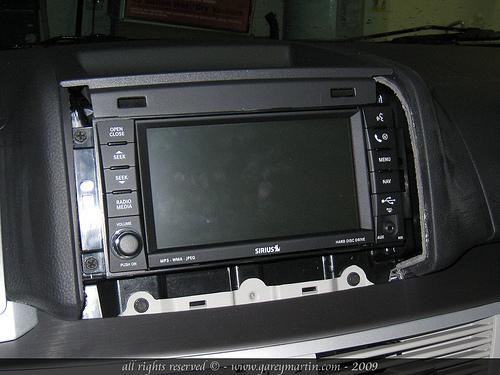
Now, if you look on each side of the radio, you will see 2 screws (4 total):
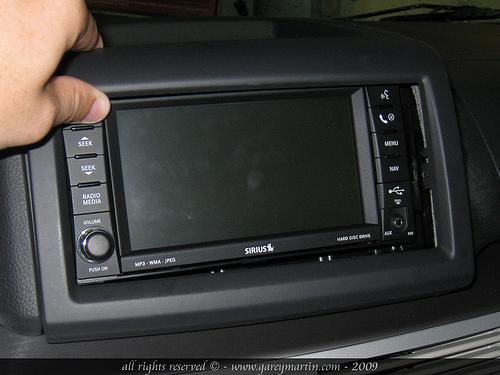
Take those screws out and pull the radio out (it's a tight fit, don't be afraid of pulling it):
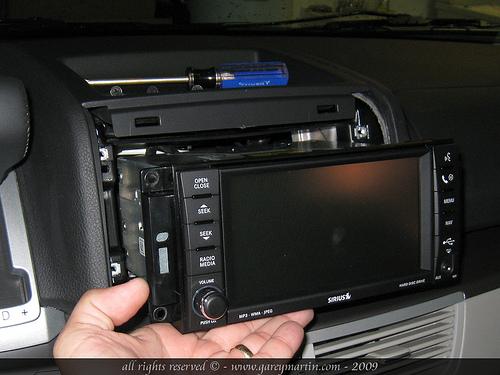
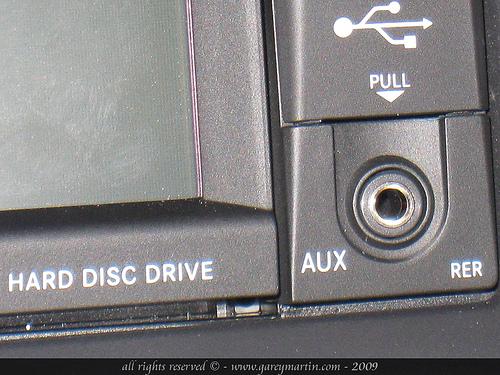
On the back of the radio, there are 6 connectors. The one that we need to look for is the gray one on the far left (driver's side):
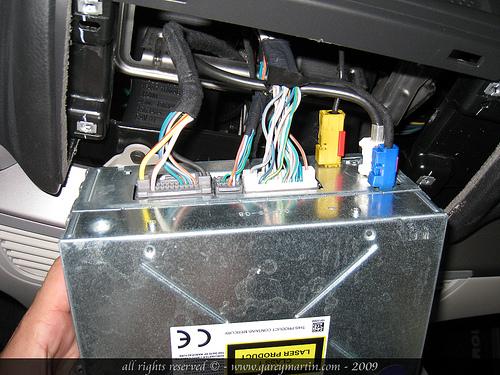
Unplug it from the radio (little locking tab on the bottom of the plug) and plug that into the female end of the plug and play adapter (notice I disconnected all 6 plugs, it was to make it easier to take pics and not have to hold the radio, but all you need to remove is the gray plug):
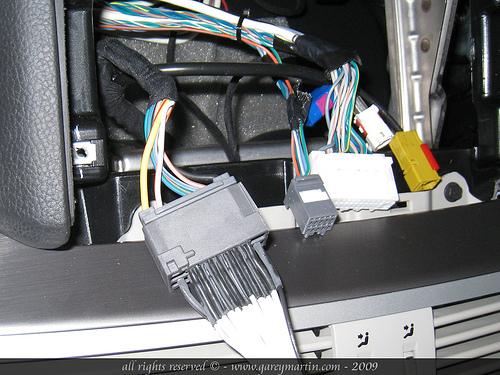
Then plug the male end of the plug and play adapter into the radio (where you just took the plug out from), and plug the smaller white plug of the plug and play adapter into the NAVTV AllGIG-USB HS unit:
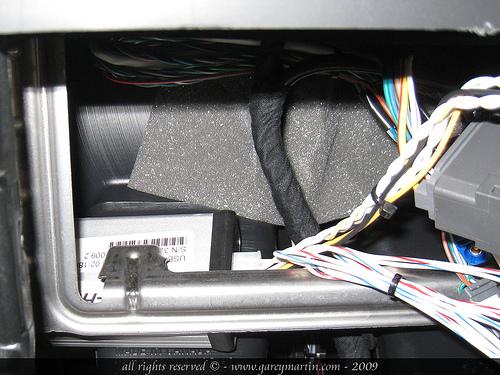
And then tuck the unit just under the metal frame that supports the radio, it fits in there perfectly with room to spare:
Then slide the radio back in, re-install the 4 screws (do not overtighten them) and clip the surrounding trim back on ... that's it ! It's in !
And now enjoy the movie in motion, address input in motion, turn the camera screen on even when driving forward (great to check out what you are towing, or the cop behind you, or even that hot chick in the car behind you at the light lol)
You can also add a second camera (baby camera, front bumper camera to help when parking nose first, or if you are super rich, buy a FLIR night vision camera), and if you don't have VES (RSE) then you can add a DVD and 2 AUX (with optional A/V cable) !!!
This How To is for informational purpose only, install this at your own risk, I am not responsible for any damage or anything that occurs when you are doing this install, blah blah blah blah blah