You must be logged in to rate content!
4 minute read
How to modify a MKV Jetta/GTI downpipe to fit the Tig
Compliments of Shuko @ www.vwvortex.com
I picked up a cheapie ebay downpipe, sold for the FSI GTI/Jetta, and modified it to fit the 2WD TSI Tiguan. It's a 2009 with 6 speed manual. (I'm CCTA engine code, you CBFA guys will need to grind the flange and add a sensor bung - that or get a CBFA downpipe.)
YMMV, but if you have a similar vehicle and exhaust the process should be the same.
I've put the major steps in bold.
Initially I just tried to install it as-is. During the test fit, I noticed that the pipe was about 2" too long. I removed 2" from the end of the pipe with a hacksaw and grinder and continued.
The DP fits up to the turbo and exits the engine compartment nicely, no problem there. The mounting bracket / rubber grommets, however, were about 1.5" off to the side and did not point the right direction. Here it is after the modification:
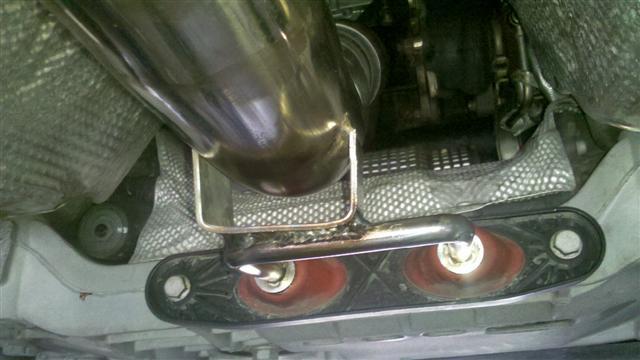
To do this, I ground the welds on either side of the steel "U" piece that pokes into the rubber thingies, and removed it from the pipe. I continued the install without the support in place.
The next issue I encountered was with an aluminum brace. Normally the drive shaft for 4Motion would go through there, but in this case it interfered with the pipe. I used a hammer to place a strategic dent so that the pipe wouldn't crash against the support. It needs a fair bit of clearance, as the pipe moves a lot during operation, so I had to pound on it quite a bit. It's not the prettiest, but I'm fairly sure it doesn't hurt performance.
Here it is post-modification:
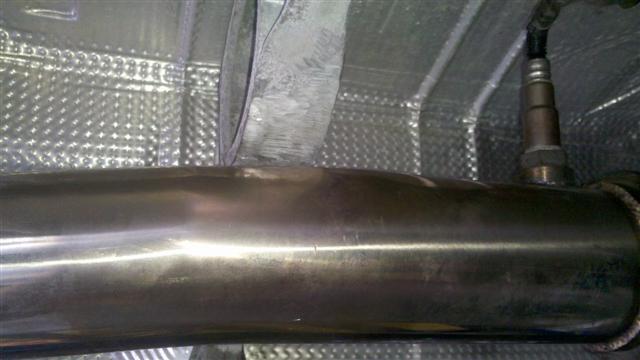
You can't see the dent, but it's directly below the aluminum brace.
I finished the exhaust install and drove it to a local shop, where they supported the exhaust with a stand, then poked the loose U piece into the rubber things and welded it back to the pipe. I also had them weld together the middle section that's normally held together by a T-bolt clamp, as I had exhaust leak and broken bracket problems in the same place with my GTI.
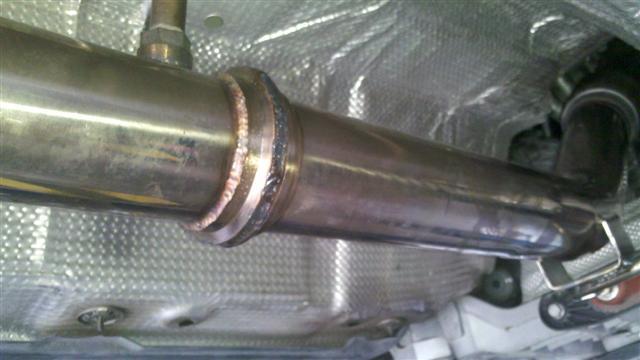
Welding the flange is optional, but highly recommended.
I noticed an immediate power and sound difference, even before I got the Stage 2 flash done. Stage 2 seemed to affect boost onset, but little else. Overall I'm very happy with the results, and ended up spending less than $200 on the entire setup!
Props to Carboy Racing for the expert welding and European Legacy for the APR Stage 2 flash!
I didn't notice any loss in low end torque, but that's just what the butt-dyno says. I have felt a marked increase in top end power for sure. I've got a dyno with just the Stg 1 flash, so next time I dyno I'll know for sure.